Unified Inbox
Who can use this feature?
- This feature is available for Plus plan users.
- Admins can always open it. Team members see it only after an admin gives them the Connected stores permission.
Unified inbox lets you read and reply to conversations from several stores in one Inbox, without switching accounts.
What is Unified inbox
You add stores in Settings → Unified inbox. After that, Inbox can show conversations from all of them in one list. Each conversation carries a store label, so you know where it came from before you open it.
Your list is personal. It belongs to the email you log in with and the store you are on. Another team member on the same store builds their own list. If you move to another store, you see that store's list instead.
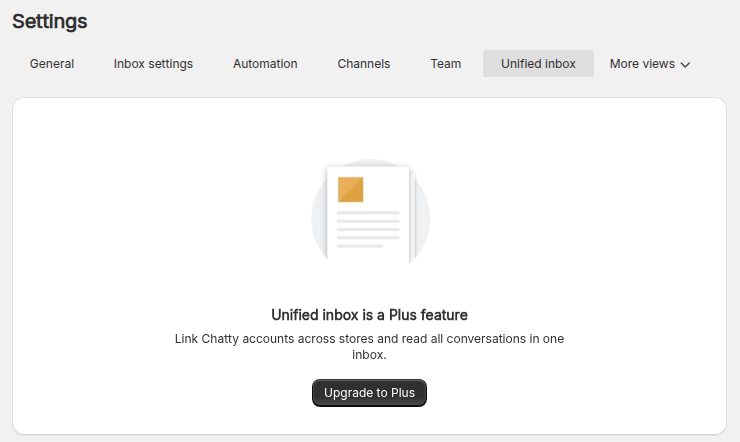
If your store is not on the Plus plan, the tab shows Unified inbox is a Plus feature with an Upgrade to Plus button.
How to add stores to Unified inbox
Open the Unified inbox tab
Go to Chatty → Settings and click the Unified inbox tab.
The table lists the store you are on, marked Main store. It is always included and cannot be turned off. Below it, Chatty lists every store where your login email is already a team member.
Turn on a store where you are a team member
Turn on the switch in the Status column. The store's conversations join your Inbox right away. No Shopify approval is needed, because you already have access to that store. These stores show Member access in the Access column.
Connect a store under a different email
Use this when your login email is not a team member of the other store.
- Click Connect new store.
- Enter the store's Shopify domain. You can type only the store name, for example
my-other-store, and Chatty adds.myshopify.com. - Optional: enter a Display name, up to 30 characters. It shows as a label next to the store name in your inbox.
- Click Connect. Shopify opens and asks you to approve admin access for that store. Log in to Shopify with an account that can open that store's admin.
- After you approve, Chatty brings you back and shows Store connected successfully. The store shows Admin verified in the Access column.
Chatty must already be installed on the other store. You cannot connect the store you are on.
- You can have up to 10 stores turned on at the same time. The main store does not count. The badge next to the title shows how many are on, for example 3/10 active.
- At 10, Connect new store is turned off and a warning asks you to turn one store off before adding another.
How to manage connected stores
Rename a store
Click the pencil icon in the Actions column. Enter a Display name and click Save. The name shows next to the store name in the table and on that store's conversations in Inbox. Leave it empty to remove it.
Hide a store from your inbox
Turn off the switch in the Status column. The store stays in the table, so you can turn it back on later.
Disconnect a store
The trash icon only shows for stores you added with Connect new store. Click it, then click Disconnect to confirm. That store's conversations no longer appear in your unified inbox. To connect it again, repeat the Connect new store steps.
Stores where you are a team member have no trash icon. Turn off their switch instead.
How to see every store in Inbox
- Go to Inbox and open the filter menu above the conversation list.
- Under Stores, pick All stores. To go back, pick This store.
You can also press Cmd/Ctrl + Shift + A to switch between the two views. While All stores is on, an All stores chip shows above the list.
In the All stores view:
- Each conversation shows the store's display name, or the store name if you did not set one. Hover over it to see the store domain.
- Open any conversation and reply as usual. You do not need to switch stores.
- Search is turned off. Pick This store to search by name, email, phone, or order.
If your store moves off the Plus plan, Inbox goes back to This store and the Stores option disappears from the filter menu.
 Chatty Help Center