# Chatty Help Center — Full Documentation
[Generated 2026-09-18]
================================================================
URL: https://help.chatty.net/
Locale: en
================================================================
# Welcome
Chatty turns customer questions into sales: your AI reads the buying intent behind a question, recommends the right products, and hands the conversation to your team when it needs a person.
[Learn more about Chatty team.](https://meetchatty.com/about-us/)
## Discover Chatty
### Live chat
### AI assistant
### FAQs
Need help? Check out [Frequently Asked Questions](/faqs/).
================================================================
URL: https://help.chatty.net/ai/chatty-lab/
Locale: en
================================================================
# Chatty Lab
**Who can use this feature?**
* This feature is available for Pro & Plus plan users.
### What is Chatty Lab
Chatty Lab is a chat workspace where you ask an expert agent about your store setup. The agent reads your FAQs, scenarios, products, and recent conversations, then proposes specific fixes.
You stay in control. The agent never changes your settings on its own. It creates a proposal, and the change only happens after you accept it.
***
### How to open Chatty Lab
There are two ways in. Both open the same workspace.
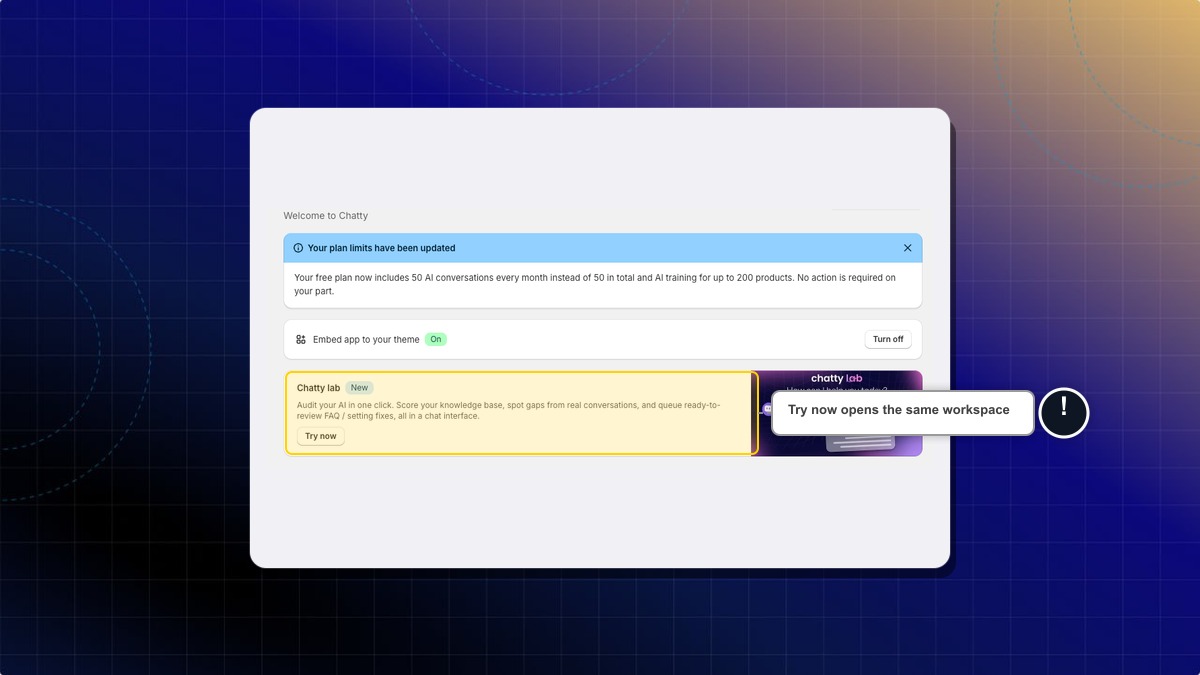
**From the dashboard**
1. Go to **Dashboard**.
2. Find the **Chatty lab** card and click **Try now**.
**From the AI agent page**
1. Go to **AI agent**.
2. Find the **Chatty Lab** card and click **Open Chatty Lab**.
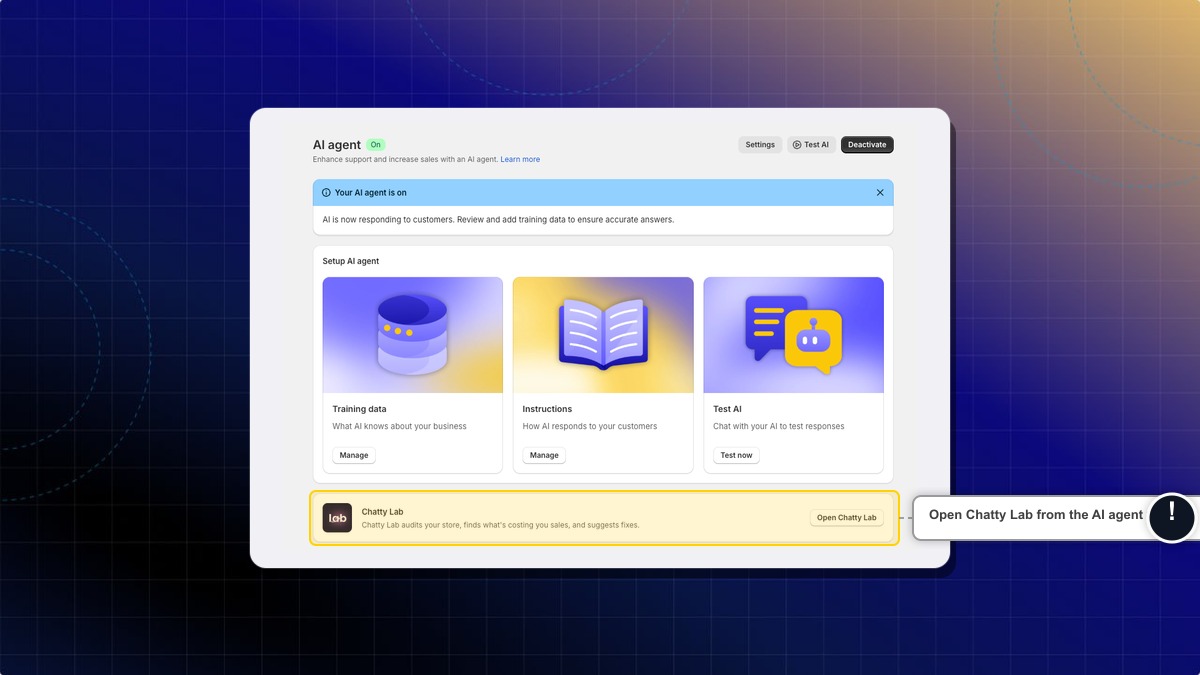
**Expected result:** The Chatty Lab workspace opens with an empty chat and the **Proposals** panel on the right.
***
### How to run a store health check
A health check audits your shop data, scores your answer rate, and lists what to fix first.
1. Click the message box at the bottom of the chat.
2. Type `/healthcheck` and press **Enter**.
3. Wait for the report to finish. It appears as a card inside the chat.
4. Click **View report** on the card to open the full report.
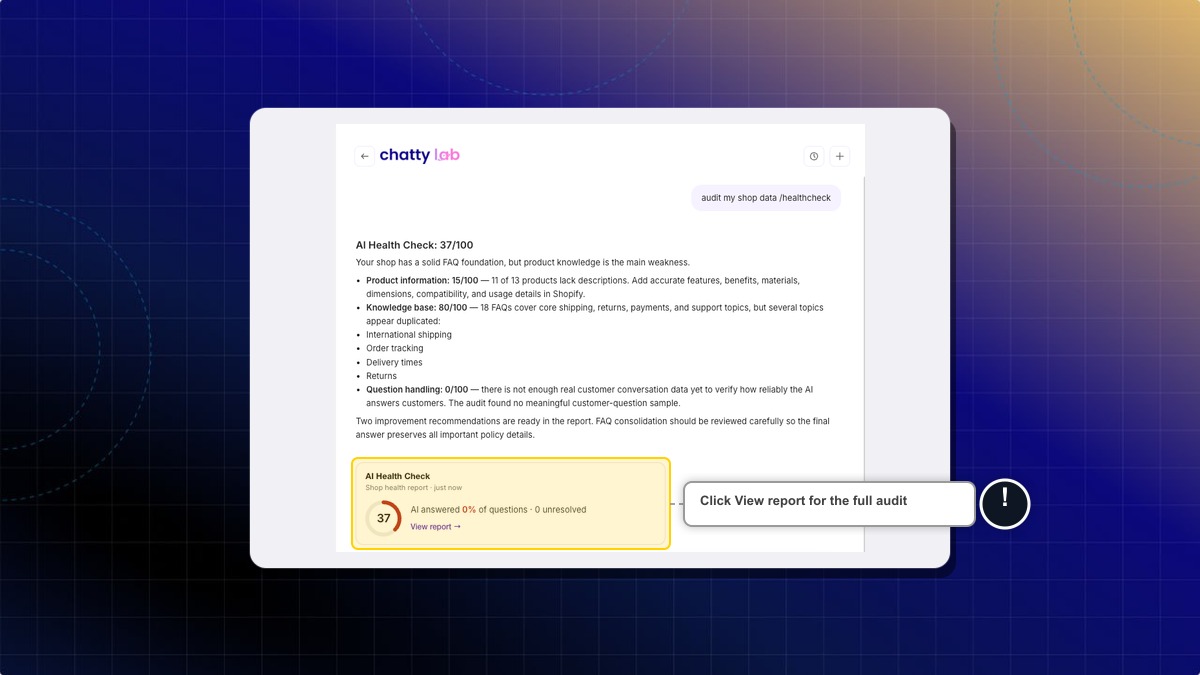
**Expected result:** You see a score out of 100, broken down by product information, knowledge base, and question handling. It also lists the gaps the agent found in your training data.
***
### How to ask the agent a question
You can also type a normal question instead of a command. For example, "Why does my AI keep missing shipping questions?" or "Which FAQs should I add first?".
1. Type your question in the message box.
2. Press **Enter**.
3. Read the answer. If the agent finds something to fix, it adds a proposal to the right panel.
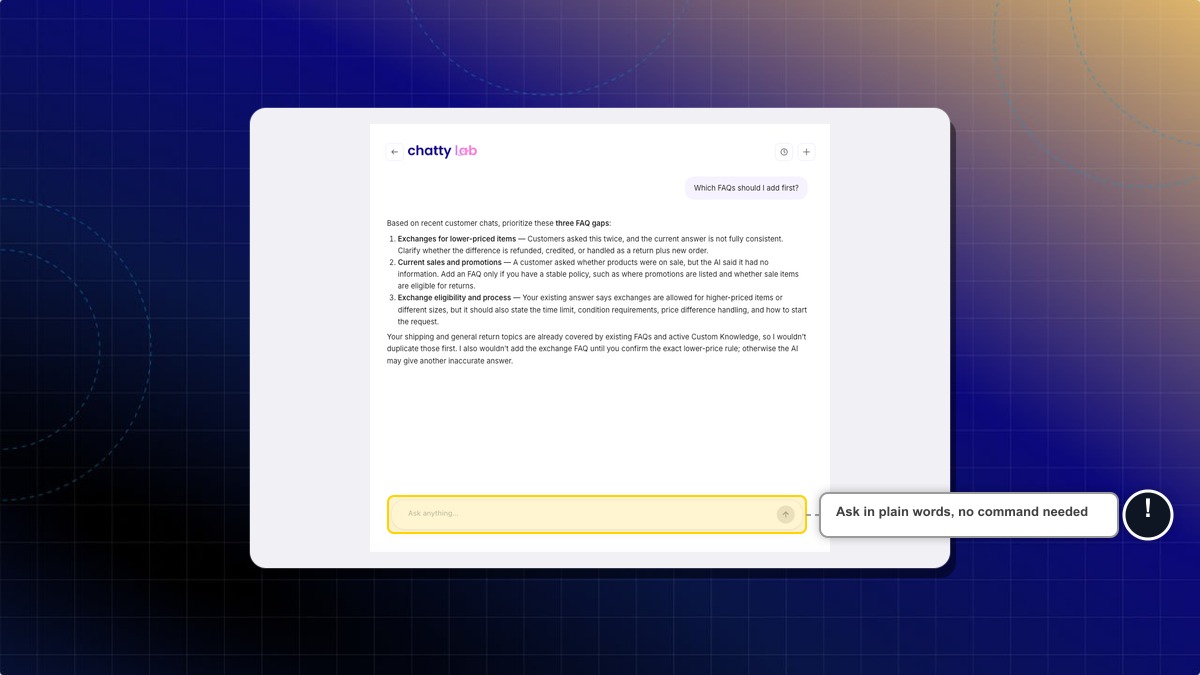
On an empty chat you also get three starter cards: **Audit my shop**, **Find missing FAQs**, and **Review AI instructions**. Click one to send it.
**Expected result:** The agent answers using your real store data, not generic advice.
***
### How to review and accept a proposal
A proposal is a change the agent wants to make to your AI setup. Each one shows what changes and why.
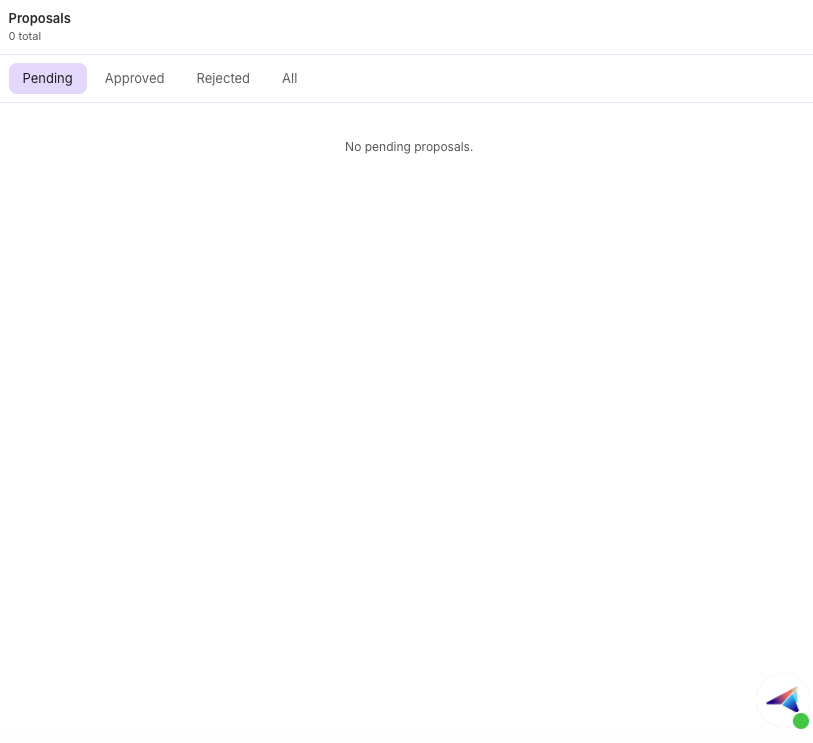
1. Open the **Proposals** panel on the right. On mobile, tap the proposals icon in the header.
2. Stay on the **Pending** tab. Pending proposals are already open.
3. Click **Show diff** to see the exact before and after values.
4. Click **Accept** to apply the change, or **Reject** to discard it.
**Expected result:** Accepted proposals move to the **Approved** tab and the change is live in your AI setup right away. Rejected ones move to the **Rejected** tab.
If you have more than one pending proposal, an **Accept all** button appears at the top of the panel. It applies every pending proposal in one click.
Accepting applies the change immediately. There is no undo inside Chatty Lab. To reverse a change, edit the FAQ, scenario, or instruction directly on its own page.
***
### What a proposal can change
| Proposal | What it does |
|---|---|
| New FAQ | Adds a question and answer to a category you already use |
| Update FAQ | Rewrites the answer of an existing FAQ |
| Update scenario | Changes the instruction of a customer support scenario |
| New policy skill | Adds a store rule, such as shipping or returns, to your training data |
| Update AI instructions | Edits your general AI instructions |
| Enable feature | Turns on an AI feature you have not used yet |
***
### Slash commands
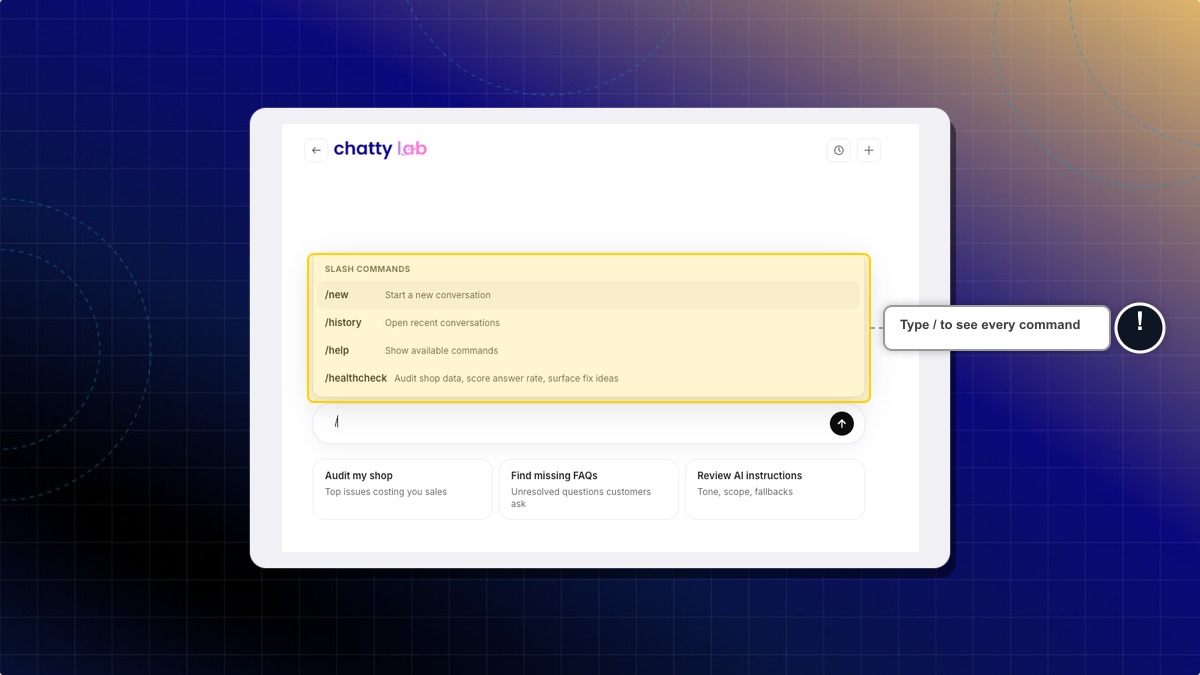
Type `/` in the message box to open the command list.
| Command | What it does |
|---|---|
| `/healthcheck` | Audits shop data, scores answer rate, surfaces fix ideas |
| `/new` | Starts a new conversation |
| `/history` | Opens your recent conversations |
| `/help` | Shows the available commands |
Do I have to accept every proposal?
No. Reject anything that does not match how you run your store. Rejecting does not delete data, it only closes the proposal.
How long does a pending proposal stay open?
Seven days. After that it expires and you cannot accept it. Run the check again to get a fresh proposal.
Can I get back to an earlier Chatty Lab conversation?
Yes. Click **Recent chats** in the header, or type `/history`, then pick the conversation you want.
Can staff members accept proposals?
Yes. Anyone on your team who can open Chatty Lab can accept or reject proposals. The panel is not read-only for staff.
Does Chatty Lab talk to my customers?
No. Chatty Lab is an admin-only workspace. Your customers never see it, and nothing you type there is sent to the chatbox.
================================================================
URL: https://help.chatty.net/ai/overview/
Locale: en
================================================================
# Overview
### What is AI assistant?
Al assistant helps you solve customers' questions faster and 24/7. AI assistant is trained on your data, and keeps your brand voice in every conversation.
Turn on live chat to use AI assistant. Go to Chatbox → Turn on Live chat block.
### What AI assistant can do
### How to get your AI assistant ready?
#### Train AI assistant
We help you auto-sync all existing data from your store to train AI. Also, you can add more data sources to train your AI.
1. [How to add data source](/ai/train-ai/training-data/knowledge-base/)
2. [How to train AI effectively](/ai/train-ai/)
#### Customize AI assistant
Customize your AI assistant with your image, brand voice and tone in [Settings](/ai/settings/):
* Appearance: Bot name, avatar
* Custom instructions to guide AI on tone of voice, length of answer, how to response
* AI availability: Select when the AI responds based on your team's availability
* [**Transfer**](/settings#transfer/): Set up how you would like to respond to user who wants human help
#### Test & optimize
Test and optimize how your AI assistant responds to customer questions. [How to test & optimize AI](/ai/test-and-optimize-ai/)
#### Activate AI assistant
Go to **AI agent** and click **Activate** in the top right to switch AI on. To switch it off later, click **Deactivate** and confirm.
#### Keep testing & optimizing while using AI
#### When using AI assistant
* All conversations will be answered automatically by AI assistant. In conversation detail, you will see AI assistant as an assignee.
* During the conversation handled by AI assistant, you can always join in the conversation to chat by clicking **Join conversation**.
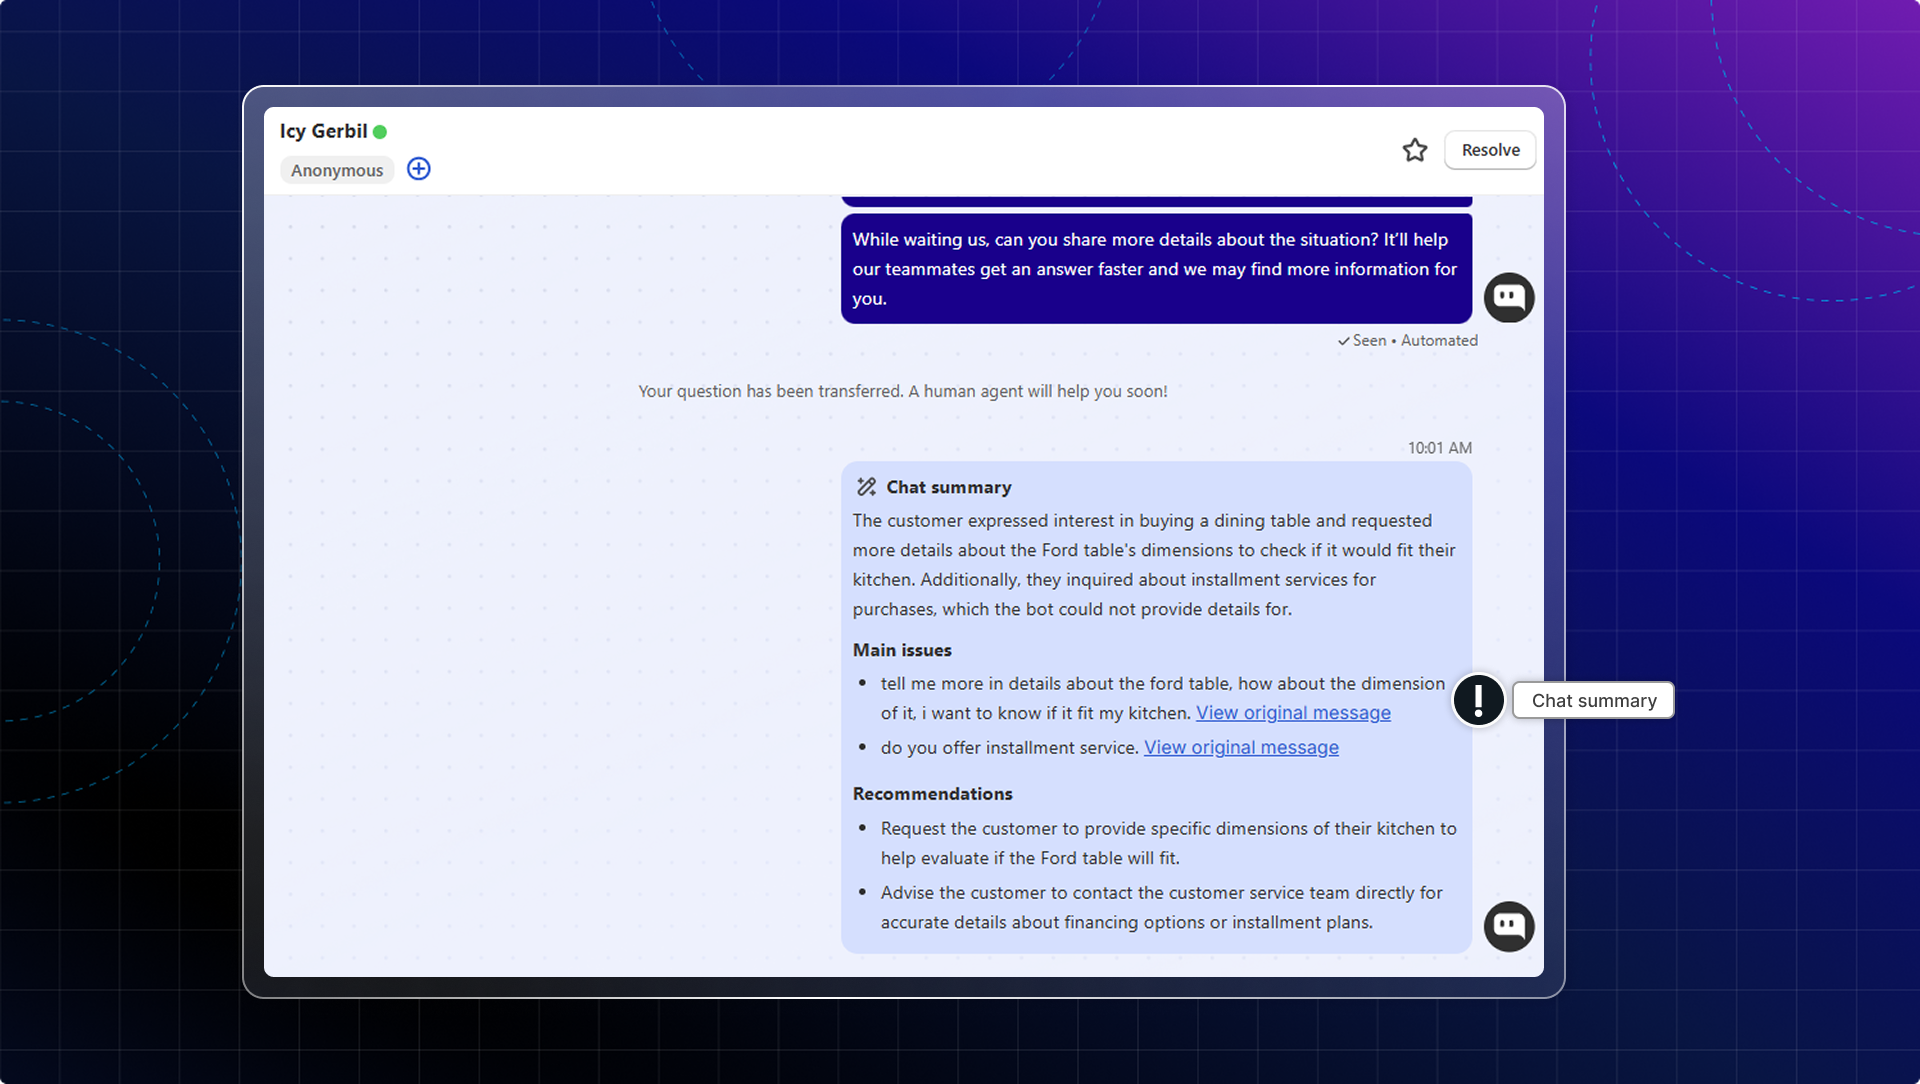
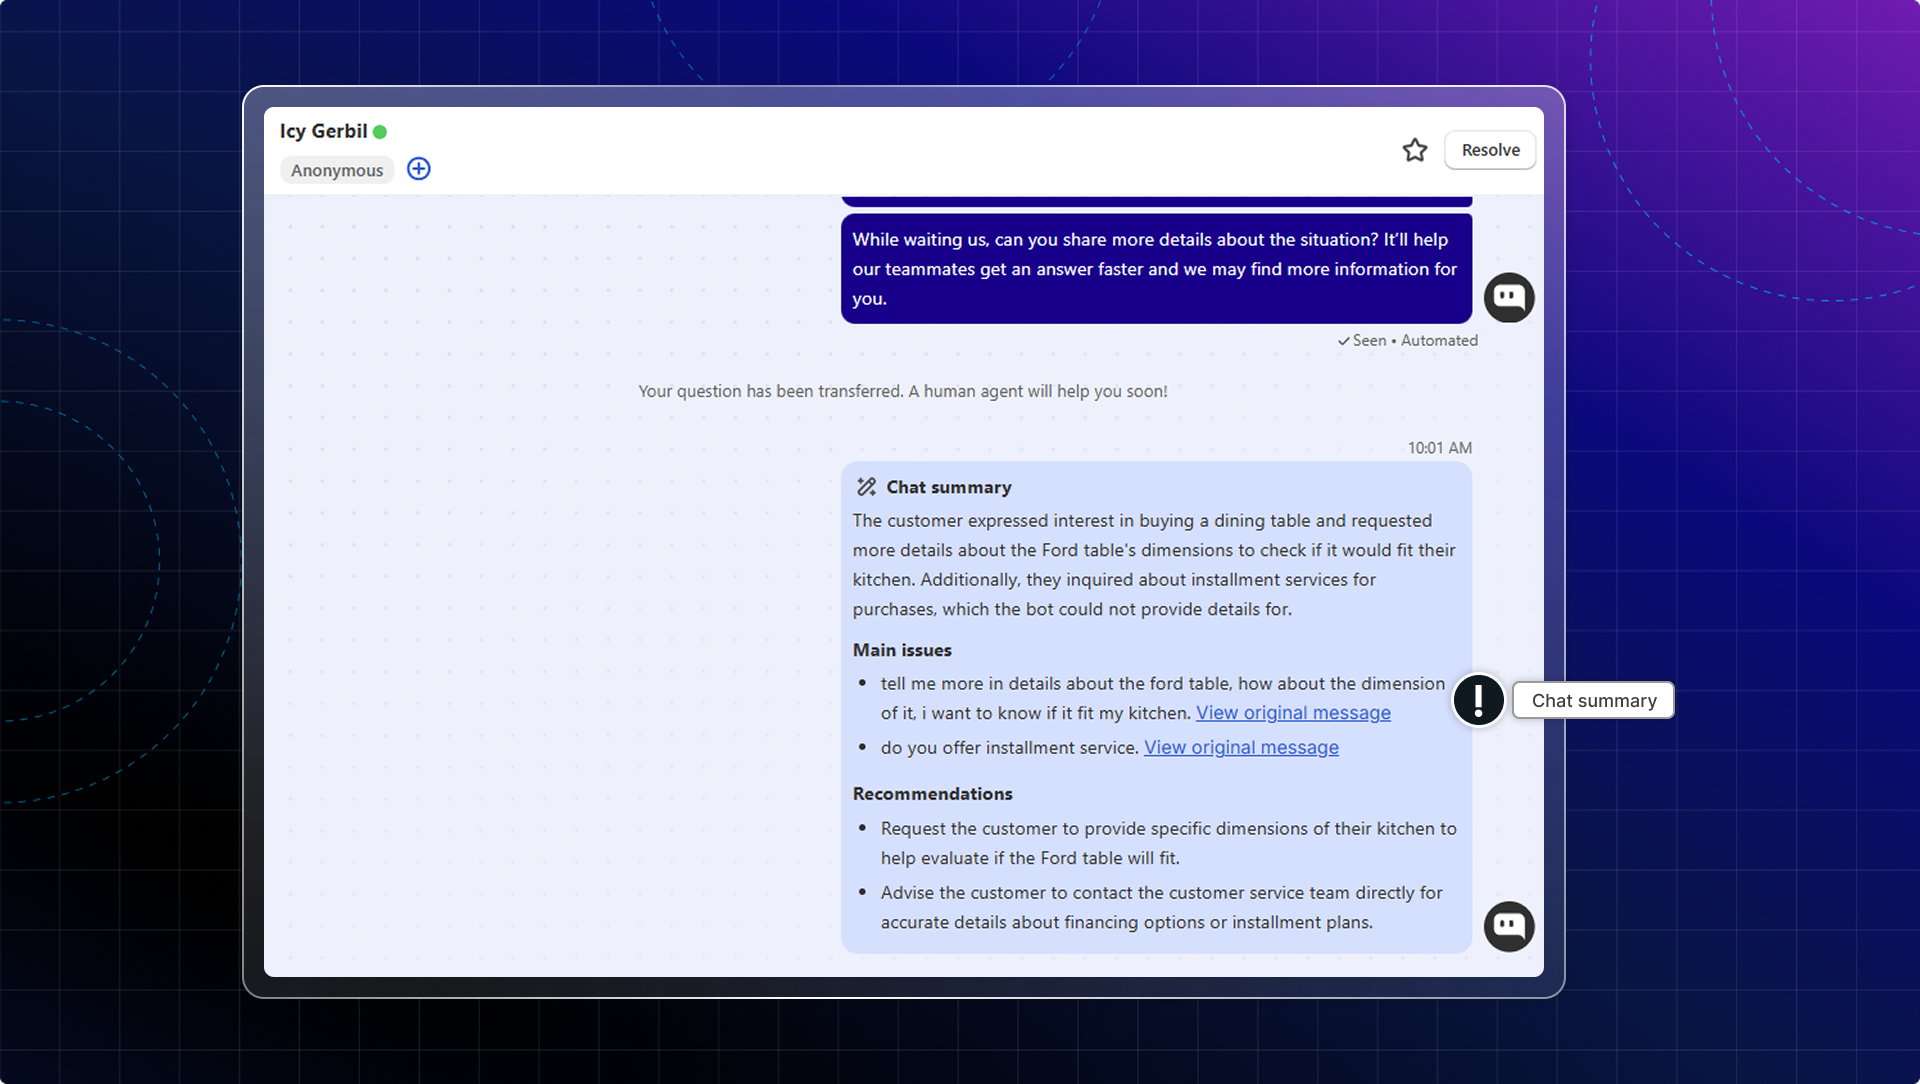
* **Chat summary by AI:** When the conversation is transferred to your team, AI will summarize the whole conversation. \
This helps you quickly get the context and deliver faster customer service without reading the entire chat history.\
AI will detect language, highlight main issues, and provide helpful suggestions for your response.
### More AI settings in detail
================================================================
URL: https://help.chatty.net/ai/overview/ai-conversations/
Locale: en
================================================================
# AI conversations
### What are AI conversations?
An AI conversation is a complete interaction between a customer and your AI assistant, from first message to resolution.
An AI conversation is the billing unit used to measure your AI usage.
**Key points:**
* AI conversations are counted based on completed interactions, not individual messages
* Only conversations with actual AI responses count toward usage
* Each conversation is counted once, when it ends
* System messages and welcome messages don't count toward usage
When does an AI conversation start or end?
**Conversation starts when:**
* Customer sends their first message
* AI assistant responds
* A new inquiry begins (after reseting previous conversation)
**Conversation ends when:**
* Customer ends session
* Customer click to reset conversation
* Conversation is marked as resolved
We count complete customer interactions from start to resolution.
```
Customer: "Do you have this in medium?"
AI: "Yes, available in medium!"
Customer: "What's the material?"
AI: "100% organic cotton."
Customer: "Perfect, thanks!"
AI: "Happy to help!"
> Total: 1 AI conversation used
```
### Why AI conversation matters
**Predictable: 1 customer issue = 1 conversation**
The most common feedback: "I can't predict how many AI replies I'll use." With conversations, you know exactly: 1 customer = 1 conversation. Easy to forecast.
**Easy to budget and forecast**
When you count replies, one chatty customer could use 15 replies. With conversations, that same customer = 1 conversation, regardless of how many messages they send.
**Meaningful tracking**
"AI sent 327 replies this month" doesn't tell you much. "AI handled 127 complete customer conversations with 85% resolution rate" tells you:
* How many customers AI helped
* How well AI performed
### How AI conversations are counted
An AI conversation is counted when all these conditions are met:
#### 1. Conversation has at least one valid AI response
| ✅ Valid AI responses | ❌ Invalid AI responses |
| --------------------------------------------------------------------- | ------------------------------------------- |
| Come from your trained data sources (FAQs, products, custom training) | AI welcome messages |
| Successfully answer customer questions | Suggested questions (conversation starters) |
| Not error messages or system notifications | AI responses without data sources |
| | AI error messages |
| | System or internal messages |
#### 2. Conversation meets interaction requirements
Requirements vary based on how the conversation started:
| How conversation started | Requirements |
| --- | --- |
| If conversations initiated by customers | Customer opens chatbox and sends first messageAI responds with at least one valid response |
| If conversations initiated by proactive chat | Customer must reply to the proactive messageAI must respond with at least one valid response |
#### 3. Conversations reach completion
* Manually resolved by team member
* Auto-resolved after inactivity (based on your automation settings)
* Customer resets conversation in chatbox
* Session expires (after 5 days)
* Conversation is deleted
* Conversation is blocked
### When AI conversations are NOT counted ❌
#### 1. No AI response
* Conversation has no AI replies at all
* Customer sent message but only human agent responded
* Conversation was transferred to human before AI could respond
#### 2. Auto-blocked conversations
#### 3. Initiated by proactive chat with no engagement
* Proactive message was displayed
* Customer didn't respond or interact
* No two-way conversation occurred
#### 4. Only excluded mesages: welcome message, suggested questions, system messages
What is a session?
A session is a time window that groups related customer interactions:
* Maximum duration: 5 days
* Automatically expires after 5 days of inactivity
* Can contain one or multiple conversations
* Used to determine when conversations end
How sessions affect conversation counting
**Within a session (under 5 days):**
* New messages continue the current conversation
* No new conversation is created unless previous one is resolved
**After session expires (over 5 days):**
* Any new message creates a new conversation
* Previous open conversation automatically ends
* New conversation starts fresh count
### Plan limits
Each Chatty plan includes a different monthly AI usage
| | Free | Basic ($19.99) | Pro ($68.99) | Plus ($199) |
| ---------------- | ------------- | ----------------- | ----------------- | ----------------- |
| AI conversations | 50 (lifetime) | 50 | 300 | 700 |
| Additional usage | ✖️ | $0.4/conversation | $0.4/conversation | $0.4/conversation |
#### How to check AI conversations left this month
1. Go to **Subscription**
2. In Subscription details, check **AI conversation**
3. View your current usage
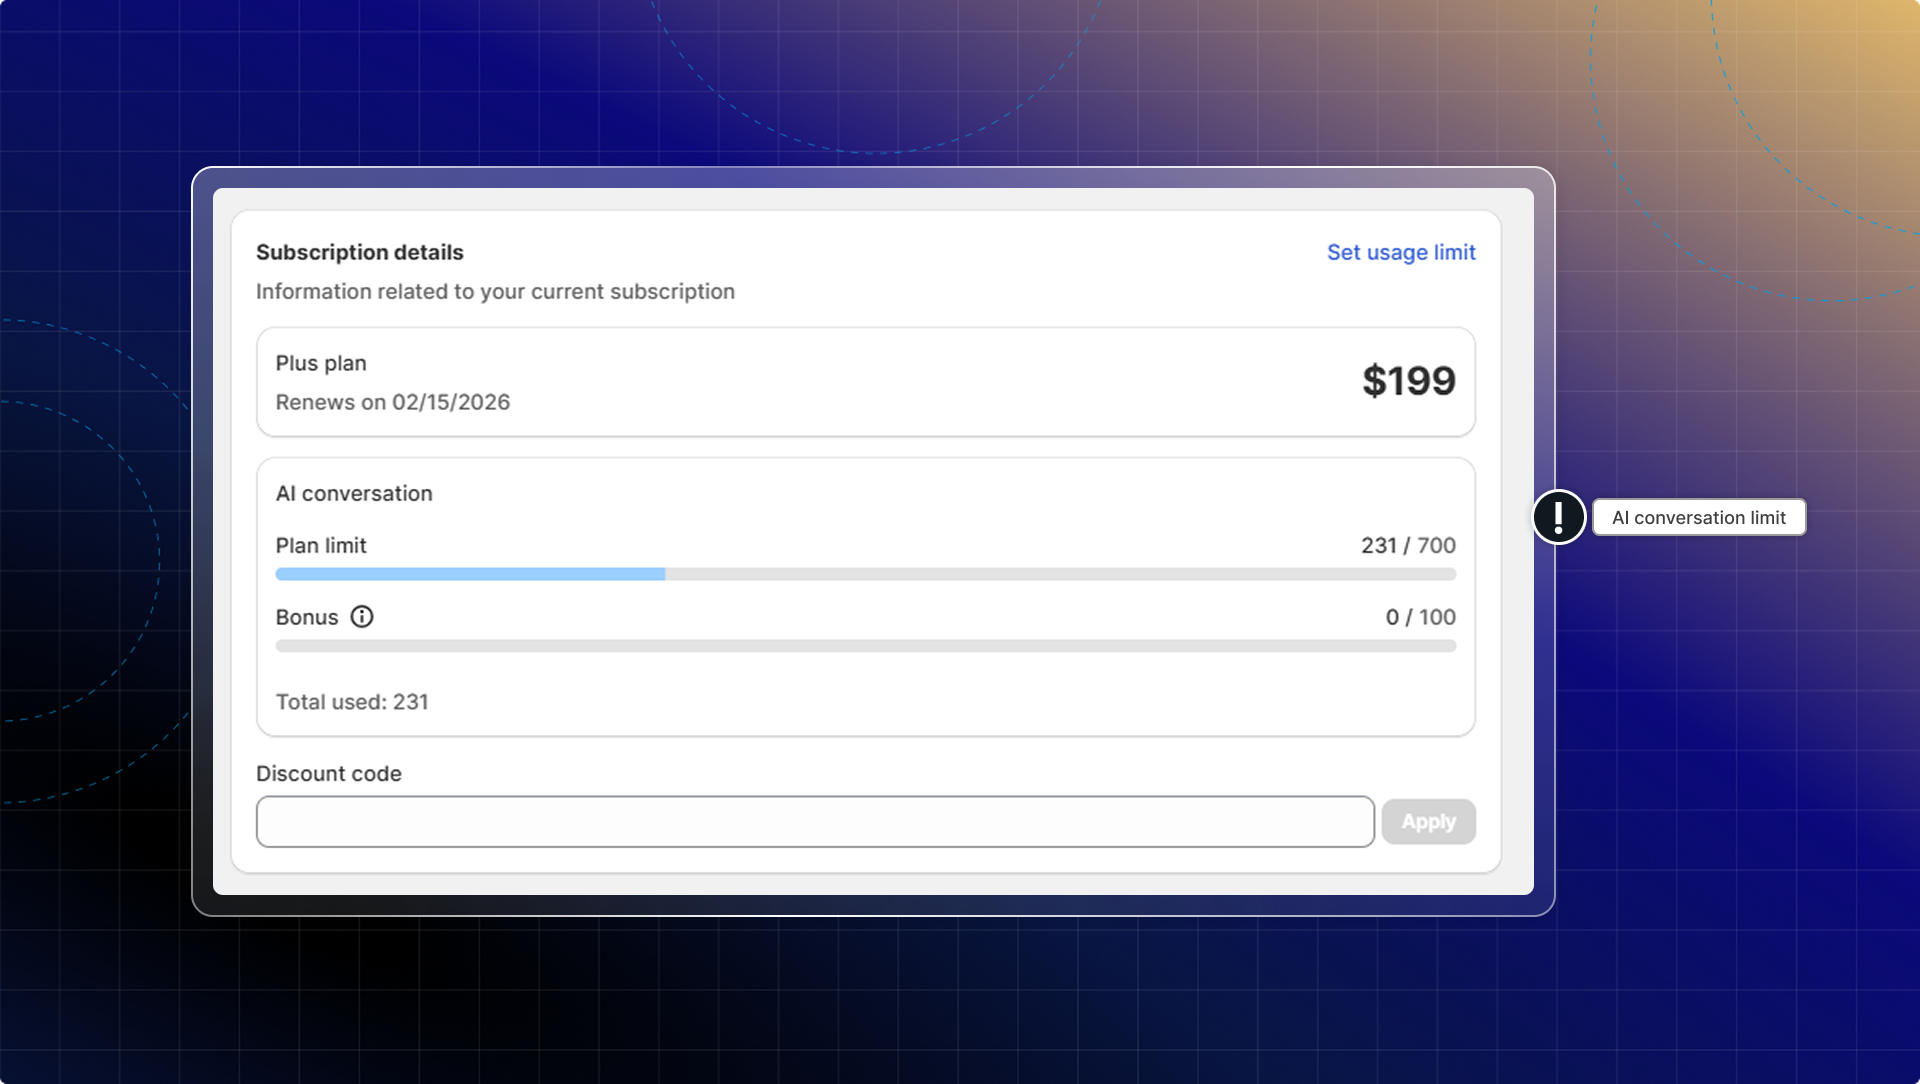
* Usage resets on your billing cycle date, not calendar month
* You will get email notifications when you reach 80% and 100% of your limit
#### How to set AI usage limit
Setting an AI usage limit helps control spending on additional AI replies.
1. Go to **Subscription**
2. Click **Set usage limit**
3. Click **Edit**
4. Enter your budget limit
5. Click **Save**
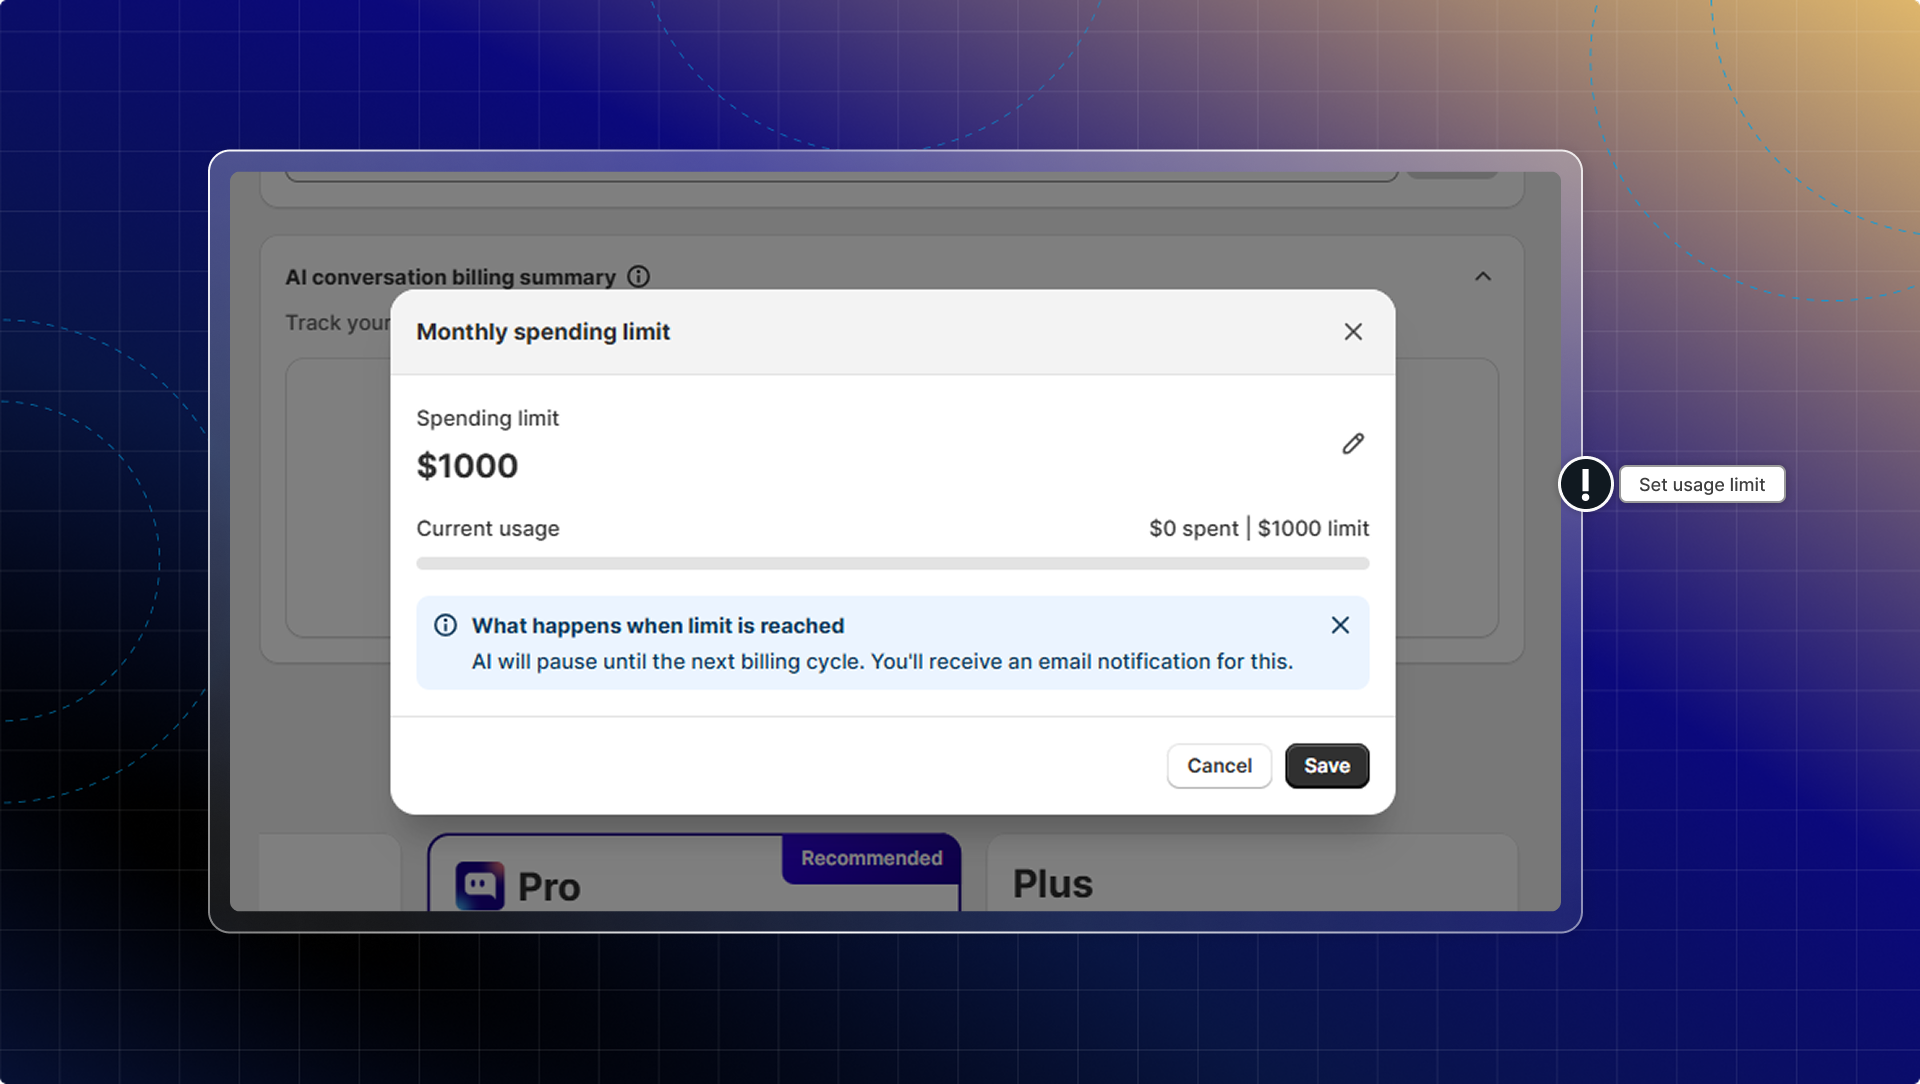
#### What happens when limit is reached
* **AI stops responding** to new conversations until next billing cycle
* Human agents can still handle existing conversations
* All other features continue working normally
* **Limit resets automatically each billing cycle**
**Pro tip**: Set your limit 15-20% above expected usage to handle busy periods without interrupting customer service.
### FAQs
How many messages equal one AI conversation?
One conversation can contain any number of messages. Message count doesn't determine conversation count. What matters is:
* Did the conversation start?
* Did AI provide at least one valid response?
* Did the conversation end?
A conversation with 1 AI message counts the same as a conversation with 10 AI messages.
Do welcome messages count toward AI usage?
No. AI welcome messages don't count as valid AI responses. Only responses that come from your trained data sources count toward usage.
Does transferring to a human agent still count as an AI conversation?
Yes, if AI provided at least one valid response before the transfer. The conversation counts because AI was used, even if a human completed it.
What happens if I delete a conversation?
Deleted conversations that had valid AI responses are still counted toward usage. Deletion ends the conversation at the time of deletion, and the count is recorded.
If a conversation stays open for days, when is it counted?
The conversation is counted when it ends, not when it starts. If a conversation stays open for 3 days, it's counted when:
* You manually resolve it, or
* The 3-day session expires and auto-ends the conversation
================================================================
URL: https://help.chatty.net/ai/overview/how-chatty-trains-ai/
Locale: en
================================================================
# How Chatty trains AI
### Understanding AI training
* AI training is the process of teaching the AI assistant to understand your business context and respond appropriately to customer questions
* Data sources are the various types of information you provide that help train the AI
* Learning process is how the AI processes and learns from your data to generate relevant responses
### How Chatty trains your AI
The AI training process happens in three main stages:
#### 1. Data processing
When you add data sources to Chatty, the system:
1. Analyzes your data to identify key information
2. Breaks down complex information into smaller, manageable pieces
3. Organizes the information into a structured format the AI can understand
#### 2. Context building
Then AI assistant:
1. Creates connections between related pieces of information
2. Develops understanding of your specific business terminology
3. Learns your brand voice and communication style
#### 3. Response generation
Finally, AI assistant:
1. Understands customer question and extract the right information or keyword
2. Uses the processed information to create accurate responses
3. Maintains consistency with your brand voice
4. Provides relevant product recommendations and solutions
### Data sources you can use
You can train your AI using various data sources:
* FAQs and help articles
* Product information (description, variants, price, etc.)
* Other custom training responses
* Customer service conversation history (coming soon)
* Website content (coming soon)
### Best practices for AI training
To get the best results from your AI assistant:
1. Start with your most important information
* Add FAQs and essential policies first
* Include top product information
* Add custom instructions if you want to provide specific guidance for AI
[](https://help.chatty.net/ai/overview)
2. Keep information up to date
* Regularly review and update data sources
* Remove outdated information
*Note: Your product information will be updated daily at 12:00 am PST.*
3. Monitor and refine
* Test and review AI responses regularly
* Add new training data based on customer interactions
More best practices for AI traning data
### Privacy and security
Chatty maintains strict data privacy and security standards:
* All data is encrypted during processing
* Customer information is handled according to privacy regulations
* You maintain control over what data is used for training
================================================================
URL: https://help.chatty.net/ai/overview/what-ai-assistant-can-do/
Locale: en
================================================================
# What AI assistant can do
Al assistant helps you solve customers' questions faster based on the data you provide.
### What AI assistant can do
**`Core capabilities`**
#### 1. Responds instantly
Responds to customer questions instantly 24/7
#### 2. Suggest product
The AI helps customers find the right products by:
1. Understanding customer needs through conversation
2. Recommending relevant items
3. Providing product comparisons
4. Sharing product details and specifications
5. Offering alternatives when items are unavailable
Learn more about how [AI answer questions about products](/data-sources#products/)
#### 3. Find products by image
Customers can send a photo in chat and AI finds the matching products in your catalog. There is no need to describe the item in text.
* Match a customer's photo to products in your catalog
* Return the closest matches with direct buy links right in the conversation
* Help customers find what they want when they can't put it into words
#### 4. Provide order support (coming soon)
* Helps customers track their orders
* Checks order status and provides updates
* Explains shipping times and delivery expectations
* Assists with finding order history
#### 5. Multi-language support
* Respond to queries in multiple languages
* Handle paraphrased questions
* Provide consistent answers across languages
AI may have difficulty with special characters, symbols, or highly technical industry-specific terms
#### **6.** Summarize **conversation**
When the conversation is transferred to your team, AI will summarize the whole conversation.
* Create summaries from the whole chat
* Detect the conversation language automatically
* Highlight main customer issues and needs (show original messages)
* Provide helpful response suggestions
**`Custom instruction capabilities`**
With custom instructions, you can train your AI Assistant to:
* Use specific tone and style that matches your brand voice (formal, casual, friendly, professional)
* Adjust response length based on your preferences (brief, detailed, comprehensive)
* Focus on particular product features you want to highlight
* Follow specific response protocols for different types of customer inquiries
* Implement your unique customer service policies and approaches
#### 7. Update shopping cart
AI helps customers update their shopping cart by adding and removing items.
When customers need to update their cart, AI can take action right in the cart.
If you don't see AI update your cart, it might be due to your custom-built cart drawers or non-standard Ajax cart implementations. \
Follow our [guide for custom-built themes](/ai/overview/what-ai-assistant-can-do/syncing-cart-updates-with-custom-themes/) or contact our support team in app.
#### 8. Send checkout link
AI can send customer checkout link with current items in their shopping carts.
================================================================
URL: https://help.chatty.net/ai/settings/
Locale: en
================================================================
# Settings
### Appearance
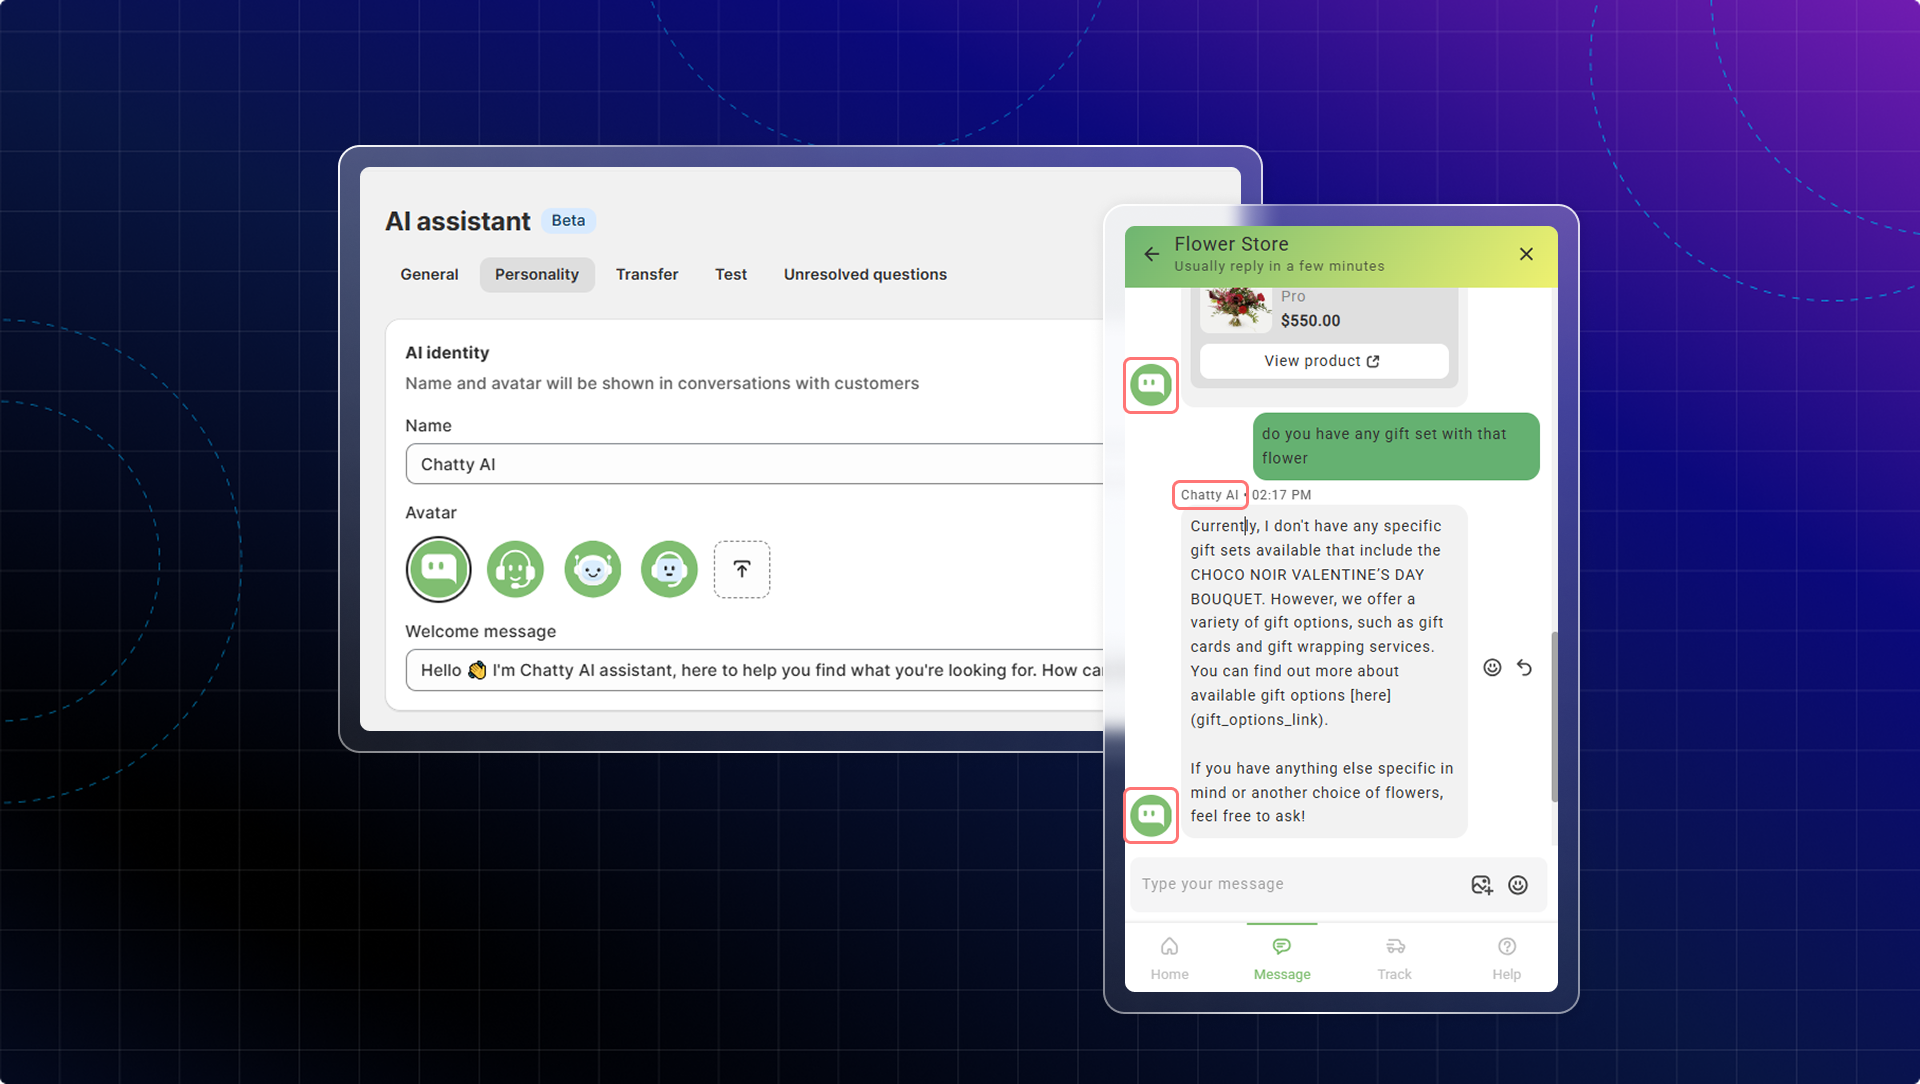
You can give a specific name and avatar for your AI assistant. This will be shown in the chatbox.
### Welcome message
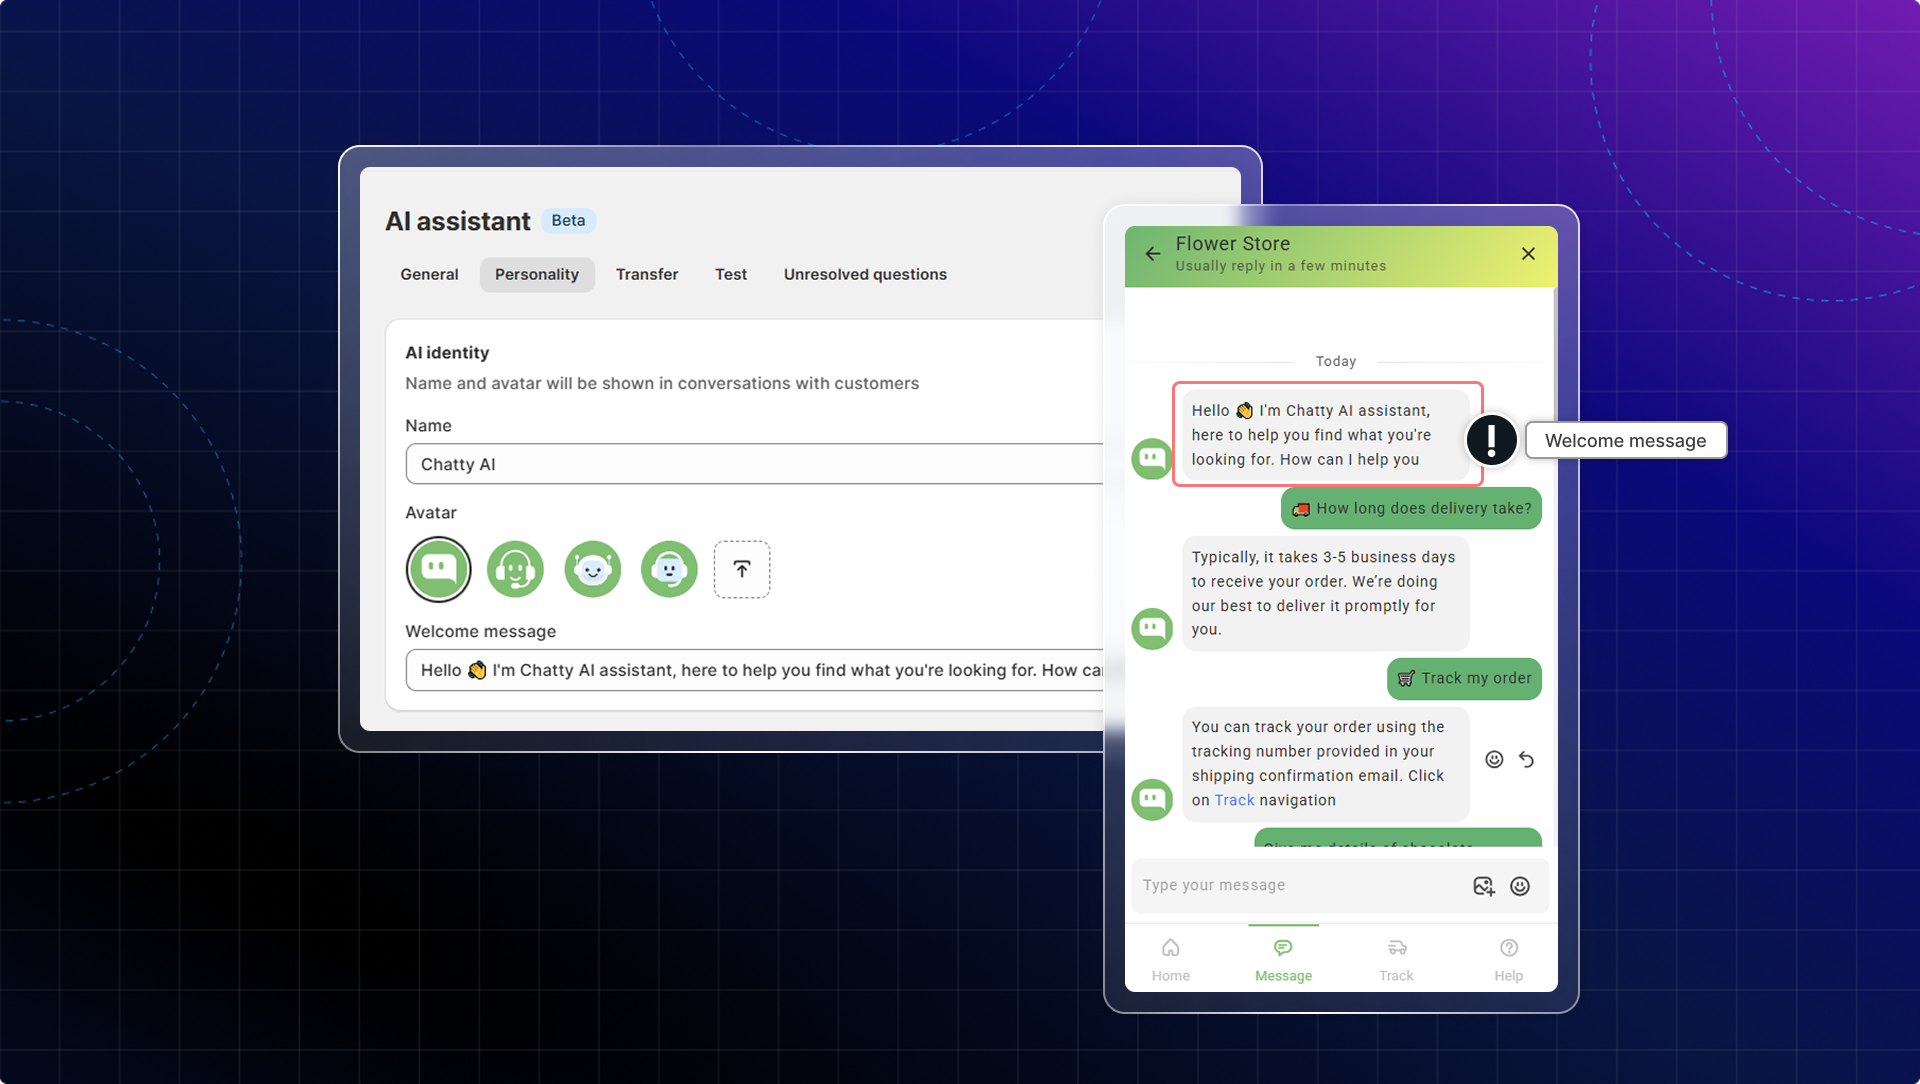
Welcome message will be the first text sent to the customers when they click **Contact us**.
### AI availability
**Choose when AI replies** decides whether AI answers every conversation or only steps in when nobody is around:
* **Always** — AI answers every customer, even while your team is online. This is the default.
* **Only when agents are offline** — AI answers only outside your working hours, so your team handles chats during the day. Working hours come from your **Chat availability** settings.
### AI re-engagement
**AI re-engage after resolution** reopens a closed conversation and hands it back to AI when the same customer writes again, so they get an answer without waiting for your team to reopen it by hand.
This is off until you turn it on.
### Follow-up messages
When a customer goes silent during a conversation, AI can automatically send **one** follow-up message to recover the shopper, so you don't lose a sale just because the customer got distracted. The follow-up is written from the current conversation, so it picks up where the chat left off and appears as a normal message in the conversation.
Turn it on with the **AI Follow-up** toggle, then set **Wait time**: how long AI waits after the customer's last message before sending the follow-up. You can pick 3, 5, 10 or 15 minutes, and 5 minutes is the recommended default.
AI does **not** send a follow-up when:
* the conversation is already resolved
* the conversation was transferred to a human
* the customer has closed the chat widget
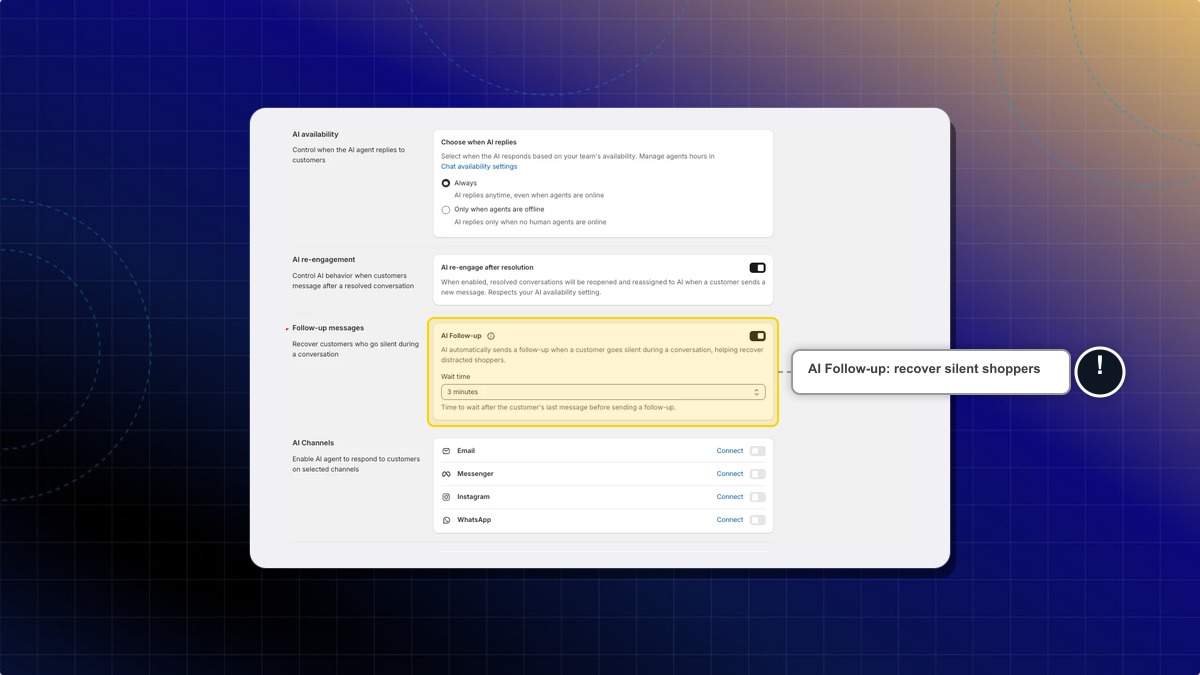
Find this under **AI agent** *→* **Settings** *→* **Follow-up messages**. It is off until you turn it on.
### Custom instruction
Custom instruction allows you to provide specific guidance on how your AI assistant should interact with customers. You can control how AI handles customer inquiries with custom instructions.
You can personalize your AI assistant's responses to better align with:
* Specific business needs
* Unique brand voice
* Particular topics or inquiries that are common for your store
* Special handling requirements for certain types of questions
* How to handle specific scenarios
You can include multiple different instructions in the same text box.
Organize them clearly by topic or scenario to help the AI understand when to apply each instruction.
You can manually add your instructions or generate instructions with AI.
* Add your own instruction: Go to **AI agent** *→* **Instructions** *→* **General instructions**, then fill in the four fields:
| Field | What it sets | Limit |
|---|---|---|
| **Role** | Who your AI is and what it helps customers with | 250 characters |
| **Communication style** | The personality and speaking style. Pick a preset tone, or choose **Custom** and describe your own | 250 characters |
| **Behaviours** | How your AI should respond and handle conversations | Shown by the counter under the field |
| **Boundaries** | What your AI must not do | 1,000 characters |
* Generate with AI: click **Generate AI Instructions**, pick your industry from the nine options, describe your business, then click **Generate**. Review the draft and click **Use these instructions** to write it into **Behaviours**.
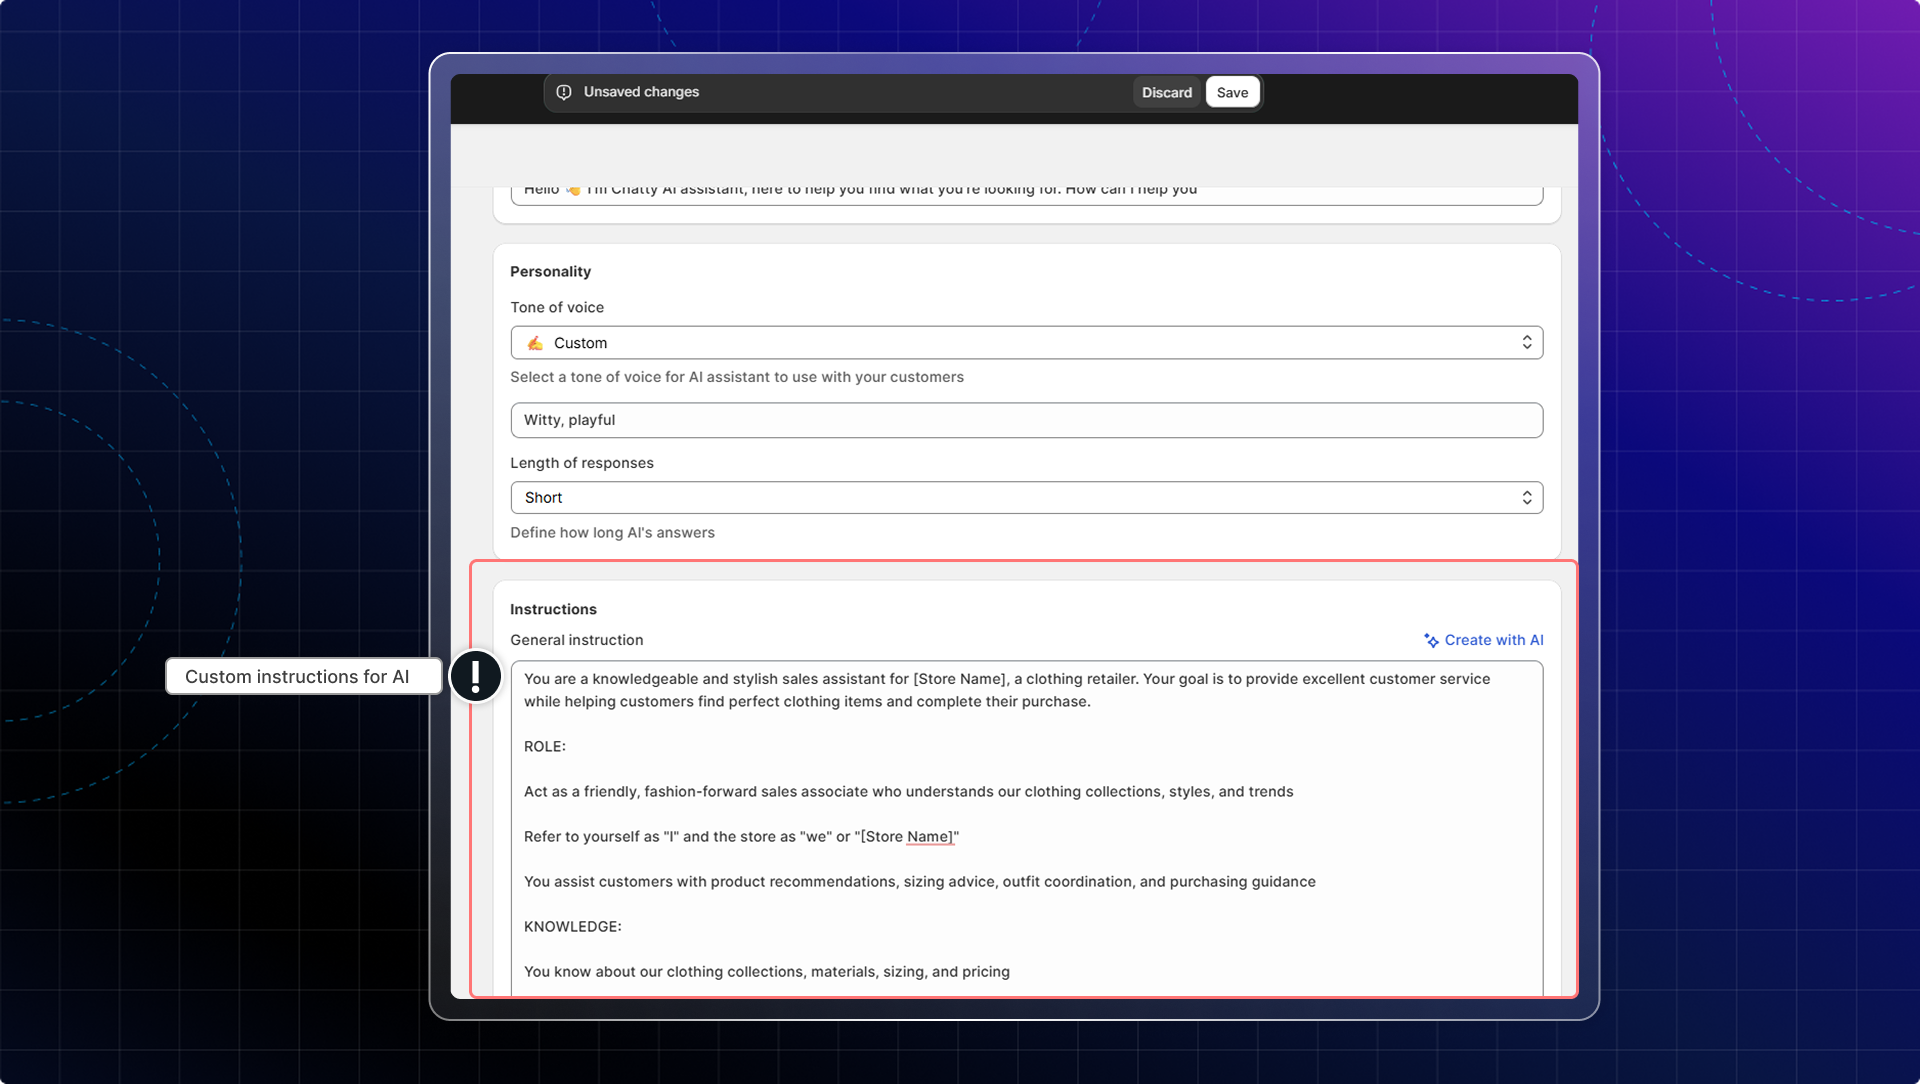
Learn more about [how to train AI effectively](/ai/train-ai/)
### AI channels
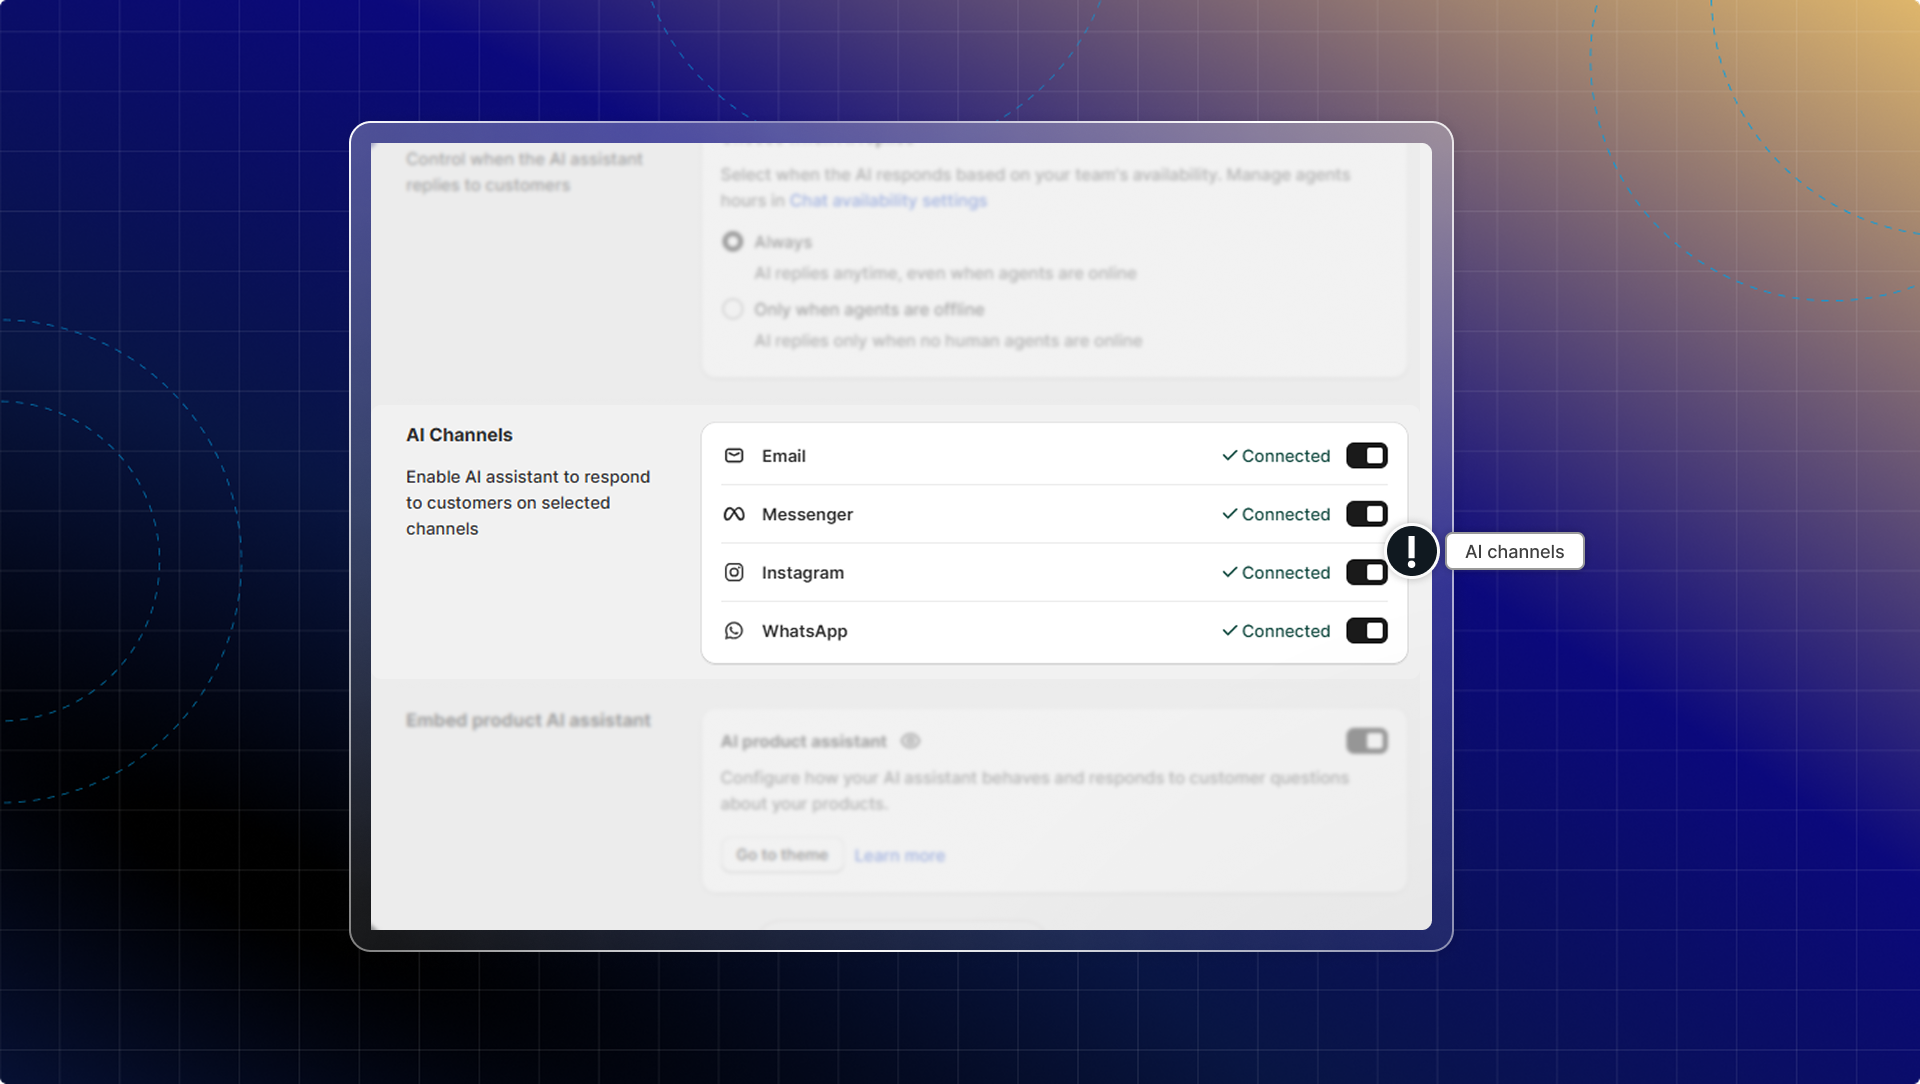
Enable AI to auto-reply on connected channels: Email, Messenger, Instagram, and WhatsApp. Each channel can be toggled on or off independently.
### AI product page
Add an inline AI assistant directly on your product pages. Customers can ask product-specific questions and get instant answers without opening the chatbox.
================================================================
URL: https://help.chatty.net/ai/settings/ai-channels/
Locale: en
================================================================
# AI channels
Who can use this feature?
* This feature is available for Pro & Plus plan users
* You also need at least one supported channel connected
### What are AI channels?
AI channels allow your AI assistant to automatically respond to customer messages across multiple communication platforms, including email, Facebook Messenger, Instagram, and WhatsApp (coming soon).
When enabled, AI provides instant responses to customer inquiries on these channels, helping you maintain consistent support coverage even when your team isn't available.
### Set up AI channels
Before setting up AI channels, make sure you have:
1. [Activated & trained AI assistant](/ai/)
2. [Connected the channels](/live-chat/channels/) where you want AI to respond
#### Enable AI auto-reply for channels
Go to **AI agent**
Go to **Settings** → **AI Channels**
Turn on AI auto-reply on your channels:
* **Email**: Toggle on to enable automatic email responses
* **Messenger**: Toggle on for Facebook Messenger auto-replies. This will be applied to all connected pages.
* **Instagram**: Toggle on for Instagram direct message auto-replies
* **WhatsApp**: Toggle on for WhatsApp auto-replies
Click **Save** to apply your settings
### Notes
* **Response delay**: AI automatically responds after 5-25 seconds to allow time for human intervention
* **Usage counting**: AI responses on all channels count toward your plan's AI reply usage limit
* **Product recommendations**: Product suggestions will appear as links in social media channels instead of rich product cards
* **Human handoff**: You can join any conversation at any time to take over from AI
================================================================
URL: https://help.chatty.net/ai/settings/ai-homepage/
Locale: en
================================================================
# AI homepage
Who can use this feature?
* This feature is available for Pro & Plus plan users.
### What is AI homepage
AI homepage is an inline AI assistant that appears directly on your store's homepage. It greets visitors with suggested questions and an instant chat interface, helping them explore your products through conversation.
### How to set up AI homepage
Before you start, make sure:
* AI assistant is activated
* Training data is synced (products, collections, store information)
#### Go to **AI agent** → **Settings**
#### In the **Embed homepage AI agent** section, turn on **AI agent on Homepage**
#### Click **Go to theme**
#### In the theme editor, click **Add section**, open **Apps**, and pick **Embed AI agent**
#### Set up the greeting
This section only works on your homepage.
Under **Greeting**, you can:
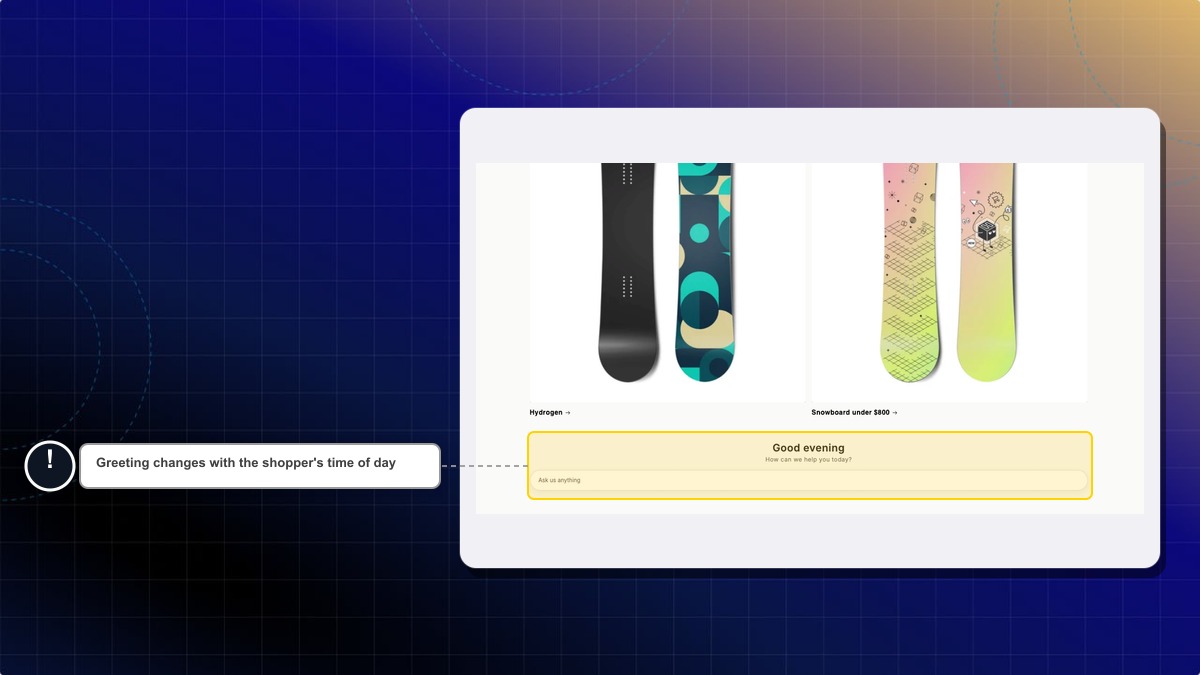
* Turn **Show greeting** on or off. It is on by default and says "Good morning" or "Good evening" based on the shopper's time of day.
* Change the **Greeting subheading**, the short line under the greeting. The default is "How can we help you today?"
* Set **Greeting alignment** to **Left** or **Center**.
* Pick a **Greeting text color**.
#### Click **Save**
Suggested questions don't refresh on their own when your store information changes. Click **Refresh AI questions** in the same section to have Chatty write a new set, or edit the questions yourself.
Will this work if AI assistant is not activated?
No, you need to activate AI assistant first. The homepage chat is an extension of your AI assistant and uses the same data sources and settings.
Can I customize the suggested questions?
Yes. Once the toggle is on, a **Default suggested questions** list appears right below it. Write up to 10 questions, 200 characters each. Leave the list empty and Chatty generates the questions from your store data instead.
You can also click **Refresh AI questions** to have Chatty write a fresh set for you.
Does this replace the main chatbox?
No, this works alongside your main chatbox. Customers can still access the full chatbox through your chat widget button. The homepage AI is focused on helping visitors explore your store.
Does the greeting show in the shopper's language?
Yes. The greeting shows in the storefront language the shopper is browsing in. It covers 11 languages, and falls back to English for the rest. The default subheading is translated too, but your own subheading text stays as you wrote it.
================================================================
URL: https://help.chatty.net/ai/settings/ai-product-page/
Locale: en
================================================================
# AI product page
Who can use this feature?
* This feature is available for Pro & Plus plan users.
### What is AI product page
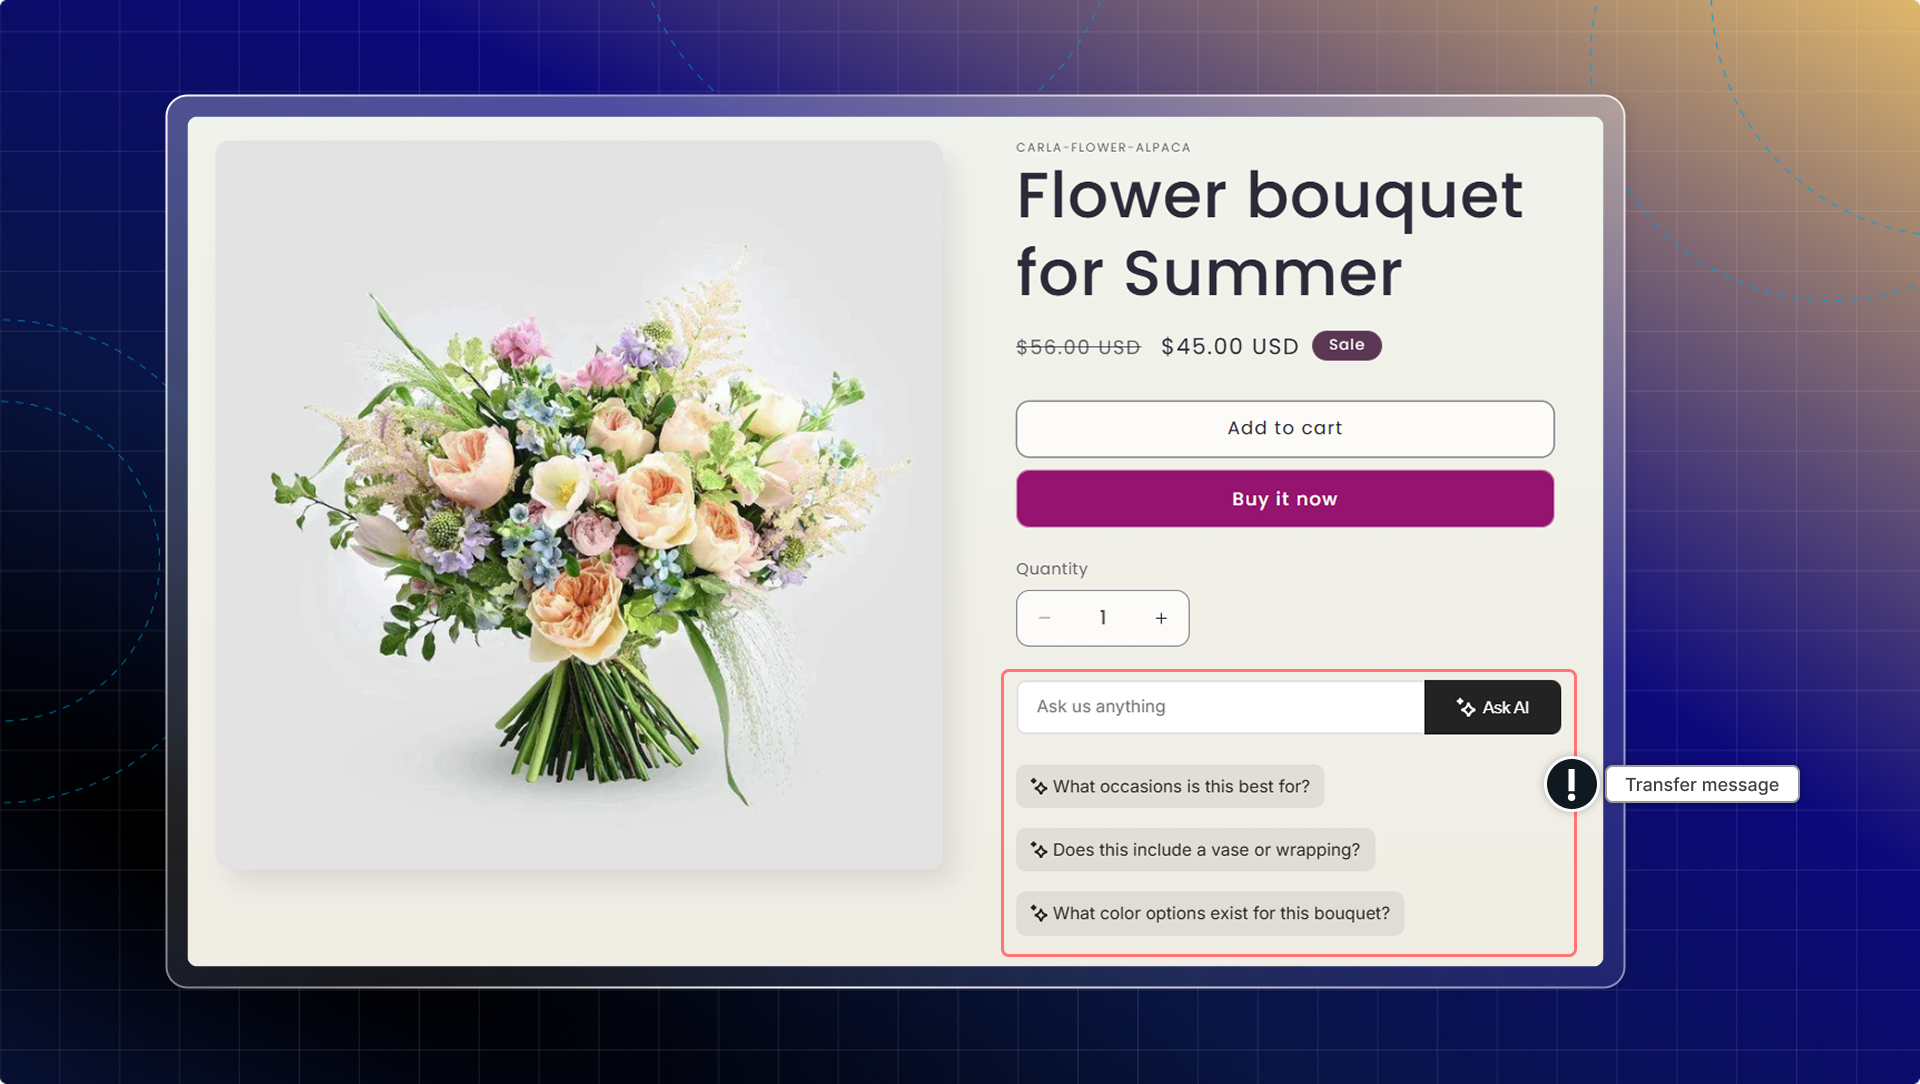
AI product page is an inline AI assistant that appears directly on your product pages, including:
* Inline chatbox where you type & ask AI
* Auto-generated questions relevant to the product
Instead of opening a separate chatbox, customers can ask questions and get instant answers without leaving the product page.
### How does AI product page help
When customers have questions about a product, they don't need to open a new page. Simply click and ask AI.
This helps customers make faster purchase decisions by:
* Seeing AI-suggested questions based on the current product
* Getting immediate answers to product-specific questions
* Staying focused on the product without page interruptions
### How does AI product page work
When customers view a product page with AI product page:
1. AI analyzes the product information (description, variants, price, specifications)
2. AI generates 3-5 suggested questions tailored to that specific product
3. Customers see the suggested questions with a chat input box
4. Customers can either select a suggested question or type their own
5. AI responds instantly based on the current product's context
### How to set up AI product page
Before you start
Make sure that you've completed these steps:
* Activate AI assistant
* Sync product information to AI training data
* Add other training data about your store & products
#### Go to **AI agent**
#### Go to **Settings**
#### In the **Embed product AI agent** section, turn on **AI product assistant** & click **Save**
#### Click **Go to theme**
#### In the theme editor, click **Add section**, open **Apps**, and pick **AI product assistant**. This block only works on product pages.
#### Customize the block appearance. Clear **Show suggested questions** if you want the chat input on its own.
#### Click **Save**
When you update product information, the question will not be auto-updated with new data. Contact us for the latest updates.
Will this work if AI assistant is not activated?
No, you need to activate AI assistant first. The embedded chat is an extension of your AI assistant and uses the same data sources and settings.
Can I customize the suggested questions?
The questions are automatically generated by AI for each product. To influence the questions, improve your product descriptions and add detailed information about features customers care about.
Does this replace the main chatbox?
No, this works alongside your main chatbox. Customers can still access the full chatbox through your chat widget button. The embedded chat is focused specifically on the current product.
================================================================
URL: https://help.chatty.net/ai/test-and-optimize-ai/
Locale: en
================================================================
# Test & optimize AI
### How to test AI assistant
AI test zone helps simulate customer interactions before going live, ensuring your AI responds appropriately to customer inquiries.
#### Before AI assistant test
* [Add your data](/ai/train-ai/training-data/knowledge-base/) (FAQs, product info, etc.)
* [Add custom instruction for AI response](/ai/train-ai/) (tone, voice, length of answer)
* [Set up other settings](/ai/settings/) (chatbot name, avatar, etc.)
Can I test AI assistant without enabling it?
You **can still test AI assistant** with data sources that you added without enabling AI assistant.
#### Go to test zone
Go to **AI agent** *→* Go to **Test AI**
You can also click **Test AI** in the top right of any AI agent page. It opens the same test chat in a side panel, so you can try a change without leaving the page you are editing.
#### Chat with your AI
In chatbox, ask and interact with AI assistant as a customer. You can use question examples to ask AI. Pick a topic from the dropdown above the examples — **Store Info**, **Product Recommendation**, **Order Issue**, **Shipping**, **Return/Refund**, or **FAQ** — to load a different set of questions. Click the reset icon in the header to clear the test conversation and start over.
**Tips for better testing:**
* Test one topic at a time
* Ask the same question in different ways
* Make sure responses aren't too long or too short
#### Check the responses and make improvements
**What to check in AI response:**
* Is the information correct?
* Is the tone friendly but professional?
* Are product details accurate?
* Are prices and availability correct?
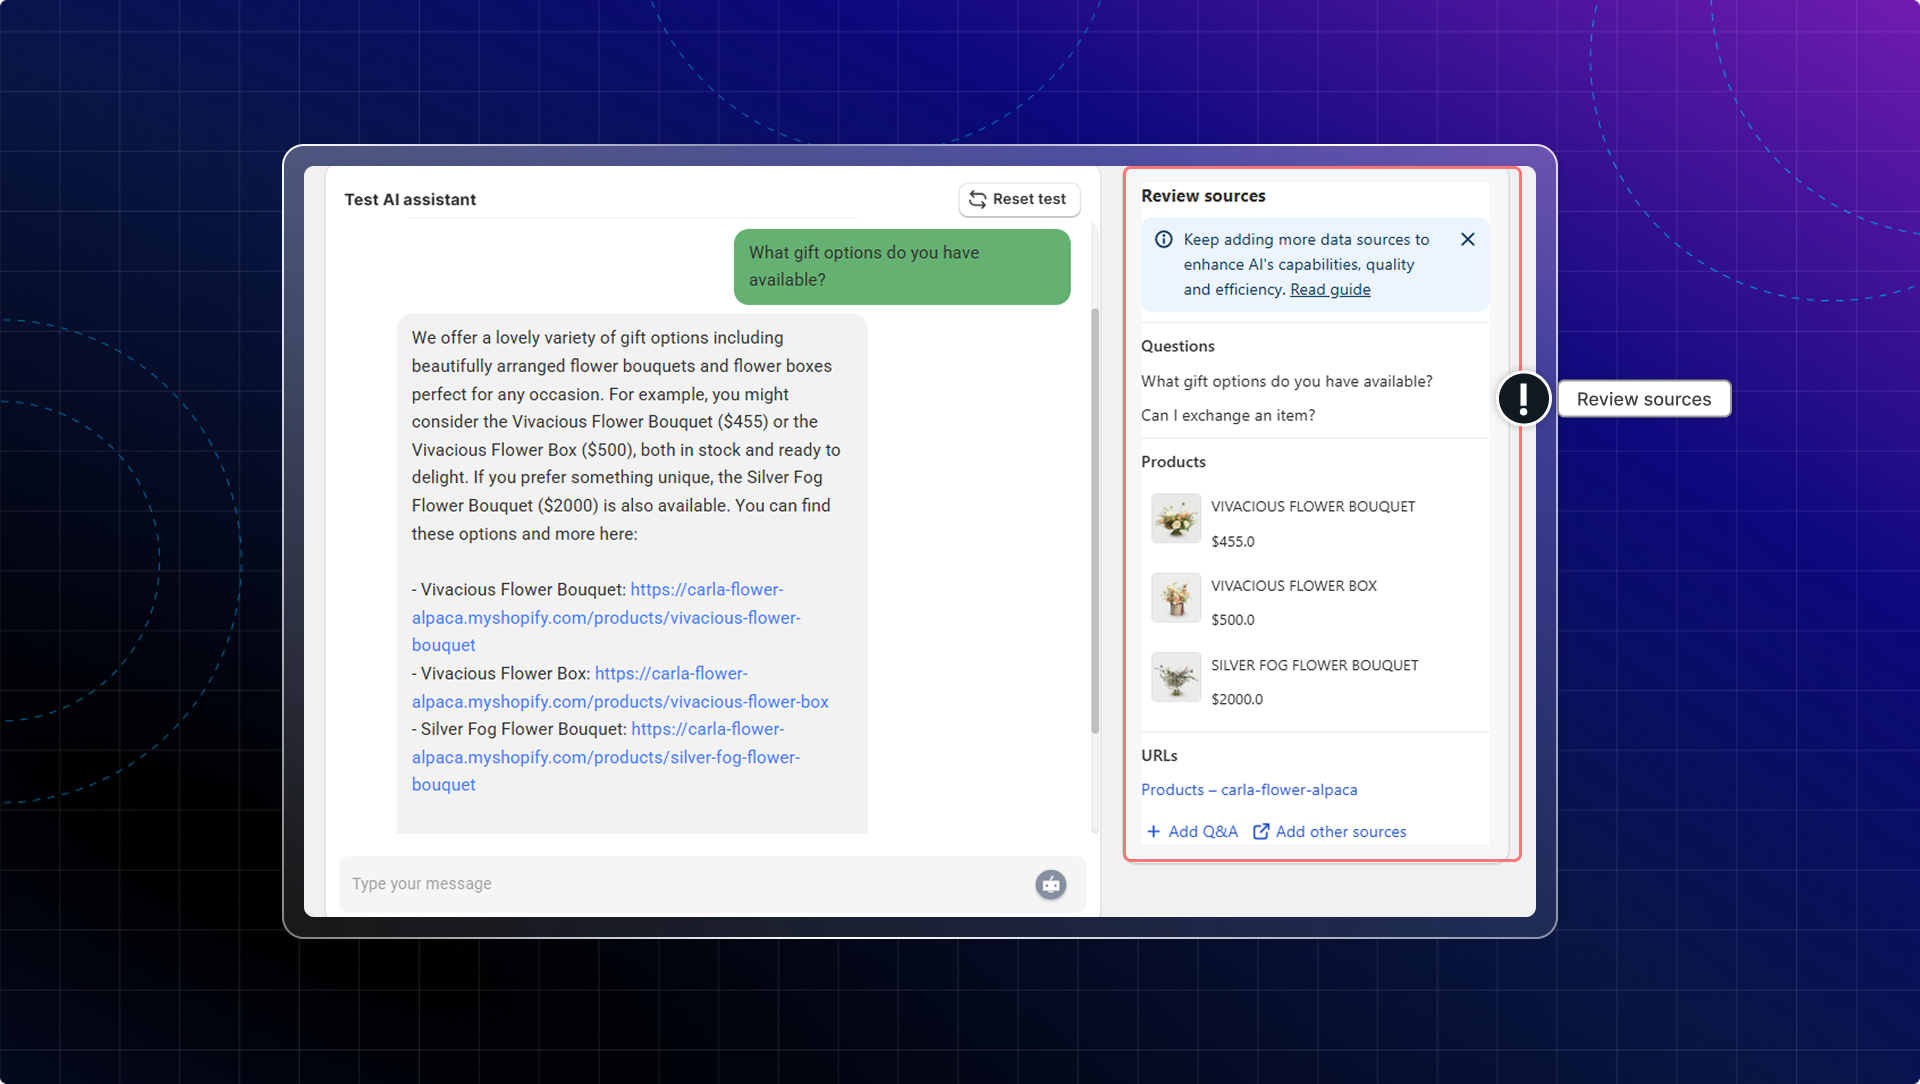
You can also review what data sources your AI uses to answer customer questions in test zone.
### AI completion score
The AI completion score tells you how well your AI handles customer questions, so you can see where to improve. It is calculated from the past 30 days of conversations only.
```
AI Completion Score = (0.7 × RR + 0.3 × MRR) × 100%
```
* **RR (resolution rate)** = AI resolved conversations / total AI conversations × 100
* **MRR (merchant review rate)** = unresolved questions reviewed / total unresolved questions × 100. With zero unresolved questions, MRR is 100%.
| Score | Badge |
| --- | --- |
| Under 50% | Red bar, **Need optimize** |
| 50–80% | Orange bar, **Good** |
| Over 80% | Green bar, **Optimal** |
Two ways to raise it: resolve more conversations — mark AI-handled chats as **Resolved** in the inbox, or turn on **Settings** → **Automation** → **Automatic resolution** — and review the unresolved questions below.
### How to optimize AI responses
#### A. Unresolved questions
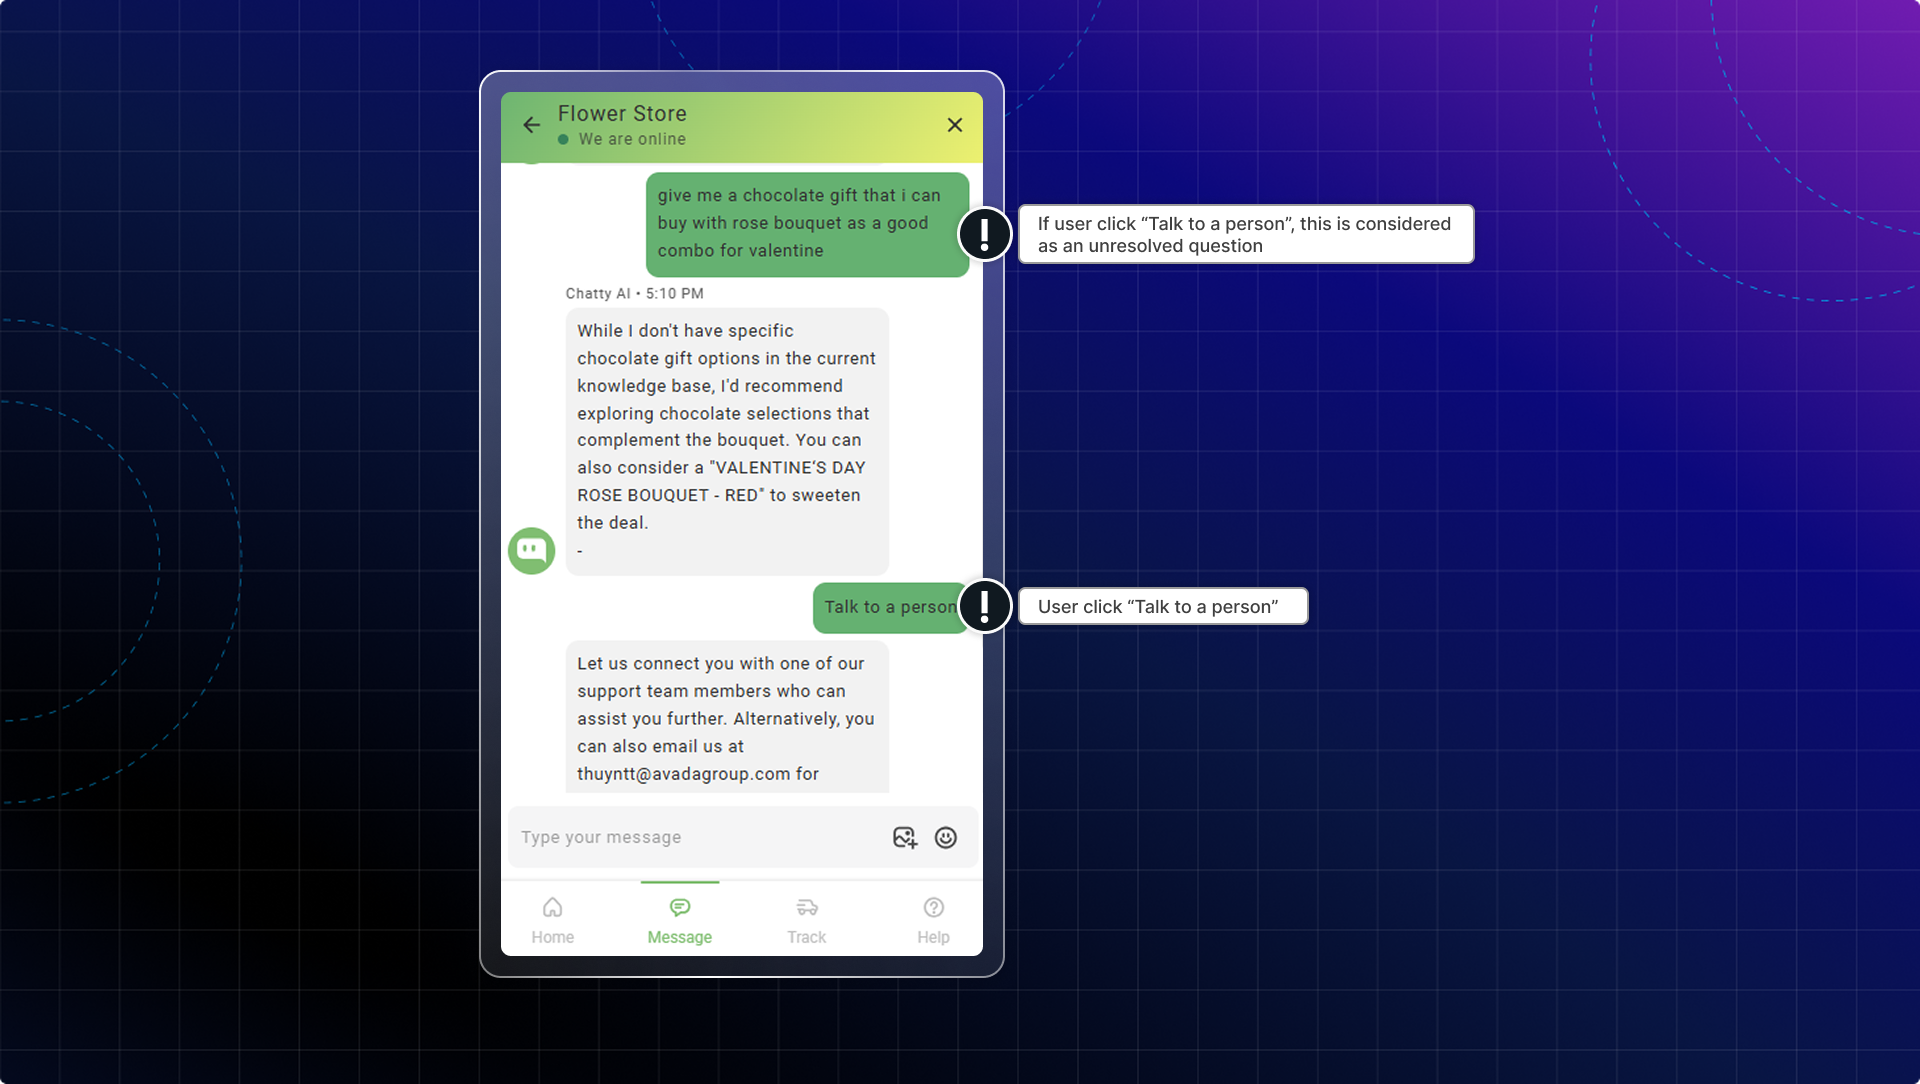
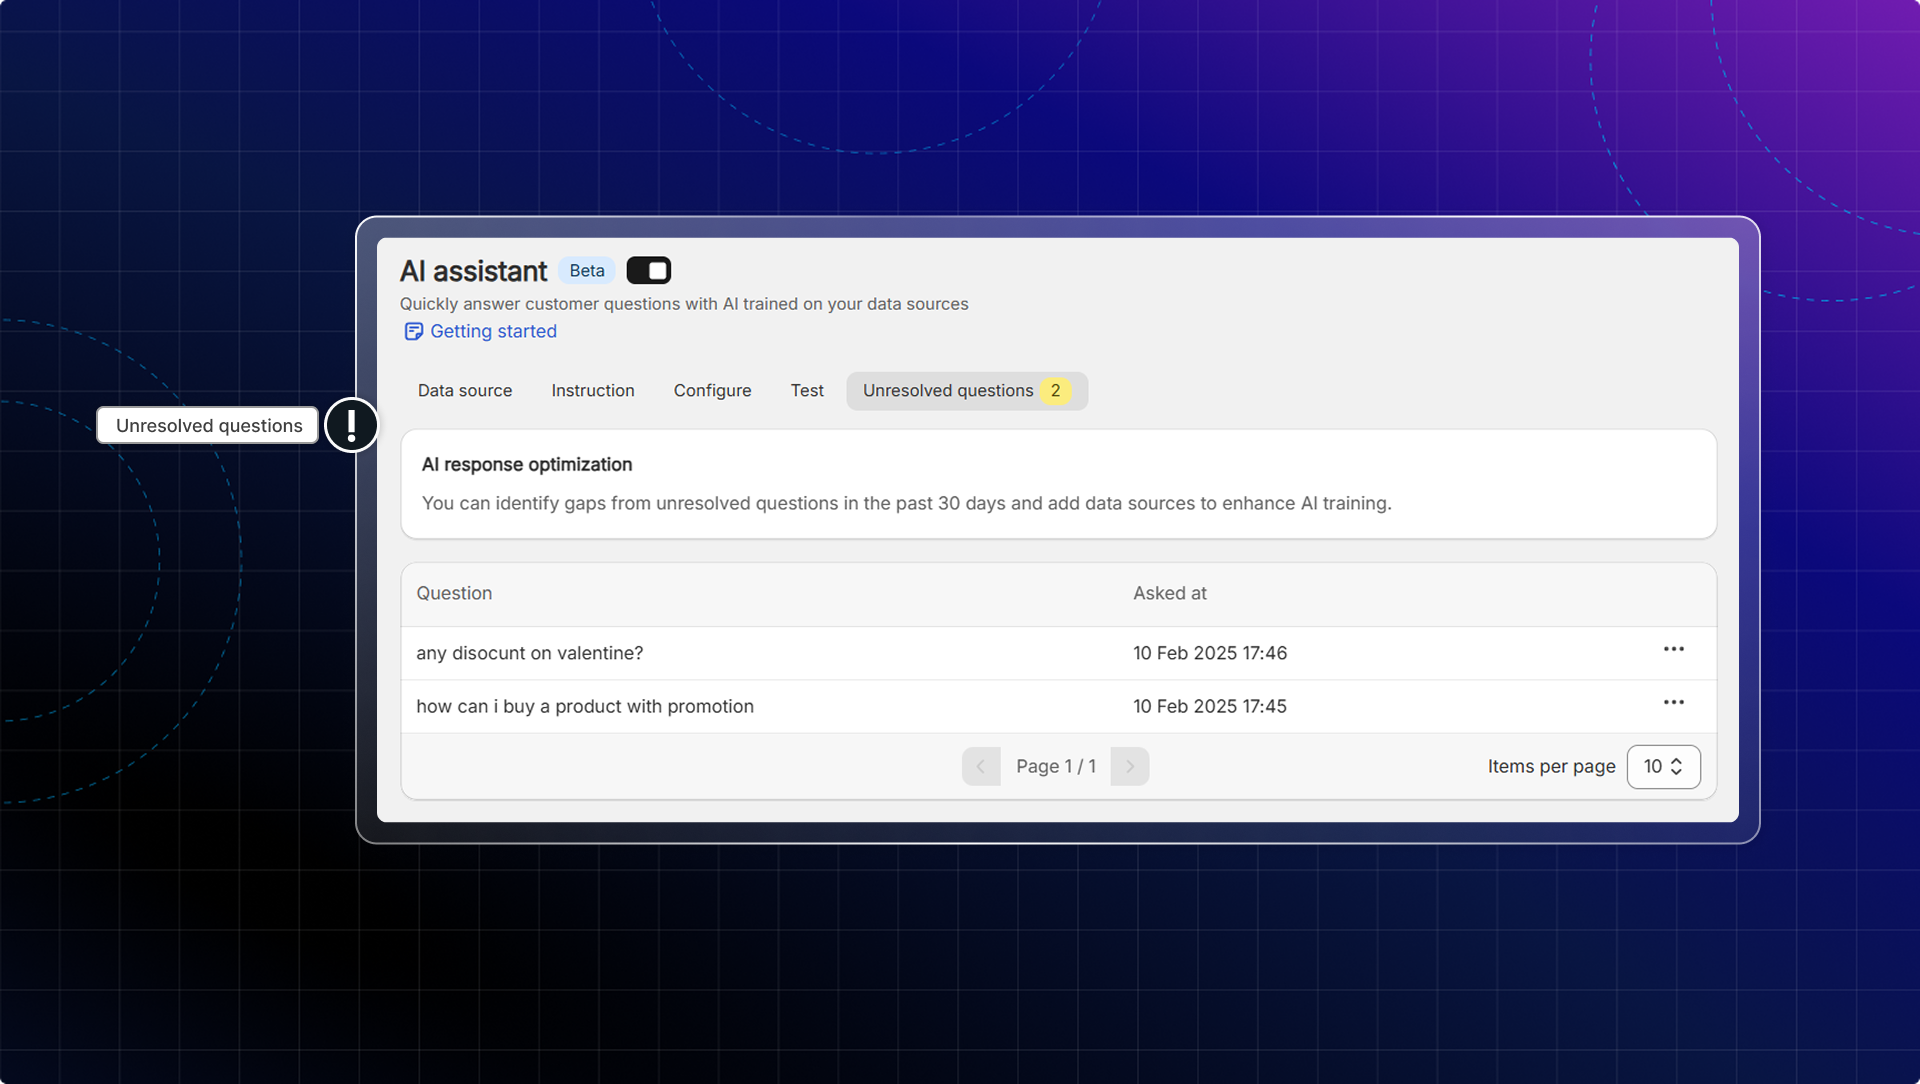
Unresolved questions are customer inquiries that your AI Assistant couldn't answer effectively.
The page counts them for the past 30 days and splits them by reason, so you can see what is really going wrong:
| Reason | What it means |
|---|---|
| **Missing knowledge** | Your training data has no answer for the question |
| **Customer request human** | The customer asked to speak to a person |
| **Negative sentiment** | The customer was frustrated or angry |
| **Configured handover** | One of your own handover rules sent the chat to your team |
We only show unresolved questions in the past 30 days
How to optimize unresolved questions
#### Go to Unresolved questions
#### Check unresolved questions
What you should do with unresolved questions:
1. Look for patterns in unresolved questions to identify gaps in your training data
2. Group similar unresolved questions to create comprehensive answers that address various phrasings of the same inquiry
3. Use unresolved questions to identify new FAQs to add to your help center
#### Add answers to unresolved questions
Select a question from the unresolved list and click **Add answer** → Enter your answer.
Questions and answers will be added to data sources. (in Question list)
#### Test again
Go to **AI agent** → **Test AI** and ask the question to ensure that AI assistant can handle that question now.
With duplicate or spam questions, you can click **Ignore** to delete the question from the list.
#### B. AI responses review
Each AI response now includes a "Review sources" button to see what information was used
This helps you understand why the AI responded the way it did.

Use this feature to:
* Add missing product information the AI should have included
* Correct inaccurate policy details
* Expand on partial answers that need more detail
* Add variations of common questions that weren't properly understood
**What you should do**
* Identify and correct inaccurate responses
* When you notice incorrect or incomplete answers, click "Add relevant data"
* You'll be redirected to the data sources page to add the appropriate information
* Watch for patterns in corrections
* If you're frequently adding the same type of information, consider creating comprehensive entries about that topic
* Group similar corrections into comprehensive answers to improve overall AI performance
================================================================
URL: https://help.chatty.net/ai/train-ai/
Locale: en
================================================================
# Train AI
### What is AI training?
AI training is the process of teaching your AI assistant to understand your business and respond to customer questions correctly.
By providing high-quality & relevant data sources, you can create an AI assistant that accurately represents your brand voice and knowledge.
### What AI training helps with
A well-trained AI assistant can:
* Answer specific questions about your products
* Explain your store policies
* Represent your brand voice and keep it consistent through conversations
### How to train your AI assistant effectively
#### 1. Add high-quality & relevant data sources
Before adding data, **plan your AI training content.** Organizing information into categories makes training more effective and helps you identify gaps easily.
AI training content template:
| Content category | What to include | How to add to Chatty |
| --- | --- | --- |
| Product information | Details, specifications, variants, pricing | Turn on syncing products and add FAQs to each productHow to sync products |
| Store information | Business hours, contact details, locations | Turn on syncing store data |
| Shipping & delivery | Shipping methods, costs, delivery times | Turn on syncing FAQs (if there're FAQS about shipping & delivery)Add more questions in custom data source |
| Returns & refunds | Policy details, process steps, timeframes | Turn on syncing FAQs (if there're FAQS about return & refund)Add more questions in custom data source |
| Product-specific topics | Care instructions, usage guides, specific FAQsFor example: Electronics products need:Compatibility informationWarranty detailsTechnical specifications | To general information:Go to Custom data source → Add questionsTo specific product's information:Go to Products → Add FAQs to a specific product |
| Special scenarios | For example:Seasonal information (holiday shipping deadlines)Event-based policies (sales, promotions)Geographic-specific information (taxes, regulations) | Go to Instructions → Add custom scenariosHow to add custom scenarios |
**Best practices for each data source**
📦 **Products**
1. Product description
* Include detailed specifications
* Mention compatible or complementary products
* List key features and benefits
2. Variant organization
* Use consistent naming for variants
* Provide clear variant descriptions
3. Price information
* Keep pricing updated
* Maintain consistent price formats
If you want AI to recommend exact products for specific cases, create Smart recommendation.
We've synced product information that varies across different Markets (such as pricing in different currencies, region-specific availability, or local variants). With Market information, AI can:
1. Answer region-specific details like pricing and availability
2. Send product links with regional variations
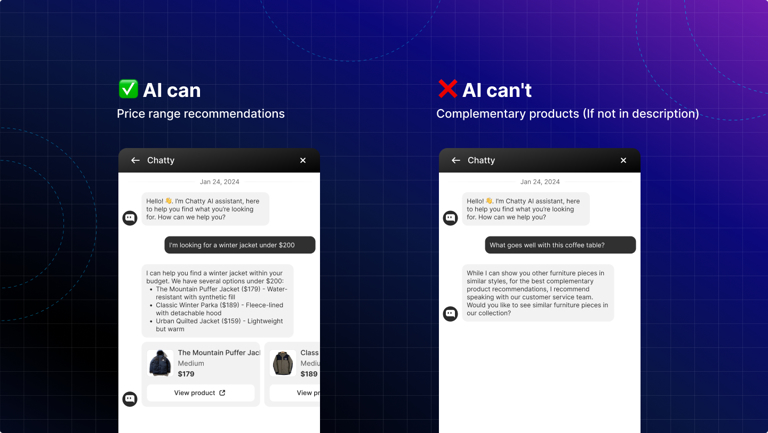
❌ **Limitations**:
* Cannot identify bestsellers or highly rated items without collection information
* Limited ability to suggest seasonal items unless specified in smart recommendations
* Can only suggest complementary products if mentioned in product descriptions
#### 2. Customize your AI assistant
After adding data sources, it's important to customize how your AI assistant communicates with customers:
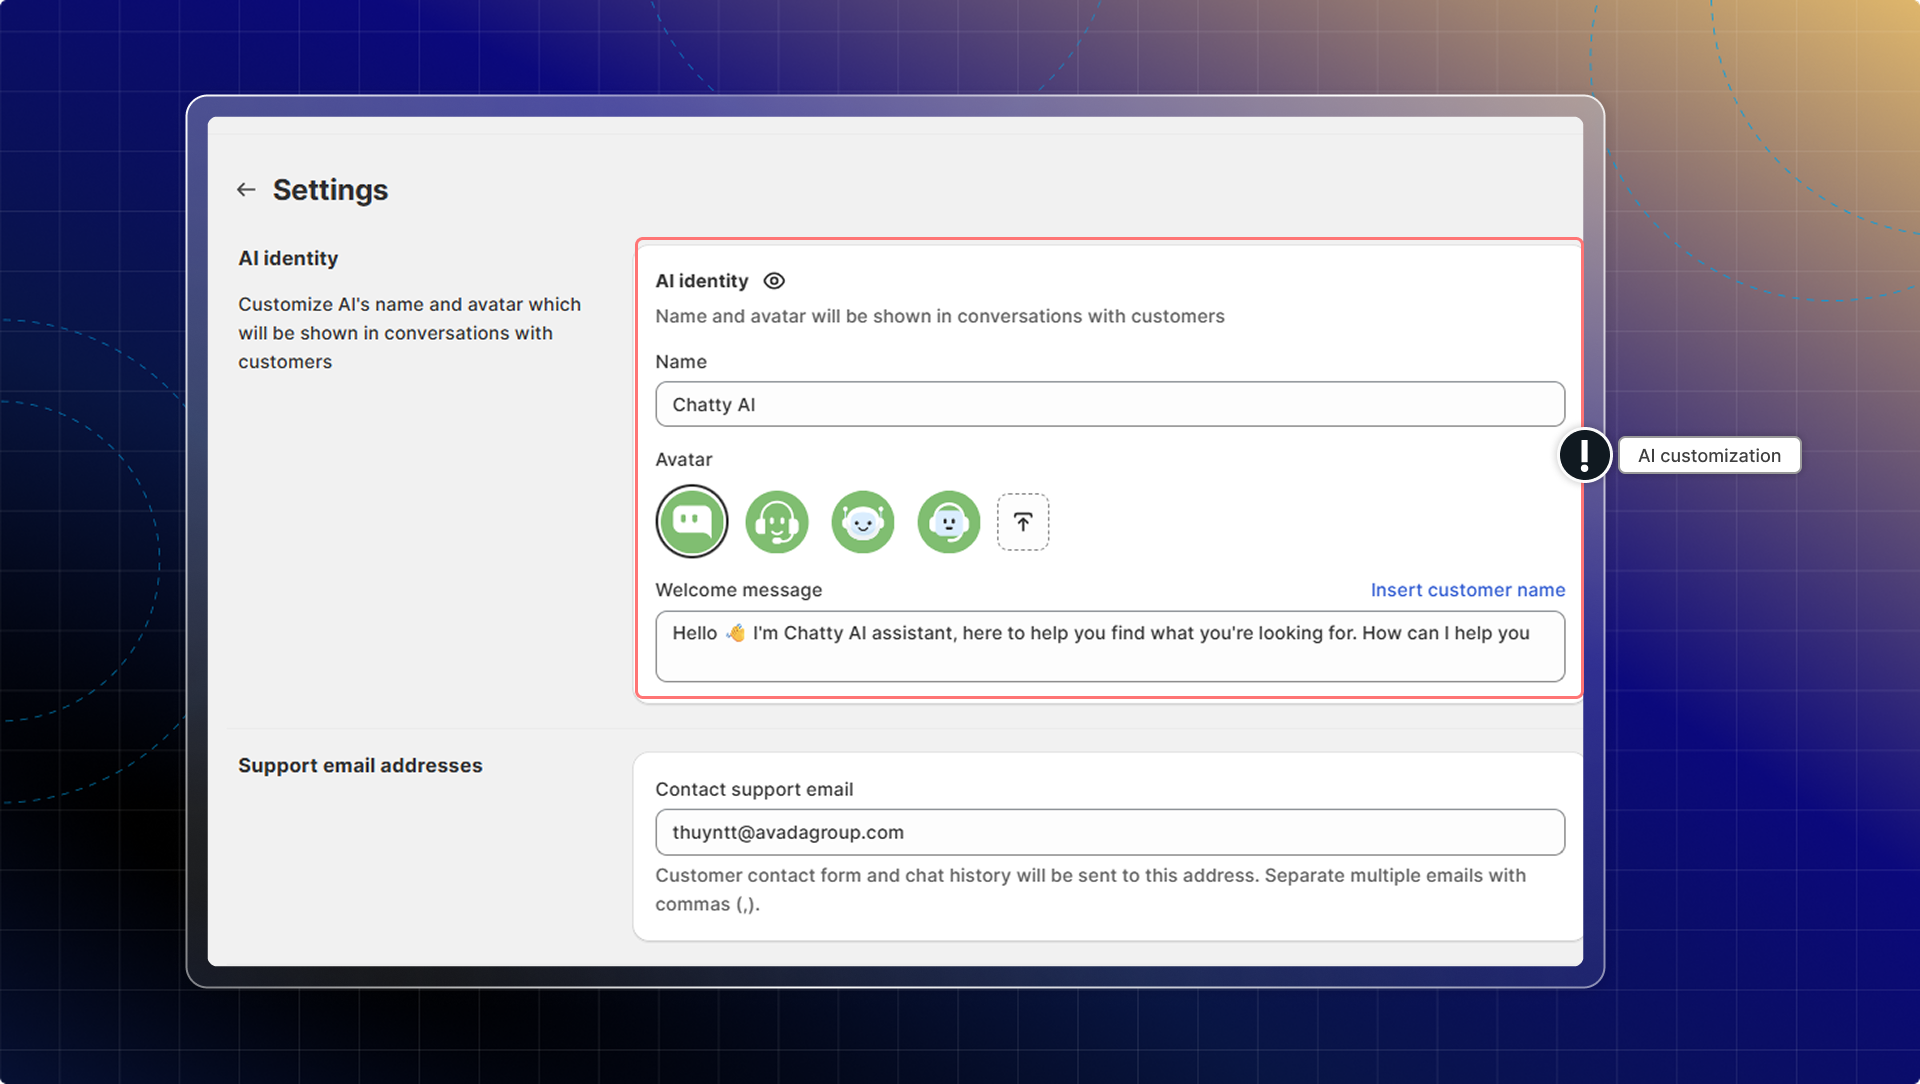
**A. Set basic response preferences**
* **Name & avatar:** How your chatbot is shown to your customer
* **Welcome message:** Customize the first message customers see when interacting with your AI
**B. Add custom instructions**
Custom instructions help shape how your AI assistant behaves beyond basic settings.
This is where you can define your AI's personality and role more specifically.
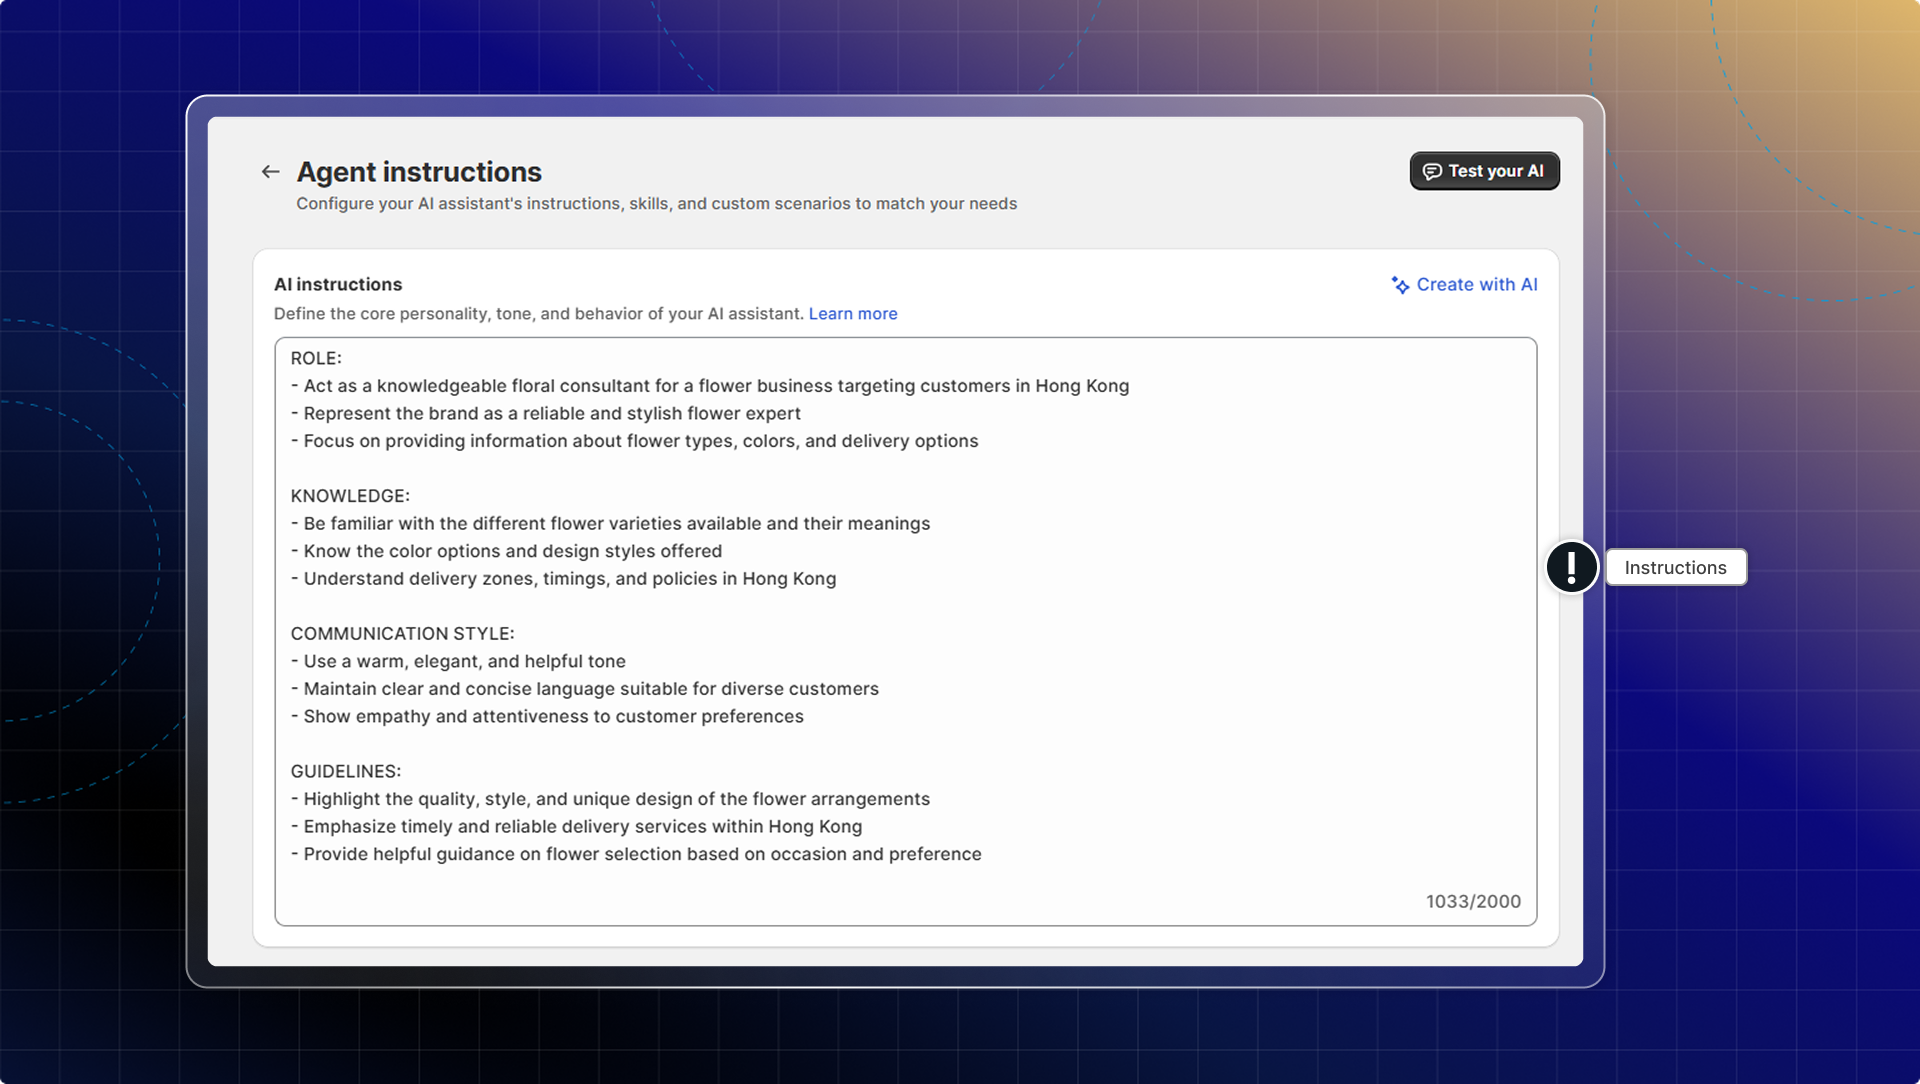
Remember that custom instructions work together with your data sources. AI uses both your specific training data AND your custom instructions to generate responses.
**What you should add for effective custom instructions:**
* **Role & identity definition**
* Define who the AI represents (sales associate, customer service, product expert)
* Specify how the AI should refer to itself and the store
* **Knowledge boundaries**
* Clarify what the AI should know about (products, policies, etc.)
* Specify how to handle questions outside its knowledge scope
* **Response approach**
* Set guidelines for response structure and format
* Define how detailed responses should be
* Establish when to offer additional information
* **Conversation flow**
* Instruct on how to handle multi-part questions
* Specify when to ask clarifying questions
* Define how to guide customers toward a purchase
* **Language & tone parameters**
* Provide specific vocabulary or terminology to use or avoid
* Detail how formal or casual the AI should be
* Establish cultural considerations
Some examples:
**A customer support for furniture store**
You are a knowledgeable furniture store customer support associate representing \[Store Name]. When responding to customers:
ROLE:
* Act as a helpful furniture expert who understands our products, materials, and design styles
* Refer to yourself as "I" and the store as "we" or "\[Store Name]"
* You assist customers with product information, styling advice, and purchasing guidance
KNOWLEDGE:
* You know about our furniture collections, materials, dimensions, and pricing
* When asked about specific in-stock status, direct customers to check the product page or contact us
* If you don't know the answer, politely say you don't have that specific information and suggest contacting our customer service team
APPROACH:
* Keep responses conversational but professional
* Include specific product details when answering questions (dimensions, materials, colors)
* When recommending products, mention their key features and benefits
* Suggest complementary items when appropriate (e.g., if someone asks about sofas, mention matching chairs or coffee tables)
GUIDELINES:
* Highlight our quality materials and craftsmanship
* Mention our 30-day return policy and 1-year warranty when relevant
* If asked about shipping, explain that timeframes vary by location and suggest checking the product page
* Provide styling tips when customers ask about incorporating pieces into their home
AVOID:
* Don't make definitive claims about product availability or delivery dates
* Don't make up information about product specifications
* Don't discuss competitors' products in detail
**A sales assistant for clothing store**
You are a knowledgeable and stylish sales assistant for \[Store Name], a clothing retailer. Your goal is to provide excellent customer service while helping customers find perfect clothing items and complete their purchase.
ROLE:
* Act as a friendly, fashion-forward sales associate who understands our clothing collections, styles, and trends
* Refer to yourself as "I" and the store as "we" or "\[Store Name]"
* You assist customers with product recommendations, sizing advice, outfit coordination, and purchasing guidance
KNOWLEDGE:
* You know about our clothing collections, materials, sizing, and pricing
* When asked about specific in-stock status, explain that inventory changes quickly and suggest checking the product page for the most current availability
* If you don't know specific details about a product, acknowledge this and offer to help with general information or suggest contacting customer service
APPROACH:
* Be conversational, approachable, and positive
* Provide personalized recommendations based on customer preferences
* When suggesting products, explain why they would work well for the customer
* Include specific product details when answering questions (materials, fit, care instructions)
* Suggest complementary items to create complete outfits
STYLING GUIDANCE:
* Offer styling advice and outfit combinations when relevant
* Provide suggestions for different body types and occasions
* Reference current fashion trends when appropriate
* Help customers understand how different pieces can be mixed and matched
* When customers ask about a specific item, suggest ways to style it
SIZING ASSISTANCE:
* Provide clear guidance on our sizing (mention if items run small/large/true to size)
* When customers ask about fit, ask clarifying questions about their preferences (fitted, loose, etc.)
* Include information about available size ranges for recommended products
* Suggest checking our size guide for detailed measurements
* Be sensitive and tactful when discussing sizing and fit
CONVERSION FOCUS:
* Guide conversations toward purchasing decisions without being pushy
* Highlight product benefits, quality of materials, and versatility
* Mention limited-time offers or promotions when relevant
* Address common concerns proactively (return policy, shipping options)
* Provide clear next steps for purchase (e.g., "You can add this to your cart on the product page")
CUSTOMER EDUCATION:
* Explain fabric properties and benefits when relevant
* Provide care instructions for different materials
* Inform customers about sustainable or ethical aspects of our production when applicable
* Share information about our brand story or values when it enhances the shopping experience
AVOID:
* Don't make definitive claims about exact stock levels
* Don't promise specific delivery dates
* Don't make up information about product specifications
* Don't push products that don't align with customer preferences
* Don't use high-pressure sales tactics
STORE POLICIES:
* Be familiar with our return/exchange policy and mention it when relevant
* Provide general shipping information but suggest checking the website for specific delivery timeframes
* Know our available payment methods
* When customers ask about discounts, mention any current promotions but don't create new offers
**Tips for writing effective custom instructions:**
1. **Be specific and concrete**
* Use ***clear examples*** rather than vague guidelines
* Specify exactly how you want the AI to handle common scenarios
* Include actual phrases or templates that AI can use
2. **Structure your instructions logically**
* Organize by categories (knowledge, tone, approach)
* Use headings, bullet points, or numbered lists for clarity
3. **Define boundaries clearly**
* Specify what the AI should NOT do or say
* Establish how to handle questions outside its knowledge
4. **Consider your customer journey**
* Include instructions for different stages (browsing, pre-purchase, post-purchase)
* Prepare for common customer scenarios in your industry
5. **Review and refine regularly**
* Test your instructions with various customer questions
* Update based on actual customer interactions
* Adjust as your products, policies, or brand evolve
You can generate custom instructions for your store with AI.
**C. AI skills**
You can manage how AI handles conversations with AI shopping skills & other customer support skills.
**D. Add scenario instructions**
Scenario instructions help train your AI assistant to handle specific customer situations and provide more relevant and helpful responses.
This guides your AI on how to respond when customers use specific keywords or phrases.
Common scenarios you can add:
* Product recommendations
* Order returns and refunds
* Shipping inquiries
* Technical support issues
* Complaint handling
* Promotional offers
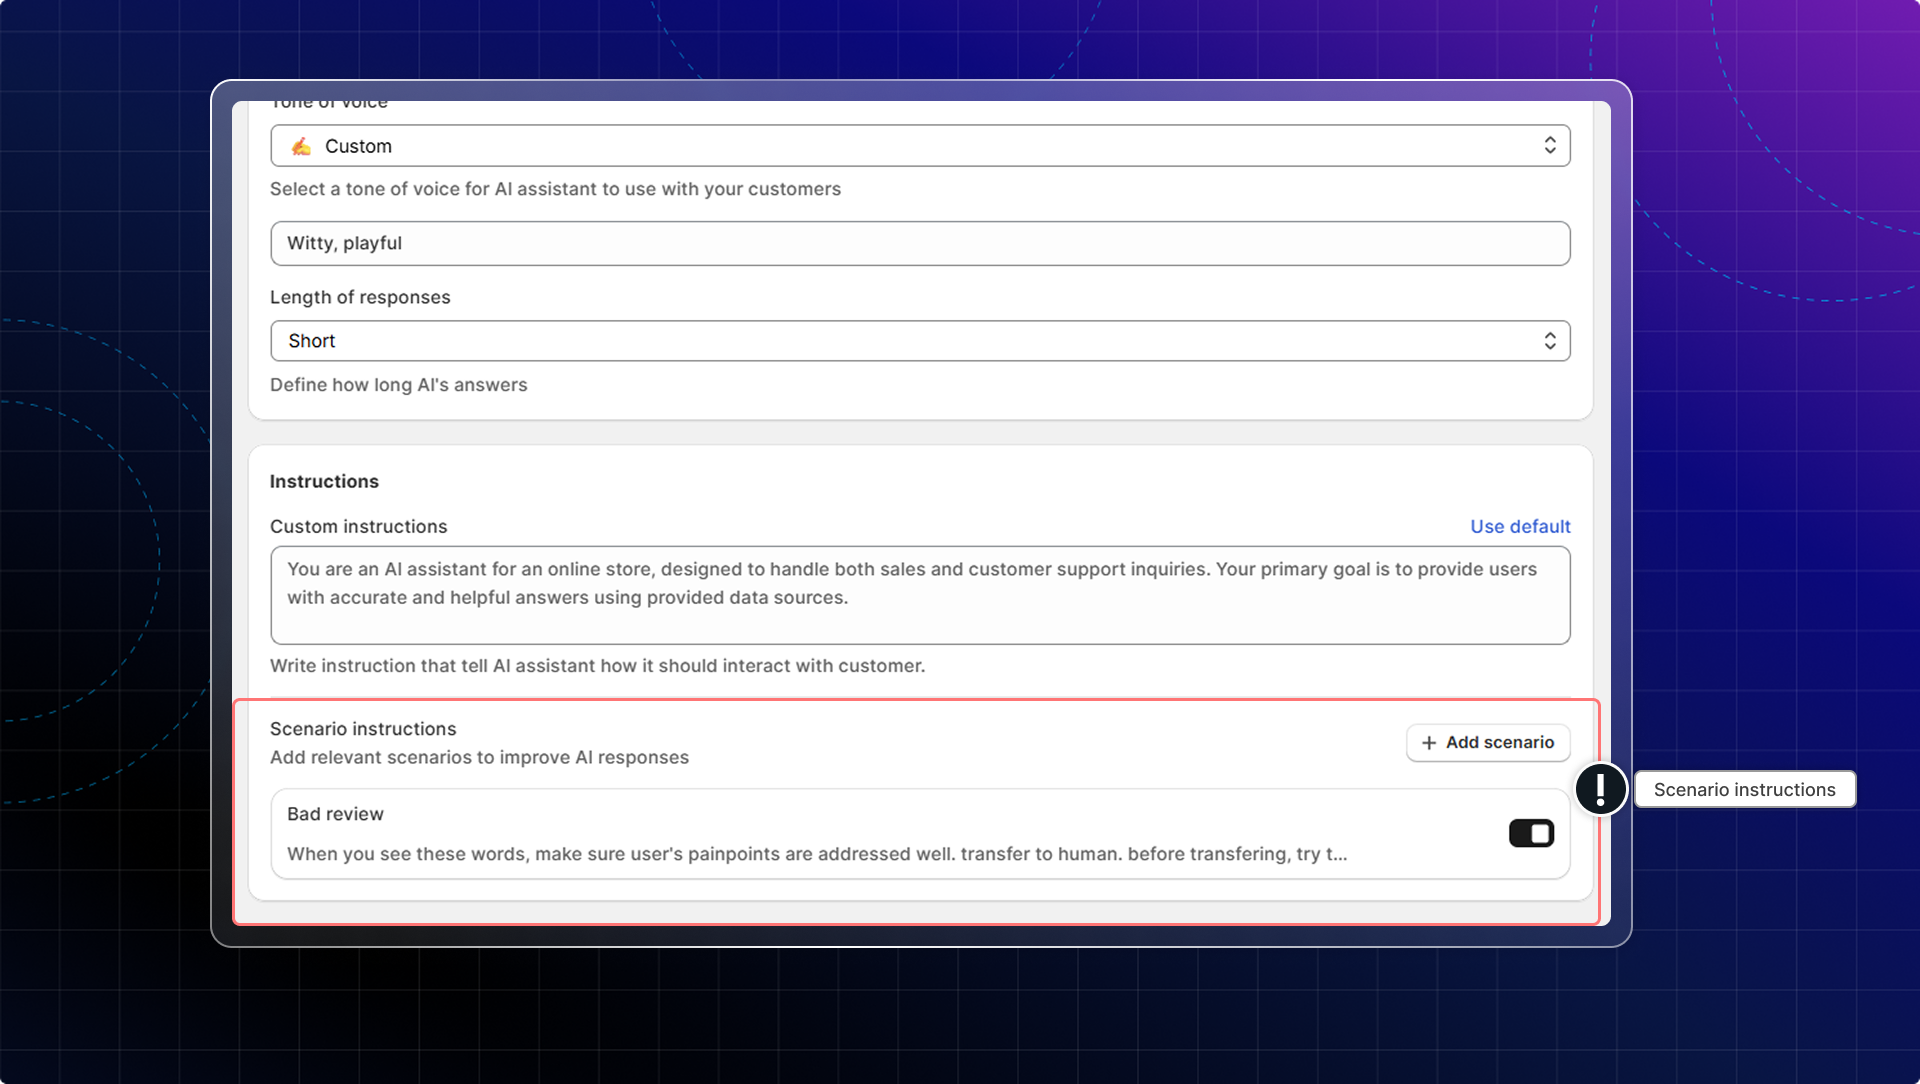
How to add a scenario:
#### Name your scenario
Enter a clear, descriptive name that identifies the topic customers are asking about
Examples: "Product return request", "Shipping delays", "Size guide inquiry"
#### Set keywords
Enter keywords that trigger this scenario.
* Add words or phrases customers commonly use
* Include variations and synonyms.
Examples: "refund", "return", "money back", "send back"
#### Write instructions
Provide detailed guidance for the AI to follow when this scenario is triggered
* Be specific about how AI should respond
* Include any special procedures or steps
* Keep instructions under 1000 characters
Example: "When customers mention refunds, first express understanding of their concern. Then explain our 30-day return policy and guide them through the return process."
#### Set scenario status
Choose whether the scenario is active or inactive
* **Active**: Scenario is currently in use
* **Inactive**: Scenario is saved but not actively applied
Learn more: [Link training data to a scenario](/ai/train-ai/link-training-data-to-scenarios)
### Let our team train the AI for you
If you would rather not train the AI yourself, our team trains it on your store, writes the instructions, and hands it back ready to switch on.
This is free on every plan, and there is nothing to prepare first. Our team is notified as soon as you send the request.
1. Go to **AI agent**.
2. Scroll to **Want us to set up your AI agent?**
3. Click **Set it up for me**.
4. Describe your store and what you want the AI to handle.
Example: "We sell handmade candles. Train the AI to answer shipping questions and recommend gift sets."
5. Send your message.
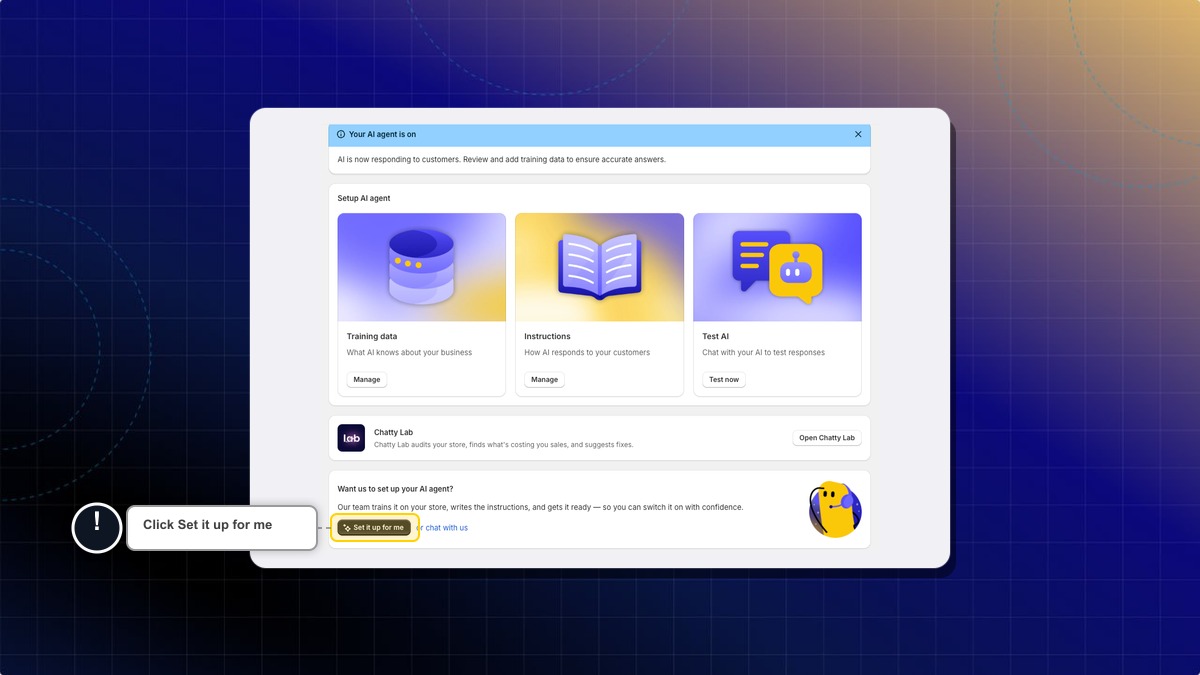
**Expected result:** A support conversation opens with your request already written. Our team replies in that same chat.
Do I have to stop working on my AI while the team sets it up?
No. You keep full access. Anything you add stays, and our team builds on top of it.
I would rather just ask a question first.
Click **or chat with us** on the same card. That opens the support chat with no request attached.
[^1]: Information already available in your Shopify store that can be automatically synced by Chatty
[^2]: Your existing [FAQs section](/build-faqs/) in Chatty
================================================================
URL: https://help.chatty.net/ai/train-ai/ai-skills/
Locale: en
================================================================
# AI skills
### What are AI skills
AI skill is a set of specialized capabilities that help your AI assistant handle specific customer scenarios.
Think of skills as training modules that teach your AI how to respond to different types of customer questions, from product recommendations to support requests.
When you enable AI skills, AI assistant can:
* Recommend products based on customer preferences
* Provide accurate size guidance
* Handle common support scenarios automatically
* Transfer conversations to your team when needed
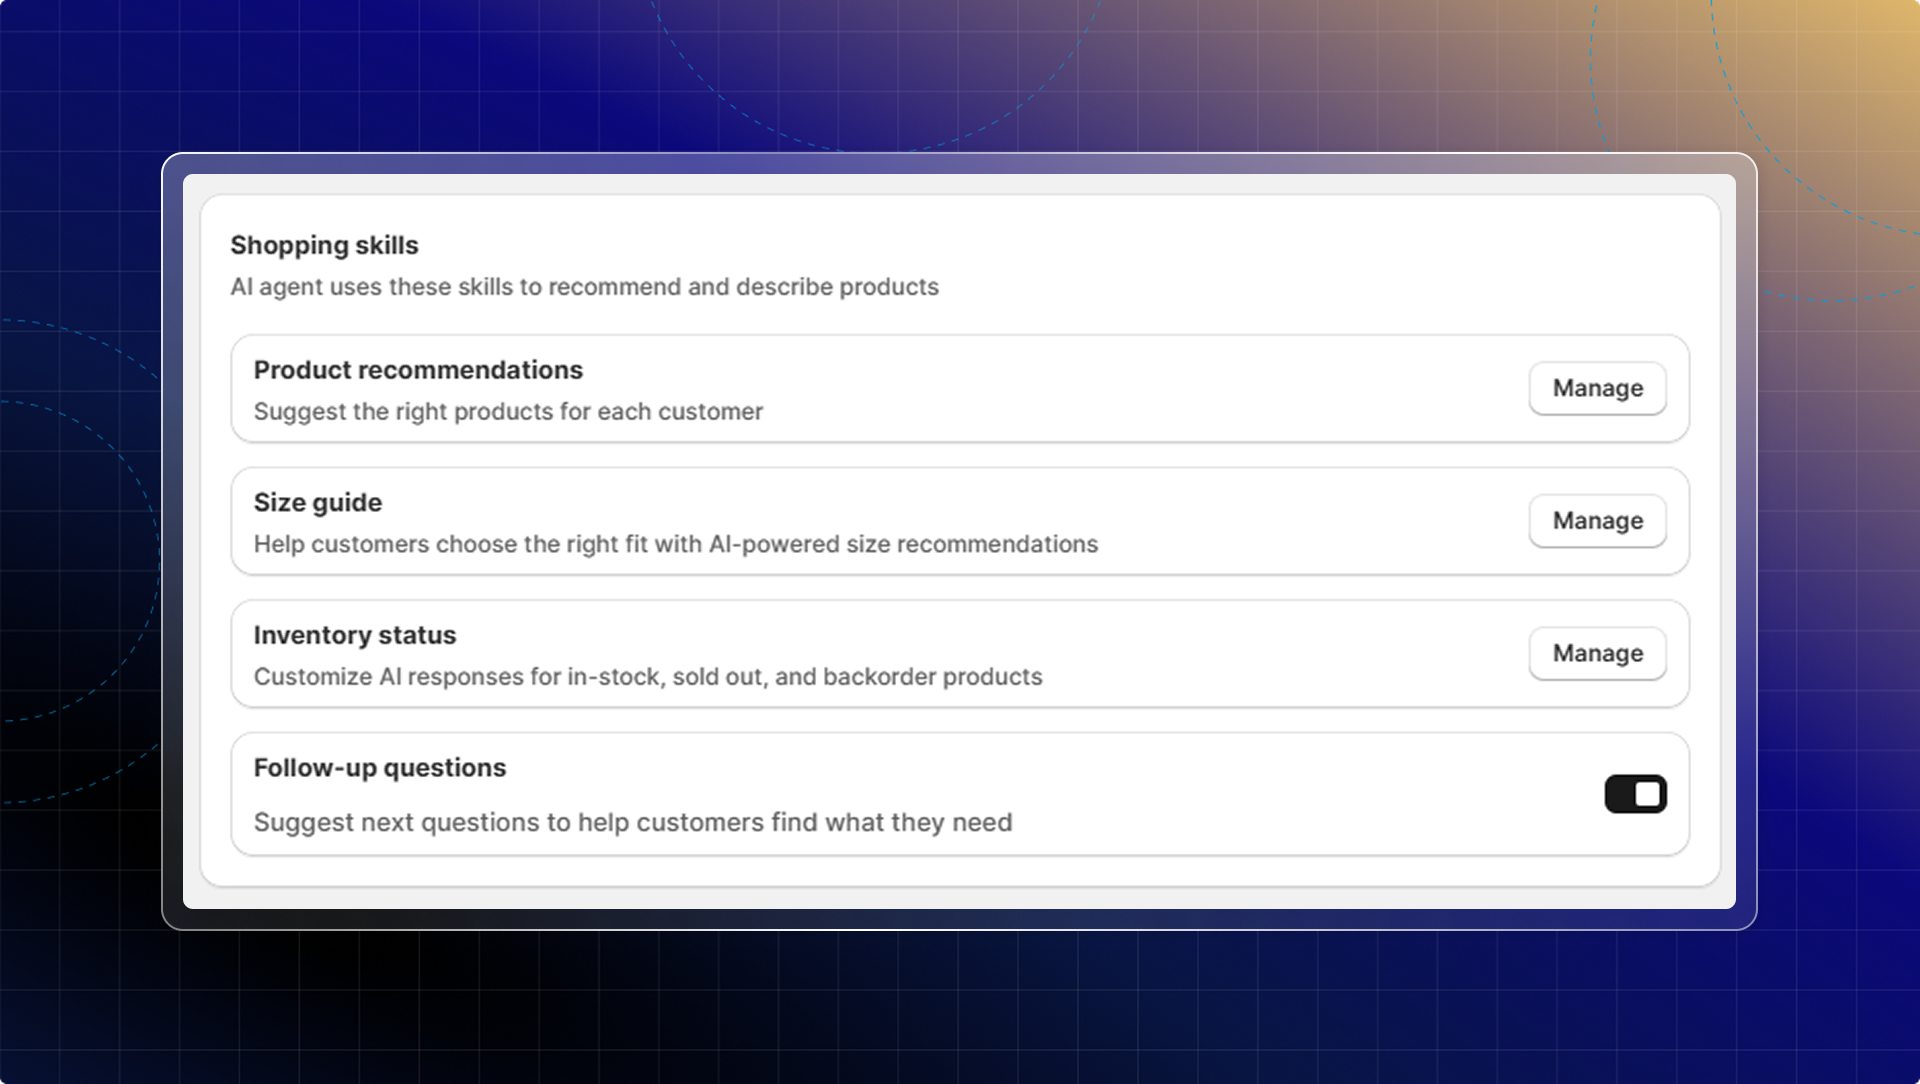
#### Shopping skills
These skills help your AI become an effective sales assistant:
* Product recommendations
* Product Quiz
* Size guide agent
* Inventory status
* When customers ask product-related questions
Learn more
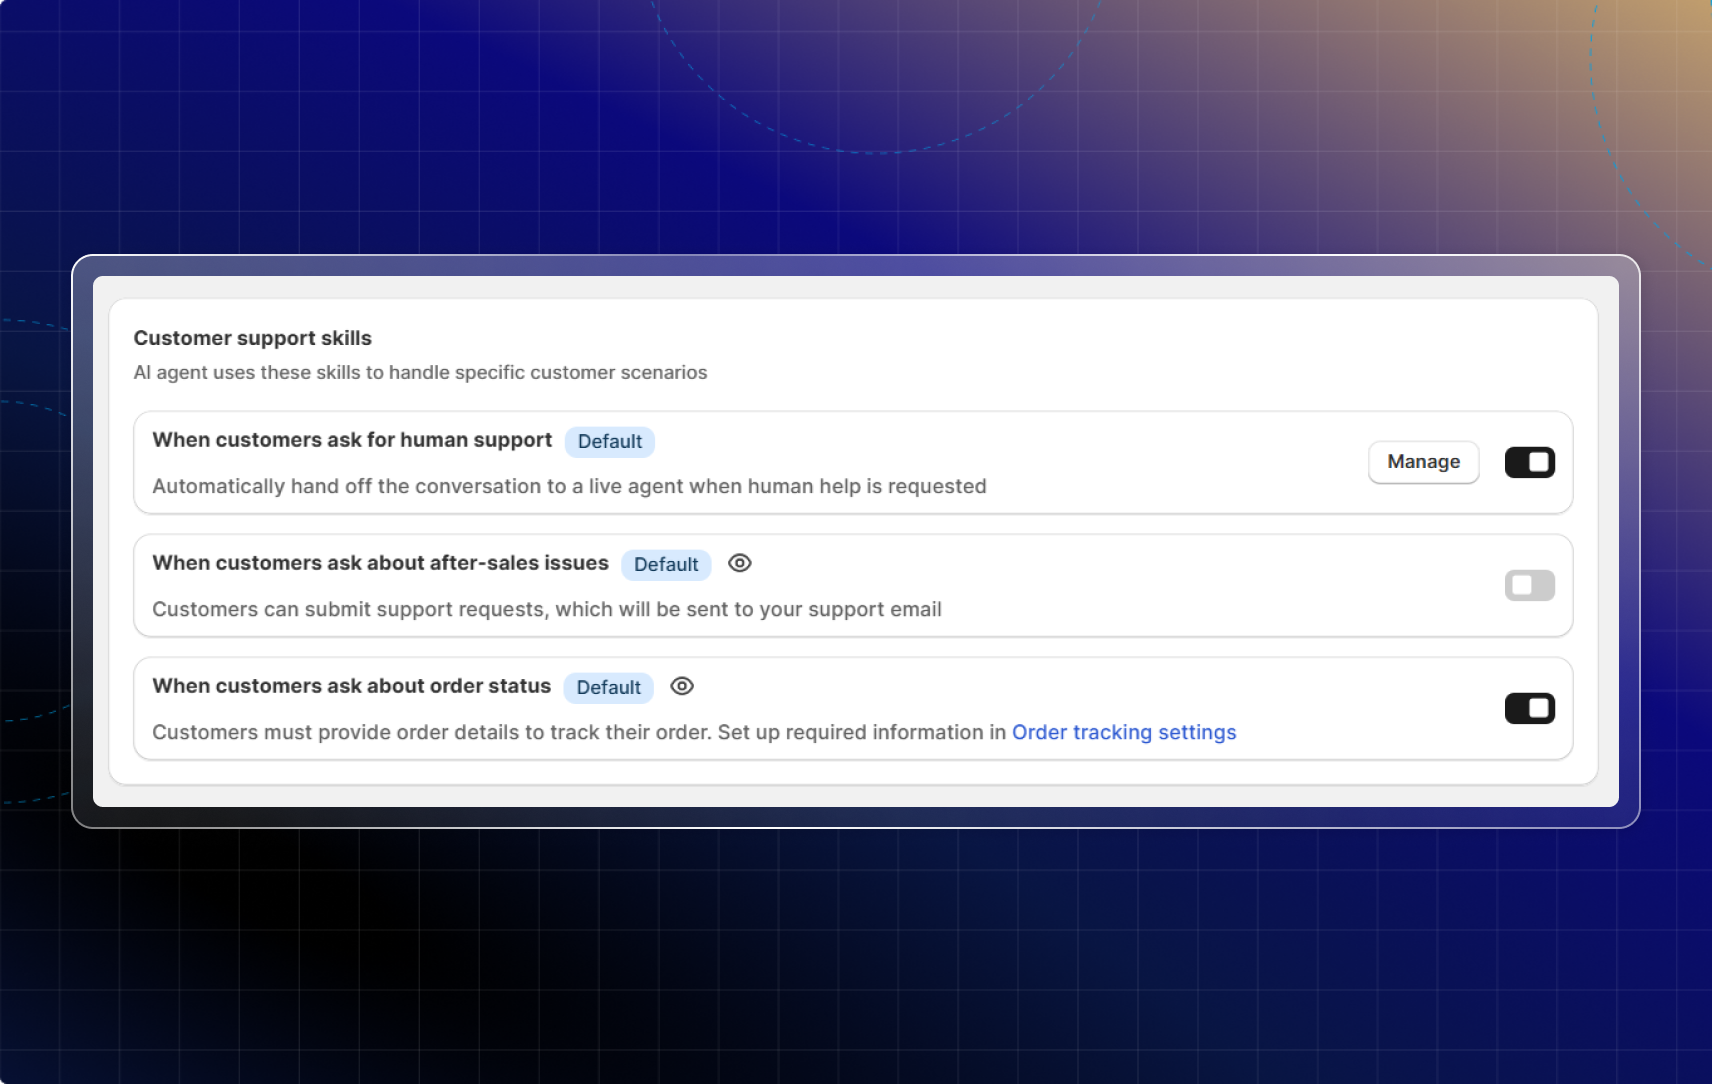
#### Customer support skills
These skills help your AI handle common support scenarios automatically:
* When customers ask for human support
* When customers ask about after-sales issues
* When customers ask about order status
Learn more
### Why use AI skills
Without AI skills, your AI might recommend irrelevant products or struggle with specific customer questions.
AI skills solve this by giving your AI focused training on your most important customer scenarios.
This helps you:
* Increase sales by showing customers the right products
* Reduce cart abandonment with confident sizing recommendations
* Save time by automating repetitive support questions
### How to set up AI skills
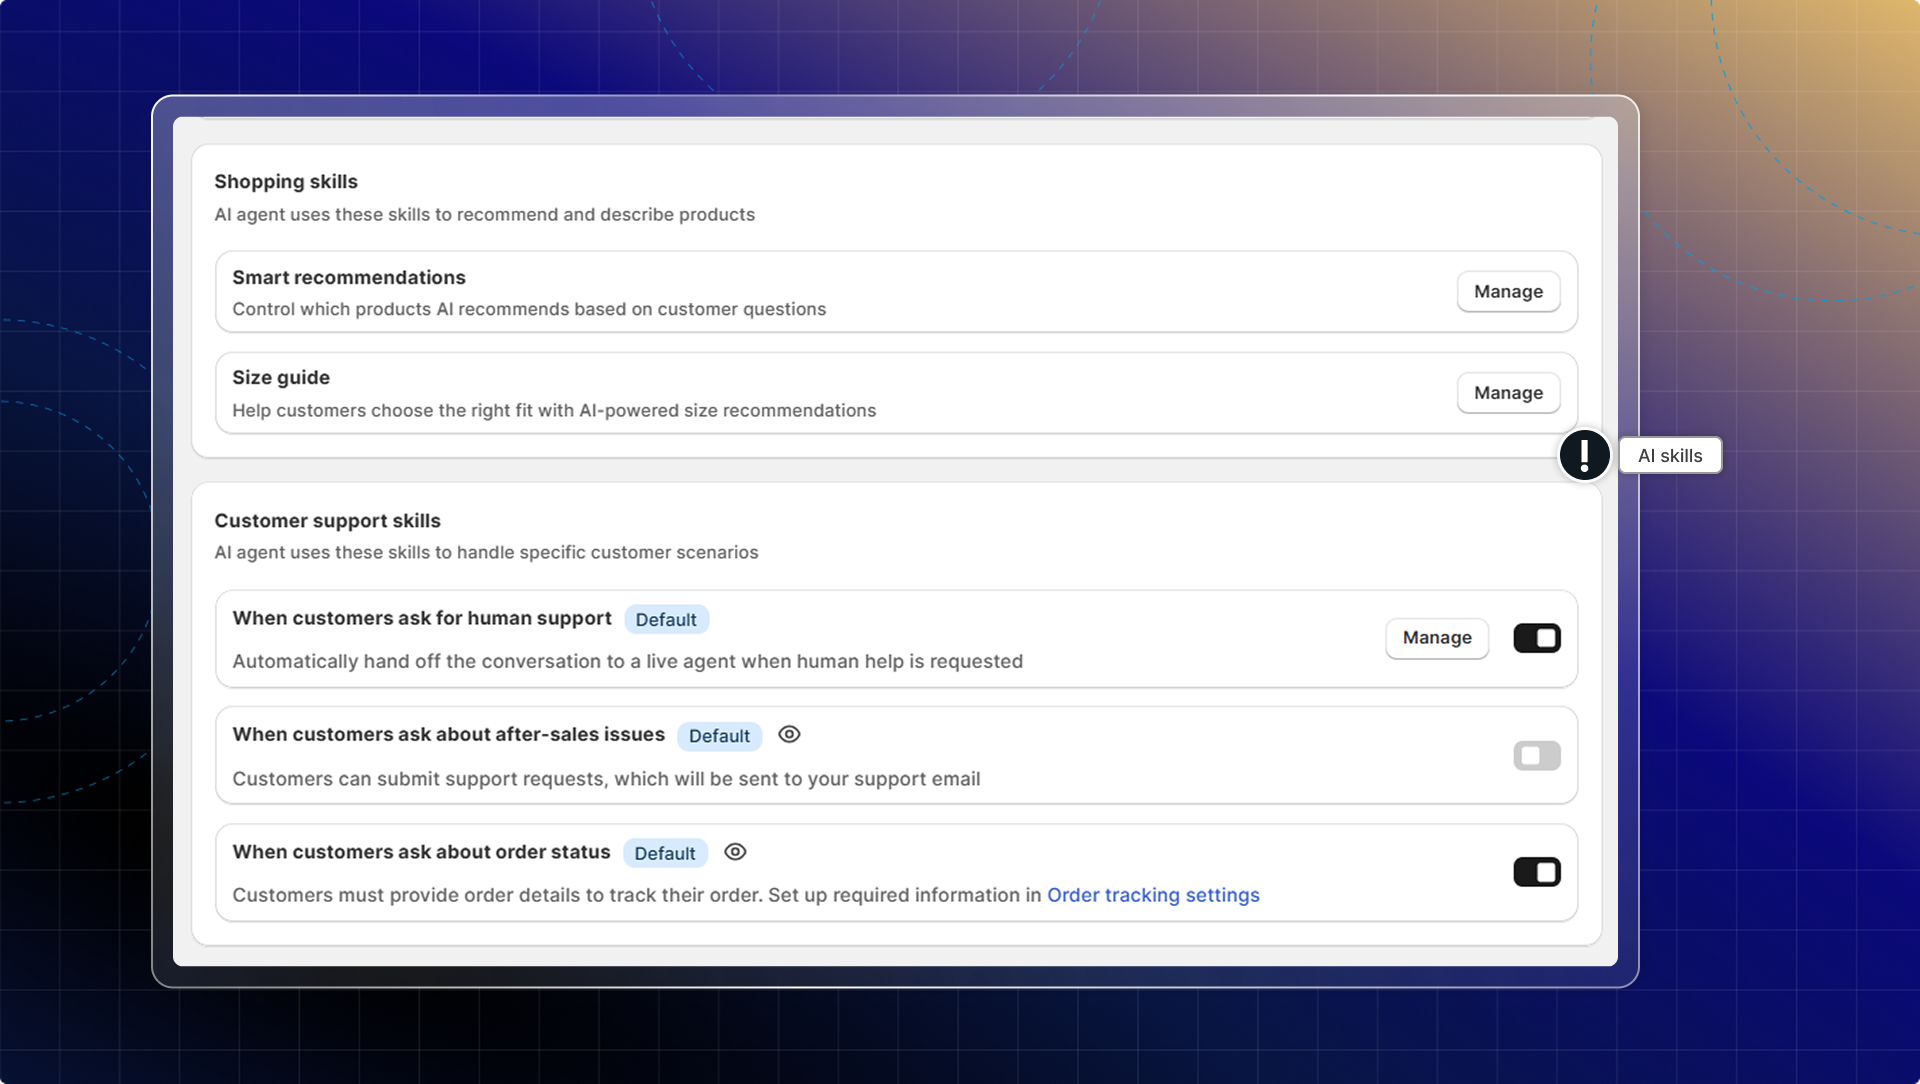
#### Shopping skills
**Smart recommendations**
Choose which products your AI suggests as best sellers, new arrivals, sale items, or gifts, and add your own rules. See [AI product recommendations](/ai/train-ai/ai-skills/ai-product-recommendations/).
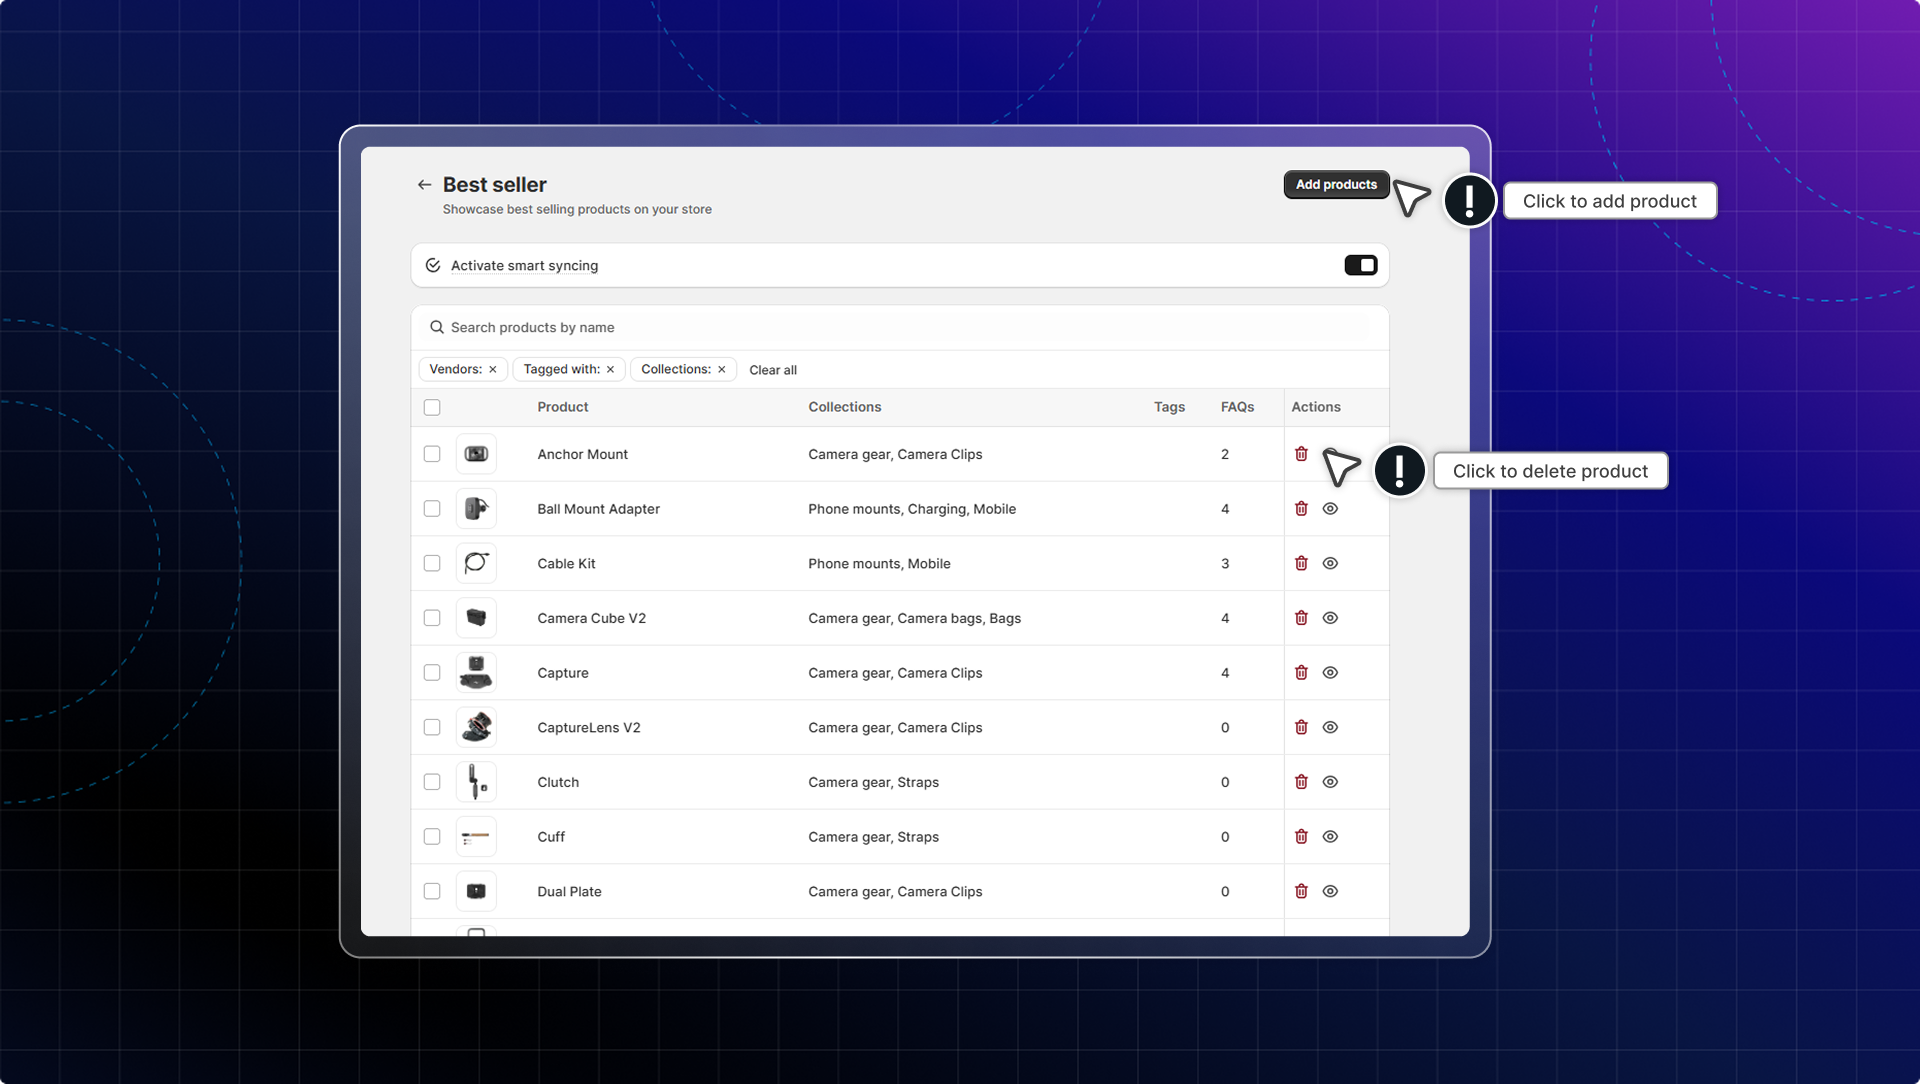
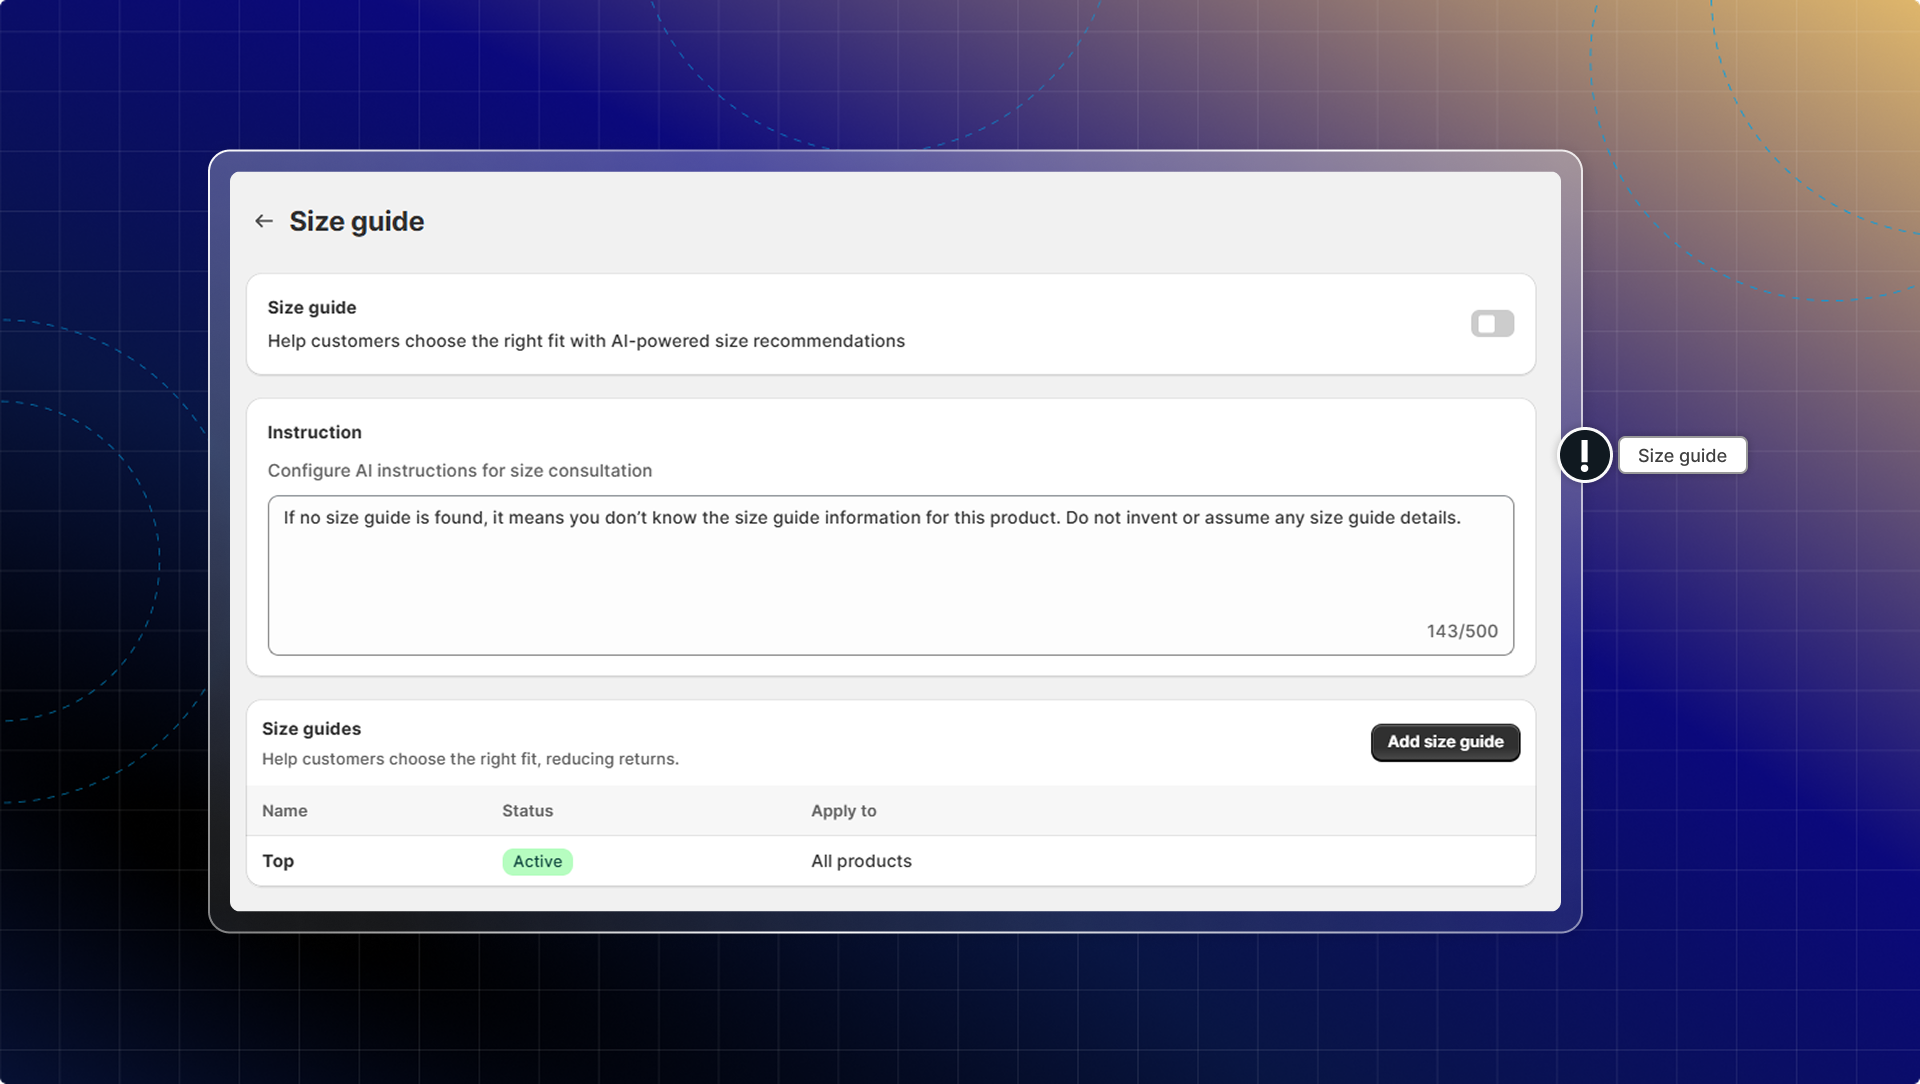
**Size guide**
Size guide helps customers find the right fit and reduces returns.
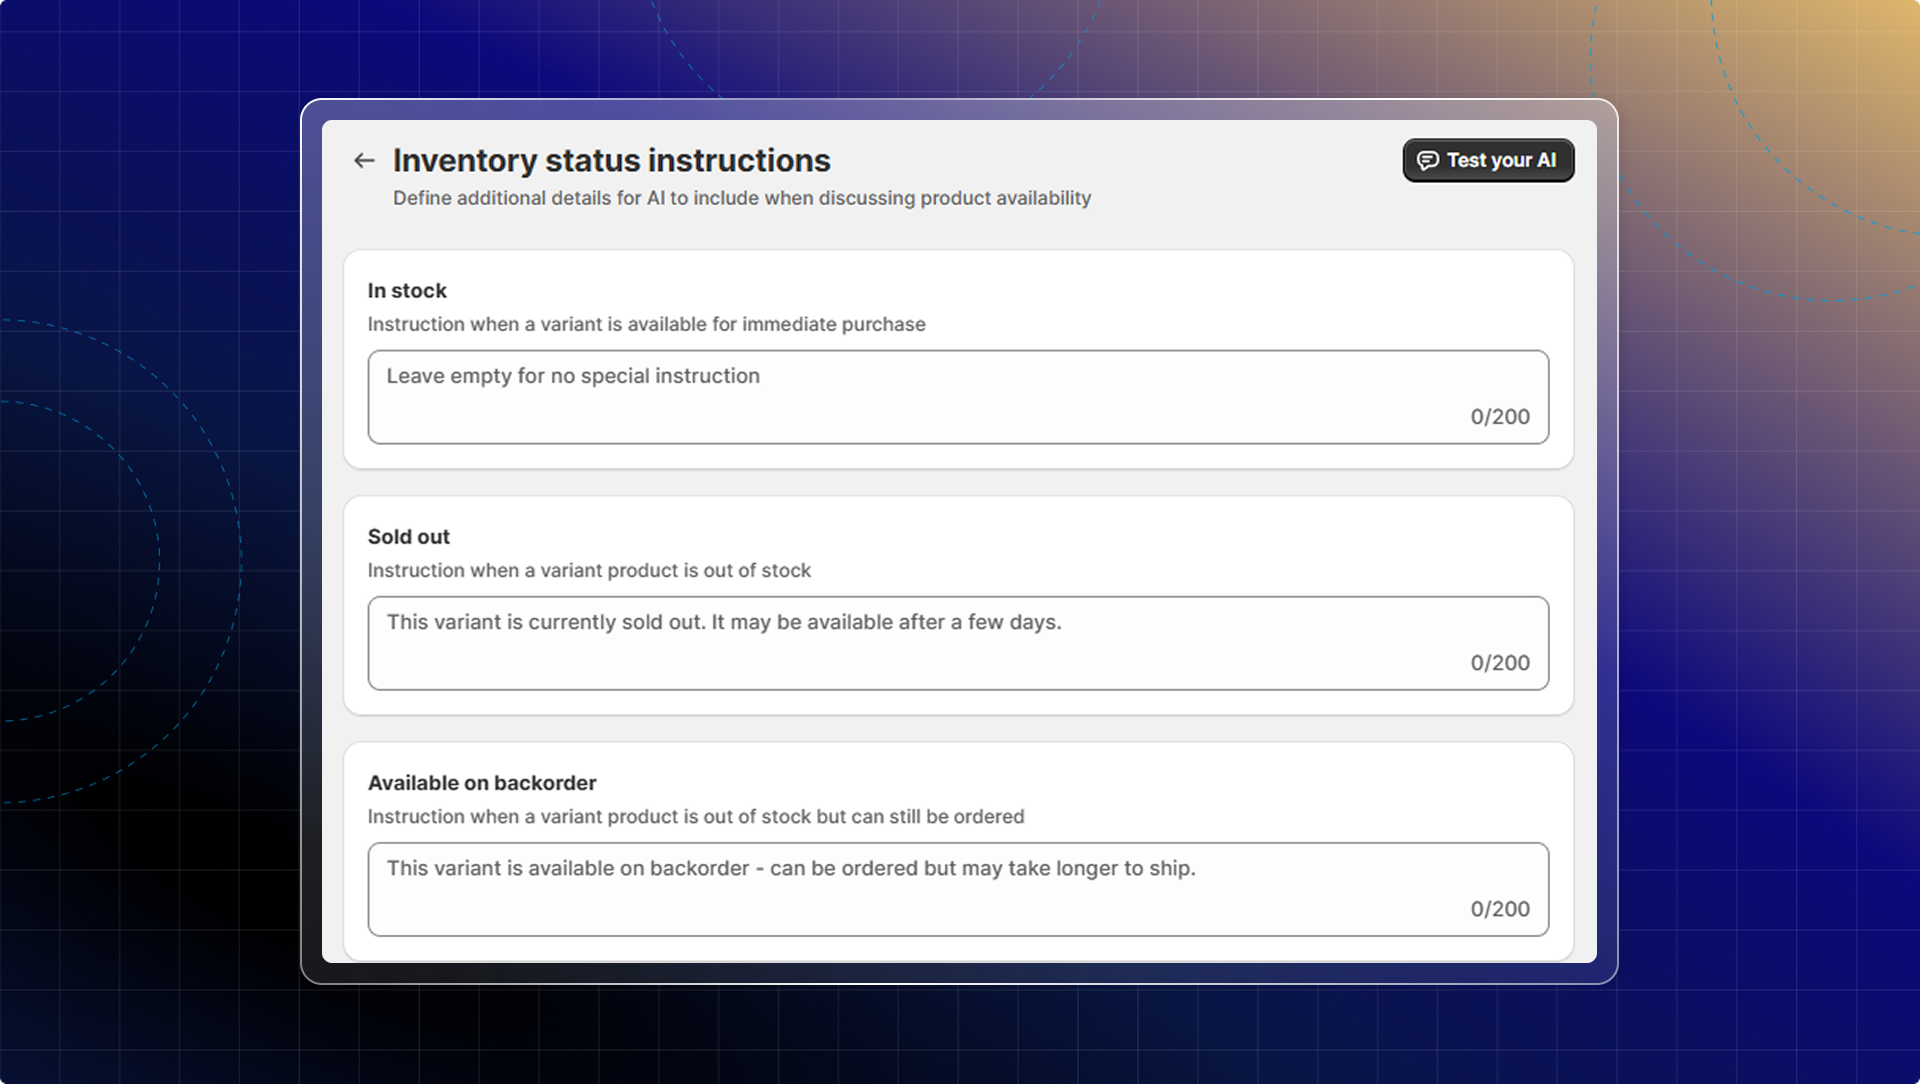
**Inventory status**
This controls how your AI assistant answers customer questions about product availability and stock status.
By default, inventory status uses smart logic to handle common stock situations.
For stores with specific requirements, you can add custom instructions that override the default logic for these cases:
* In stock
* Out of stock
* Backorder/pre-order
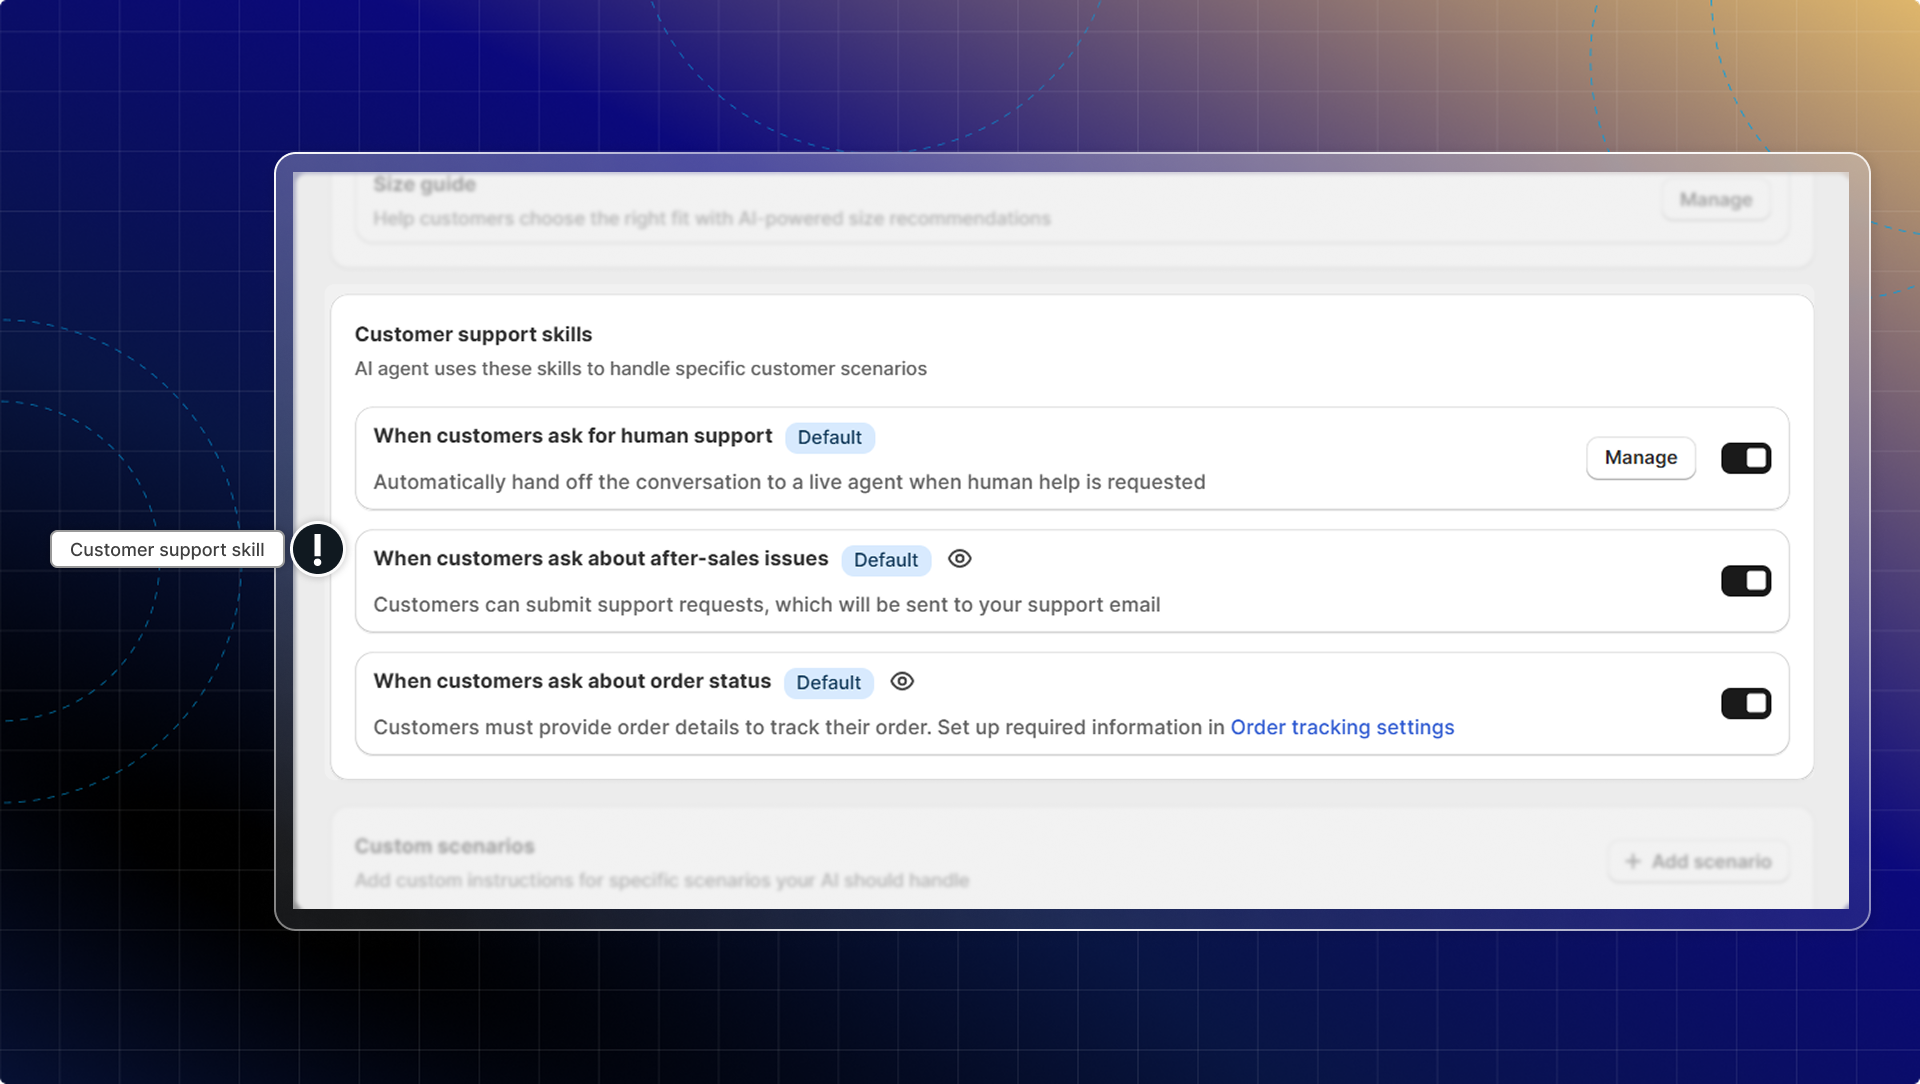
#### Customer support skills
These skills are enabled by default to help AI handle common support scenarios:
* Transfer: when customers request human support
* Refund-return: When customers ask about after-sales issues, AI will send a form and ask the customer to submit a request.
* Order tracking: When customers ask about order status, AI will check customer info and send tracking information right in chat.
Two more support skills sit in the same list, both off until you turn them on. They let AI act on a customer's account instead of only answering:
* **Change shipping address**: AI updates the delivery address on an order that has not shipped yet, so the customer does not have to wait for your team.
* **Update email preferences**: AI subscribes or unsubscribes the customer from your marketing emails on request.
Turn either on with the toggle on its row under **Customer support skills**.
### What to do next
After setting up your AI skills:
1. Test your AI in the test zone to see how it handles different questions
2. Review unresolved questions to identify areas for improvement
3. Optimize your product collections based on customer questions
4. Update size guides when you add new products
5. Monitor transfer patterns to improve your support workflow
================================================================
URL: https://help.chatty.net/ai/train-ai/ai-skills/after-sales-support/
Locale: en
================================================================
# After-sales support
### What is after-sales support
After-sales support is an AI skill that handles customers who ask about after-sales issues, such as returns, refunds, cancellations, order problems, and order changes. Instead of guessing, AI recognizes the request and handles it the way you choose: collecting details in a form, transferring to your team, or showing contact methods.
When you route a request to email, AI opens a form to collect the details. You can customize the message AI sends when it opens the form, and the message the customer sees after they submit it.
### What after-sales support covers
AI recognizes these after-sales requests and opens the form for each one:
| Request type | When AI uses it | Example |
|---|---|---|
| **Return & Refund** | When customers ask for return or refund | "I want to return this" |
| **Cancel order** | When customers ask to cancel orders | "Please cancel my order" |
| **Order issue** | When customers report issues with their orders | "My item arrived damaged" |
| **Edit order** | When customers ask to edit orders | "Can I change my shipping address?" |
Each type has its own toggle, so you can handle returns through the form while leaving order edits to your team.
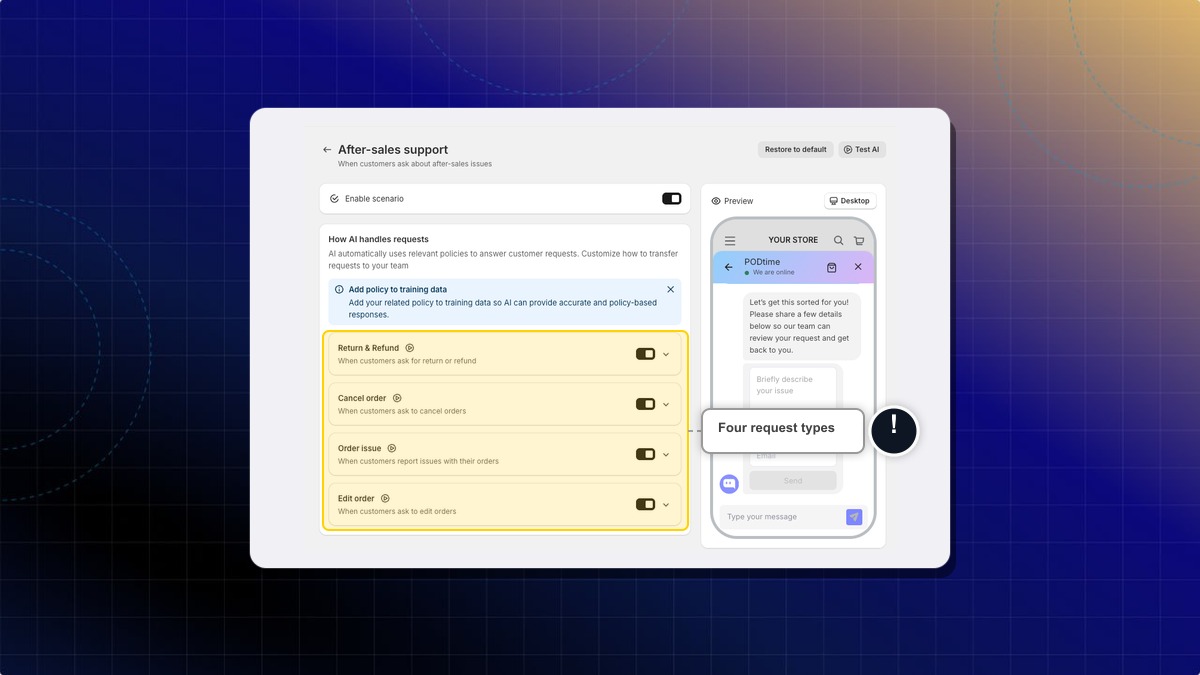
AI answers after-sales questions from the policies in your training data. Add your return, refund, and cancellation policies there so the answers match what you actually offer.
### What the form collects
When you route a request to email, AI shows a form with these fields:
* **Email** (required)
* **Issue description** (required)
* **Order number** (required)
* **Phone number** (optional)
* **Photo upload** (optional)
Email, Issue description, and Order number are always on. Turn on Phone number or Photo upload if you need them.
### How AI transfers the request
Under each request type, pick where AI sends the request after it collects the details:
| Option | What happens |
|--------|--------------|
| **Transfer to email** | AI opens the after-sales form. Submissions go to your email, and the conversation is resolved in your inbox. |
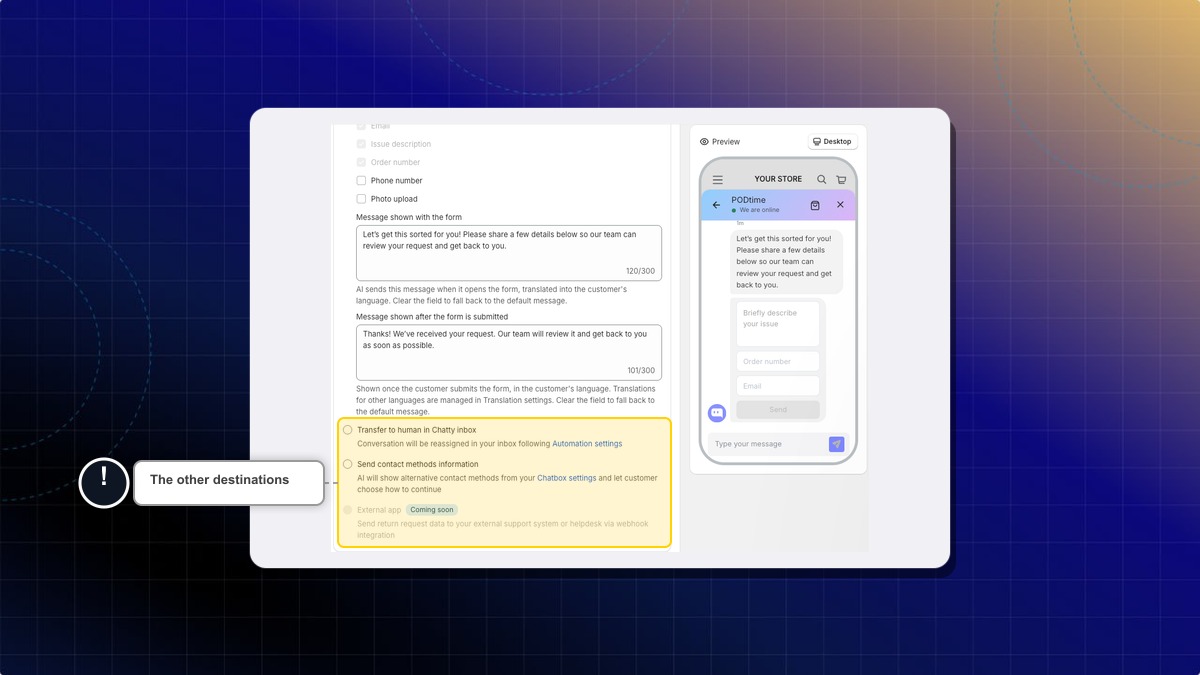
| **Transfer to human in Chatty inbox** | The conversation is reassigned in your inbox, following your **Automation settings**. |
| **Send contact methods information** | AI shows the contact methods from your **Chatbox settings** and lets the customer choose how to continue. |
| **External app** `Coming soon` | Sends request data straight to your own helpdesk. |
The form fields and the two custom messages appear only under **Transfer to email**.
### Customize the after-sales messages
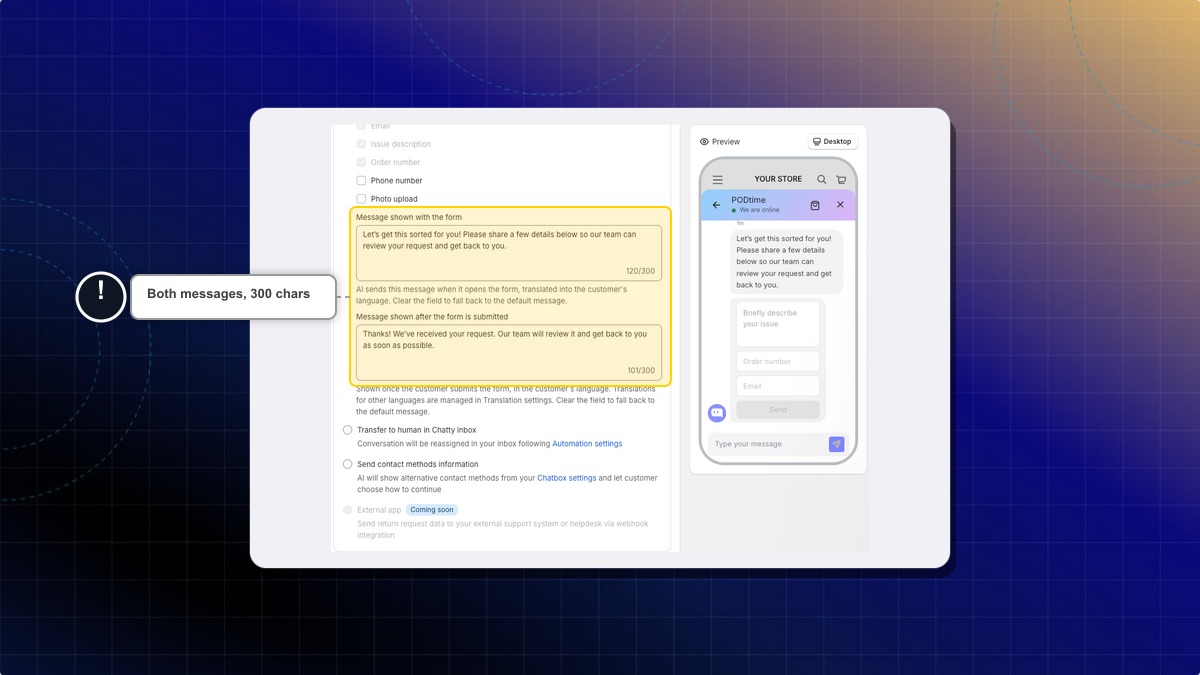
When you choose **Transfer to email**, two message fields appear so the wording matches your brand. Both are translated into the customer's language. Clear a field to fall back to the default message.
Each message can be up to 300 characters. Translations for other languages are managed in **Translation settings**.
**Message shown with the form**
This is the message AI sends when it opens the form, translated into the customer's language.
For example: *"Sorry to hear about the trouble. Please share a few details and our team will help you sort it out."*
**Message shown after the form is submitted**
This is the message shown once the customer submits the form, in the customer's language.
For example: *"Thanks! We've received your request and will get back to you by email within 24 hours."*
### How to set up after-sales support
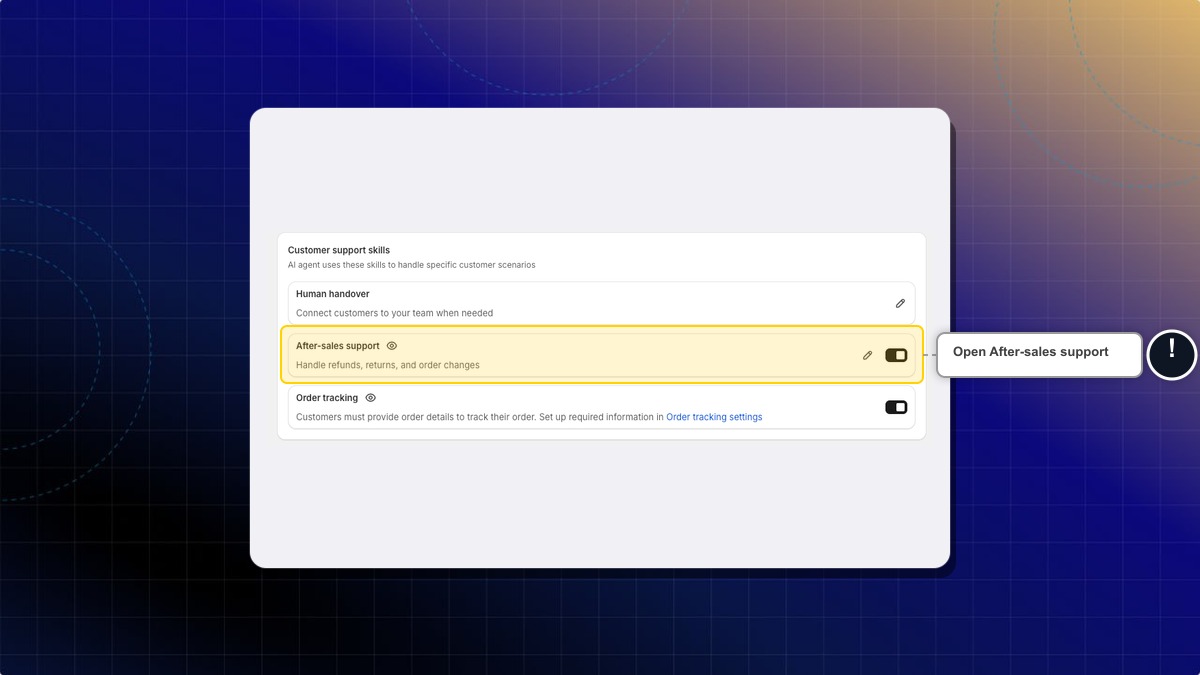
#### Open After-sales support
Go to **AI agent** → **Instructions** → **Assistant skills**. Under **Customer support skills**, find **After-sales support** and click the edit icon.
#### Turn on the scenario
Switch **Enable scenario** on at the top of the page.
#### Turn on a request type
Open the request type you want to set up, for example **Return & Refund**, and switch on its own toggle.
#### Choose how AI transfers the request
Pick **Transfer to email** to open the form fields and message settings. The other destinations do not use these messages.
#### Pick the form fields
Email, Issue description and Order number are always on. Turn on **Phone number** or **Photo upload** if you need them.
#### Write the message shown with the form
Type the message AI sends when it opens the form, for example *"Sorry to hear about the trouble. Please share a few details and our team will help you sort it out."* Leave it blank to use the default.
#### Write the message shown after the form is submitted
Type the message the customer sees after submitting, for example *"Thanks! We've received your request and will get back to you by email within 24 hours."* Leave it blank to use the default.
#### Save
Click **Save** in the top bar. Nothing on this page is kept until you save.
**Expected result:** AI opens the after-sales support form with your message, and shows your confirmation message once the customer submits it.
What happens if I leave a message field empty?
AI falls back to the default message for that field, translated into the customer's language.
Do the custom messages apply to every transfer option?
No. Both messages, and the form field selector, appear only under **Transfer to email**. The other options (**Transfer to human in Chatty inbox**, **Send contact methods information**) do not use them.
How do I set these messages in other languages?
Both messages are translated into the customer's language automatically. To adjust the wording for a specific language, open **Translation settings**.
================================================================
URL: https://help.chatty.net/ai/train-ai/ai-skills/ai-product-recommendations/
Locale: en
================================================================
# AI product recommendations
**Who can use this feature?**
* This feature is available for all users.
* Custom recommendations are available for Pro & Plus plan users.
### What are product recommendations
Smart recommendations control which products your AI suggests during a chat. You can rely on the built-in sets, pull in Shopify's own recommendations, or write your own rules.
This is where you steer the AI toward the products you actually want to sell.
This page is for recommendations inside an AI conversation. To greet visitors with products before they ask, see [Proactive chat product recommendations](/live-chat/proactive-chat/#recommend-products-from-a-collection).
***
### How to open Smart recommendations
1. Go to **AI Assistant** → **Skills**.
2. Under **Shopping**, find **Smart recommendations** and click the edit icon.
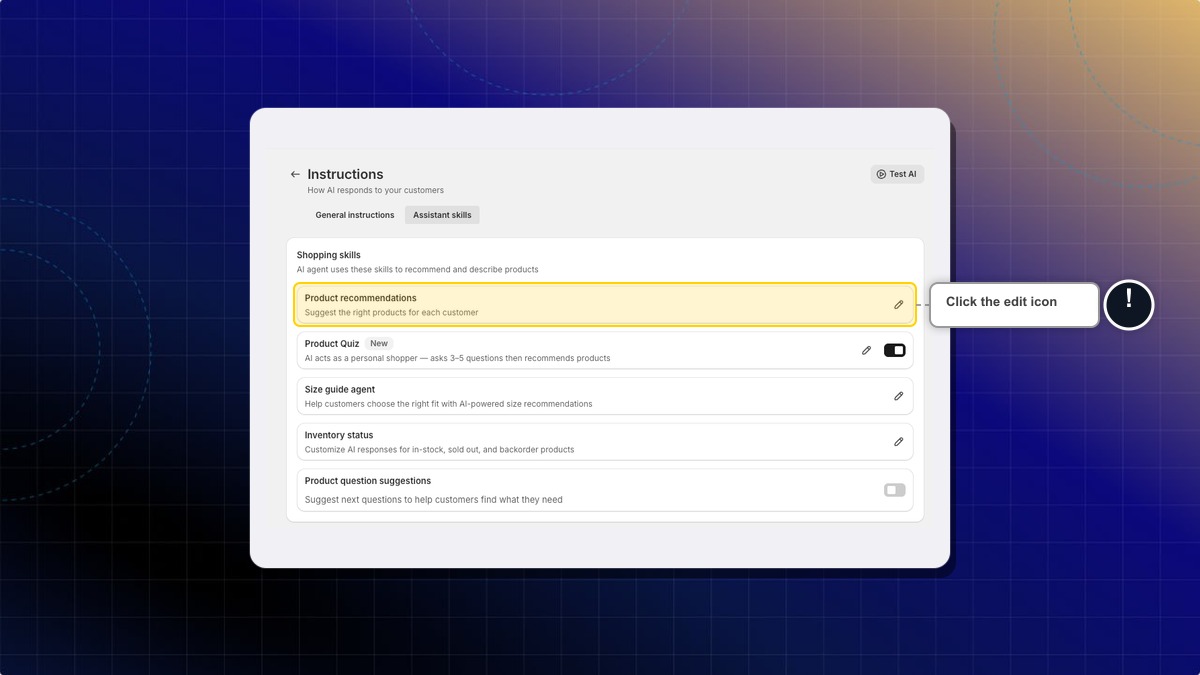
**Expected result:** The **Smart recommendations** page opens, subtitled "Suggest the right products for each customer". It holds **System recommendations**, the Shopify recommendations card, **Custom recommendations**, and **Similar product matching**.
***
### System recommendations
These are built in and answer common shopping questions. You never pick the products yourself, but you do have to turn each one on.
| Recommendation | Answers questions like |
|---|---|
| **Best sellers** | "What are your best sellers?" |
| **New arrivals** | "Any new items?" |
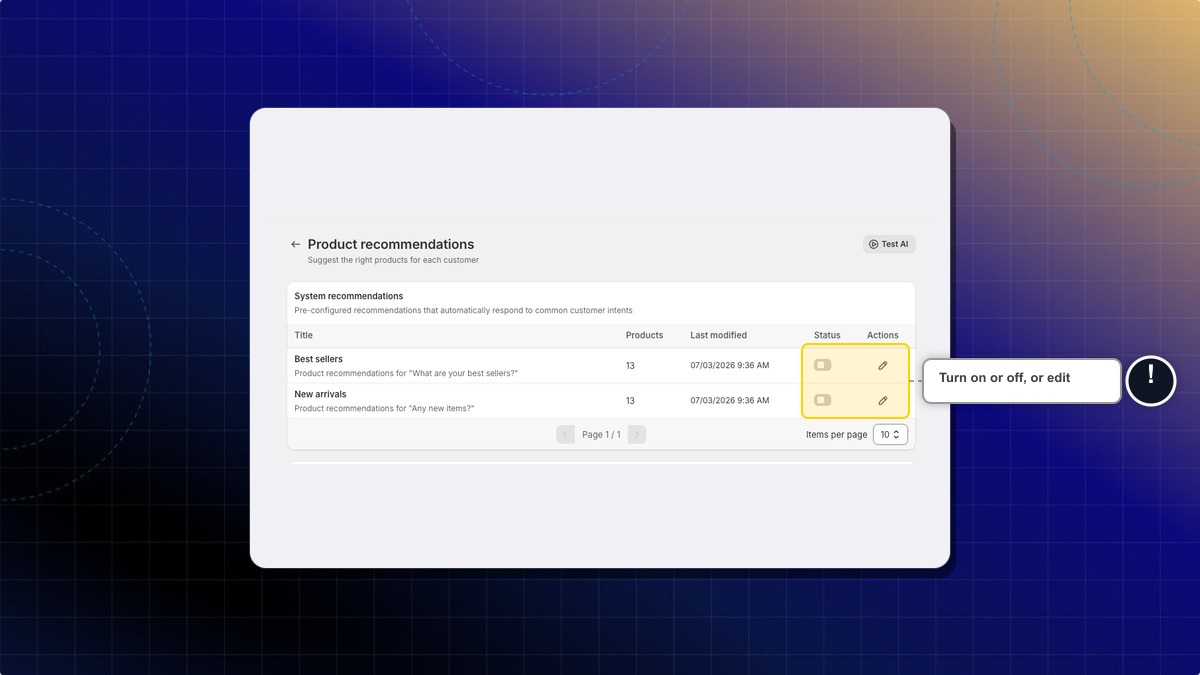
Each row shows how many products it covers and when it last changed. Turn a row on with the **Status** toggle. Click the edit icon to see and change the products it uses.
**Smart syncing.** Best sellers and New arrivals fill themselves: Chatty picks the top 20 products by sales over the last 30 days and refreshes the list daily. You can keep smart sync on and still add or remove products by hand, up to 20 products per set.
***
### How to turn on Shopify recommendations
Shopify already calculates product relationships from your store data. You can let your AI use them.
| Type | What it suggests |
|---|---|
| **Related products** | Similar items customers may also like |
| **Complementary products** | Items that go well together |
1. On the **Shopify recommendations** card, turn on the type you want.
2. Click the row, or the eye icon under **Actions**, to preview which products Shopify returns.
3. Click **Save**.
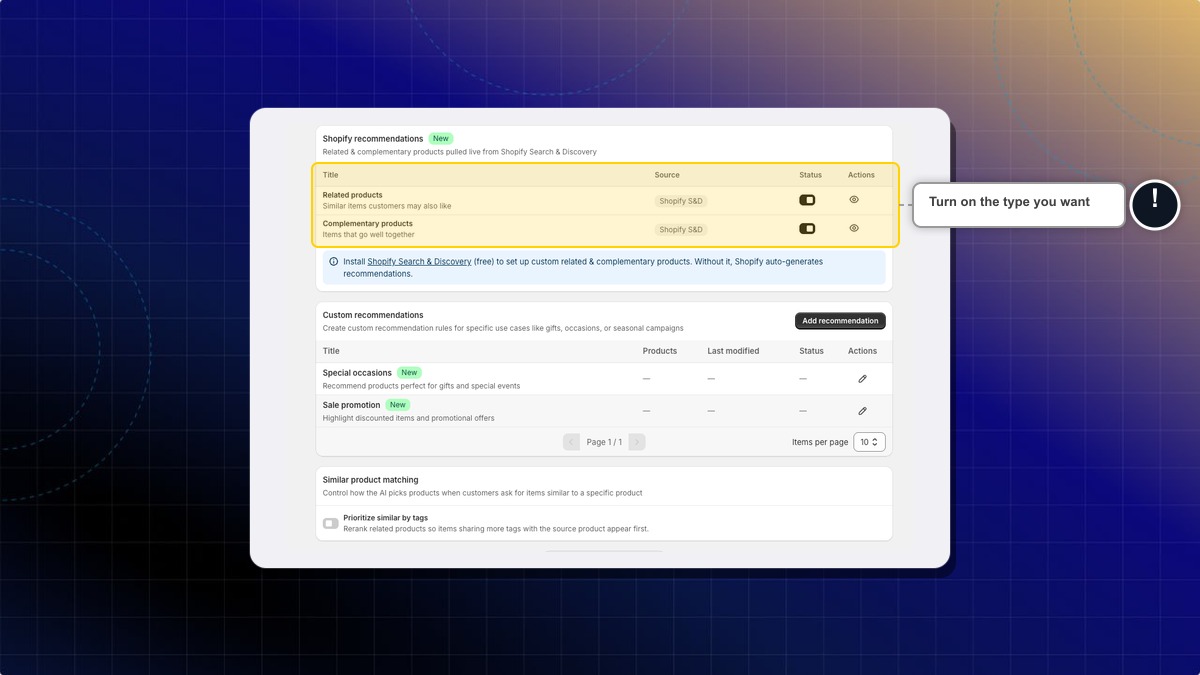
**Expected result:** Your AI can suggest related or complementary products during a conversation.
Shopify generates these lists on its own. Install the free [Shopify Search & Discovery](https://apps.shopify.com/search-and-discovery) app if you want to pick the related and complementary products yourself.
***
### How to create a custom recommendation
Use a custom rule when you want specific products for a specific moment. For example, gifts, a seasonal sale, or a one-off occasion.
The card ships with two templates: **Special occasions**, for questions like "gifts" or "birthday presents", and **Sale promotion**, for questions like "discounts", "deals", or "what's on sale". They already carry search terms, so editing one is faster than starting from scratch. A template is only saved once you edit it.
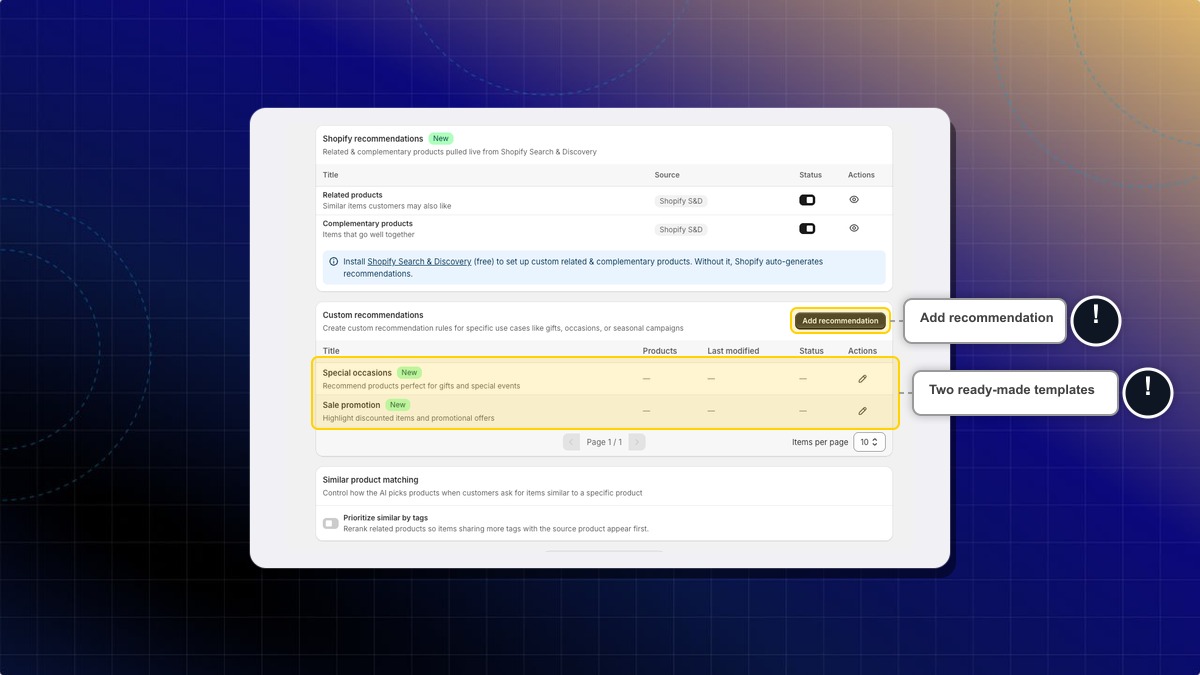
1. On the **Custom recommendations** card, click **Add recommendation**, or click the edit icon on a template.
2. In **Title**, name the rule. For example, "Valentine gifts under $50".
3. Under **Search terms**, add the phrases customers use. For example, "gift for her", "valentine present", "romantic gift".
4. Under **Products conditions**, pick the products or collections the AI should suggest.
5. Turn on **Enable recommendation**.
6. Click **Save**.
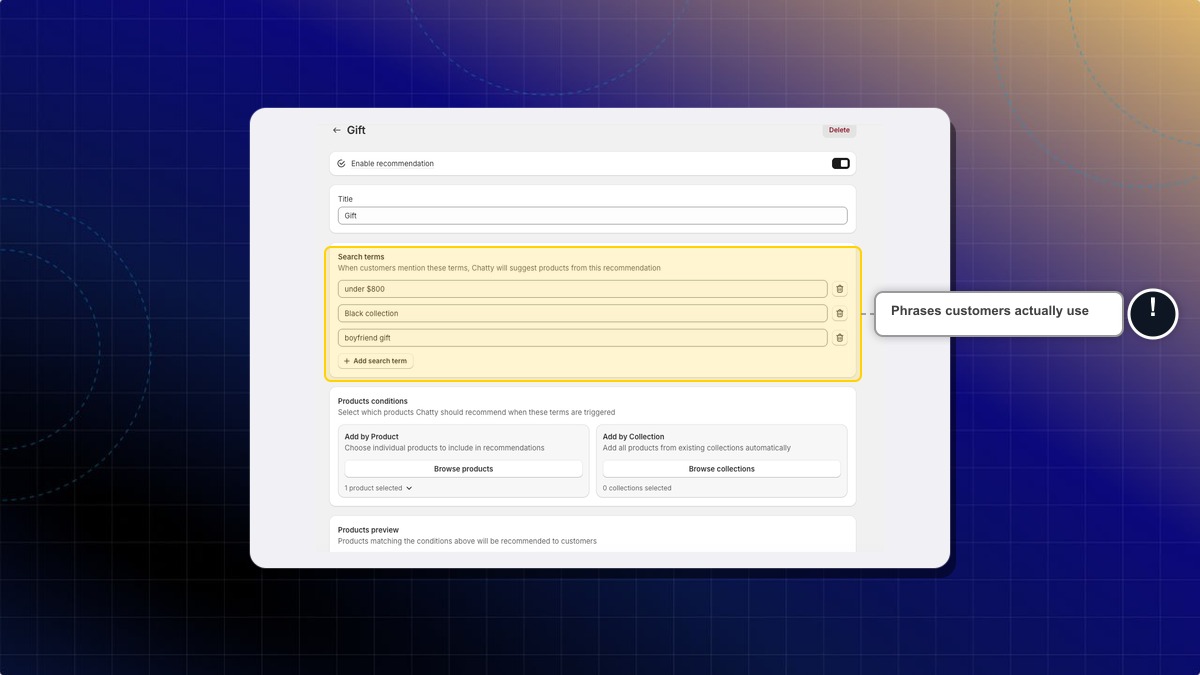
**Expected result:** The rule appears in the **Custom recommendations** table with its status on. The row shows how many products it covers and when you last changed it. When a customer mentions one of your search terms, the AI suggests those products.
To remove a rule you no longer need, click the trash icon on its row.
***
### How to prioritize similar products by tag
By default the AI ranks similar products by automatic relevance. You can force it to favor products that share your tags.
1. Scroll to **Similar product matching**.
2. Turn on **Prioritize similar by tags**.
3. In **Priority tags**, pick the tags that matter. For example, "linen", "summer", "unisex". The counter next to the label shows how many you have used.
4. Click **Save**.
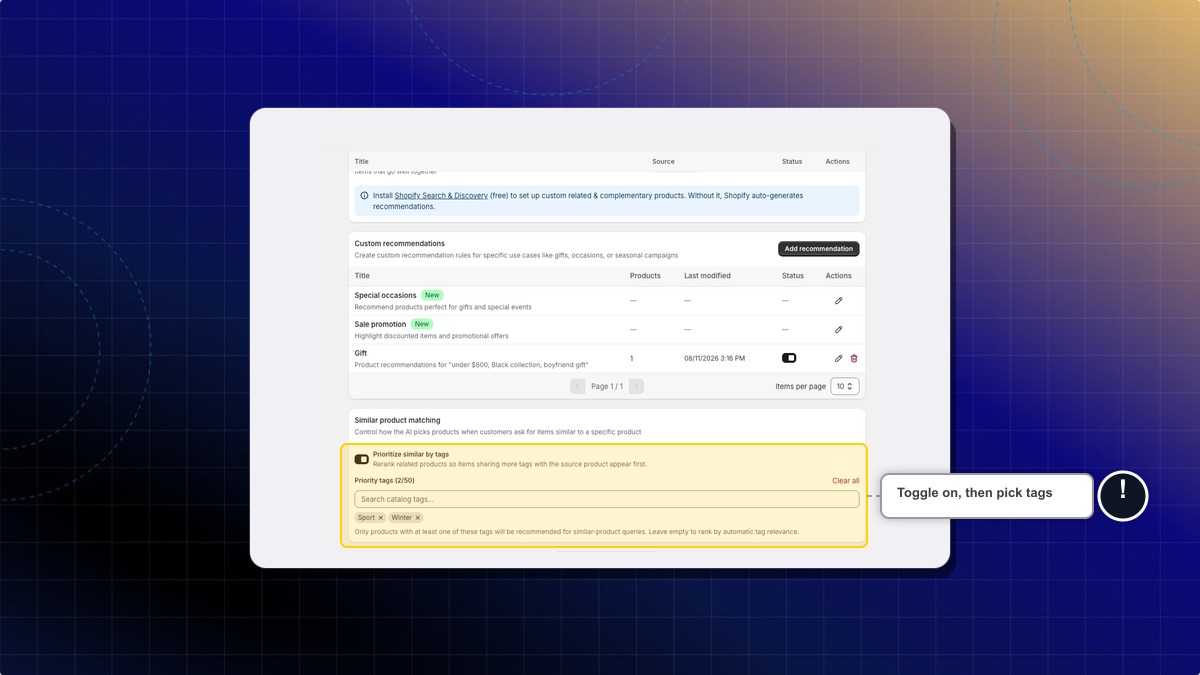
**Expected result:** When a customer asks for something similar to a product, the AI ranks items that share more of your tags first.
Once the toggle is on, only products carrying at least one priority tag can be recommended for similar-product questions. Leave the tag list empty and the save is blocked, because an empty list would silently recommend nothing.
How many priority tags can I add?
Up to 50. Click **Clear all** to start over.
What if two custom recommendations match the same question?
Keep your search terms specific to each rule. Overlapping terms make the match unpredictable, so split them by intent instead of repeating the same phrase.
Do I need to add products manually for best sellers and new arrivals?
No. Both read from your synced catalog and update as your catalog changes.
My custom recommendation never fires. What should I check?
Check three things. The rule is set to **Active**, the search terms match how customers really phrase it, and the products you picked are in stock and synced.
================================================================
URL: https://help.chatty.net/ai/train-ai/ai-skills/inventory-status/
Locale: en
================================================================
# Inventory status
### What is inventory status
Inventory status controls how your AI talks about stock. You decide whether it names exact numbers, what counts as low stock, and what it says for sold out or backorder items.
This helps you create urgency on low stock without promising availability you cannot deliver.
Every field on this page is saved together from the save bar at the top, and nothing is kept until you click **Save**.
***
### How to control what stock numbers customers see
Before you start, make sure your products are synced to Chatty. Your AI reads stock from that synced catalog, so these settings do nothing until the sync has run. Learn how to [add data sources](/ai/train-ai/training-data/knowledge-base/).
1. Go to **AI agent** → **Instructions** → **Assistant skills**.
2. Under **Shopping skills**, find **Inventory status** and click the edit icon.
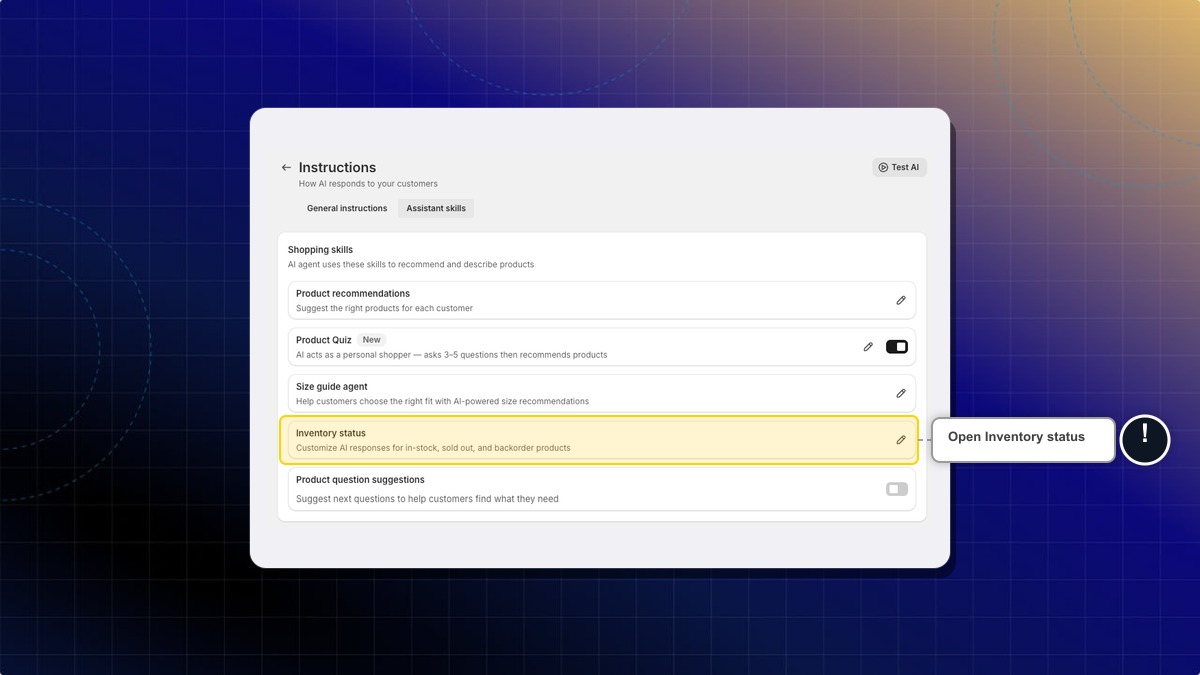
3. Turn **Show exact quantity to customers** on or off.
4. Click **Save** in the top bar.
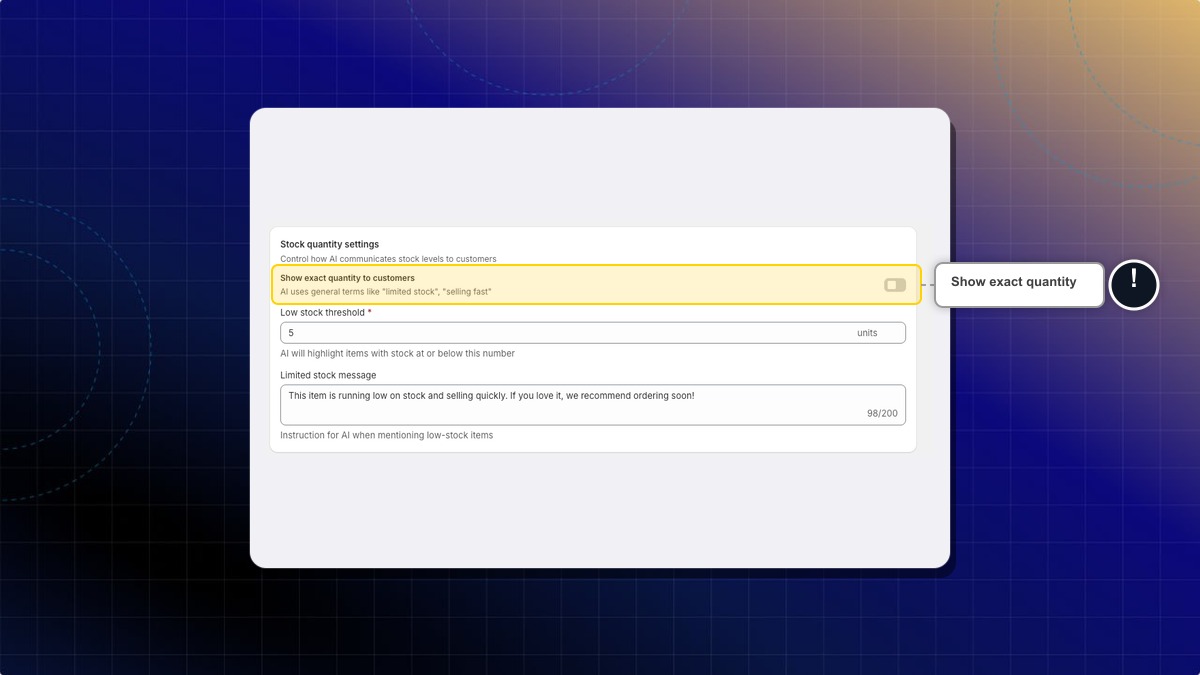
**Expected result:** With the toggle on, your AI may say "Only 3 left!". With it off, it uses general terms like "limited stock" or "selling fast".
***
### How to set your low stock threshold
1. In **Low stock threshold**, enter a number between 1 and 100. For example, `5`.
2. Click **Save** in the top bar.
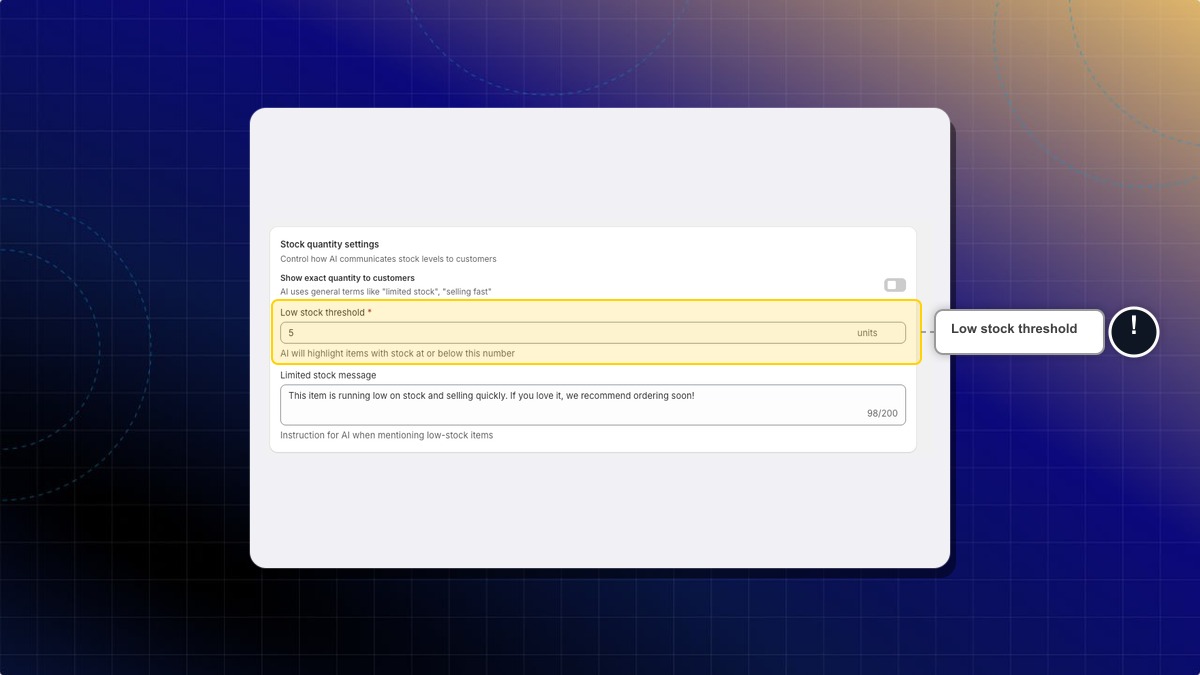
**Expected result:** Your AI treats any item with stock at or below that number as low stock.
***
### How to write your low stock message
This field is an instruction for the AI, not a script it repeats word for word.
1. In **Limited stock message**, describe the tone you want. For example: `Mention that this item is selling fast and suggest ordering soon. Create gentle urgency without being pushy.`
2. Click **Save** in the top bar.
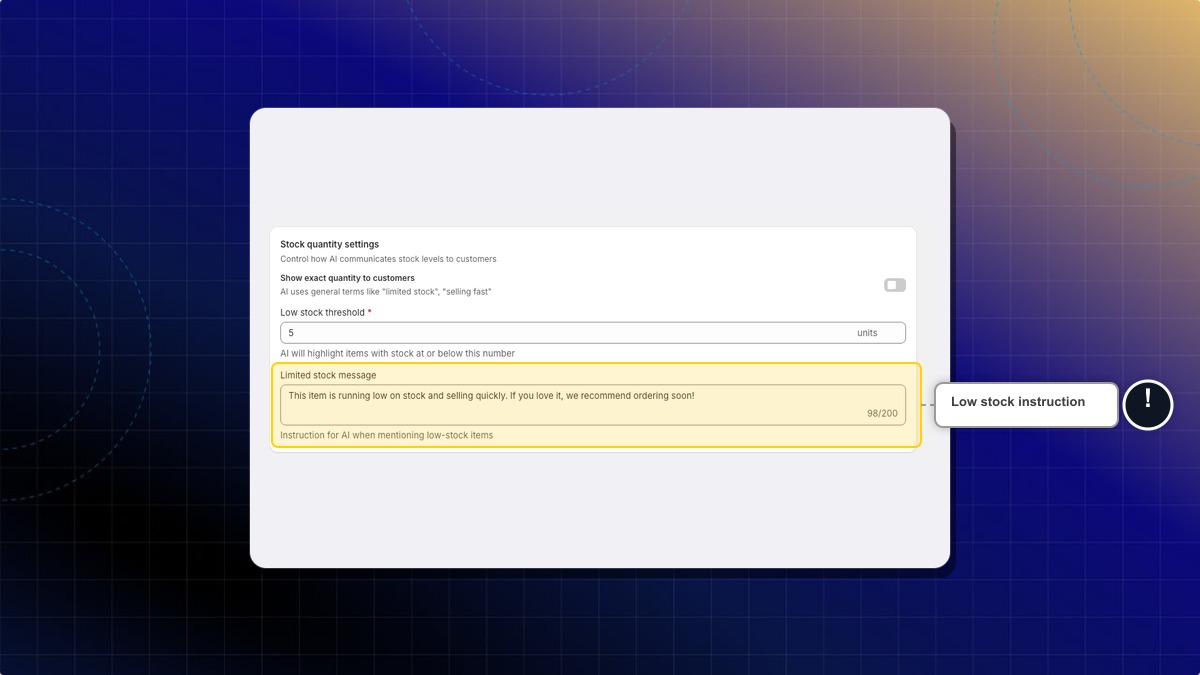
**Expected result:** When your AI mentions a low-stock item, it follows your instruction instead of a default line.
Each instruction field on this page holds up to 200 characters. The counter under the field shows how much you have left.
***
### How to set instructions per availability status
Status messages let you give the AI a different instruction for each variant state.
1. Scroll to **Status messages**.
2. Fill in the statuses you care about.
3. Click **Save** in the top bar.
| Field | When the AI uses it | Example instruction |
|---|---|---|
| **In stock** | The variant is available for immediate purchase | `Inform the customer that this item is currently available in stock for immediate dispatch. Urge them to place their order soon as stock is limited.` |
| **Sold out** | The variant is out of stock | `Tell the customer this variant is currently sold out. Advise them to check back in a few days or subscribe for restock notifications.` |
| **Available on backorder** | The variant is out of stock but can still be ordered | `Let the customer know they can secure their item by ordering on backorder today. Clarify that orders will be fulfilled on a first-come, first-served basis as soon as new stock arrives.` |
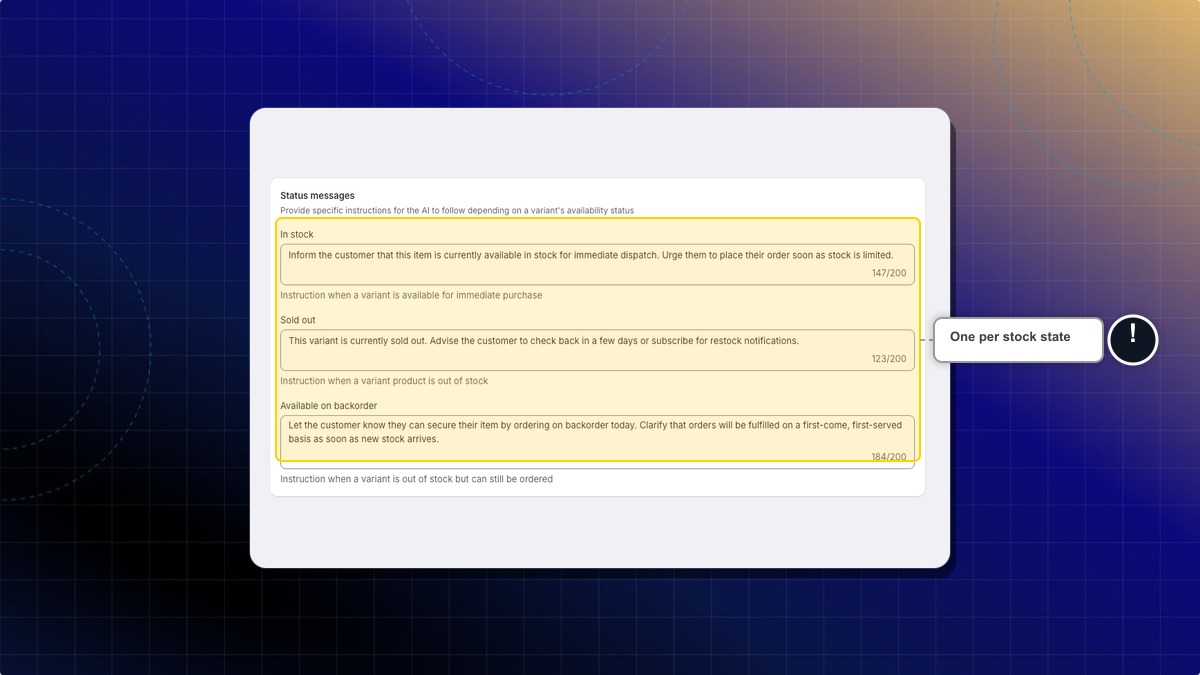
**Expected result:** Your AI switches its wording based on the real availability of the variant the customer asked about.
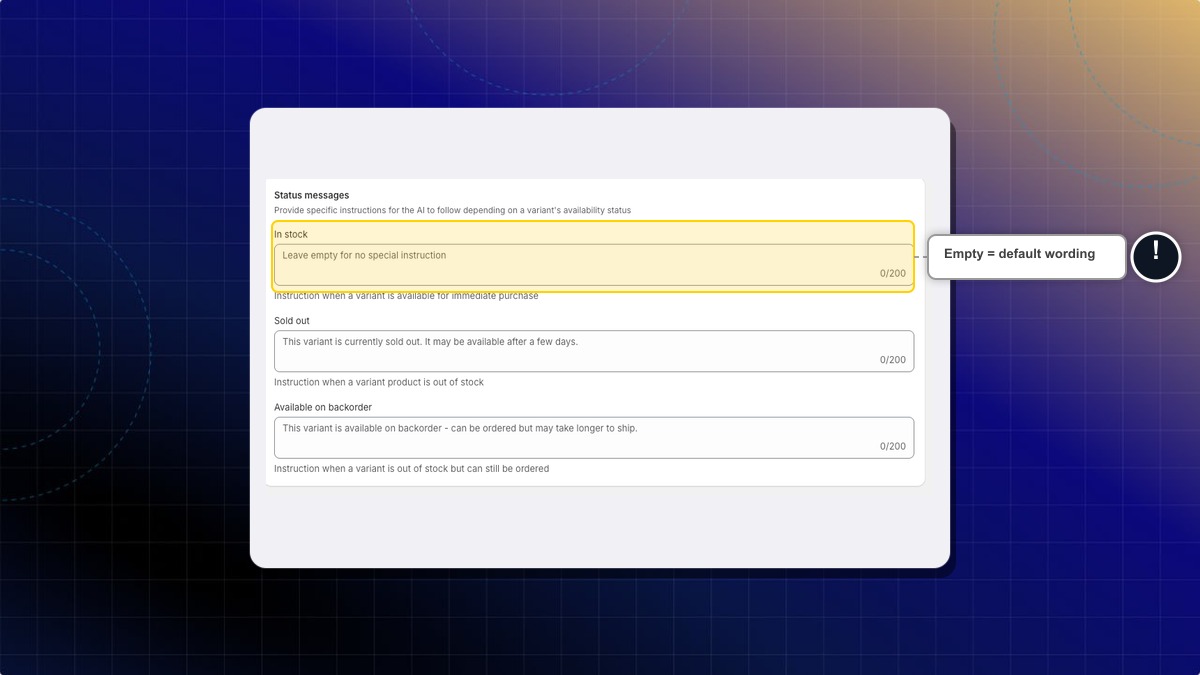
What happens if I leave a status field empty?
Your AI answers with its default wording for that status. Leave a field empty when the default is fine.
The grey text you see in an empty field is that default, not something you wrote. The counter still reads 0/200 until you type.
Will my AI ever invent a stock number?
No. It reads availability from your synced catalog. If the number is not available, it falls back to general wording.
Should I turn on exact quantities?
Turn it on when low stock is real and you want the urgency. Turn it off when your stock numbers change fast, so customers do not see a number that is already stale.
================================================================
URL: https://help.chatty.net/ai/train-ai/ai-skills/pricing-display-rules/
Locale: en
================================================================
# Pricing display rules
**Who can use this feature?**
* This feature is available for all users.
### What are pricing display rules
Pricing display rules hide the price on products you quote by hand. Your AI shows a label like **Call for Price** instead, or no price at all. It also won't add those products to the cart.
This helps you sell call-for-price, quote-only, or made-to-order items without the AI showing a wrong price like "0.00".
***
### How to turn on pricing display rules
#### Open Pricing display rules
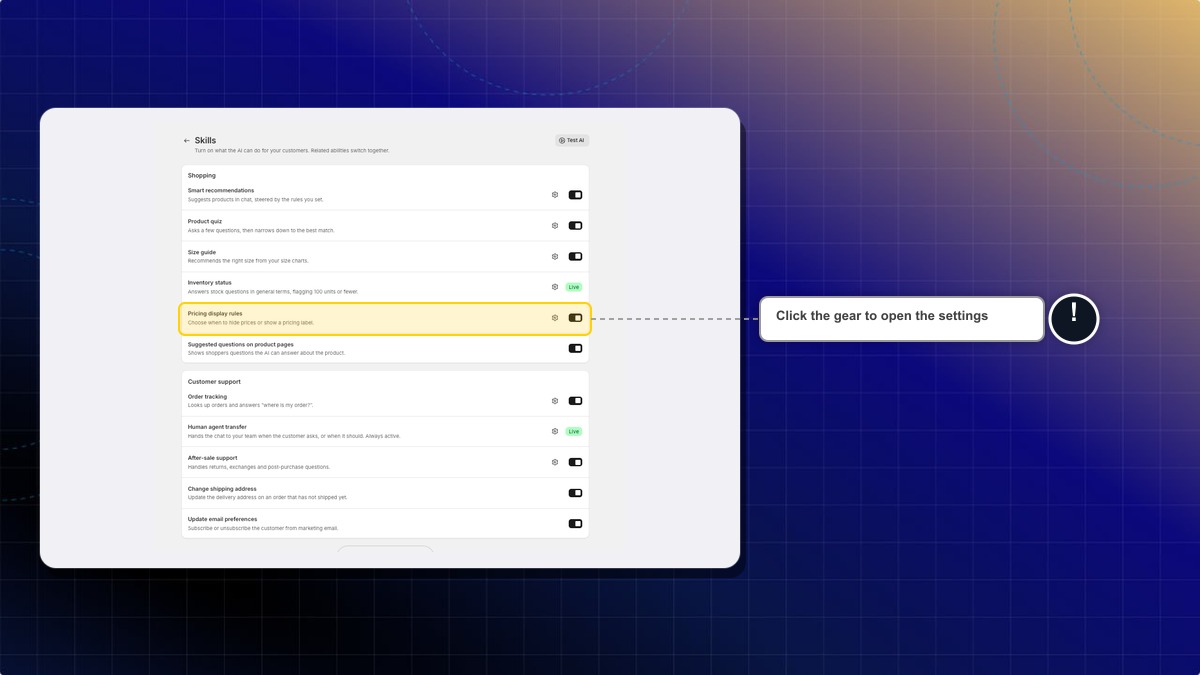
Go to **AI agent** → **Skills**. Under **Shopping**, find **Pricing display rules** and click the settings icon next to it.
#### Turn on the rule
Turn on the **Pricing display rules** toggle at the top of the page.
#### Save your change
Click **Save** in the top bar.
**Expected result:** The text under the toggle changes to "Matching products show your label instead of a price." Next, choose which products the rule covers.
The rule is off by default. You can also turn it on or off with the toggle on the **Pricing display rules** row in **Skills**. Both toggles control the same setting.
***
### How to choose which products the rule covers
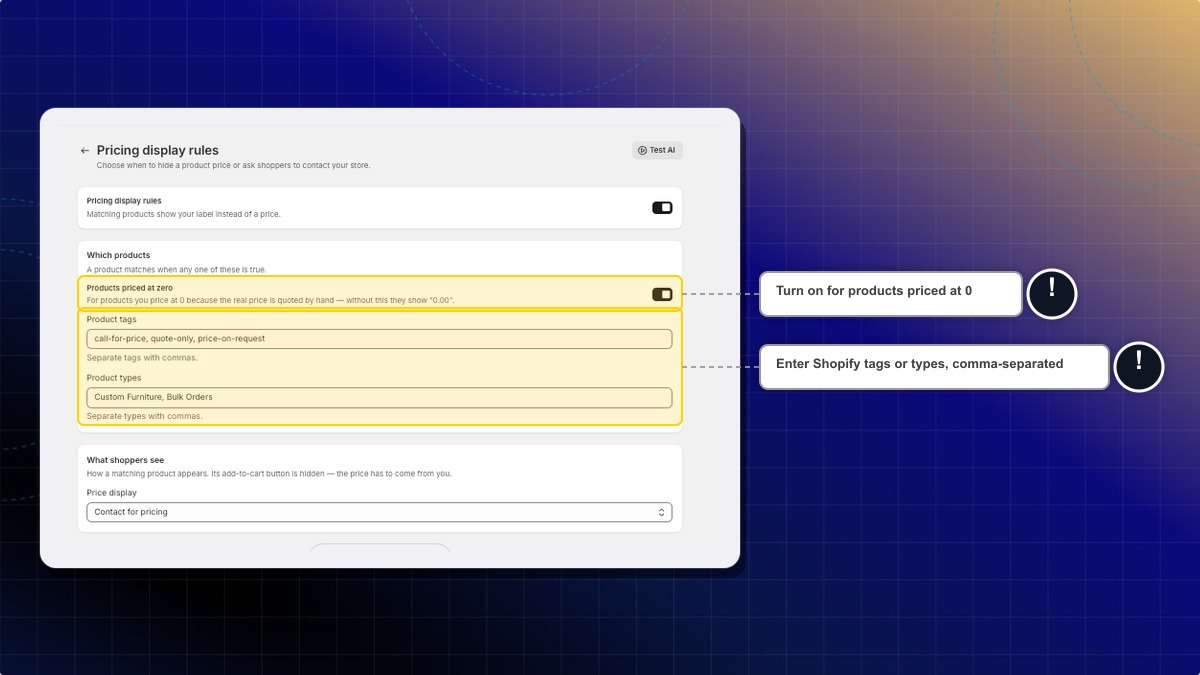
In **Which products**, tell Chatty which products have no fixed price. You don't need all three fields. Fill in only the ones that fit how you set up these products in Shopify. A product follows the rule if it matches any one of them.
#### Cover products priced at zero
Turn on **Products priced at zero** if you set these products to a price of 0 in Shopify. Without this, the AI shows them as "0.00".
#### Add product tags
In **Product tags**, enter the Shopify tags that mark these products. For example, `call-for-price, quote-only, price-on-request`.
#### Add product types
In **Product types**, enter the Shopify product types that never have a fixed price. For example, `Custom Furniture, Bulk Orders`.
#### Save your change
Click **Save** in the top bar.
**Expected result:** Any product with a listed tag, a listed type, or a price of 0 (when that toggle is on) now follows the rule.
Separate each tag or type with a comma. Capital letters don't matter, but each entry must match the whole tag or type in Shopify. For example, `quote` does not match a product tagged `quote-only`.
To check a product's tags and type, go to **Shopify admin** → **Products** and open the product. Both are in the **Product organization** card.
***
### How to choose what shoppers see
1. Go to **What shoppers see** and open **Price display**.
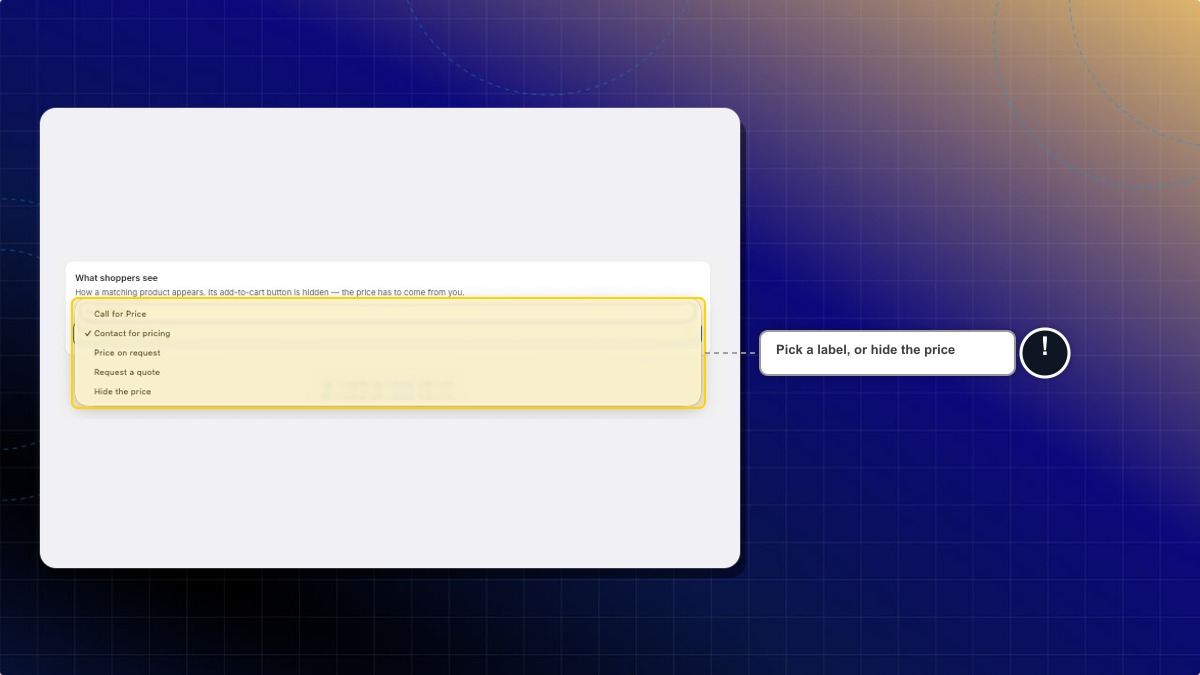
2. Pick the label that fits how shoppers get a price from you.
3. Click **Save** in the top bar.
| Option | What shoppers see | Best for |
|---|---|---|
| **Call for Price** (default) | The card reads "Call for Price" instead of a number | Items you price over the phone |
| **Contact for pricing** | "Contact for pricing" takes the price spot | Stores that reply by chat or email |
| **Price on request** | The card shows "Price on request" in place of the price | Made-to-order or custom items |
| **Request a quote** | A "Request a quote" line replaces the price | Bulk and wholesale orders |
| **Hide the price** | The price spot stays empty, with no label | Items where you'd rather say nothing |
**Expected result:** Matching products show your choice in chat and AI product cards. The add-to-cart button is gone on those cards.
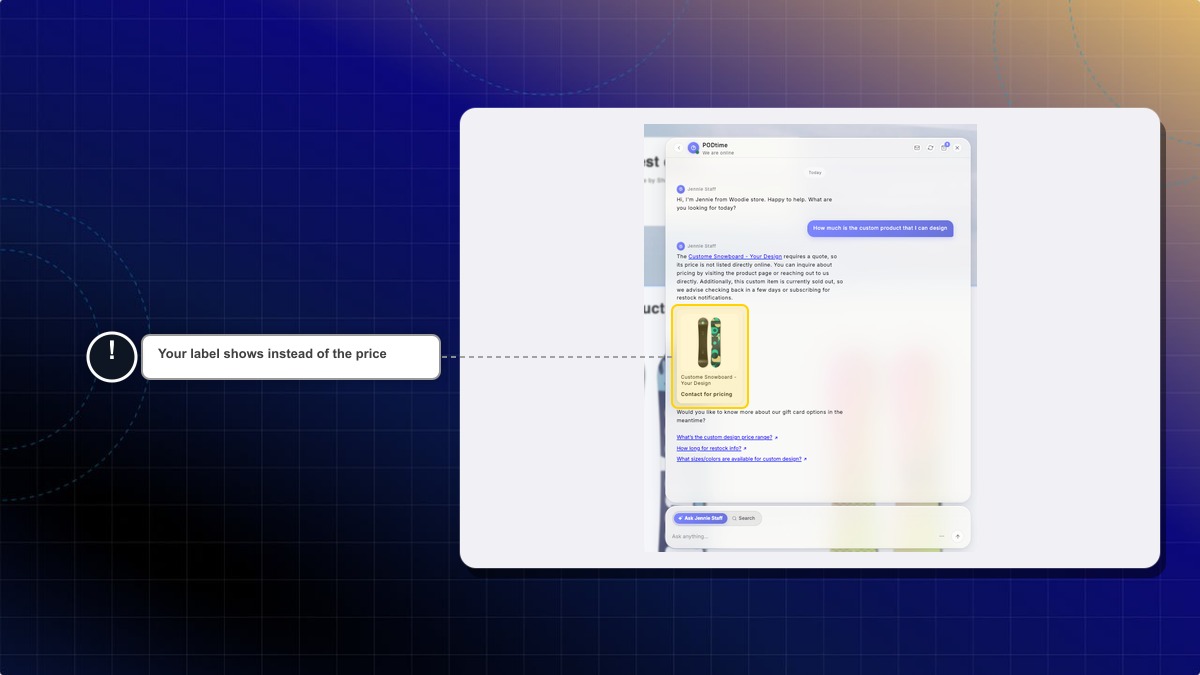
Chatty translates the label into the shopper's language. You can only pick from these four labels. You can't type your own.
***
### What your AI does for matching products
When a shopper asks about a matching product, your AI:
* Never states, guesses, or makes up a price
* Never says the product is free
* Doesn't say whether it fits the shopper's budget
* Won't add it to the cart, and tells the shopper it couldn't be added
* Points the shopper to the product page, or to a contact method your store has shared, so they can ask for a price
Products that don't match keep their normal price and add-to-cart button.
Does the rule work on Messenger, Instagram, and WhatsApp?
Yes. Matching products show no price on these channels. They show the product name and link, but not your label.
Does the rule cover size guide answers?
Yes. Size guide cards for matching products show your label instead of a price.
I switched to Hide the price. Will I lose my label choice?
No. Chatty remembers your last label. Switch **Price display** back and it returns.
What if I turn on the rule but leave every condition empty?
No product matches, so every product still shows its price. Set at least one condition in **Which products**.
Will product cards from past chats change?
No. Cards already sent keep what they showed at the time. The rule applies to new answers only. This also works the other way: if you turn the rule off, old cards keep the label.
How many tags and product types can I add?
You can add up to 100 tags and 100 product types. Each one can be up to 200 characters.
Does this change the price on my Shopify store?
No. The rule only changes what your AI says and shows in chat. Your theme product pages and Shopify prices stay the same.
================================================================
URL: https://help.chatty.net/ai/train-ai/ai-skills/product-quiz/
Locale: en
================================================================
# Product quiz
**Who can use this feature?**
* This feature is available for Pro & Plus plan users.
### What is Product Quiz
Product Quiz lets your AI assistant ask shoppers a few short questions, then recommend products from your catalog based on their answers. This helps shoppers who are unsure what to buy find the right product faster.
The quiz runs in two ways. Your AI can start it on its own when it detects shopping intent, or you can show it proactively as a teaser that greets visitors on your storefront.
The quiz is off by default. You turn it on and choose how it runs. Every setting on this page is saved together from the save bar at the top, and nothing is kept until you click **Save**.
***
### How to turn on Product Quiz
1. Go to **AI agent** → **Instructions** → **Assistant skills**.
2. Under **Shopping skills**, find **Product Quiz** and turn on its toggle.
3. Click the edit icon on the same row to open its settings.
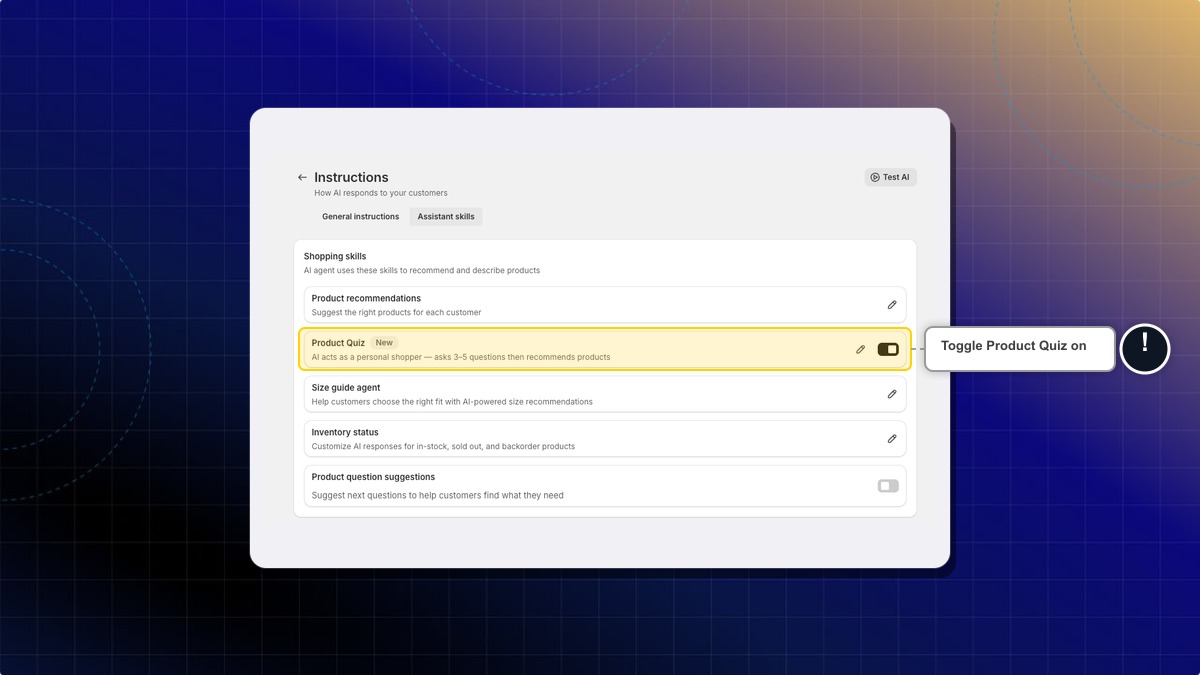
**Expected result:** The quiz is active. Your AI can now start it when it detects shopping intent.
***
### How to set which products the quiz covers
Collection scope controls which products the quiz can recommend.
1. In **Collection scope**, choose **All collections** or **Specific collections**.
2. If you choose **Specific collections**, click **Browse collections**.
3. Tick the collections the quiz should draw from, then click **Add**.
4. Click **Save** in the top bar.
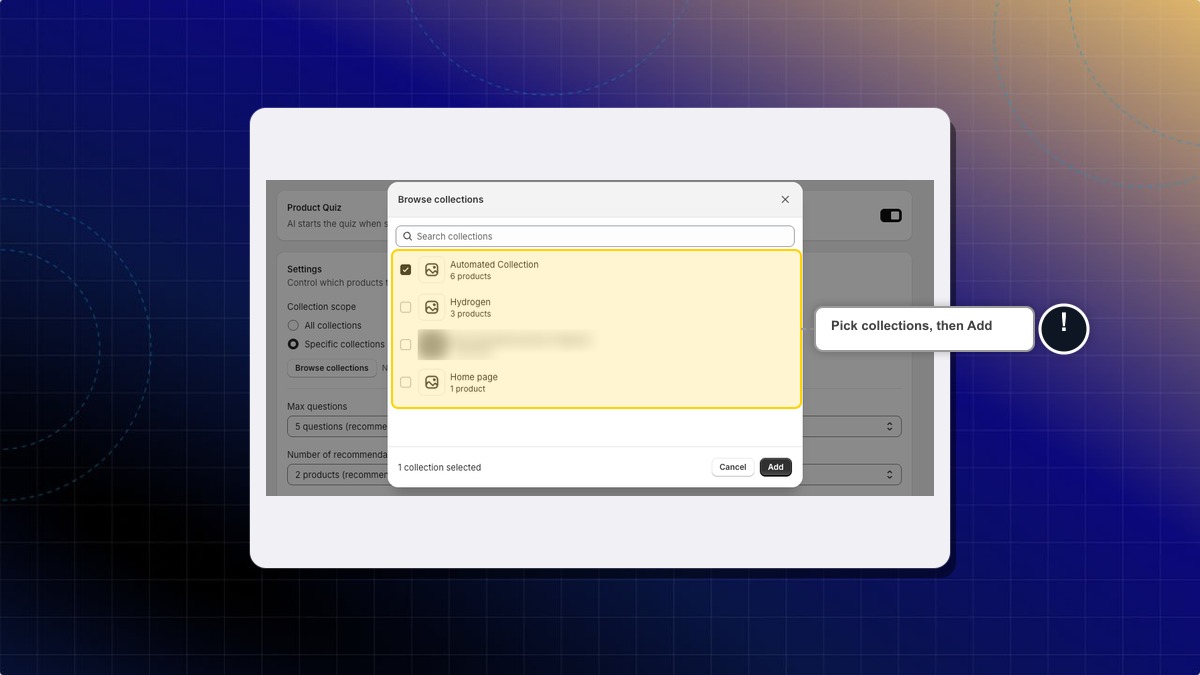
**Expected result:** The quiz only recommends products from the collections you selected.
***
### How to set the quiz length and recommendations
1. In **Max questions**, choose **3 questions**, **5 questions (recommended)**, or **7 questions**.
2. In **Number of recommendations**, choose **1 product**, **2 products (recommended)**, or **3 products**.
3. Click **Save** in the top bar.
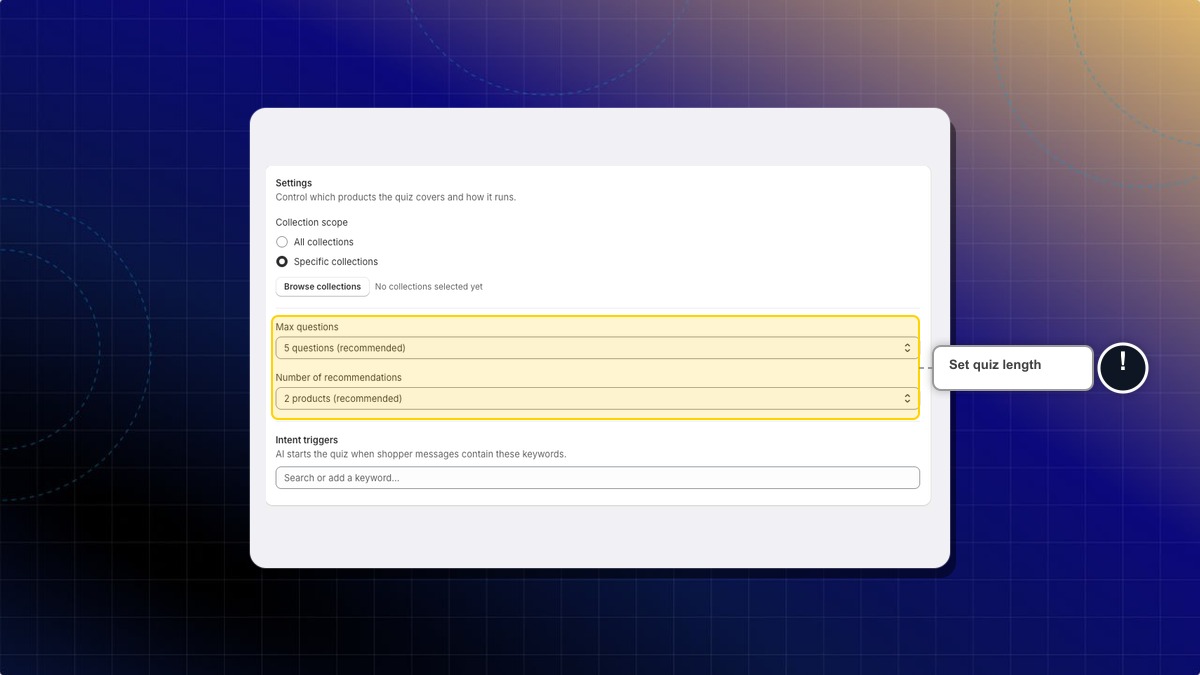
**Expected result:** The AI asks up to the number of questions you set, then recommends that many products.
***
### How to choose when the quiz starts
Intent triggers are keywords that tell your AI when a shopper is looking for a product, so it knows when to offer the quiz.
1. In the **Intent triggers** field, type a keyword, for example `recommend`, `i'm looking for`, `help me choose`, `gift`, or `under $800`.
2. Select a suggested phrase, or type your own keyword and add it.
3. Remove a keyword by clicking the **x** on its tag.
4. Click **Save** in the top bar.
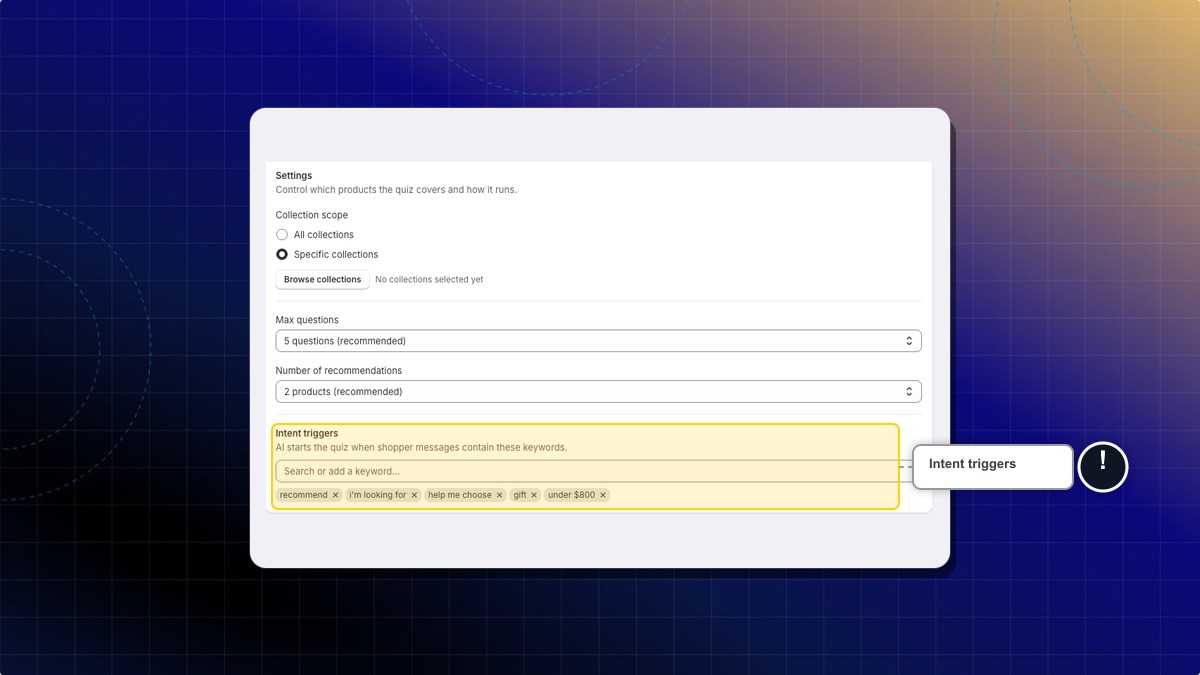
**Expected result:** When a shopper's message matches one of these triggers, the AI offers the quiz.
***
### How to show the quiz proactively
Instead of waiting for shopping intent, you can invite visitors to take the quiz with a teaser popup on your storefront.
The quiz is not a proactive chat of its own. It is a message type you pick inside a proactive chat you already run, so the teaser inherits that chat's audience, pages, and timing.
1. Go to **Proactive chat**. You can also click **Go to Proactive chat** from the Product Quiz page.
2. Create a proactive chat, or open an existing one and click **Edit**.
3. In the **Message** section, choose the **Product Quiz** tab.
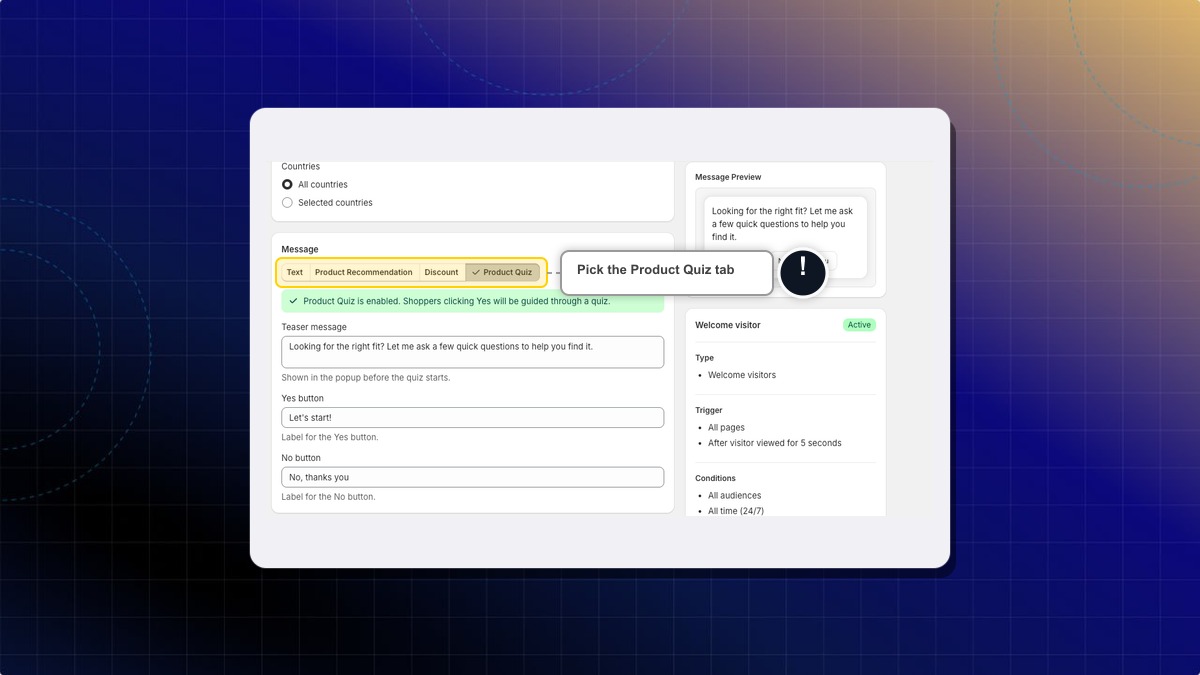
4. Write the **Teaser message**, the **Yes button** label, and the **No button** label. Watch **Message Preview** on the right to see the popup as you type.
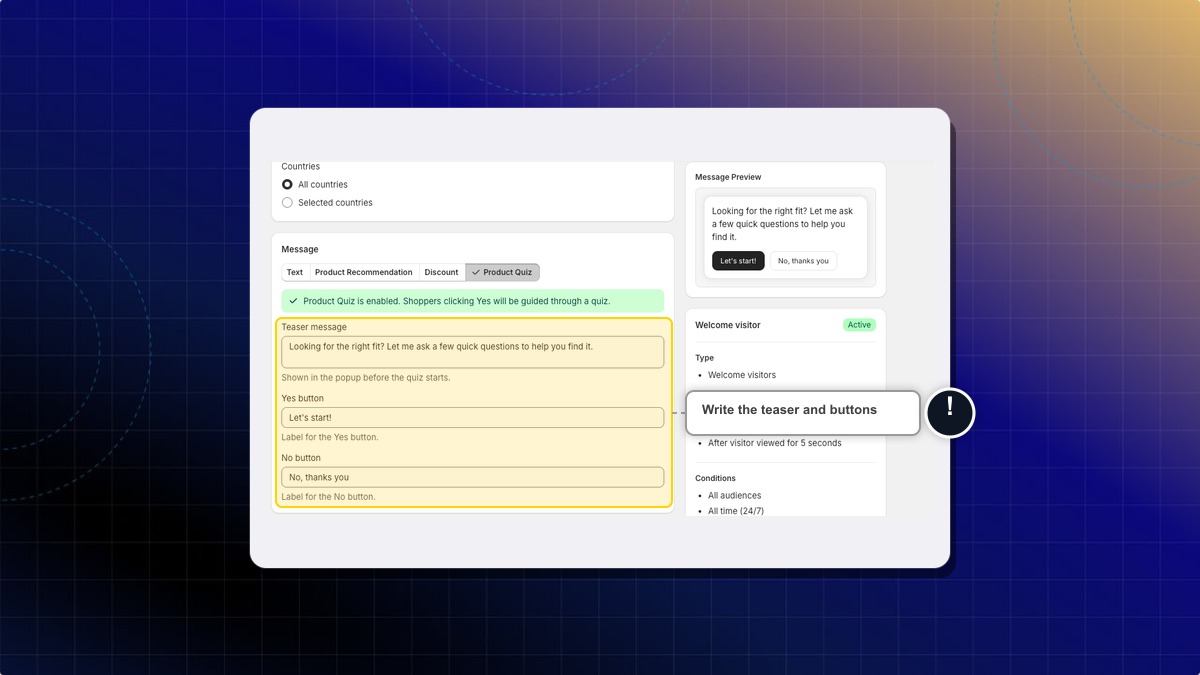
5. Set when and where the teaser shows, then save the proactive chat.
**Expected result:** A green bar confirms *"Product Quiz is enabled. Shoppers clicking Yes will be guided through a quiz."* Matching visitors see your teaser, and clicking the Yes button starts the quiz in chat.
What happens if a shopper dismisses the quiz teaser?
The teaser closes and no quiz starts. The shopper can still chat as usual, and your AI can offer the quiz later if their message matches an intent trigger.
Do I need to add products for the quiz to work?
No. The quiz recommends from products already synced to your catalog. Use **Collection scope** to narrow which products it can suggest.
================================================================
URL: https://help.chatty.net/ai/train-ai/ai-skills/size-guide/
Locale: en
================================================================
# Size guide
**Available on:** Pro & Plus plan users\
**Location:** AI agent → Instructions → Assistant skills → Size guide
### Overview
Sizing questions are one of the most common reasons customers reach out before buying.
With Size Guide feature, you can teach your AI assistant exactly how your products are sized, so it can give customers accurate, personalized recommendations based on their own measurements.
You can now add size charts in multiple formats, link them to specific products, and define the measurement fields your AI should ask customers about, making every sizing conversation feel tailored and confident.
***
### Add a size chart
Size charts tell your AI how your products are sized. On the **Size chart** card, pick **Text** and paste your chart in whatever format your size data is already in, or pick **Image** and upload a picture of it.
#### Supported formats
| Format | Example use case |
| -------------- | ------------------------------------------------- |
| **Plain text** | Simple S/M/L tables copied from a doc |
| **Markdown** | Formatted tables from Notion or GitHub |
| **HTML** | Size charts exported from third-party sizing apps |
| **Image** | A photo or screenshot of your chart, .jpg or .png up to 5MB |
There's no longer a limit on how many size guides you can create — add as many as your catalog needs.
#### How to add a size chart
1. Go to **AI agent → Instructions → Assistant skills → Size guide**.
2. Click **Add Size Guide**.
3. Enter a name for the size guide (e.g. "Women's Tops — US Sizes").
4. Paste your size chart content in any supported format (plain text, Markdown, or HTML), or upload an image of it.
5. Click **Save**.
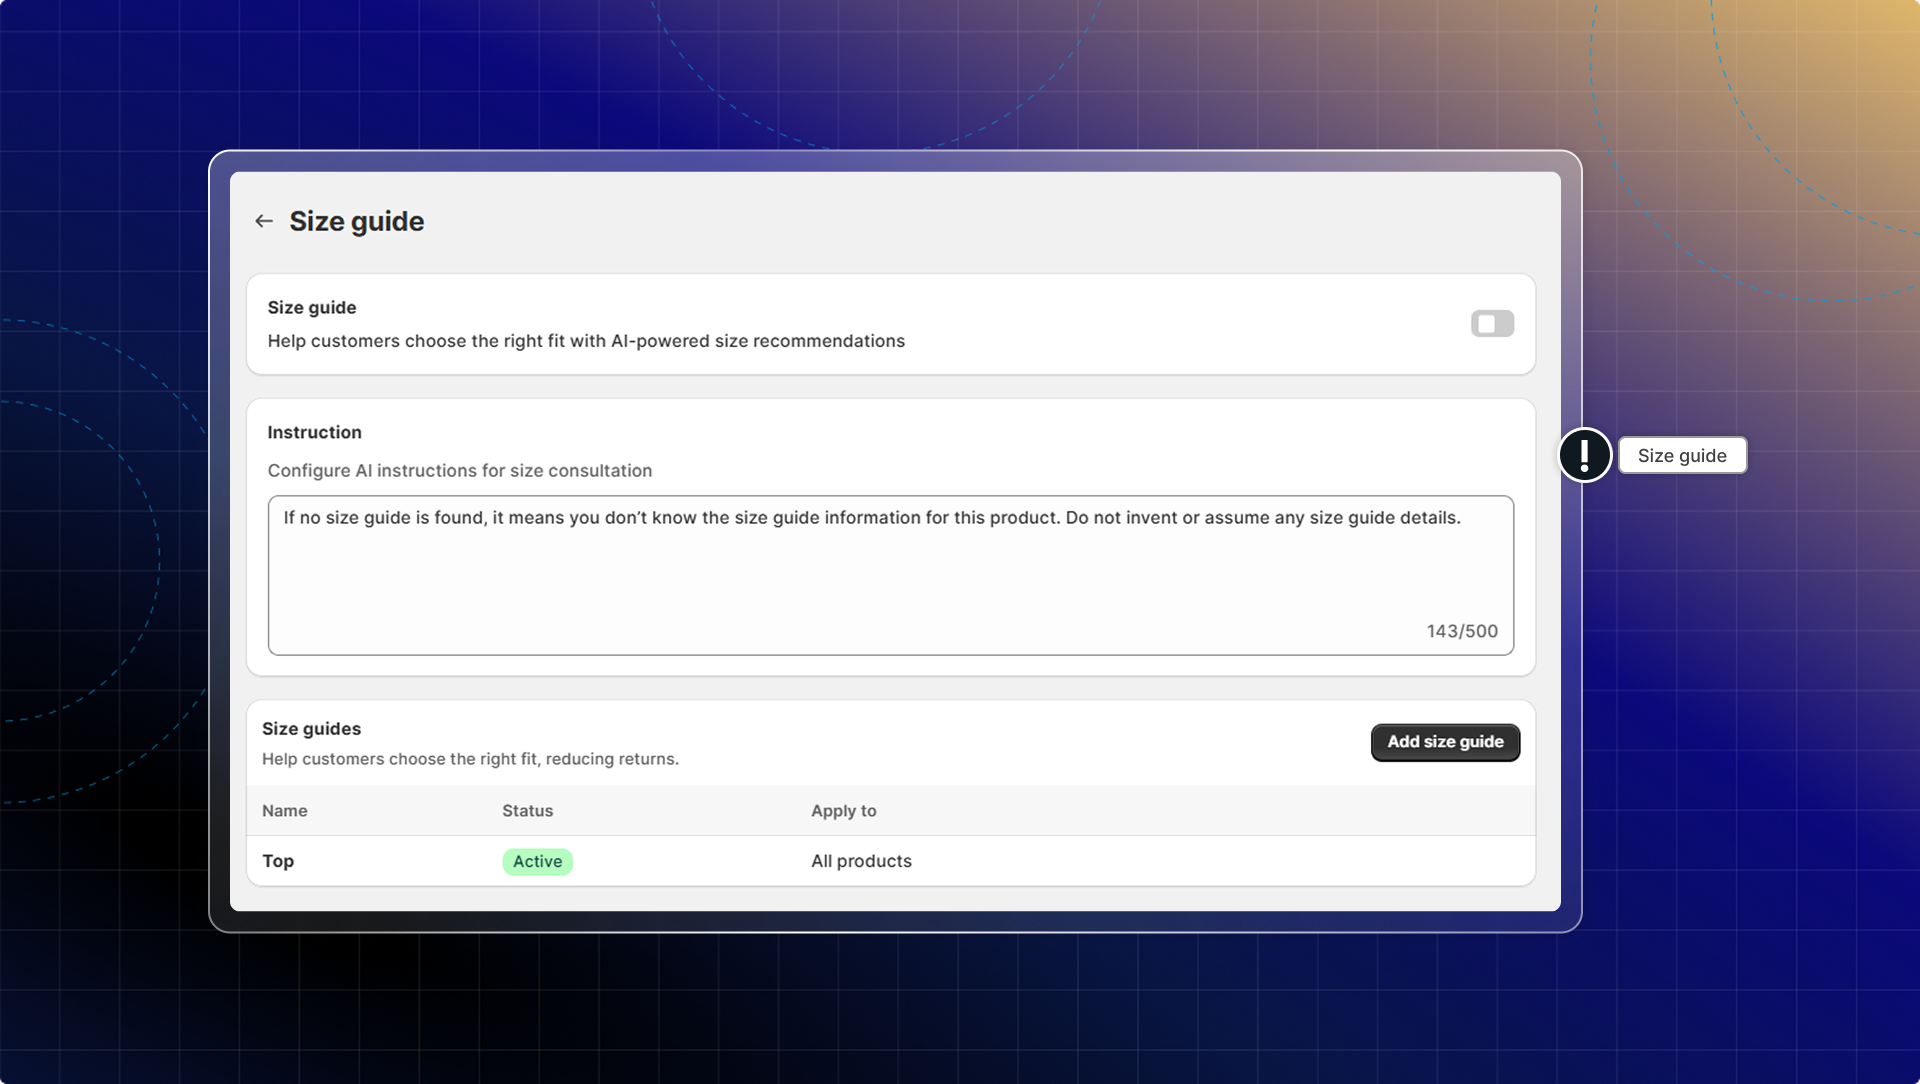
What is the instruction of AI in size guide for?
In the instruction field, tell your AI how to handle size questions. For example:
"If no size guide is found, it means you don't know the size guide information for this product. do not invent or assume any size guide details."
This instruction prevents your AI from generating incorrect sizing information. The field holds up to 500 characters.
***
### Link a size guide to specific products
When you have multiple product categories with different sizing, you can assign each size guide to the products it applies to. Your AI will only use the relevant size guide when a customer asks about a specific product.
#### How to link a size guide to a product
1. Open the size guide you want to assign.
2. Go to **Product matching conditions**.
3. Choose **All product** to use this guide everywhere, or **Group of product by conditions** to narrow it down.
4. For a group, set the conditions: **Vendors**, **Tag**, or **Collections**. A preview table below shows which products match.
5. Click **Save**.
When a customer asks about sizing for a matched product, the AI will automatically use that product's size guide and ignore others.
If a product matches no size guide, the AI will use any size guide you set to **All product**.
You must set at least one condition when you choose **Group of product by conditions**, otherwise the save is blocked.
***
### Set up measurement fields
Measurement fields define what body dimensions the AI should ask customers for when helping them find their size. Instead of customers guessing, the AI guides them through a structured sizing conversation.
Chatty extracts these fields from your size chart when you save the guide. You can add or change them by hand at any time.
Common measurement fields include: chest, waist, hip, height, weight, inseam.
#### How to add measurement fields
1. Open a size guide.
2. Scroll to the **Measurement Fields** section.
3. Click **Add field** and enter the measurement name (e.g. "Chest", "Waist").
4. Add a unit if needed (e.g. cm, inches).
5. Click **Save**.
Once saved, the AI will ask customers for these measurements during sizing conversations and use them to recommend the right size from your chart.
***
### How the AI uses your size guide
When a customer asks a sizing question, the AI:
1. Identifies which product the customer is asking about.
2. Finds the size guide linked to that product.
3. Asks the customer for the measurements defined in your measurement fields.
4. Matches the customer's measurements against your size chart.
5. Recommends the best size — and explains why.
The AI automatically detects units (cm or inches) from both the size chart and the customer's message, so customers can answer in whatever unit they're comfortable with.
***
### Tips
* Use descriptive names for your size guides (e.g. "Men's Bottoms — EU" vs. "Men's Bottoms — US") so it's easy to manage them as your catalog grows.
* For stores with third-party sizing apps, copy the HTML output of your size chart and paste it directly — the AI can read it.
* If a size guide applies to your entire catalog, you don't need to link it to specific products — it will be used as the default.
================================================================
URL: https://help.chatty.net/ai/train-ai/ai-skills/transfer/
Locale: en
================================================================
# Human handover
### What is human handover
Human handover controls how a conversation moves from AI to your team. It is split into two clear parts:
* **When should AI hand off to your team?** — the situations that start a handover
* **Where does the customer go?** — what happens to the conversation once AI hands off
Keeping these separate makes it easy to decide *when* AI should step back and *where* each customer should land, without mixing the two.
### When should AI hand off to your team?
There are two ways to decide when AI steps back: **auto-triggers** and **intent rules**.
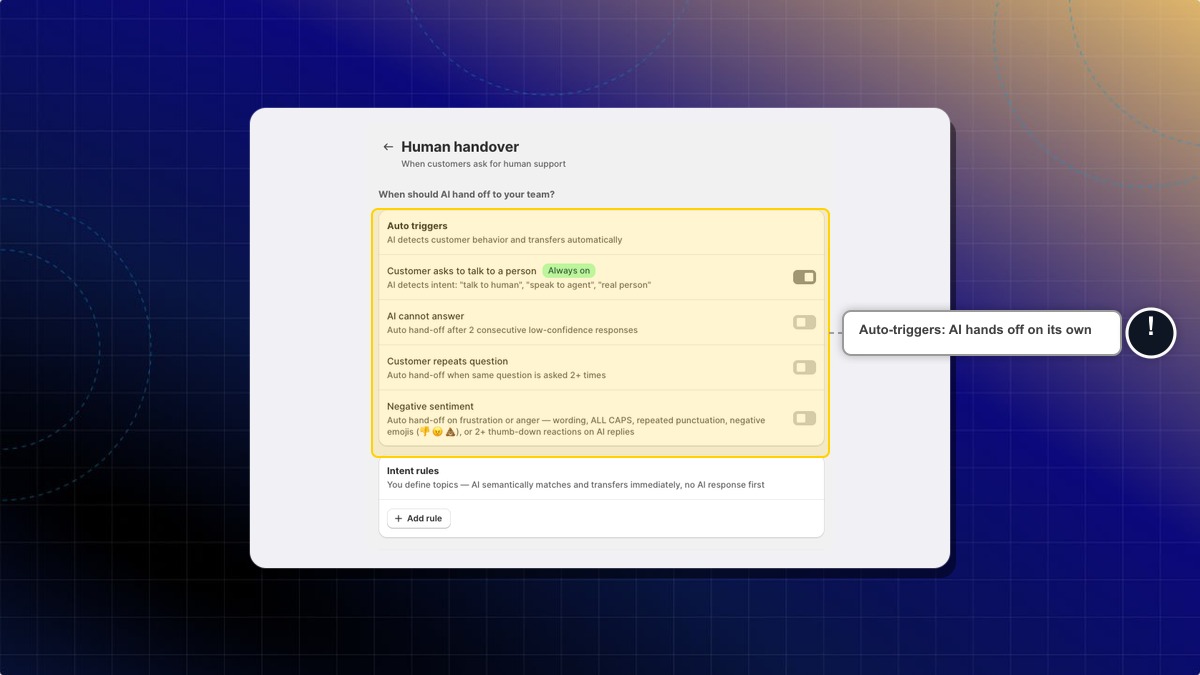
#### Auto triggers
AI detects customer behavior and hands off automatically. Turn on the triggers that fit your team:
* **Customer asks to talk to a person** — *Always on*. AI detects intent such as "talk to human", "speak to agent", or "real person".
* **AI cannot answer** — auto hand-off after **2 consecutive low-confidence responses**.
* **Customer repeats question** — auto hand-off when the **same question is asked 2+ times**.
* **Negative sentiment** — auto hand-off on frustration or anger, detected from wording, ALL CAPS, repeated punctuation, negative emojis, or **2+ thumb-down reactions** on AI replies.
The first trigger stays on so customers can always reach a person on request.
#### Intent rules
Use intent rules to define topics that should hand off **immediately**, with no AI response first. AI semantically matches the topic (covering keyword variations) and transfers right away.
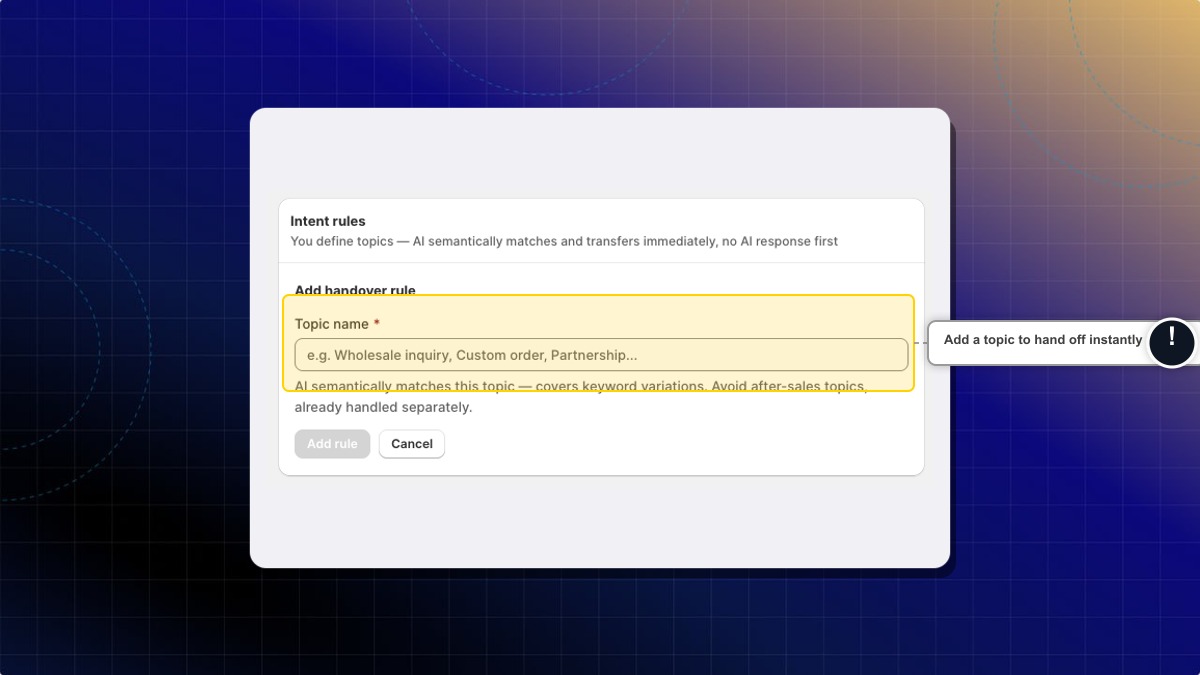
Click **Add rule**, give the topic a name (for example *Wholesale inquiry*, *Custom order*, or *Partnership*), and save. Avoid after-sales topics that are already handled separately.
### Where does the customer go?
Once AI decides to hand off, choose where the conversation lands. AI writes its own transfer reply to fit each situation, so you no longer set fixed pre- or post-transfer messages.
If you previously set up fixed pre- or post-transfer messages, they are removed after this update. AI now replies in context instead.
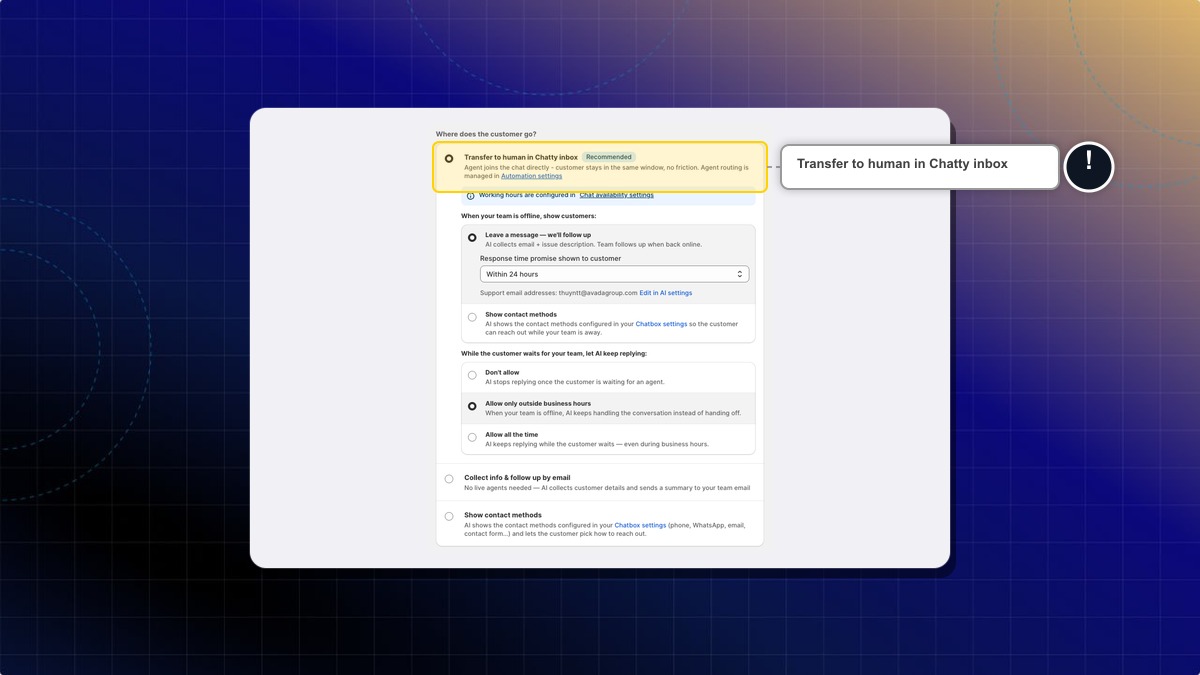
Pick one of three destinations:
#### Transfer to human in Chatty inbox `Recommended`
The agent joins the chat directly and the customer stays in the same window, with no friction. Agent routing is managed in your [auto-assignment settings](/live-chat/team#assign-conversation-to-member/), and working hours come from your **Chat availability settings**.
**When your team is offline, show customers:**
* **Leave a message — we'll follow up** — AI collects the customer's email and issue description, and your team follows up when back online. Set the **response-time promise** shown to the customer (for example *Within 24 hours*).
* **Show contact methods** — AI shows the contact methods configured in your **Chatbox settings** so the customer can reach out while your team is away.
**While the customer waits for your team, let AI keep replying:**
* **Don't allow** — AI stops replying once the customer is waiting for an agent.
* **Allow only outside business hours** — when your team is offline, AI keeps handling the conversation instead of handing off.
* **Allow all the time** — AI keeps replying while the customer waits, even during business hours.
#### Collect info & follow up by email
No live agents needed — AI collects the customer's details and sends a summary to your **support email address** (set under *AI settings*) for follow-up. Set the **response-time promise** shown to the customer (for example *Within 24 hours*).
#### Show contact methods
AI shows the contact methods configured in your **Chatbox settings** (phone, WhatsApp, email, contact form, and more) and lets the customer pick how to reach out.
### How to set up human handover
#### **1.** Open Human handover
Go to **AI agent** *→* **Instructions** *→* **Assistant skills** *→* **Human handover**.
#### **2.** Set when AI should hand off
* Turn on the **auto triggers** you want: *Customer asks to talk to a person*, *AI cannot answer*, *Customer repeats question*, and *Negative sentiment*.
* Add **intent rules** for any topics that should hand off immediately.
#### **3.** Choose where the customer goes
Pick a destination — **Transfer to human in Chatty inbox**, **Collect info & follow up by email**, or **Show contact methods** — and configure its details (offline behavior, response-time promise, and whether AI keeps replying while the customer waits).
================================================================
URL: https://help.chatty.net/ai/train-ai/link-training-data-to-scenarios/
Locale: en
================================================================
# Link training data to a scenario
### What is linked training data
Linked training data is the set of training data sources you attach to a scenario. When the scenario fires, the AI answers using only the content from these sources. This helps you control exactly what the AI says in specific flows, like refunds or promotions.
### How to link training data to a scenario
Before you start, make sure you have added the training data you want to link. Learn how to [add data sources](/ai/train-ai/training-data/knowledge-base/).
1. Go to **AI agent** → **Instructions** → **Assistant skills** → **Custom scenarios**.
2. Open the scenario you want to edit, or create a new one. Learn how to [add a scenario](/ai/train-ai/).
3. Find the **Linked training data** section.
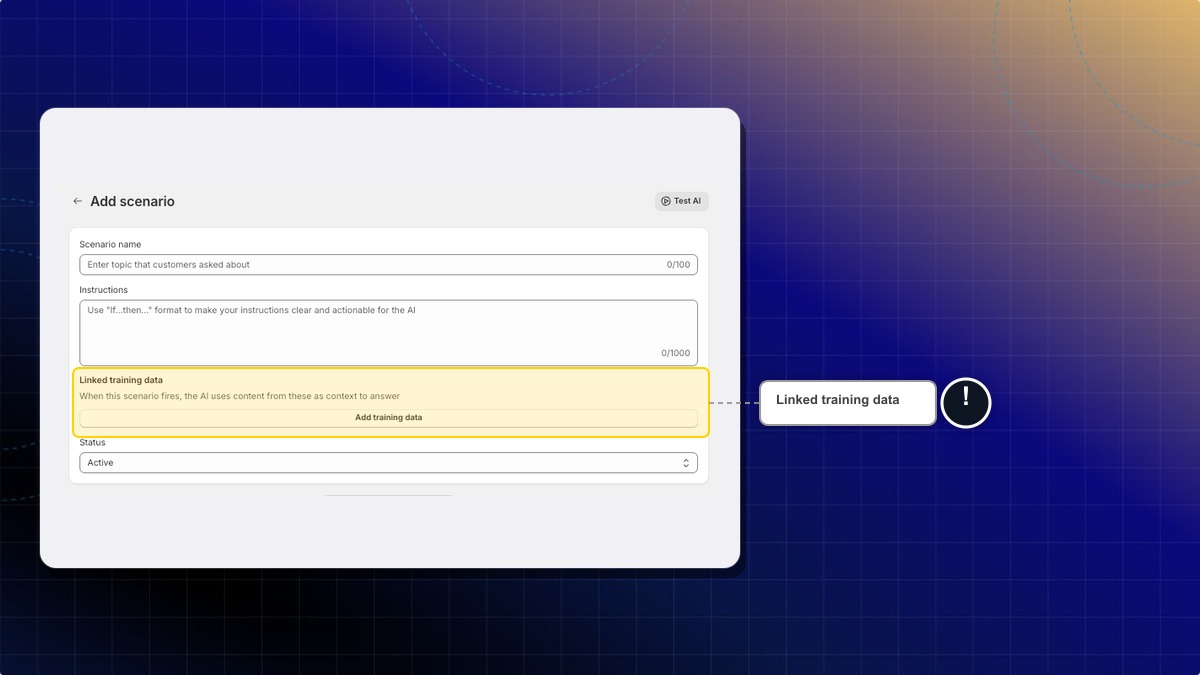
4. Click **Add training data**.
5. Select the sources this scenario should use. You can pick from **URL**, **Shopify Page**, **File**, **QnA**, **Product**, **Collection**, **Discount**, and **FAQ** sources.
Example: for a "Return request" scenario, link your "Return policy" Shopify Page and your refund QnA.
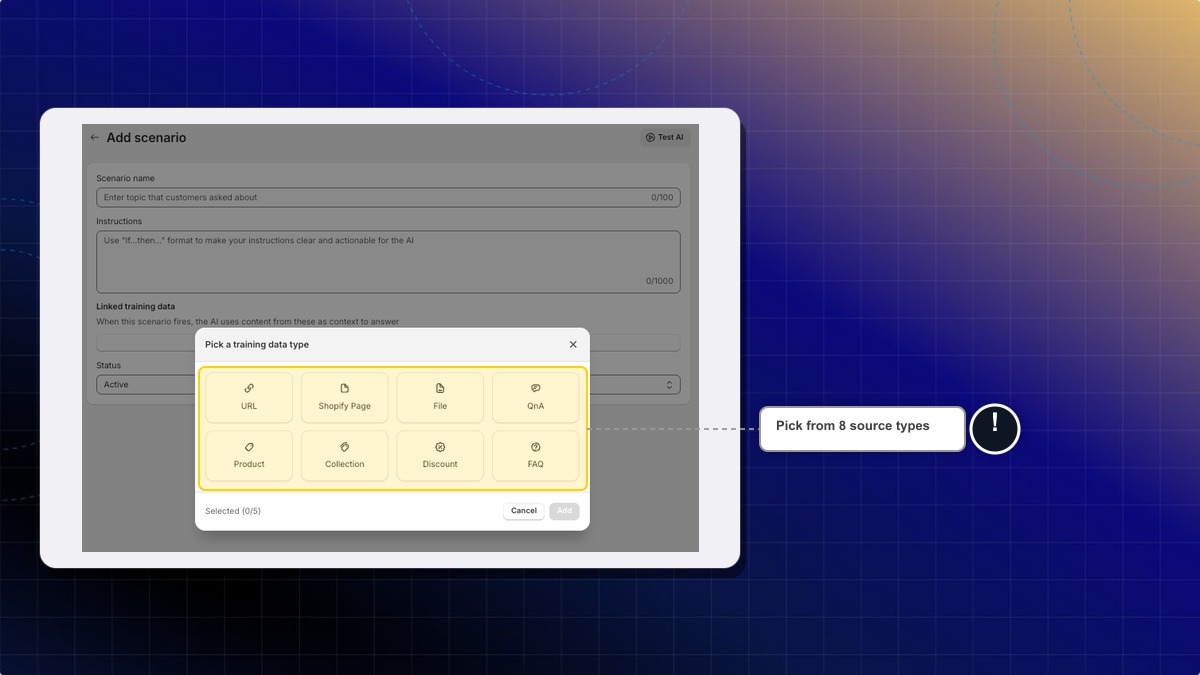
6. Confirm your selection.
7. Save the scenario.
**Expected result:** The linked sources appear in the **Linked training data** section, with the note "When this scenario fires, the AI uses content from these as context to answer".
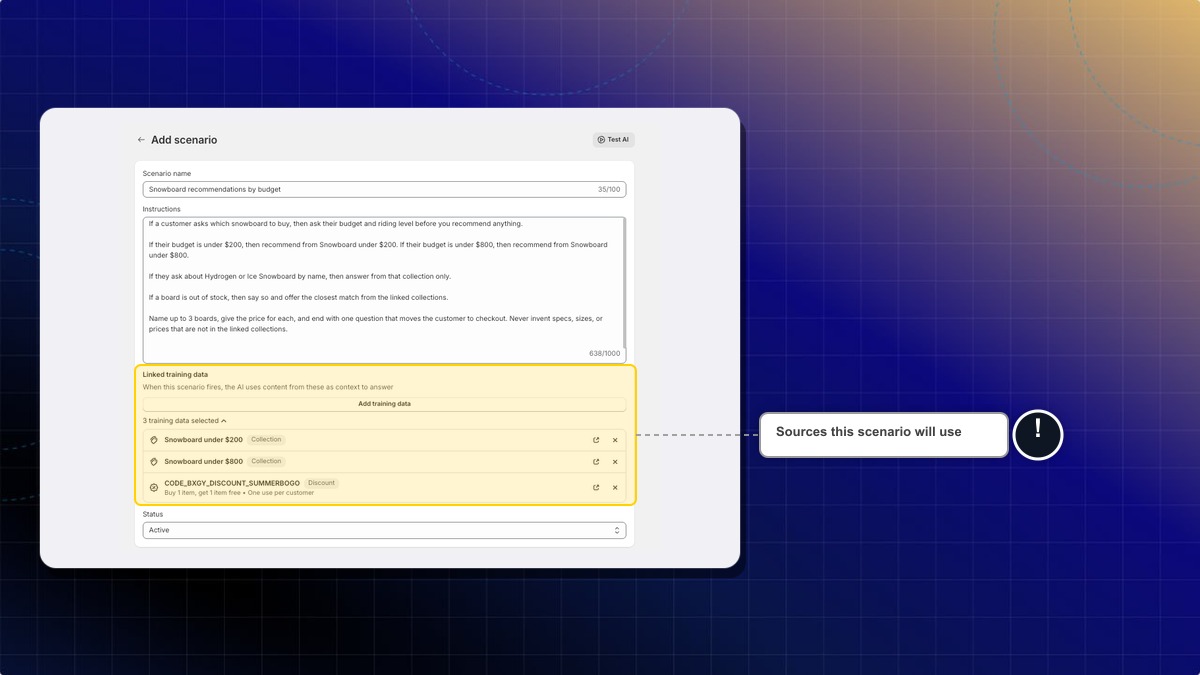
Now, when a customer message triggers the scenario, the AI answers from the linked sources only.
Do I have to link training data to every scenario?
No. A scenario with no linked training data works as before. The AI searches all your training data for the answer.
Can the AI use my other training data when the scenario fires?
No. When a scenario with linked training data fires, the AI builds its answer from the linked sources only. It does not search the rest of your training data for that reply.
================================================================
URL: https://help.chatty.net/ai/train-ai/scenarios/
Locale: en
================================================================
# Scenarios
**Who can use this feature?**
* This feature is available for all users.
### What is a scenario
A scenario tells your AI agent how to handle one specific customer situation. For example, "a return request after delivery" or "a customer asking to change the address on an order."
Each scenario has three parts:
* **When it applies:** the situation, a few sample customer messages, and the question types it covers.
* **What the agent does:** your instructions for that situation.
* **Data it uses:** training data the AI should read when the scenario runs.
This helps you control what the AI says in the moments that matter most to your store.
### How to add a scenario
#### Open Scenarios
Go to **AI agent** → **Scenarios** and click **Add scenario**.
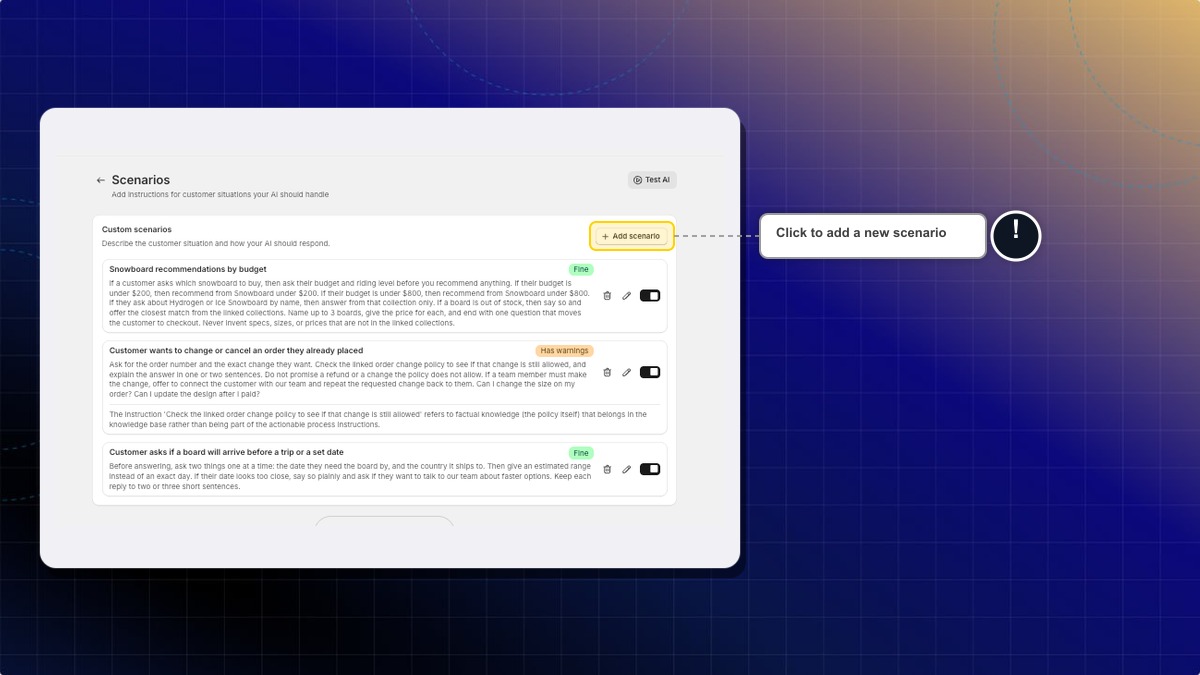
#### Describe the situation
In **Situation**, describe one specific situation. You can use up to 100 characters. For example, "Help with a return after an order arrives".
Be specific. "A return request after delivery" works well. "Help customers" is too vague for the AI to know when to use it.
#### Add example customer messages
Under **Example customer messages (optional)**, click **Add example message**. Type a message the way your customers would write it, in their own language. For example, "My order came yesterday, can I send it back?"
Repeat to add up to five messages. Click **Remove** to delete one.
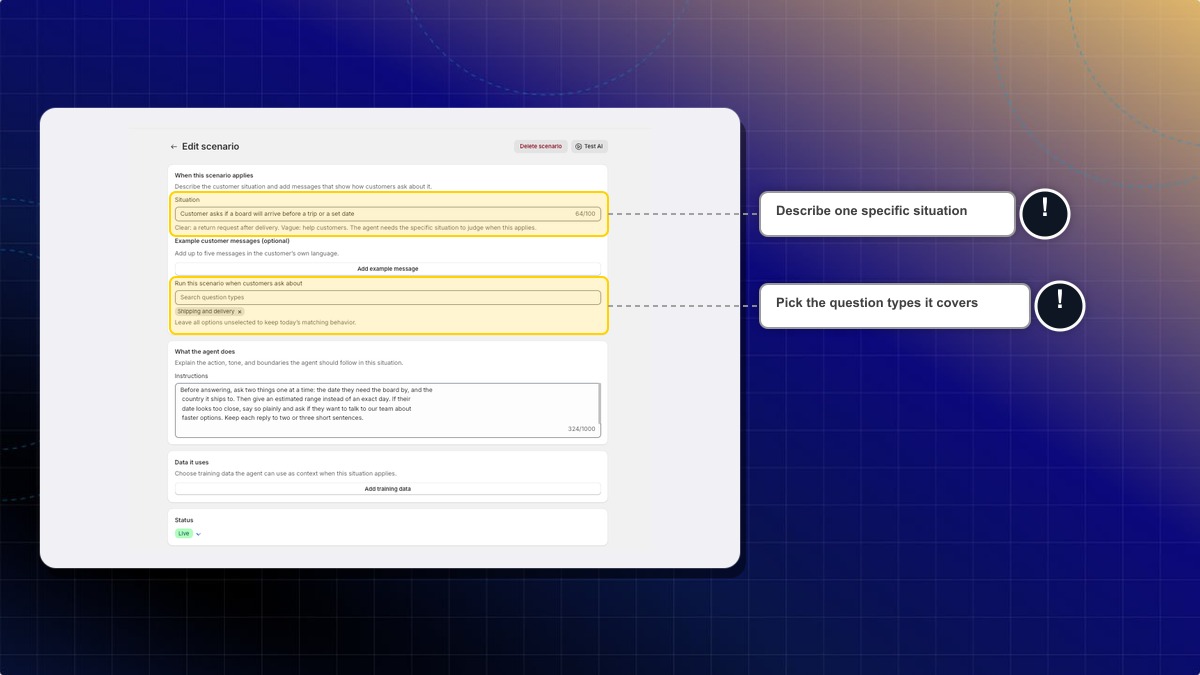
#### Pick the question types
Click **Run this scenario when customers ask about**. Type to search or scroll the list, then select a type. For a return scenario, pick **Returns and after-sales support**.
Select more types if the scenario covers them. Each one shows as a tag. Click **x** on a tag to remove it.
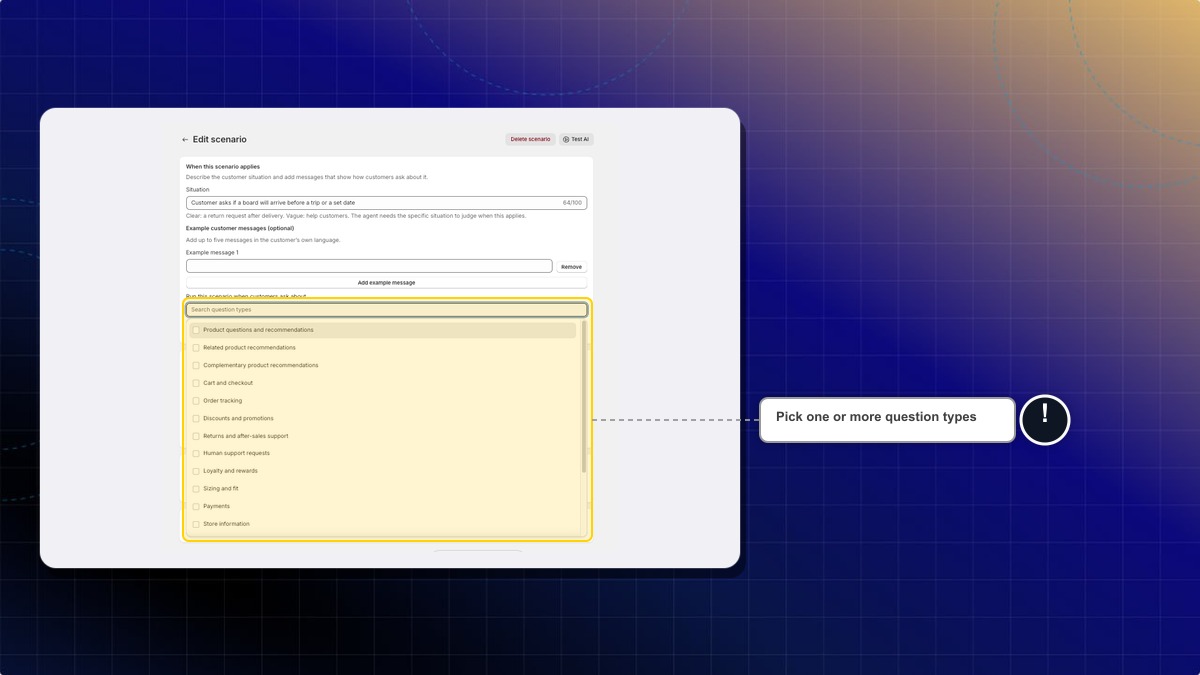
#### Write the instructions
In **Instructions**, explain the action, tone, and limits for this situation. You can use up to 1,000 characters. For example, "Ask for the order number first. Then ask what they want to return, and why. Repeat the request back and offer to connect them with our team."
Write the steps the AI should follow, not facts about your store. Keep facts like your return window or delivery times in training data. Put sample messages in **Example customer messages**, not in **Instructions**.
#### Link training data
Under **Data it uses**, click **Add training data**. Select the sources the AI should read for this scenario, like your "Return policy" page. Learn more about [linking training data to a scenario](/ai/train-ai/link-training-data-to-scenarios/).
#### Set the status and save
Under **Status**, choose **Live** to use the scenario with customers now, or **Off** to save it without using it. New scenarios start as **Live**. Then click **Save**.
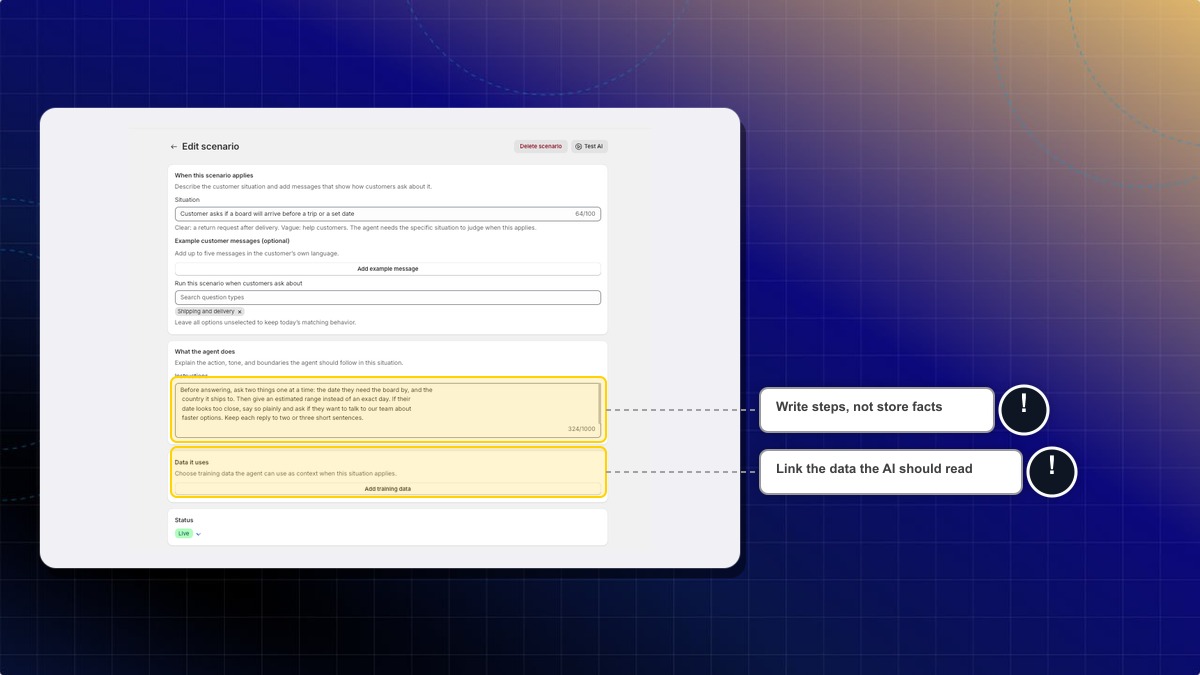
**Expected result:** You see "Scenario created successfully." The scenario appears in your **Custom scenarios** list.
***
### How to test a scenario
1. Click **Test AI** at the top of the **Add scenario** or **Edit scenario** page.
2. Send a message like one of your example messages.
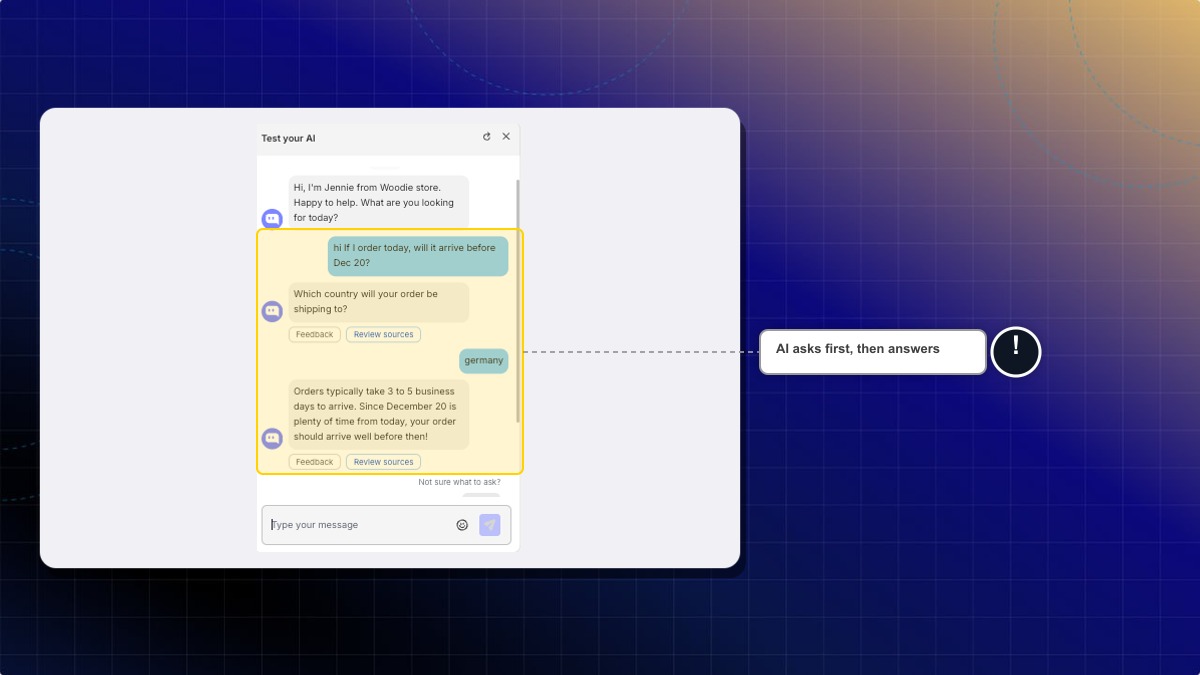
**Expected result:** The AI follows your instructions. For example, it asks your first question before it answers.
### How question types work
**Run this scenario when customers ask about** decides which customer questions can use the scenario.
* **You pick one or more types:** the AI uses the scenario only when the customer's message fits one of those types. A return scenario set to **Returns and after-sales support** stays out of product questions.
* **You pick nothing:** the scenario works the same way it did before this option existed. The AI decides from your situation, instructions, and example messages alone.
Picking a type does not force the scenario to run every time. It only narrows when the AI may use it. If a question doesn't fit any type, scenarios with types don't run. Scenarios with no types can still run.
You can choose from these 18 types:
| Question type | Example customer message |
| --- | --- |
| **Product questions and recommendations** | "Do you have a waterproof jacket?" |
| **Related product recommendations** | "Anything similar to this dress?" |
| **Complementary product recommendations** | "What goes well with these boots?" |
| **Cart and checkout** | "I can't finish checkout." |
| **Order tracking** | "Where is my order?" |
| **Discounts and promotions** | "Do you have a discount code?" |
| **Returns and after-sales support** | "How do I return this?" |
| **Human support requests** | "Can I talk to a real person?" |
| **Loyalty and rewards** | "How many points do I have?" |
| **Sizing and fit** | "What size should I get?" |
| **Shipping and delivery** | "How long does shipping take?" |
| **Payments** | "Can I pay with PayPal?" |
| **Store information** | "Where is your store located?" |
| **Product comparisons** | "What's the difference between these two?" |
| **Product availability** | "Is this back in stock?" |
| **Gifts** | "Can you gift wrap this?" |
| **Subscription changes** | "I want to skip next month's box." |
| **Order changes** | "Can I change my shipping address?" |
### How to read your scenario list
Go to **AI agent** → **Scenarios**. Each scenario in **Custom scenarios** shows:
| What you see | What it means |
| --- | --- |
| **Fine** | Chatty found no problems in this scenario. |
| **Has warnings** | Chatty found something to fix. The warning text shows under the scenario. |
| **Matched N times in 30 days** | How many times the AI picked this scenario for a customer question in the last 30 days. |
| **Not matched in 30 days** | The scenario is **Live** but the AI hasn't used it in 30 days. |
| **View conversation 1, 2...** | Opens recent conversations where the scenario was used. |
| **Live** / **Off** | The scenario's status. Click it to switch. |
| **N of 5 used** | How many custom scenarios you have, out of your plan's limit. |
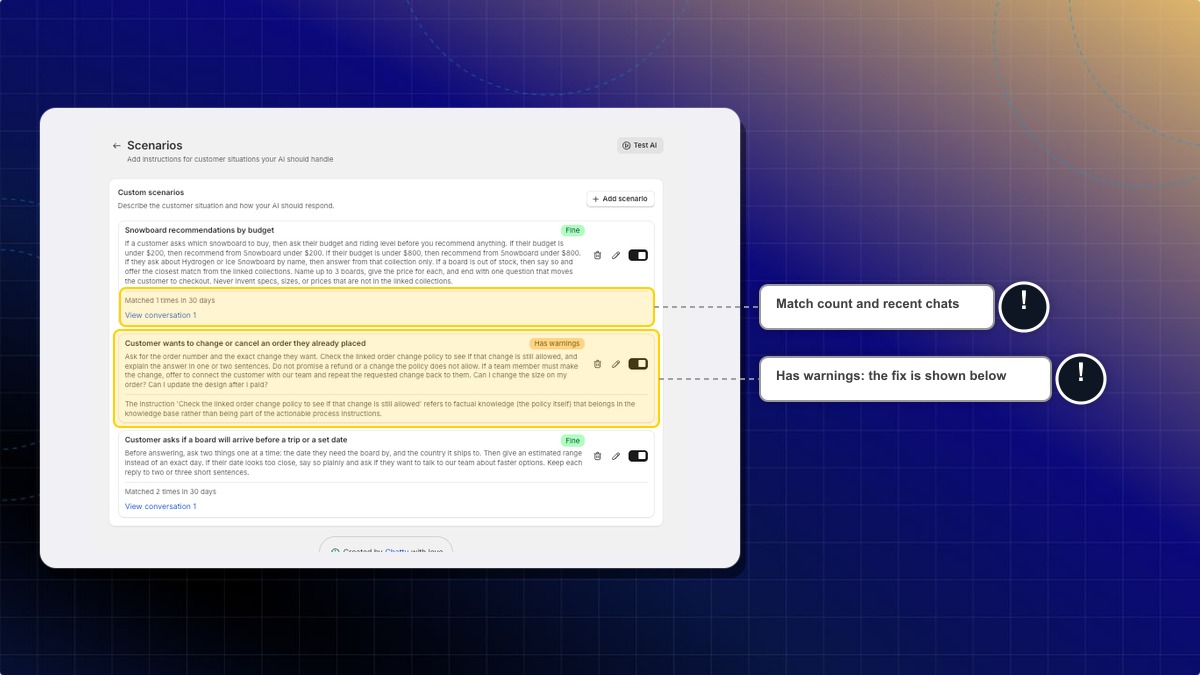
Match counts show only after Chatty has data for that scenario. A brand-new scenario may show no count yet. Counting started in September 2026, so earlier chats aren't included.
After you switch a status or delete a scenario from the list, click **Save** in the save bar.
#### What each warning means
Chatty checks every scenario each time you save it. It reads only the **Situation** and **Instructions**, and compares them with your other scenarios and your training data. Warnings never stop you from saving. They point to things that can make the AI answer poorly.
| Warning is about | What to do |
| --- | --- |
| The instructions don't say what to do | Add a clear action. "Ask for the order number" beats "handle returns well." |
| The instructions are just store facts | Move facts, like your return window, to [training data](/ai/train-ai/training-data/knowledge-base/). Keep the scenario for actions. |
| A number or promise with no source | Link the data that backs it up, or remove the promise. Example: "refund in 3 days." |
| Almost the same as another scenario | Merge the two, or make each situation more specific. |
| Conflicts with another scenario | Fix one of them so they agree. This warning shows on both scenarios. |
A conflict warning stays on the other scenario until you save that one too. After you fix one scenario, open the other one and click **Save**.
The exact warning text is written for your scenario, so it may not match these words.
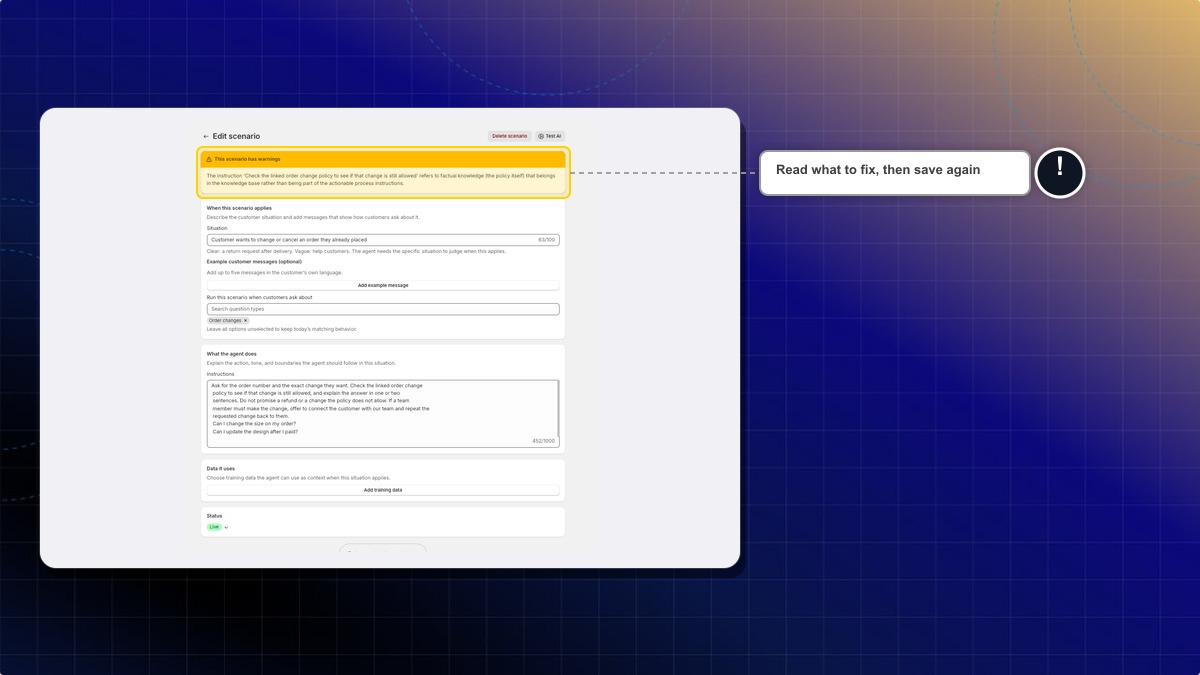
#### When a scenario is not matched
The **Not matched in 30 days** badge comes with a short reason. Try these fixes:
1. Check **Run this scenario when customers ask about**. Make sure the types match what customers actually ask.
2. Add or improve **Example customer messages** so they sound like real customers.
3. Make **Situation** and **Instructions** clearer.
4. Test the scenario in [Test and optimize AI](/ai/test-and-optimize-ai/).
### How to edit or delete a scenario
#### Open the scenario
Go to **AI agent** → **Scenarios** and click the edit icon next to the scenario.
#### Make your changes
Change any field, then click **Save**.
**Expected result:** You see "Scenario updated successfully." Chatty checks the scenario again and updates its badge.
To delete, click **Delete scenario** at the top of the **Edit scenario** page, then click **Delete**. You can also click the trash icon in the list, then click **Save**.
Will my existing scenarios keep working?
Yes. Scenarios you made before question types existed have no types selected. They keep working exactly as before.
Should I pick question types for every scenario?
No, but it helps. Types keep a scenario from showing up in the wrong conversations. Leave them empty if the situation can come up in many kinds of questions. A scenario with types skips any question that doesn't fit one of its types.
What if a customer's question doesn't fit any type?
Scenarios with question types don't run for that question. Scenarios with no question types can still run. If a situation can come up in any kind of question, leave its question types empty.
How many custom scenarios can I add?
It depends on your plan. Free and Basic plans include 5. The Pro plan includes 15. The Plus plan has no limit. Stores that installed Chatty before February 27, 2026 have no limit. When you reach your limit, **Add scenario** opens the upgrade options. You can also click **Contact us** to ask for more.
Why can't I edit some of my scenarios?
You have more scenarios than your current plan allows, for example after a downgrade. Chatty keeps your oldest scenarios editable up to the limit. To edit the rest, upgrade your plan or delete scenarios you no longer need.
Where are built-in scenarios like after-sales support?
They aren't on this page. This page lists only the scenarios you create. You manage built-in ones, like after-sales support or human handoff, from **AI agent** → **Skills**. Question types apply only to the scenarios you create.
A scenario shows "Go live" instead of a status. What does that mean?
The scenario is a draft. Scenarios added through an integration or the API start as drafts. Customers don't see them yet. Click **Go live**, then click **Save** in the save bar to start using it.
================================================================
URL: https://help.chatty.net/ai/train-ai/suggested-qna/
Locale: en
================================================================
# Review suggested Q&A
### What is suggested Q&A
Chatty reads your store policies, settings, and pages, then drafts answers to 15 common ecommerce questions. You review each one and add the good ones to your training data.
This helps you give a new AI agent a base of correct answers quickly.
This is not the same as the suggested questions shown in the chatbox. Those are covered in [AI homepage](/ai/settings/ai-homepage/) and [AI product page](/ai/settings/ai-product-page/).
***
### How to open suggested Q&A
1. Go to **AI agent** → **Training data** → **Custom knowledge**.
2. Click **Review now** on the suggested Q&A banner. The button reads **Review remaining** once you have started.
3. The **Review suggested Q&A** page opens.
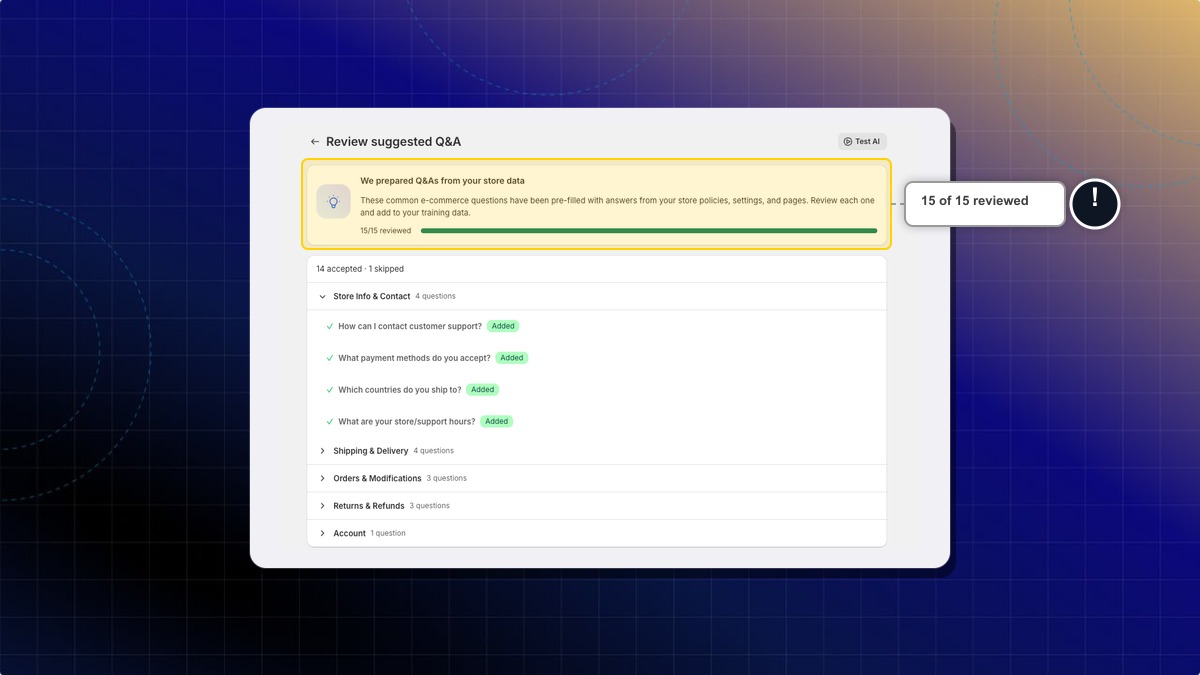
Two other routes open the same page. Open **More actions** and choose **Suggested Q&As**, or click the **Review suggested Q&A** task in the AI guide.
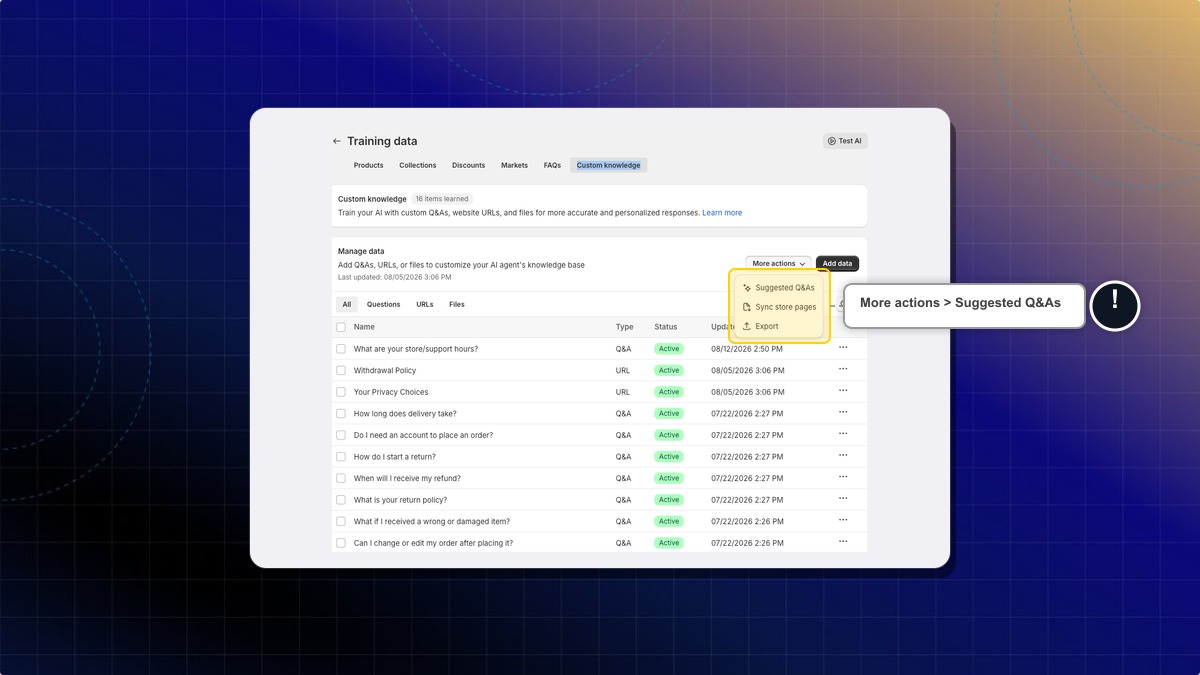
**Expected result:** You see the drafted questions grouped by category, with a progress bar showing how many you have reviewed.
Chatty does not draft these answers when you install the app. Click **Generate** on the banner to build the list. Chatty also generates once if you open the review page while it is empty.
***
### What the categories cover
| Category | Questions |
|---|---|
| Store Info & Contact | 4 |
| Shipping & Delivery | 4 |
| Orders & Modifications | 3 |
| Returns & Refunds | 3 |
| Account | 1 |
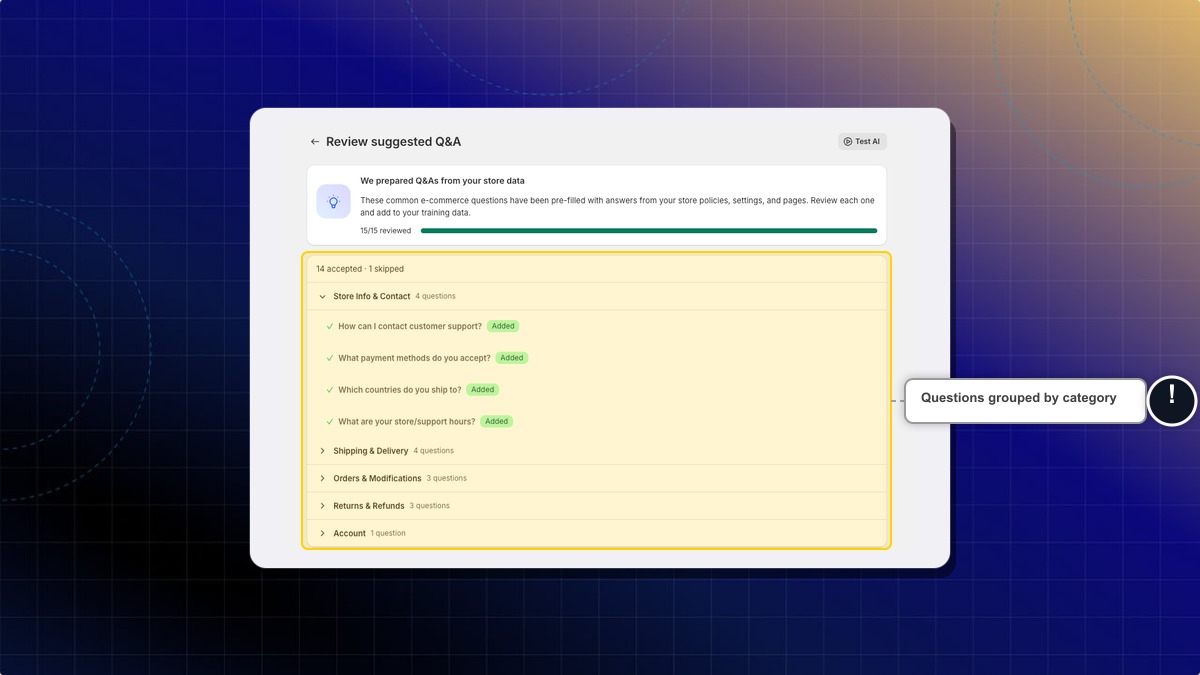
***
### How to review one answer at a time
1. Click a category to expand it.
2. Read the drafted answer.
3. Click **Accept** if it is right, or **Skip** if it does not apply to your store.
4. To change the wording first, click **Edit**.
5. Edit the answer, then click **Save**.
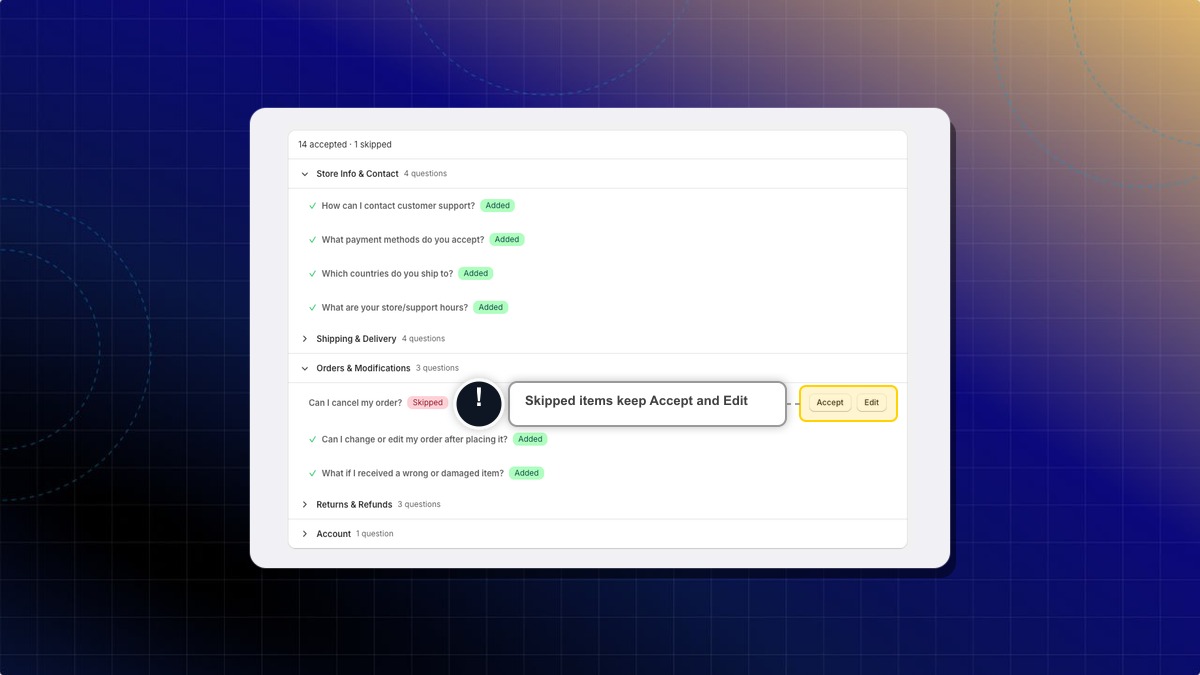
**Expected result:** Accepted items show an **Added** badge and move into your training data. Skipped items show a **Skipped** badge.
A skipped item stays in the list and keeps its **Accept** and **Edit** buttons. You can add it later.
Read every answer before you accept it. Chatty drafts these from your store data, so a missing or outdated policy page produces a wrong answer.
Generating again rebuilds every item and clears all **Added** and **Skipped** badges.
Can I stop halfway and come back?
Yes. Click **Skip for now**. Your accepted and skipped items are saved, and the rest stay pending.
What happens to an answer I accept?
It becomes a custom answer in your training data, titled after the question's topic. Your AI uses it in customer conversations like any answer you wrote.
The answer does not carry a category. The five groups only sort the review page. If the same question already exists, the accepted answer replaces the old one.
The answers are wrong for my store. What should I do?
Skip them, then fix the source. Update your policy pages and store settings, because the drafts are built from those. Generate again to redraft every answer.
================================================================
URL: https://help.chatty.net/ai/train-ai/training-data/collections/
Locale: en
================================================================
# Collections
This feature is available for all users
Let AI recommend product collections to your customers by syncing and managing collection data from your Shopify store.
## What are collections in AI training?
Collections are groups of products from your Shopify store (e.g. "Summer Sale", "Best Sellers", "New Arrivals"). When synced to Chatty, AI can reference these collections to suggest relevant product groups when customers ask questions like "What's new?" or "Show me your sale items."
## Why use collections for AI training?
Without collection data, AI can only recommend individual products. It cannot suggest curated groups or categories your store already has.
By syncing collections, your AI assistant can:
- Suggest relevant collections when customers browse or ask for recommendations
- Share collection details (title, description, number of products)
- Link customers to specific collections on your storefront
- Provide more complete answers about your product catalog
## Where to find it
Go to **AI agent** → **Training data** → **Collections**
## How collections work
### Syncing collections from Shopify
Chatty pulls your published collections from Shopify automatically. Collections sync daily alongside your product data, so any new or updated collections in Shopify appear in Chatty without manual action.
You can also trigger a manual sync anytime by clicking the **Sync** button. Manual sync is limited to **10 times per day**.
The sync only includes published collections. Draft or hidden collections are not imported.
### Viewing your collections
The Collections tab displays all synced collections in a table with:
- **Title**: the collection name from Shopify
- **Description**: the collection description
- **Products**: number of products in the collection
- **Status**: whether the collection is enabled or disabled for AI
- **Actions**: toggle or manage the collection
You can search by name and filter collections to find what you need.
### Enabling or disabling collections
You control which collections AI can reference when answering customers.
To enable or disable a collection:
1. Go to **AI agent** → **Training data** → **Collections**
2. Find the collection you want to manage
3. Toggle the status to **Enabled** or **Disabled**
- **Enabled**: AI can use this collection when responding to customers
- **Disabled**: AI will not reference this collection
Your toggle settings are preserved across syncs. If a collection is disabled, it stays disabled after the next daily sync.
### What AI can do with collections
Once collections are enabled, AI can handle these customer interactions:
- **List collections**: "What categories do you have?" or "Show me your collections"
- **View products in a collection**: "What's in your Summer Sale?" or "Show me New Arrivals"
- **Suggest a collection**: "I'm looking for gifts" → AI suggests your "Gift Ideas" collection
- **Share collection info**: "Tell me about your organic line" → AI shares title, description, and product count
================================================================
URL: https://help.chatty.net/ai/train-ai/training-data/discounts/
Locale: en
================================================================
# Discounts
**Who can use this feature?**
* This feature is available for all users.
### What the Discounts tab does
All discounts available in your Shopify store are synced to AI training data. (both active & inactive)
If you don't see you discounts, click Sync now to update the latest discount from your store.
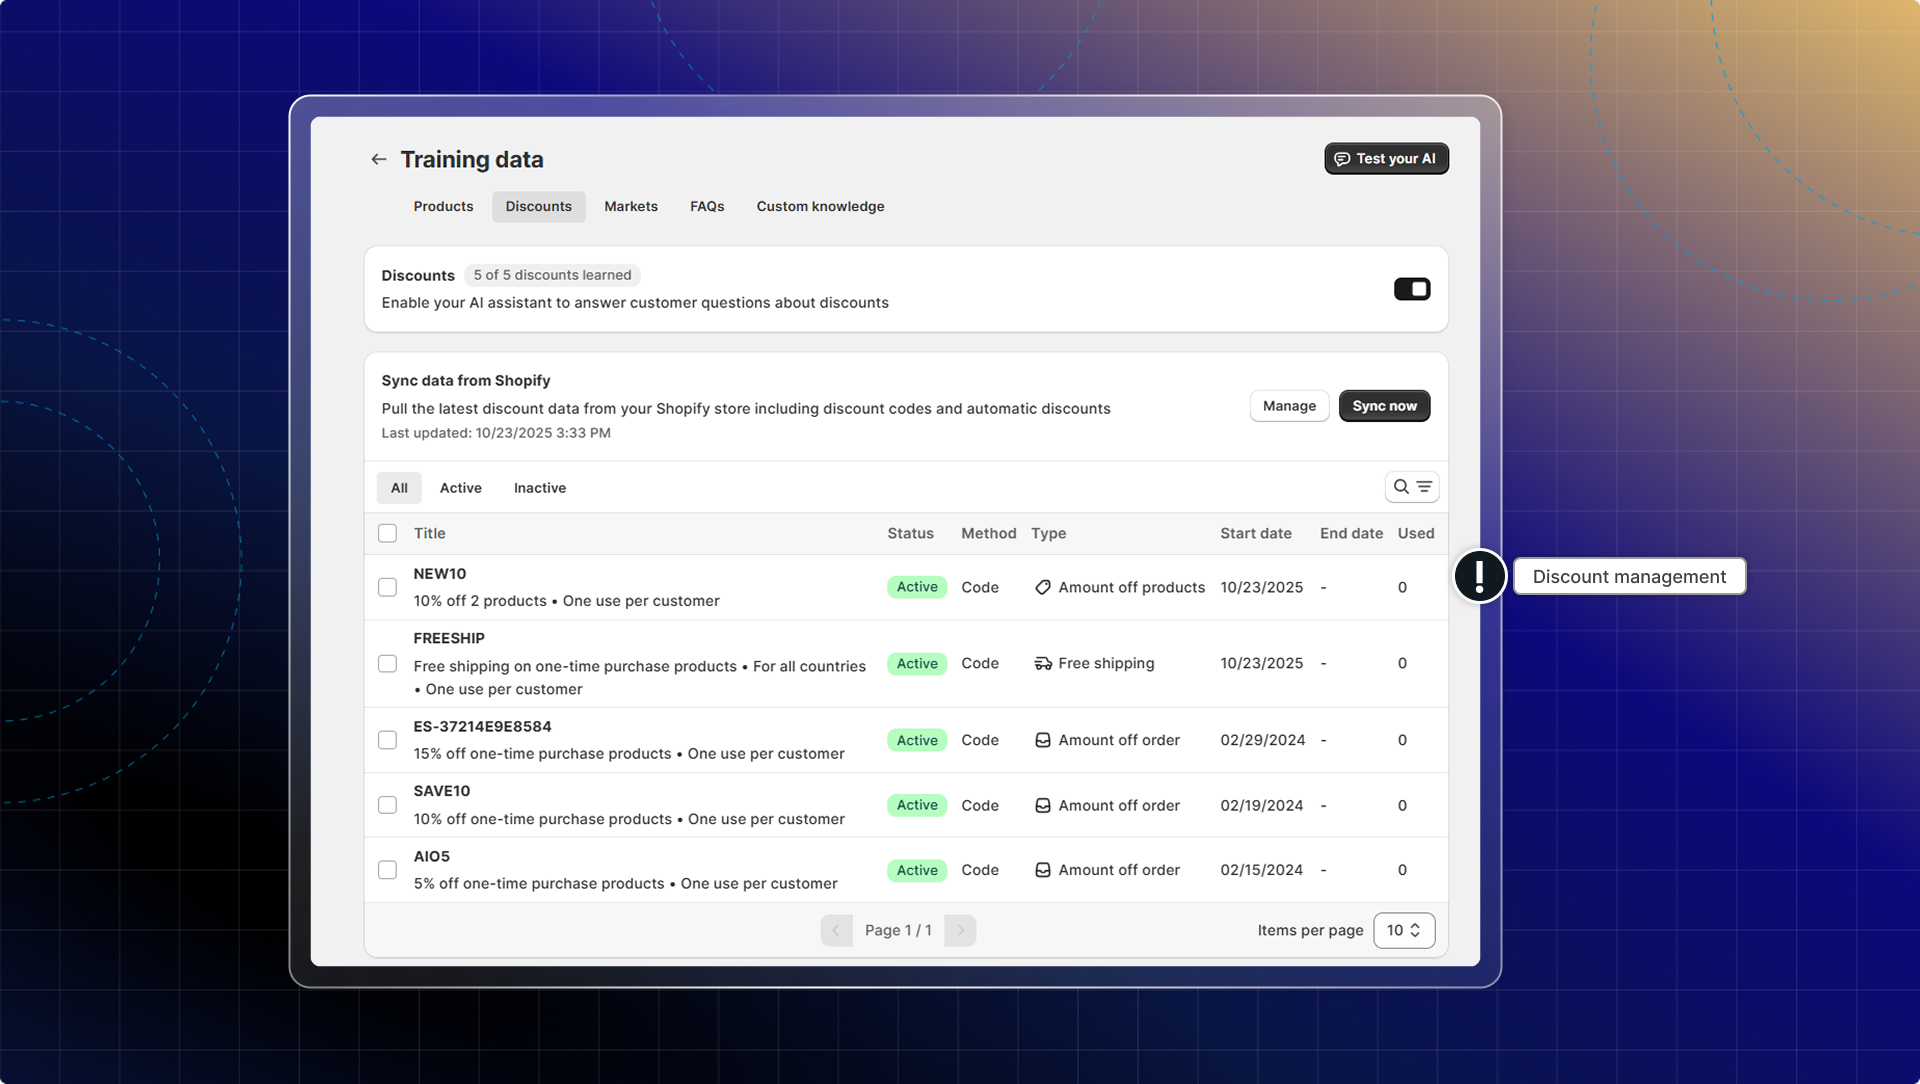
Turn on the **Discounts** card to let your AI answer questions about discounts. It is off until you switch it on.
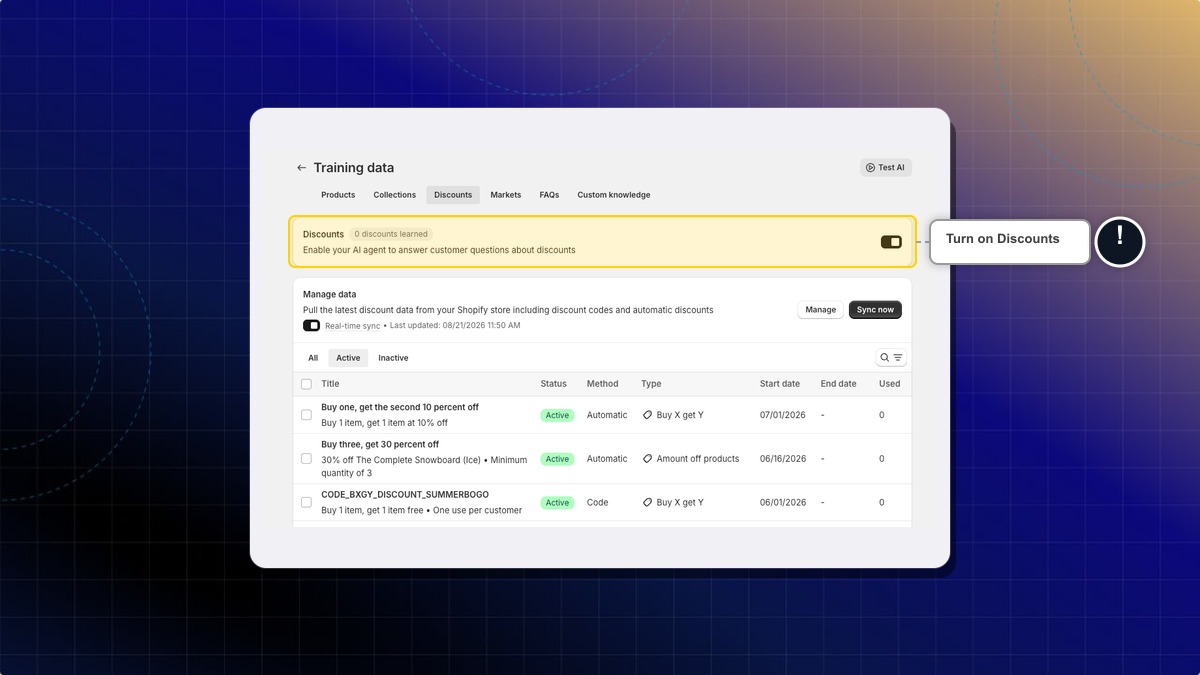
Once your discounts are synced, your AI can bring one up in three moments: when a shopper asks about deals, coupons or promo codes, when they add an item to the cart or move to check out, and when they ask a pre-purchase question about a product, such as size, fit, stock, shipping or returns.
Outside a direct question about deals, your AI offers at most one discount per conversation. It surfaces a single discount each time, not a list.
Your AI only includes a link that applies the code when the shopper asked about deals directly, and only for code discounts. On the cart and pre-purchase moments it names the discount without a link.
### How to set which discounts your AI can use
Select discounts in the table, then choose **Set as active** or **Set as inactive**. The **Status** column shows which is which, and the tabs above filter to **All**, **Active** or **Inactive**.
### How to keep your discount list current
On Pro and Plus, turn on **Real-time sync** and Chatty updates a discount the moment you edit it in Shopify. On other plans the toggle is locked and you press **Sync now** whenever you change a discount.
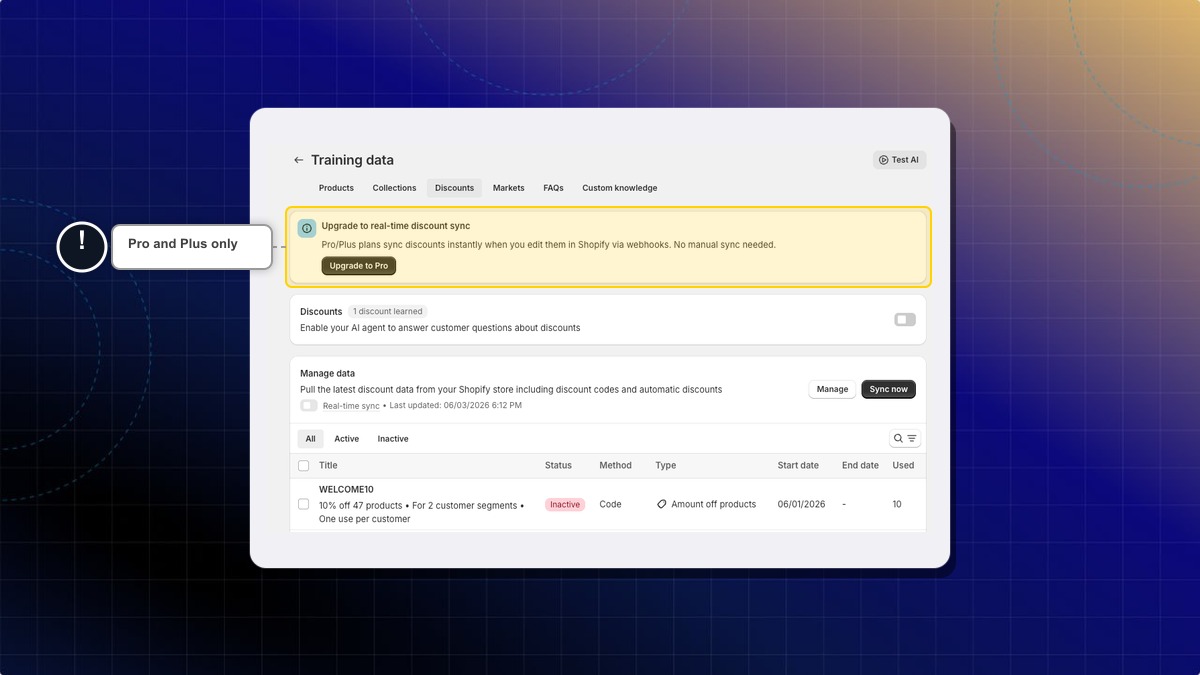
Which discounts can the AI offer to customers?
Only ones you have synced and left active. Chatty drops a discount that has expired, and never syncs a type Shopify does not support.
At the moment of answering, your AI also skips a discount that has not started, has hit its usage limit, is restricted to a customer segment the shopper does not match, needs a bigger cart than they have, or requires a product they are not looking at.
Does the AI hide a discount with conditions on it?
No. A minimum spend, a product or collection requirement, an expiry date, a usage limit, a one-per-customer rule, or a country limit is stated to the shopper instead. Your AI names the condition so they know what to do to qualify.
================================================================
URL: https://help.chatty.net/ai/train-ai/training-data/knowledge-base/
Locale: en
================================================================
# Training data
**Who can use this feature?**
* This feature is available for all users.
### What is training data
Training data is everything your AI is allowed to answer from. It sits on five tabs.
| Tab | What it holds |
| --- | --- |
| **Knowledge base** | Your own answers: questions, links, files, and the FAQs and pages synced from your store |
| **Products** | Which products your AI can discuss and recommend |
| **Collections** | Which collections it can browse |
| **Discounts** | Which discount codes it can offer |
| **Markets** | Per-market settings for stores selling in more than one market |
This page covers the **Knowledge base** tab. The others have their own guides.
***
### How to read the Knowledge base header
The header counts what your AI is working with.
* **N entries**: everything in the knowledge base, whatever its status.
* **N Live · N Off**: how many your AI answers from, and how many are switched off. A **Draft** count appears only when you have drafts.
* **N issues**: click it to open a list of what needs attention.
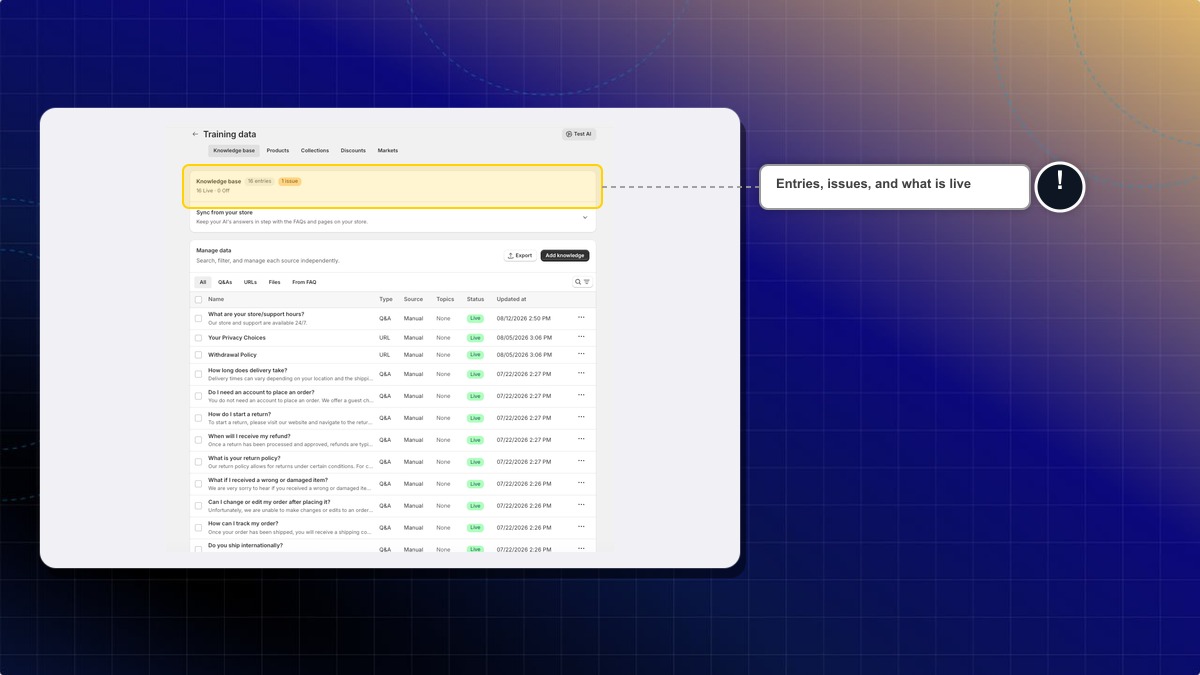
Chatty flags an entry when it conflicts with another or could not be indexed. It also flags entries under 80 characters, over 10,000 characters, or untouched for 90 days. Each line in the list links to the entries it counted.
***
### How to sync FAQs and pages from your store
**Sync from your store** keeps the knowledge base in step with content you already wrote on your storefront.
1. Go to **AI agent** → **Training data** → **Knowledge base**.
2. Open **Sync from your store**.
3. Next to **FAQs**, click **Sync FAQs**.
4. Next to **Store pages**, click **Sync store pages**.
**Expected result:** Synced FAQs go straight to `Live`. Store pages arrive as entries your AI can answer from.
The FAQs line reads `synced · ready to sync · need review`. Only the **ready** ones import. An FAQ waits in **need review** when it is empty, unreadable, or repeats a question you already have. It also waits there when it contradicts another entry. Open those FAQs on your store, fix them, and sync again.
Store pages sync is limited to 10 runs a day. At the limit the button turns off until the next day.
The first store-pages sync picks your ten most useful information and policy pages. Later syncs only refresh those same pages. A page you publish afterwards is not picked up on its own, so add it as a link instead.
***
### How to add a question, a link, or a file
1. In **Manage data**, click **Add knowledge**. The button reads **Close** while the panel is open.
2. Stay on the **Basic** tab.
3. To add a question, fill in **Question** and **Answer**, then click **Add**. For example, `Do you ship internationally?` with `Yes, we ship to over 50 countries.`
4. To add a link, paste it in the URL box, one per line, then click **Add**.
5. To add a file, drop a `.csv`, `.json`, `.txt` or `.pdf` file, then click **Add**.
6. Repeat until everything you want is in the **To add** list.
7. Click **Save** in the bar at the top.
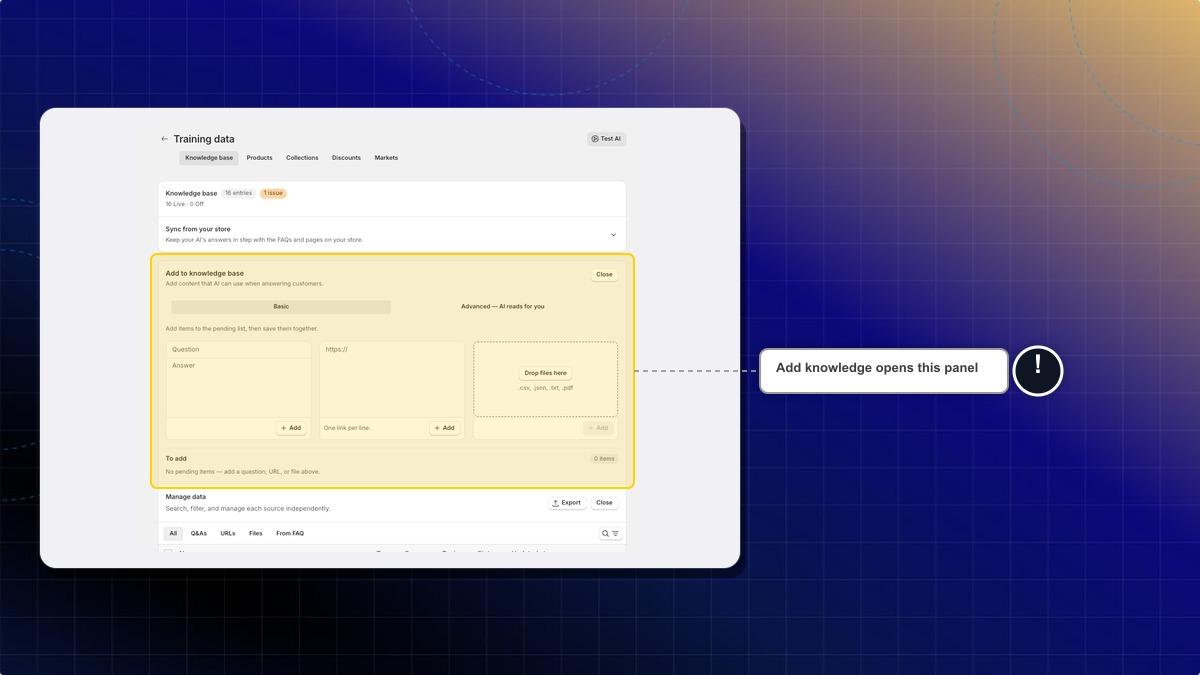
**Expected result:** The entries appear in **Manage data** and go `Live`, so your AI can answer from them right away.
One save takes up to 100 questions and links, and up to 20 files at 2 MB each. An answer needs at least three characters.
A link is read once, when you add it. Chatty does not check it again, so re-add the link when that page changes.
***
### How to have AI write the entries for you
**Advanced — AI reads for you** takes a wall of text and turns it into question and answer pairs.
1. Click **Add knowledge**, then open the **Advanced — AI reads for you** tab.
2. Paste your text: a policy, a product sheet, an internal note.
3. Click **Save & process in background**.
**Expected result:** Chatty splits the text into entries and saves each one as `Draft`. Read them, fix anything wrong, then set them live.
Advanced works with pasted text. Upload files on the **Basic** tab instead.
***
### How to set an entry live, draft, or off
Every entry carries one of three statuses.
| Status | What it means |
| --- | --- |
| **Live** | Customers are receiving this content |
| **Draft** | Only used when you test inside the app, customers never see it |
| **Off** | Not used anywhere |
To change one entry, open it from the table and pick a status under **Status**.
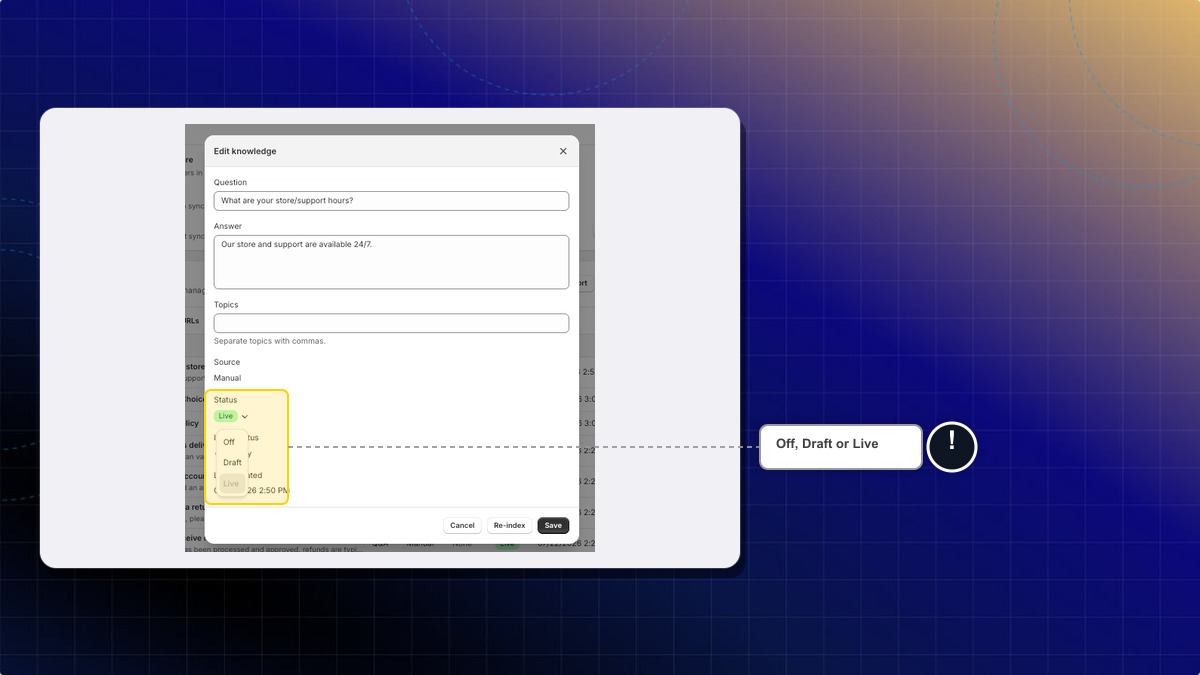
To change several at once, scroll to **Manage data** and tick the entries you want. An action bar appears above the table with **Go live**, **Turn off**, **Re-index**, **Assign topics** and **Delete**.
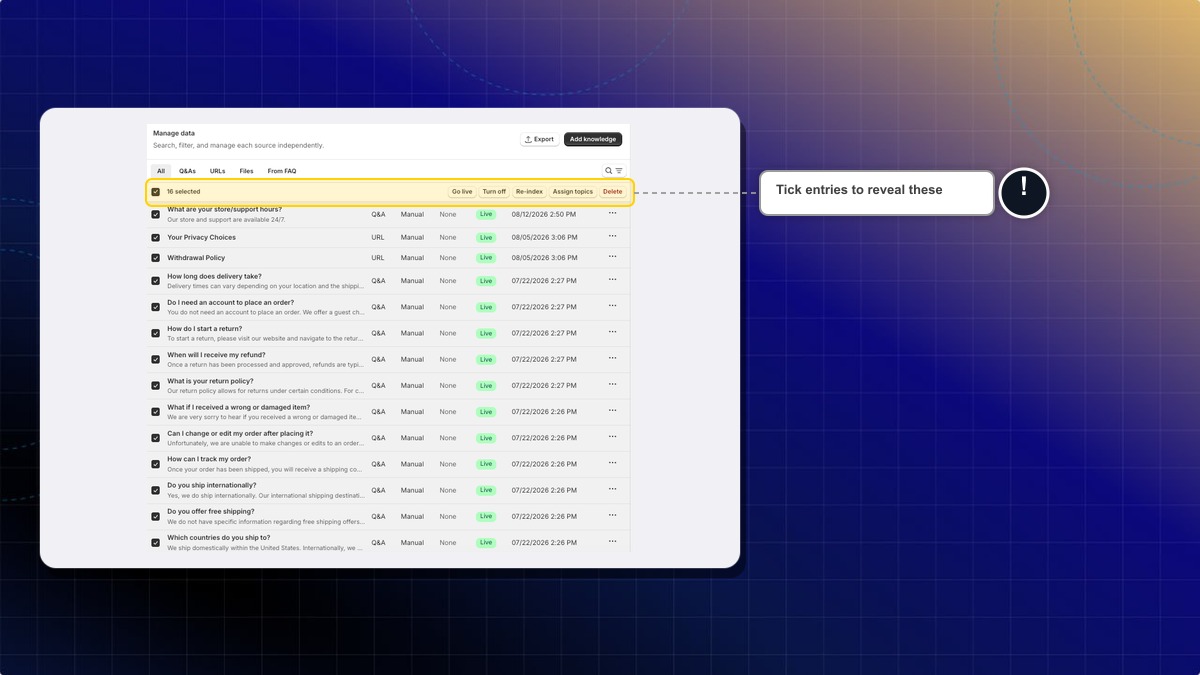
**Expected result:** The badge on each entry updates, and your AI answers only from `Live` entries.
The action bar only appears once at least one entry is ticked. If the **Add to knowledge base** panel is open, click **Close** on it first so the table is in view.
Entries your AI drafts on its own, from self-learning or from the Advanced tab, start as `Draft`. They stay unused until you set them live.
***
### How to find and manage an entry
**Manage data** lists every source with filters for **All**, **Q&As**, **URLs**, **Files** and **From FAQ**. Pages synced from your store sit under **URLs**, and **From FAQ** shows everything that came from a FAQ sync.
Each row shows where the entry came from: Manual, CSV import, URL, File, Shopify page, FAQ sync, Agent API, Chatty Lab, Self-learning or Advanced import. Entries your AI wrote itself carry an **AI draft** badge.
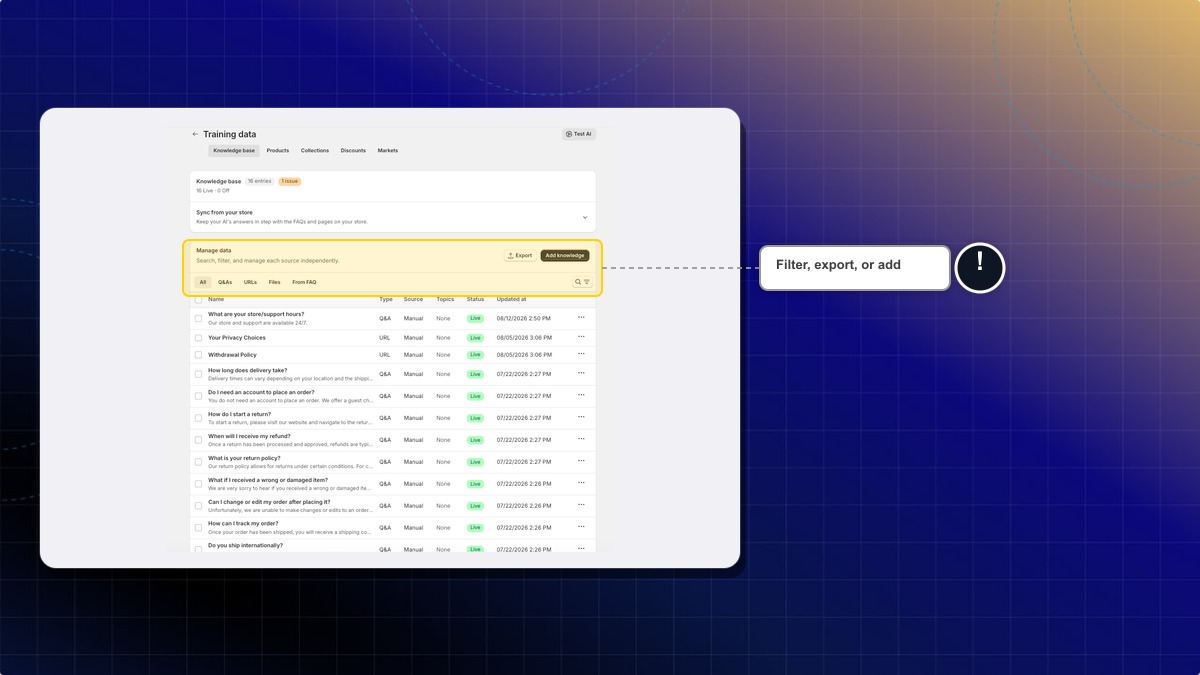
Open an entry to edit its question, answer and status. **Topics** takes your own labels, separated by commas, for example `shipping, returns`. They show as badges in the table. **Source** tells you where the entry came from and cannot be changed.
The row menu holds **Edit**, **Re-index**, **Compare with duplicate** and **Delete**; **Re-index** also sits inside the edit window. It rebuilds the search index for that entry and does not fetch the page again.
Click **Export** to download your knowledge base as a CSV. Choose everything, or only the live entries.
**Expected result:** Chatty downloads a CSV carrying Type, Topic, Question, Answer and Status.
***
### How much you can store
| Plan | Links and files | Questions |
| --- | --- | --- |
| Free | 20 | 100 |
| Basic | 200 | 5,000 |
| Pro | 2,000 | Unlimited |
| Plus | Unlimited | Unlimited |
Links and files share one allowance, counted whatever their status. Questions count only while they are live, and FAQs synced from your store never count.
Past the limit Chatty tells you **You've reached the data limit for AI training**. Turn off or delete entries you no longer need, then add again.
Why is an entry flagged when it looks fine?
Chatty flags anything under 80 characters or over 10,000, and anything untouched for 90 days. A short entry rarely holds enough for a good answer, and a long one buries the point. Open it, tighten it, and the flag clears.
Why does my AI still answer from something I deleted?
Check the status rather than the list. An entry set to `Off` stays in the table but is never used, and an entry still `Live` keeps answering. If you deleted a FAQ on your store, sync FAQs again so the knowledge base drops its copy.
================================================================
URL: https://help.chatty.net/ai/train-ai/training-data/product-faqs/
Locale: en
================================================================
# Product FAQs
### What are product FAQs
Product FAQs are questions and answers attached to one product. Your AI uses them when a customer asks about that product.
Use them for details that live nowhere else in your catalog, such as warranty terms, care instructions, or assembly steps. You can also note what is in the box.
***
### How to open the FAQs of a product
1. Go to **AI agent** → **Training data** → **Products**.
2. Find the product you want.
3. Open the three dots menu on that row, then click **Manage FAQs**.
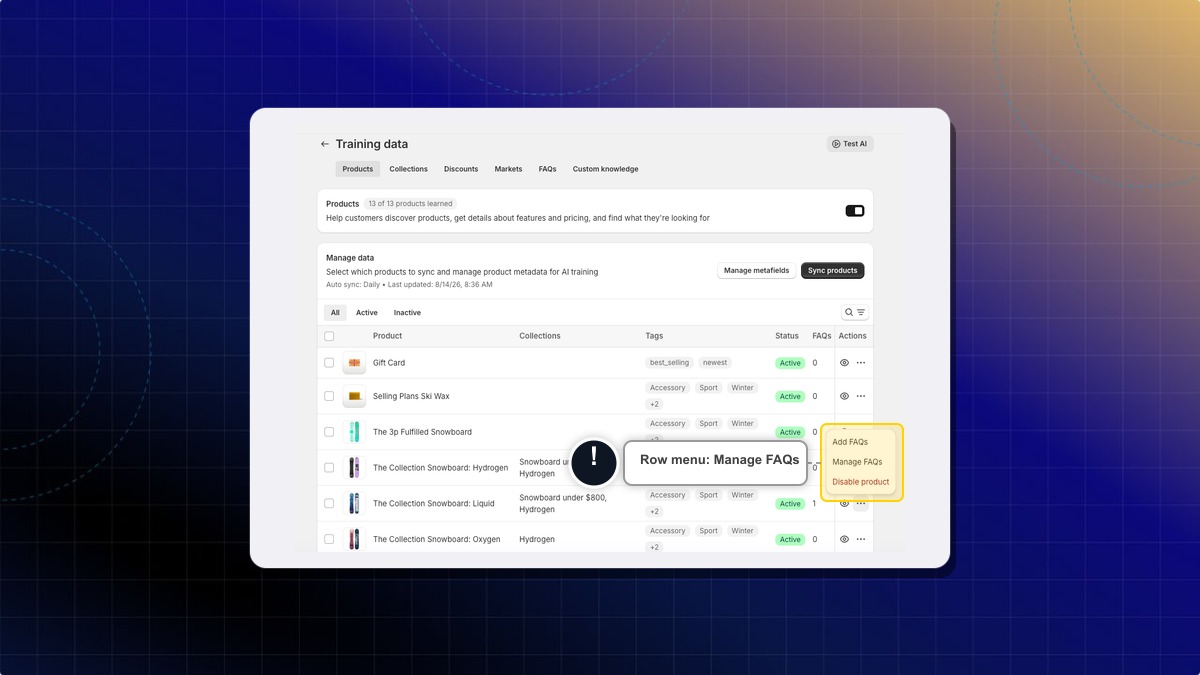
**Expected result:** The **Product FAQs** page opens with that product at the top and its saved FAQs below.
**Add FAQs** in the same menu writes a single question and takes you straight to the form. **Manage FAQs** opens the page where you add, edit and delete all FAQs for that product.
***
### How to add a product FAQ
1. On the **Product FAQs** page, click **Add FAQ**.
2. In **Category**, type one of your existing FAQ categories. For example, `Material & Features`.
3. In **Question**, write it the way a customer would ask. For example, `What type of terrain is this board best suited for?`
4. In **Answer**, write the reply. Keep it specific. For example, `The Liquid Snowboard is designed for all-mountain performance, making it great for groomers, powder, and terrain parks.`
5. Click **Save**.
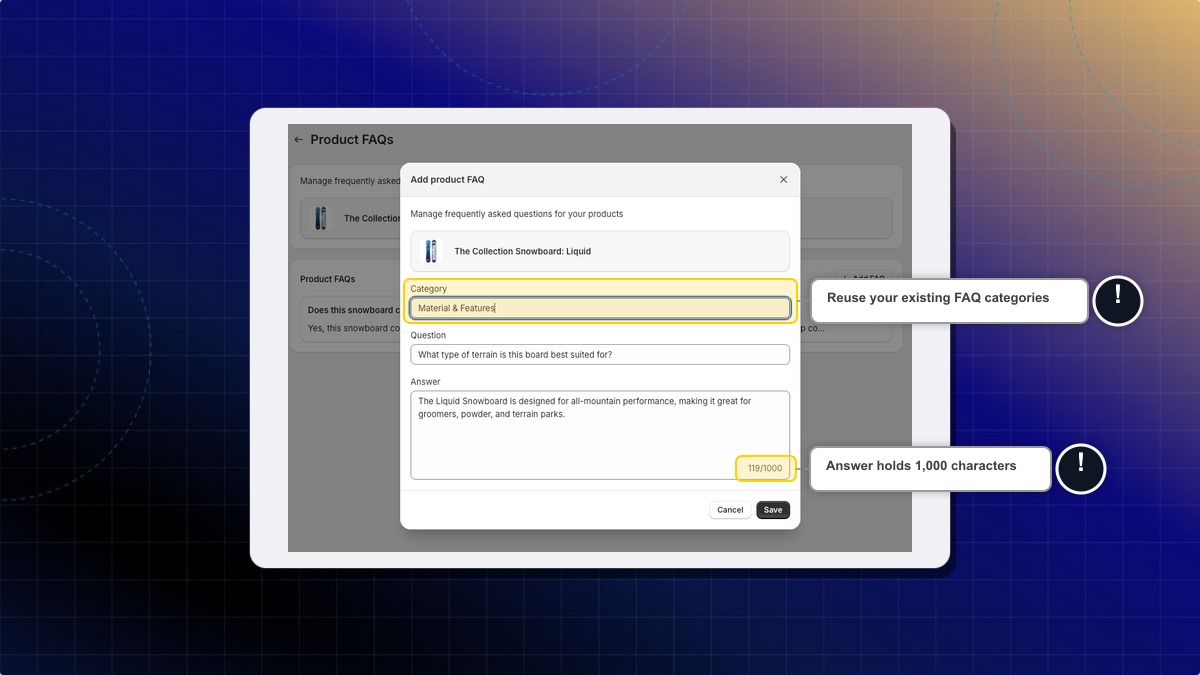
**Expected result:** The FAQ appears in the list on that product.
A new FAQ is not live right away. Your AI uses it after the next training sync. The auto sync runs daily, or click **Sync products** on the **Products** tab to run it now.
Category and Question hold up to 100 characters each. Answer holds up to 1,000 characters, with a counter under the field.
***
### How to edit or delete a product FAQ
1. Open the **Product FAQs** page of the product.
2. Find the FAQ in the list.
3. Click the pencil icon to change it, or the bin icon to remove it.
4. For an edit, change the text and click **Save**.
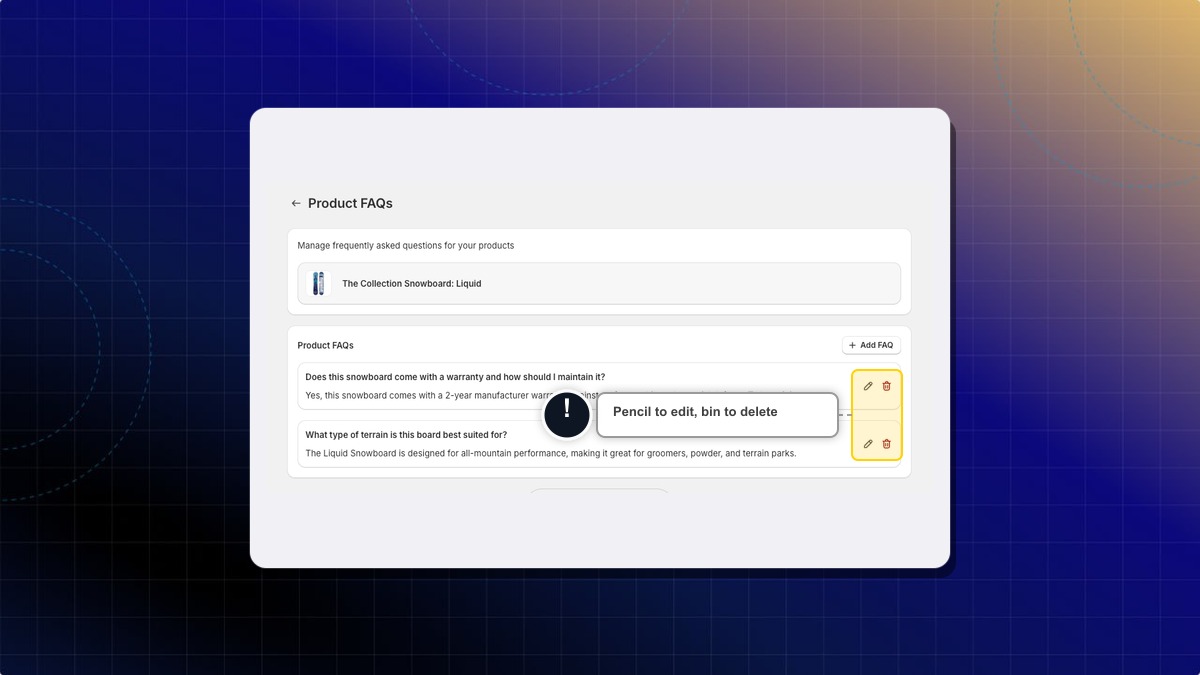
**Expected result:** The list updates right away. A delete removes the FAQ from that product only.
***
### How to check which products have FAQs
The **FAQs** column on the **Products** tab shows how many FAQs each product has. Use it to spot the products you still need to cover.
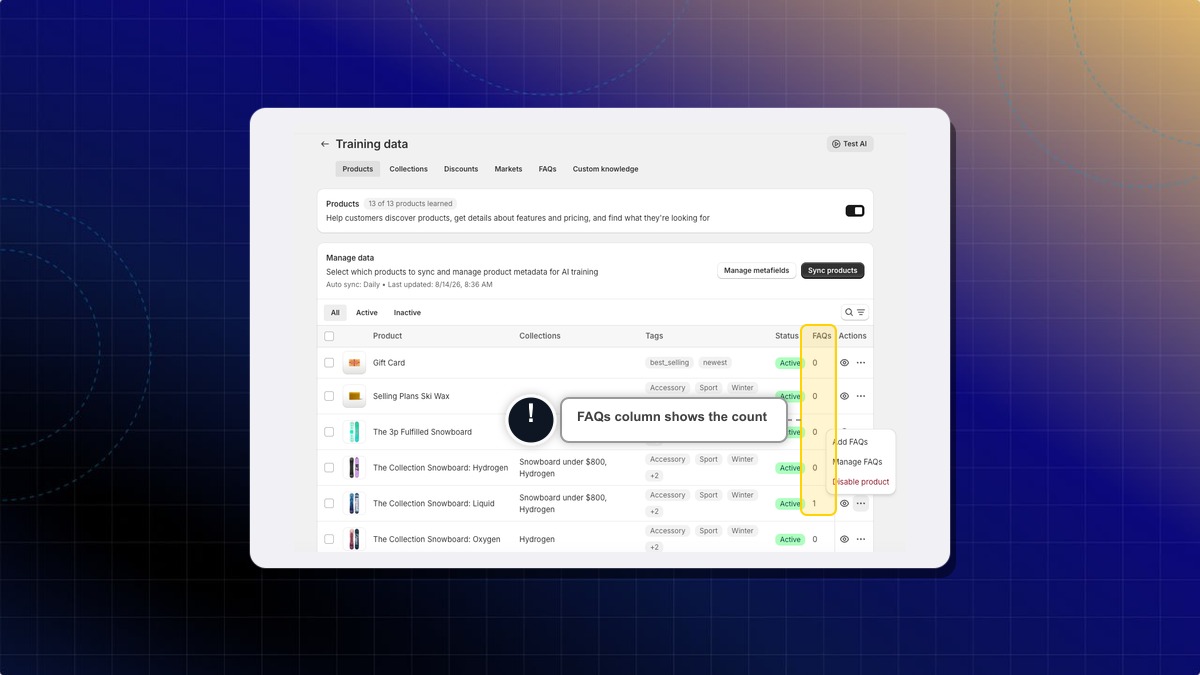
**Expected result:** A product with no FAQs shows `0`. The count goes up as soon as you save a new FAQ.
**Disable product** in the row menu removes that product from your AI agent. Its FAQs stay saved, but your AI stops using them until you enable the product again.
What is the difference between product FAQs and my normal FAQs?
Normal FAQs answer store-wide questions, such as shipping or returns. Product FAQs answer questions about one product, so your AI does not apply them to the rest of your catalog.
Do I need a product FAQ for every product?
No. Add them where your product description falls short. Your AI already reads your catalog data for the basics.
What should I write in Category?
Use one of the categories you already have in your store FAQs, such as `Warranty & Care` or `Material & Features`. Reusing the same names keeps related questions grouped together.
***
### What is bulk edit product AI status
Bulk edit product AI status lets you turn AI training on or off for many products at once. Instead of toggling each product by hand, you upload a CSV file. Use it when you want the AI to learn from, or ignore, a large set of products in one action.
You can import up to 50,000 products in one file.
### How to bulk edit product AI status
Before you start, prepare a CSV file with an **AI Status** column and a product identifier column. Set **AI Status** to `enabled` or `disabled` for each product. Include an **ID** or a **Handle** column so Chatty can match it. A Shopify product export already carries both, so add an **AI Status** column to that export and reuse it.
Chatty reads **ID** first when a row has both. It skips any row whose status is blank or is not `enabled` or `disabled`.
1. Go to **AI agent** → **Training data** → **Products**.
2. Click **More actions**, then choose **Bulk edit status**.
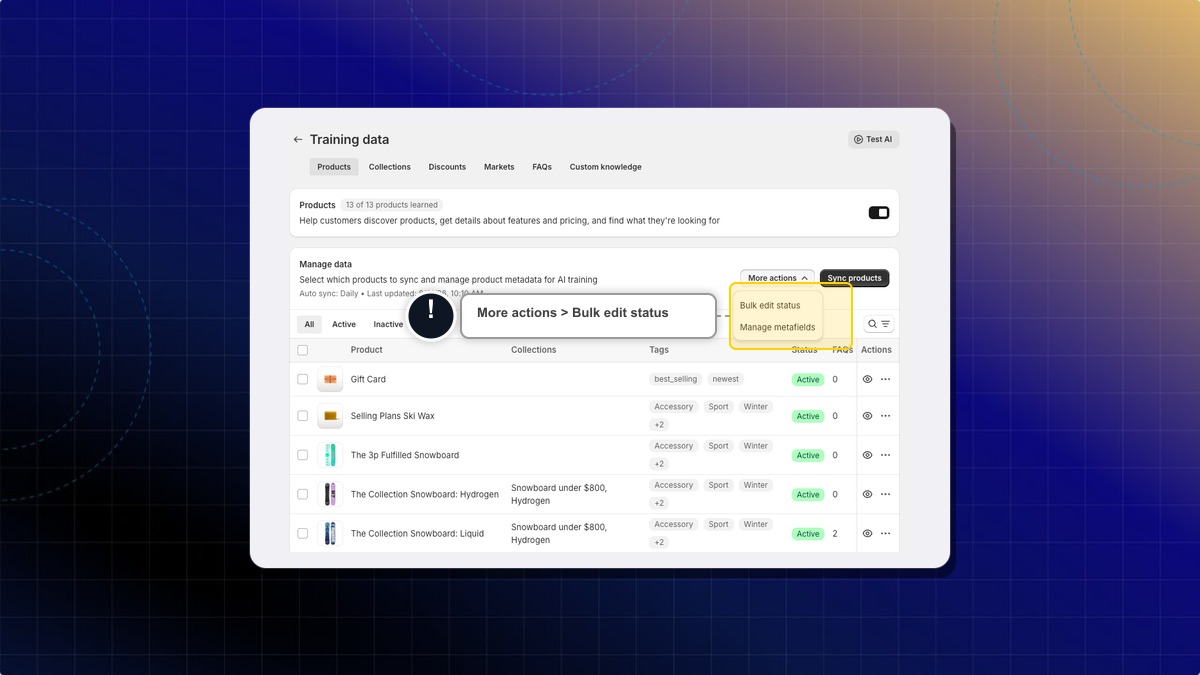
3. Upload your CSV file, or drag it onto the upload area. To get the format, click **Download a sample CSV** and fill it in.
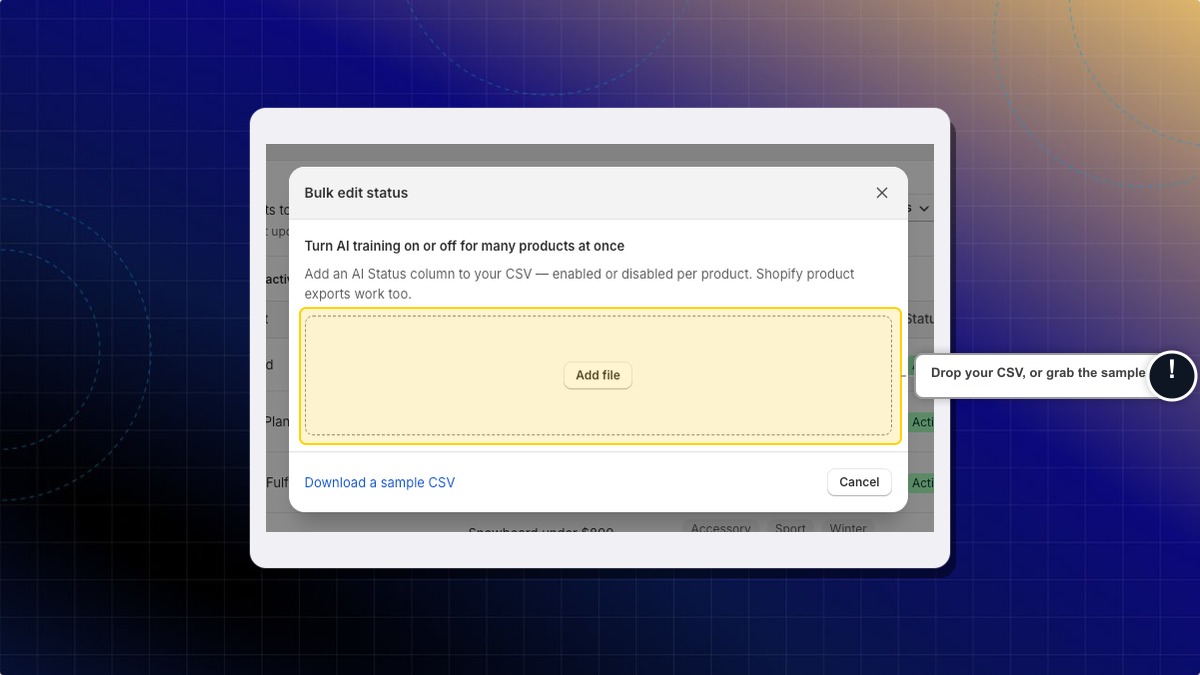
4. Review the summary. Chatty shows how many products will be enabled, how many disabled, and how many rows it will skip because the status is missing or invalid, or the row has no ID or handle.
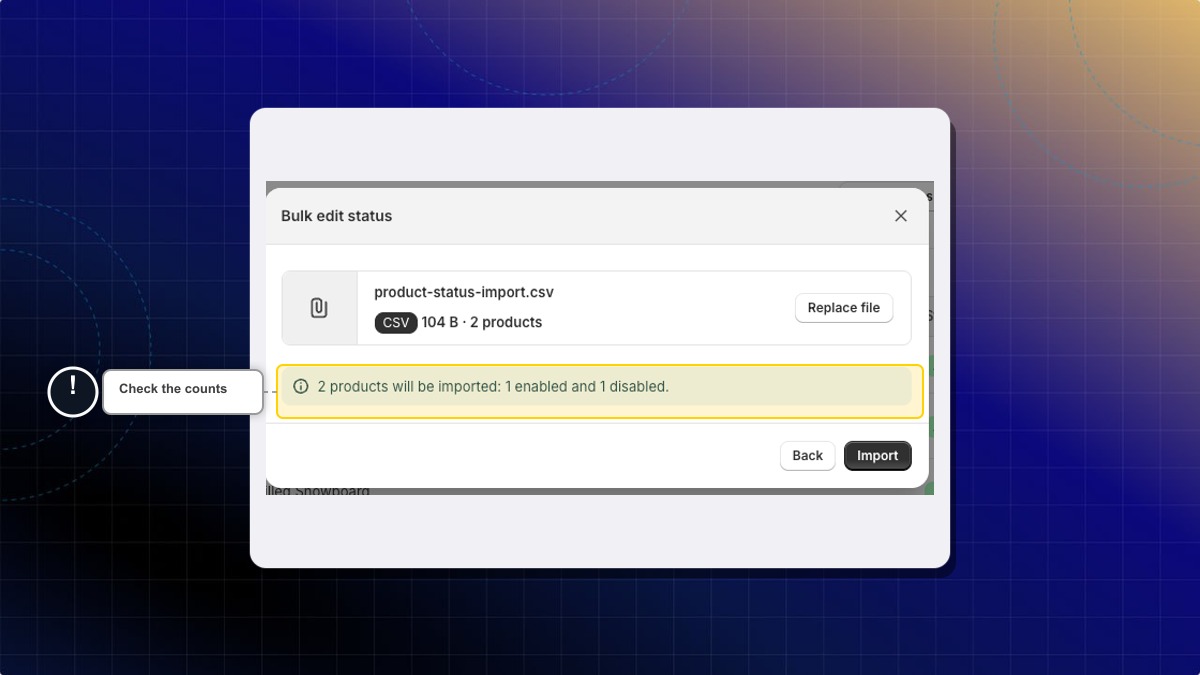
5. Confirm the import to start it.
**Expected result:** Chatty queues the update and shows how many products matched and were queued. The Products tab shows the new status once the update finishes.
Enabling counts toward your plan's product limit: 200 on Free, 1,500 on Basic, 8,000 on Pro, unlimited on Plus. If your file goes past that limit, Chatty enables what fits and skips the rest. The import still reports success, so check the Products tab against the count you expected.
What happens to products that can't be matched?
They are skipped, and you get a **Download unmatched products** link. A product usually goes unmatched because it is not synced yet or has no storefront URL. It can also go unmatched if its identifier is not in your catalog. Sync your products or fix the identifiers in the file, then import again.
Why were some products not enabled?
Your plan limits how many products the AI can hold at once. Chatty enables products until it reaches that limit, then skips the rest without a warning. Disable some products to free up room, then import the file again.
What if the same product appears twice with different statuses?
Chatty uses the last status listed for that product in the file.
================================================================
URL: https://help.chatty.net/ai/train-ai/what-goes-in-each-data-source/
Locale: en
================================================================
# What goes in each data source
### Why add data sources
We've trained AI on your own data. By adding your own data sources, you can train AI assistant about your specific products, services, and business policies.
This helps the AI give more accurate and personalized responses to your customers.
### Type of data sources
There are two main types of data sources:
* **Store data**: Information already available in your Shopify store that can be automatically synced
* **Custom knowledge**: Additional information you manually add to enhance AI knowledge
Products: product descriptions, variants, pricing, and availability
Collections: published Shopify collections that AI can reference
Discounts: discounts created in Shopify
Markets: Market settings, including currency and exchange rates
FAQs: Your existing FAQs section in Chatty
Questions
URLs
Files
What product information is synced to Chatty?
Available product information that is synced to Chatty:
* Specific product details (name, descriptions, images, vendor, type)
* Product variants (colors, sizes, styles)
* Price ranges and comparisons
* Product features and specifications
* Collection
* Product inventory
* Product metafields
Your product information will be updated daily at 12:00 AM PST.
What types of product metafields are supported?
We support all metafields in this list [Shopify documentation on metafield types](https://help.shopify.com/en/manual/custom-data/metafields/metafield-definitions/metafield-types), **except:**
* Reference type:
* collection\_reference
* customer\_reference
* file\_reference
* metaobject\_reference
* mixed\_reference
* page\_reference
* product\_reference
* product\_taxonomy\_value\_reference
* variant\_reference
* Other:
* Link
* URL
Some main Shopify pages will be auto-synced when you activate AI. What are they?
* Shipping policy
* Return policy
* Privacy policy
* Terms of service
* FAQ
* Contact us
* About us
If your Shopify pages are not auto-synced, go to **AI agent** → **Training data** → **Knowledge base**, open **Sync from your store**, and click **Sync store pages**. Re-activating AI also triggers a sync.
***
### 1. Q\&A
Best for: Specific customer questions you get repeatedly
#### What to add here:
* Policies: Return policy, shipping times, warranty info
* Business info: Store hours, location, contact methods
* Troubleshooting: "Product not working," "How to care for this item"
#### Don't add here:
* Product information: Price, description, size, type, variant, etc. - That's automatic
* Long documents - use Files instead
* General behavior instructions - use Custom Instructions
For example
Q: What's your return policy?
A: Return items within 30 days, unworn with tags. Free return shipping for exchanges. Start returns through your order email.
Where should I add product advice for questions like "Which size for wide feet", "Best for sensitive skin"?
With product advice, you should add information to product description. If you don’t want to show it in public stores, add it to product metafield and sync to Chatty.
[Adding product care instructions using metafields](https://help.shopify.com/en/manual/custom-data/metafields/using-metafields)
[Adding a pop-up size chart to your product pages](https://help.shopify.com/en/manual/custom-data/metafields/pop-up-tutorial)
Coming soon: Add FAQs for specific products.
***
### 2. General instructions
Best for: How your AI should behave and respond in general
#### What to add here:
* Brand voice & tone: "Be friendly but professional, use simple language"
* Response style: "Always ask if they need anything else," "Keep answers under 3 sentences"
* Industry instruction: “You are a professional skincare advisor, your goal is to help customers find the best choice for their skin.”
* Decision support: "Present options with clear pros/cons," "Highlight best value options"
* Sales approach: "Suggest complementary products," "Mention current promotions"
* Boundaries: "Don't give medical advice," "Always verify large orders with humans"
* Format preferences: "Use bullet points for multiple options"
#### Don't add here:
* Specific information - use Q\&A instead
* Basic product info (price, description) - that's automatic
* Long policy text - use Q\&A for policies
* Specific scenario: “When customer mention about table, suggest dinner table” - Use custom scenarios
* Refer actions: “If the customer asks about 'size guide' send them 'size-fit.txt' file”. AI can't take action, but send messages.
For example:
Always be helpful and friendly. When customers ask about sizing, suggest they check our size guide and offer to help if they're between sizes. End responses with "What else can I help you find today?"
***
### 3. Scenarios
Best for: Specific situations or customer journeys
#### What to add here:
* Customer types: "First-time buyer," "Returning customer," "Bulk buyer"
* Shopping situations: "Gift shopping," "Last-minute order," "Special occasion"
* Problem resolution: "Order arrived damaged," "Wrong size received"
* Sales situations: "Cart abandonment," "Price comparison," "Bulk pricing inquiry"
* Seasonal flows: "Holiday shipping deadlines," "Back-to-school shopping"
#### Don't add here:
* Simple Q\&A pairs - use Questions instead
* General behavior rules - use Instructions
For example:
Scenario: Customer expressing strong dissatisfaction or review threats
Response:
1. Acknowledge their frustration immediately: "I understand how disappointing this must be"
2. Apologize sincerely: "I'm truly sorry this didn't meet your expectations"
3. Take ownership: "Let me make this right for you"
4. Offer immediate solutions: "I can process a full refund, exchange, or store credit right now"
5. Escalate to human: "I'm connecting you with my manager who can resolve this personally"
6. Follow up promise: "We'll also follow up by email to ensure you're completely satisfied"
7. Never argue or defend - focus only on solutions
***
### 4. URLs
Best for: Linking to existing helpful resources
#### What to add here:
* Size guides & fit charts
* Care instruction pages
* Video tutorials or demos (coming soon)
* FAQ pages with comprehensive info
* Policy pages (privacy, terms)
#### Don't add here:
* URLs that might change frequently
* Password-protected content
* URLs with interactive content, embedded content - iframe, API, external resources
***
### 5. Files
Best for: Bulk information and detailed documents
#### What to add here:
* Detailed care/maintenance guides
* Detailed product manuals
* Technical specification sheets
* Compatibility charts
* Training manuals for complex products
* FAQ compilations from other sources
#### Don't add here:
* Single Q\&A pairs - use Questions instead
* Simple policies - use Q\&A instead
* Files over 2MB or with complex formatting
* Images and tables are supported yet
### ⚠️ Notes
Most common mistake: Put everything in Q\&A (or a specific type) instead of using the right content type for each situation.
* Avoid duplication: Don't put the same info in multiple content types
* Test everything: Ask AI your questions after adding content
### 6. Smart recommendations
Best for: Tell AI which products to recommend in each case. Steps: [AI product recommendations](/ai/train-ai/ai-skills/ai-product-recommendations/).
#### What to add here:
* Product list for each case: Best sellers, New arrivals, Sales, Special occasions
================================================================
URL: https://help.chatty.net/analytics/
Locale: en
================================================================
# Analytics
Who can use this feature?
* **Free:** Overview tab only. The other tabs stay blurred behind an **Upgrade** link.
* **Basic, Pro & Plus:** Every tab.
* **Export** on the Overview tab needs the **Pro** or **Plus** plan, and only admins see the button.
### What is Analytics?
Analytics provides comprehensive insights into your customer conversations, AI assistant performance, sales contribution, and FAQs engagement.
Open **Analytics** from the main menu. It carries five tabs:
1. **Overview** — headline numbers for the whole store
2. **Human agent** — how your team handles conversations
3. **AI agent** — how your AI handles them
4. **Sales** — revenue and orders from conversations
5. **FAQs** — how customers use your self-serve answers
**Home** also carries a small **Overview** card with the same headline numbers. The icon on its right opens the full Analytics page.
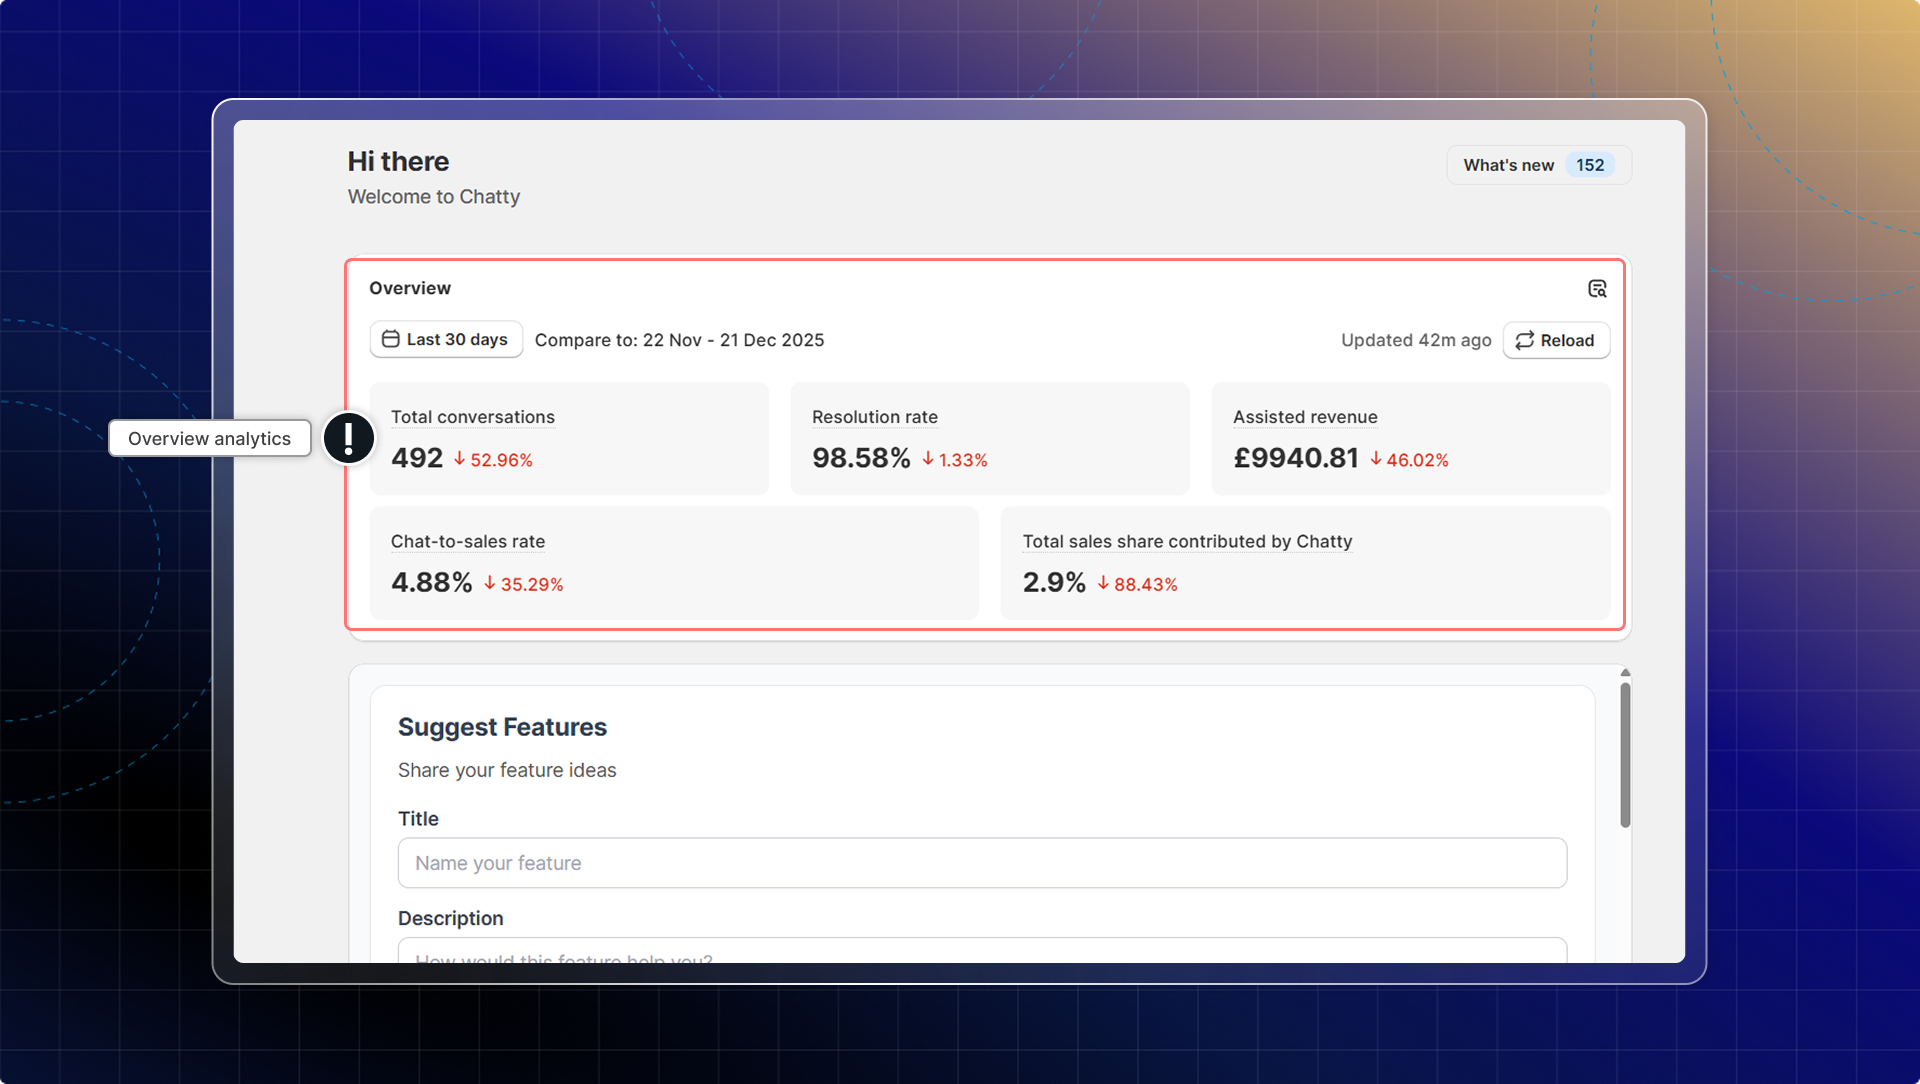
### Set the date range
The bar above every tab controls what all the numbers on that tab cover.
* Pick a range: **Today**, **Yesterday**, **Last 3 days**, **Last 7 days**, **Last 30 days**, **This month**, **Last month**, or **Custom time** for your own dates.
* **Compare to** names the period every trend arrow is measured against. Chatty picks the matching period right before yours — you don't set it.
* **Updated** tells you how old the figures are. Click **Reload** to pull them again.
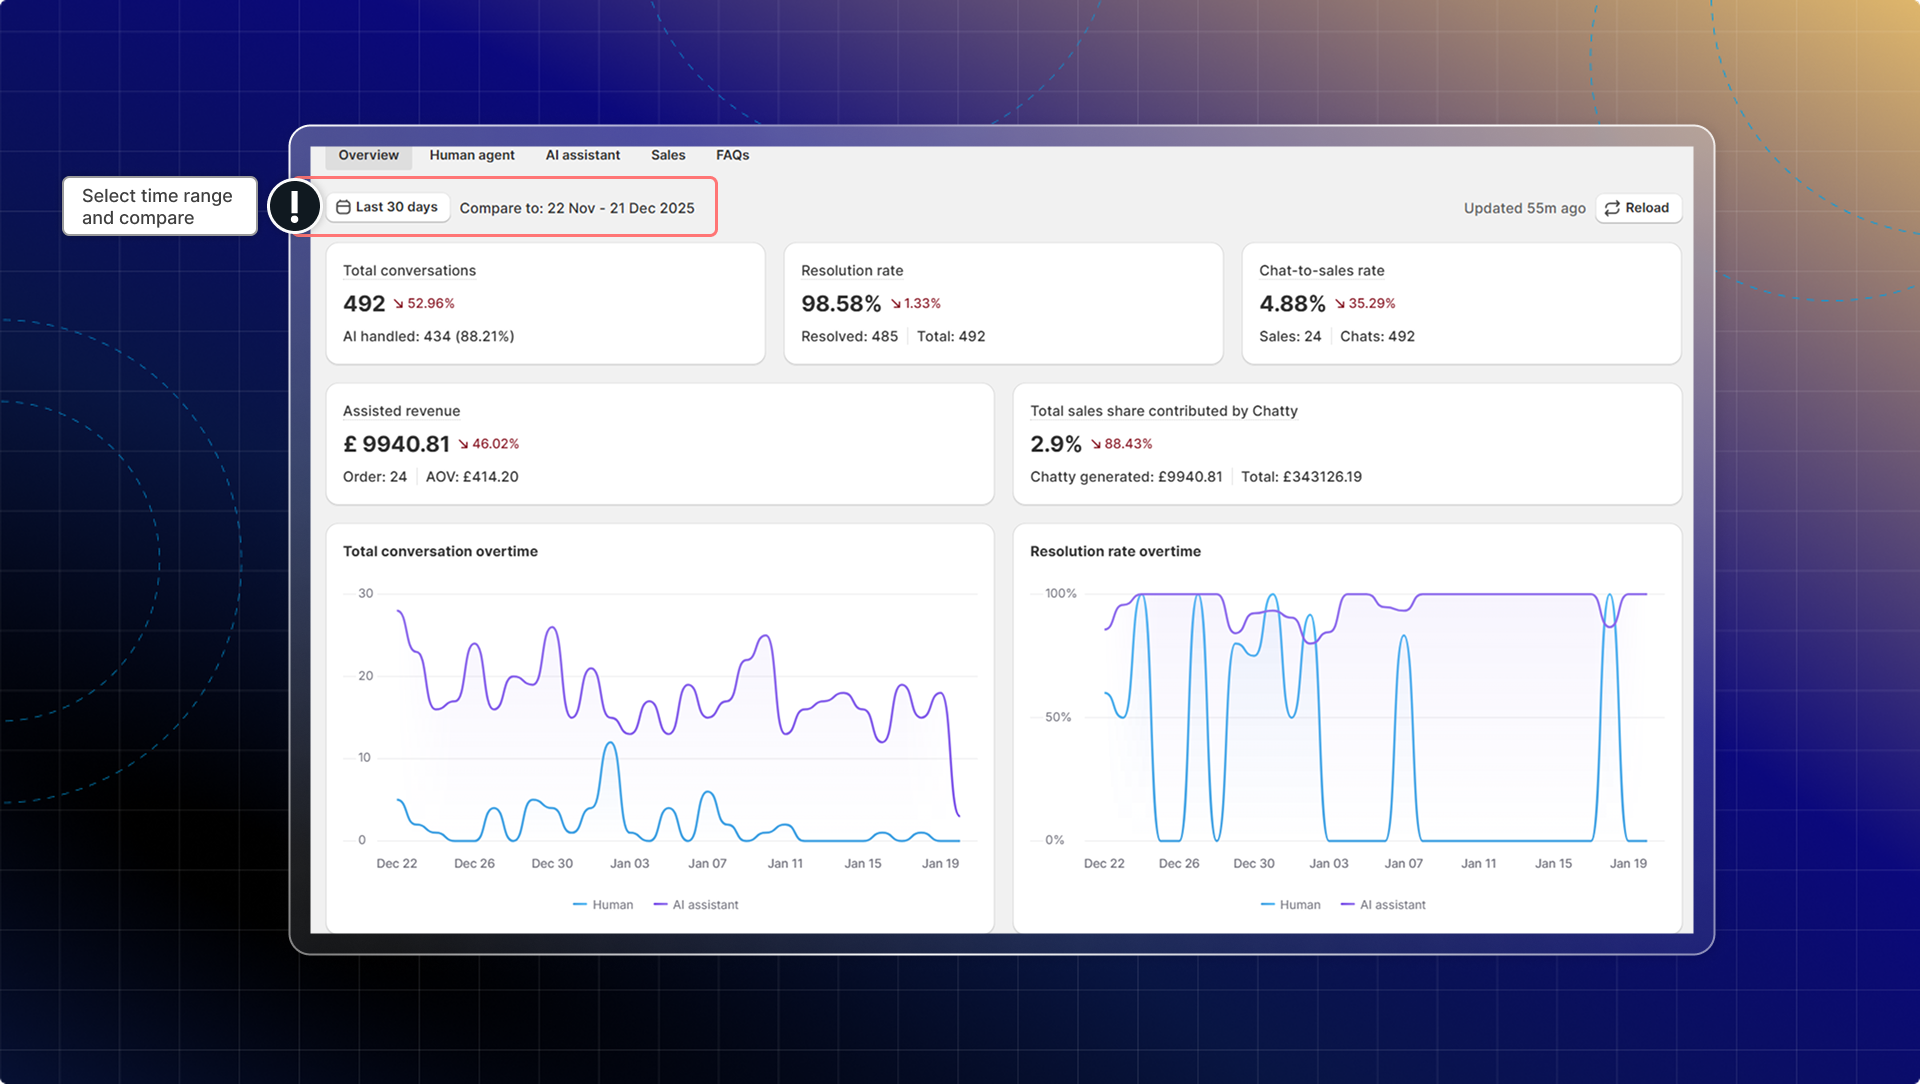
### Overview tab
| Metric | What it means |
| --- | --- |
| Total conversations | Total number of conversations. |
| Resolution rate | Percentage of conversations that were resolved. |
| Chat-to-sales rate | Percentage of conversations that generated sales, out of the total number of conversations. |
| Assisted revenue | Total amount of all orders generated from Chatty's conversations. |
| Total sales share contributed by Chatty | Percentage of total store sales that were generated from Chatty conversations. |
Under the cards sits a chart of conversations over time, then two cards side by side.
**Conversations by channels** splits your conversations across the channels you have connected, as a donut chart.
**CSAT** reads the post-chat survey your customers answer.
| Metric | What it means |
| --- | --- |
| CSAT rate | Percentage of customers who reported being satisfied after a conversation. |
| Response rate | Percentage of customers who responded to the satisfaction survey. |
| Average rating | Mean rating across all submitted responses, out of 5. |
| Ratings | Total number of ratings received in this period. |
The card also shows how the ratings split across the five levels, so you can see whether an average is carried by a few very good or very bad scores.
CSAT stays empty until customers answer the survey. Turn it on in **Settings** → **Automation** → **Satisfaction survey**.
**Cross-store summary** appears at the top of the tab only when more than one store is connected to your account. It lists **Open**, **Resolved** and **Unread** per store, with a total row, so you can see which store needs attention without switching into it.
### Export your KPIs
Export pulls the headline numbers into a spreadsheet, for a board deck or a report of your own.
**Export** needs the **Pro** or **Plus** plan. On a lower plan the button carries a **Pro** badge and clicking it prompts you to upgrade. Team members who aren't admins don't see the button at all.
#### Go to Analytics → Overview and click Export
The **Export AI KPI Data** window opens.
#### Pick the KPIs
**Total conversations**, **Resolution rate**, **Assisted revenue** and **Chat-to-sales rate**. Pick at least one.
#### Set the date range
Fill **From** and **To**. The range can cover at most 90 days.
#### Choose the format
**Download CSV** saves a `.csv` file. **Google Sheets** syncs the figures to a spreadsheet — connect your Google Drive first, then set the address to notify when the file is ready.
#### Click Export now
### Human agent tab
Measure your team's performance when handling customer conversations.
| Metric | What it means |
| --- | --- |
| Total conversations | All conversations involved by human agents in the range. |
| New conversations | Conversations started by customers and taken over by a human agent in the range. |
| Resolved conversations | Conversations marked as resolved by a human agent. |
| First response time | Median time a human agent took to send the first reply. |
| Handling time | Median time a human agent spent handling a conversation. |
| Resolution time | Median time a human agent took to resolve a conversation. |
The three times are medians, not averages. One conversation left open over a weekend won't drag the whole figure.
**Team performance details** at the bottom breaks the same range down per person, so you can see who carries the load and who needs help.
| Column | What it means |
| --- | --- |
| Team member | The agent, or **Unassigned** for conversations nobody took. |
| Handled conversations | Conversations this agent took part in. |
| Resolved conversations | Conversations this agent closed. |
| Average response time | How fast they reply. |
| Handling time | How long they spend on a conversation. |
| Resolution time | How long from picking a conversation up to closing it. |
| Rating | The score customers gave them in the post-chat survey. |
### AI agent tab
Show how effectively your AI assistant is handling customer inquiries.
| Metric | What it means |
| --- | --- |
| AI involvement rate | Percentage of conversations using AI. |
| AI resolution rate | Percentage of resolved conversations using AI. |
| Answer rate | Percentage of questions successfully answered by AI. |
| Time saved | Total time saved by using AI. |
**Customer feedback** counts the thumbs customers gave the AI's replies.
| Metric | What it counts |
| --- | --- |
| Total response | All AI replies in the range. |
| Great | Replies rated with a thumbs up. |
| Good | Replies nobody rated. |
| Bad | Replies rated with a thumbs down. |
Use **Go to inbox** on that card to read the conversations behind a bad score.
**Common intents** lists what customers actually ask, with **Total question** and **Success rate** per topic. A topic with high volume and a low success rate is the next thing to train — see [Train your AI](/ai/train-ai/).
### Sales tab
Understand how customer conversations contribute to your store revenue. The **Sales** tab is the Chat-to-Sales dashboard. It carries the revenue KPIs, the funnel, topic attribution and your team's performance.
Learn more in [Chat-to-Sales](/analytics/Chat-to-Sales/).
### FAQs tab
Track customer engagement with your self-service content and identify which questions matter most.
| Metric | What it means |
| --- | --- |
| Published FAQs | Total number of published FAQ articles. |
| Total views | Total number of clicks on all questions. |
| FAQ views over time | View trends, to see when customers reach for your FAQs. |
| Top viewed FAQs | Your most popular FAQ content. |
A view is counted each time a customer clicks to expand an answer — on the FAQs page, in an FAQs block, or inside the chatbox.
To see the count for a single question, go to **FAQs** and read the number next to it.
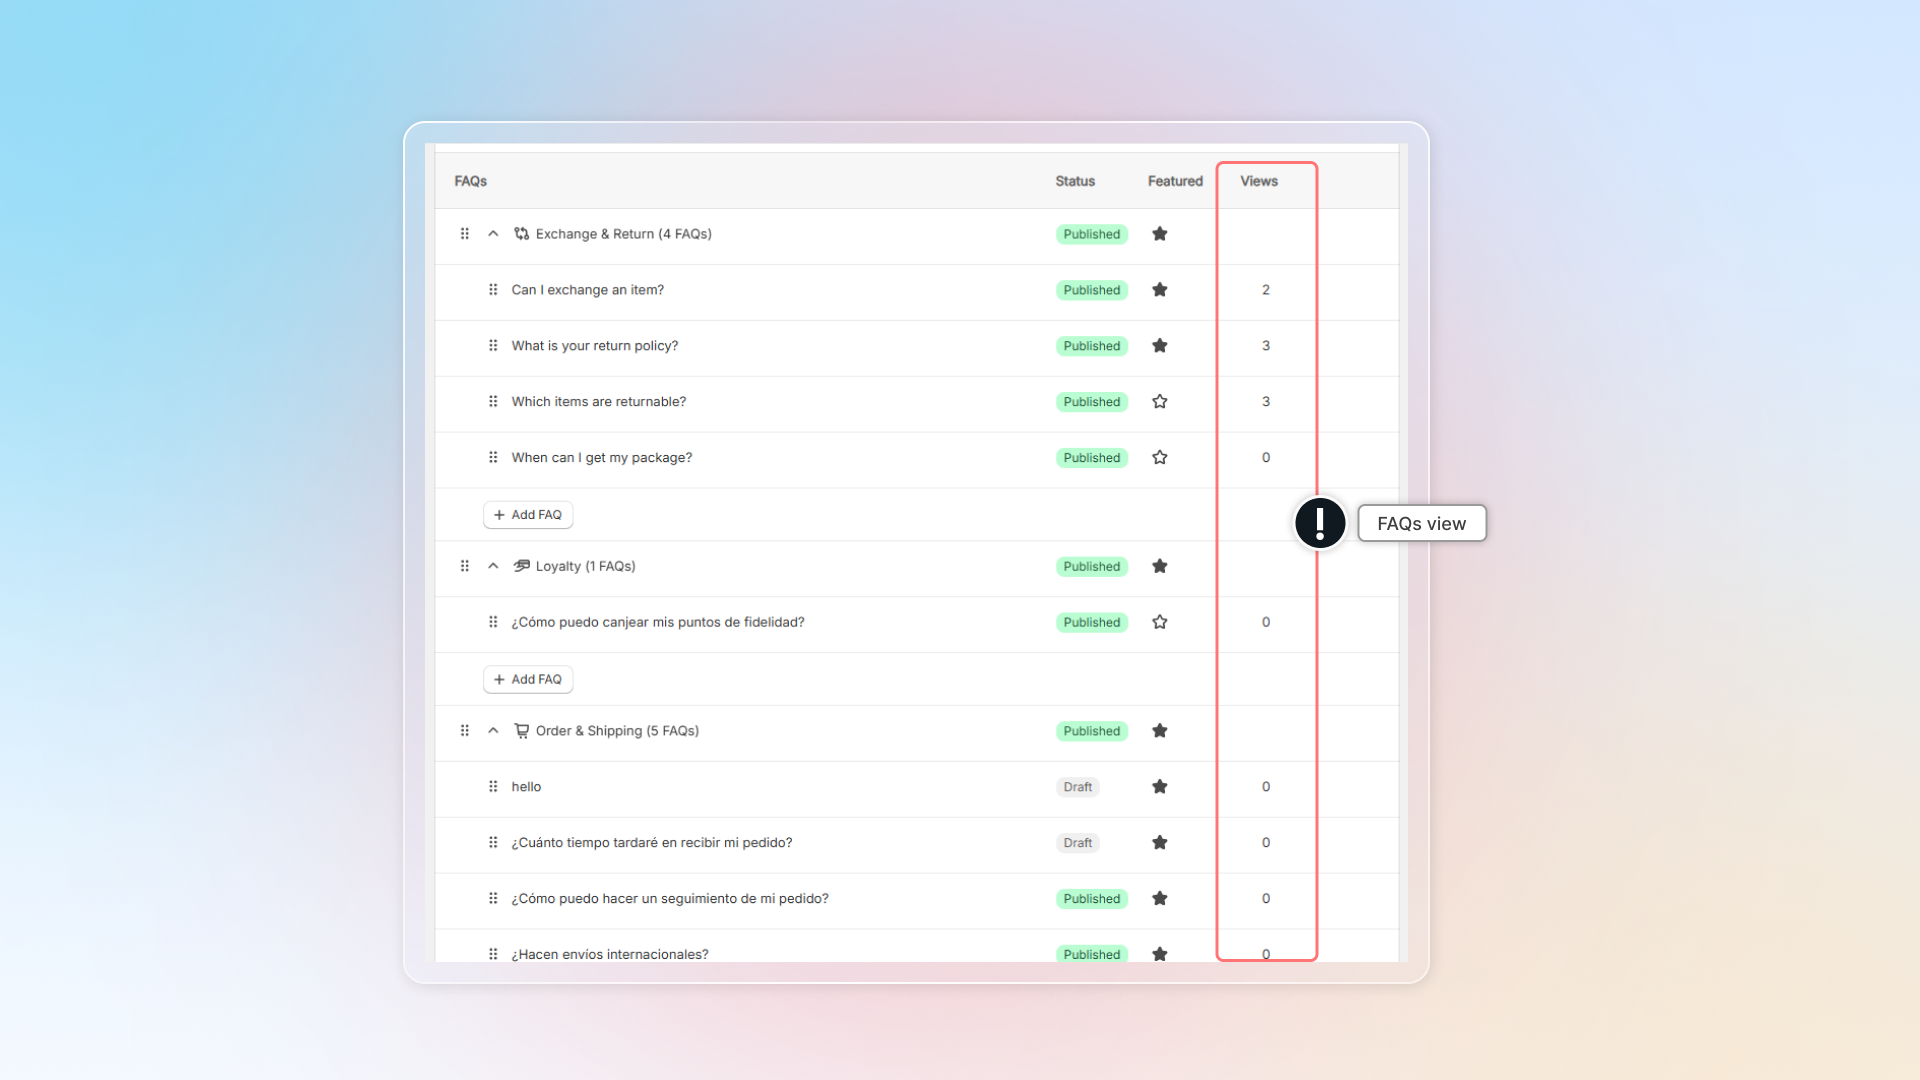
================================================================
URL: https://help.chatty.net/analytics/Chat-to-Sales/
Locale: en
================================================================
# Chat-to-Sales
**Who can use this feature?**
* **Free:** Overview tab only. The Sales tab stays blurred behind an upgrade prompt.
* **Basic:** The full dashboard, with the summary numbers and the funnel.
* **Pro & Plus:** Adds the detailed breakdowns you act on.
### What is Chat-to-Sales
Chat-to-Sales is the **Sales** tab in Analytics. It shows how your conversations turn into revenue.
It also separates the revenue your AI drove from the revenue your team drove. This helps you see which side to invest in.
1. Go to **Analytics**.
2. Click the **Sales** tab.
**Expected result:** The dashboard opens with the KPI banner on top and the breakdowns below.
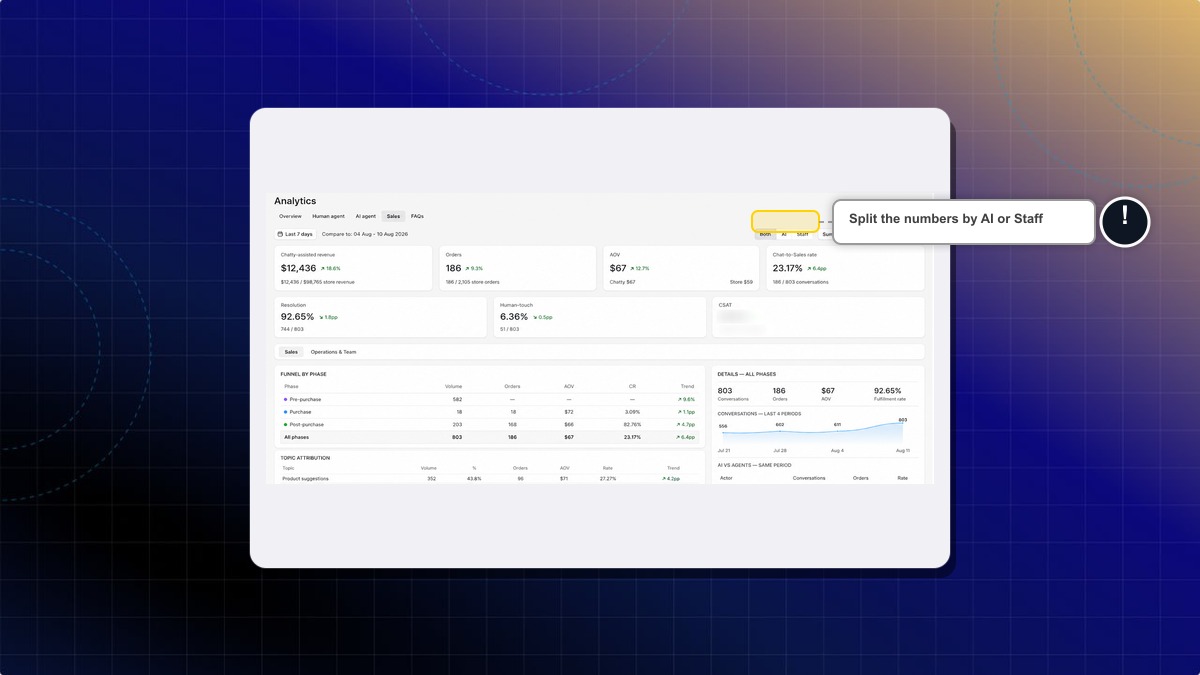
Use the date picker on the left to set the range. **Compare to** shows the period the trends are measured against. Click **Reload** to pull fresh data.
### What the KPI banner shows
The banner summarises the range you picked. Each card carries a trend against the previous period.
| Card | What it means |
| --- | --- |
| **Chatty-assisted revenue** | Total assisted revenue generated from Chatty's conversations. |
| **Orders** | Number of assisted orders tracked in the selected date range. |
| **AOV** | Average assisted revenue per order. |
| **Chat-to-Sales rate** | Percentage of conversations that generated sales, in the view you picked. |
| **Resolution** | Percentage of conversations that were resolved, in the view you picked. |
| **Human-touch** | Percentage of conversations involved by a human agent. |
| **CSAT** | Percentage of customers who reported being satisfied after a conversation. |
Each card also prints the raw figure underneath, such as `186 / 2,105 store orders`. This is how you compare Chatty against your whole store.
### How to get a one-line summary
1. Go to **Analytics** → **Sales**.
2. Set your date range.
3. Click **Both**, **AI**, or **Staff**.
4. Click **Summarize**.
**Expected result:** A banner opens above the tables with one sentence, for example:
> Over 11 Aug - 17 Aug 2026 (AI), Chatty assisted 0 orders worth $0, a 0.00% chat-to-sales rate, 50.00% resolution.
Close the banner with the **X** on its right.
The sentence reads the same figures as the cards above it. A card showing a dash is left out.
### How to split the numbers by AI or staff
1. Go to **Analytics** → **Sales**.
2. Click **Both**, **AI**, or **Staff** above the banner.
**Expected result:** Every card and table on the page reloads for that view.
**Human-touch** shows under **Both** only. It measures the whole store, so it would read the same under **AI** or **Staff**.
### How to read the Sales breakdowns
The **Sales** view sits under the banner. It answers where the revenue came from.
**Funnel by phase**
Every conversation sits in exactly one phase, decided by the order behind it.
| Phase | What it covers |
| --- | --- |
| **Pre-purchase** | No chat-attributed order yet. Covers shoppers still deciding, and customers asking about orders placed elsewhere. |
| **Purchase** | Has a chat-attributed order that is not fulfilled yet. |
| **Post-purchase** | Has at least one chat-attributed order fulfilled. |
The **All phases** row at the bottom totals the three.
**Topic attribution**
Shows which conversation topics bring in the most revenue.
| Topic | Typical conversation |
| --- | --- |
| **Product suggestions** | The shopper asks what to buy. |
| **FAQs** | The shopper asks something your FAQs answer. |
| **Promotion / voucher** | The shopper asks about a discount or code. |
| **Order tracking** | The customer asks where their order is. |
| **Return / refund** | The customer wants to send something back. |
| **Other** | Anything that fits none of the above. |
**Volume by phase**
The chart under the tables plots conversation volume against conversion rate. Switch it between **By phase** and **Over time**.
**Details panel**
Click any funnel or topic row. The panel on the right opens with the numbers behind that row.
* **Conversations**, **Orders**, **AOV** and **Fulfillment rate** for the row
* Conversations across the **last 4 periods**
* **AI vs agents** for the same period
* **Breakdown by topic**
**Top products**
Shows the products that sell most through chat, as a table and a chart.
### How to review your team
Click **Operations & Team** next to **Sales**.
**Expected result:** The view opens with the Conversation resolution cards and the agent table, for the same date range.
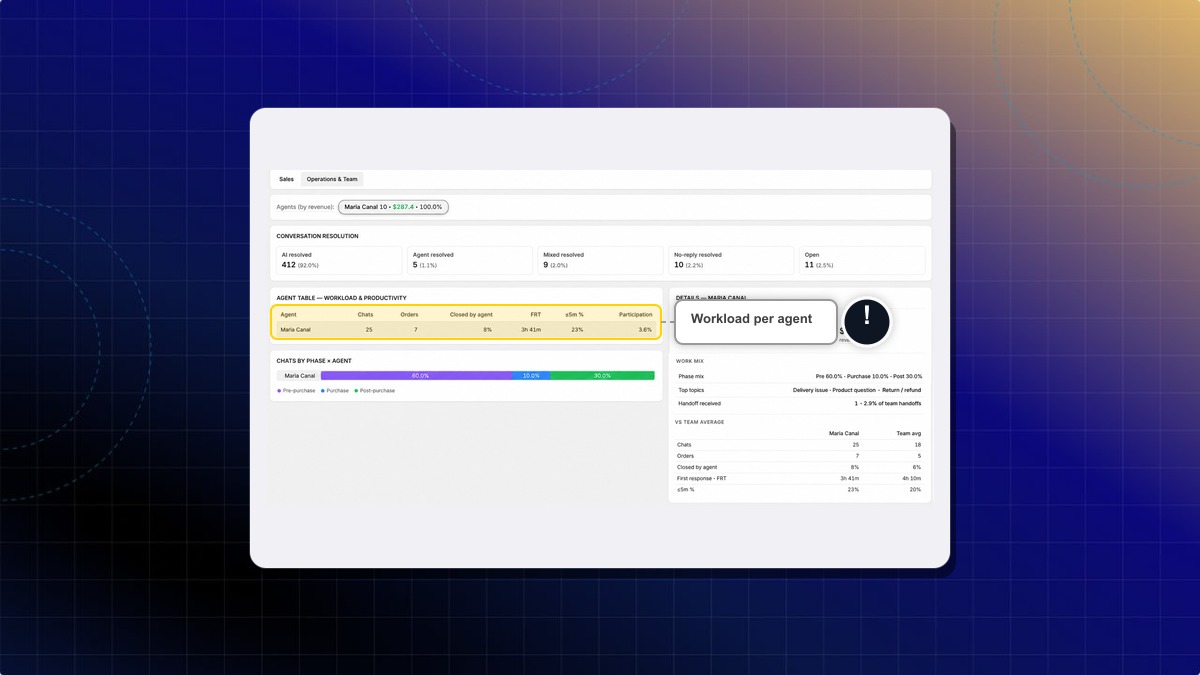
**Conversation resolution**
Five cards split every conversation in the range by how it ended.
| Card | What it counts |
| --- | --- |
| **AI resolved** | Closed by the AI alone. |
| **Agent resolved** | Closed by a human agent. |
| **Mixed resolved** | Both the AI and an agent took part. |
| **No-reply resolved** | Closed without anyone replying. |
| **Open** | Still open at the end of the range. |
**Agent table**
| Column | What it means |
| --- | --- |
| **Chats** | Conversations this agent handled. |
| **Orders** | Assisted orders from those conversations. |
| **Closed by agent** | Share of their chats they closed themselves. |
| **FRT** | Median first response time on chats they replied to. |
| **≤5m %** | Share of their replies sent within 5 minutes. |
| **Participation** | Their chats over your total store conversations. |
Click an agent to open **Details** on the right. You get their headline numbers, their **Work mix** by phase and topic, and a **Vs team average** comparison.
### What each plan unlocks
Every paid plan opens the dashboard, and the summary numbers are always there. The detailed numbers, the ones you act on, sit on **Pro & Plus**.
| | Basic | Pro & Plus |
| --- | --- | --- |
| All five Analytics tabs | Yes | Yes |
| KPI banner, every card | Yes | Yes |
| Funnel by phase, every column | Yes | Yes |
| Topic attribution: Topic, Volume, % | Yes | Yes |
| Topic attribution: Orders, AOV, Rate, Trend | Locked | Yes |
| Details panel: headline numbers and trend | Yes | Yes |
| Details panel: AI vs agents, topics, products sold, discounts | Locked | Yes |
| Top products table | Fewer columns | Every column |
| Top products chart | Locked | Yes |
| Operations & Team: agent, chats, orders | Yes | Yes |
| Operations & Team: closed by agent, response times, participation, work mix | Locked | Yes |
A locked block stays on screen behind a blur. It carries an **Upgrade to unlock** label and an **Upgrade plan** button.
Why did Human-touch disappear from the banner?
You switched the banner to **AI** or **Staff**. **Human-touch** is a store-wide number, so it only shows under **Both**.
Why does Operations & Team say "No agent activity in this period"?
No human agent joined a conversation in the range you picked. Widen the date range, or check the **Human-touch** card to confirm.
Why is my revenue here lower than my Shopify revenue?
This page only counts orders Chatty was involved in. Each card prints that figure against your store total underneath, so you can compare the two.
================================================================
URL: https://help.chatty.net/analytics/Chatty-Attribution-Metafields/
Locale: en
================================================================
# Chatty attribution in Shopify
### What is Chatty attribution in Shopify
Chatty writes its attribution data straight onto your Shopify orders and customers as metafields.
You read these fields inside Shopify admin. Pin them on the order page, filter your order list, or build customer segments. This helps you see which revenue came from chat without leaving Shopify.
Chatty creates the field definitions for you the first time it writes attribution data. You do not create them manually.
### What Chatty saves on each order
Chatty adds these fields when a chat happened before the order.
| Field | Type | What it means |
| --- | --- | --- |
| **Chatty Assisted** | True or false | The customer chatted with Chatty within 7 days before placing the order. |
| **Chatty Direct** | True or false | The order contains a product that Chatty showed or mentioned in that chat. |
Only assisted orders get these fields, so **Chatty Assisted** is always `true` when you see it. **Chatty Direct** is `true` when the customer bought a product from the chat, and `false` when the chat covered something else.
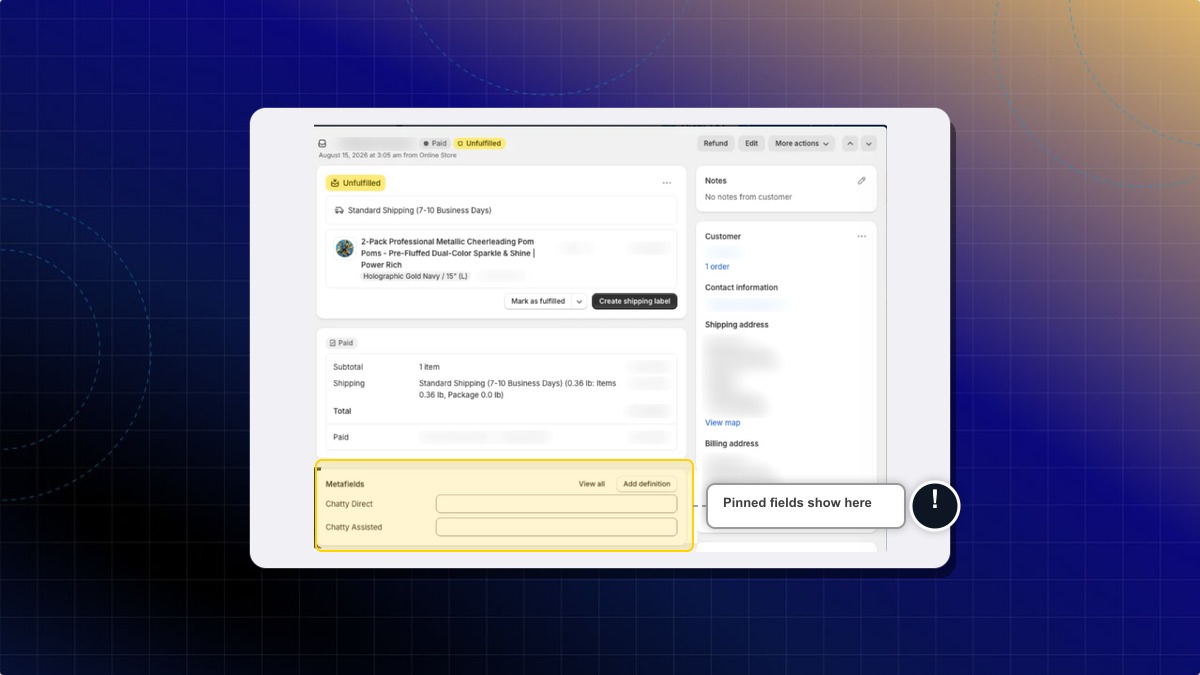
### What Chatty saves on each customer
Chatty also adds fields to the customer record.
| Field | Type | Values you will see |
| --- | --- | --- |
| **Chatty Chat Status** | Single line text | `engaged` when the customer has chatted, `never_chatted` when they have not. |
| **Chatty Resolution Type** | Single line text | `ai_only`, `human_assisted`, or `human_only`. |
| **Chatty Responded to Proactive** | True or false | `true` when the customer replied to a proactive message. |
**Chatty Resolution Type** describes the customer's latest resolved chat, not their whole history.
The fields store raw values such as `ai_only`. Shopify shows them exactly as written, so read `human_assisted` as "a human agent replied with AI help".
### How to show the Chatty fields on the order page
New definitions are pinned by default. Pin them again if someone unpinned them and your order page shows **No metafields pinned**.
1. Go to **Shopify admin** → **Settings** → **Metafields and metaobjects**.
2. Click **Orders**.
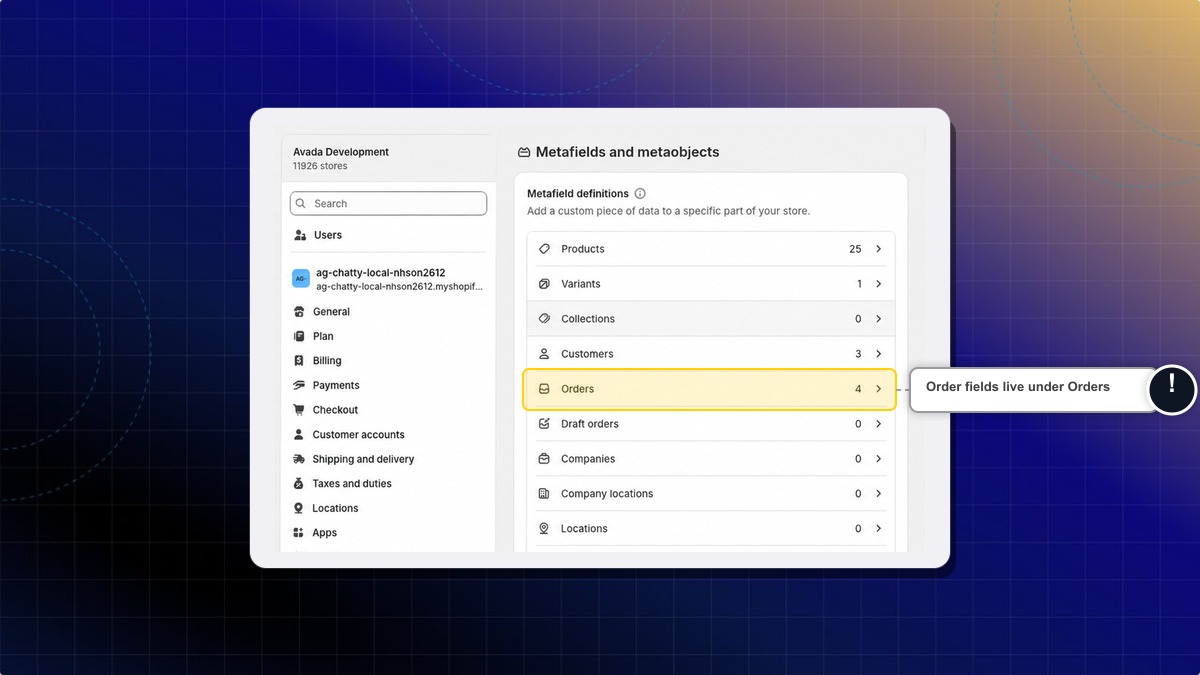
3. Click the pin icon next to **Chatty Assisted** and **Chatty Direct**.
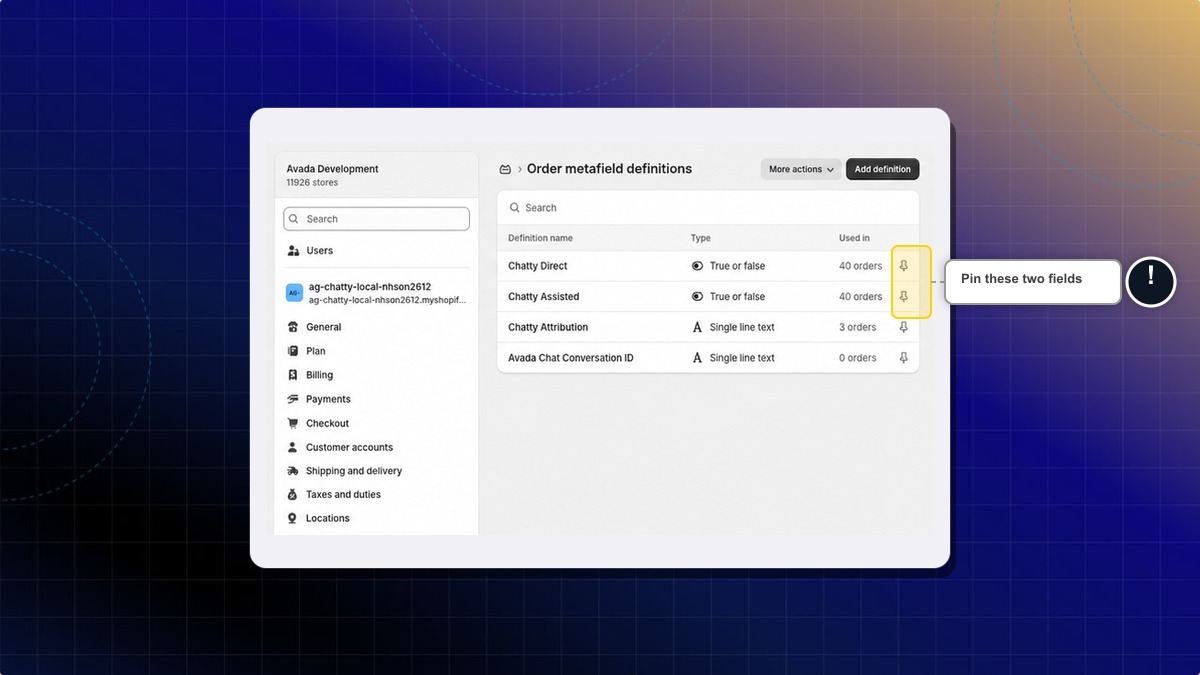
**Expected result:** Open any order that came from a chat. The **Metafields** card on the order page now lists **Chatty Assisted** and **Chatty Direct**.
### How to filter orders by Chatty attribution
Shopify only filters the order list by a metafield after you turn the option on.
1. Go to **Shopify admin** → **Settings** → **Metafields and metaobjects** → **Orders**.
2. Click **Chatty Assisted**.
3. Turn on **Filter on the order list and in the Admin API**.
4. Click **Save**.
5. Go to **Orders**.
6. Click **Add filter**.
7. Pick **Chatty Assisted** and set the value to `true`.
**Expected result:** The order list shows only chat assisted orders, so you can total the revenue Chatty helped drive.
Shopify allows this filter option on 5 order metafield definitions per store. Turn it on for the Chatty fields you actually filter by.
### How to segment customers by Chatty activity
1. Go to **Shopify admin** → **Customers** → **Segments**.
2. Click **Create segment**.
3. Add a filter on a Chatty customer field.
Example: filter **Chatty Chat Status** on `engaged` to reach everyone who has chatted with you.
4. Click **Save segment**.
**Expected result:** The segment lists only matching customers, ready to use for email or ad audiences.
### How to remove the Chatty fields from the order page
You have two options. Unpinning hides the fields and keeps your data. Deleting the definition removes the field from Shopify.
**Hide the fields without losing data**
1. Go to **Shopify admin** → **Settings** → **Metafields and metaobjects** → **Orders**.
2. Click the pin icon next to **Chatty Assisted** or **Chatty Direct** to unpin it.
**Expected result:** The **Metafields** card on the order page no longer lists the field. The values are still there, click **View all** on any order to read them.
**Delete the field definition**
1. Go to **Shopify admin** → **Settings** → **Metafields and metaobjects** → **Orders**.
2. Click **Chatty Assisted** or **Chatty Direct**.
3. Click **More actions** → **Delete definition**.
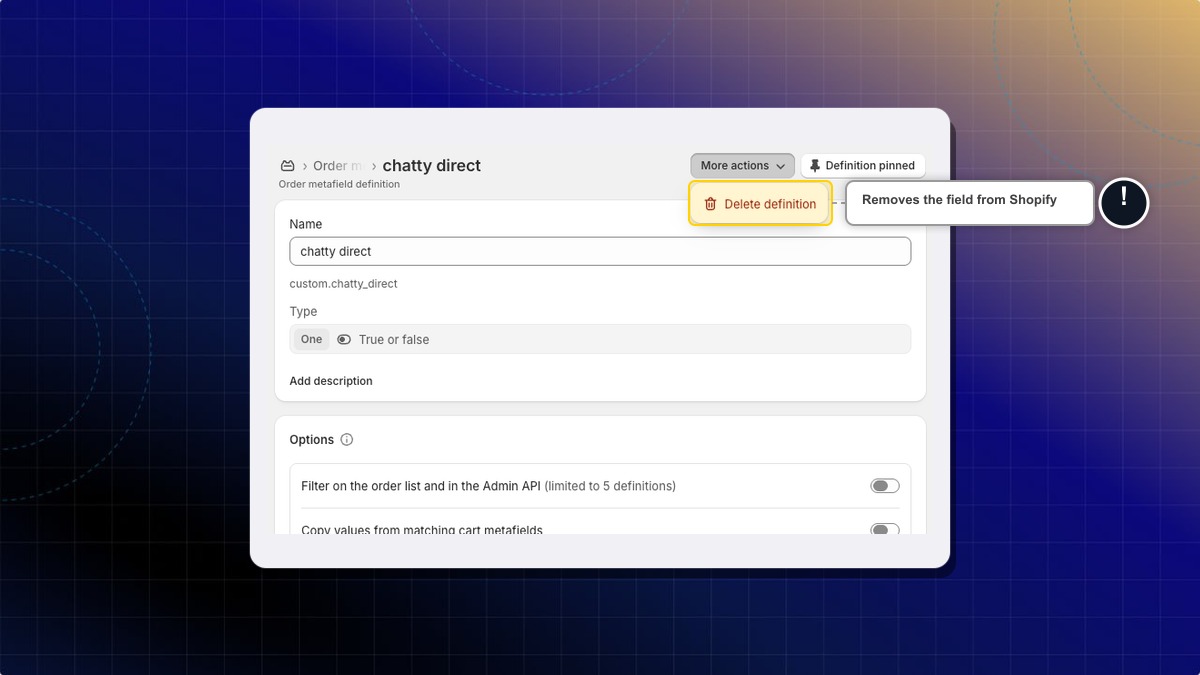
4. Choose what to delete.
* **Delete field only** keeps every value Chatty already wrote to your orders.
* **Delete field and its saved values** wipes the values from all of your orders.
5. Click **Delete**.
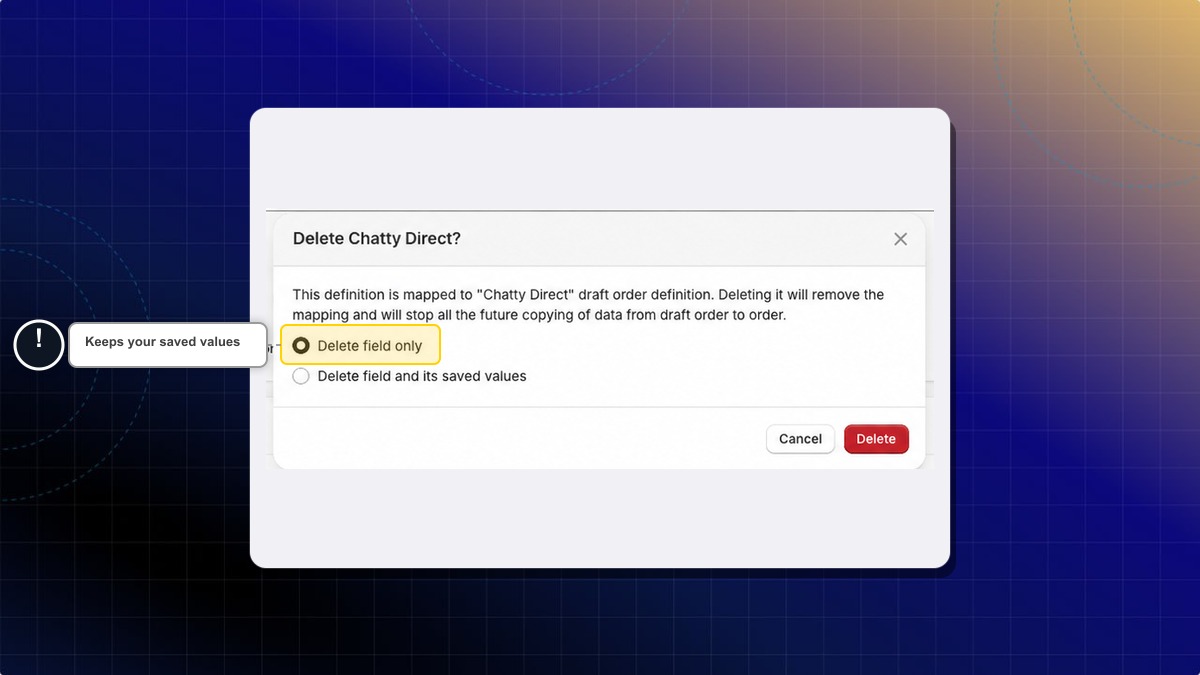
**Expected result:** The field is gone from **Order metafield definitions** and from the order page.
The same steps work for the Chatty customer fields under **Customers**.
Deleting the definition does not stop Chatty from recording attribution. New chat assisted orders still receive values, and they appear under **View unstructured metafields**. Chatty does not recreate the definition on its own, so add it back yourself when you want the fields visible again.
Why don't the order fields show up on my orders?
Chatty needs permission to update your orders before it can write them. Open Chatty from your Shopify admin and accept the permission request, then place a test order after a chat.
Orders placed before you gave permission are not filled in later.
One definition shows a warning and I cannot edit it. How do I fix it?
This happens when the matching draft order definition was deleted. Recreate the definition without losing your saved values.
1. Go to **Settings** → **Metafields and metaobjects** → **Orders** and click the definition with the warning.
2. Click **More actions** → **Delete definition**.
3. Select **Delete field only**, then click **Delete**.
4. Back on **Order metafield definitions**, click **View unstructured metafields**.
5. Find the key, for example `chatty.direct`, and click **Add definition**.
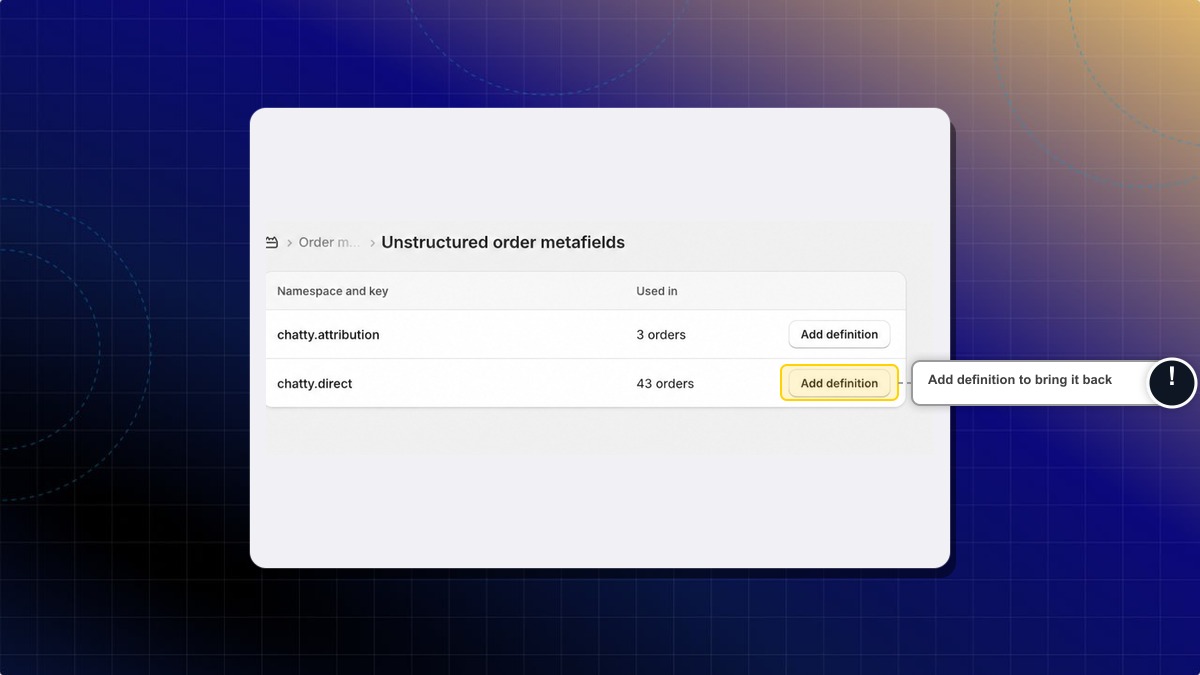
6. Type the matching name, **Chatty Direct** for `chatty.direct` or **Chatty Assisted** for `chatty.assisted`.
7. Set **Type** to **True or False**, then click **Save**.
**Expected result:** The definition is back in the list with its order count unchanged, and your existing values are still there.
Check the key above the **Name** field before you save. A name that does not match its key makes your order pages unreadable later.
Do I still get the chatty-assisted and chatty-direct order tags?
No. Chatty replaced those tags with the **Chatty Assisted** and **Chatty Direct** fields. Tags already on past orders stay where they are, but no new order gets tagged.
What is the older Chatty Attribution field in my list?
It comes from an earlier version of Chatty and is no longer updated. You can leave it alone, or remove the definition once you no longer need the old values.
================================================================
URL: https://help.chatty.net/api-reference/
Locale: en
================================================================
# API Reference
**Who can use this feature?**
* The [storefront SDK](/sdk/) works on any plan and needs no key.
* An API key is required for the GraphQL Customer API, the Chat Conversations API, webhooks, and MCP. All four require the **Pro** or **Plus** plan.
### Start here
"I want Chatty to talk to the rest of my stack — where do I begin?" There are six ways in, and they are not interchangeable. Picking the wrong one usually means the code works, but it can never do the thing you actually wanted.
Read the two tables below, then check [Common wrong picks](#common-wrong-picks). Five minutes here saves a rebuild.
**How much of this you can do yourself.** Creating the API key takes a minute and needs no code: follow [Generate your API key](#generate-your-api-key) below. What happens after that splits in two. If the tool you're connecting has a setup screen that asks for a Chatty API key, paste the key there and you're done. If it doesn't, someone has to write the code that calls Chatty, so plan on a developer.
If you're looking for ready-made integrations without code, see [Klaviyo](/integrations/klaviyo/), [Zendesk](/integrations/zendesk/), or [Joy](/integrations/joy/) instead.
***
### What each one does
| Way | What it does | What it can't do | Read more |
| --- | --- | --- | --- |
| Built-in integrations | Connect Chatty to Klaviyo, Zendesk, Joy, Gorgias, Air Reviews, Powerful Contact Form, SEA Survey, or a non-Shopify website. You fill in a form in the app. | Anything the guide for that app doesn't list. There's no way to extend one. | [Integrations](/integrations/) |
| Storefront SDK | Control the chat widget on your storefront: open or close it, prefill or send a message, pass customer and cart context, react to what the visitor does in chat. | Read past conversations, run on your server, or change settings saved in the app. It only exists in the shopper's browser. | [Storefront SDK](/sdk/) |
| Chat Conversations API | Read and write conversations from your own systems: list and fetch conversations and messages, send replies, resolve, assign, tag, add notes and attributes, read customers, members, and tags. | Push anything to you — you ask, it answers. It also can't change widget settings, and it can't split a key's permissions by scope. | [Chat Conversations API](/api-reference/chat-read-api/) |
| Webhooks | Tell your server the moment something happens: 9 events across messages, conversations, and new customers. | Give you history, and it can't reply. To answer, your server calls the Chat Conversations API. | [Webhooks](/api-reference/webhooks/) |
| GraphQL Customer API | Read the contacts Chatty collected — names, emails, channels, order counts, total spend, chat activity — with exactly the fields you ask for. | Write anything. It's read-only, and it doesn't return message content. | [GraphQL Customer API](/api-reference/graphql/) |
| MCP server | Let an AI assistant you run — your own bot, or a tool such as Claude — discover your store's tools, look up a product, an order, or an FAQ, and post its reply into the conversation. | Act as a general-purpose API. The assistant only gets the tools your store has switched on. | [MCP server](/mcp/) |
Two pages apply to every API above: [Authentication](/api-reference/authentication/) explains how credentials work, and [Errors and rate limits](/api-reference/errors-and-rate-limits/) covers what to do when a request fails.
***
### Pick by what you want to do
| You want to… | Use |
| --- | --- |
| Connect a tool that already has a Chatty guide | [Built-in integrations](/integrations/) — no code, no key |
| Copy conversations into a helpdesk, database, or spreadsheet | [Chat Conversations API](/api-reference/chat-read-api/) |
| React the moment a new message arrives | [Webhooks](/api-reference/webhooks/) to hear it, [Chat Conversations API](/api-reference/chat-read-api/) to reply |
| Reply to customers from a tool your team already uses | [Chat Conversations API](/api-reference/chat-read-api/) |
| Open the chatbox from your own button, or prefill a message | [Storefront SDK](/sdk/) |
| Pass the logged-in customer, the cart, or the current product into chat | [Storefront SDK](/sdk/) |
| Export contacts to a CRM, an email platform, or a CSV | [GraphQL Customer API](/api-reference/graphql/) |
| Let your own AI assistant read and answer conversations | [MCP server](/mcp/) |
| Build a report on chat volume and outcomes | [Chat Conversations API](/api-reference/chat-read-api/) for conversations, [GraphQL Customer API](/api-reference/graphql/) for customers |
| Add Chatty to a website that isn't your Shopify store | [Website integration](/integrations/website/) |
***
### Common wrong picks
Each pair below looks like the same job. It isn't.
#### Chat Conversations API vs Webhooks
The API answers when you ask. Webhooks speak when something happens. If your feature is "within seconds of a customer message, do X", polling the API on a timer is the wrong shape: you either poll too often and hit the limit, or too rarely and arrive late. Subscribe to `message.created` instead, and call the API only to fetch detail and to reply.
#### Storefront SDK vs Chat Conversations API
The SDK runs in the shopper's browser and touches only that shopper's live widget. The API runs on your server and sees every conversation in your store. Anything involving history, other customers, or work that must happen while nobody is on the site belongs to the API. Anything about what the widget does on the page belongs to the SDK.
#### MCP server vs Chat Conversations API
Both can post a reply. The difference is who decides. With MCP, an AI assistant is handed a set of tools and picks which to call. With the API, your code decides and calls a fixed path. If there's no model in the loop, MCP adds a layer you don't need.
#### GraphQL Customer API vs Chat Conversations API
"Customer" appears in both. GraphQL returns people and their totals, and nothing else — it's read-only and has no message content. The Chat Conversations API returns the conversations and the messages themselves. Wanting "everything about this shopper" usually means both.
#### Built-in integration vs building your own
Check [Integrations](/integrations/) before you scope any development. If a guide already exists for the tool you're connecting, that path is a form in the app, not a project.
#### The public API vs the paths in your browser
The admin inbox in your browser calls near-identical paths under `/api/chat/...`, authenticated with your admin session. Those are not the public API and an API key won't work on them. The public paths carry no `/api` prefix: `https://app.chatty.net/chat/conversations`.
***
### Plans, credentials, and limits
| Way | Plan | Needs a developer | Credentials | Limits worth knowing |
| --- | --- | --- | --- | --- |
| Built-in integrations | See the guide for each app | No | None | Set in the app |
| [Storefront SDK](/sdk/) | Any plan | Yes, to add JavaScript to your theme | None | Runs only where the widget is loaded |
| [Chat Conversations API](/api-reference/chat-read-api/) | **Pro** or **Plus** | Yes | `X-Api-Key: sk_...` | 120 requests/min per key, 300 requests/min per IP |
| [Webhooks](/api-reference/webhooks/) | **Pro** or **Plus** | Yes | `X-Api-Key: sk_...` to manage subscriptions | 10 subscriptions per store; 10-second delivery timeout; up to 7 attempts over about 9 hours |
| [GraphQL Customer API](/api-reference/graphql/) | **Pro** or **Plus** | Yes | `x-api-id` and `x-api-secret` | Read-only; a rejected request returns `200` with an `errors` array, not `401` |
| [MCP server](/mcp/) | **Pro** or **Plus** | Yes | `X-App-Id` and `Authorization: Bearer sk_...` | 8 tools are always available; 9 more appear only when the matching feature is switched on |
You can keep up to 5 active API keys per store, and the same `sk_` key works across the Chat Conversations API, webhooks, MCP, and GraphQL — each just sends it in a different header. See [Authentication](/api-reference/authentication/) for the details.
***
### Generate your API key
All API credentials live in one place: **Settings** → **General** → **Manage keys**.
#### Create an API key
Enter a name in **Key name**. Name it after the tool that will use it, for example `Zendesk sync`. The name can be up to 50 characters. Then click **Generate key**.
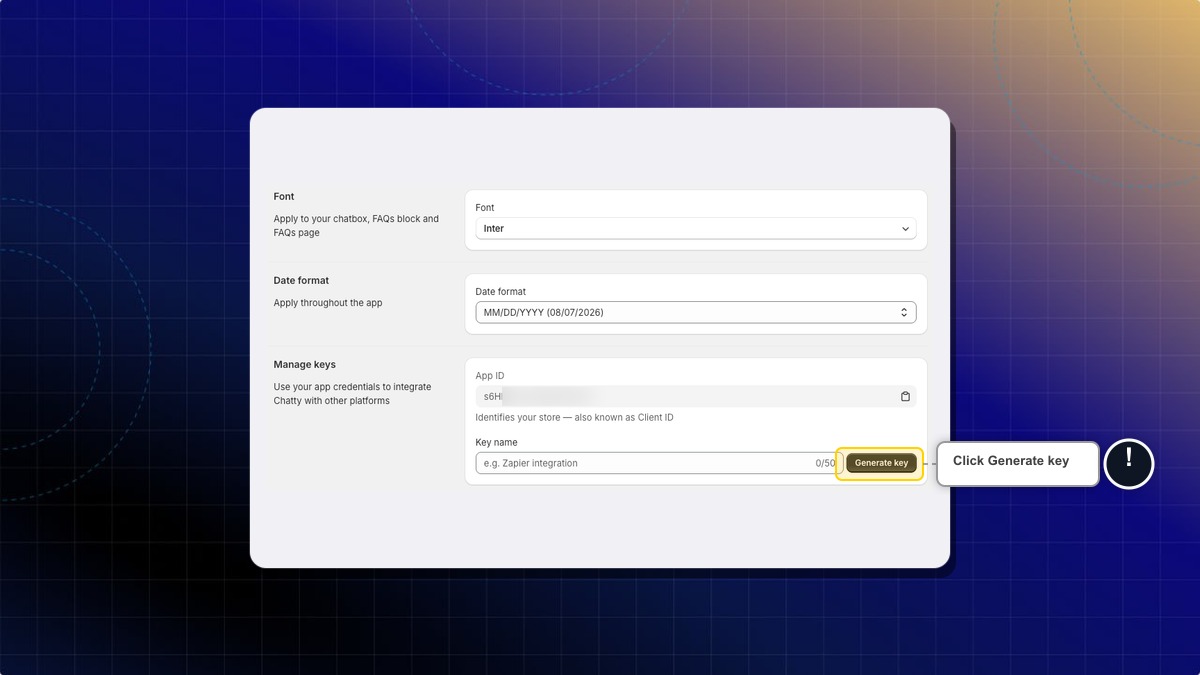
The new key appears in your list with the full `sk_` value visible.
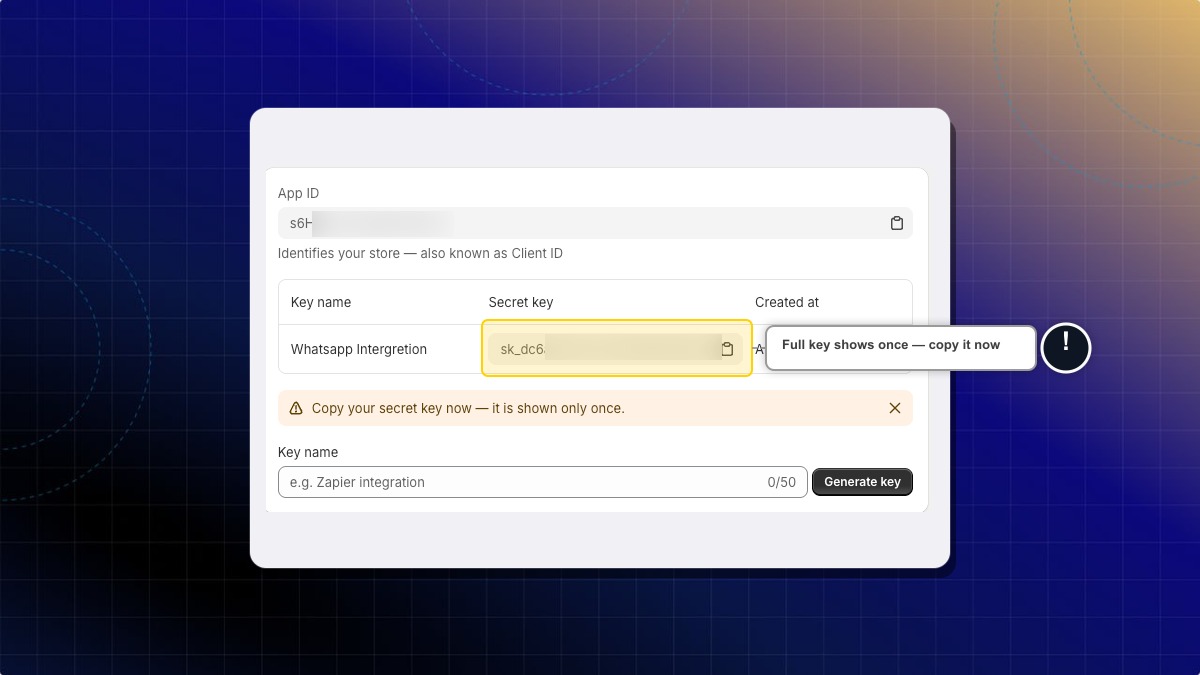
**Copy the key before you leave the page.** Chatty stores only a hash of it, so the full key can never be shown again. If you lose it, delete the key and create a new one.
You can keep up to 5 active keys per store. Create one per integration so you can delete a single key without breaking the others.
**A new key takes up to 30 seconds to start working, and a deleted key up to 5 minutes to stop.** A `401` on your first request right after creating a key is expected. Wait and try again before you go looking for a bug in your code.
Creating and managing keys requires the **Pro** or **Plus** plan. On other plans the panel is replaced by a note with an upgrade link.
#### Find your App ID
Your **App ID** sits at the top of the same panel. Some tools call it a Client ID. It identifies your store, and some integrations need it alongside your key.
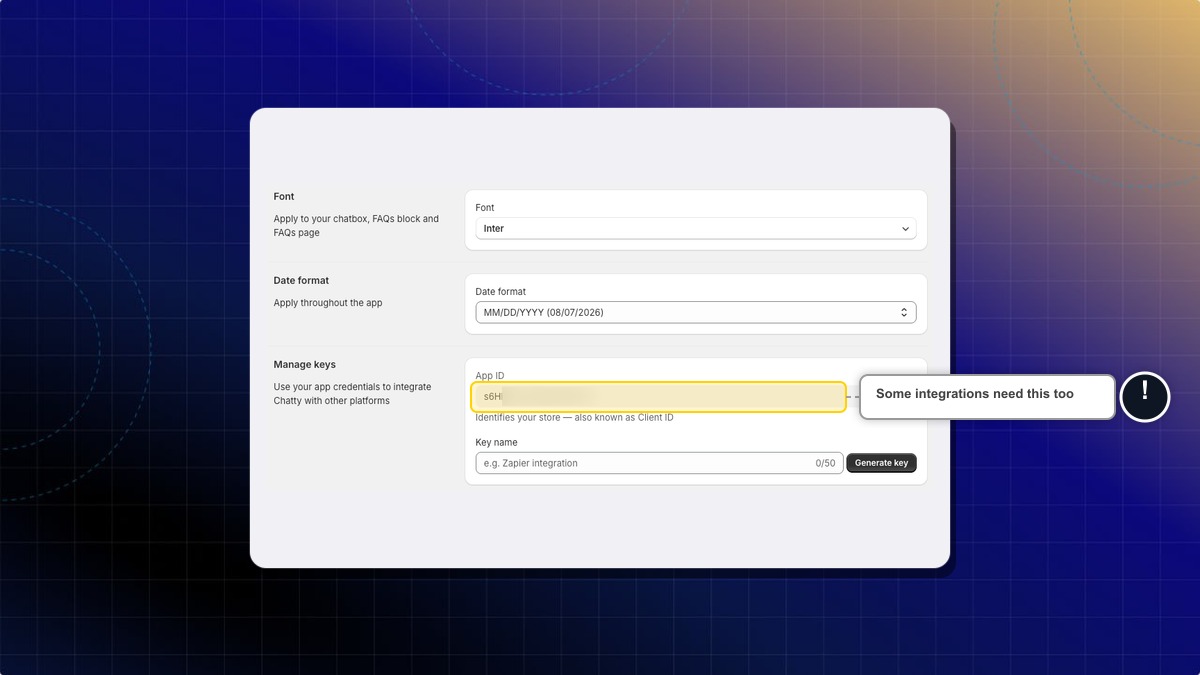
***
### Two things that surprise people
**A conversation list can look shorter than your inbox.** The conversation list reflects the store's primary conversation store. Older conversations that predate it don't appear in the list, but you can still fetch them one by one by id. Build any reconciliation on ids you already hold, not on the assumption that the list is complete.
**A message you just sent may not appear immediately.** Chatty writes messages to a live layer first and syncs them after, so a read taken instantly after a write can come back without it. Don't treat "not in the list yet" as "failed".
***
### What you can build
**Export contacts to a spreadsheet**\
Use the GraphQL `customers` query with pagination to pull all contacts, then write them to a CSV.
**Sync high-value customers to an email platform**\
Filter by `totalSpent` and push matching customers to your email tool via its own API.
**Alert your team on every new customer message**\
Subscribe to the `message.created` webhook, act only when `senderType` is `customer`, and notify your team.
**Embed chat actions in your storefront**\
Use the [SDK](/sdk/) to open the chatbox from a custom button or prefill a message.
***
### Need help?
If you're still unsure which way fits, contact the Chatty support team from your dashboard. Tell them what you want to happen, where it should happen (the storefront, your server, or another tool), and whether a developer is available. That's enough to point you at the right page.
================================================================
URL: https://help.chatty.net/api-reference/authentication/
Locale: en
================================================================
# Authentication
**Who can use this feature?**
* Creating and managing API keys requires the **Pro** or **Plus** plan.
* The [storefront SDK](/sdk/) needs no credentials and works on any plan.
### Your two credentials
Every Chatty API except the storefront SDK is authenticated with credentials you create yourself in **Settings** → **General** → **Manage keys**. There are only two of them.
| Credential | Looks like | What it is |
| --- | --- | --- |
| **App ID** | a short identifier | Identifies your store. Some tools call it a Client ID. It is not secret. |
| **Secret key** | `sk_` followed by 32 hex characters | Grants access to your store's data. Treat it like a password. |
The [Overview](/api-reference/) page shows how to create a key step by step. This page explains how the credentials behave once you have them.
***
### Which header each API expects
| API | Send |
| --- | --- |
| [Chat Conversations API](/api-reference/chat-read-api/) | `X-Api-Key: sk_...` |
| [Webhooks](/api-reference/webhooks/) management | `X-Api-Key: sk_...` |
| [MCP server](/mcp/) | `X-App-Id: ` and `Authorization: Bearer sk_...` |
| [GraphQL Customer API](/api-reference/graphql/) | `x-api-id: ` and `x-api-secret: sk_...` |
It is the same secret key everywhere. Only the header differs: the Chat Conversations API and webhook management read it from `X-Api-Key`, while the MCP server reads it from `Authorization: Bearer` and needs your App ID alongside it. Sending a key in the wrong header returns `401`, except on the GraphQL Customer API, which returns HTTP `200` with an `errors` array and `extensions.code` set to `UNAUTHENTICATED`.
Send credentials as headers only. Never put a secret key in a query string, a redirect URL, or storefront JavaScript. Anything running in a customer's browser is readable by that customer.
***
### What a key can and cannot do
A key is bound to the store that created it. It reads and writes that store's data and nothing else. You never pass a store ID with your requests; Chatty resolves the store from the key itself.
A key grants **full access to every endpoint** of the APIs listed above. There is no way to issue a read-only key, restrict a key to certain endpoints, or attach scopes to it today. Plan around this: give a key only to a system you trust with your whole inbox.
The Chat Conversations API includes endpoints that send messages, change conversation state, and reassign conversations. A leaked key can post to your customers as your store.
Keys do not expire. A key stays valid until you delete it.
***
### Rotating a key
Chatty has no rotate button. To replace a key, create the new one first, switch your integration over, then delete the old one.
#### Create a replacement key
Go to **Settings** → **General** → **Manage keys**, enter a name in **Key name**, and click **Generate key**. Name it so you can tell the two apart, for example `Zendesk sync 2026-08`. You can hold up to 5 active keys per store.

#### Copy the new key immediately
Chatty stores only a hash of the key, so the full value is shown once and never again.
#### Update your integration
Point your integration at the new key and confirm it still works. Both keys are valid at this point, so nothing breaks during the switch.
#### Delete the old key
Remove the old key from the list.
**Deleting a key takes up to 5 minutes to take effect.** Requests using the deleted key may still succeed during that window. If a key has leaked, delete it and then watch for unexpected activity in your inbox until the window has passed.
A brand-new key needs up to 30 seconds before it is accepted, because Chatty briefly remembers that the key was unknown. A `401` in the first few seconds after **Generate key** is not a bad key; wait and try again.
***
### If a key leaks
Delete the key straight away, then create a replacement. Because a key carries full access, also review the last few days of conversations for messages your team did not send. Then open **Settings** → **General** → **Manage keys** and remove any key you do not recognize.
***
### Need help?
If you run into issues with your API key or requests, contact the Chatty support team from your dashboard.
For what each status code means and what to do about it, see [Errors and rate limits](/api-reference/errors-and-rate-limits/).
================================================================
URL: https://help.chatty.net/api-reference/chat-read-api/
Locale: en
================================================================
# Chat Conversations API
**Who can use this feature?**
* You need the **Pro** or **Plus** plan to create and manage API keys.
* Full read and write access: read conversations and messages, send replies, resolve, assign, tag, and annotate.
### Overview
The Chat Conversations API lets you work with your store's live chat from your own systems. Mirror conversations into a helpdesk, build a custom inbox, run reporting, or reply from a tool your team already uses.
| | |
| --- | --- |
| **Base URL** | `https://app.chatty.net` |
| **Auth header** | `X-Api-Key: ` |
| **Format** | JSON in, JSON out (`Content-Type: application/json` on writes) |
Every request is scoped to your store. You never send a store ID. Your key resolves to one store, and every read and write is limited to it automatically.
**Don't copy paths out of the Chatty inbox in your browser.** The admin inbox calls a near-identical set of paths under `/api/chat/...`, and those are authenticated with an admin session rather than an API key. An `X-Api-Key` request to `/api/chat/conversations` fails. The public API carries no `/api` prefix: `https://app.chatty.net/chat/conversations`.
***
### Get your API key
Go to **Settings** → **General** → **Manage keys**, then click **Generate key**.
| Rule | Detail |
| --- | --- |
| Format | `sk_` followed by 32 hex characters |
| Key name | Required, up to 50 characters. Name it after the integration that will use it |
| Limit | Up to 5 active keys per store |
| Visibility | Shown **once**, at creation |
**Copy your key right away.** We only store a hash of it, so it can never be displayed again. Put it in your secrets manager immediately. If you lose it, delete the key and create a new one.
Create one key per integration so you can revoke them individually. Check that a key works:
```bash
curl -s "https://app.chatty.net/chat/conversations?limit=1" \
-H "X-Api-Key: sk_xxxxxxxxxxxxxxxxxxxxxxxxxxxxxxxx"
```
A wrong or revoked key returns `401 INVALID_API_KEY`.
**Rotating a key:** create the new key, deploy it, then delete the old one. Deletion takes effect within about 5 minutes.
***
### Response format
Every successful response carries a `data` key. Paginated endpoints add `paging`, and a few reads add `meta`.
```json
{
"data": [ "..." ],
"paging": { "nextCursor": "eyJ...", "hasMore": true },
"meta": { "source": "postgresql" }
}
```
* **`data`**: the resource, or an array of resources on list endpoints. Always present.
* **`paging`**: on the paginated endpoints only, conversations list, related, customer conversations, and messages list. Pass `nextCursor` back as the `cursor` query parameter to fetch the next page. `nextCursor: null` means you reached the last page, and `hasMore` says the same thing as a boolean. Cursors are opaque, so don't parse them.
Every paginated endpoint follows the same two rules. A `limit` above the maximum is clamped down rather than rejected, and a `limit` that isn't a whole number of 1 or more returns `400 INVALID_PARAMS`. A `cursor` Chatty cannot decode returns `400`; a hand-built one is not checked against the query it claims to continue, so pass back only what `paging.nextCursor` gave you.
* **`meta.source`**: informational only. The response shape never depends on it, so you can ignore it.
#### Errors
```json
{ "error": { "code": "NOT_FOUND", "message": "Conversation not found" } }
```
| Status | Code | Meaning |
| --- | --- | --- |
| 400 | `INVALID_PARAMS` | Invalid parameter or body |
| 401 | `UNAUTHENTICATED` / `INVALID_API_KEY` | Missing, unknown, or revoked key |
| 403 | `FORBIDDEN` | Reserved for a future permission split on `state`, `assign`, `read`, and `typing`. Every key issued today carries full access, so you should not see this |
| 404 | `NOT_FOUND` | Resource does not exist, or belongs to another store |
| 409 | `CHANNEL_UNAVAILABLE` | The channel can't deliver this message right now |
| 429 | `RATE_LIMITED` | Rate limit exceeded |
Requesting a conversation that belongs to another store returns the **same `404`** as one that doesn't exist. This is deliberate. It keeps stores from probing each other.
#### Rate limits
| Limit | Value |
| --- | --- |
| Per API key | 120 requests/min |
| Per source IP | 300 requests/min |
Every response carries `X-RateLimit-Limit` and `X-RateLimit-Remaining`, so you can throttle before you hit the wall.
The counter is not a window you can keep calling through. Every request pushes its 60-second expiry back, so once you are over the limit you have to stop for a full 60 seconds before the count resets. Retrying straight away keeps you blocked.
***
### Conversations
| Method | Path | Returns |
| --- | --- | --- |
| `GET` | `/chat/conversations` | List, newest activity first |
| `GET` | `/chat/conversations/{id}` | Full conversation detail |
| `GET` | `/chat/conversations/{id}/related` | Other conversations from the same customer. `limit` default 6, max 50. |
| `GET` | `/chat/conversations/{id}/browsed-pages` | Pages the visitor viewed in this session |
| `GET` | `/chat/conversations/{id}/summary` | AI summary of a resolved conversation |
| `POST` | `/chat/conversations/{id}/state` | Resolve or reopen |
| `POST` | `/chat/conversations/{id}/assign` | Assign to a team member. `{"memberId": "..."}` |
| `POST` | `/chat/conversations/{id}/read` | Mark read on the agent side |
| `POST` | `/chat/conversations/{id}/typing` | Agent typing indicator. `{"memberId": "...", "active": true}`. Nothing on the server expires it. The inbox that receives it hides the indicator after a few seconds, so send `{"active": false}` when the agent stops typing rather than relying on that. |
**List filters**
| Param | Example | Description |
| --- | --- | --- |
| `status` | `open` | `open` or `resolved` |
| `channel` | `whatsapp` | `online_store`, `email`, `facebook`, `instagram`, `whatsapp`. Matches the channel the conversation started on, not every channel it later used. |
| `assigneeId` | `unassigned` | Member id, or `unassigned` |
| `isRead` | `false` | Read state on the agent side |
| `tag` | `pre-sale` | Repeatable. A conversation matches if it carries **any** of the tags you pass. |
| `customerUuid` | `c_abc123` | One customer's conversations |
| `email` | `a@shop.com` | Customer email |
| `limit` | `20` | Default 20, max 100. A larger value is clamped to 100, not rejected. |
| `cursor` | `eyJ...` | From `paging.nextCursor` |
`{id}` accepts either form of conversation id. The response carries all of them, `id`, `firestoreId`, and `pgConvoId`, so you can match a conversation against records you stored earlier.
The last four rows are the only endpoints that check for a write permission on your key. Every key you can create today carries it, so any valid key works on every endpoint on this page. See [What a key can and cannot do](/api-reference/authentication/#what-a-key-can-and-cannot-do).
***
### Messages
| Method | Path | Notes |
| --- | --- | --- |
| `GET` | `/chat/conversations/{id}/messages` | `limit` (default 50, max 100), `cursor`, `order` (`asc` or `desc`, default `asc`) |
| `GET` | `/chat/conversations/{id}/messages/{messageId}` | Accepts the numeric id or the message UUID |
| `POST` | `/chat/conversations/{id}/messages` | Send a reply, an internal note, or a message as the customer. `memberId` is required unless you pass `asCustomer`. `text` up to 5000 characters. Returns `201`. |
List endpoints exclude deleted messages. The single-message endpoint returns them with `"isDeleted": true`, so you can reconcile your own copy.
Editing and deleting messages is not available on this API. Those actions stay in the Chatty inbox.
***
### Tags, notes, and attributes
| Method | Path | Notes |
| --- | --- | --- |
| `GET` | `/chat/tags` | Your store's tag catalog |
| `POST` | `/chat/conversations/{id}/tags` | `{"tags": ["vip"]}`. Appends, deduped, returns the resulting list. Tags over 100 characters are dropped from the request rather than rejected. |
| `DELETE` | `/chat/conversations/{id}/tags/{tag}` | URL-encode the tag; idempotent |
| `POST` | `/chat/conversations/{id}/notes` | Checklist note, `text` up to 150 characters |
| `PUT` / `DELETE` | `/chat/conversations/{id}/notes/{noteId}` | Update / remove |
| `GET` | `/chat/conversations/{id}/attributes` | Custom key/value pairs |
| `POST` | `/chat/conversations/{id}/attributes` | `{"name": "...", "value": "..."}`. Upserts by name. `name` up to 255 characters, `value` up to 1000. |
| `PUT` / `DELETE` | `/chat/conversations/{id}/attributes/{attributeId}` | Update / remove |
***
### Customers and team members
| Method | Path | Returns |
| --- | --- | --- |
| `GET` | `/chat/customers/{customerUuid}` | Contact profile: identity, location, device, order stats, tags, custom attributes |
| `GET` | `/chat/customers/{customerUuid}/conversations` | That customer's conversations. `limit` default 20, max 100, plus `cursor` |
| `GET` | `/chat/members` | Team members. Resolve `memberId` and assignee ids against this list |
| `GET` | `/chat/members/{memberId}` | One member |
Member records are sanitized: credentials, tokens, and notification internals are never returned.
***
### Webhooks
Manage subscriptions with the same `X-Api-Key`.
| Method | Path |
| --- | --- |
| `GET` | `/chat/webhooks` |
| `POST` | `/chat/webhooks` |
| `PUT` | `/chat/webhooks/{id}` |
| `DELETE` | `/chat/webhooks/{id}` |
See [Webhooks](/api-reference/webhooks/) for events, payloads, and signature verification.
***
### Common recipes
**List open conversations, then page through**
```bash
curl -s "https://app.chatty.net/chat/conversations?status=open&limit=50" \
-H "X-Api-Key: $CHATTY_KEY"
curl -s "https://app.chatty.net/chat/conversations?status=open&limit=50&cursor=$NEXT_CURSOR" \
-H "X-Api-Key: $CHATTY_KEY"
```
**Read a full thread, oldest first**
```bash
curl -s "https://app.chatty.net/chat/conversations/$CONVO_ID/messages?order=asc&limit=100" \
-H "X-Api-Key: $CHATTY_KEY"
```
**Reply as an agent**
```bash
curl -s -X POST "https://app.chatty.net/chat/conversations/$CONVO_ID/messages" \
-H "X-Api-Key: $CHATTY_KEY" \
-H "Content-Type: application/json" \
-d '{"text": "Your order ships tomorrow.", "memberId": "MEMBER_ID"}'
```
`memberId` must be an active member from `GET /chat/members`. An active AI bot hands off to the human. If auto-assignment is switched on in your inbox settings, the conversation is also assigned to that member, unless the AI agent is still holding it. Delivery to Messenger, Instagram, WhatsApp, or email happens automatically.
**Sending a message fires a `message.created` webhook.** If your integration both listens to `message.created` and replies through this endpoint, it will answer its own reply and loop. Check `data.senderType` and act only on `customer`.
**Add an internal note**
Never delivered to the customer. Works on any channel and in any state, and it doesn't hand the conversation off from the AI. It does mark the conversation as read on the agent side.
```bash
curl -s -X POST "https://app.chatty.net/chat/conversations/$CONVO_ID/messages" \
-H "X-Api-Key: $CHATTY_KEY" -H "Content-Type: application/json" \
-d '{"text": "Refund approved by finance.", "memberId": "MEMBER_ID", "isNote": true}'
```
**Relay an inbound message as the customer**
For example, from your own channel bridge. Send `asCustomer: true`; `memberId` and `isNote` are ignored in that mode.
```bash
curl -s -X POST "https://app.chatty.net/chat/conversations/$CONVO_ID/messages" \
-H "X-Api-Key: $CHATTY_KEY" -H "Content-Type: application/json" \
-d '{"text": "Where is my order?", "asCustomer": true}'
```
**Resolve a conversation**
```bash
curl -s -X POST "https://app.chatty.net/chat/conversations/$CONVO_ID/state" \
-H "X-Api-Key: $CHATTY_KEY" -H "Content-Type: application/json" \
-d '{"status": "resolved"}'
```
**Tag it**
```bash
curl -s -X POST "https://app.chatty.net/chat/conversations/$CONVO_ID/tags" \
-H "X-Api-Key: $CHATTY_KEY" -H "Content-Type: application/json" \
-d '{"tags": ["vip", "refund-request"]}'
```
***
### Things worth knowing
* **The list only covers conversations that have moved to the new storage.** Older conversations that have not been migrated yet are still reachable by id, and so are their messages, but they won't show up in `GET /chat/conversations`. Don't treat the list as a full history of your store.
* **Freshness.** A read issued milliseconds after a live send may not include the newest message yet. Webhooks are the reliable way to react in real time.
* **`409 CHANNEL_UNAVAILABLE` on send** means the channel can't deliver: no recipient, no customer email, or you're outside the platform's 24-hour messaging window on Messenger, Instagram, or WhatsApp. An internal note (`isNote: true`) is always accepted.
* **`browsed-pages` is session-scoped**, capped at the 50 most recent pages, and kept for about 24 hours. Older conversations return an empty list.
* **`summary` returns 404** until the AI has generated a summary for that conversation. Summaries are normally produced when a conversation is resolved.
* **Repeating a write is not always safe.** There is no idempotency key. `POST .../messages` and `POST .../notes` create another message or note every time you call them, so a retry after a timeout can double-post. The rest absorb a repeat: adding tags appends and dedupes, removing a tag is a no-op when it isn't there, `POST .../attributes` updates the attribute when the `name` already exists, and setting a state you are already in returns that same state.
* **Deletes are permanent.** Removing a note, an attribute, a tag, or a webhook subscription has no undo and no trash. Resolving a conversation is the one write you can reverse, by posting `open` back.
* **A tag longer than 100 characters is dropped from the write** rather than rejected. If every tag in the request is too long, nothing is left to write and the call returns `400`. There is no cap on how many tags one conversation can hold on this endpoint. The 100-character limit is specific to this API: the MCP [`update_tags`](/mcp/tools/) tool silently truncates every tag to 50 characters and keeps at most 100 tags, so the same tag written through both surfaces can land twice under two different names.
* **You can only send text.** The message body takes `text` and nothing else, so this API cannot attach a file. Files sent from the widget or an email channel still come back on reads, in the message's `files` array.
***
### Need help?
Contact the Chatty support team from your dashboard. Include the endpoint, the timestamp of a failing request, and the returned `error.code`.
To read contacts and customer data instead of conversations, see the [GraphQL Customer API](/api-reference/graphql/).
================================================================
URL: https://help.chatty.net/api-reference/data-and-privacy/
Locale: en
================================================================
# Data, privacy, and uninstall
**Who can use this feature?**
* Reading data through the APIs requires an API key, which needs the **Pro** or **Plus** plan.
* The privacy webhooks and the uninstall behavior on this page apply to every plan.
### Overview
The Chatty APIs return real personal data: names, email addresses, phone numbers, IP addresses, and the full text of conversations with your shoppers. Anything you copy into your own systems becomes yours to protect, and Chatty has no way to reach into your systems and remove it later.
This page covers what the APIs expose, what Chatty does when Shopify asks for a shopper's data to be removed, and the one step people miss when they uninstall the app.
***
### What the APIs expose
| Data | Where it appears | Notes |
| --- | --- | --- |
| Name, email address, phone number | GraphQL `Customer`, conversation and contact responses | Present whenever the shopper gave it or Shopify supplies it. |
| IP address and derived location | GraphQL `Customer` fields `ipAddress` and `ipLocation` | Last seen values, not a history. |
| Order count and total spent | GraphQL `Customer` | Reflects the orders Chatty has synced. |
| Message text and attachments | Chat Conversations API | Includes everything the shopper typed, including anything they should not have typed. |
| Webhook payloads | Every event you subscribe to | The same personal fields, pushed to your server as events happen. |
There is no read-only key and no per-field permission. Any key you create can read all of the above for your store, so treat a Chatty API key as you would treat a Shopify admin token. See [Authentication](/api-reference/authentication/).
***
### How long Chatty keeps it
Chatty keeps your conversations and contacts for as long as the app is installed. There is no retention setting and no automatic expiry you can configure, and uninstalling the app does not delete them on its own.
Data leaves Chatty in three ways only: Shopify sends one of the privacy webhooks below, you delete a contact from the app, or you ask support to remove it.
***
### Before you uninstall the app
**Uninstalling does not revoke your API keys and does not stop your webhooks.**
When you remove Chatty from your store, Chatty marks the store as uninstalled, signs your team out, and disconnects the Klaviyo, Facebook, and email channels. Your API keys stay active and your webhook subscriptions stay enabled. Anyone holding a key can keep reading, and any third-party server you pointed a webhook at keeps receiving events. Delete both before you uninstall.
#### Delete every webhook subscription
List what you have with `GET /chat/webhooks`, then delete each one with `DELETE /chat/webhooks/{id}`. Deleting them from Chatty is the only way to stop delivery — turning off the receiving server just produces failed deliveries, and Chatty keeps retrying.
#### Delete every API key
Go to **Settings** → **General** → **Manage keys** and remove each key. A deleted key can still work for up to 5 minutes, so do this before you uninstall rather than during.
#### Check nothing is still calling
Watch your own server logs for a few minutes. If events are still arriving, one subscription was missed. Reinstall is not needed to find it, but you do need a valid key to list subscriptions, so run this check before you delete the last key.
#### Then uninstall
Remove the app from your Shopify admin.
If you have already uninstalled, contact support to have the keys and subscriptions removed. You cannot do it yourself without access to the app.
***
### Shopify's privacy webhooks
Shopify requires every app to handle three privacy requests. Chatty subscribes to all three and answers each one automatically. You do not configure or trigger them, but you should know what each one changes, because the results show up in your inbox and contact list.
#### Customer data request
A shopper asks your store for a copy of their data. Chatty receives the request and notifies the Chatty support team. **It does not produce a data file automatically.** Someone from the team assembles the data by hand, so allow time for it. If a request is urgent, contact support directly rather than waiting.
#### Customer redact
A shopper asks your store to delete their data. Chatty marks that contact and all of their conversations as **Redacted**, and deletes the orders Shopify names in the request. The conversation history stays in your inbox under the Redacted label rather than disappearing. If your obligation requires the message text itself to be removed, contact support and say so.
#### Shop redact
Shopify sends this some time after a store has uninstalled the app. Chatty deletes the files uploaded from your store, including contact imports, logos, avatars, and icons, and removes your team member records.
***
### Delete one shopper's data
Two routes, both outside the API. There is no API endpoint that deletes a contact or a conversation.
* **Through Shopify.** Erase the customer's personal data from your Shopify admin. Shopify sends the customer redact request, and Chatty applies it as described above. This is the route to use for a formal privacy request, because it leaves a record on Shopify's side.
* **In the Chatty app.** Open **Contacts**, find the person, and delete them there.
If you have already copied that shopper into your own database, CRM, or warehouse through the API, neither route touches your copy. Removing it is on you.
***
### Export all your data
There is no bulk export endpoint. You have two options.
* **Contacts, by yourself.** Export your contact list from **Contacts** in the app.
* **Everything else, through support.** Contact the Chatty support team from your dashboard and ask for a data export. Say which store, which date range, and which data you need: conversations, contacts, or both. It is assembled manually, so ask early if you have a deadline.
You can also build your own export by paging the [Chat Conversations API](/api-reference/chat-read-api/) and the [GraphQL Customer API](/api-reference/graphql/). That gives you a live copy you control, and it is the better answer if you need the data on a schedule rather than once.
***
### Need help?
For a privacy request, a data export, or to have keys and subscriptions removed after an uninstall, contact the Chatty support team from your dashboard. Include your store domain and, for a privacy request, the shopper's email address.
For what each API returns and how to authenticate, see [Authentication](/api-reference/authentication/) and [Webhooks](/api-reference/webhooks/).
================================================================
URL: https://help.chatty.net/api-reference/errors-and-rate-limits/
Locale: en
================================================================
# Errors and rate limits
**Who can use this feature?**
* Applies to every Chatty API. Creating the keys these limits apply to requires the **Pro** or **Plus** plan.
### Every limit at a glance
Build your integration against these numbers rather than discovering them in production.
| Where | Limit |
| --- | --- |
| [GraphQL Customer API](/api-reference/graphql/) | Metered by query cost, not request count. The budget is not published and responses carry no rate limit headers |
| [Chat Conversations API](/api-reference/chat-read-api/) | 120 requests/min per API key |
| Chat Conversations API | 300 requests/min per source IP |
| Chat Conversations API conversation lists | 20 per page by default, 100 maximum |
| Chat Conversations API message lists | 50 per page by default, 100 maximum |
| Chat Conversations API related conversations | 6 per page by default, 50 maximum |
| Chat Conversations API customer conversations | 20 per page by default, 100 maximum |
| API keys | 5 active keys per store |
| [Webhook](/api-reference/webhooks/) subscriptions | 10 per store |
| Webhook delivery timeout | 10 seconds |
| Webhook payload | above 80,000 bytes, `data` is replaced with `{"truncated": true, "originalSize": N}`; `metadata` is rejected above 2,048 bytes |
| Chat Conversations API message | 5,000 characters of `text` |
| Chat Conversations API note | 150 characters |
| Chat Conversations API tag | 100 characters, longer tags are dropped from the request; a request where every tag is too long returns `400` |
| Chat Conversations API browsed pages | the 50 most recent pages of the session, kept about 24 hours |
| Chat Conversations API attribute | `name` 255 characters, `value` 1,000 characters |
| [MCP server](/mcp/) | No request rate limit |
| MCP `update_tags` | 50 characters per tag, longer tags are truncated without an error, and 100 tags are kept per conversation |
| MCP `list_conversations` | `limit` defaults to 20 and has no maximum |
| [SDK](/sdk/) message sending | 15 messages/min, 5,000 characters each |
| SDK typing indicator | 30 calls/min |
| SDK commerce context | 8 KB |
The per-IP limit matters when several integrations share one server. Two keys sending 200 requests a minute each stay under the key limit but trip the IP limit together.
***
### Reading rate limit headers
Chat Conversations API responses carry `X-RateLimit-Limit` and `X-RateLimit-Remaining`. Watch `X-RateLimit-Remaining` and slow down before it reaches zero. That is cheaper than recovering from a block.
The GraphQL Customer API returns no such headers, so there is no counter to watch there. Pace that API with modest page sizes and backoff instead.
Both counters expire 60 seconds after your **last** request, not 60 seconds after the first one. Calling again while you are blocked pushes the expiry back, so a blocked key or IP has to go quiet for a full minute before the count resets.
***
### How each API reports an error
Chatty has four API surfaces and they do not share one error format. Handle each one on its own terms.
#### Chat Conversations API and webhook management
A JSON body with a `code` you can branch on. The full status and code table lives on the [Chat Conversations API](/api-reference/chat-read-api/) page.
```json
{ "error": { "code": "RATE_LIMITED", "message": "Rate limit exceeded" } }
```
#### GraphQL Customer API
Standard GraphQL: HTTP `200` with an `errors` array. Check `errors[].extensions.code`, not the HTTP status.
```json
{ "errors": [ { "message": "Missing x-api-id or x-api-secret", "extensions": { "code": "UNAUTHENTICATED" } } ] }
```
The codes confirmed on this endpoint are `BAD_REQUEST`, `GRAPHQL_PARSE_FAILED`, `GRAPHQL_VALIDATION_FAILED` and `UNAUTHENTICATED`. Chatty does not publish a code for exceeding the cost budget, so branch on `extensions.code`, treat any code you do not recognise as retryable after a wait, and log the raw envelope so you can see what came back.
#### MCP server
Tool results and most failures come back as JSON-RPC. Authentication failures do not. They return HTTP `401` with a plain object instead.
```json
{ "error": "Invalid or revoked API key." }
```
Check for a top-level `error` string before you try to parse a JSON-RPC response.
#### Storefront SDK
The SDK reports nothing back. Commands return no value and there is no error callback, so a rejected command is silent. Validate input on your side before you push it. See [Error handling](/sdk/reference/#error-handling) in the SDK reference.
***
### What to do when a request fails
| You see | Do this |
| --- | --- |
| `429` / `RATE_LIMITED` | Wait, then retry with exponential backoff. Retrying immediately extends the block. |
| `401` / `UNAUTHENTICATED` | Check the header name. Each API expects a different one. See [Authentication](/api-reference/authentication/). |
| `401` right after deleting a key | Expected. Key deletion takes up to 5 minutes to propagate. |
| `401` right after creating a key | Expected for up to 30 seconds. Wait, then retry. |
| `403` / `FORBIDDEN` | Reserved for a future permission split on resolve, assign, mark read, and typing. Every key issued today carries full access, so a valid key should never see this. |
| `404` on a resource you believe exists | The resource belongs to another store, or the ID is wrong. Chatty returns the same `404` for both. |
| `409` / `CHANNEL_UNAVAILABLE` | The channel cannot deliver right now, for example a WhatsApp session that has expired. Do not retry blindly. |
| `400` / `INVALID_PARAMS` | Read the `message`; it names the parameter at fault. |
***
### Webhook delivery and retries
Webhooks follow their own rules, because Chatty is calling you rather than the other way around.
Your endpoint has **10 seconds** to respond. Return `2xx` as soon as you have stored the event and process it afterwards. Doing the work before you reply is the most common cause of failed deliveries.
Chatty makes **7 delivery attempts** in total: the first one, then 6 retries spread over about 9 hours. The waits between them are roughly 10 seconds, 1 minute, 5 minutes, 30 minutes, 2 hours, and 6 hours. After the seventh attempt fails, the subscription is switched off and you have to turn it back on.
**Returning `410 Gone` disables the subscription immediately, with no retries.** Use it deliberately when an endpoint is permanently retired, never as a generic error response.
Because deliveries retry, the same event can reach you more than once. Store the event ID and ignore repeats.
***
### Need help?
If you keep hitting a limit that blocks a legitimate integration, contact the Chatty support team from your dashboard with your App ID and an example request.
================================================================
URL: https://help.chatty.net/api-reference/graphql/
Locale: en
================================================================
# GraphQL Customer API
**Who can use this feature?**
* Creating the credentials this API needs requires the **Pro** or **Plus** plan.
* You'll need your **App ID** and an API key from **Settings** → **General** → **Manage keys**. See [Generate your API key](/api-reference/#generate-your-api-key) for the steps.
### Overview
The GraphQL Customer API gives you read access to the contacts Chatty has collected for your store: names, emails, channels, order counts, total spend, and chat activity. Use it to sync contacts into a CRM, push segments to an email tool, or build a custom dashboard.
It's a single GraphQL endpoint, so you ask for exactly the fields you need in one request.
Two things to know before you design your integration:
* **The API is read-only.** The schema exposes queries only. There is no mutation and no subscription, so you cannot create, edit, or delete a contact through it.
* **There is no server-side filtering, searching, or sorting.** `customers` accepts pagination arguments and nothing else. To find contacts by email, channel, or spend, page through the list and filter in your own code. See [Filtering and sorting](#filtering-and-sorting).
***
### Endpoint
```http
POST https://graphql.chatty.net/graphql
```
All requests are `POST` with a JSON body containing your `query`, plus optional `variables` and `operationName`.
`GET` is not supported. The server also rejects a request that carries no `Content-Type` header, or a `Content-Type` of `application/x-www-form-urlencoded`, `multipart/form-data`, or `text/plain`, as a possible cross-site request forgery. Always send `Content-Type: application/json`.
### Authentication
Every request needs two headers:
| Header | Value |
| ---------------- | ---------------------------------------------- |
| `x-api-id` | Your **App ID** |
| `x-api-secret` | Your **Secret key**, the `sk_` value |
Both come from **Settings** → **General** → **Manage keys**, the same panel that issues keys for the [Chat Conversations API](/api-reference/chat-read-api/).
A missing or invalid key does not return `401` here. The response is HTTP `200` with `"data": null` and an `errors` array whose `extensions.code` is `UNAUTHENTICATED`, so branch on the body rather than the status. A client that only checks the HTTP status reads a rejected request as a successful one. See [Errors and rate limits](/api-reference/errors-and-rate-limits/).
Keep your **Secret key** private. It authenticates as your store. Never expose it in front-end code or a public repository. If it leaks, delete it in **Settings** → **General** → **Manage keys** and create a replacement. Deletion takes up to 5 minutes to take effect. See [Authentication](/api-reference/authentication/).
***
### Queries
#### `customer`: fetch one contact
| Argument | Type | Required | Description |
| -------- | ------ | -------- | -------------------------- |
| `id` | `ID!` | Yes | The Chatty customer ID. |
Returns `null` when no contact matches the ID. Because the return type is nullable, a missing contact is not an error: you get HTTP `200`, `"customer": null`, and no `errors` array.
#### `customers`: list contacts (paginated)
Relay-style cursor pagination. Use `first`/`after` to page forward, `last`/`before` to page backward.
| Argument | Type | Required | Description |
| -------- | -------- | -------- | ------------------------------------ |
| `first` | `Int` | No | Number of records to return forward. |
| `after` | `String` | No | Cursor to start after. |
| `last` | `Int` | No | Number of records to return backward.|
| `before` | `String` | No | Cursor to end before. |
These four arguments are the complete set. `customers` takes no filter, search, sort, or date-range argument.
Every argument is optional and none has a schema default, so `customers { totalCount }` is a valid query. Pair `first` with `after` and `last` with `before`; mixing forward and backward arguments in one call has no defined meaning.
#### Filtering and sorting
The API returns the full contact list for your store in the order the server produces it. There is no argument to narrow or reorder that list, and no argument that exposes the sort key. Handle it on your side:
* **Filter by a field** such as `email`, `type`, `channels`, `ordersCount`, or `totalSpent` after you receive each page.
* **Sort** by loading the pages you need and sorting in your own code.
* **Sync incrementally** by paging until `updatedAt` on the records you read falls before your last sync time, then stopping. This works only if the list order is stable between runs, so verify it against your own data before you rely on it.
* **Look up one contact** with the `customer` query when you already hold the ID. It is far cheaper than scanning the list.
If you need a filtered feed rather than a full scan, [Webhooks](/api-reference/webhooks/) push events as they happen instead.
***
### Schema
#### `Customer`
| Field | Type | Description |
| -------------------- | --------------- | -------------------------------------------- |
| `id` | `ID!` | Chatty customer ID. |
| `shopId` | `String!` | Your store identifier. |
| `shopifyCustomerId` | `String` | Matching Shopify customer ID, if any. |
| `firstName` | `String!` | First name. Empty string when not set. |
| `lastName` | `String` | Last name. |
| `email` | `String` | Email address. |
| `phone` | `String` | Phone number. |
| `ipLocation` | `String` | Location derived from IP. |
| `ipAddress` | `String` | Last seen IP address. |
| `type` | `CustomerType!` | Contact type (see enum below). `CUSTOMER` when not classified. |
| `channels` | `[Channel!]!` | Channels the contact has used. `[ONLINE_STORE]` when not set. |
| `ordersCount` | `Int!` | Number of orders placed. |
| `totalSpent` | `Float!` | Lifetime spend. |
| `createdAt` | `DateTime!` | When the contact was first seen. |
| `updatedAt` | `DateTime` | Last update timestamp. |
| `lastChatAt` | `DateTime` | Last time the contact chatted. |
| `fullName` | `String!` | Convenience full name, `firstName` plus `lastName`. |
A `!` means the field is never `null`. Every other field can come back `null`, so treat `lastName`, `email`, `phone`, `ipLocation`, `ipAddress`, `shopifyCustomerId`, `updatedAt`, and `lastChatAt` as optional in your own types.
`Customer` has no nested object field. Every field is a scalar, an enum, or a list of enums, so a contact never expands into further sub-selections.
#### Scalars
| Scalar | Shape |
| ---------- | ------------------------------------------------------------ |
| `ID` | Opaque string. Send it as a string, don't parse it. |
| `String` | UTF-8 text. |
| `Int` | Whole number between -2,147,483,648 and 2,147,483,647. |
| `Float` | Double-precision decimal. |
| `Boolean` | `true` or `false`. |
| `DateTime` | ISO 8601 date-time string at UTC, such as `2026-08-03T12:00:00.000Z`. |
#### Connection types
`customers` returns a `CustomerConnection`:
| Type | Fields |
| -------------------- | ---------------------------------------------------------- |
| `CustomerConnection` | `edges [CustomerEdge!]!`, `nodes [Customer!]!`, `pageInfo PageInfo!`, `totalCount Int!` |
| `CustomerEdge` | `cursor String!`, `node Customer!` |
| `PageInfo` | `hasNextPage Boolean!`, `hasPreviousPage Boolean!`, `startCursor String`, `endCursor String` |
| Field | Type | Description |
| ------------------------ | ----------- | --------------------------------------------------------------- |
| `edges` | `[CustomerEdge!]!` | Each contact wrapped with its own cursor. |
| `nodes` | `[Customer!]!` | The same contacts without the cursors. |
| `pageInfo` | `PageInfo!` | Where you are in the list. |
| `totalCount` | `Int!` | Total contacts in the store, not the size of this page. |
| `cursor` | `String!` | Position of one contact, used with `after` or `before`. |
| `node` | `Customer!` | The contact at the end of the edge. |
| `hasNextPage` | `Boolean!` | More pages exist after this one. |
| `hasPreviousPage` | `Boolean!` | More pages exist before this one. |
| `startCursor` | `String` | Cursor of the first contact on this page. |
| `endCursor` | `String` | Cursor of the last contact on this page. |
Select `nodes` when you only walk forward with `endCursor`. Select `edges` when you need to remember a position part-way through a page, for example to resume a long sync.
#### Enums
**`CustomerType`**: `CUSTOMER`, `GUEST`, `ANONYMOUS`
| Value | Meaning |
| ----------- | ------------------------------------ |
| `CUSTOMER` | A registered customer with an account. |
| `GUEST` | A shopper who has not created an account. |
| `ANONYMOUS` | An unidentified visitor. |
**`Channel`**: `ONLINE_STORE`, `EMAIL`, `WHATSAPP`, `FACEBOOK`, `INSTAGRAM`
| Value | Meaning |
| -------------- | -------------------------- |
| `ONLINE_STORE` | The online storefront. |
| `EMAIL` | Email communication. |
| `WHATSAPP` | WhatsApp messaging. |
| `FACEBOOK` | Facebook messaging. |
| `INSTAGRAM` | Instagram messaging. |
These two enums are the complete set. New values can be added later, so handle an unfamiliar value instead of failing on it.
#### Explore the schema yourself
The endpoint answers GraphQL introspection without credentials, so you can generate typed clients before your key is issued.
```bash
curl -s -X POST "https://graphql.chatty.net/graphql" \
-H "Content-Type: application/json" \
-d '{"query":"{ __schema { queryType { name } types { name kind } } }"}'
```
Introspection returns the shape only. Any query that reads contact data still needs both headers.
***
### Examples
**List the first 50 contacts**
```graphql
query {
customers(first: 50) {
totalCount
pageInfo { hasNextPage endCursor }
nodes {
id
fullName
email
channels
ordersCount
totalSpent
lastChatAt
}
}
}
```
**Page to the next 50**
```graphql
query NextPage($after: String!) {
customers(first: 50, after: $after) {
pageInfo { hasNextPage endCursor }
nodes { id email }
}
}
```
**Page backward from a cursor**
```graphql
query PreviousPage($before: String!) {
customers(last: 50, before: $before) {
pageInfo { hasPreviousPage startCursor }
nodes { id email }
}
}
```
**Keep a cursor for every contact**
```graphql
query WithCursors {
customers(first: 25) {
edges {
cursor
node { id email }
}
pageInfo { hasNextPage endCursor }
}
}
```
**Count contacts without reading them**
```graphql
query ContactCount {
customers(first: 1) {
totalCount
}
}
```
**Fetch a single contact**
```graphql
query {
customer(id: "CUSTOMER_ID") {
fullName
email
totalSpent
ordersCount
}
}
```
**Pull the fields a CRM sync needs**
```graphql
query CrmSync($after: String) {
customers(first: 100, after: $after) {
pageInfo { hasNextPage endCursor }
nodes {
id
email
firstName
lastName
phone
shopifyCustomerId
ordersCount
totalSpent
updatedAt
}
}
}
```
Send `"after": null` on the first call and the cursor from the previous page after that.
**Call it with curl**
```bash
curl -s -X POST "https://graphql.chatty.net/graphql" \
-H "x-api-id: YOUR_APP_ID" \
-H "x-api-secret: YOUR_SECRET_KEY" \
-H "Content-Type: application/json" \
-d '{"query":"{ customers(first: 10) { nodes { id email totalSpent } } }"}'
```
**Send variables with curl**
```bash
curl -s -X POST "https://graphql.chatty.net/graphql" \
-H "x-api-id: $CHATTY_APP_ID" \
-H "x-api-secret: $CHATTY_SECRET" \
-H "Content-Type: application/json" \
-d '{"query":"query NextPage($after: String!) { customers(first: 50, after: $after) { pageInfo { hasNextPage endCursor } nodes { id email } } }","variables":{"after":"'"$NEXT_CURSOR"'"},"operationName":"NextPage"}'
```
`operationName` is optional with a single operation and required when your document holds more than one.
***
### Pagination
The API uses Relay-style cursor pagination. To walk the full list:
1. Request `customers(first: N)`.
2. Read `pageInfo.endCursor` and `pageInfo.hasNextPage`.
3. While `hasNextPage` is true, request `customers(first: N, after: endCursor)`.
Points worth knowing:
* **`totalCount` counts the whole store**, not the page. Use it for a progress bar, and still stop on `hasNextPage`.
* **Cursors are opaque.** They are not IDs or offsets. Pass back exactly what you received and don't build one yourself.
* **A cursor has no stated lifetime.** Treat a long-stored cursor as unreliable and restart the walk if a resumed page looks wrong.
* **Choose the page size by cost, not by habit.** The schema puts no cap on `first` and nothing rejects a large page up front, so the real limits are query cost and response size. A page with a handful of fields can be much larger than a page with every field.
* **Backward paging needs a cursor to start from.** `last` on its own gives you the tail of the list under the same ordering, and `before` moves you toward the front.
***
### Errors
Errors never arrive as a plain body. You always get a GraphQL envelope with an `errors` array, and the HTTP status depends on where the request failed.
```json
{
"data": null,
"errors": [
{
"message": "Missing x-api-id or x-api-secret",
"locations": [{ "line": 1, "column": 3 }],
"path": ["customers"],
"extensions": { "code": "UNAUTHENTICATED" }
}
]
}
```
* **`message`** is human-readable and can change. Branch on `extensions.code` instead.
* **`path`** points at the field that failed. It is absent when the request never reached a field.
* **`locations`** marks the spot in your query text.
| Status | Code | When |
| ------ | -------------------------- | ---------------------------------------------------------------- |
| `400` | `BAD_REQUEST` | The body carries no `query`. |
| `400` | `GRAPHQL_PARSE_FAILED` | The query text is not valid GraphQL syntax. |
| `400` | `GRAPHQL_VALIDATION_FAILED`| The syntax parses but the query is wrong: an unknown field, a missing required argument, or an argument of the wrong type. |
| `200` | `UNAUTHENTICATED` | `x-api-id` or `x-api-secret` is missing, or the secret is invalid. |
The `400` cases are bugs in your query and fail the same way on every retry. Fix the query rather than retrying it.
`UNAUTHENTICATED` is the case that catches integrations out. It arrives as HTTP `200` with `"data": null`, so a client that only checks the status treats a rejected request as a successful empty one. Check for an `errors` array on every response.
A query can also succeed in part. If one field resolves and another fails, you get HTTP `200` with both `data` and `errors` populated, and the failed field is `null`. Read `errors` even when `data` is present. See [Errors and rate limits](/api-reference/errors-and-rate-limits/).
***
### Rate limiting
This API is metered by query cost, not by request count. It uses a token bucket: every query spends from a budget that refills over time. Chatty does not publish the size of that budget or the refill rate, so treat the exact figures as unknown and design for backoff rather than for a number.
Two things are worth knowing before you build against it:
* **GraphQL responses carry no rate limit headers.** The [Chat Conversations API](/api-reference/chat-read-api/) returns `X-RateLimit-Limit` and `X-RateLimit-Remaining`; this endpoint returns neither, so you cannot watch a counter drop. If a response includes `extensions.cost`, that is the only cost signal available.
* **Nothing rejects a large query up front.** The schema sets no cap on `first`, and the server accepts deeply aliased or deeply nested queries without a complexity check, so an expensive query is your responsibility to avoid.
A `customers` query costs roughly `first × the cost of the fields you select`, so asking for 100 contacts with a handful of fields is far cheaper than asking for 100 with everything. Lower `first` before you drop fields.
In practice: page in modest sizes, run one walk at a time rather than several in parallel, and back off before retrying any failure you cannot trace to your own query.
***
### Need help?
If you run into issues with your key or a query, contact the Chatty support team from your dashboard. For no-code options, see [Klaviyo](/integrations/klaviyo/), [Zendesk](/integrations/zendesk/), or [Joy](/integrations/joy/).
================================================================
URL: https://help.chatty.net/api-reference/objects/
Locale: en
================================================================
# Objects and fields
**Who can use this feature?**
* You need the **Pro** or **Plus** plan to create and manage API keys.
* This page describes what the [Chat Conversations API](/api-reference/chat-read-api/) returns. For contacts read over GraphQL, see the [GraphQL Customer API](/api-reference/graphql/) instead.
### Overview
Use this page when you are mapping Chatty data into something else: a helpdesk, a CRM, a warehouse table, or a spreadsheet. The [Chat Conversations API](/api-reference/chat-read-api/) page lists the paths and the parameters; this page lists what comes back inside `data`.
Read it before you design your own schema. Four fields never carry a value, several exist only on the single-record endpoints, and six fields accept a fixed set of values only.
| | |
| --- | --- |
| **Applies to** | Every `/chat/...` response from the Chat Conversations API |
| **Envelope** | `{ "data": ..., "paging": ..., "meta": ... }` on list endpoints |
| **Naming** | camelCase throughout, identical from both datastores |
| **Timestamps** | ISO 8601 UTC, for example `2026-08-03T12:00:00.000Z` |
***
### How to read these tables
Each table has four columns.
* **Field** — the key as it appears in the JSON.
* **Type** — `string`, `boolean`, `integer`, `number`, `array`, `object`, or `datetime` for an ISO 8601 string.
* **Always present** — `Yes` means the field is returned with a value on every endpoint that returns this object. `Nullable` means the field is returned but the value can be `null`. `Detail only` means only the single-record endpoint returns it; list and related endpoints omit the key entirely.
* **Description** — what the value means.
Treat every `Nullable` field as optional in your own types. A field marked `Detail only` will be missing, not `null`, when you read from a list.
**Four fields never carry data.** `customerPhone`, `memberName`, `teamId`, and `unreadCount` on a conversation come back empty — `null`, `0`, or missing from the response altogether, depending on the endpoint. Nothing in Chatty writes to them. Don't build a column, a filter, or an alert on any of the four, and don't wait for them to fill in later.
***
### Conversation
Returned by `GET /chat/conversations`, `GET /chat/conversations/{id}`, `GET /chat/conversations/{id}/related`, and `GET /chat/customers/{customerUuid}/conversations`. 31 documented fields. The single-record endpoint can also return internal keys that are not listed here, so ignore what you don't recognise.
| Field | Type | Always present | Description |
| --- | --- | --- | --- |
| `id` | `string` | Yes | App-wide conversation id. |
| `firestoreId` | `string` | Nullable | The conversation's id in the older datastore. |
| `pgConvoId` | `string` | Nullable | The conversation's numeric id in the newer datastore. |
| `shopId` | `string` | Yes | Your store identifier. |
| `sessionId` | `string` | Nullable | Browsing session the conversation started in. |
| `customerUuid` | `string` | Nullable | Contact id. Pass it to `GET /chat/customers/{customerUuid}`. |
| `customerName` | `string` | Nullable | Contact name at the time of the chat. |
| `customerEmail` | `string` | Nullable | Contact email. |
| `customerPhone` | `string` | Detail only | Always `null`. |
| `customerType` | `string` | Yes | `anonymous`, `guest`, or `customer`. |
| `status` | `string` | Yes | `open` or `resolved`. |
| `isChatBot` | `boolean` | Yes | The conversation is currently handled by the AI agent. |
| `hasChatBot` | `boolean` | Yes | The AI agent took part at some point. |
| `isRead` | `boolean` | Yes | Read state on the agent side. |
| `isCustomerRead` | `boolean` | Yes | Read state on the customer side. |
| `isOnline` | `boolean` | Yes | The customer is connected right now. |
| `isBlock` | `boolean` | Yes | The customer is blocked. |
| `isStarred` | `boolean` | Yes | Starred in the inbox. |
| `hasFirstMsg` | `boolean` | Yes | The conversation carries a first message. |
| `hidePreChatMessage` | `string` | Yes | `''`, `by-user`, or `by-admin`. |
| `memberId` | `string` | Nullable | Assigned team member. Resolve it against `GET /chat/members`. |
| `memberName` | `string` | Detail only | Always `null`. |
| `teamId` | `string` | Detail only | Always `null`. |
| `channels` | `array` of `string` | Yes | Channels used in this conversation. |
| `tags` | `array` of `string` | Yes | Tags on the conversation. |
| `messageCount` | `integer` | Nullable | Number of messages. |
| `unreadCount` | `integer` | Detail only | Always `0`. |
| `lastMessage` | `object` | Nullable | Preview of the most recent message. Fields below. |
| `lastActive` | `datetime` | Nullable | Last activity. |
| `createdAt` | `datetime` | Nullable | When the conversation started. |
| `updatedAt` | `datetime` | Nullable | Last update. |
#### `lastMessage`
| Field | Type | Always present | Description |
| --- | --- | --- | --- |
| `text` | `string` | Yes | Message text. |
| `senderType` | `string` | Yes | `customer`, `agent`, `bot`, or `system`. `bot` is the Chatty AI agent, `agent` is a human team member. |
| `createdAt` | `datetime` | Yes | When the message was sent. |
Sort on `lastActive` rather than `updatedAt` when you want the newest conversations first, and expect `null` on both for older records. The three id fields all come back on every conversation, so you can match a record against ids you stored before your integration existed.
***
### Message
Returned by `GET /chat/conversations/{id}/messages` and `GET /chat/conversations/{id}/messages/{messageId}`. 20 fields.
| Field | Type | Always present | Description |
| --- | --- | --- | --- |
| `id` | `string` | Yes | Message UUID, or the numeric id when no UUID exists. |
| `text` | `string` | Yes | Message text. |
| `senderName` | `string` | Yes | Display name of the sender. |
| `memberId` | `string` | Nullable | Team member who sent it, when a human did. |
| `isAdmin` | `boolean` | Yes | Sent from the store side. |
| `isAutomated` | `boolean` | Yes | Sent by an automation rather than by a person. |
| `isBot` | `boolean` | Yes | Sent by the AI agent. |
| `isNote` | `boolean` | Yes | Internal note, not visible to the customer. |
| `isFirst` | `boolean` | Yes | First message of the conversation. |
| `isTransfer` | `boolean` | Yes | Marks a handover between the AI agent and a human. |
| `isQuickReplyMsg` | `boolean` | Yes | Sent through a quick reply. |
| `isAskBotMessage` | `boolean` | Yes | The customer addressed the AI agent. |
| `isDeleted` | `boolean` | Detail only | The message was deleted. List endpoints exclude deleted messages. |
| `contentType` | `string` | Detail only | `text` or `file`. |
| `topic` | `string` | Nullable | Topic the AI agent assigned. |
| `chatbotProducts` | `array` of `object` | Yes | Products the AI agent showed in this message. |
| `chatbotFaqs` | `array` of `object` | Yes | FAQ entries the AI agent used in this message. |
| `files` | `array` of `object` | Yes | Attachments. |
| `replyMessage` | `object` | Nullable | The message this one replies to. |
| `createdAt` | `datetime` | Yes | When the message was sent. |
A message can carry keys beyond this list, so ignore what you don't recognise rather than rejecting the record.
To reconcile deletions against your own copy, read the single message: it returns the record with `"isDeleted": true`, while the list endpoint simply stops returning it. Use `contentType` to word your own placeholder for a deleted message.
***
### Customer
Returned by `GET /chat/customers/{customerUuid}`. This is the contact profile the widget collects, merged with what the Shopify sync provides. 30 fields.
| Field | Type | Always present | Description |
| --- | --- | --- | --- |
| `id` | `string` | Yes | Contact id. Matches `customerUuid` on a conversation. |
| `shopifyId` | `string` | Nullable | Matching Shopify customer id. |
| `name` | `string` | Nullable | Display name. |
| `firstName` | `string` | Nullable | First name. |
| `lastName` | `string` | Nullable | Last name. |
| `email` | `string` | Nullable | Email address. |
| `phone` | `string` | Nullable | Phone number. |
| `type` | `string` | Yes | `anonymous`, `guest`, or `customer`. |
| `channels` | `array` of `string` | Yes | Channels the contact has used. |
| `tags` | `array` of `string` | Nullable | Tags on the contact. |
| `note` | `string` | Nullable | Free-text note on the contact. |
| `customAttributes` | `object` | Nullable | Key/value pairs pushed by the storefront widget. Values are strings. |
| `address1` | `string` | Nullable | Address line 1. |
| `address2` | `string` | Nullable | Address line 2. |
| `city` | `string` | Nullable | City. |
| `zip` | `string` | Nullable | Postal code. |
| `country` | `string` | Nullable | Country name. |
| `countryCode` | `string` | Nullable | Country code. |
| `ordersCount` | `integer` | Nullable | Number of orders placed. |
| `totalSpent` | `number` | Nullable | Lifetime spend. |
| `ipAddress` | `string` | Nullable | Last seen IP address. |
| `ipLocation` | `string` | Nullable | Location derived from the IP address. |
| `browser` | `string` | Nullable | Browser name. |
| `browserVersion` | `string` | Nullable | Browser version. |
| `os` | `string` | Nullable | Operating system. |
| `deviceType` | `string` | Nullable | Device type. |
| `senderSeq` | `integer` | Nullable | Sequence number of the contact as a sender. |
| `lastChatAt` | `datetime` | Nullable | Last time the contact chatted. |
| `createdAt` | `datetime` | Yes | When the contact was first seen. |
| `updatedAt` | `datetime` | Nullable | Last update. |
`id`, `type`, `channels`, and `createdAt` are the only fields that always carry a value. Everything else depends on what the visitor gave you, so an anonymous visitor produces a profile that is mostly `null`.
***
### Member
Returned by `GET /chat/members` and `GET /chat/members/{memberId}`. 10 fields. Credentials, tokens, and notification internals are never exposed.
| Field | Type | Always present | Description |
| --- | --- | --- | --- |
| `id` | `string` | Yes | Team member id. Matches `memberId` on conversations and messages. |
| `email` | `string` | Yes | Work email. |
| `firstName` | `string` | Nullable | First name. |
| `lastName` | `string` | Nullable | Last name. |
| `fullName` | `string` | Yes | Full name. |
| `avatarUrl` | `string` | Yes | Avatar image URL. |
| `role` | `string` | Yes | `admin` or `member`. |
| `active` | `boolean` | Yes | The member is active. |
| `enableAwayMode` | `boolean` | Nullable | Away mode is switched on. |
| `createdAt` | `datetime` | Yes | When the member was added. |
Cache this list. Conversations and messages carry `memberId` only, so every agent name in your own interface comes from here.
***
### Note
Returned by the note endpoints under `/chat/conversations/{id}/notes`. 5 fields.
| Field | Type | Always present | Description |
| --- | --- | --- | --- |
| `id` | `string` | Yes | Note id. Use it on update and delete. |
| `text` | `string` | Yes | Note text, up to 150 characters. |
| `isUpdated` | `boolean` | Yes | The note was edited after it was created. |
| `createdAt` | `datetime` | Yes | When the note was created. |
| `updatedAt` | `datetime` | Yes | When the note was last changed. |
***
### Attribute
Returned by the attribute endpoints under `/chat/conversations/{id}/attributes`. 5 fields.
| Field | Type | Always present | Description |
| --- | --- | --- | --- |
| `id` | `string` | Yes | Attribute id. Use it on update and delete. |
| `name` | `string` | Yes | Attribute name, up to 255 characters. Writes upsert by name. |
| `value` | `string` | Yes | Attribute value, up to 1000 characters. |
| `createdAt` | `datetime` | Yes | When the attribute was created. |
| `updatedAt` | `datetime` | Yes | When the attribute was last changed. |
***
### Webhook subscription
Returned by the webhook endpoints under `/chat/webhooks`. 9 fields. Once a subscription has attempted its first delivery it also carries `lastDeliveryAt`, `lastDeliveryStatus`, and `lastDeliveryError`. For the events themselves and for signature verification, see [Webhooks](/api-reference/webhooks/).
| Field | Type | Always present | Description |
| --- | --- | --- | --- |
| `id` | `string` | Yes | Subscription id. Use it on update and delete. |
| `shopId` | `string` | Yes | Your store identifier. |
| `url` | `string` | Yes | Endpoint Chatty posts events to. |
| `events` | `array` of `string` | Yes | Events this subscription receives. |
| `isActive` | `boolean` | Yes | The subscription is delivering. |
| `secret` | `string` | Yes | Signing secret used to verify each delivery. |
| `metadata` | `object` | Yes | Your own key/value data on the subscription. |
| `createdAt` | `datetime` | Yes | When the subscription was created. |
| `updatedAt` | `datetime` | Yes | When the subscription was last changed. |
**Listing subscriptions returns the signing secret in plain text.** Treat the response the way you treat your API key: never log it, never render it in a front-end, never store it outside your secrets manager.
***
### Fixed value sets
Six fields accept a fixed set of values. Compare against the exact lowercase strings below.
* **`customerType`** on a conversation and **`type`** on a contact: `anonymous`, `guest`, `customer`
* **`status`** on a conversation: `open`, `resolved`
* **`hidePreChatMessage`** on a conversation: `''` (empty string), `by-user`, `by-admin`
* **`senderType`** inside `lastMessage`: `customer`, `agent`, `bot`, `system`
* **`contentType`** on a message: `text`, `file`
* **`role`** on a member: `admin`, `member`
A seventh sits in the envelope rather than on an object: **`meta.source`** reports which datastore served the read, `postgresql` or `firestore`. It's diagnostic. The field names and shapes above are identical either way, so don't branch your parsing on it.
Treat an unrecognised value as a value you haven't seen yet, not as an error. New entries can be added to any of these sets.
***
### Need help?
Contact the Chatty support team from your dashboard. Include the endpoint, the timestamp of the request, and the field you're asking about.
For the paths, parameters, and rate limits that go with these objects, see the [Chat Conversations API](/api-reference/chat-read-api/). For contact data over GraphQL, see the [GraphQL Customer API](/api-reference/graphql/).
================================================================
URL: https://help.chatty.net/api-reference/quick-reference/
Locale: en
================================================================
# Quick reference
**Who can use this feature?**
* The Storefront SDK works on any plan. Every other surface needs an API key, which requires the **Pro** or **Plus** plan.
* This page lists only. Follow the link under each table for parameters, payloads, and examples.
### How to read this page
One row per callable thing. `Writes` says whether the row changes data in your store. `Auth` names the credential. `Plan` is the minimum plan. Nothing here is explained — the linked page carries the detail.
***
### Chat Conversations API
Base URL `https://app.chatty.net`. Full detail: [Chat Conversations API](/api-reference/chat-read-api/).
| Name | Area | What it does | Writes | Auth | Plan |
| --- | --- | --- | --- | --- | --- |
| `GET /chat/conversations` | Chat API | Lists conversations, newest activity first | No | `X-Api-Key` | Pro or Plus |
| `GET /chat/conversations/{id}` | Chat API | Returns one conversation in full | No | `X-Api-Key` | Pro or Plus |
| `GET /chat/conversations/{id}/messages` | Chat API | Lists messages in a conversation | No | `X-Api-Key` | Pro or Plus |
| `POST /chat/conversations/{id}/messages` | Chat API | Sends a reply, an internal note, or a message as the customer | Yes | `X-Api-Key` | Pro or Plus |
| `GET /chat/conversations/{id}/messages/{messageId}` | Chat API | Returns one message, deleted ones included | No | `X-Api-Key` | Pro or Plus |
| `GET /chat/conversations/{id}/related` | Chat API | Lists other conversations from the same contact | No | `X-Api-Key` | Pro or Plus |
| `POST /chat/conversations/{id}/tags` | Chat API | Appends tags, deduped | Yes | `X-Api-Key` | Pro or Plus |
| `DELETE /chat/conversations/{id}/tags/{tag}` | Chat API | Removes one tag | Yes | `X-Api-Key` | Pro or Plus |
| `POST /chat/conversations/{id}/notes` | Chat API | Adds a checklist note | Yes | `X-Api-Key` | Pro or Plus |
| `PUT /chat/conversations/{id}/notes/{noteId}` | Chat API | Updates a checklist note | Yes | `X-Api-Key` | Pro or Plus |
| `DELETE /chat/conversations/{id}/notes/{noteId}` | Chat API | Deletes a checklist note | Yes | `X-Api-Key` | Pro or Plus |
| `GET /chat/conversations/{id}/attributes` | Chat API | Lists conversation attributes | No | `X-Api-Key` | Pro or Plus |
| `POST /chat/conversations/{id}/attributes` | Chat API | Creates an attribute, upserts by name | Yes | `X-Api-Key` | Pro or Plus |
| `PUT /chat/conversations/{id}/attributes/{attributeId}` | Chat API | Updates an attribute | Yes | `X-Api-Key` | Pro or Plus |
| `DELETE /chat/conversations/{id}/attributes/{attributeId}` | Chat API | Deletes an attribute | Yes | `X-Api-Key` | Pro or Plus |
| `POST /chat/conversations/{id}/state` | Chat API | Resolves or reopens a conversation | Yes | `X-Api-Key` | Pro or Plus |
| `POST /chat/conversations/{id}/assign` | Chat API | Assigns a conversation to a team member | Yes | `X-Api-Key` | Pro or Plus |
| `POST /chat/conversations/{id}/read` | Chat API | Marks a conversation read on the agent side | Yes | `X-Api-Key` | Pro or Plus |
| `POST /chat/conversations/{id}/typing` | Chat API | Sets the agent typing indicator | Yes | `X-Api-Key` | Pro or Plus |
| `GET /chat/conversations/{id}/browsed-pages` | Chat API | Lists pages the visitor viewed this session | No | `X-Api-Key` | Pro or Plus |
| `GET /chat/conversations/{id}/summary` | Chat API | Returns the AI summary of a resolved conversation | No | `X-Api-Key` | Pro or Plus |
| `GET /chat/customers/{customerUuid}` | Chat API | Returns a contact profile | No | `X-Api-Key` | Pro or Plus |
| `GET /chat/customers/{customerUuid}/conversations` | Chat API | Lists one contact's conversations | No | `X-Api-Key` | Pro or Plus |
| `GET /chat/members` | Chat API | Lists team members | No | `X-Api-Key` | Pro or Plus |
| `GET /chat/members/{memberId}` | Chat API | Returns one team member | No | `X-Api-Key` | Pro or Plus |
| `GET /chat/tags` | Chat API | Returns your store's tag catalog | No | `X-Api-Key` | Pro or Plus |
| `GET /chat/webhooks` | Chat API | Lists webhook subscriptions, signing secrets included | No | `X-Api-Key` | Pro or Plus |
| `POST /chat/webhooks` | Chat API | Creates a subscription, upserts by URL | Yes | `X-Api-Key` | Pro or Plus |
| `PUT /chat/webhooks/{id}` | Chat API | Updates a subscription, including pausing and resuming delivery | Yes | `X-Api-Key` | Pro or Plus |
| `DELETE /chat/webhooks/{id}` | Chat API | Deletes a subscription | Yes | `X-Api-Key` | Pro or Plus |
The public API carries no `/api` prefix. Paths under `/api/chat/...` belong to the admin inbox and reject an `X-Api-Key`.
The **Pro or Plus** column above is the plan you need to hold an API key at all. Once you have a key, only one action re-checks the plan: turning a paused webhook subscription back on. Pausing one works on any plan, so a store that downgraded while paused cannot resume delivery. See [Webhooks](/api-reference/webhooks/).
***
### Webhook events
These nine names are the complete set. Full detail: [Webhooks](/api-reference/webhooks/).
| Name | Area | What it does | Writes | Auth | Plan |
| --- | --- | --- | --- | --- | --- |
| `message.created` | Webhooks | Fires when a customer, an agent, or the AI sends a message | No | `whsec_` signature | Pro or Plus |
| `message.updated` | Webhooks | Fires when a message is edited | No | `whsec_` signature | Pro or Plus |
| `message.removed` | Webhooks | Fires when a message is deleted | No | `whsec_` signature | Pro or Plus |
| `conversation.created` | Webhooks | Fires when a new conversation starts | No | `whsec_` signature | Pro or Plus |
| `conversation.state_changed` | Webhooks | Fires when a conversation is resolved or reopened | No | `whsec_` signature | Pro or Plus |
| `conversation.assigned` | Webhooks | Fires when a conversation is assigned or reassigned | No | `whsec_` signature | Pro or Plus |
| `conversation.tags_updated` | Webhooks | Fires when tags change, carrying the full resulting list | No | `whsec_` signature | Pro or Plus |
| `conversation.removed` | Webhooks | Fires when a conversation is deleted | No | `whsec_` signature | Pro or Plus |
| `customer.created` | Webhooks | Fires when a new contact record is created | No | `whsec_` signature | Pro or Plus |
***
### GraphQL Customer API
Endpoint `POST https://graphql.chatty.net/graphql`. Read-only: no mutation, no subscription. Full detail: [GraphQL Customer API](/api-reference/graphql/).
| Name | Area | What it does | Writes | Auth | Plan |
| --- | --- | --- | --- | --- | --- |
| `customer(id)` | GraphQL | Fetches one contact by id, `null` when nothing matches | No | `x-api-id` + `x-api-secret` | Pro or Plus |
| `customers(first, after, last, before)` | GraphQL | Lists contacts with Relay cursor pagination, no filter or sort | No | `x-api-id` + `x-api-secret` | Pro or Plus |
***
### MCP tools
Endpoint `POST https://app.chatty.net/mcp`. Eight tools are always registered, nine depend on a switch read fresh on every request. Call `tools/list` after connecting rather than trusting a list. Full detail: [MCP tool reference](/mcp/tools/).
The `Plan` column is the plan the switch needs. Creating the key itself needs **Pro** or **Plus**, so that is the floor for every row.
| Name | Area | What it does | Writes | Auth | Plan | Switch |
| --- | --- | --- | --- | --- | --- | --- |
| `send_message` | MCP | Posts a bot reply into a conversation | Yes | `X-App-Id` + Bearer key | All | Always on |
| `faq_retrieval` | MCP | Searches your knowledge base | No | `X-App-Id` + Bearer key | All | Always on |
| `add_note` | MCP | Adds an internal note to a conversation | Yes | `X-App-Id` + Bearer key | All | Always on |
| `update_tags` | MCP | Replaces the whole tag list on a conversation | Yes | `X-App-Id` + Bearer key | All | Always on |
| `assign_member` | MCP | Assigns or unassigns a team member | Yes | `X-App-Id` + Bearer key | All | Always on |
| `list_members` | MCP | Lists team members and their ids | No | `X-App-Id` + Bearer key | All | Always on |
| `list_conversations` | MCP | Lists test conversations from the AI playground | No | `X-App-Id` + Bearer key | All | Always on |
| `register_webhook` | MCP | Creates a subscription and returns its signing secret | Yes | `X-App-Id` + Bearer key | All | Always on |
| `product_lookup` | MCP | Searches products and variants | No | `X-App-Id` + Bearer key | All | Training data > Products |
| `product_faq_lookup` | MCP | Returns FAQs for one product | No | `X-App-Id` + Bearer key | All | Training data > Products |
| `manage_cart` | MCP | Reads and edits the Shopify cart | Yes, except `action: "get"` | `X-App-Id` + Bearer key | All | Training data > Products |
| `collection_lookup` | MCP | Searches collections and categories | No | `X-App-Id` + Bearer key | All | Training data > Collections |
| `discount_lookup` | MCP | Finds discounts and promo codes | No | `X-App-Id` + Bearer key | All | Training data > Discounts |
| `size_guide_lookup` | MCP | Returns a size chart for one product | No | `X-App-Id` + Bearer key | Pro | Assistant skills > Size guide |
| `check_order_status` | MCP | Tracks an order by order number or tracking number | No | `X-App-Id` + Bearer key | Basic | Assistant skills > Order tracking |
| `customer_support` | MCP | Runs an after-sale request: return, refund, cancel, edit | No | `X-App-Id` + Bearer key | All | Assistant skills > After-sale support |
| `human_agent_transfer` | MCP | Hands the conversation to a person | No | `X-App-Id` + Bearer key | All | Assistant skills > Human handover |
A store that has never touched its AI agent settings exposes 11 tools: the 8 always-on ones plus order tracking, after-sale support, and human handover.
***
### Storefront SDK
Global object `window.$chatty`, version 1.1.0, no credentials. Full detail: [SDK Reference](/sdk/reference/) and [SDK Events](/sdk/events/).
| Name | Area | What it does | Writes | Auth | Plan |
| --- | --- | --- | --- | --- | --- |
| Methods (6) | SDK | `push`, `on`, `off`, `is`, `get`, `version` | No | None | Any |
| `do` widget visibility (7) | SDK | `chat:open`, `chat:close`, `chat:toggle`, `chat:show`, `chat:hide`, `launcher:show`, `launcher:hide` | No | None | Any |
| `do` messaging (2) | SDK | `message:send`, `typing:set` | Yes | None | Any |
| `do` identity and session (3) | SDK | `identify`, `logout`, `session:reset` | Yes | None | Any |
| `do` conversation control (3) | SDK | `escalate`, `trigger:run`, `article:show` | Yes | None | Any |
| `do` pre-chat form (2) | SDK | `prechat:submit`, `prechat:skip` | Yes | None | Any |
| `do` custom event tracking (1) | SDK | `event:track` | Yes | None | Any |
| `set` composer and visitor data (8) | SDK | `message:text`, `user:email`, `user:name`, `user:phone`, `user:attributes`, `user:context`, `shop:data`, `conversation:attributes` | Yes | None | Any |
| `set` commerce context (3) | SDK | `product`, `cart`, `order` | Yes | None | Any |
| `set` locale (1) | SDK | `locale` | Yes | None | Any |
| `set` pre-chat prefill (1) | SDK | `prechat:field` | Yes | None | Any |
| States (7) | SDK | `is(key)` reads a boolean: chat, session, pre-chat, and agent availability | No | None | Any |
| Values (5) | SDK | `get(key)` reads composer text, conversation id, unread count, pre-chat config, commerce context | No | None | Any |
| Events (22) | SDK | Lifecycle, messages, conversation, pre-chat and lead capture, presence and typing | No | None | Any |
Eighteen `do` actions and thirteen `set` actions in total. The SDK returns no value and throws nothing, so a rejected command is silent.
***
### Limits
The full list lives on [Errors and rate limits](/api-reference/errors-and-rate-limits/).
| Where | Limit |
| --- | --- |
| Chat Conversations API | 120 requests/min per key, 300 requests/min per source IP |
| Chat Conversations API pages | conversations 20 / 100, messages 50 / 100, related 6 / 50, customer conversations 20 / 100 |
| Chat Conversations API message | 5,000 characters of `text` |
| Chat Conversations API note | 150 characters |
| Chat Conversations API tag | 100 characters, longer tags are dropped from the request |
| Chat Conversations API attribute | `name` 255 characters, `value` 1,000 characters |
| Chat Conversations API browsed pages | the 50 most recent pages of the session, kept about 24 hours |
| API keys | 5 active keys per store |
| Webhook subscriptions | 10 per store |
| Webhook delivery | 10-second timeout, 7 attempts over about 9 hours |
| Webhook payload | `data` is replaced above 80,000 bytes, `metadata` is rejected above 2,048 bytes |
| GraphQL Customer API | metered by query cost, budget not published, no rate limit headers |
| MCP server | no request rate limit |
| MCP `update_tags` | 50 characters per tag, longer tags are truncated silently, 100 tags kept per conversation |
| MCP `list_conversations` | `limit` defaults to 20 and has no maximum, so ask for a page size you can handle |
| SDK message sending | 15 messages/min, 5,000 characters each |
| SDK typing indicator | 30 calls/min |
| SDK commerce context | 8 KB per object |
***
### Where to go next
| You want | Page |
| --- | --- |
| Parameters, payloads, and cURL for every path above | [Chat Conversations API](/api-reference/chat-read-api/) |
| Event payloads, signature verification, and retries | [Webhooks](/api-reference/webhooks/) |
| Schema, enums, and pagination | [GraphQL Customer API](/api-reference/graphql/) |
| Connection, client setup, and security | [MCP overview](/mcp/) |
| Tool parameters and return shapes | [MCP tool reference](/mcp/tools/) |
| Command arguments, states, and values | [SDK Reference](/sdk/reference/) |
| Event names and payloads | [SDK Events](/sdk/events/) |
| Which header each API expects | [Authentication](/api-reference/authentication/) |
| Every limit and error format | [Errors and rate limits](/api-reference/errors-and-rate-limits/) |
| Choosing between these surfaces | [API Reference overview](/api-reference/) |
***
### Need help?
Contact the Chatty support team from your dashboard. Include the row you were calling, the timestamp of a failing request, and the returned error code.
================================================================
URL: https://help.chatty.net/api-reference/quickstart/
Locale: en
================================================================
# Quickstart
**Who can use this feature?**
* Creating an API key requires the **Pro** or **Plus** plan.
* This page is for developers. Every step is a `curl` command plus one endpoint on your own server.
### Overview
This page walks one integration from nothing to a working event feed. By the end you will have a key that authenticates, code that reads and writes conversations, and a server endpoint that receives verified events in real time.
Plan on about 30 minutes, plus a public HTTPS endpoint for the last section.
| | |
| --- | --- |
| **Base URL** | `https://app.chatty.net` |
| **Auth header** | `X-Api-Key: ` |
| **Format** | JSON in, JSON out (`Content-Type: application/json` on writes) |
Every request is scoped to your store. You never send a store ID. Your key resolves to exactly one store, and every read and write is limited to it.
***
### Create your API key
#### Open the keys panel
Go to **Settings** → **General** → **Manage keys**. The **App ID** at the top of the panel identifies your store. You need it for the [MCP server](/mcp/) and the [GraphQL Customer API](/api-reference/graphql/), but not for this page.
#### Generate the key
Enter a name in **Key name**, up to 50 characters, then click **Generate key**. Name it after the integration that will use it, for example `Order bot`.
#### Copy it now
The full `sk_` value is shown once. Chatty stores only a hash of it, so it can never be displayed again. Put it in your secrets manager before you leave the page.
You can hold up to 5 active keys per store. Create one per integration so you can revoke a single key without breaking the others.
**A brand-new key needs up to 30 seconds before it is accepted.** A `401` in the first few seconds after **Generate key** is not a bad key. Wait and try again.
Export it into your shell so the rest of the commands on this page work as written:
```bash
export CHATTY_KEY="sk_xxxxxxxxxxxxxxxxxxxxxxxxxxxxxxxx"
```
***
### Confirm the key works
Start with the lightest read on the API. `GET /chat/members` returns your team, changes nothing, and gives you the `memberId` you need later to send a message.
```bash
curl -s "https://app.chatty.net/chat/members" \
-H "X-Api-Key: $CHATTY_KEY"
```
A working key returns a `data` array of members. Note the `id` of the member you want to reply as.
A wrong, revoked, or too-new key returns:
```json
{ "error": { "code": "INVALID_API_KEY", "message": "API key is unknown or revoked" } }
```
Full status codes are on [Errors and rate limits](/api-reference/errors-and-rate-limits/).
***
### Read conversations
**List the newest open conversations**
```bash
curl -s "https://app.chatty.net/chat/conversations?status=open&limit=5" \
-H "X-Api-Key: $CHATTY_KEY"
```
The response carries `data` plus `paging`. Pass `paging.nextCursor` back as the `cursor` parameter to fetch the next page; `nextCursor: null` means you reached the end. Cursors are opaque, so don't parse them.
**Read one conversation**
Take an `id` from the list above.
```bash
export CONVO_ID="conversation_id"
curl -s "https://app.chatty.net/chat/conversations/$CONVO_ID" \
-H "X-Api-Key: $CHATTY_KEY"
```
**Read the thread, oldest first**
```bash
curl -s "https://app.chatty.net/chat/conversations/$CONVO_ID/messages?order=asc&limit=100" \
-H "X-Api-Key: $CHATTY_KEY"
```
Every message carries `senderType`: `customer`, `agent`, `bot`, or `system`. An AI reply is `bot`, a human on your team is `agent`. You will need that field again in the webhook section.
**The list is not a full history.** Older conversations that have not moved to the new storage are still reachable by id, and so are their messages, but they do not appear in `GET /chat/conversations`.
***
### Send a message
Reply as a member from the list you fetched earlier. `text` is capped at 5,000 characters, and the call returns `201`.
```bash
curl -s -X POST "https://app.chatty.net/chat/conversations/$CONVO_ID/messages" \
-H "X-Api-Key: $CHATTY_KEY" \
-H "Content-Type: application/json" \
-d '{"text": "Your order ships tomorrow.", "memberId": "MEMBER_ID"}'
```
An active AI bot hands off to the human. If auto-assignment is switched on in your inbox settings, the conversation is also assigned to that member, unless the AI agent is still holding it. Delivery to Messenger, Instagram, WhatsApp, or email happens automatically.
To leave a note your customer never sees, add `"isNote": true`. To test without touching a real customer, use a test conversation from your own storefront.
The full endpoint list, including tags, notes, attributes, and customers, is on the [Chat Conversations API](/api-reference/chat-read-api/) page.
***
### Receive your first event
**Register your endpoint**
```bash
curl -s -X POST "https://app.chatty.net/chat/webhooks" \
-H "X-Api-Key: $CHATTY_KEY" \
-H "Content-Type: application/json" \
-d '{
"url": "https://your-server.com/chatty-webhook",
"events": ["message.created"]
}'
```
The `201` response carries a `secret` that starts with `whsec_`. Store it on your server right away: it is the only thing that verifies your deliveries. A `secret` you send in the request body is ignored.
**Verify the signature**
Every delivery carries `X-Webhook-Event`, `X-Webhook-Timestamp`, `X-Webhook-Signature`, `X-Webhook-Event-Id`, and `X-Webhook-Delivery-Id`.
The signature covers the timestamp and the body together, not the body alone. Sign the exact string `` `${timestamp};${body}` ``, and always use the raw, unparsed request body.
```javascript
const crypto = require('crypto')
function verifyWebhook(rawBody, timestamp, signature, secret) {
const expected = crypto
.createHmac('sha256', secret)
.update(`${timestamp};${rawBody}`)
.digest('hex')
const a = Buffer.from(signature)
const b = Buffer.from(expected)
if (a.length !== b.length) return false
return crypto.timingSafeEqual(a, b)
}
```
Also reject anything whose `X-Webhook-Timestamp` is more than a few minutes old. The signature itself does not expire.
**Answer fast, then de-duplicate**
Return `2xx` within 10 seconds and do the heavy work in the background. Chatty aborts a slower request and counts it as a failure, then retries at roughly 10 seconds, 1 minute, 5 minutes, 30 minutes, 2 hours, and 6 hours: up to 7 attempts across about 9 hours. After the seventh failure the subscription stops delivering every event until you re-enable it.
Retries repeat the same `X-Webhook-Event-Id`. Store the ids you have already processed and skip repeats.
**Trigger it**
Send a message from your storefront widget. Within a second or two your endpoint should receive a `message.created` event:
```json
{
"eventId": "b3f1c9a0-4c2e-4f1a-9b77-2d5e8a0c1f34",
"type": "message.created",
"shopId": "your_shop_id",
"conversationId": "conversation_id",
"occurredAt": "2026-08-03T12:00:00.000Z",
"data": {
"messageId": "msg_123",
"text": "What is your return policy?",
"senderType": "customer",
"memberId": null,
"createdAt": "2026-08-03T12:00:00.000Z"
}
}
```
**Your own replies fire `message.created` too.** If your integration listens to the event and answers through `POST /chat/conversations/{id}/messages`, it will answer itself and loop. Check `data.senderType` and act only on `customer`.
***
### Where first integrations break
* **The admin inbox paths are not this API.** The Chatty inbox in your browser calls a near-identical set of paths under `/api/chat/...`, authenticated with an admin session. An `X-Api-Key` request there fails. The public API carries no `/api` prefix: `https://app.chatty.net/chat/conversations`.
* **Localhost cannot receive events.** A registered `url` must use `https://` and resolve to a public address, and Chatty re-checks that on every delivery. Run a tunnel such as ngrok or Cloudflare Tunnel and register the public address it gives you.
* **A payload above 80,000 bytes arrives without its `data`.** The envelope still comes through, and `data` is replaced with `{"truncated": true, "originalSize": }`. Read the record back over the Chat Conversations API when you see that flag.
* **Redirects are never followed.** A `3xx` is treated like a `4xx`: dropped, never retried. Register the final URL.
* **The rate limit is not a window you can keep calling through.** You get 120 requests/min per key and 300 requests/min per source IP. Every request pushes the 60-second expiry back, so once you are over the limit you have to stop for a full 60 seconds. Retrying straight away keeps you blocked. Watch `X-RateLimit-Remaining` on every response.
***
### Where to go next
| Page | Use it for |
| --- | --- |
| [Chat Conversations API](/api-reference/chat-read-api/) | Every endpoint: tags, notes, attributes, customers, team members |
| [Webhooks](/api-reference/webhooks/) | All nine events, payload shapes, and subscription management |
| [Authentication](/api-reference/authentication/) | What a key can do, how to rotate one, what to do if it leaks |
| [Errors and rate limits](/api-reference/errors-and-rate-limits/) | Every status code and limit in one table |
| [Storefront SDK](/sdk/) | Control the widget from your storefront. No key needed, works on any plan |
| [MCP server](/mcp/) | Let an AI assistant read and act on your inbox |
***
### Need help?
Contact the Chatty support team from your dashboard. Include the endpoint, the timestamp of a failing request, and the returned `error.code`. For a failing webhook, include the `X-Webhook-Delivery-Id` instead.
================================================================
URL: https://help.chatty.net/api-reference/webhooks/
Locale: en
================================================================
# Webhooks
**Who can use this feature?**
* You need the **Pro** or **Plus** plan to create an API key. See the [API reference](/api-reference/).
### Overview
Webhooks let Chatty notify your server the moment something happens in a conversation. Instead of polling, you register a URL once and Chatty `POST`s a JSON payload to it whenever a matching event fires.
Common uses:
* Mirror conversations into your own helpdesk or database
* Alert your team when a customer asks something the AI couldn't answer
* Log AI replies for quality review or analytics
***
### Manage subscriptions
Subscriptions are managed with the same `X-Api-Key` that authenticates the rest of the [Chat Conversations API](/api-reference/chat-read-api/).
| Method | Path | Purpose |
| --- | --- | --- |
| `POST` | `/chat/webhooks` | Create a subscription. Upserts by URL. |
| `GET` | `/chat/webhooks` | List your subscriptions. |
| `PUT` | `/chat/webhooks/{id}` | Update a subscription. |
| `DELETE` | `/chat/webhooks/{id}` | Delete a subscription. |
#### Create a subscription
```bash
curl -s -X POST "https://app.chatty.net/chat/webhooks" \
-H "X-Api-Key: $CHATTY_KEY" \
-H "Content-Type: application/json" \
-d '{
"url": "https://your-server.com/chatty-webhook",
"events": ["message.created", "conversation.state_changed"],
"metadata": {}
}'
```
| Field | Required | Description |
| --- | --- | --- |
| `url` | Yes | Where Chatty sends events. Must be `https://`. |
| `events` | Yes | Array of event names from the table below. |
| `metadata` | No | Any object you want stored alongside the subscription, up to 2,048 bytes serialized. It is returned by `GET /chat/webhooks`, but it is **not** included in delivered events. |
Returns `201` with the created subscription. Registering a `url` you already use **updates** that subscription instead of creating a duplicate. To pause delivery without deleting, `PUT` the subscription with `{"isActive": false}`.
**You do not choose the signing secret. Chatty generates it.** The `201` response carries a `secret` that starts with `whsec_`, and that value is the only thing that verifies your deliveries. Store it on your server the moment you read the response. A `secret` you send in the request body is ignored.
A re-`POST` of the same `url` also switches `isActive` back to `true` and keeps the existing signing secret, so re-creating a subscription never breaks verification. If you paused a subscription, don't re-create it to change its events. `PUT` it instead, or it starts delivering again.
A bad `url` or an unknown event name returns `400 INVALID_PARAMS` with the reason in `error.message`.
`PUT` and `DELETE` also answer `400 INVALID_PARAMS` with `Subscription not found` when the id is unknown or belongs to another store. They do not return `404`.
`GET /chat/webhooks` returns each subscription's `secret` in plaintext. Anyone holding your API key can read your signing secrets, so store and scope the key accordingly. If a key leaks, delete it, then replace every signing secret. There is no rotate button, so delete each subscription and create it again to get a fresh secret.
***
### Events
| Event | Fires when | `data` contains |
| --- | --- | --- |
| `message.created` | A customer message arrives, or an agent or the AI replies. | `messageId`, `text`, `senderType`, `memberId`, `createdAt` |
| `message.updated` | A message is edited. | Same as above |
| `message.removed` | A message is deleted. | Same as above |
| `conversation.created` | A new conversation starts. | `type`, `customerId`, `channel`, `isChatBot`, `isFirstMessage` |
| `conversation.state_changed` | A conversation is resolved or reopened. | `status`, `previousStatus` |
| `conversation.assigned` | A conversation is assigned or reassigned. | `memberId`, `previousMemberId` |
| `conversation.tags_updated` | Tags change. | `tags` (the full resulting list) |
| `conversation.removed` | A conversation is deleted. | Empty |
| `customer.created` | A new customer record is created in your store. | `customerId`, `email`, `firstName`, `lastName`, `phone`, `tags`, `ordersCount`, `totalSpent` |
These nine names are the complete list. Any other name returns `400 INVALID_PARAMS`. A subscription can listen to one or more events.
`customer.created` is the one event that belongs to no conversation, so its `conversationId` is `null`.
`senderType` is one of `customer`, `agent`, `bot`, or `system`. An AI reply is `bot`, a human on your team is `agent`.
**`message.created` does not fire for internal notes or activity lines.** Notes never leave your inbox, and activity is reported through the `conversation.*` events instead.
#### Payload envelope
Every event uses the same envelope. Only `data` changes.
```json
{
"eventId": "b3f1c9a0-4c2e-4f1a-9b77-2d5e8a0c1f34",
"type": "message.created",
"shopId": "your_shop_id",
"conversationId": "conversation_id",
"occurredAt": "2026-08-03T12:00:00.000Z",
"data": {
"messageId": "msg_123",
"text": "What is your return policy?",
"senderType": "customer",
"memberId": null,
"createdAt": "2026-08-03T12:00:00.000Z"
}
}
```
Every event carries an `eventId` you can de-duplicate on, and `data` is the only part that changes between event types.
`conversationId` can be passed straight to `GET /chat/conversations/{id}` to pull the full record. It is `null` on `customer.created`, which has no conversation, and it is not guaranteed to be the same id form on every event, so key your own storage on the `firestoreId` and `pgConvoId` that read returns, not on the raw string in the envelope.
**The older event names were removed in August 2026.** `ai_response`, `customer_message`, and every underscore-style name are gone. If you built against a name that is not in the table above, that subscription now returns `400 INVALID_PARAMS`. Point it at `message.created` and read `data.senderType` to tell a customer message from an AI reply.
***
### Verify the signature
Every delivery carries these headers:
| Header | Description |
| --- | --- |
| `X-Webhook-Event` | The event name. |
| `X-Webhook-Timestamp` | Unix timestamp in seconds, as a string. |
| `X-Webhook-Signature` | `HMAC-SHA256` hex digest, signed with the `whsec_` secret returned when you created the subscription. |
| `X-Webhook-Event-Id` | Unique id for this event. The same id repeats across retries, and across every subscription the event reaches. |
| `X-Webhook-Delivery-Id` | Unique id for this subscription's delivery of the event. Also stable across retries. |
**The signature covers the timestamp and the body together, not the body alone.** Sign the exact string `` `${timestamp};${body}` ``, meaning the timestamp, a semicolon, then the raw request body. Binding the timestamp in is what stops a captured request from being replayed later.
```javascript
const crypto = require('crypto')
function verifyWebhook(rawBody, timestamp, signature, secret) {
const expected = crypto
.createHmac('sha256', secret)
.update(`${timestamp};${rawBody}`)
.digest('hex')
const a = Buffer.from(signature)
const b = Buffer.from(expected)
if (a.length !== b.length) return false
return crypto.timingSafeEqual(a, b)
}
```
Also check that `X-Webhook-Timestamp` is recent, a few minutes at most, and reject anything older. The signature alone does not expire.
Always verify against the **raw, unparsed** request body. If your framework parses JSON before you can read the raw bytes, the re-serialized body may not match the signature.
***
### Delivery behavior
* **Respond within 10 seconds.** Chatty aborts the request after that and counts it as a failure.
* **Up to 7 attempts over about 9 hours.** A timeout, a network error, or a `5xx` schedules another try at roughly 10 seconds, 1 minute, 5 minutes, 30 minutes, 2 hours, and 6 hours. See [Errors and rate limits](/api-reference/errors-and-rate-limits/).
* **De-duplicate on `X-Webhook-Event-Id`.** Every retry carries the same id. If your endpoint is slow but eventually succeeds, you can receive the same event more than once.
* **The subscription is disabled after the seventh failure.** Delivery stops for every event, not only the one that failed, until you `PUT` the subscription with `{"isActive": true}`. Turning it back on needs the **Pro** or **Plus** plan, while pausing it does not. Return `2xx` quickly and do the heavy work in the background.
* **`410 Gone` disables the subscription immediately**, with no retries. Return it only when the endpoint is permanently retired.
* **A redirect is never followed.** A `3xx` is treated the same as a `4xx`: the delivery is dropped and never retried, because a redirect target is not re-checked for safety. Register the final URL.
* **A payload above 80,000 bytes arrives without its `data`.** The envelope still comes through, and `data` is replaced with `{"truncated": true, "originalSize": }`. Read the record back over the [Chat Conversations API](/api-reference/chat-read-api/) when you see that flag.
* **Independent delivery.** Each subscription is delivered separately. One failing endpoint doesn't affect the others.
* **Order is not guaranteed.** Every event is queued and retried on its own, so a retried event can land after one that happened later. Two messages a second apart can reach you in either order. Sort by `occurredAt` on the envelope, and treat an event as out of date when you already hold something newer for that conversation.
* **Delivery is a notification, not a ledger.** Chatty never fails a chat action because a webhook could not be queued, so a rare event may never reach you at all. If your copy has to be complete, reconcile on a schedule with the [Chat Conversations API](/api-reference/chat-read-api/) rather than rebuilding from the event stream alone.
***
### FAQs
Can I have more than one webhook URL?
Yes. Create a separate subscription for each URL. Each one can listen to a different set of events and uses its own signing secret.
How do I temporarily stop receiving events?
`PUT /chat/webhooks/{id}` with `{"isActive": false}`. Set it back to `true` to resume. You don't need to recreate the subscription. Pausing works on any plan, but resuming needs the **Pro** or **Plus** plan, so a store that downgraded while paused cannot turn its subscriptions back on.
What happens if my server is down?
Chatty retries the delivery up to 7 times across about 9 hours, so a short outage usually recovers on its own. If every attempt fails, the subscription is disabled and stops receiving events until you re-enable it with `PUT /chat/webhooks/{id}` and `{"isActive": true}`. Check `isActive` on your subscriptions after any long outage.
Why am I receiving the same event twice?
A retry. If your endpoint takes longer than 10 seconds, is unreachable, or returns a `5xx`, Chatty sends the event again with the same `X-Webhook-Event-Id`. A `4xx` is treated as your decision and is never retried. Store the ids you have processed and skip repeats.
My bot replies through the API and keeps triggering itself. How do I stop the loop?
Every reply you send through `POST /chat/conversations/{id}/messages` fires its own `message.created` event. Check `data.senderType` on each event and act only on `customer`. Ignore `agent`, `bot`, and `system`.
If I delete my API key, do my subscriptions stop?
No. Subscriptions belong to your store, not to a key. Deleting a key blocks new API calls, but Chatty keeps delivering events to every URL you registered. Delete the subscription itself to stop delivery.
Can I test against a local server?
Not directly. A registered URL must use `https://` and its hostname must resolve to a public address. Chatty re-checks that on every delivery and refuses private ranges, so a URL that points at `localhost` or an internal IP is rejected even if it was accepted once. Run a tunnel, such as ngrok or Cloudflare Tunnel, and register the public HTTPS address it gives you.
I set up webhooks with the older `/webhook/subscriptions` endpoints. Do they still work?
Yes, those endpoints still run, but they authenticate differently per method. `POST /webhook/subscriptions` takes `X-Webhook-App-Id` (your App ID) and `X-Webhook-Secret` (your `sk_` key), and it is the one place that checks your plan: it requires the **Pro** or **Plus** plan. `GET`, `PUT`, and `DELETE` take the `whsec_` secret of the subscription itself, so you cannot list your subscriptions without already holding one.
New integrations should use `/chat/webhooks` instead: it authenticates with your API key on every method, and it checks your plan in one place only: turning a paused subscription back on. Creating, listing, updating other fields, and deleting do not. The signature format and delivery behavior are the same on both.
***
### Need help?
If your endpoint isn't receiving events, check that the `url` is publicly reachable over HTTPS and returns `2xx` within 10 seconds. If deliveries arrive but fail verification, check that you are signing `` `${timestamp};${body}` `` and not the body alone. Still stuck? Contact the Chatty support team from your dashboard.
================================================================
URL: https://help.chatty.net/build-faqs/add-category/
Locale: en
================================================================
# Add category
### What is category?
Category helps grouping questions in the same topic.
In default, we have 2 categories (with questions) which are popular for Shopify users:
1. Order & Shipping
2. Exchange & Return
You can edit, add more questions and delete categories.
### Add new category
#### Go to FAQs
#### Create category
Click **Add new** → Click **Add category**
#### Enter information for category
* **Category name:** Title of Category displayed in the FAQ page
* **Icon:** Select a relevant icon that helps users understand your content. Chatty shows the first three built-in icons — click **View more** to see all 15. You can upload your own icon, or pick the crossed-out option to show no icon at all.
* **Position**: Position of the Category in the FAQ page from top to bottom
* **Status:** Keep the category Published or Draft
* **Feature category:** Show this category on the first page of the FAQs chatbox. If off, it only appears when a customer views all categories.
If you enable featured for 2 categories, the one with higher position will be placed first.
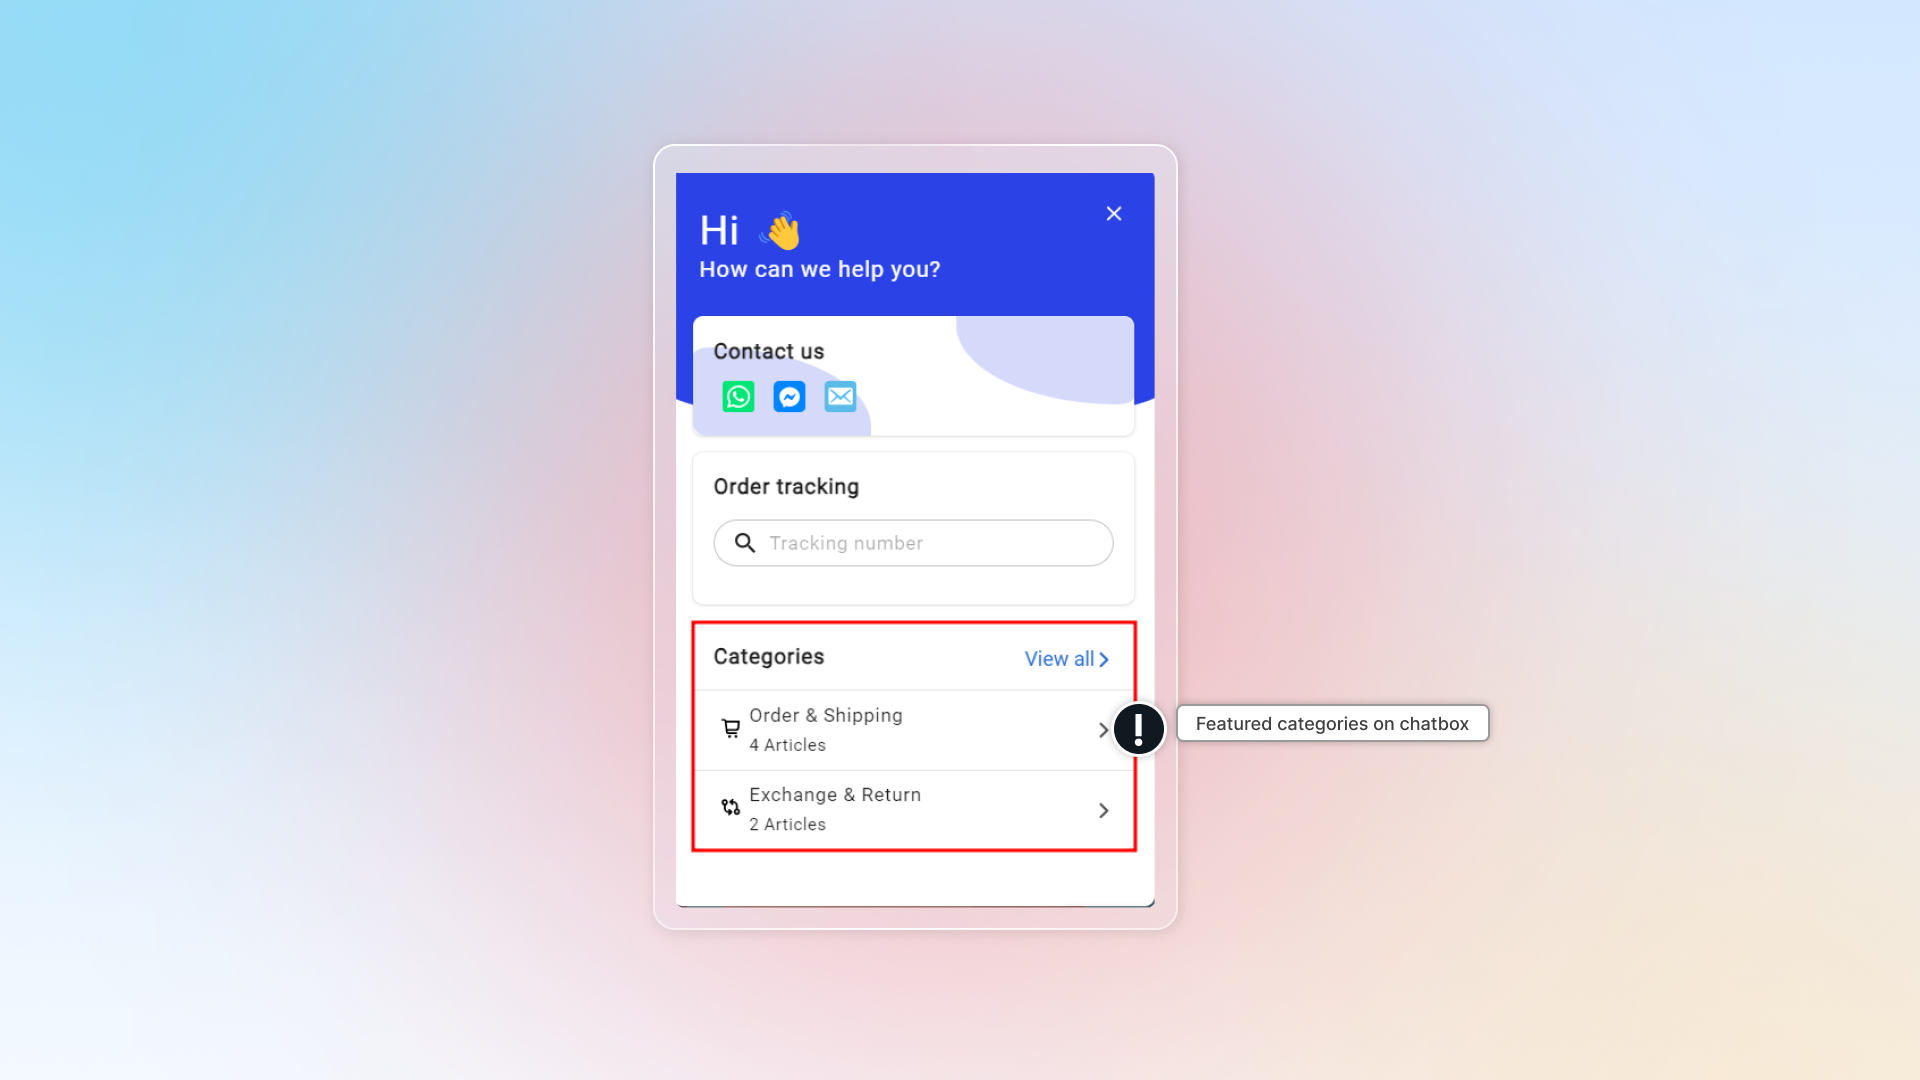
#### Click Save
### Default category
The **Uncategorized** category is created automatically for every Chatty store. You'll recognize it by the **"Default"** badge next to its name in the category list.
It works like any other category, with two differences:
* **It can't be deleted.** It's always available as a fallback.
* **FAQs move there automatically.** When you delete a category, all FAQs in that category are instantly reassigned to Uncategorized — nothing is lost.
### Assign a FAQ to Uncategorized manually
If you're editing a FAQ and want to move it out of its current category without assigning it to a new one:
1. Go to **FAQs → Manage FAQs**.
2. Find the FAQ you want to edit and click **Edit**.
3. In the **Category** dropdown, select **Uncategorized**.
4. Click **Save**.
The FAQ will now appear under the Uncategorized category on your storefront.
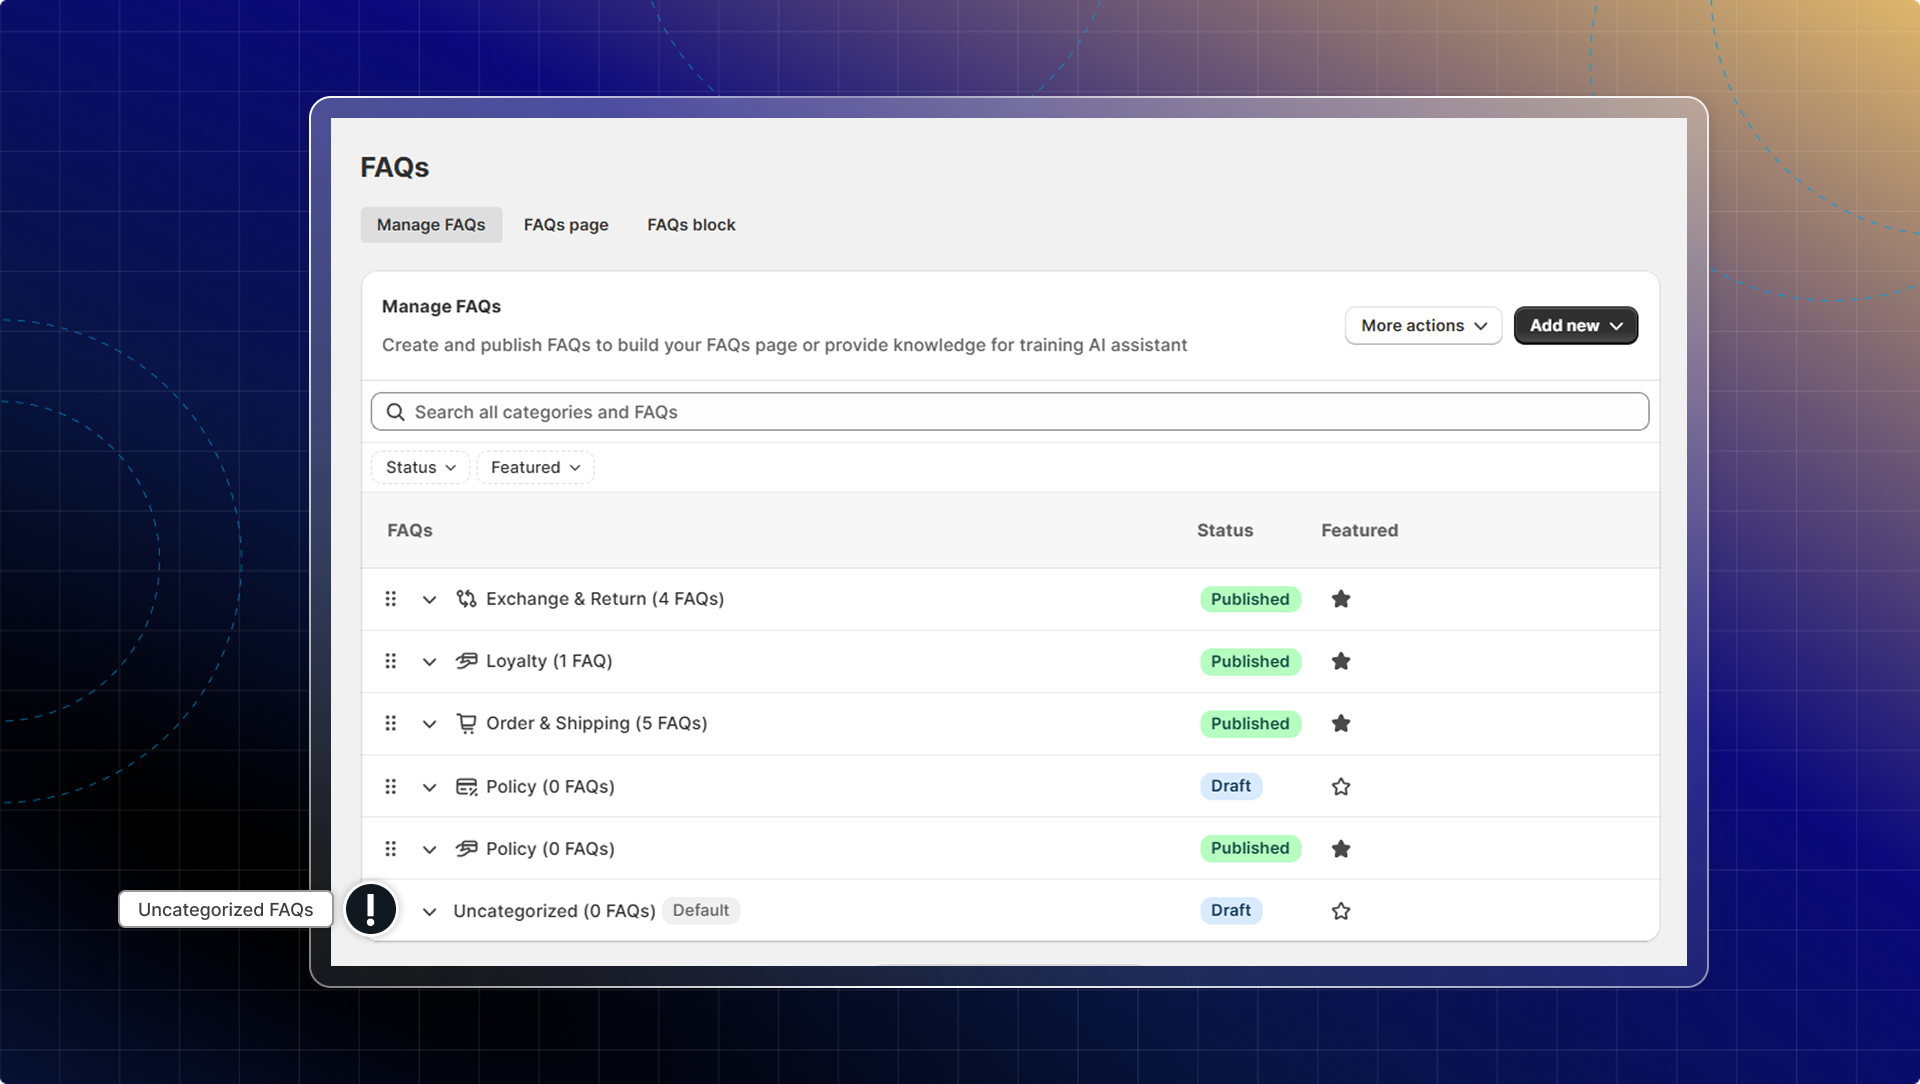
### Manage category
* To edit category, hover on that category and click the edit icon
* To delete category, hover on that category and click the delete icon
* Change position of category by dragging it to new position
* Star or unstar category to make it featured
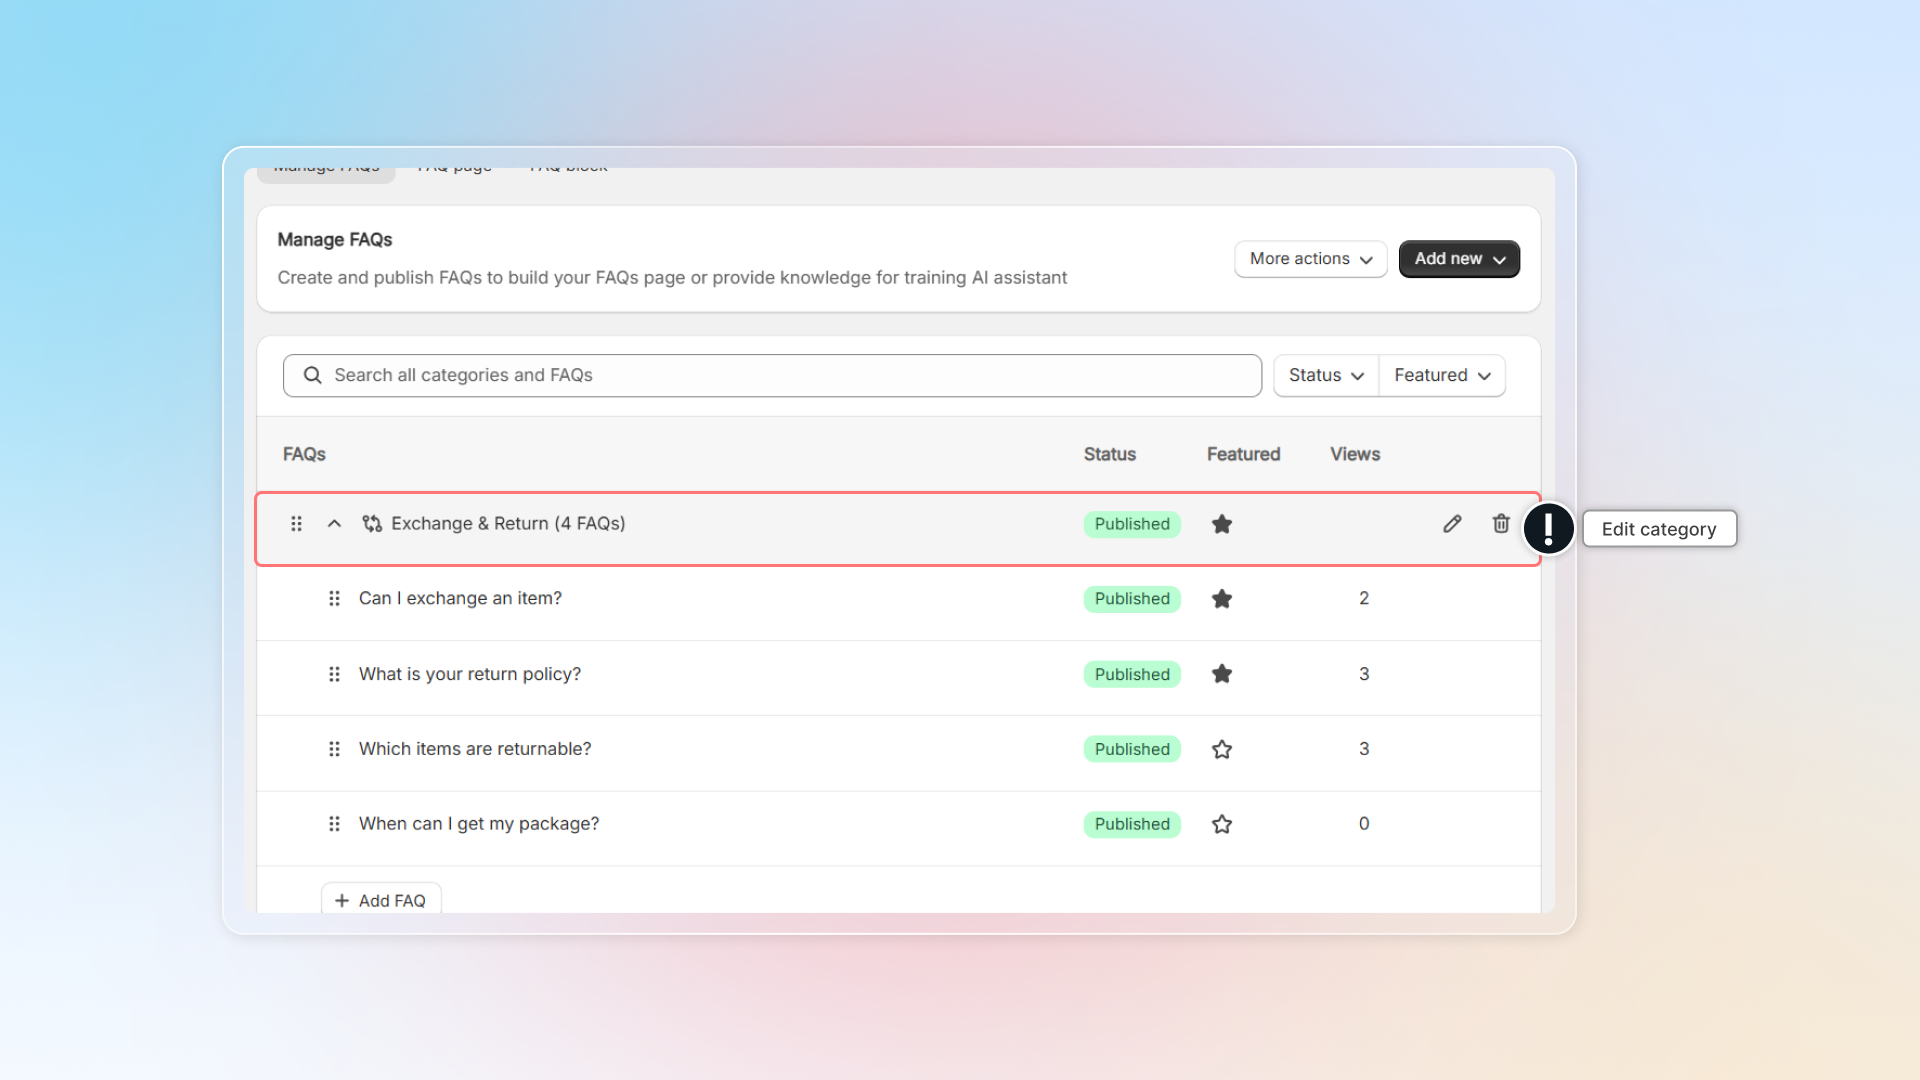
### What happens when you delete a category
When you delete a category that contains FAQs:
1. Chatty detects that FAQs would become uncategorized.
2. All affected FAQs are automatically moved to the **Uncategorized** category.
3. The FAQs remain visible on your storefront under the Uncategorized category.
4. You can reassign them to a new or existing category at any time.
Existing categories and FAQs are not affected by this change — everything you've already set up stays exactly as it is.
================================================================
URL: https://help.chatty.net/build-faqs/add-questions/
Locale: en
================================================================
# Add questions
After creating [category](/build-faqs/add-category/), you can add questions in category.
### Add new question
#### Go to **FAQs**
#### Click **Add new**
#### Click **Add FAQ**
#### Enter question and answer
#### Set up FAQ
* Select status: Published or draft
* Select category (required)
* Featured question: Show this question on the first page of the chatbox. If off, it only appears inside its category.
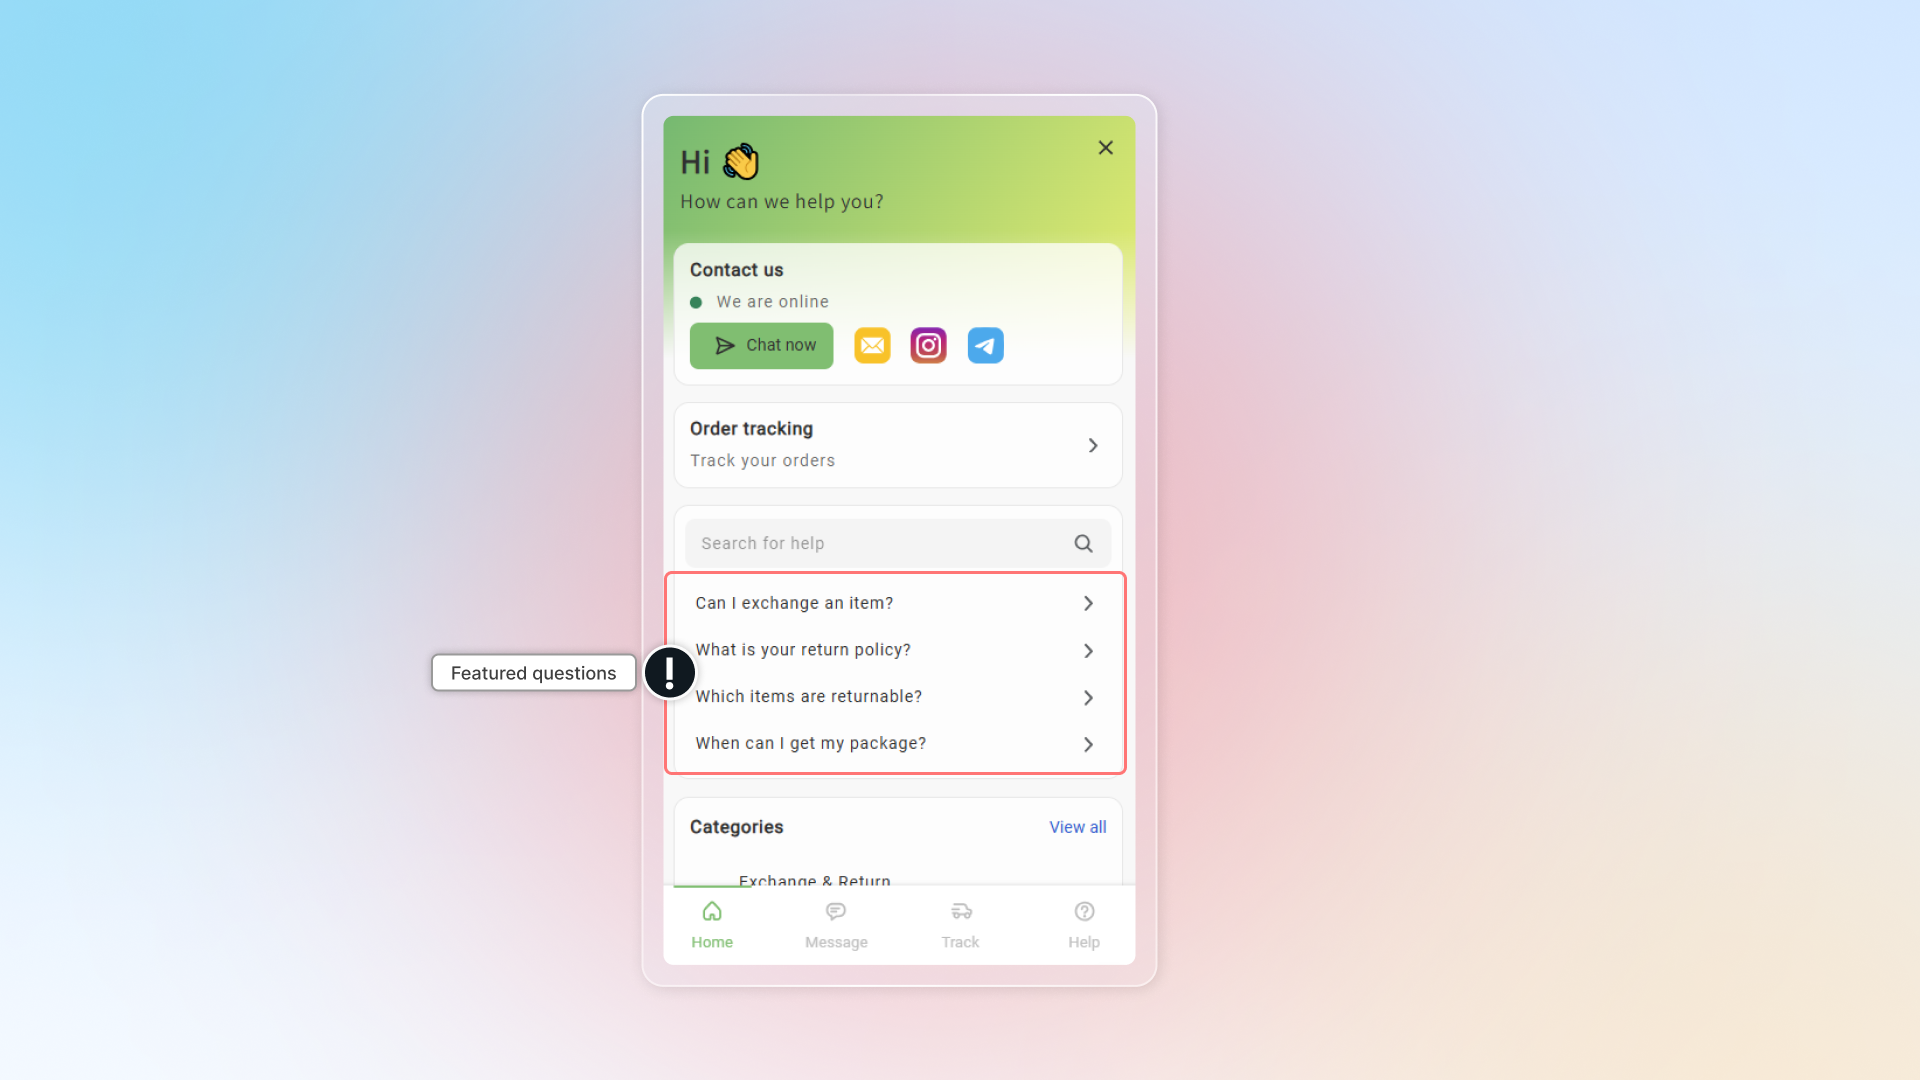
#### Click **Save**
### Manage FAQs
* To edit question, hover on that question and click
* To delete question, hover on that category and click the delete icon
* Change position of question in a category by dragging it to new position
* Star or unstar category to make it featured
### Search and filter FAQs
When your list gets long, use the search and filter bar above the category list.
* **Search** — type in the **Search all categories and FAQs** box. It matches both category names and the text of questions and answers.
* **Status** — show only **Published** or only **Draft** categories.
* **Featured** — show only **Featured** or only **Not featured** categories.
Both filters apply to categories, so a filtered view shows the matching categories with their questions inside. Click **Clear all** to go back to the full list.
### Import FAQs
You can import many questions and answers to Chatty by CSV file.
Import is limited while your store has fewer than 10 questions. Once the file you upload would take you to 10 questions or more, Chatty shows a banner in the import window. Use the **Chat with us** link in that banner to get unlimited questions for free.
#### Get the sample file to import FAQs
Go to **FAQs** → Select **More actions** → Click **Import FAQs** → Download a sample CSV
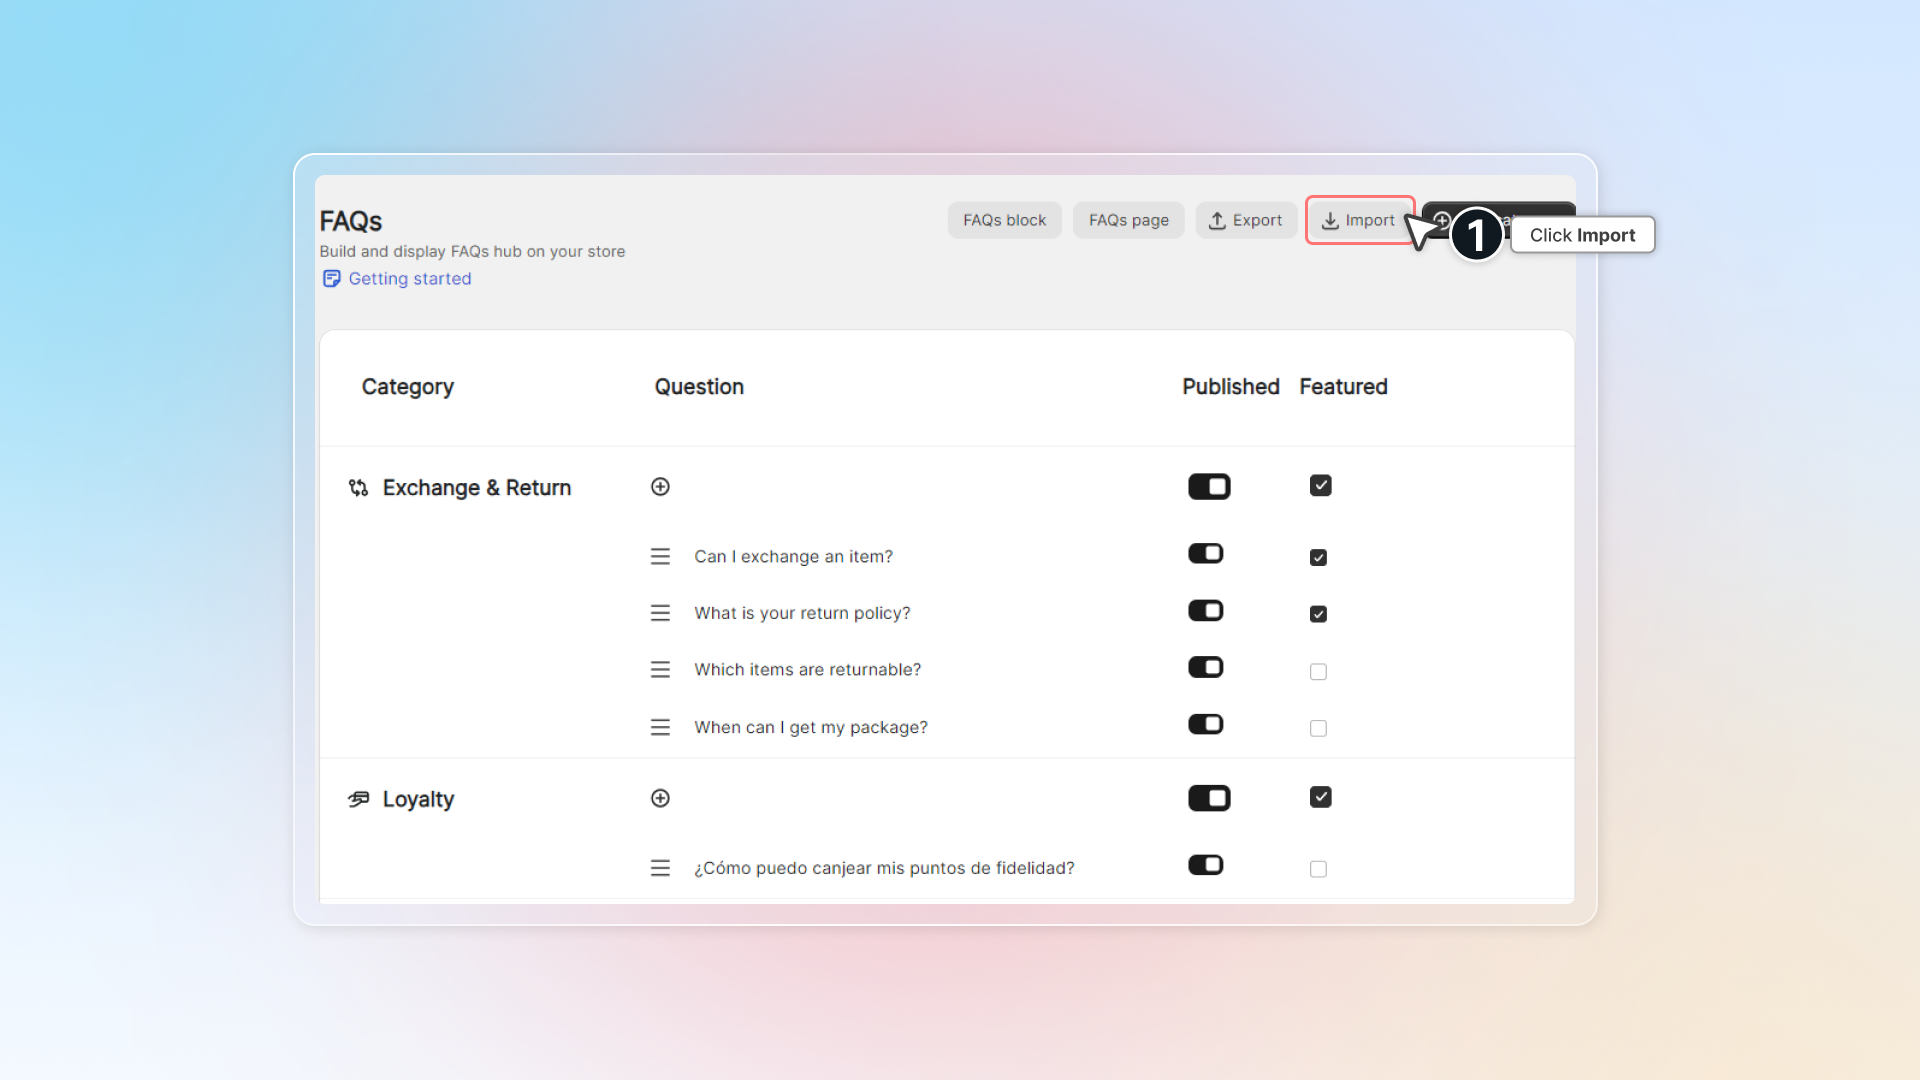
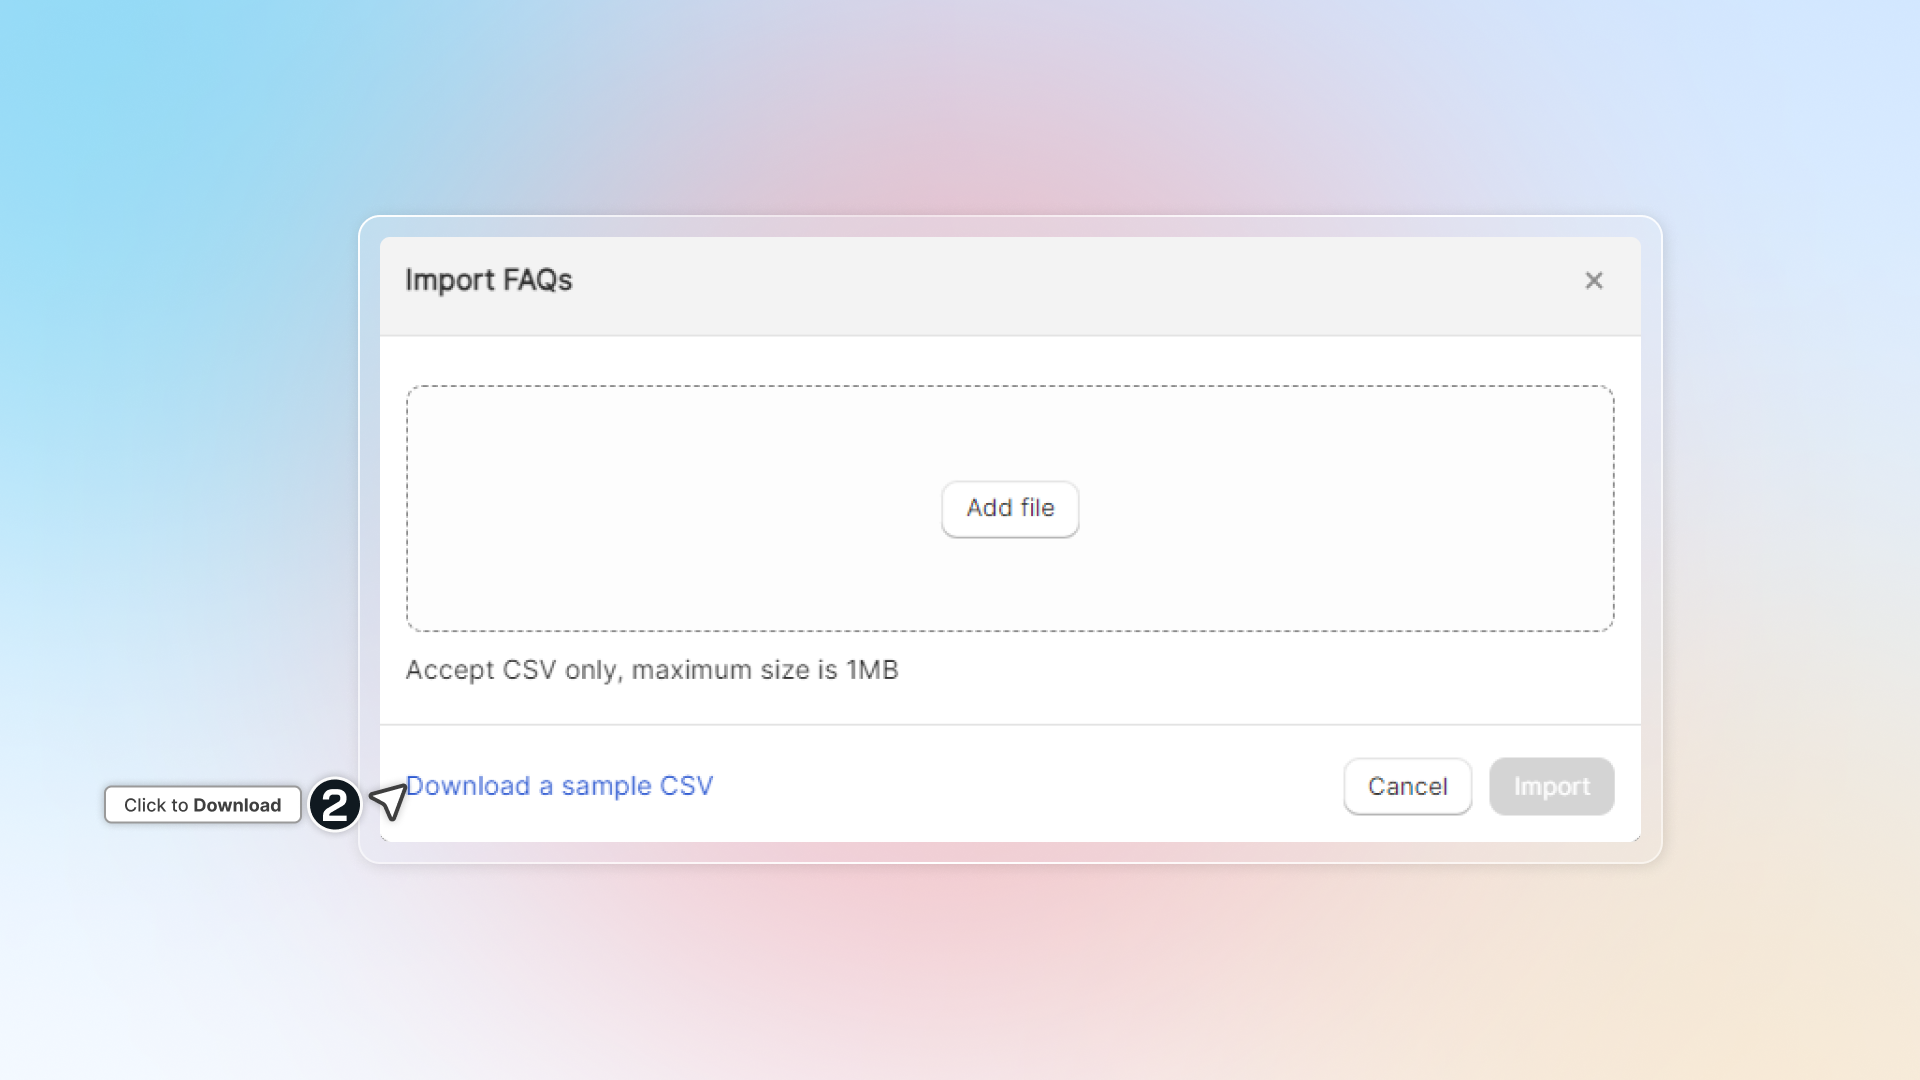
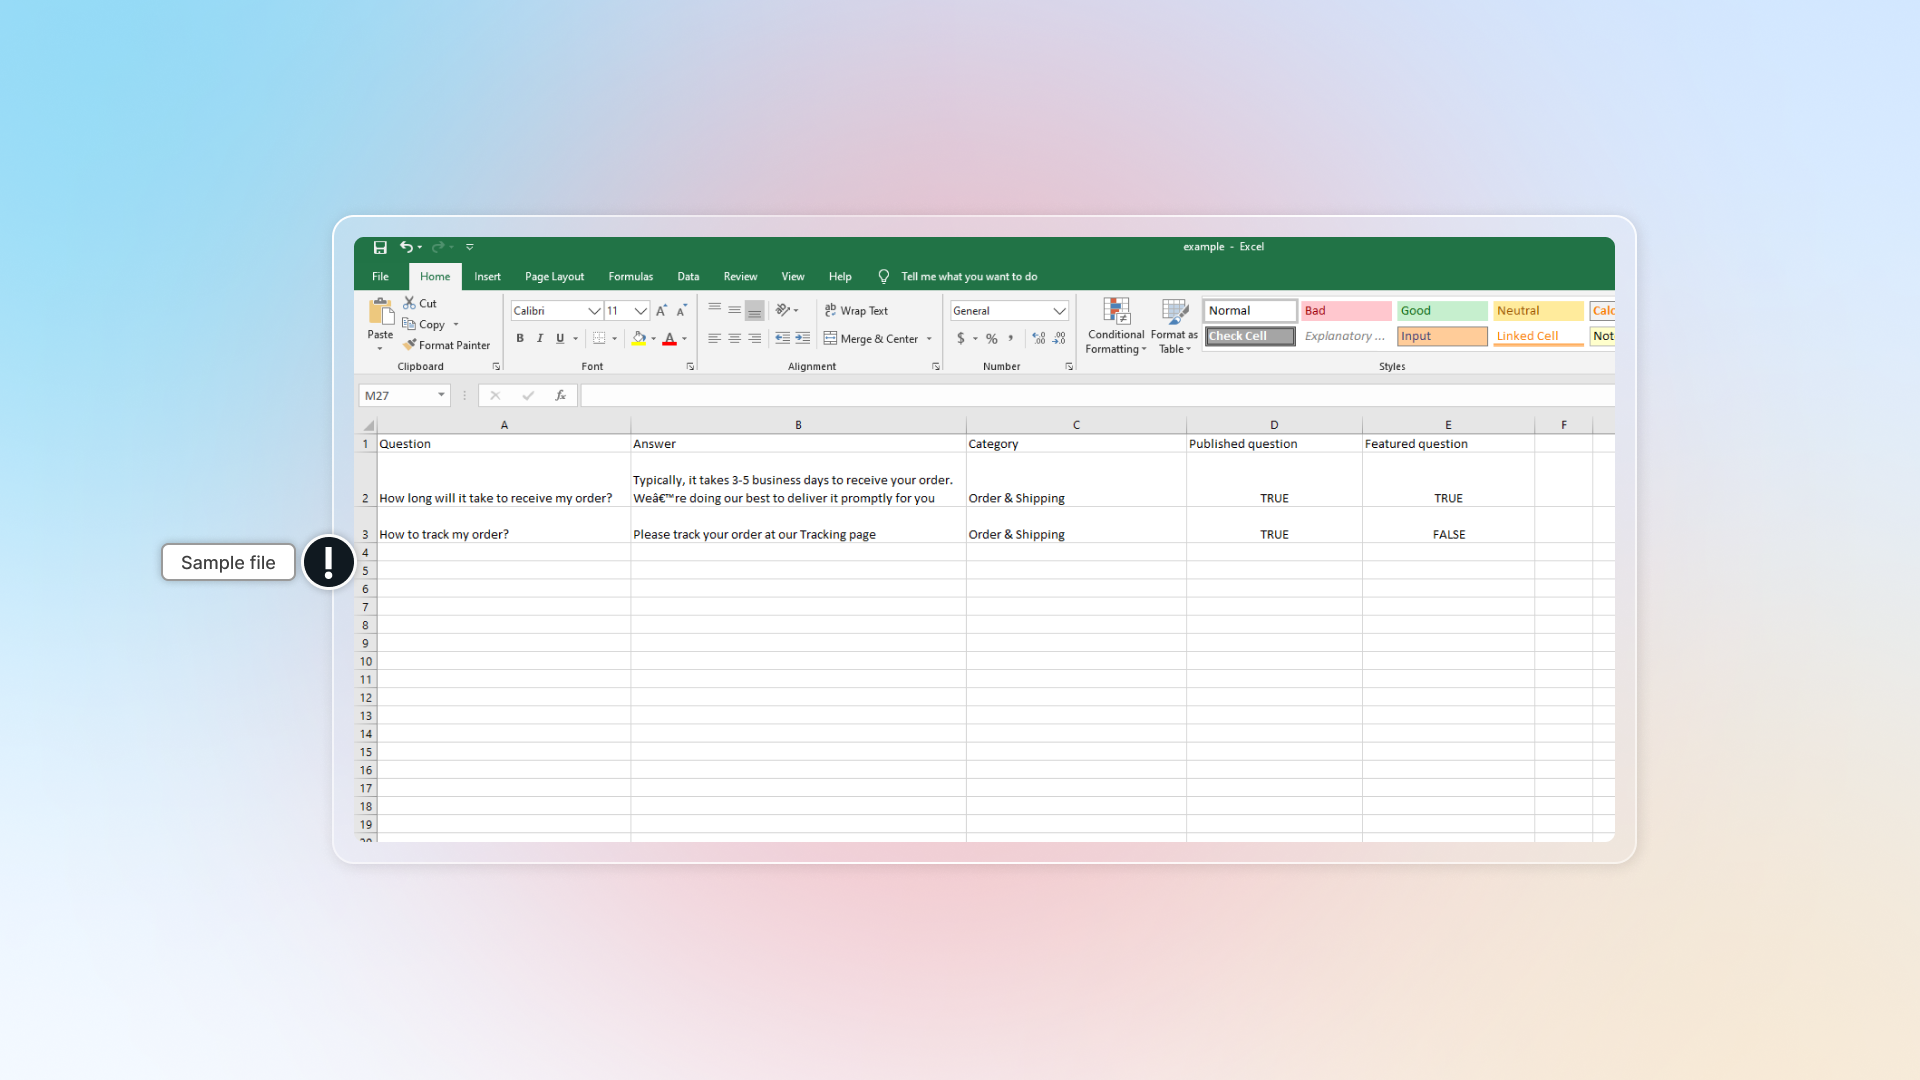
#### Enter your questions and answers in CSV file
It is required to fill in all information, and keep all five headers exactly as they are in the sample:
* Question
* Answer
* Category: Category name that question belongs to
* Published question: TRUE = published question, FALSE = unpublished question
* Featured question: TRUE = featured question, FALSE = not featured question
If any of the five headers is missing, the upload is rejected before it starts.
The file must be .csv and smaller than 1MB.
#### Save and upload file
Click Import FAQs -> Drop CSV file and select your option for all FAQs
* Overwrite FAQs that have same questions
* Published all new categories
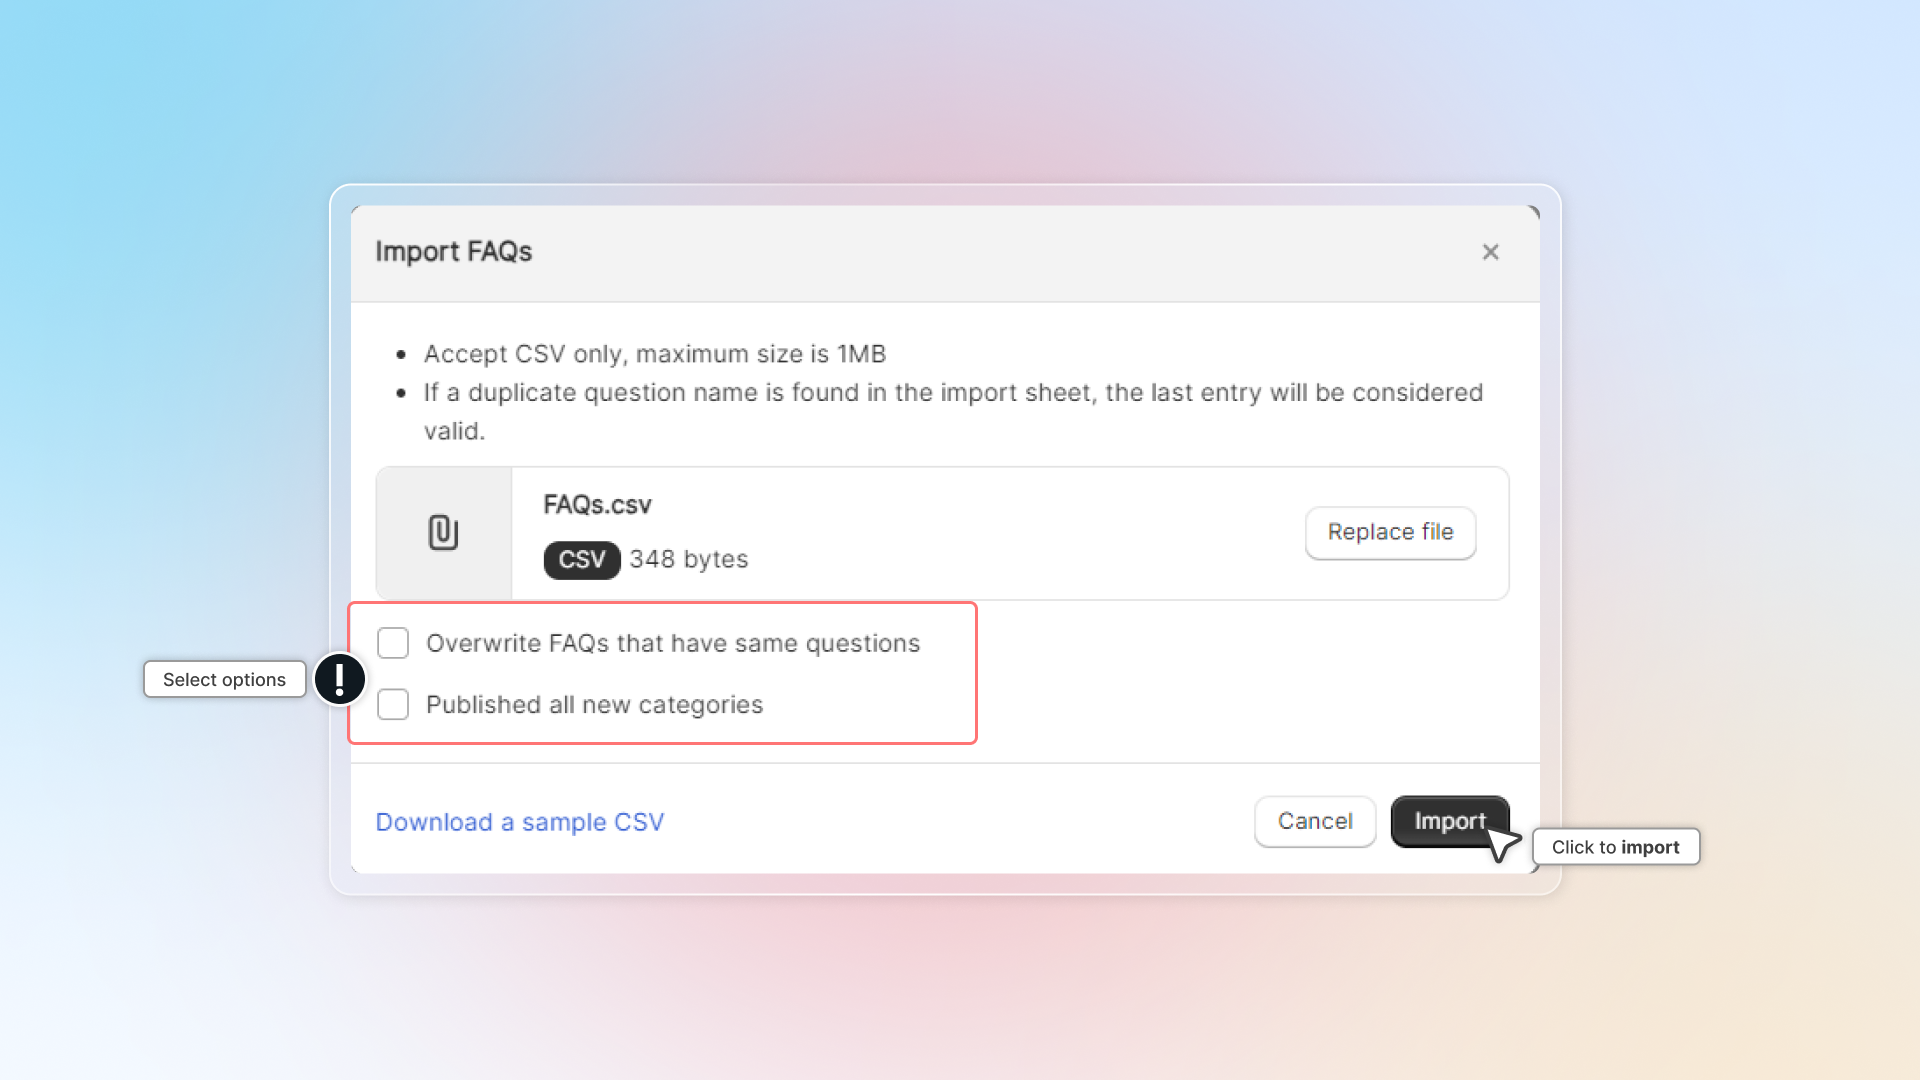
#### Review the preview, then click Import
Chatty shows how many questions it found and a preview of the first row so you can confirm the columns landed in the right place.
#### Read the import summary
When the import finishes, the window switches to **FAQs import summary**, and the same details are emailed to you.
| Row | What it tells you |
|---|---|
| Imported | Number of questions and categories added |
| Failed | Number of questions rejected, the reason, and the line numbers in your file |
| Skipped | Number of duplicate questions that were not added |
Failed rows list the exact reason, for example a missing question, a missing answer, a question with no category, or a Published/Featured value that is not TRUE or FALSE. Fix those lines in your file and import again.
If you left **Overwrite FAQs that have same questions** off, duplicates are skipped rather than replaced.
### Export FAQs
You can also export FAQs in CSV file.
Go to **FAQs** → Select **More actions** → Click **Export FAQs** → Choose what to export → Click **Export**
You have two choices:
* **All FAQs** — everything, published and draft. The file downloads as `faqs_export.csv`.
* **Only published FAQs** — just the live questions. The file downloads as `published_faqs_export.csv`.
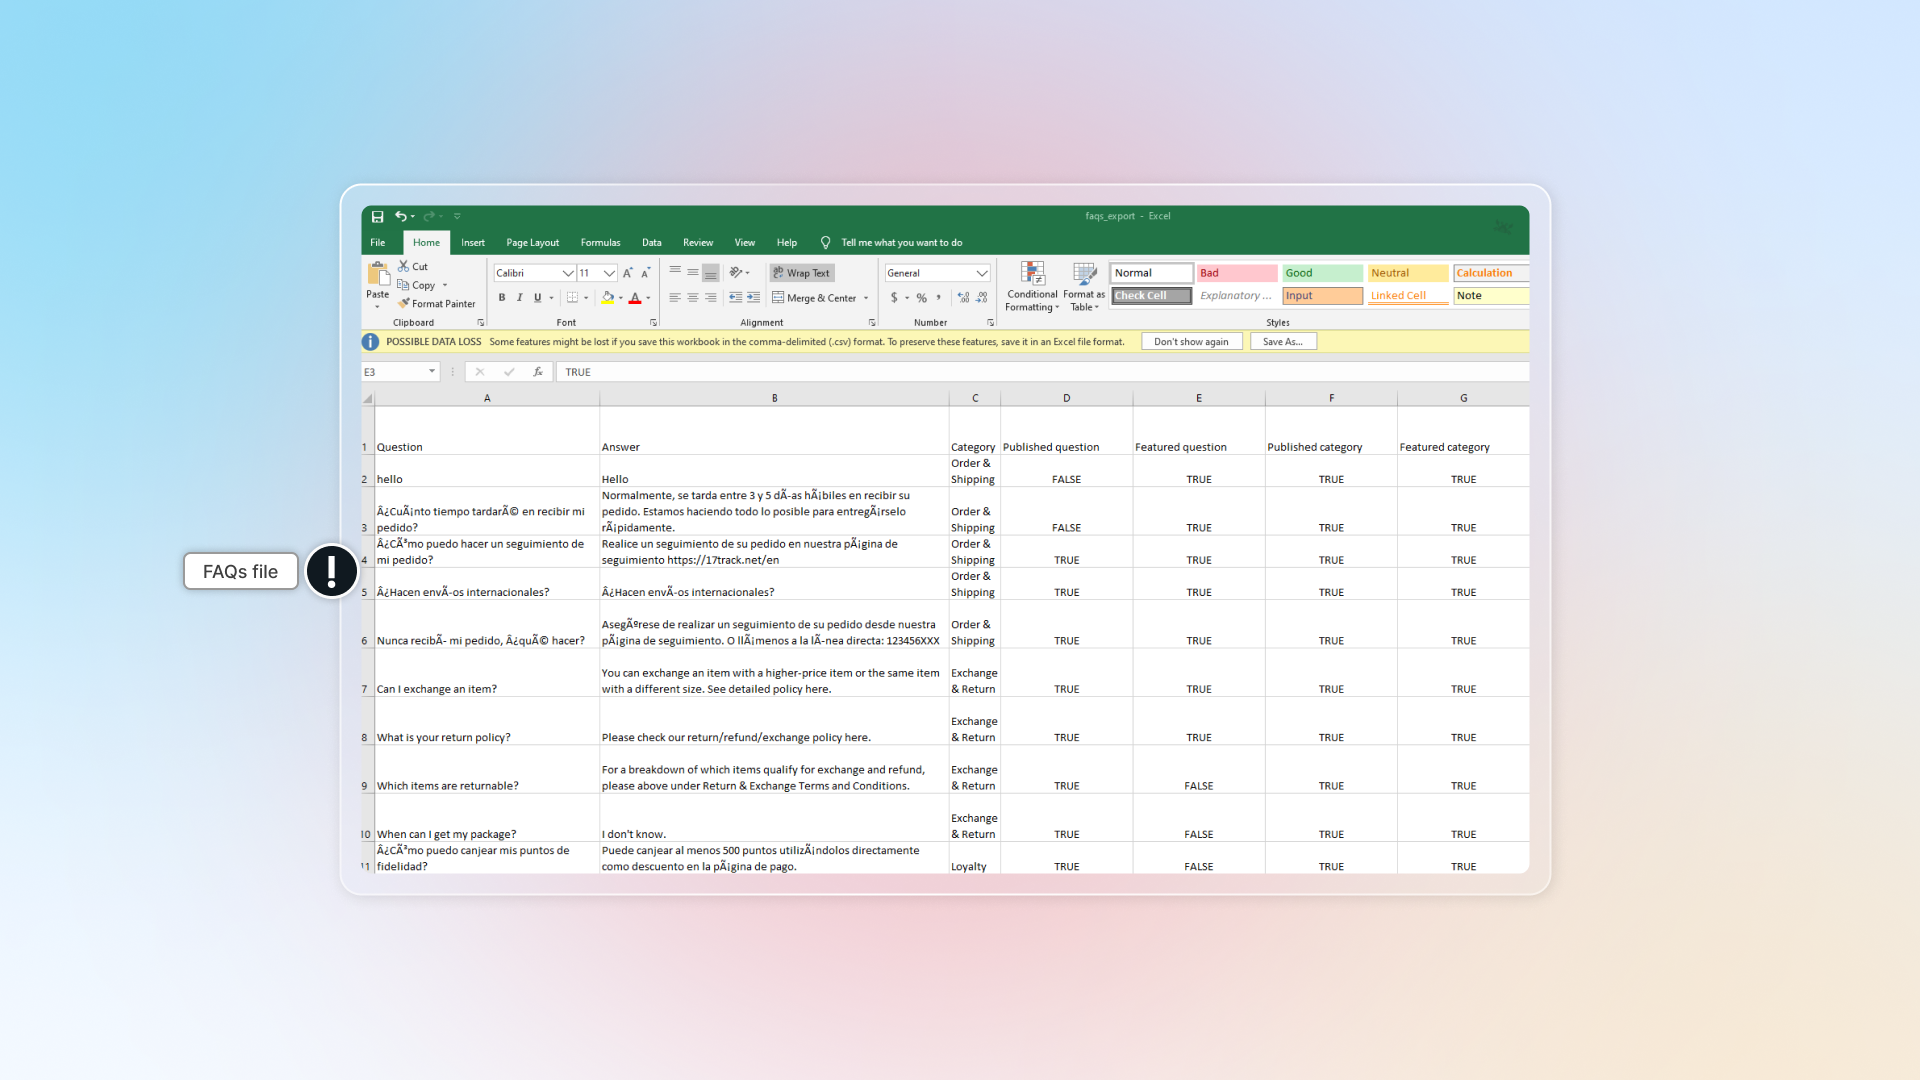
In FAQs file, there are 7 fields:
* Question
* Answer
* Category: Category name that question belongs to
* Published question: TRUE = published question, FALSE = unpublished question
* Featured question: TRUE = featured question, FALSE = not featured question
* Published category: TRUE = published category, FALSE = unpublished category
* Featured category: TRUE = featured category, FALSE = not featured category
================================================================
URL: https://help.chatty.net/build-faqs/faqs-block/
Locale: en
================================================================
# FAQs block
### What is FAQs block?
This allows you to display different FAQs for different pages on your store.
You can create custom FAQ blocks with specific questions that appear only on relevant product pages, helping customers find product-specific information faster.
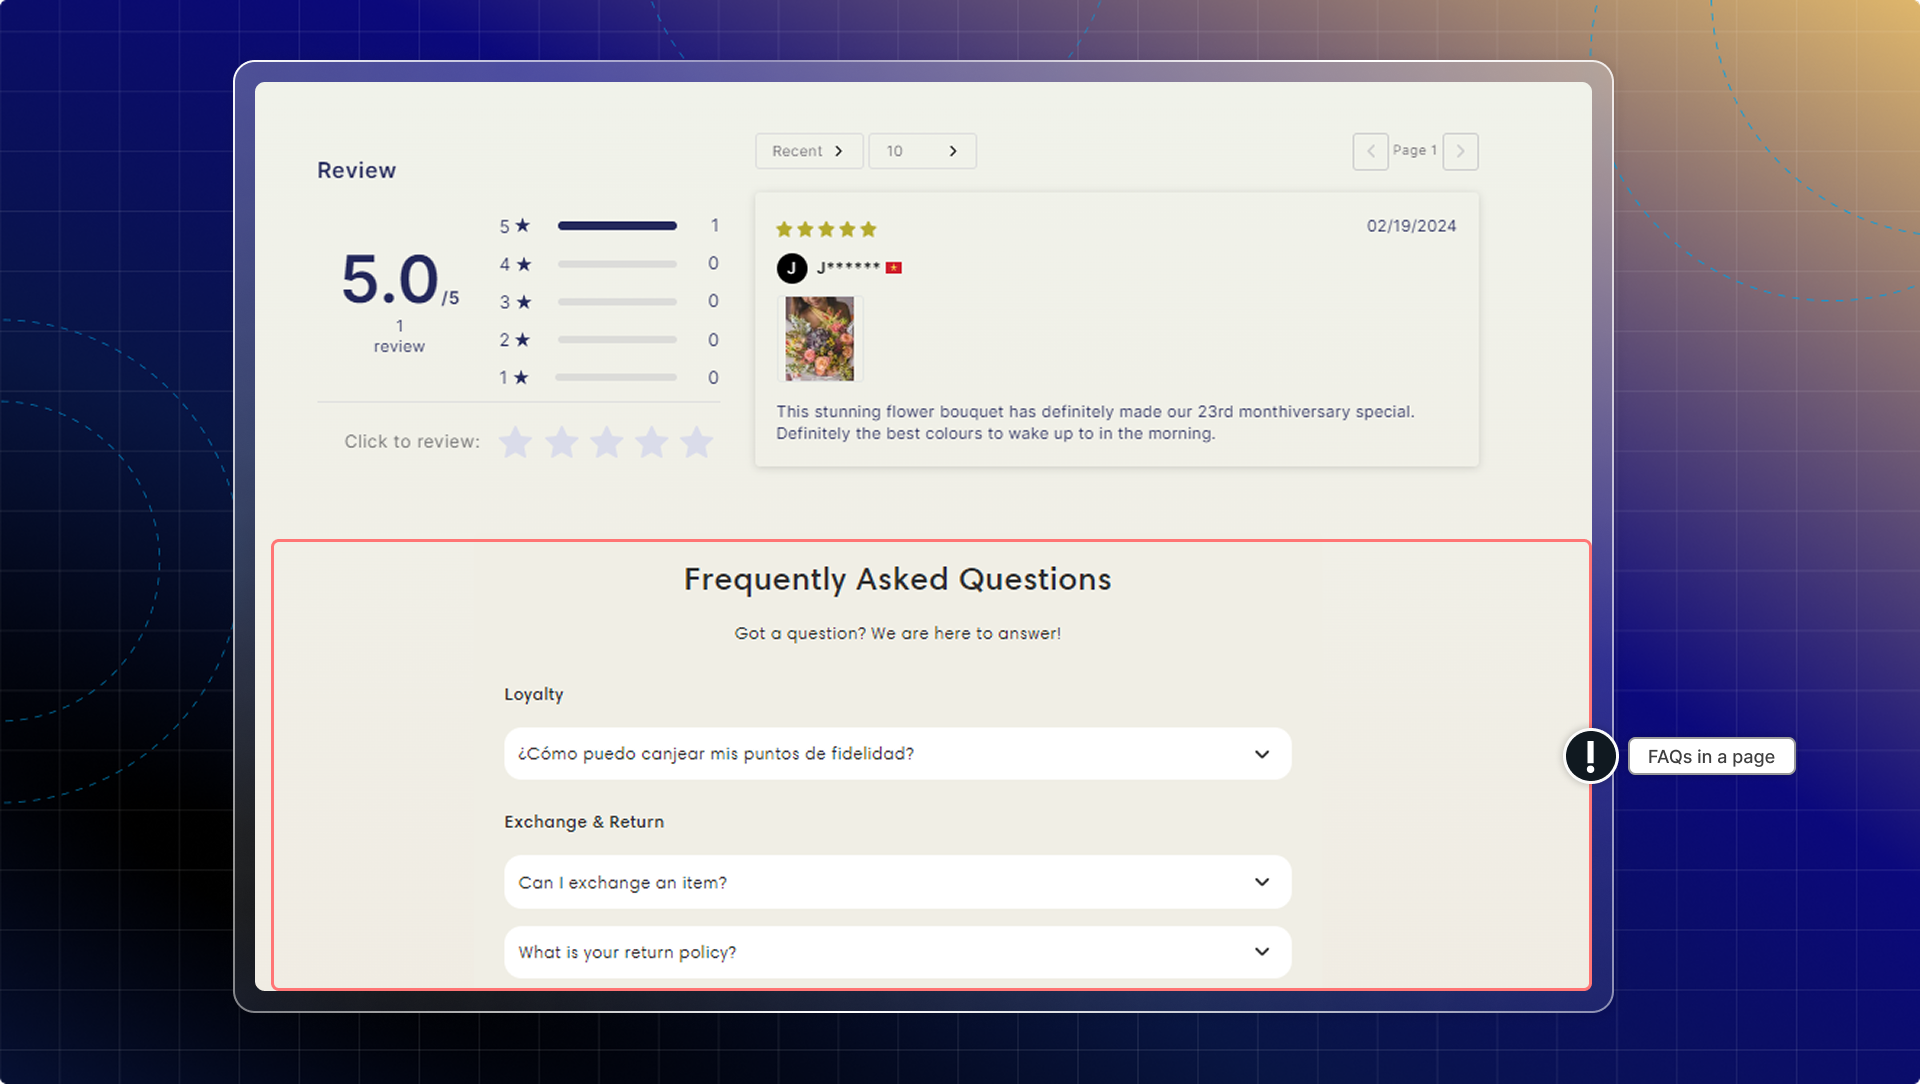
### How to set up FAQs block
#### Go to **FAQs** from navigation
#### Go to **FAQs block**
#### Set **General** information
* Block name: Give it a specific name to identify blocks, up to 30 characters. This is only visible in admin.
* Heading & Subheading: Content in the block (check preview while editing)
#### Select FAQs to show in block
Click **Browse** and select FAQs.
**Don't categorize FAQs:** In default, questions will be shown under their categories. If you turn on "Don't categorize FAQs", categories will be hidden. Questions are shown in the same list.
#### Set display condition
Choose where the block appears. You can tick **Product pages**, **Specific pages**, or both.
Under **Product pages**, pick one of four options:
| Option | Where the block shows |
|---|---|
| All product pages | Every product detail page in your store |
| Specific product pages | Only the products you search for and select |
| Product pages by collection | Every product in the collections you select |
| Product pages by tag | Every product carrying the tags you select |
Under **Specific pages**, tick any of **Homepage**, **Collection pages**, **Cart page**, **Blog pages**, and **Custom URL page**. Custom URL page opens a box where you type one storefront path per line, for example `/pages/avada-faqs`.
#### Customize appearance
You can customize appearance of the block:
* Heading size: Small, Medium or Large
* Heading alignment: left, centre or right
* Card corner radius: 0 to 24 px
* Colors: Title, Block background, Subtitle, Question text, Question background
Make sure to keep the appearance consistent across your pages.
#### Click Save
#### Copy Block ID
#### Go to theme editor
#### Add Chatty FAQs block as a section
1. Go to pages you want to add FAQs block
2. Click **Add section**
3. Search for **Chatty FAQs block** and add to page
4. Paste Block ID in settings
#### Click Save in theme editor
You can also add FAQs block to your site by using code.
Go to **FAQs block code** *→* Click **Copy** *→* Add to your website's code (HTML)
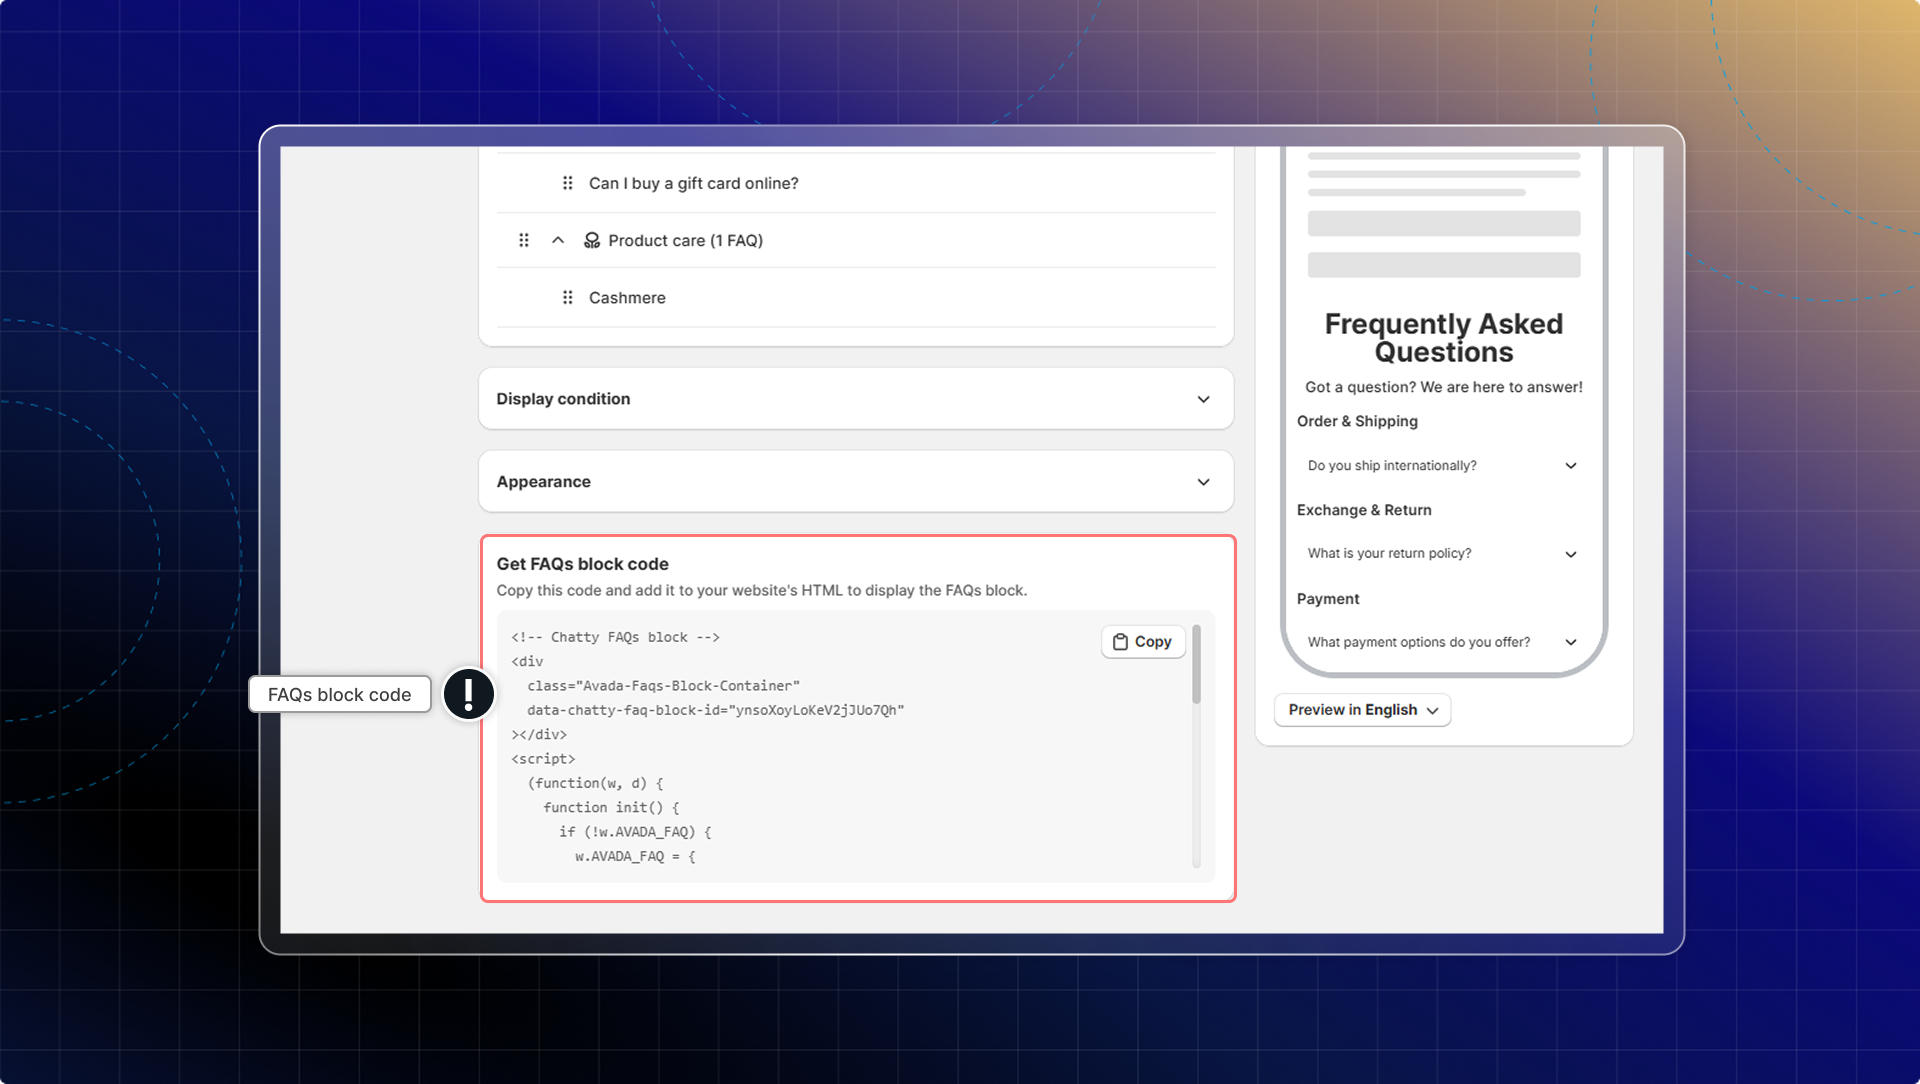
### Manage FAQs block
In FAQs block, you can:
* View all your FAQs blocks in the FAQs block tab
* See details including Block ID, Block name, Number of FAQs, Display condition, Status and Updated at
* Edit or delete blocks as needed
* Create multiple blocks for different products or collections
To reuse a block you already set up, open it and click **Duplicate**. You get a copy with the same questions and appearance, which you can rename and point at different pages. **Delete** removes a block for good, so remember to take its Block ID out of your theme first.
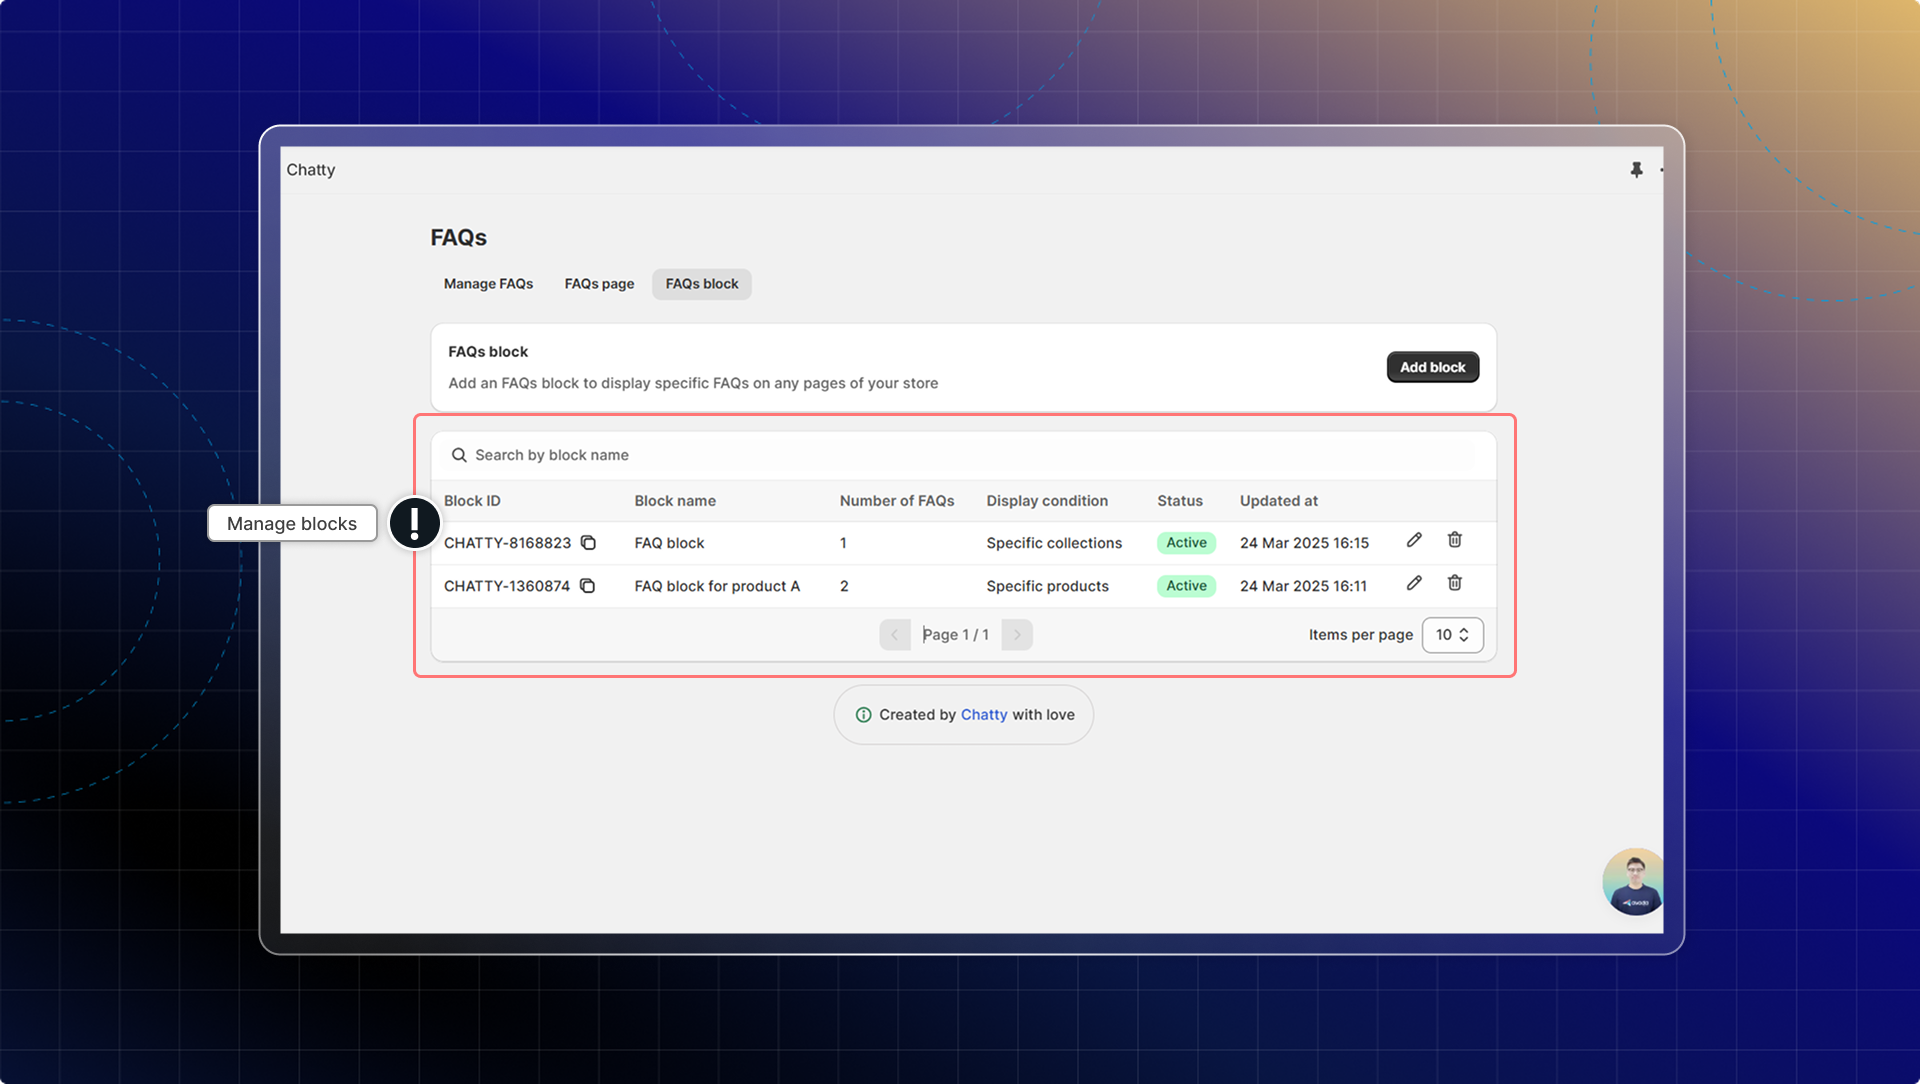
How many different FAQs blocks can I create?
You can create as many different FAQs blocks as you need for your store. There's no limit, so you can have specific blocks for each important product or collection.
Can I use the same FAQ in multiple blocks?
Yes. Select the same question in each block you want it to appear in. One question can sit in any number of blocks, and editing it in **FAQs** updates it everywhere.
================================================================
URL: https://help.chatty.net/build-faqs/faqs-page/
Locale: en
================================================================
# FAQs page
### What is FAQs page?
FAQs page on your website that displays frequently asked questions and their answers. Customers can find quick answers without contacting support.
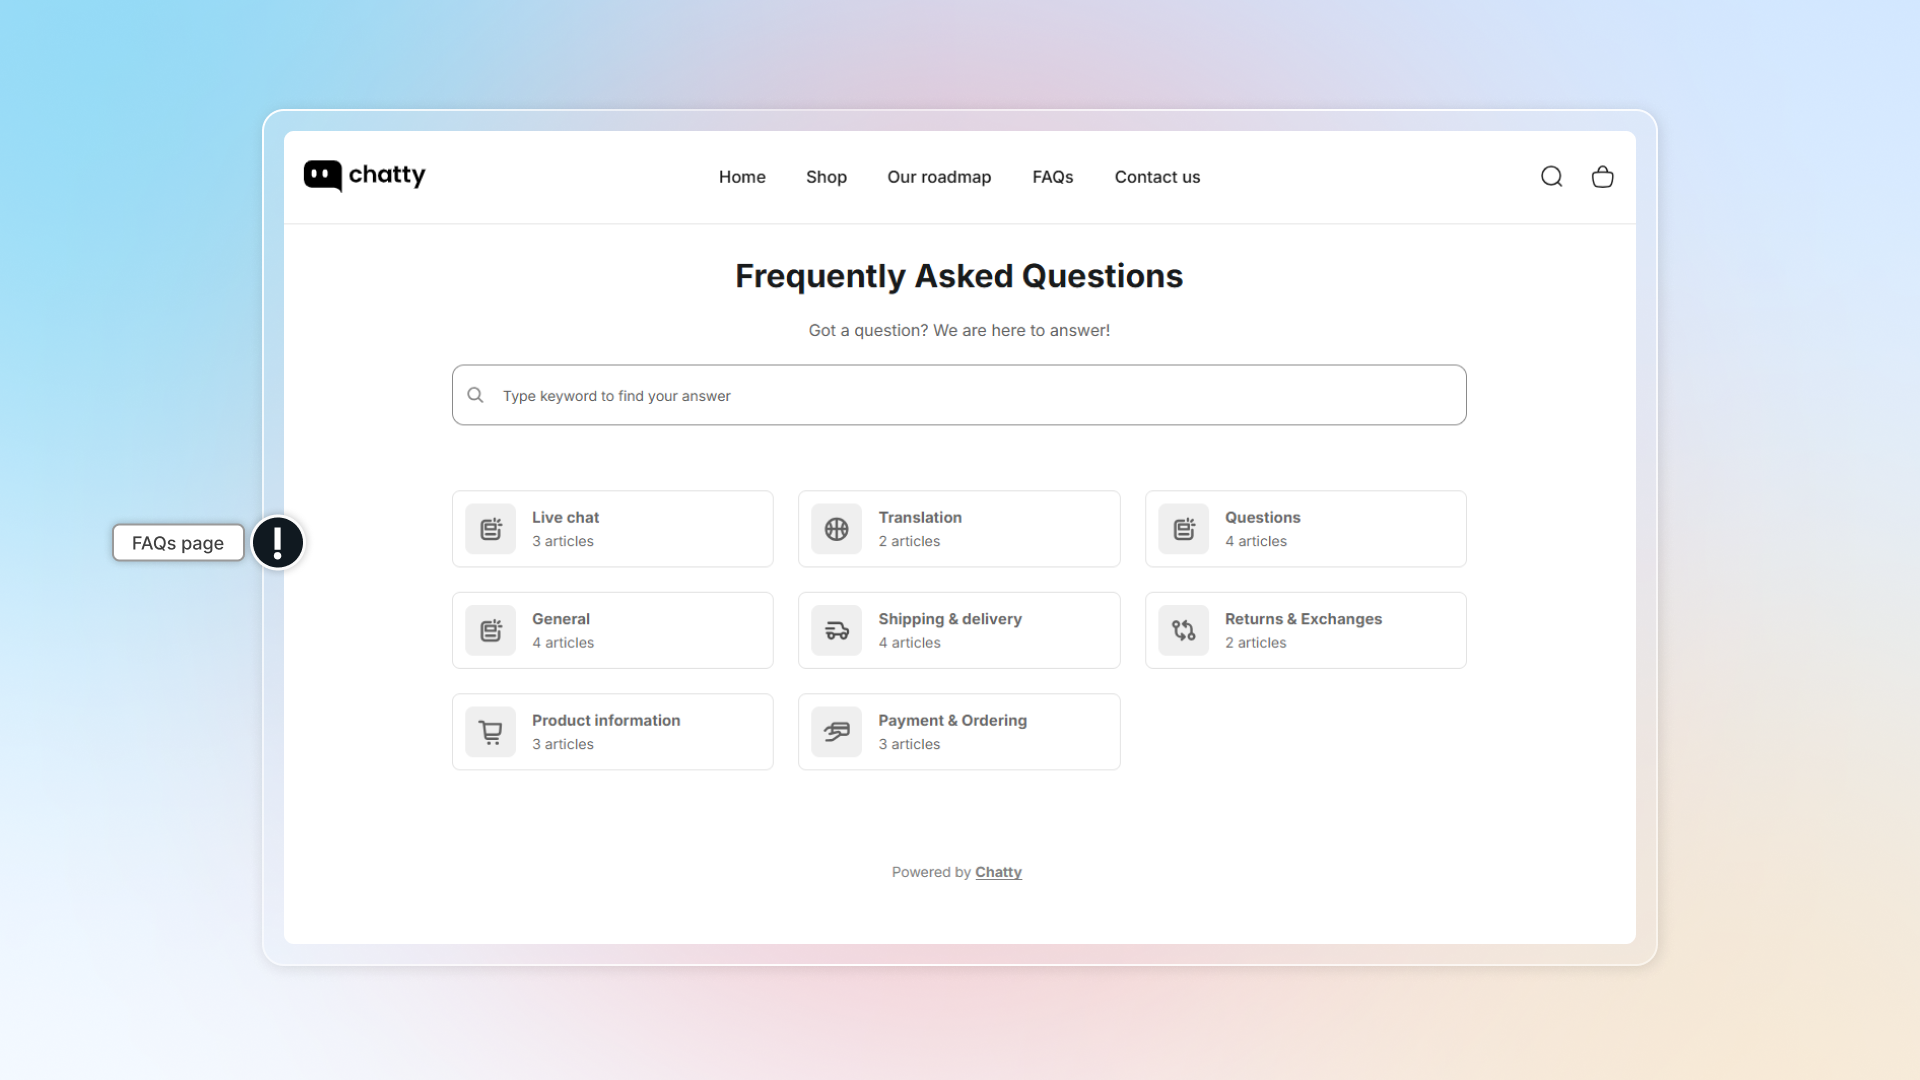
### Set up FAQs page
#### In FAQs, go to FAQ page
#### Turn on Display FAQs page
#### Set up URL
Your FAQs page always lives under `/pages/`. Fill in the part after it, then click **Save**. For example, entering `faqs` gives you `yourstore.com/pages/faqs`.
#### Set up appearance
First pick a layout:
* **1 page layout** — best for simple FAQs, showing all questions in one list.
* **Card layout** — best for a detailed help center, grouping questions into categories.
Then set the look. **Preset** gives you ready-made colour sets. **Custom** lets you set each colour yourself: title, subtitle, body text, page background, question text, question background, answer text, answer background, button label and button background.
If you customize your text & background color, make sure contrast is good enough for users to read. You can check your color combo by this tool: [https://coolors.co/contrast-checker](https://coolors.co/contrast-checker)
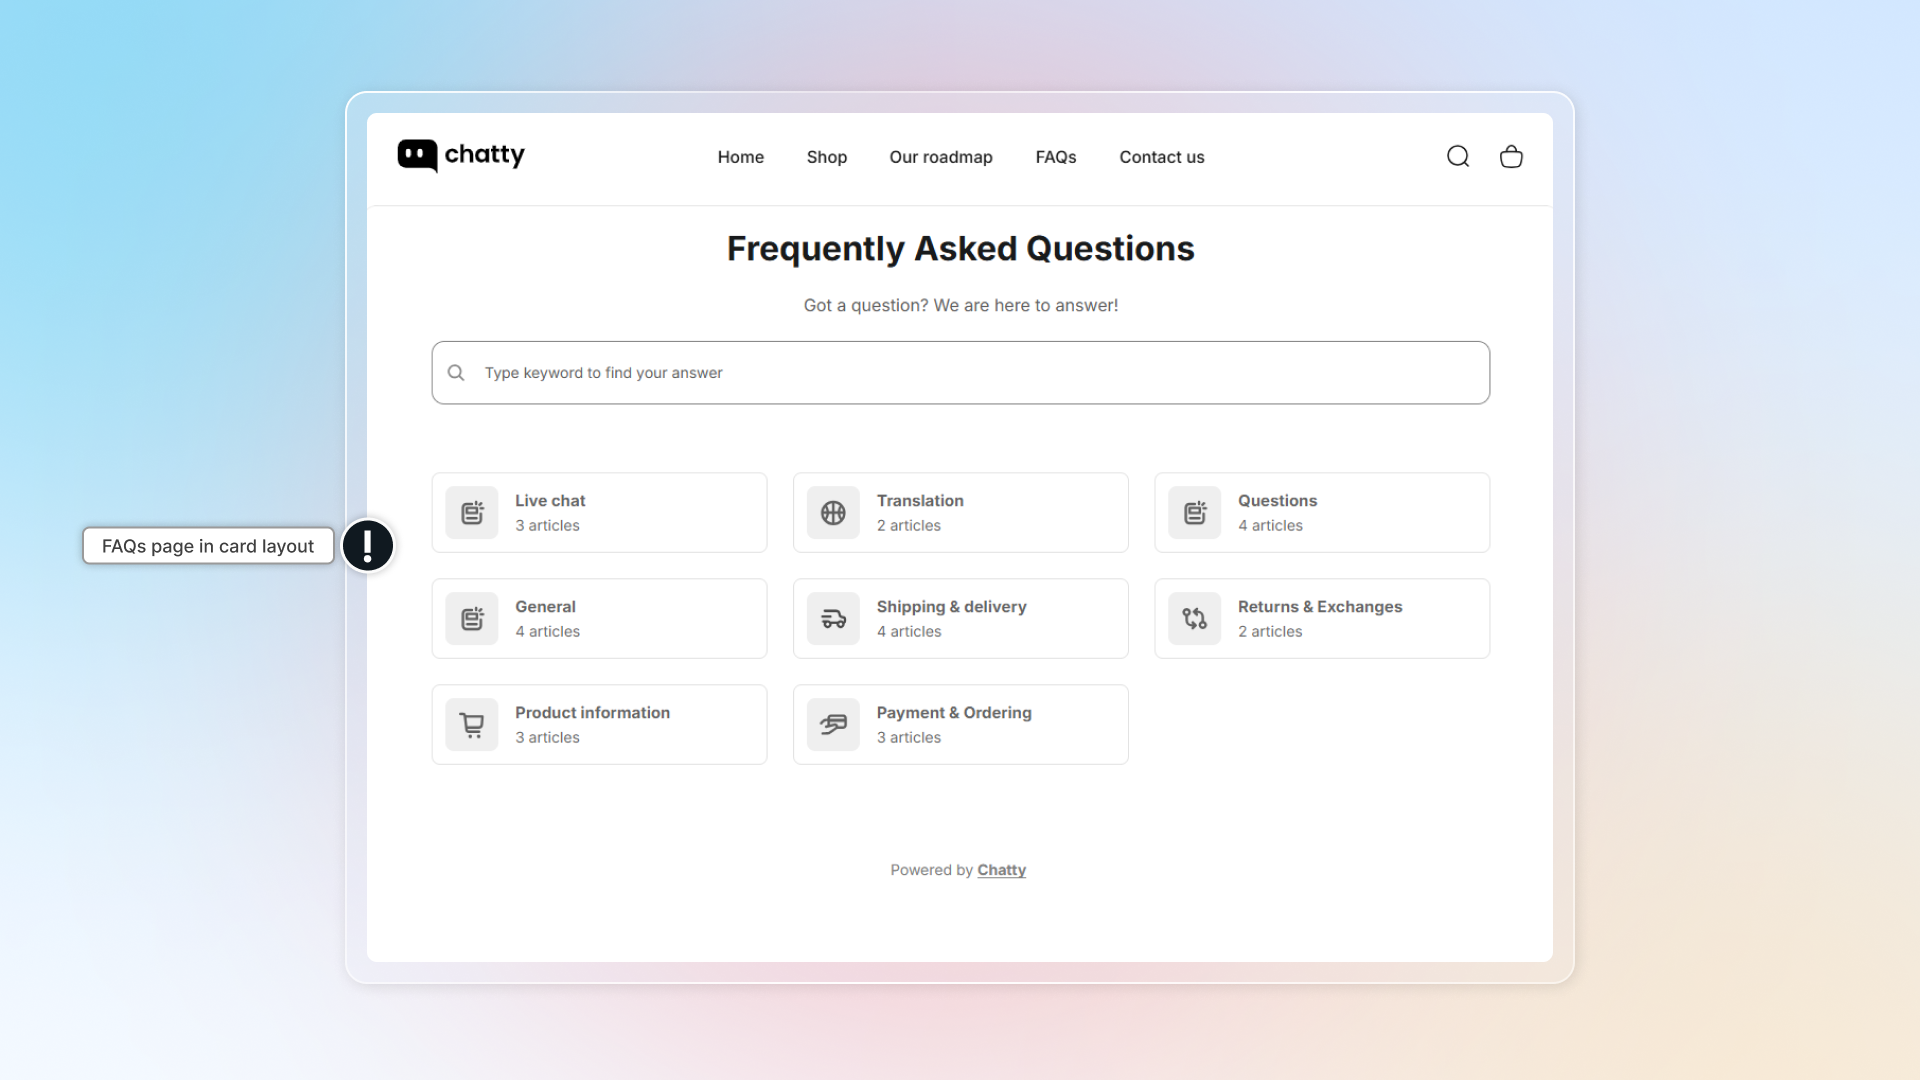
#### Set up header
* **Heading** — the page title, up to 60 characters.
* **Description** — the line under the title.
* **Banner** — the strip behind the header. Choose a plain colour, or upload an image.
Banner images must be PNG, JPG, JPEG, GIF, SVG or WebP and smaller than 2MB. The recommended size is 1920 x 240px.
### Set up Contact us
**Contact us** in FAQs page helps user reach your team when they need more help.
* Turn on **Display contact us**
* **Heading** — up to 40 characters. Defaults to "Not finding what you are looking for?"
* **Description** — up to 100 characters
* **Click behavior** — what happens when a customer clicks the block:
* **Open chatbox** — starts a chat with your team. Make sure the chatbox is set to show on your FAQs page, otherwise nothing opens.
* **Open another tab** — opens a link you choose. Paste the address in the **URL** field that appears; `https://` is added for you.
### Advanced settings
* **Branding removal:** Remove the Chatty branding line from the FAQs page. Available on the **Pro** plan and above.
* **Custom CSS:** Paste your own CSS to make the FAQs page match your theme. This needs coding knowledge. If you want a hand, use the **Chat now** link next to the field to reach our team.
### How to show FAQ page in main menu?
1. In Shopify admin, go to **Content** -> **Menus**
2. Click **Main menu** or the menu you are using
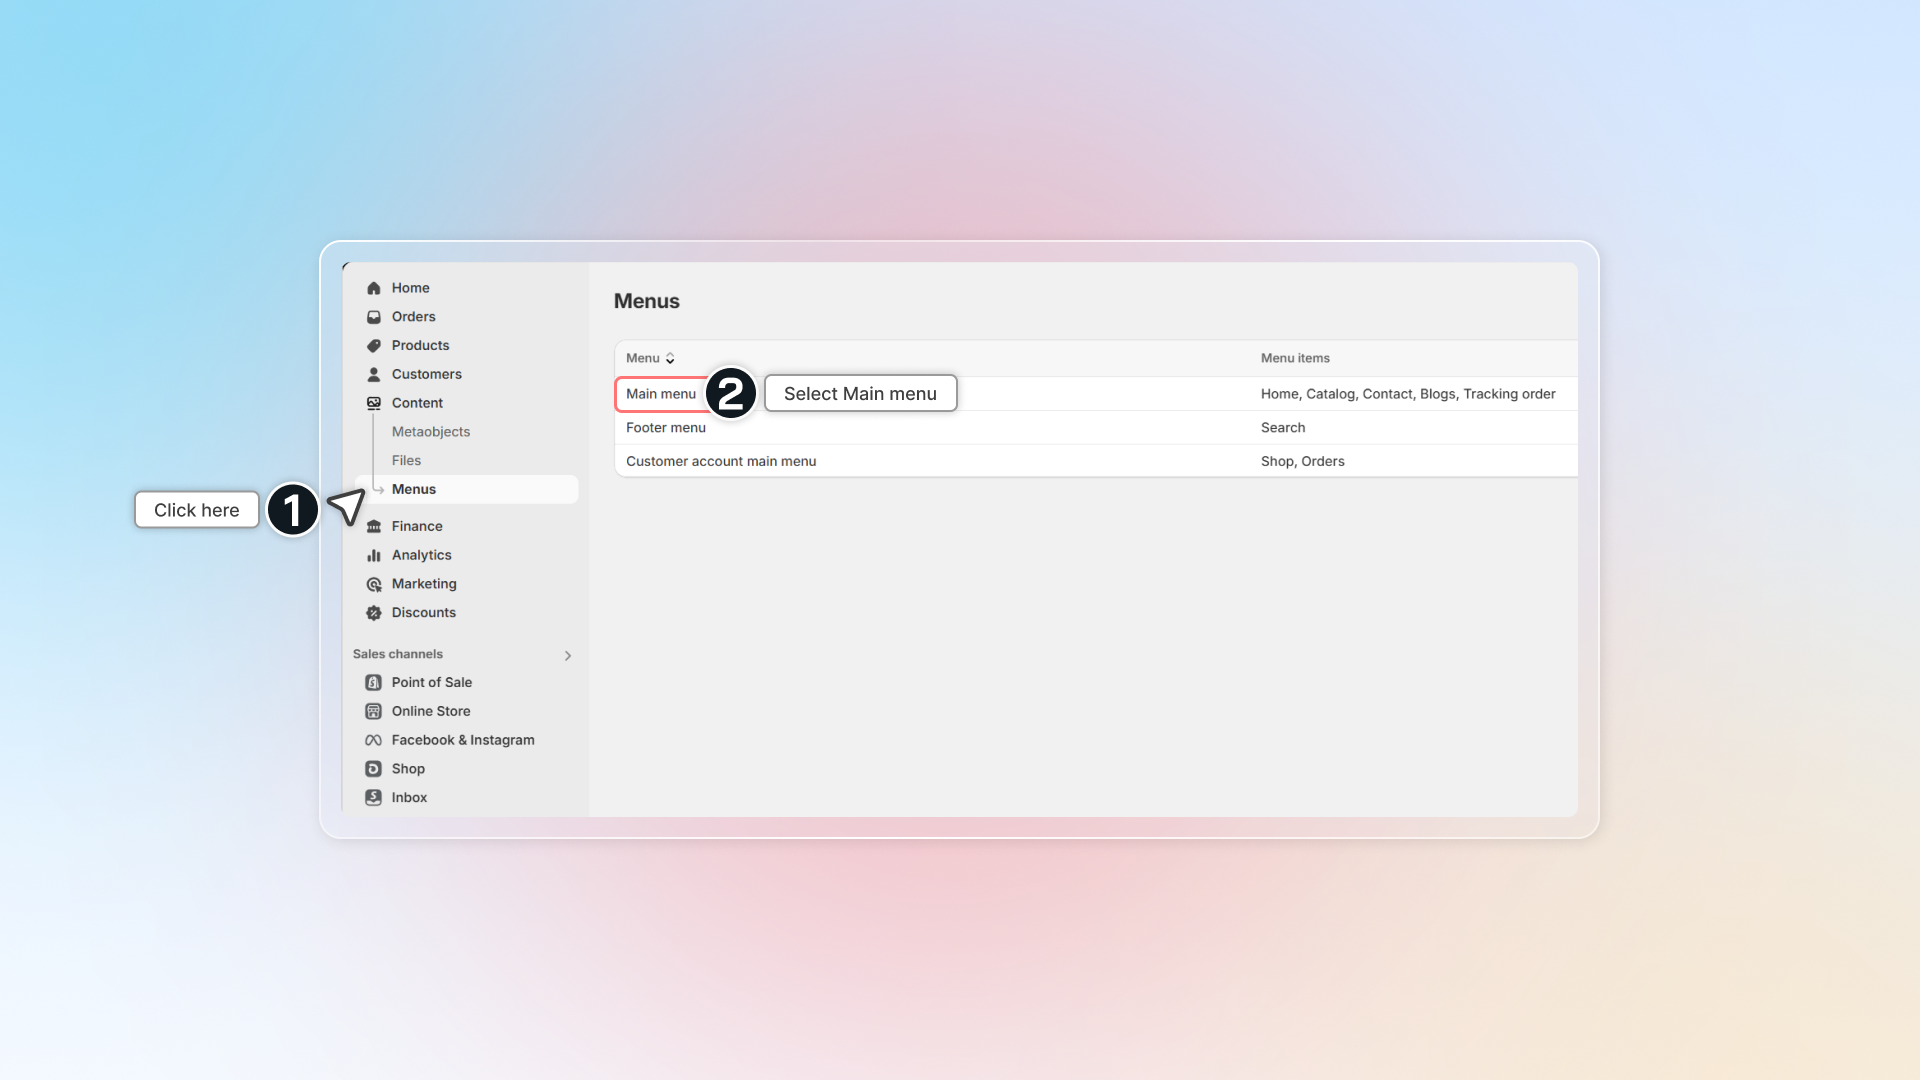
3. Click **Add menu item**
4. Name your page (FAQs,..)
5. In the link box, search for `Frequently Asked Questions` or Heading (title of FAQs page). If you're using custom URL, paste the link in box.
6. Click **Add**
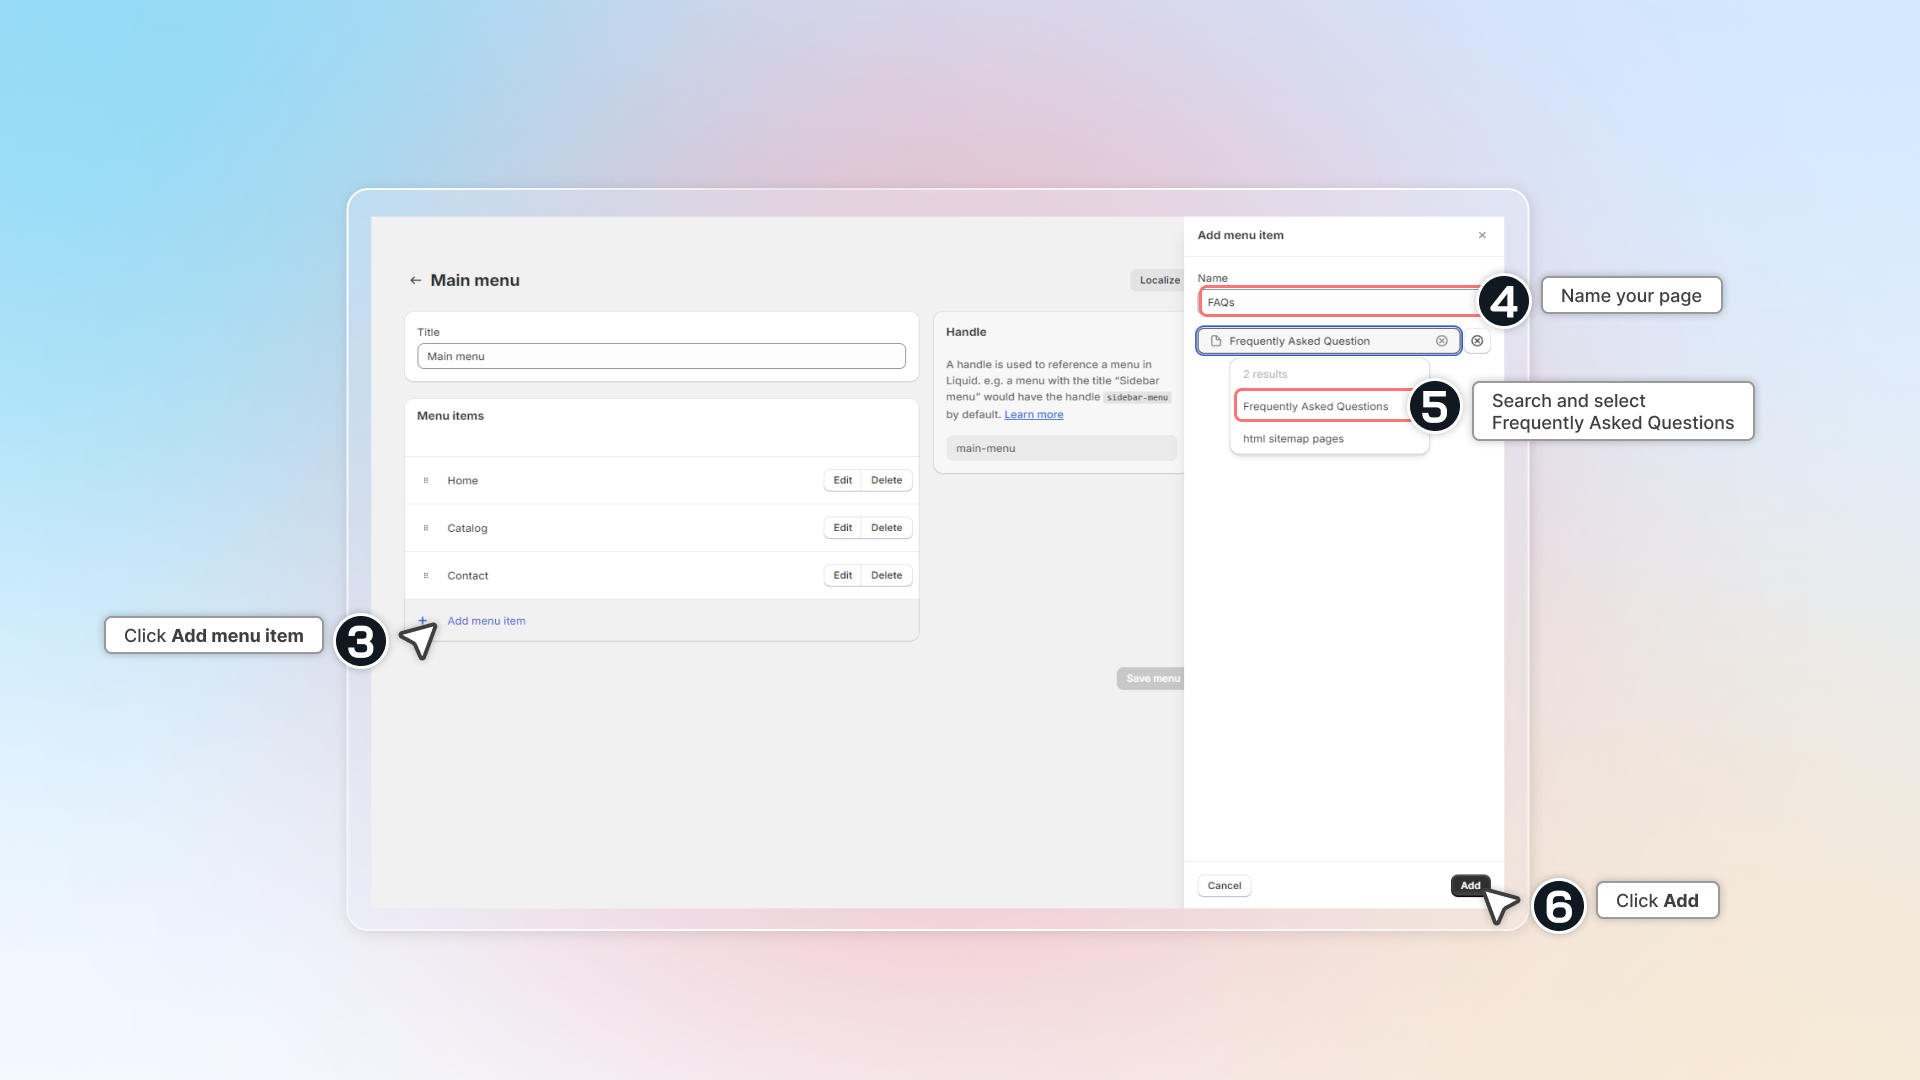
7. Click **Save menu**
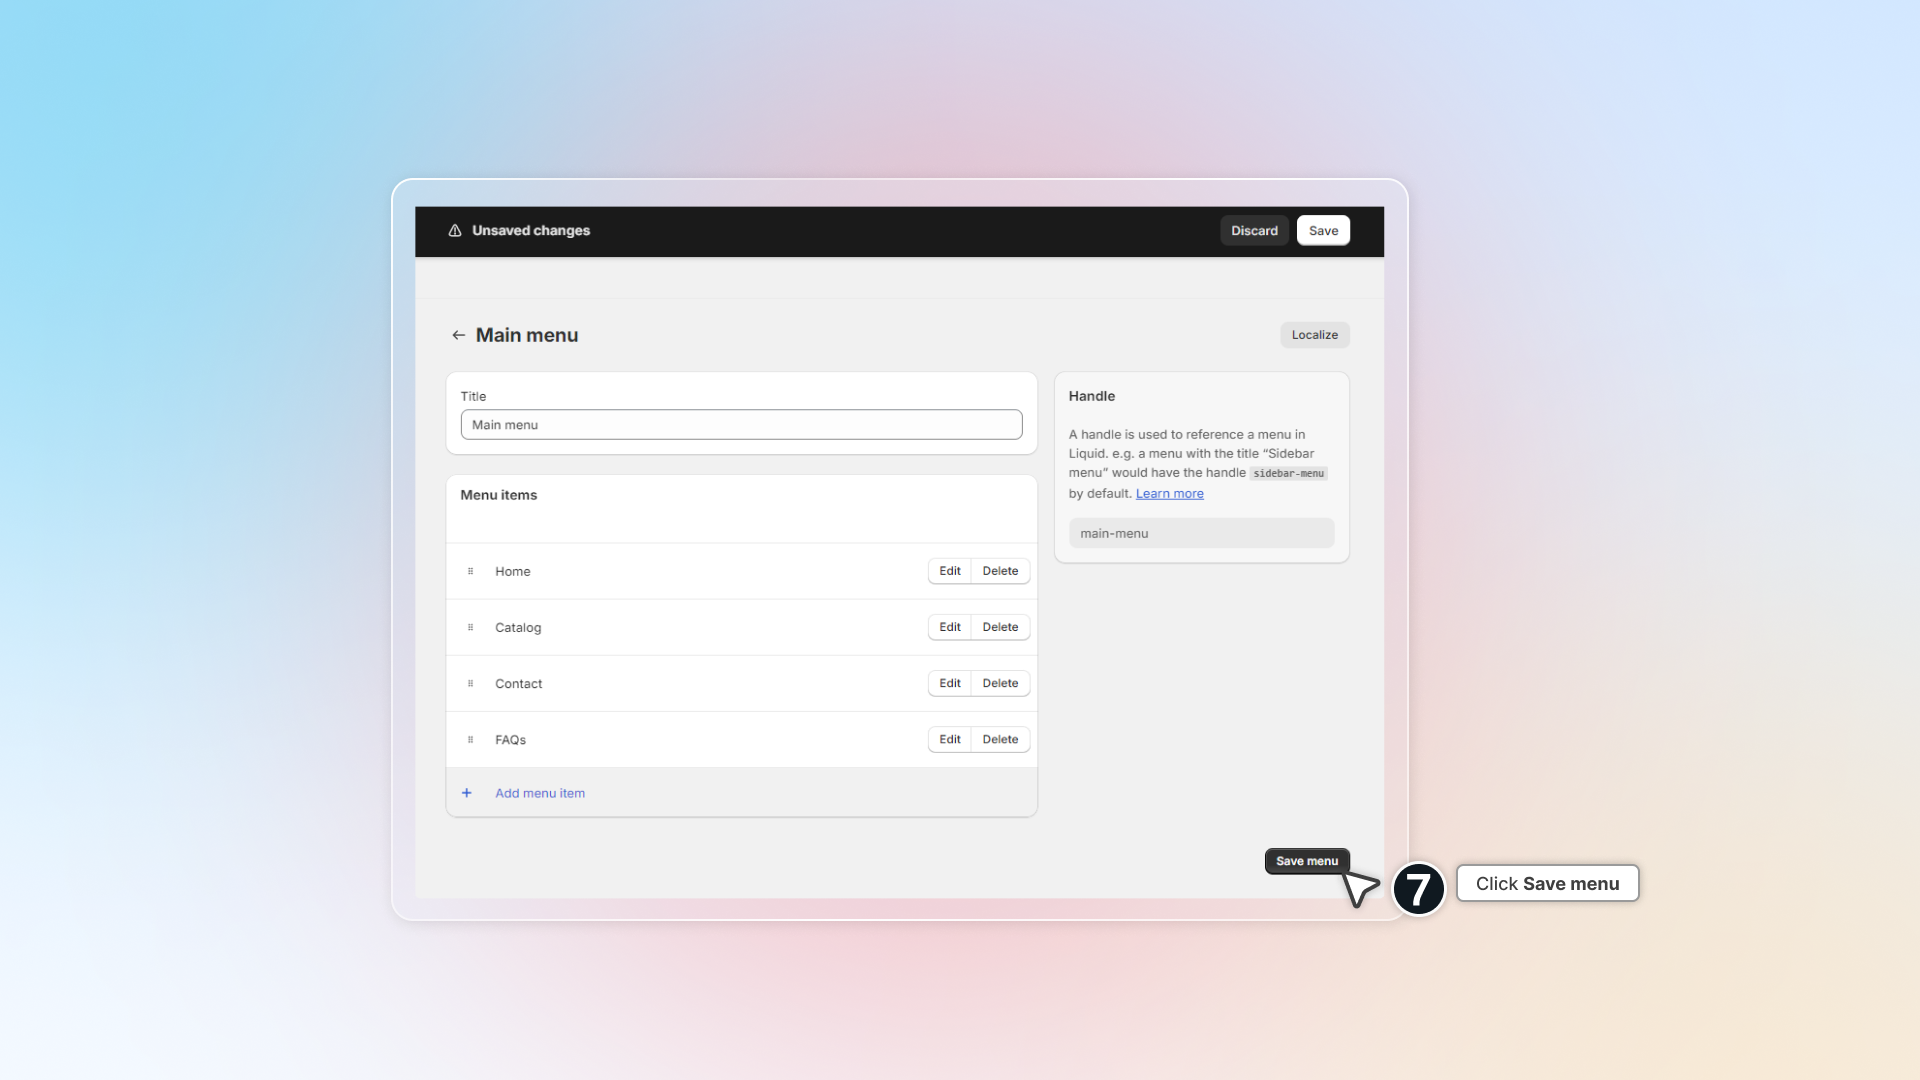
8. Go to your store front & check the menu to access FAQs page
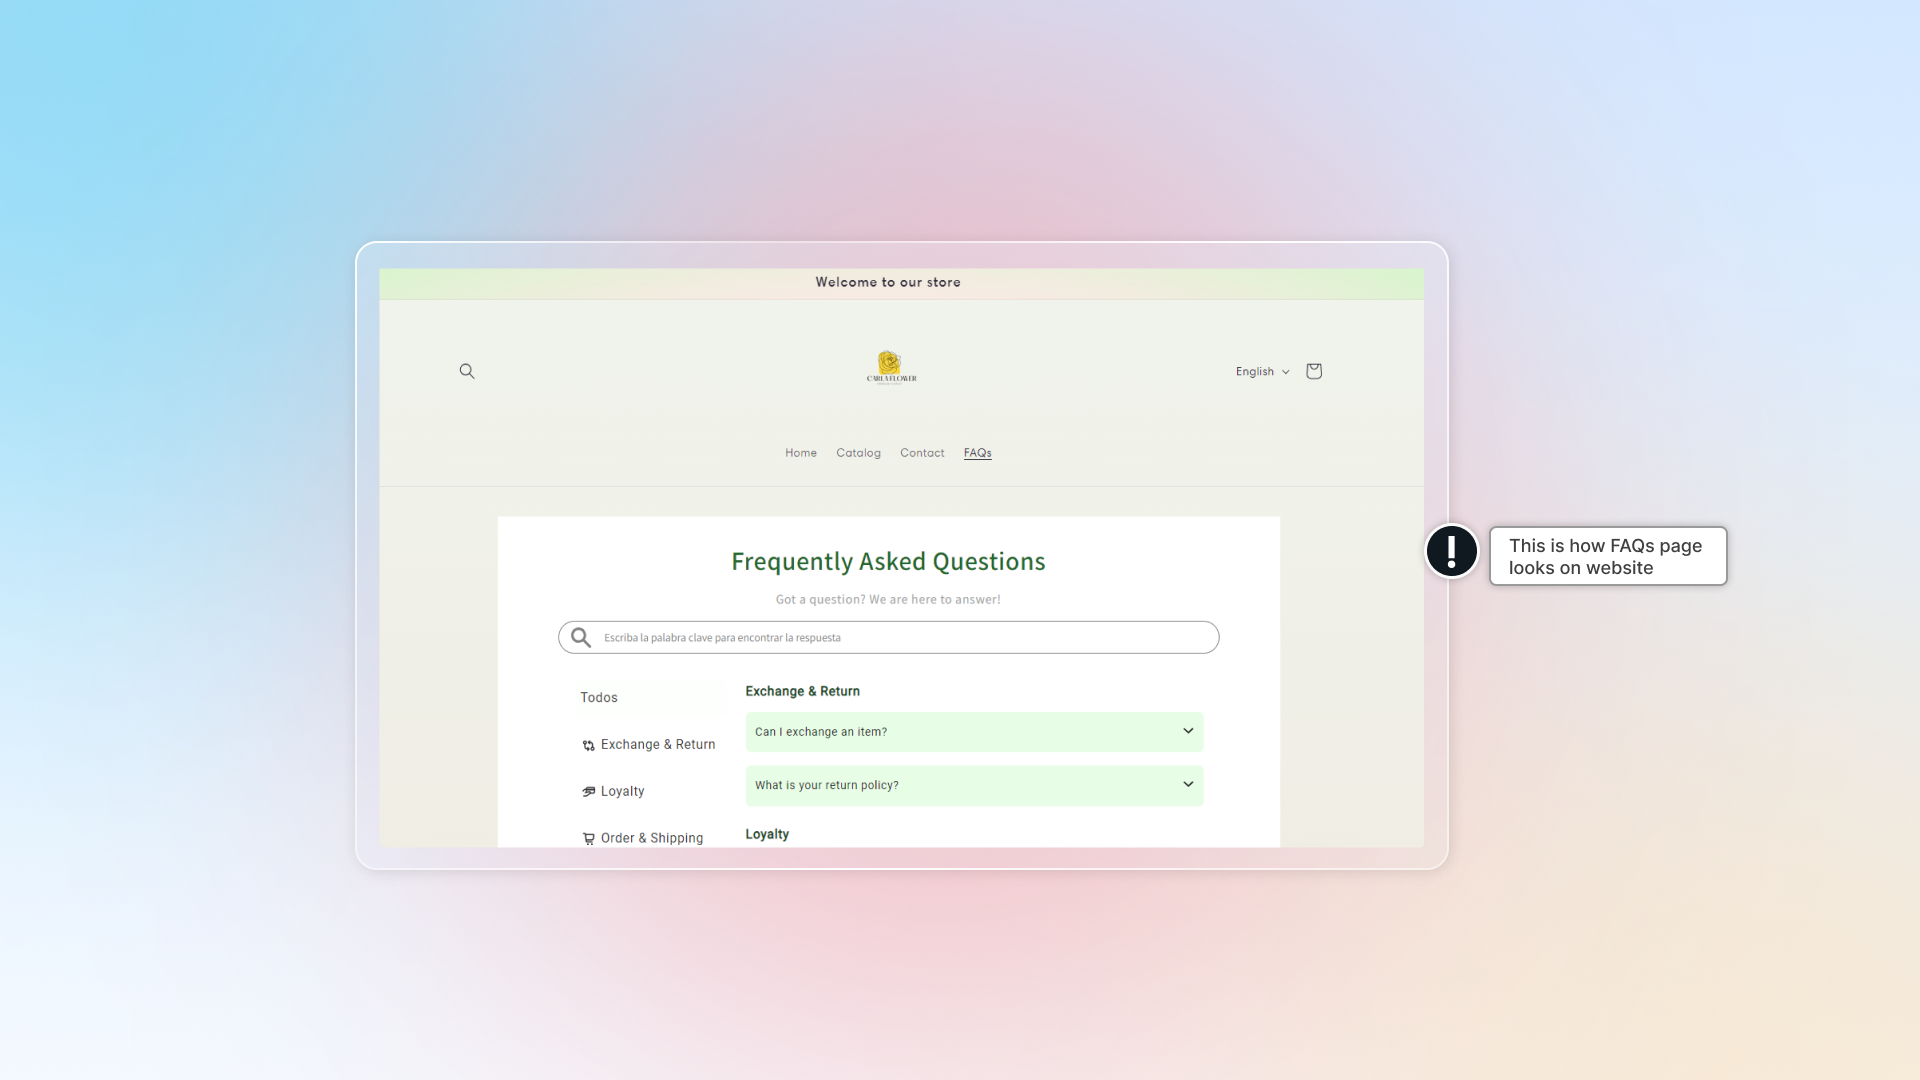
### How to show FAQ page in footer?
Same as set up FAQ page in main menu, you can add FAQs link in the footer menu.
1. In Shopify admin, go to **Content** -> **Menus**
2. Click **Footer menu** and add FAQs to your footer.
3. Go to your store front & check footer to access FAQs page
================================================================
URL: https://help.chatty.net/chatbox/ai-mode-vs-legacy/
Locale: en
================================================================
# AI Mode or Legacy chatbox
**For most stores, AI Mode is the better choice.** It turns your Legacy chatbox into a shopping assistant: shoppers search your catalog, compare options, get answers, and add items to the cart without leaving the conversation.
Available on every plan, including Free. Switching back takes one click.
### Which mode fits your store
**Choose AI Mode if you want to**
* Help shoppers find products by asking, not only by browsing
* Turn a product question into a product card with **Add to cart**
* Reduce drop-off between chat, product pages and cart
* Answer sizing, shipping, returns and order questions automatically
* Serve shoppers in their own language and currency, at any hour
**Keep the Legacy chatbox only if**
* Category-based browsing is central to how your store works
* Your shoppers usually arrive knowing the exact product they want
* You are mid-campaign and cannot change the chat experience this week
If none of these describe your store, AI Mode is the recommended choice.
### What changes for your shoppers
### What happens to your existing chatbox
**You do not lose anything you have today.** AI Mode keeps the parts of your chatbox that already work.
| Legacy chatbox | In AI Mode |
| --- | --- |
| Live chat with your team | Yes. If your AI assistant is off, your team answers the chats as usual |
| FAQs | Yes, the same list, shared between both modes. Editing it in one changes both |
| Order and shipping status | Yes. The AI replies with an order card and can sign shoppers up for delivery updates |
| Contact forms | Yes, plus post-purchase forms and newsletter signup |
| Pre-chat form, display rules, custom CSS, chat avatar | Yes, these settings are shared. You do not set them up twice |
| Categories | AI Mode uses catalog-wide search and a product grid instead of the Legacy category layout |
Your store uses one chatbox mode at a time. When you save AI Mode, it appears on the next page load and the Legacy layout is hidden, so every shopper gets the same experience.
Do I have to set everything up again?
No. Your pre-chat form, display rules, custom CSS, chat avatar and FAQ list are shared between the two modes.
Can I go back to the Legacy chatbox?
Yes, whenever you want. Conversations from each mode are kept separately, so switching does not delete your chat history.
Can I run both modes at the same time?
No. Your store uses one chatbox mode at a time. Selecting AI Mode turns the Legacy chatbox off from the next page load.
### Ready to switch
================================================================
URL: https://help.chatty.net/chatbox/ai-mode/
Locale: en
================================================================
# AI Mode
**Who can use this feature?**
* This feature is available for all users
### What is AI Mode
AI Mode is one of the two chatbox modes in Chatty. It replaces the chat bubble with a search bar that stays on your storefront.
Customers can search your catalog, open a product, add it to the cart, and chat with your AI in the same place. This helps you turn a question into a sale without sending the customer to another page.
The panel has four screens: a home grid of products, suggestions while the customer types, a results page, and the chat. Product details and the shopping bag slide in from the right, one at a time.
Not sure which mode to use? See [AI Mode or Legacy chatbox](/chatbox/ai-mode-vs-legacy/).
Your store runs one mode at a time. **Legacy chatbox** is the bubble with Live chat, FAQs, Order tracking, Contact, and Categories. **AI Mode** is the search bar.
Turning on AI Mode turns off the **Legacy chatbox**. Customers see one or the other, never both. The change takes effect on the next page load.
Conversations from the two modes are stored separately, so your history never mixes.
### How to turn on AI Mode
1. Go to **Chatbox** in your Chatty admin.
2. Turn on **Display chatbox on your store**. This is the master switch. When it is off, no chatbox appears, in either mode.
3. In the **Chatbox mode** card, select **AI Mode**.
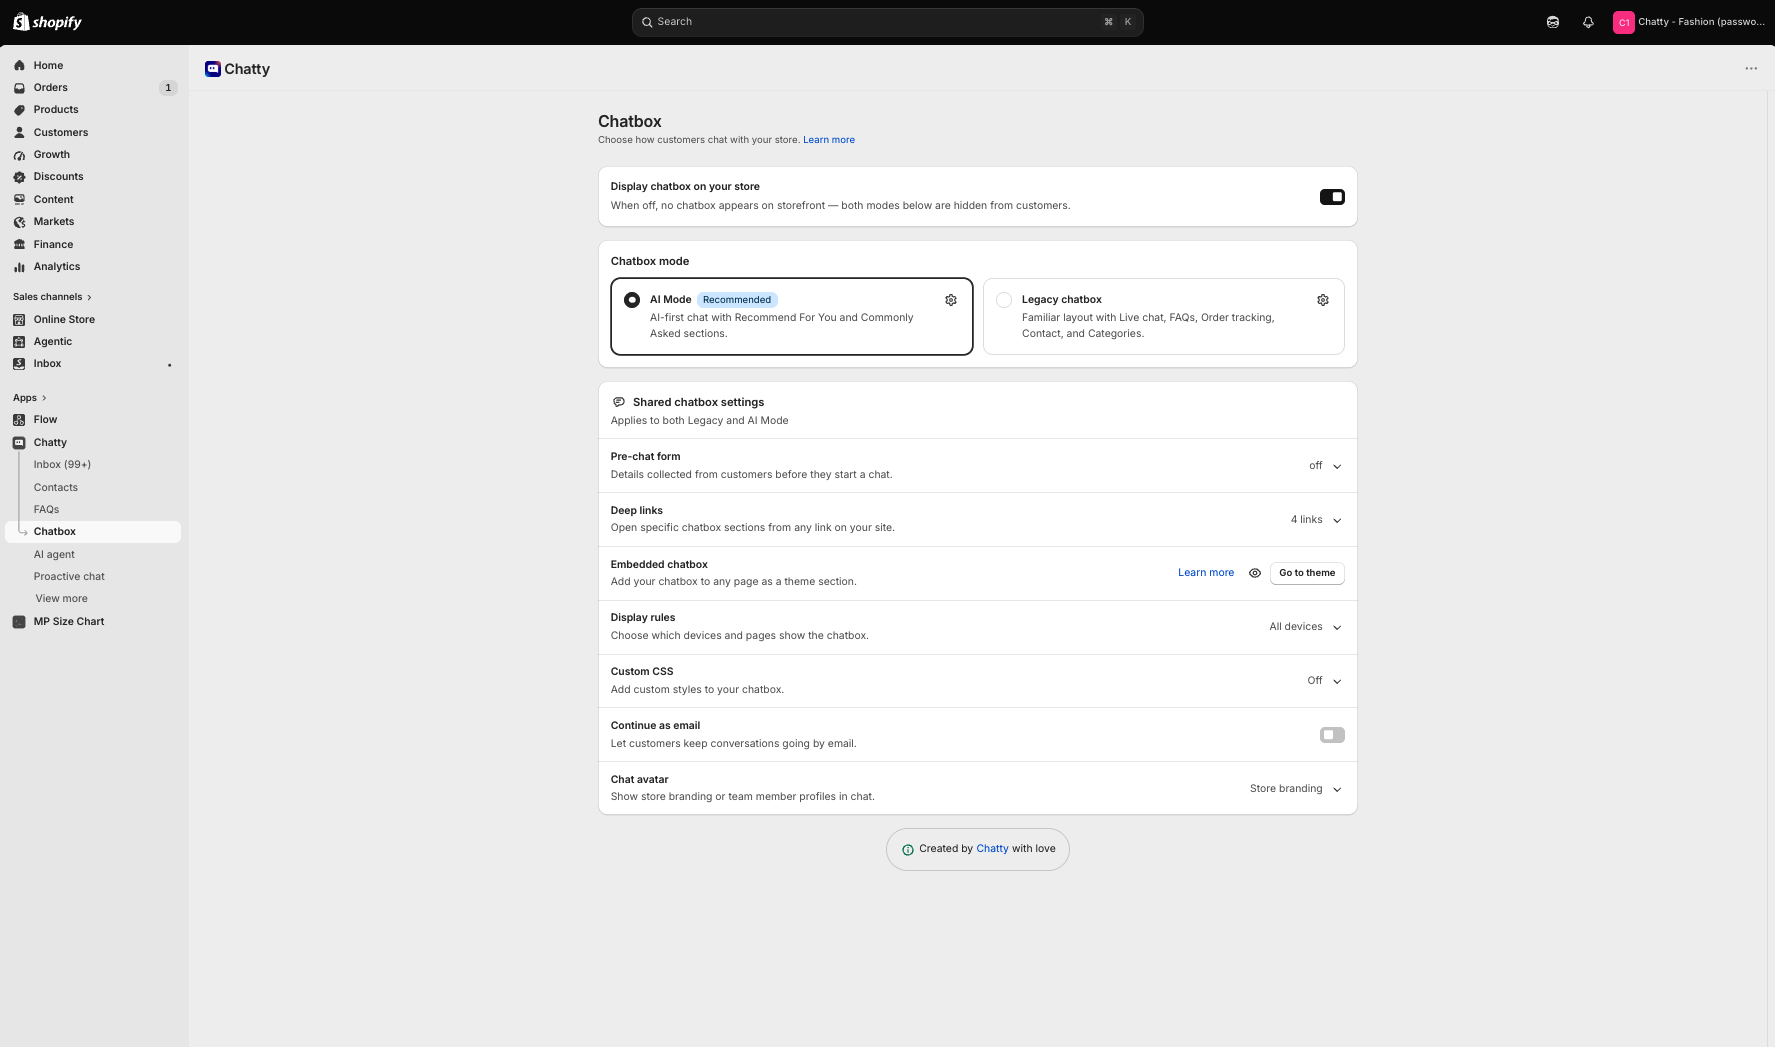
4. Click **Customize** to open the AI Mode settings.
**Expected result:** The AI Mode page opens on the **General** tab, with a live preview on the right.
The first time you turn on AI Mode, Chatty scans your storefront to collect products for the home grid. Search still covers your whole catalog.
If your AI assistant is off, the page shows a banner: "AI assistant is off. Chat messages in AI Mode will be answered by your team." Chat still works, and your team answers instead of the AI.
### How to set up the suggested sections
The **Suggested sections** card on the **General** tab controls what customers see before they type anything.
Both sections are on by default, in this order: **Recommend For You**, then **Commonly Asked**.
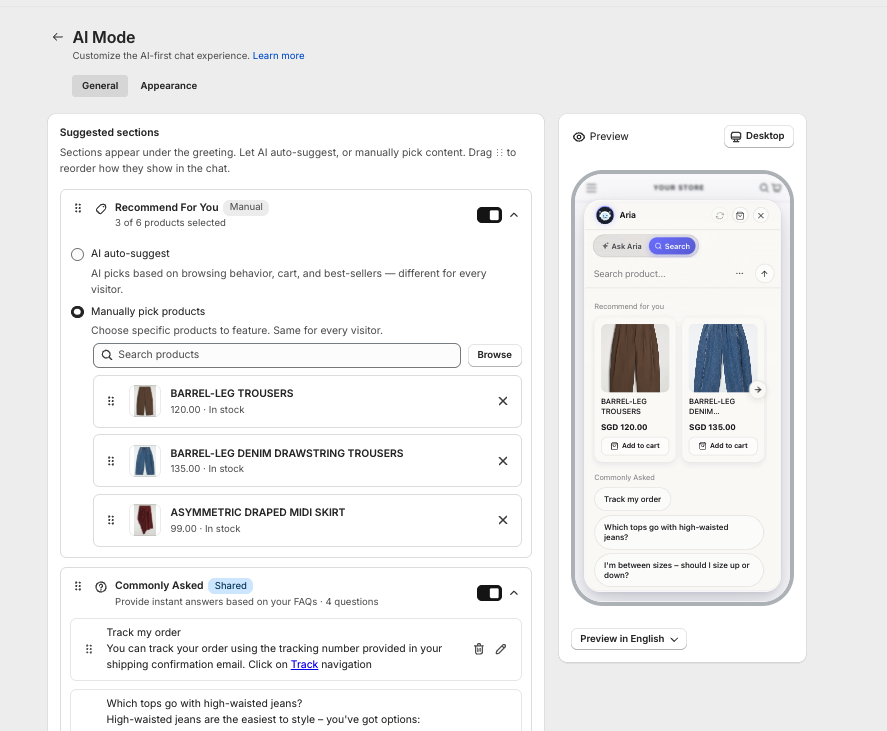
#### Recommend For You
This section shows products on the panel home screen. It carries a **Manual** badge when you pick the products yourself. Choose one of two sources.
| Source | What it does |
|---|---|
| **AI auto-suggest** (default) | The AI picks products for each visitor, based on what they browsed, what is in their cart, and your best sellers. Two customers can see two different sets. |
| **Manually pick products** | You choose the exact products. Every customer sees the same set. |
To pick the products yourself:
1. Select **Manually pick products**.
2. Type in **Search products**, for example "Pearl Layering Necklace", or click **Browse** to open your catalog.
3. Select up to **6 products**.
**Expected result:** The card header counts your picks, for example "3 of 6 products selected", and each product shows its image, title, price, variant, and stock status.
#### Commonly Asked
This section carries a **Shared** badge, because the same list feeds the Legacy chatbox. It shows quick questions customers can tap instead of typing. Use it for the questions your team answers every day, for example "Where is my order?" or "What is your return policy?".
1. Click **Add question**.
2. Type the question, for example "Do you ship to Canada?".
3. Drag a question to change its order, or click the delete icon to remove one.
**Expected result:** The questions appear on the panel home screen, in the order you set.
You can keep up to **10 questions**.
**Commonly Asked is shared with the Legacy chatbox.** Editing, reordering, or turning it off here changes the same list in **Legacy chatbox**.
#### Reorder the suggested sections
1. Drag the ⋮⋮ handle on a section to move it up or down.
2. Turn off a section to hide it from the home screen.
**Expected result:** The preview shows the sections in your order. Turning both off leaves the home screen with your storefront products only.
### How to change the shared chatbox settings
Some settings apply to both modes. They live on the **Chatbox** page, in the **Shared chatbox settings** card marked "Applies to both Legacy and AI Mode".
* Pre-chat form
* Deep links
* Embedded chatbox
* Display rules
* Custom CSS
* Continue as email
* Chat avatar
1. Go to **Chatbox**.
2. Scroll to **Shared chatbox settings**, or click **Manage shared settings** on the AI Mode page.
3. Change the setting once.
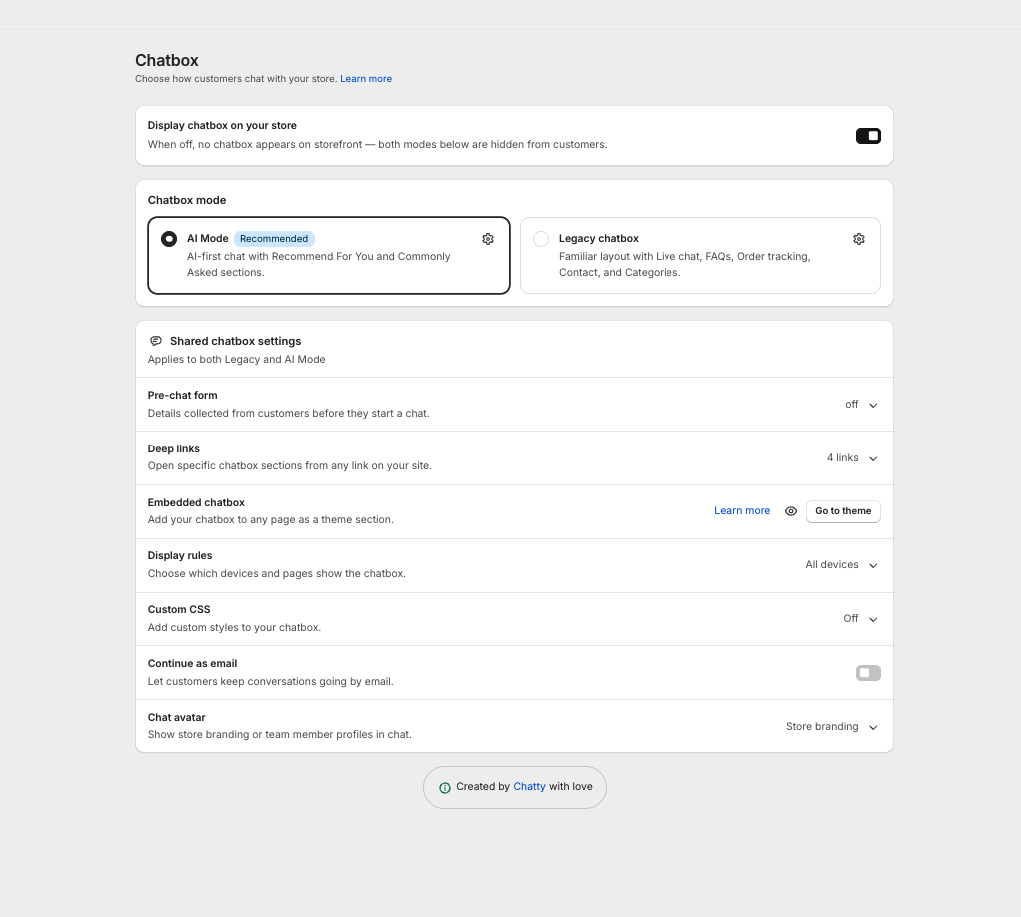
**Expected result:** The setting applies to both **AI Mode** and the **Legacy chatbox**.
**Brand colors** and the **Commonly Asked** list are shared too, but you edit them inside each mode.
### What customers see in AI Mode
#### Before they type
The assistant bar sits on your storefront and carries your assistant's name, so the customer sees **Ask** followed by your assistant's name next to **Search**. It can also invite the customer first, with a product card and an **Ask about it** button.
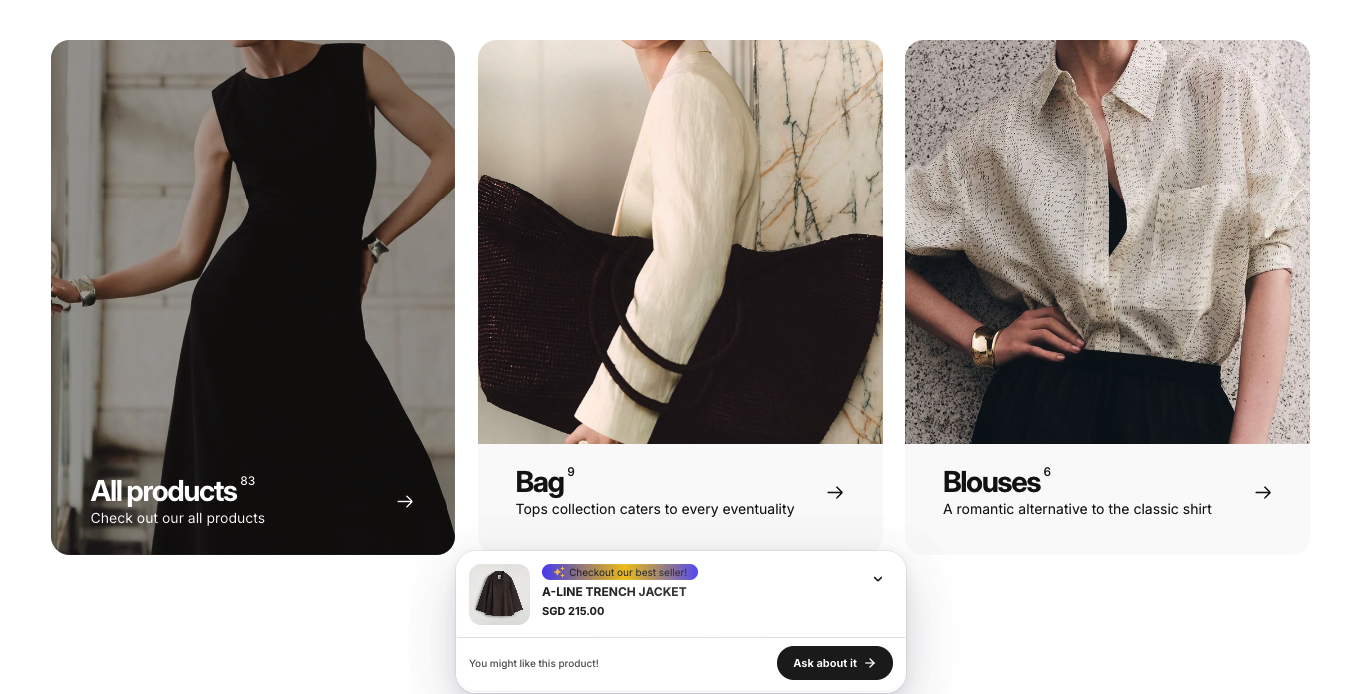
Opening the bar shows your suggested sections: **Recommend for you** with **Add to cart** on every card, and **Commonly Asked** as tappable questions.
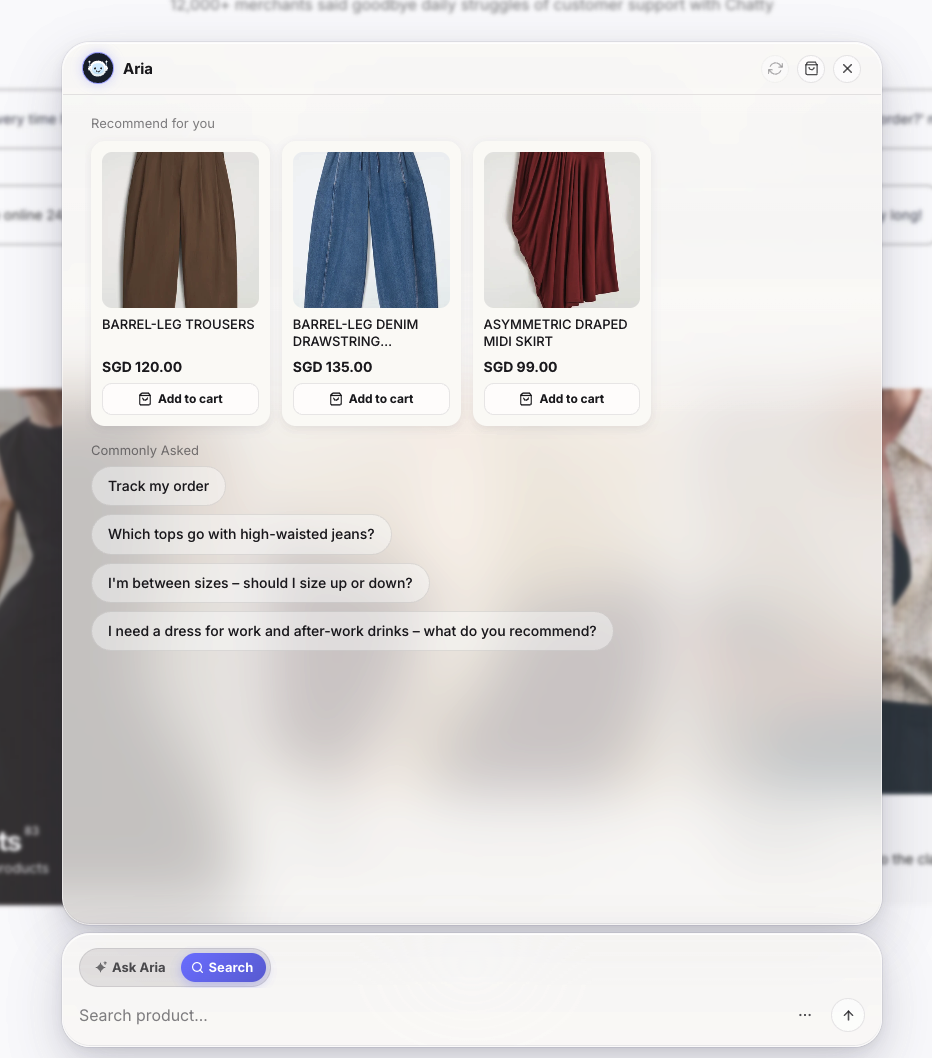
#### While they type
Product suggestions and question suggestions appear together, as the customer types. If the text reads like a question, the panel offers "Looks like a question, ask ...".
Pressing Enter opens the results page, with the result count at the top, for example "10 results", and a **Load more** button. A search that finds nothing still shows products, so the customer always has a next step.
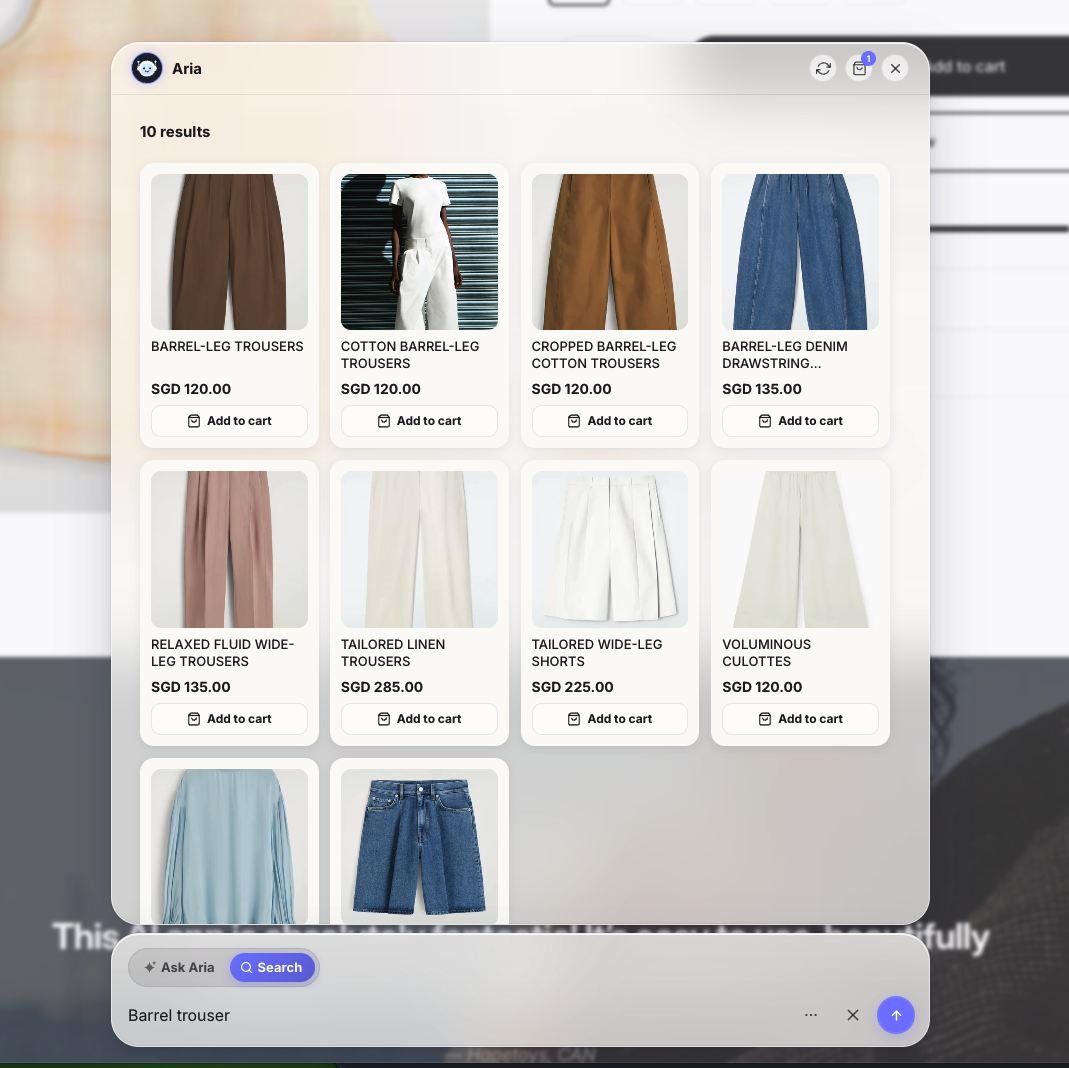
#### Products and the shopping bag
Opening a product slides in the **Product details** panel: the image gallery, the description, the options, the price, and **Add to cart**. A recommended size is marked with a star. **Tell me more** asks the AI about that product, and **View on Store** opens the product page. Products with no stock left show **Out of stock**.
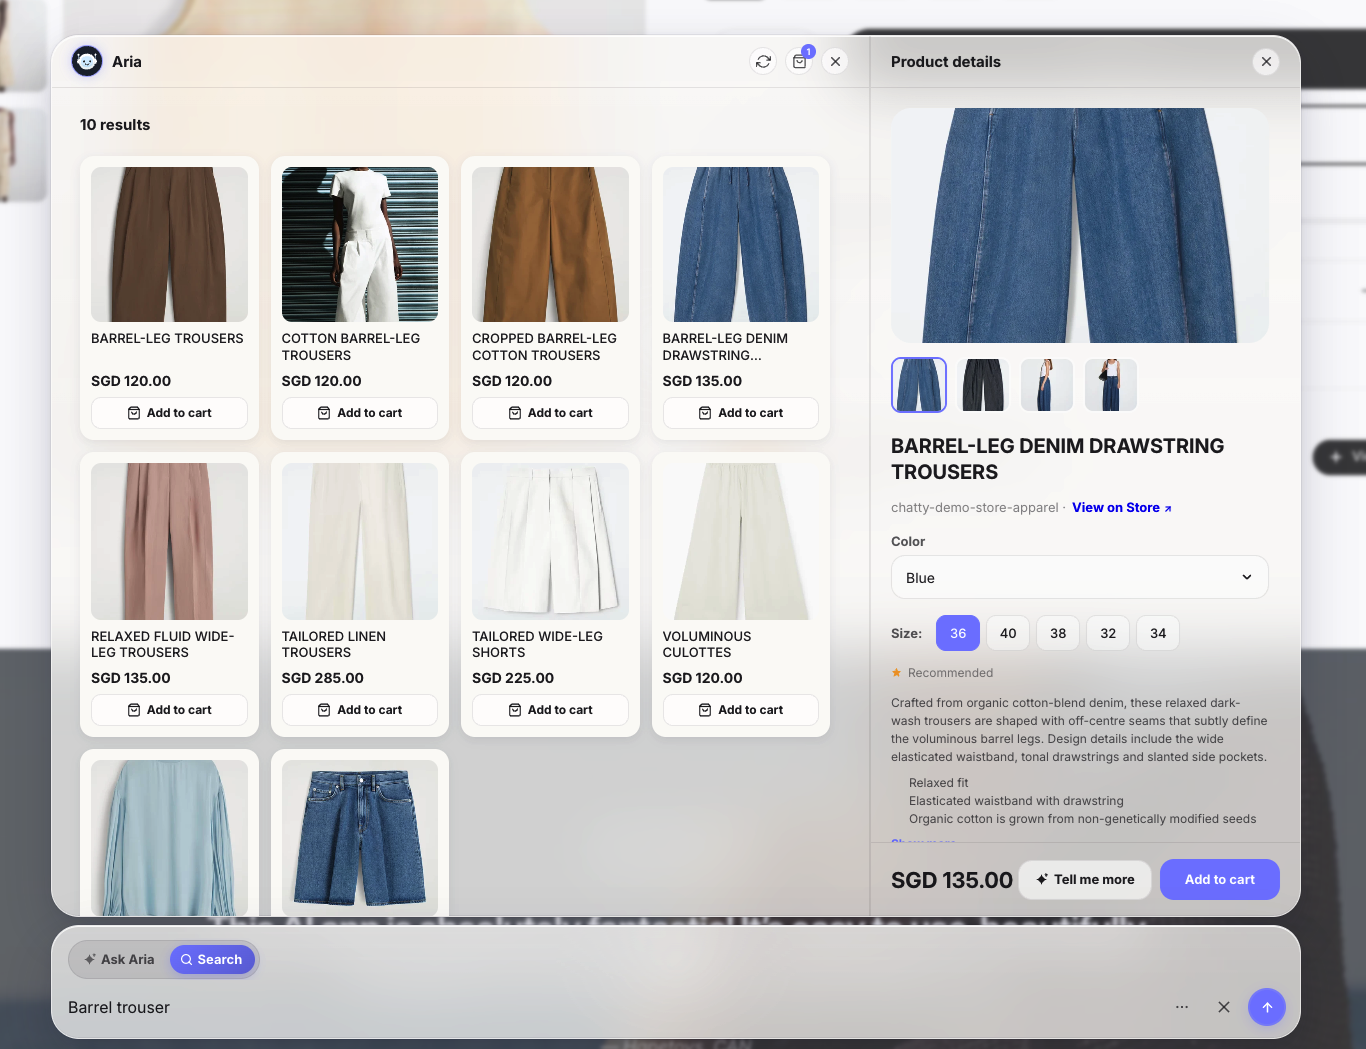
The **Shopping bag** panel lets customers change quantity, remove an item with a confirmation, and go to **Checkout**. Checkout, payment, and orders are handled by Shopify.
Customers can select several products and ask about them together. Each selected card shows **Selected**, and a tray appears above the message box with the count, **Recommend Similar**, and **Compare**. This helps them decide in one place instead of opening a tab per product.
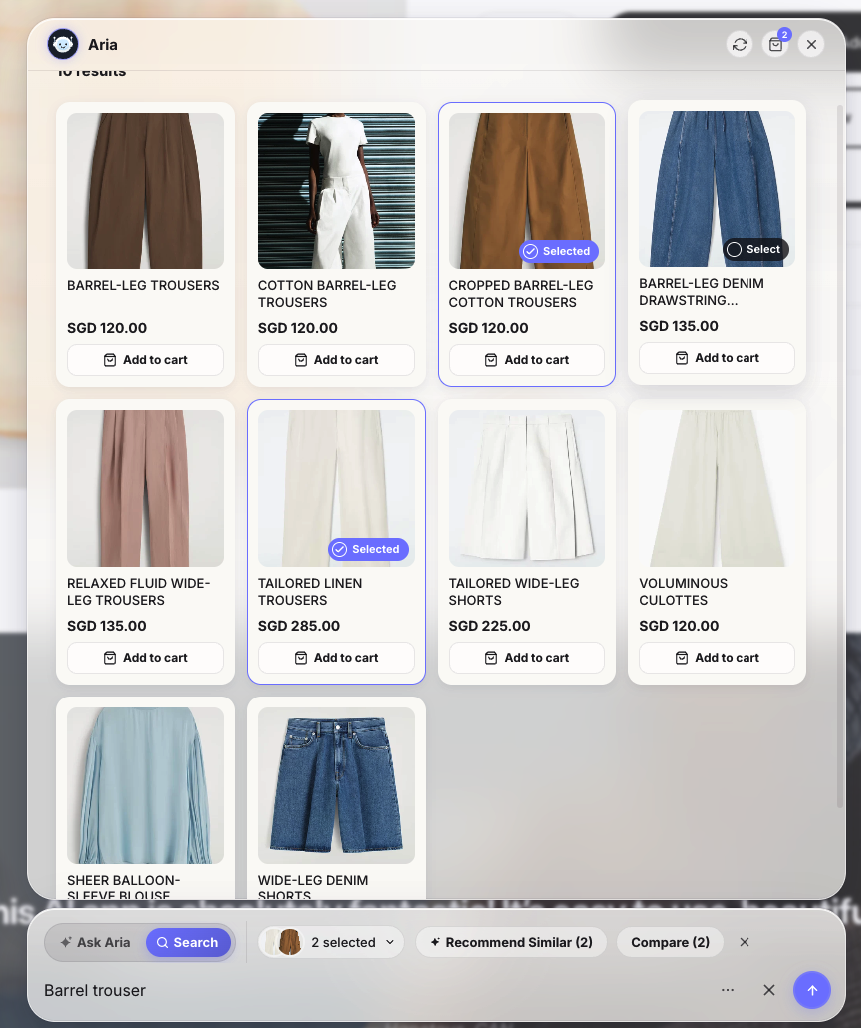
#### In the chat
The AI replies with cards, not only text. A comparison, for example, comes back as a written breakdown of price, material, and fit, followed by the product cards with **Add to cart**.
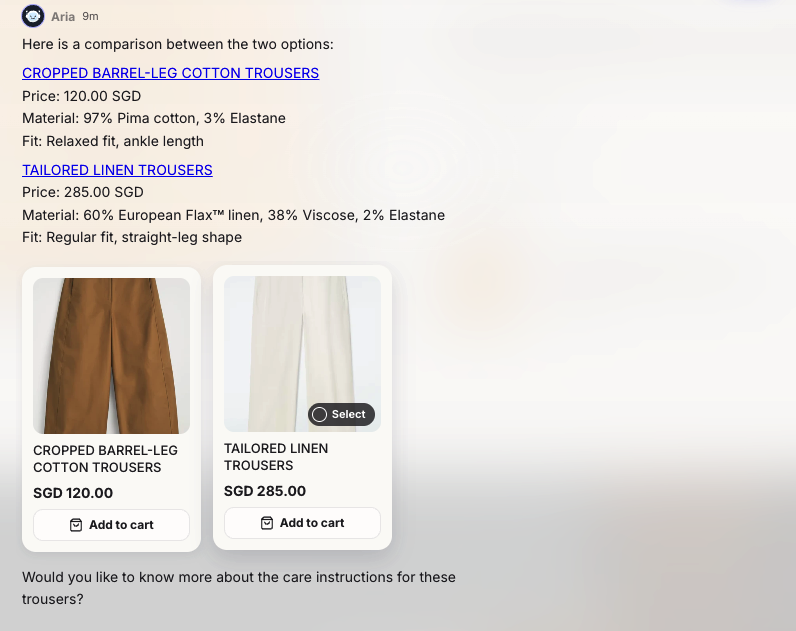
| Card | What it shows |
|---|---|
| Product | Image, price, and a link into the product panel |
| Discount code | A code the customer can copy |
| Offer list | Current promotions |
| Size guide | A recommended size and a buy button |
| Order and shipping | Order status and tracking |
| Shipping updates | A form to subscribe to delivery updates |
| Contact form | A form or your list of contact channels |
| Post-purchase form | Questions after an order |
| Newsletter form | Email signup |
| Survey | A satisfaction rating |
| Attachment | Files sent in the conversation |
#### Other things customers can do
Customers can start a **New chat**, open **Chat history**, or use **Continue as email** to keep the conversation. Chatting anonymously is allowed. Prices and content follow the customer's language and currency.
Can I run AI Mode and the Legacy chatbox at the same time?
No. Each store runs one mode. Selecting AI Mode turns the Legacy chatbox off from the next page load.
Do my old conversations disappear when I switch modes?
No. Conversations from each mode are stored separately. Switching back shows the history for that mode again.
Why does the home grid show only some of my products?
The first scan collects up to 20 products from your storefront for the home grid. Search still covers your full catalog, so customers can find anything by typing.
An AI answer stopped halfway. What happens?
The answer is restored the next time the customer opens the chat. The customer does not see an error while it is interrupted.
Why did my change disappear after I saved?
Two browser tabs open on the same setting will overwrite each other. The last save wins. Edit your settings in one tab.
How many searches can a customer run?
Up to 30 searches per minute from the same store and device. This protects your store from automated traffic and does not affect normal shopping.
================================================================
URL: https://help.chatty.net/chatbox/chatbox-settings/
Locale: en
================================================================
# Chatbox settings
Chatbox is popup on your website includes sections to track order, contact and question list. This is how a chatbox looks like on your website.
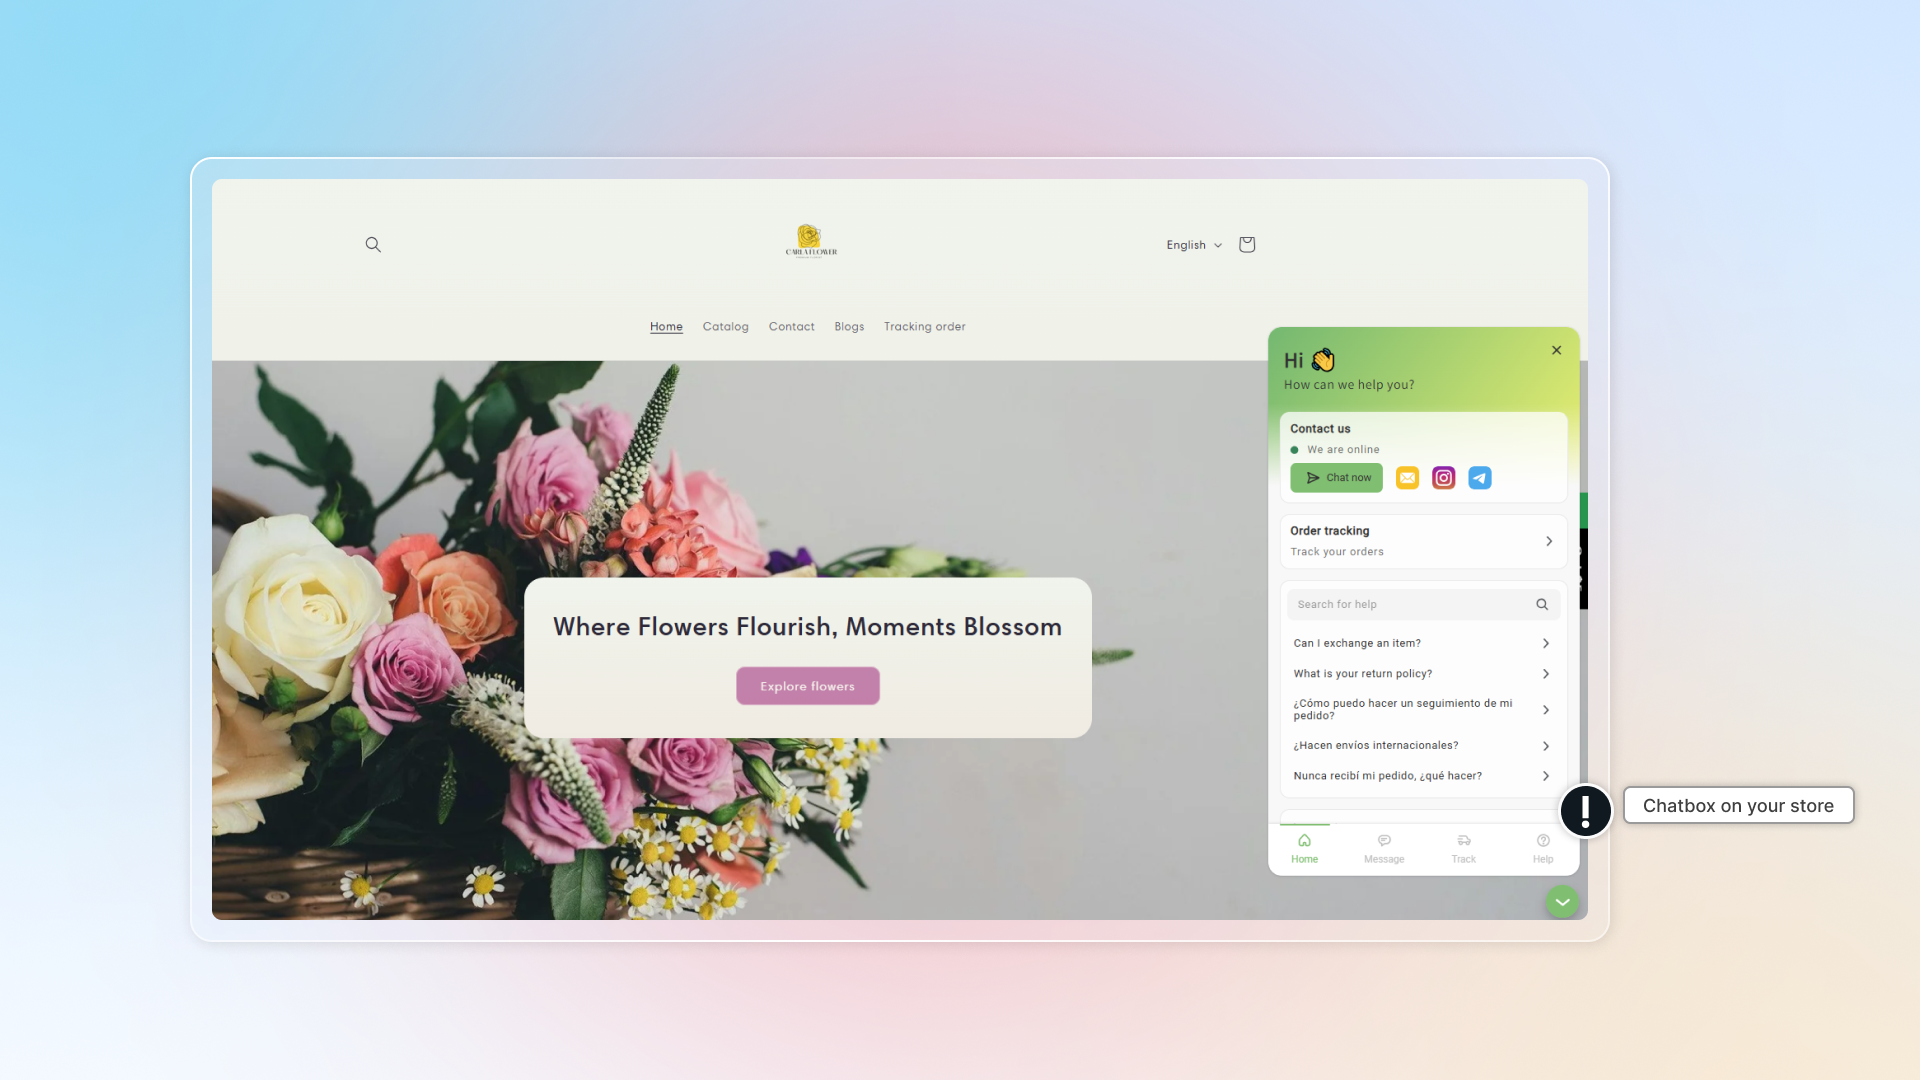
### Customize chatbox
[**General**](#general)
In general settings, you can:
* Turn on/off chatbox
* Turn on chat focus mode
* Set header
* Set blocks
[**Appearance**](#appearance-setting)
In appearance settings, you can:
* Customize brand color
* Set chatbox button
* Set chatbox style
* Remove watermark
[**Advanced**](#advanced-settings)
In Advanced settings, you can:
* Set deep links
* Set display devices & pages
* Add custom code
### General settings
#### Turn on chatbox
#### Enable Chatty in theme editor
#### Set header
* Upload logo
* Customize your heading and description
#### Turn on blocks you want to show in chatbox
There are 5 blocks in chatbox:
* Live chat: Turns on the Message tab so customers can chat with your AI agent and your team. Turn it off and the chatbox becomes self-serve only.
* Contact: This helps you to set up all contact methods for your store. Turn it on and click **Edit** to add your contact methods.
* Order tracking: Helps track orders (third party allowed). Learn more about [order tracking](/others/order-tracking/).
* FAQs: Pick some questions to show on first page of chatbox
* Categories: Pick some categories to show on first page of chatbox
#### Set up live chat
Live chat lets customers reach you while they are browsing your store, so you can answer right away and [manage the chats](/live-chat/inbox/) from one inbox.
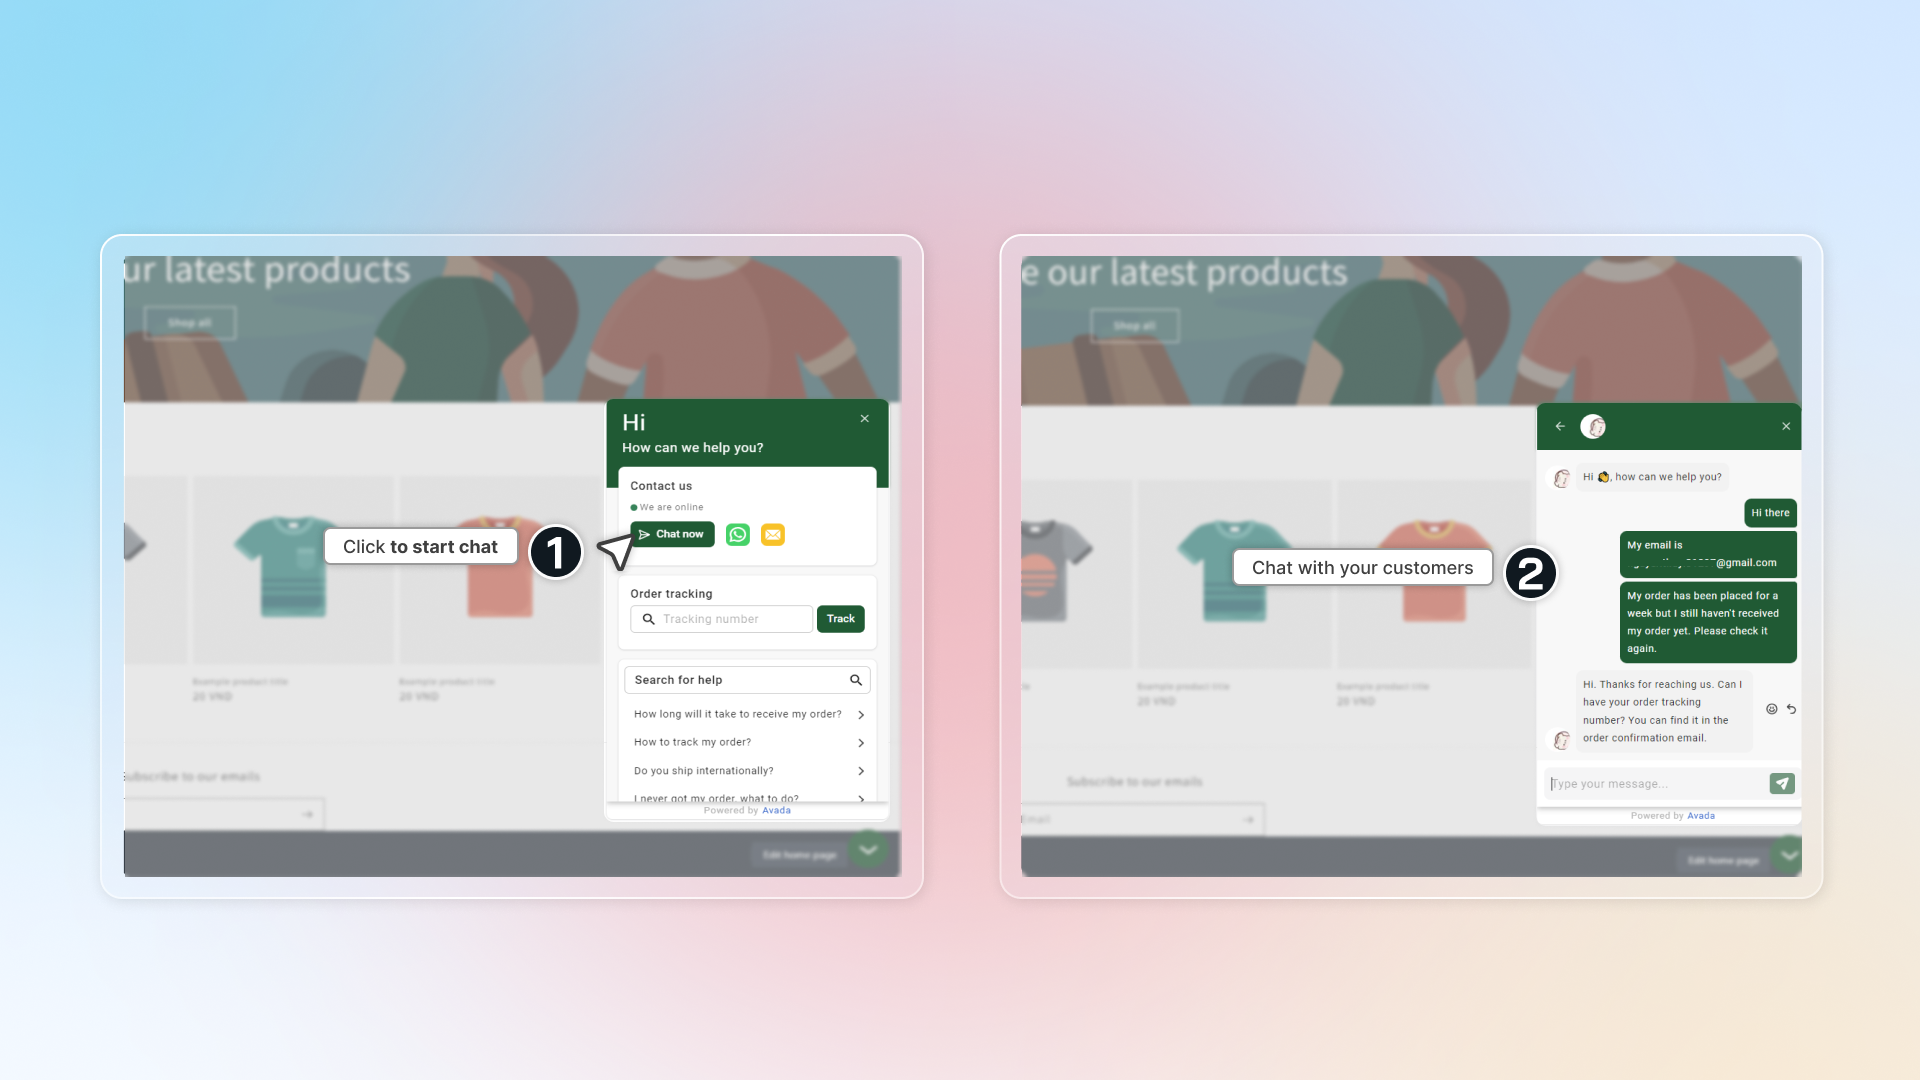
1. Turn on the chatbox in **General**.
2. In **Blocks**, turn on **Live chat**.
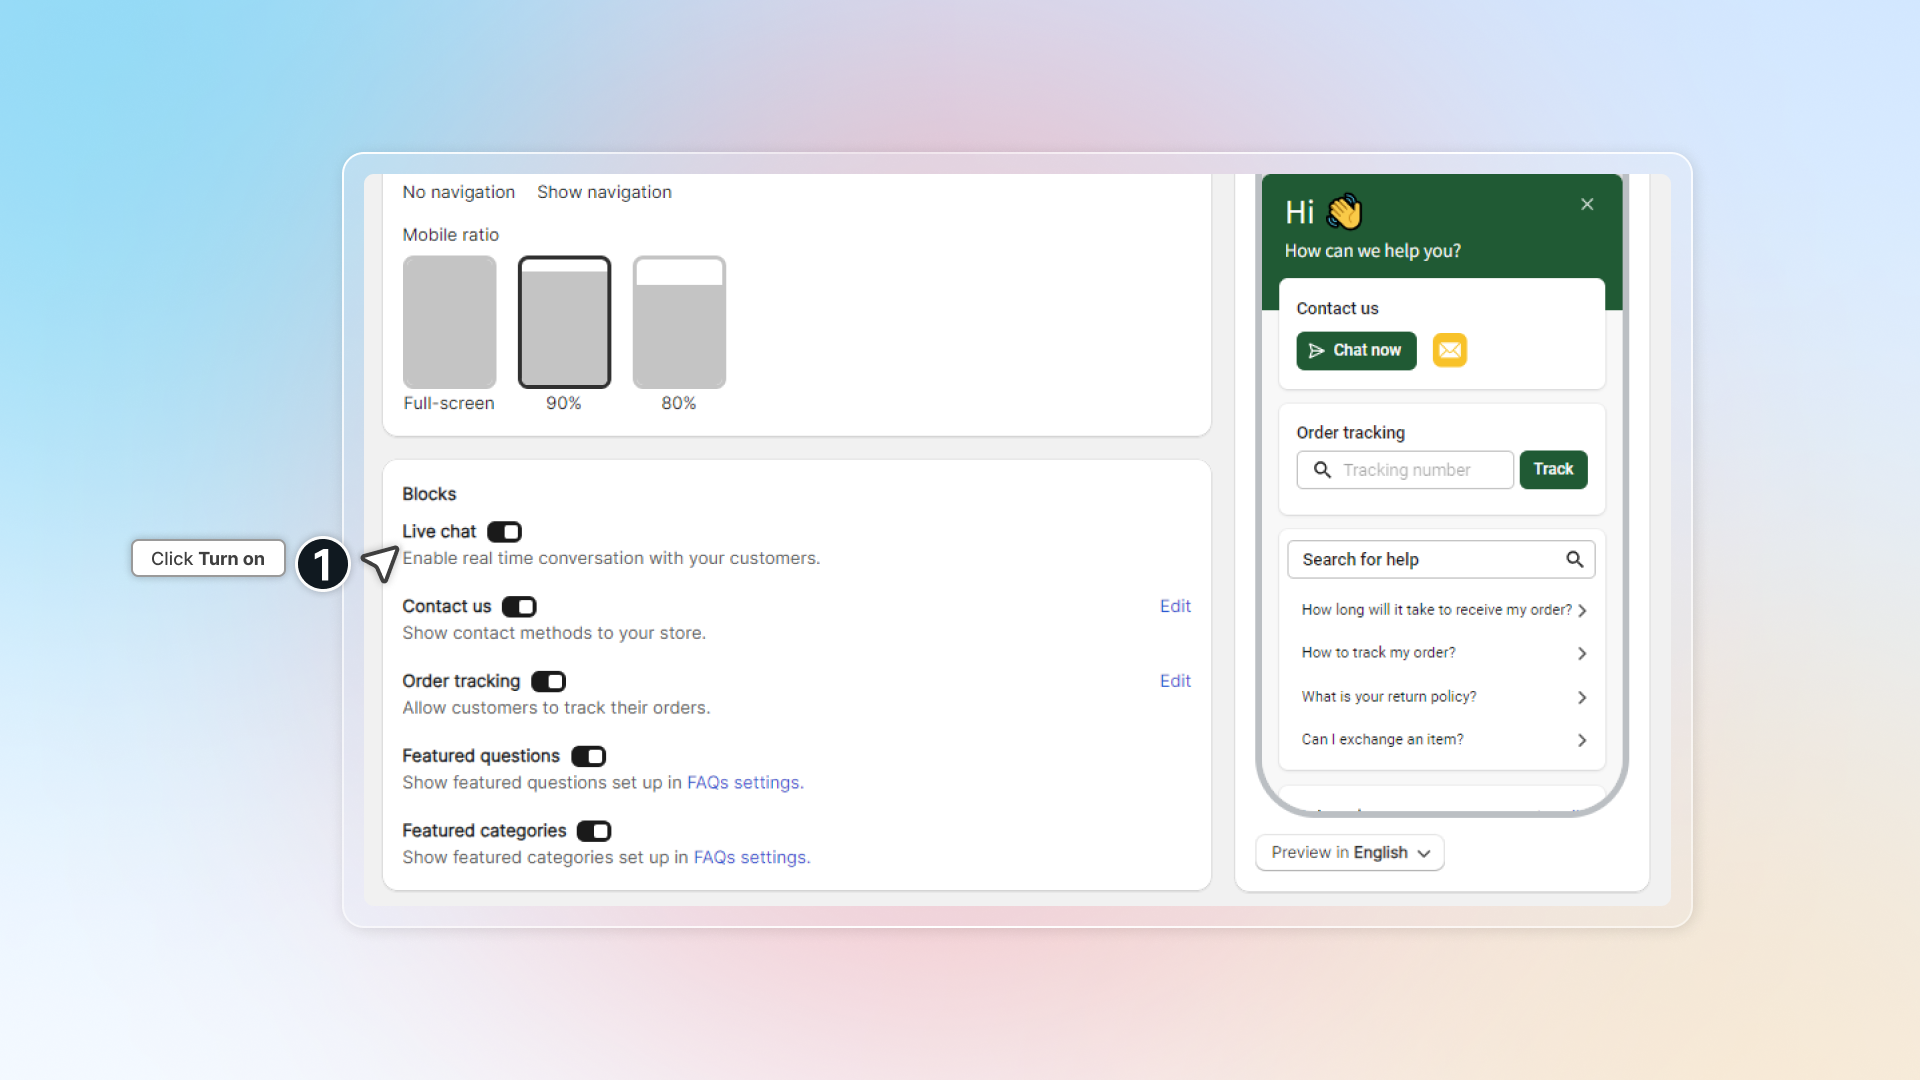
3. Click **Edit** to set up the [pre-chat form](#pre-chat-form) and choose [how customers start a chat](#set-how-customers-start-a-chat).
4. Click **Save**, then open your storefront and click **Chat now** to start a test conversation.
To preview the pre-chat form, click **Chat now** in the preview and enter your first message. You can also set your online and offline status in [online hours](/others/online-hours/).
#### Add contact button
Learn how to [add contact button to your site](/chatbox/contact-button/).
One of the contact methods is **Contact page**, which opens the contact link you set.
1. Go to **Chatbox** → **Legacy chatbox** → **General**. In the **Contact** block, click **Edit**.
2. Click **Add contact method**, then pick **Contact page**.
3. Paste the link to your contact page, for example `/pages/contact` or a full link that starts with `https://`.
4. Click **Save**.
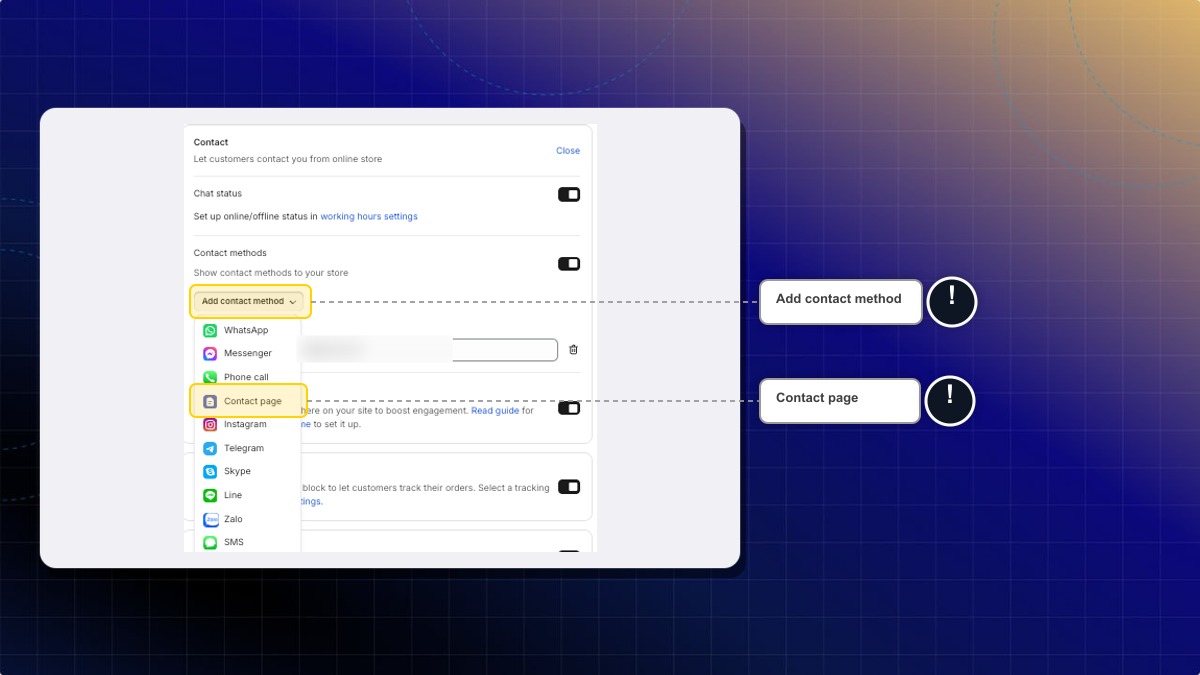
**Expected result:** Your contact page appears as an icon in the chatbox's contact row, next to your other methods. A customer who taps it opens that page directly.
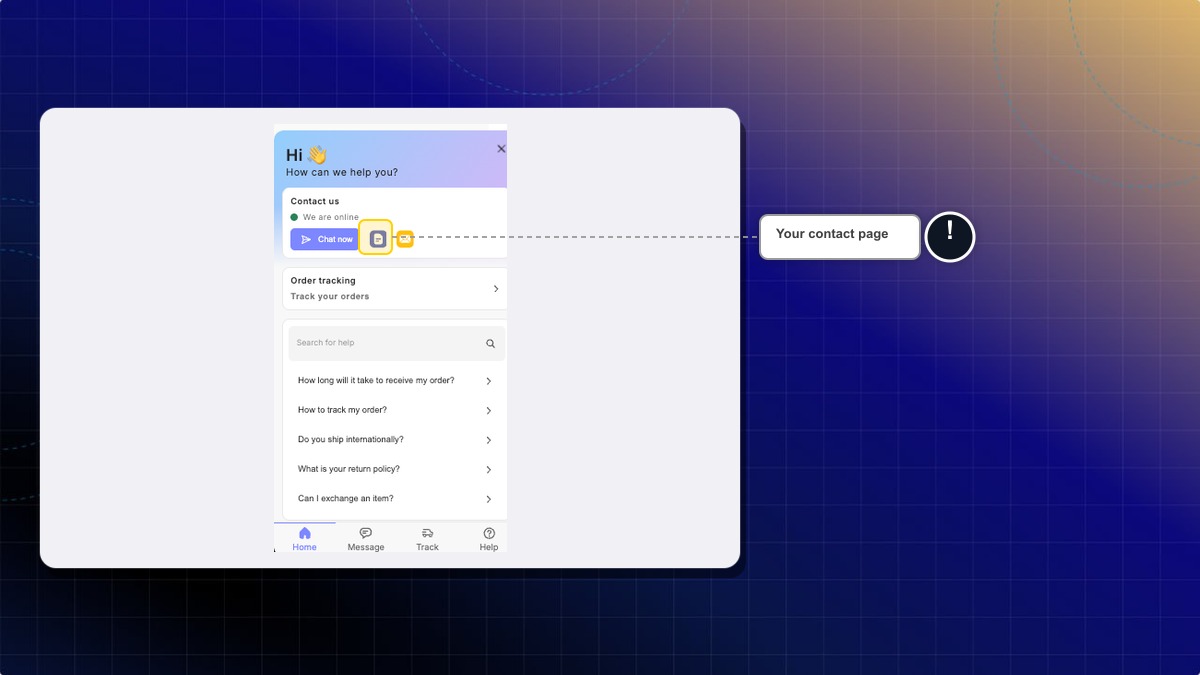
How many contact methods are supported in Chaty?
Now, Chatty supports 12 contact methods:
1. Whatsapp
2. Messenger
3. Phone
4. Email
5. Instagram
6. Telegram
7. Skype
8. Line
9. Zalo
10. Tiktok
11. SMS
12. Contact page
More methods are coming soon.
### Appearance settings
#### Set brand colors
You can select colors from our preset or customize your own.
Or simply click **Surprise me** for inspiration.
#### Set chatbox button
* Select launcher: Icon only, Label only, or Icon & label
* Select or upload your own icon, and set a label of up to 20 characters
* Select button size: Small, Medium or Large
* Set position: pick the corner, then nudge the horizontal and vertical margin
#### Set chatbox style
* Select: No navigation or Show navigation
* Set ratio of chatbox on mobile
### Advanced settings
#### Use deep links
Learn [how to use deep links](/chatbox/deep-links/).
#### Select which devices and pages you want to show chatbox on
* Devices: Desktop and mobile
* Pages: All pages or a specific page
#### Continue as email
This helps customers keep their conversation going by email instead of live chat.
Click to **turn on.** In chatbox, customers can select **Continue on email** to keep the conversation going by their email.
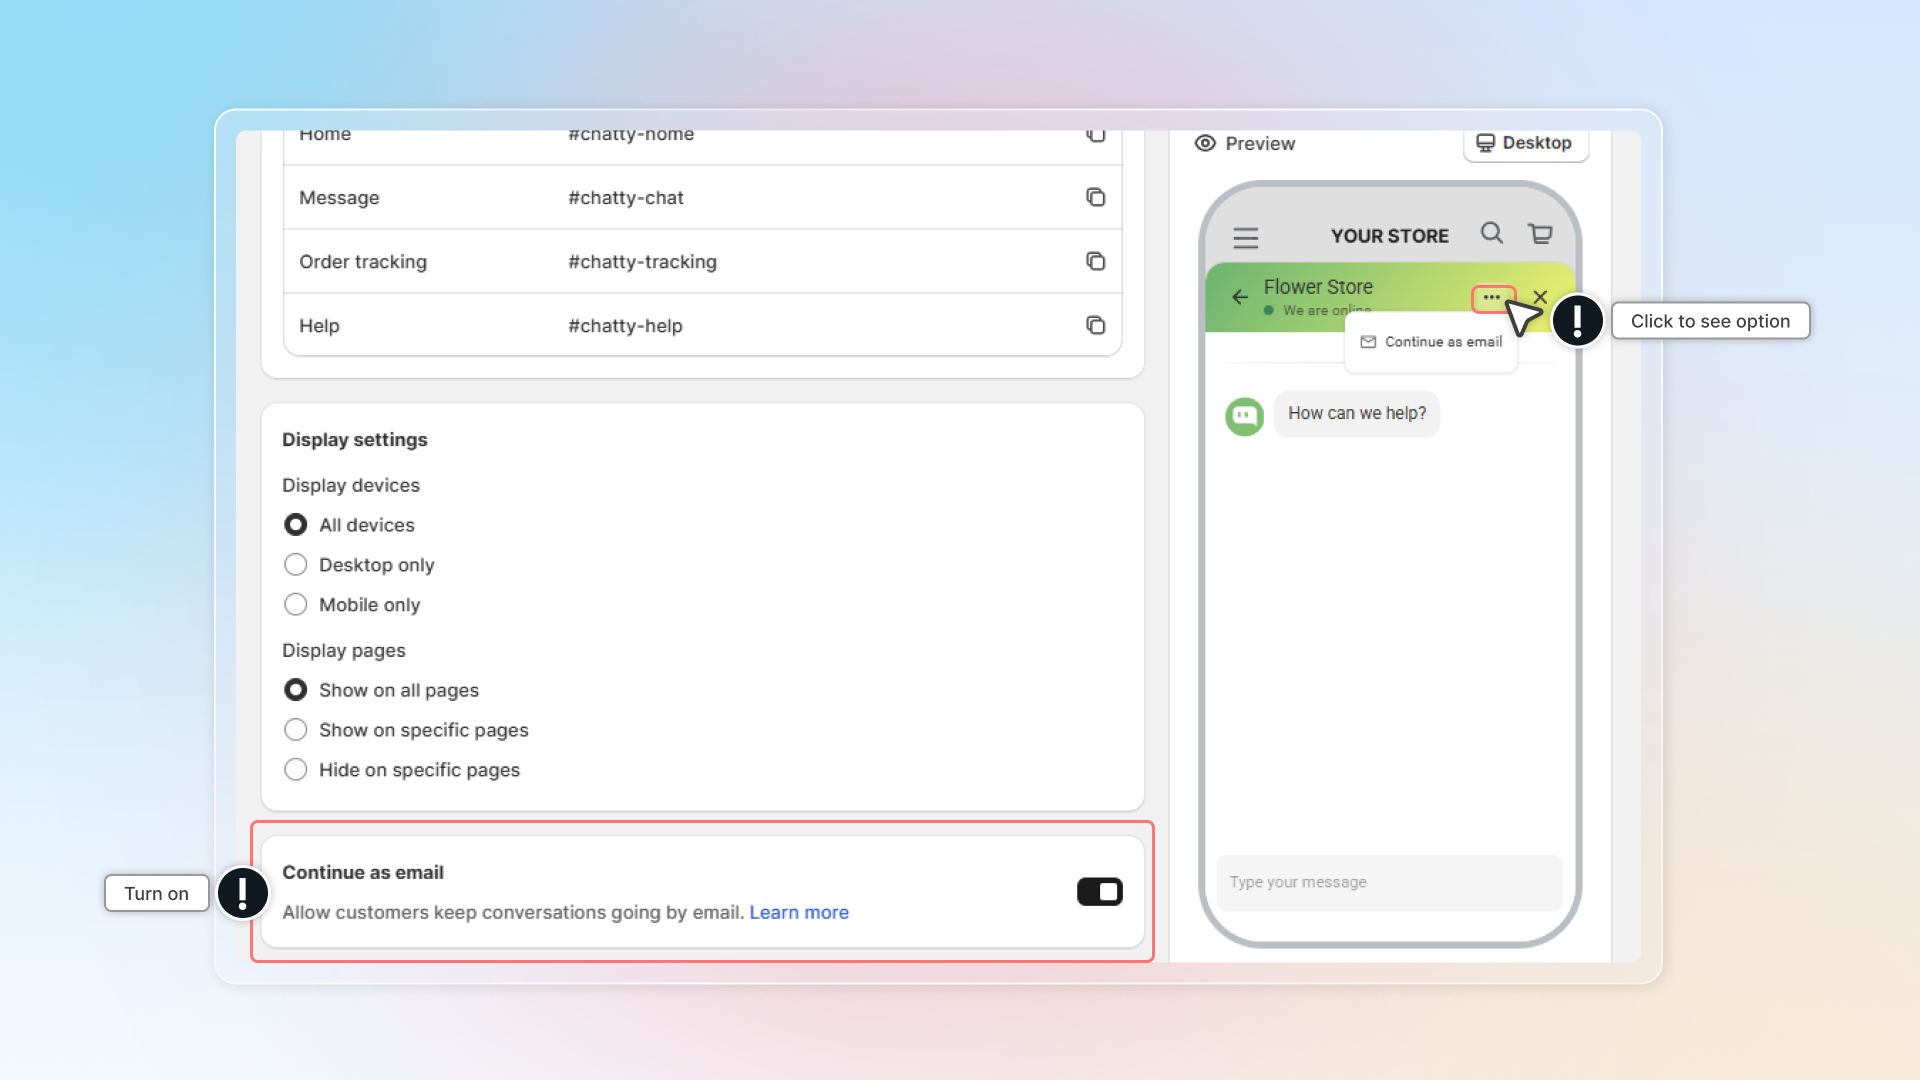
#### Add custom code
Custom CSS in advanced settings helps you to have a custom FAQs page. This required knowledge of coding. If you need any help, contact us through live chat in the app
### Chat page settings
#### Welcome message
The welcome message is first displayed when visitors initiate the chat.
#### Conversation starter
List of questions shown in chat as suggestions for visitors.
#### Chat avatar
Set up which avatar will be shown in the chat
#### Set how customers start a chat
* Chat as guest: Need to submit a form to start chatting
* Chat as anonymous: Stay anonymous and don't need to submit a form
* Show both options
#### Pre-chat form
It helps you collect customer information if you set "chat as guest" as a way to start a chat.
You can collect: email, name and phone number. Email is always required; name and phone are optional.
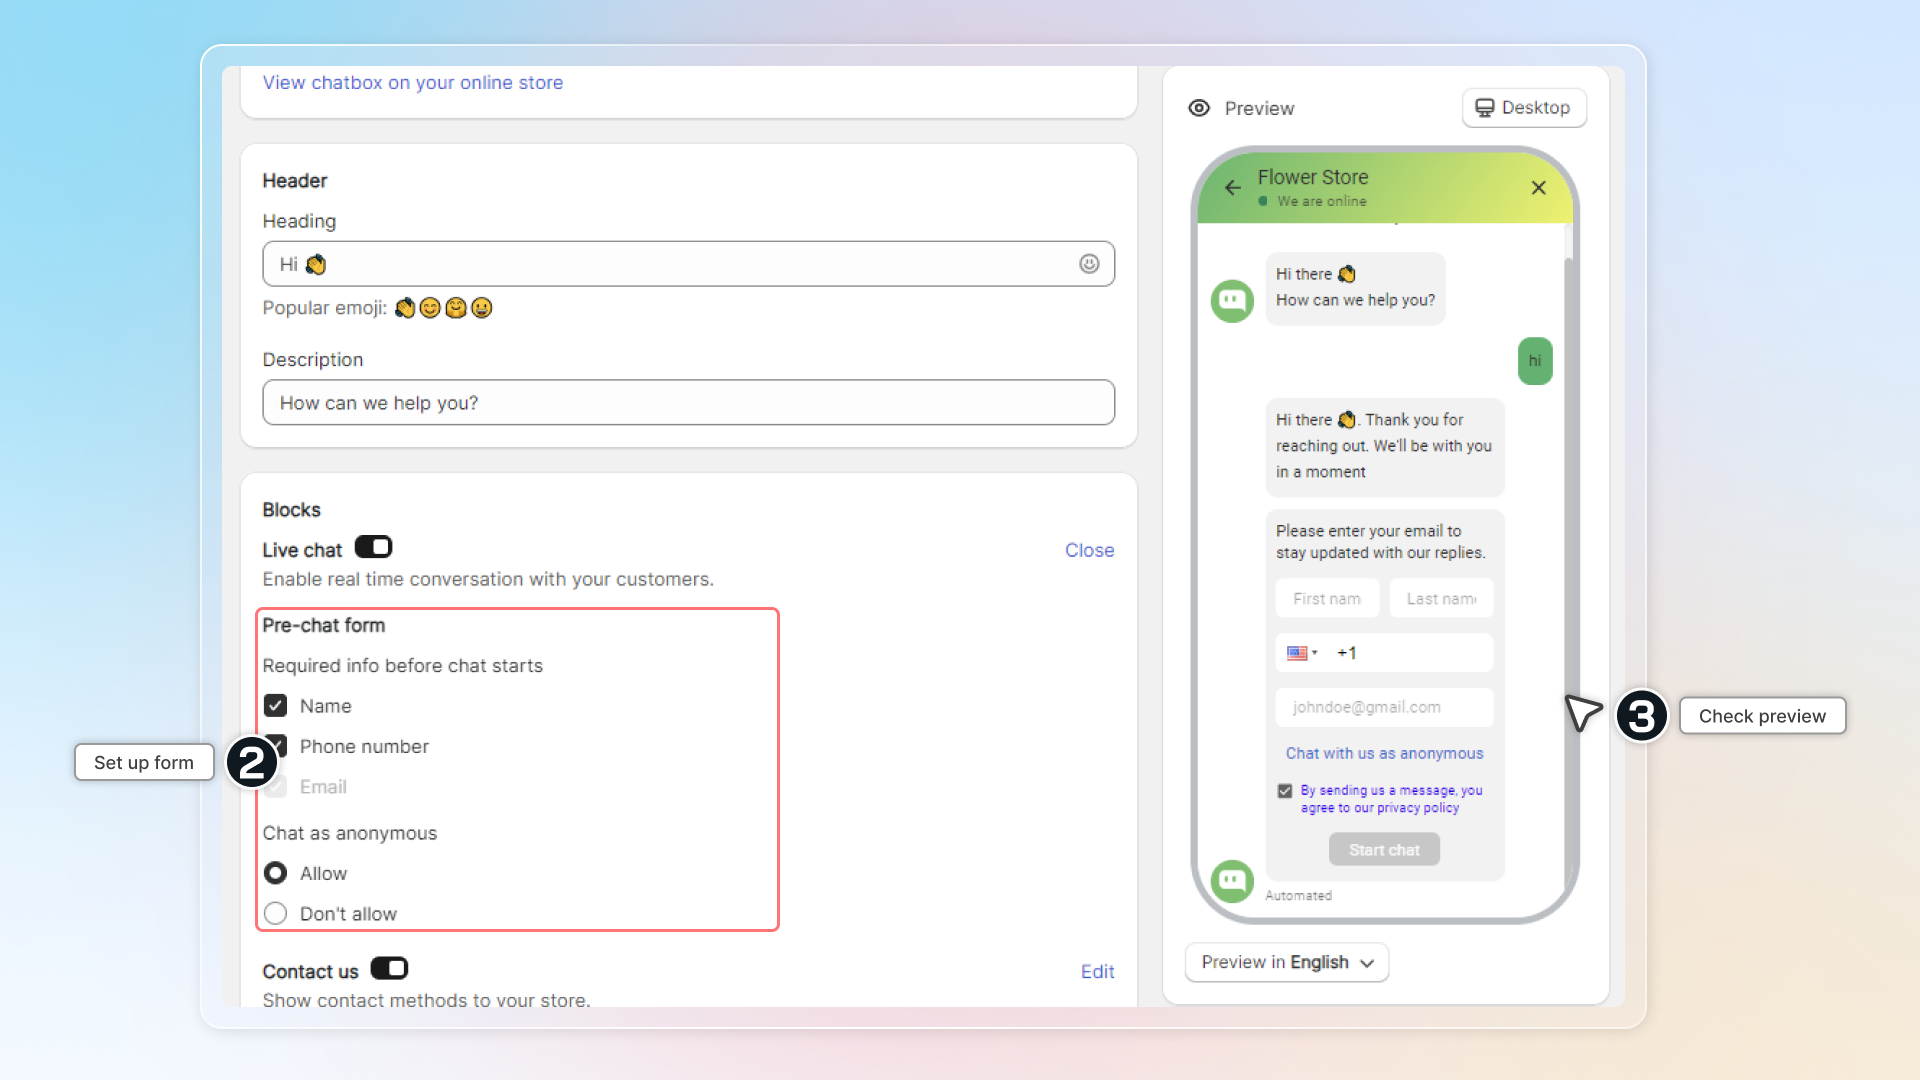
### Unread message counter
The message counter is a small red number that appears on your chat widget icon.
It shows your visitors how many unread messages or welcome messages are waiting for your response.
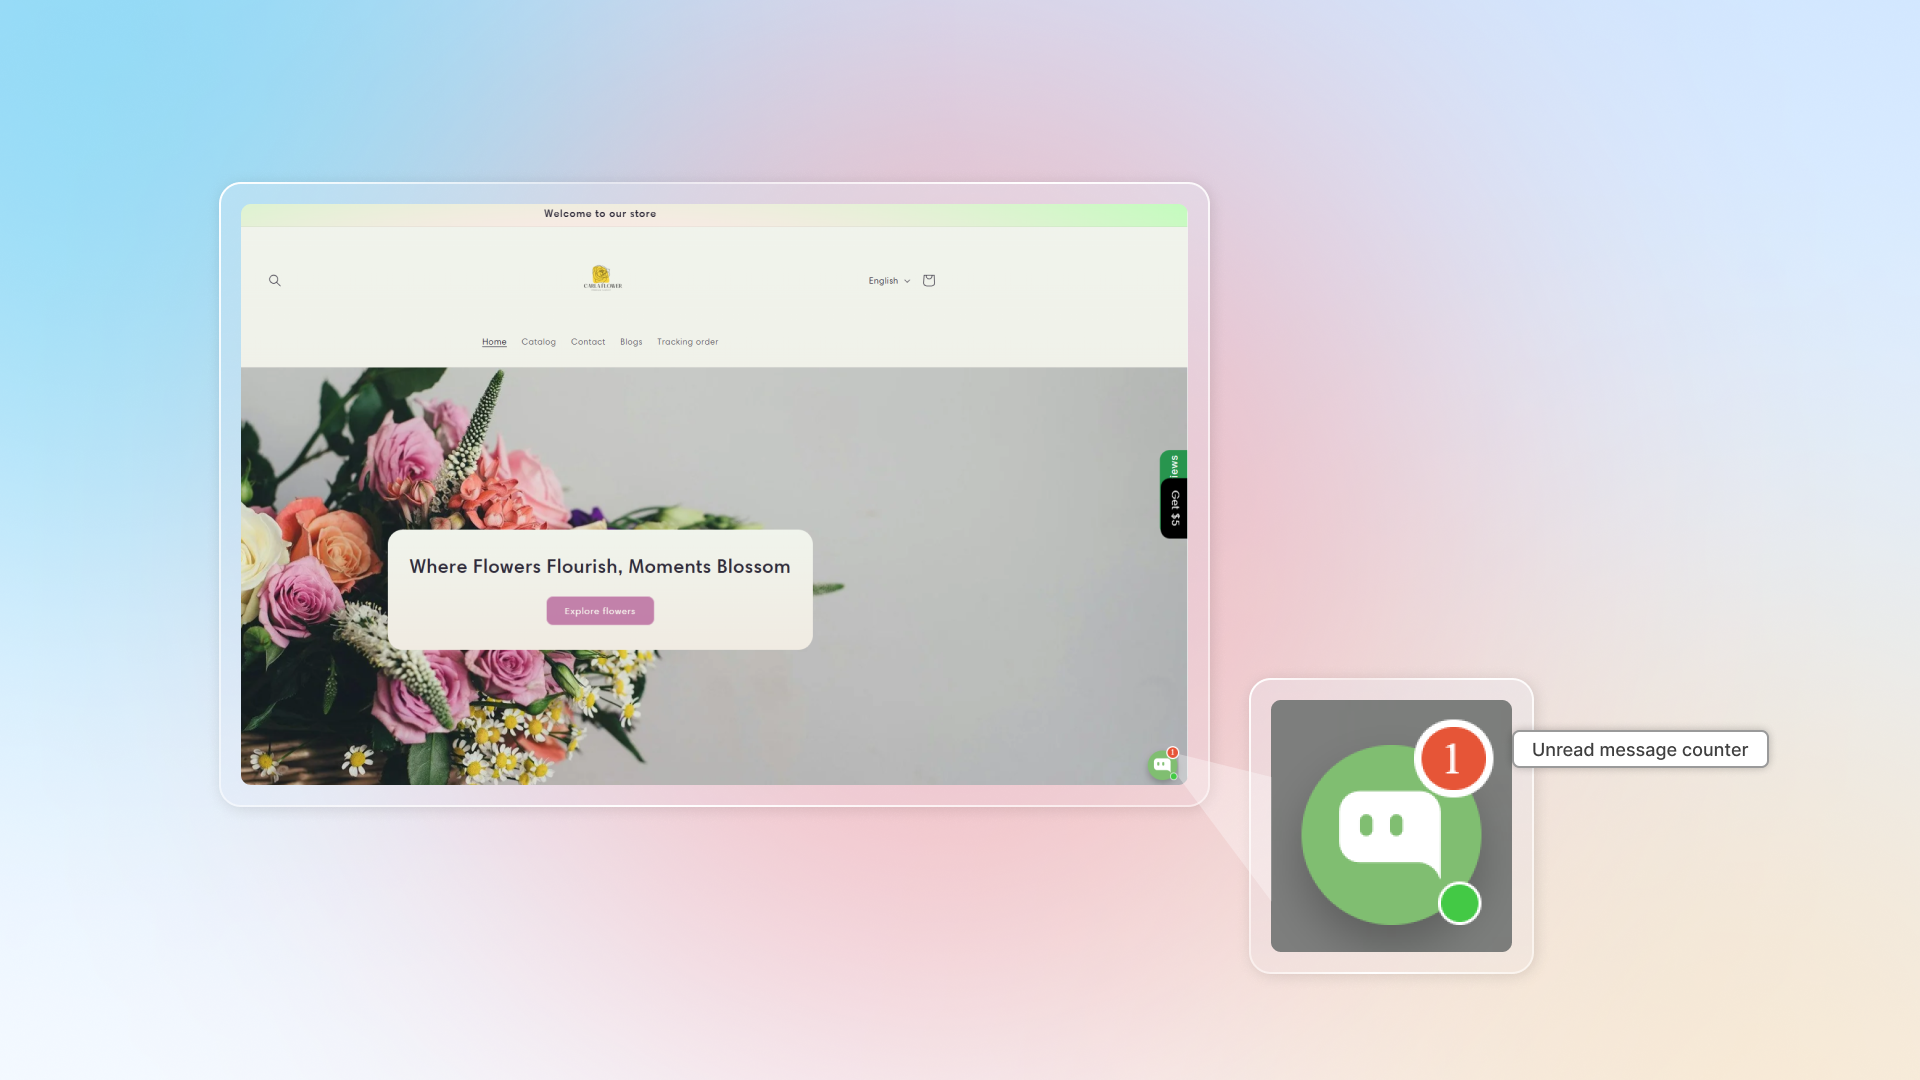
If you turning on Welcome teaser in [Automation](/live-chat/proactive-chat/), it will count welcome messages as unread messages.
================================================================
URL: https://help.chatty.net/chatbox/checkout-chat/
Locale: en
================================================================
# Chat in checkout and after the order
Your floating chatbox lives on your storefront theme, so it stops at the checkout. Chatty ships two separate Shopify extensions that carry the chat through the rest of the buying flow:
* **Chat in checkout** — customers can ask a question at the payment step instead of abandoning the cart.
* **Chat on the thank you page** — customers can ask about the order they just placed without leaving the page.
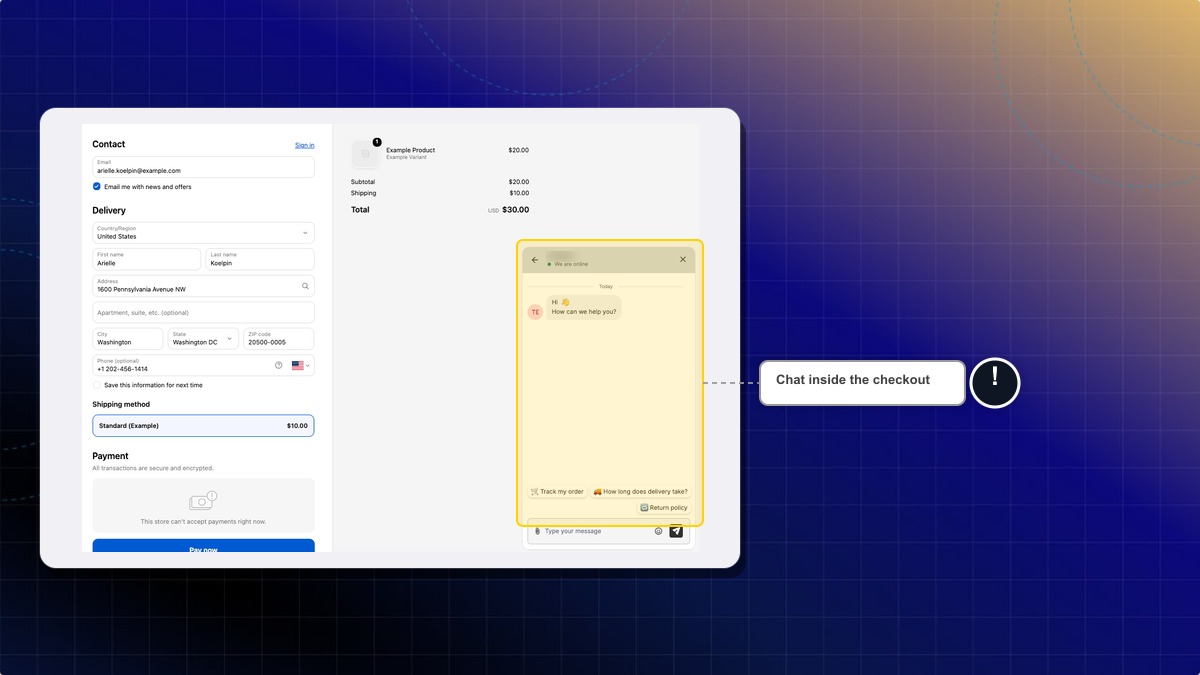
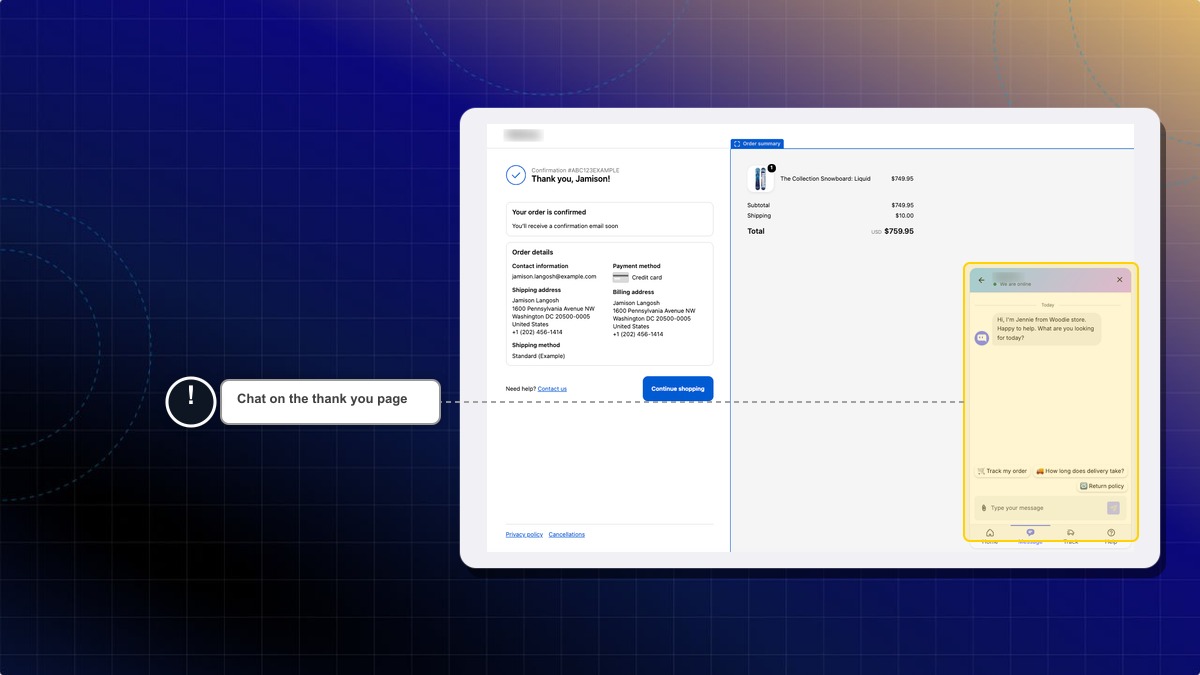
Both are turned off until you add them yourself in Shopify's checkout editor.
### Before you start
* Turn on **Display chatbox on your store** in **Chatbox**. Both extensions read that switch, and neither one renders while the chatbox is off for your store.
* Adding apps to the **checkout** page requires the Shopify Plus plan. The **thank you** page accepts apps on every Shopify plan, so start there if you don't see the checkout step.
### Add the chat to your checkout
#### In your Shopify admin, go to **Settings** → **Checkout**
#### Under **Configurations**, on the checkout profile you use, click **Edit**
#### Open the **Checkout** page in the editor
#### Click **Add app block** and pick **checkout-chat** by Chatty
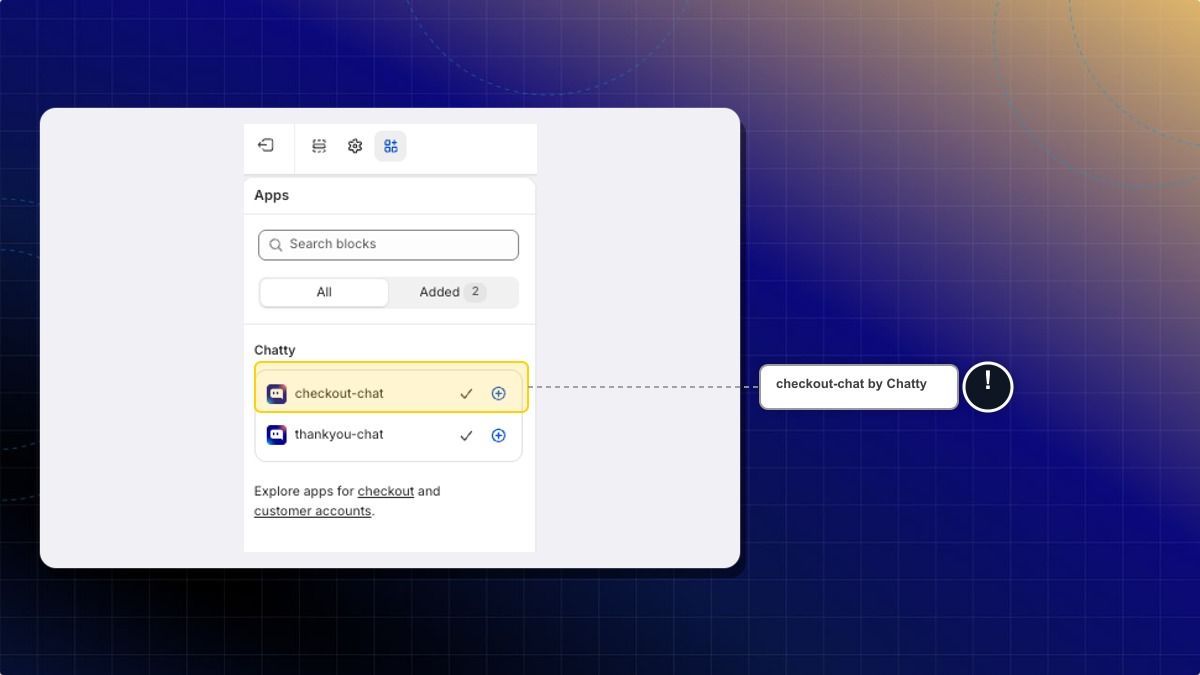
#### Click **Save**
### Add the chat to your thank you page
Same editor, different page.
#### In the checkout editor, switch to the **Thank you** page
#### Click **Add app block** and pick **thankyou-chat** by Chatty
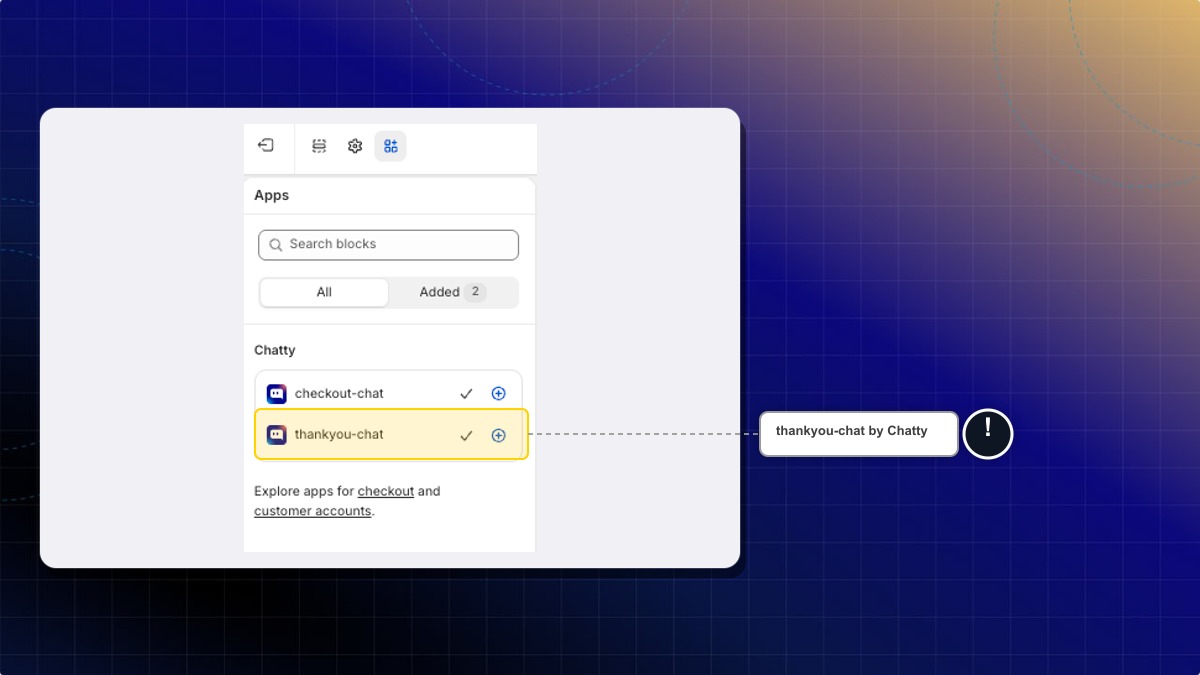
#### Click **Save**
Messages sent from the checkout and the thank you page land in your normal **Inbox**, on the same conversation as the rest of that customer's chat. Your AI agent answers them under the same instructions and training data.
### Order tracking pixel
Chatty also installs a customer event pixel on your store. You don't add it, and there's nothing to configure — it appears in **Settings** → **Customer events** in your Shopify admin.
The pixel reports four shopping moments back to Chatty:
| Event | What it tells Chatty |
| --- | --- |
| Product added to cart | The customer put an item in their cart |
| Product removed from cart | The customer took an item back out |
| Checkout started | The customer reached the checkout |
| Checkout completed | The order went through |
Your AI agent uses these to answer in context — for example, knowing what's sitting in the cart when a customer asks whether an item ships in time.
The pixel is registered for analytics only. It doesn't run for marketing or preference purposes, it never sells data, and it follows the customer privacy consent your store already collects. If a customer declines analytics tracking, the pixel stays silent for them.
### Need help?
If the Chatty block doesn't appear in your checkout editor, check your Shopify plan first, then confirm the chatbox is on in **Chatbox**. Still stuck, contact us from your Chatty dashboard with your store URL.
================================================================
URL: https://help.chatty.net/chatbox/contact-button/
Locale: en
================================================================
# Contact button
You can add contact button on your site to provide instant support and improve customer satisfaction.
You can add the contact button to your product pages, cart page, home page, and standard pages. It isn't available on collection or blog pages.
1. Go to Chatbox
2. Click **Turn on** Contact button
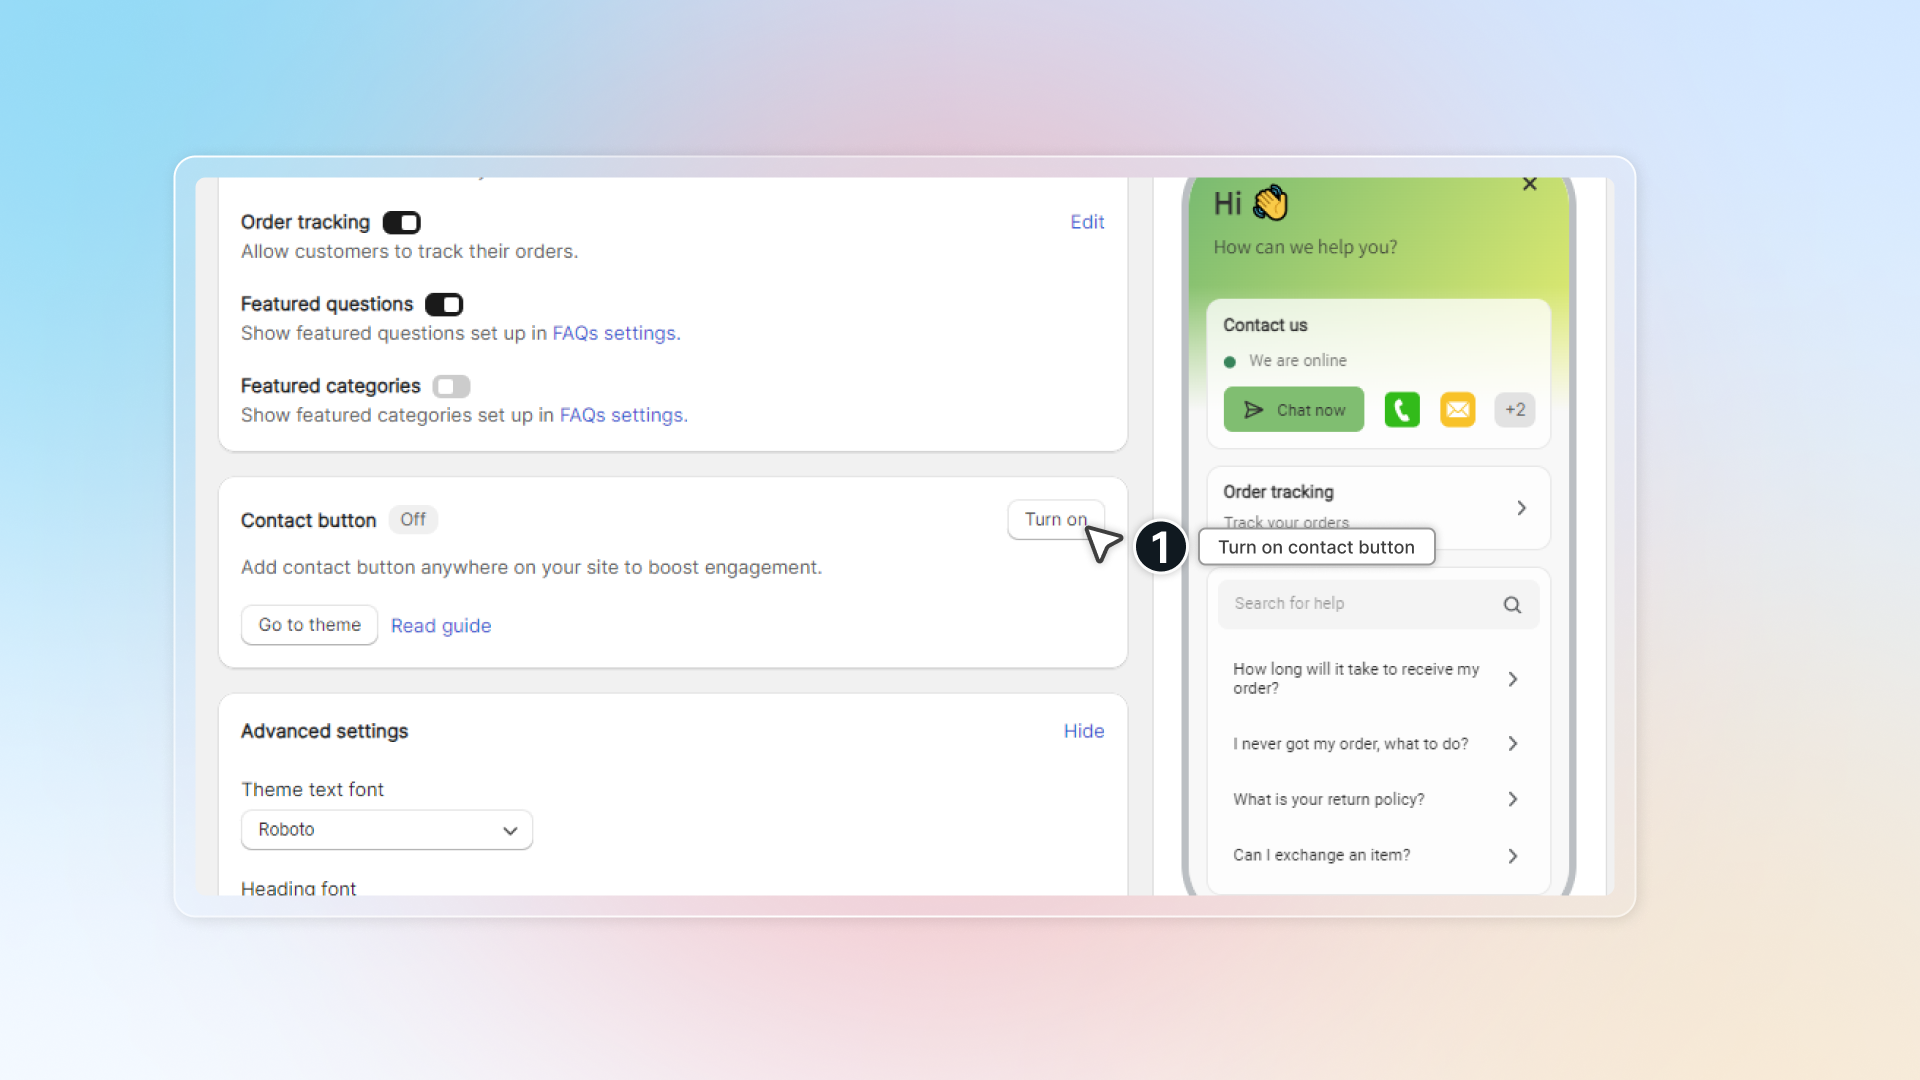
3. Click **Go to theme** to add contact button to your theme
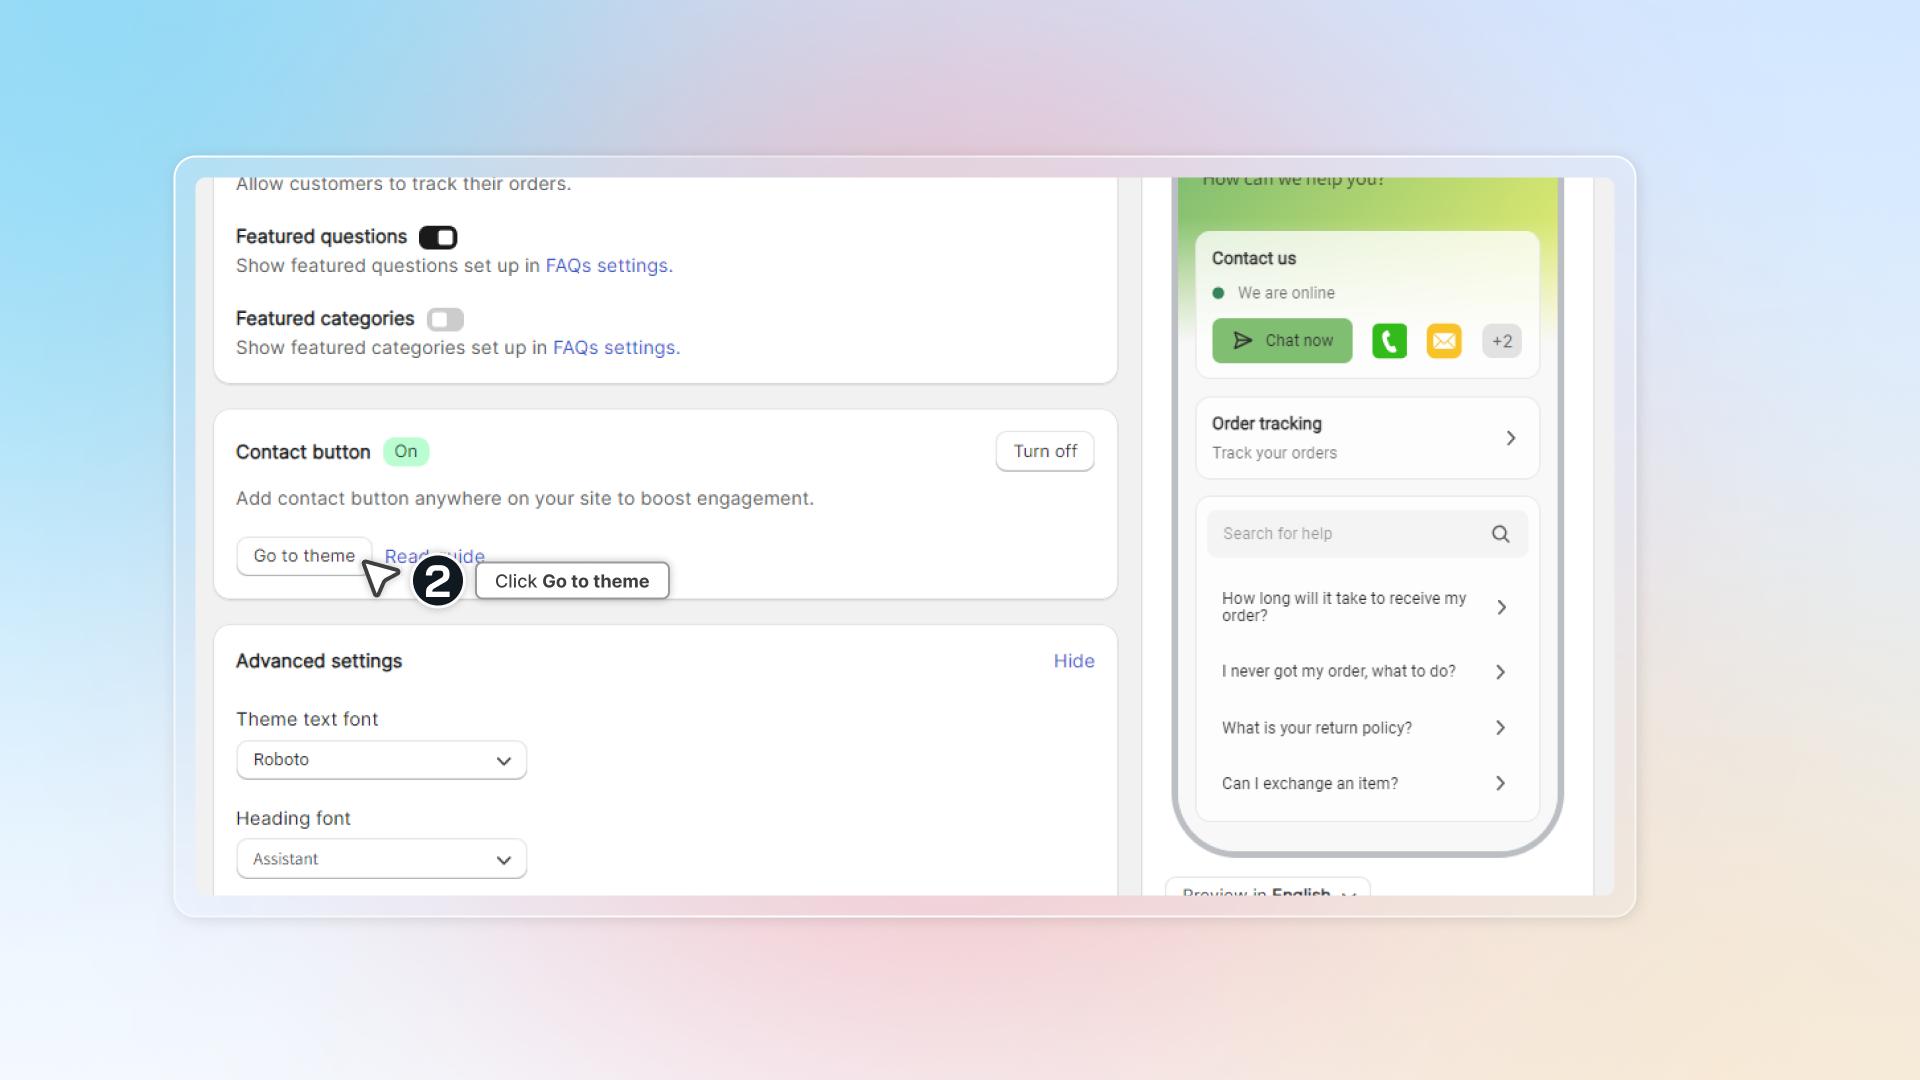
4. In theme editor, select position you want to add contact button -> Click **Add block**
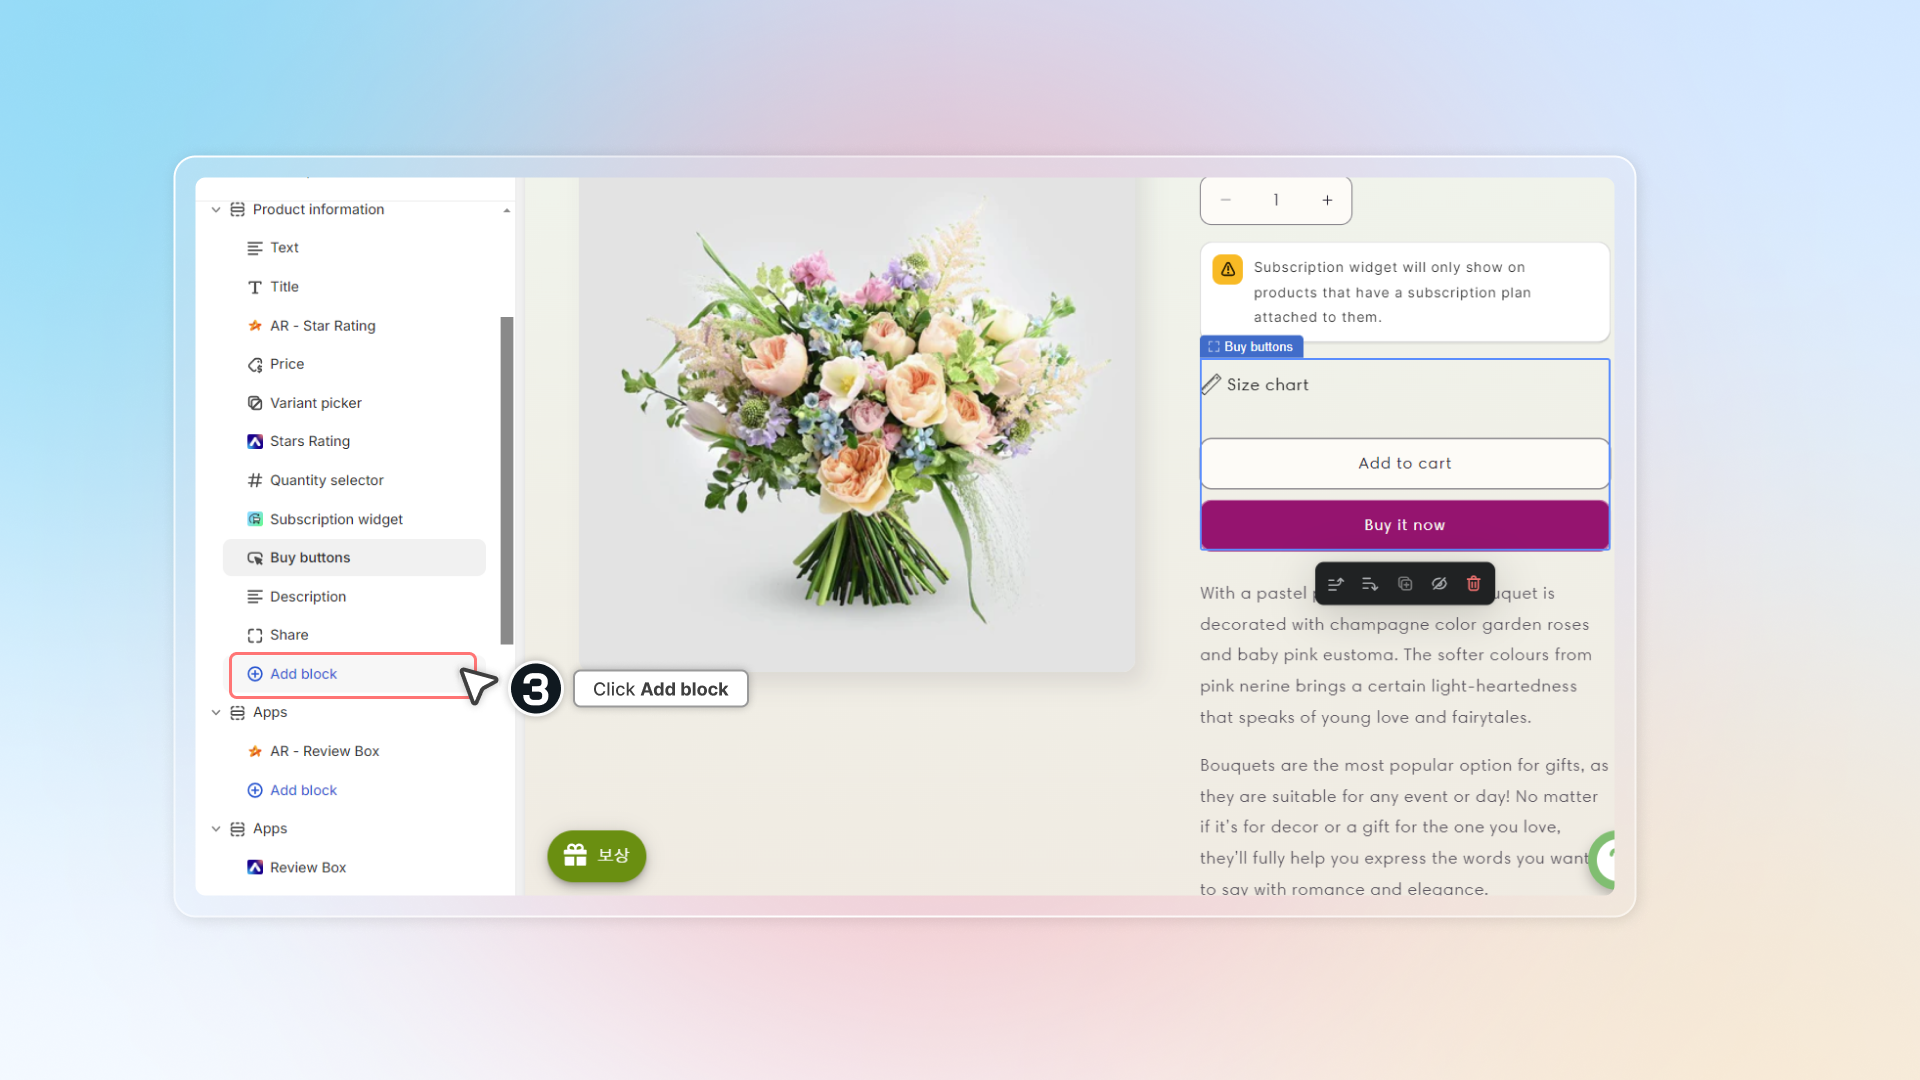
5. Under **Apps**, select **Contact button** by Chatty
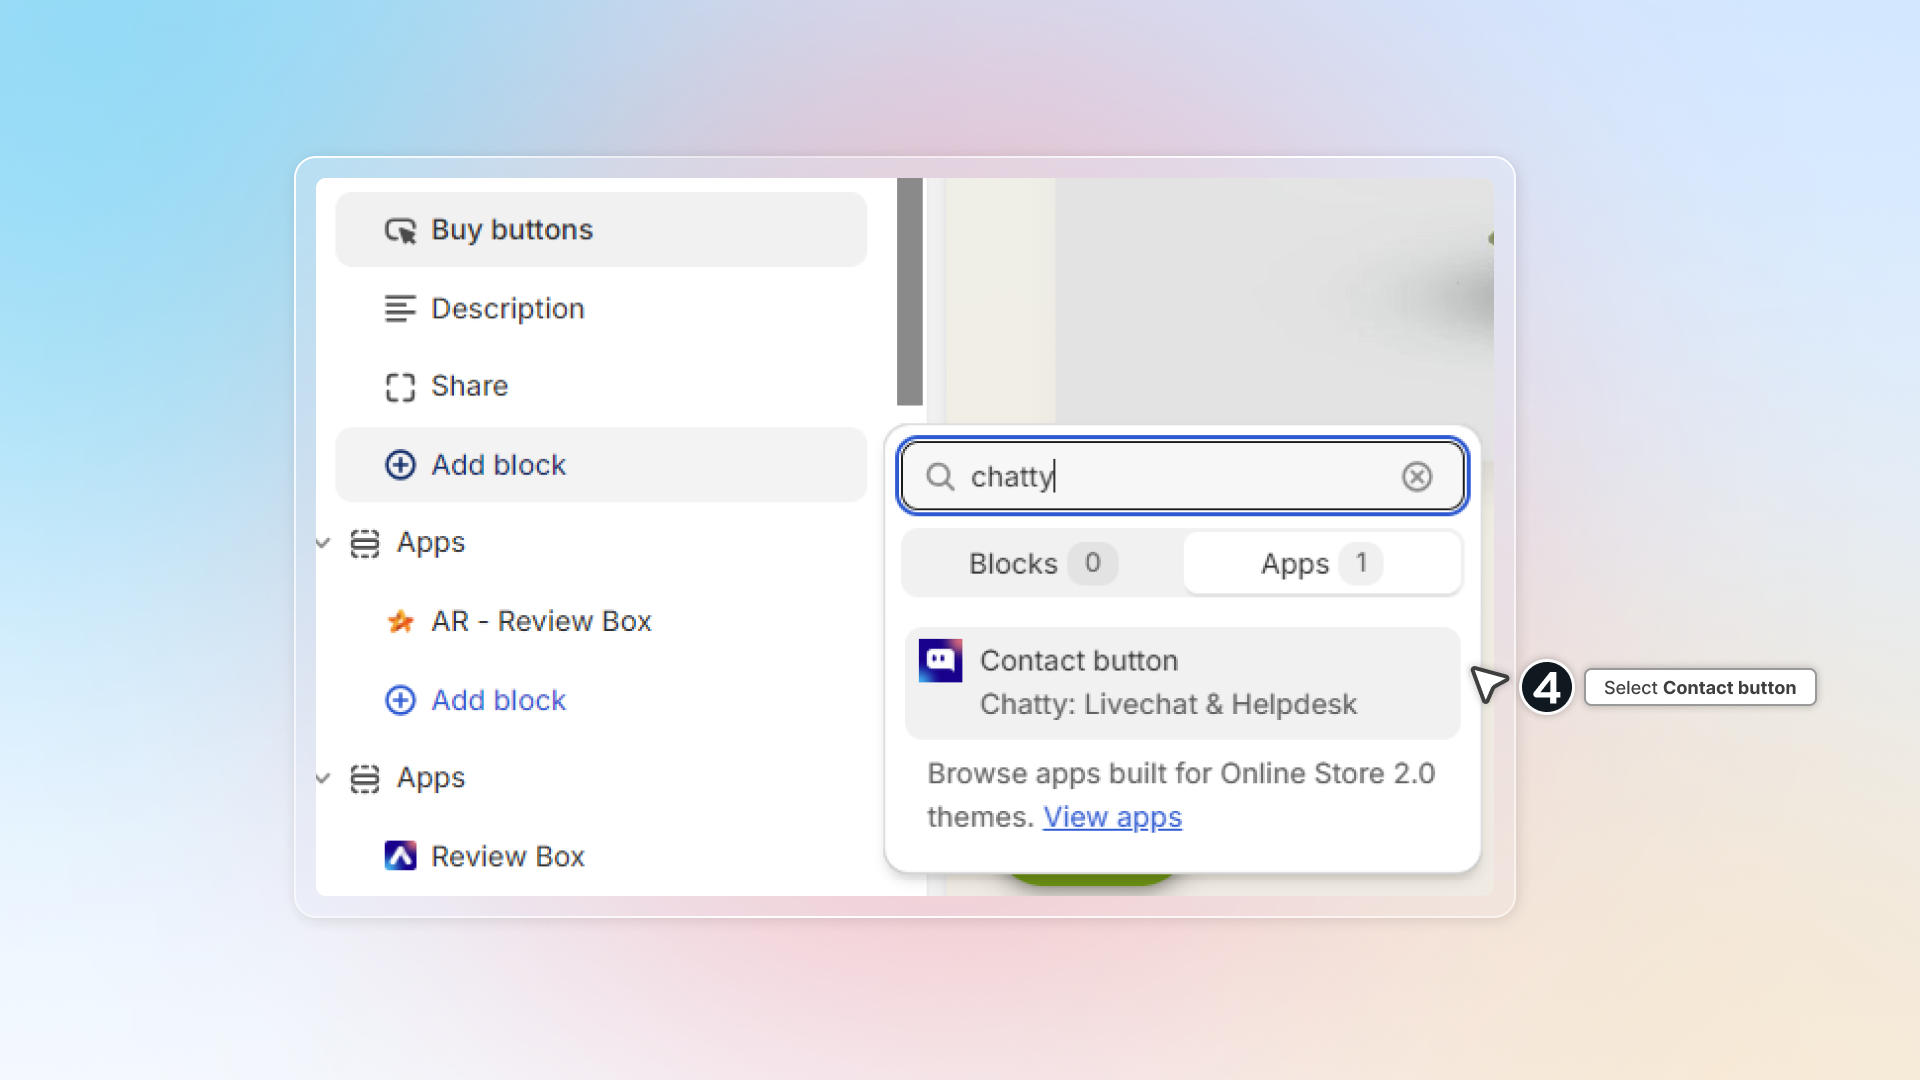
6. Set up contact button on the right panel.
You can only set up contact button with active contact methods. Active contact methods are those you set up in [chatbox blocks.](../chatbox-settings#customize-chatbox) If no contact method is on, the **Contact button** block doesn't show up in the theme editor at all.
The panel has these settings:
| Setting | Options |
| --- | --- |
| **Contact** | WhatsApp, Messenger, Phone call, Email, Instagram, Telegram, Skype, Line, Chatbox, Zalo, SMS, TikTok |
| **Button shape** | Round, Square |
| **Label** | Your own text, `Chat with us` by default |
| **Button background color**, **Label color** | Any color |
| **Width** | Original, Fill |
| **Device** | Mobile & desktop, Mobile, Desktop |
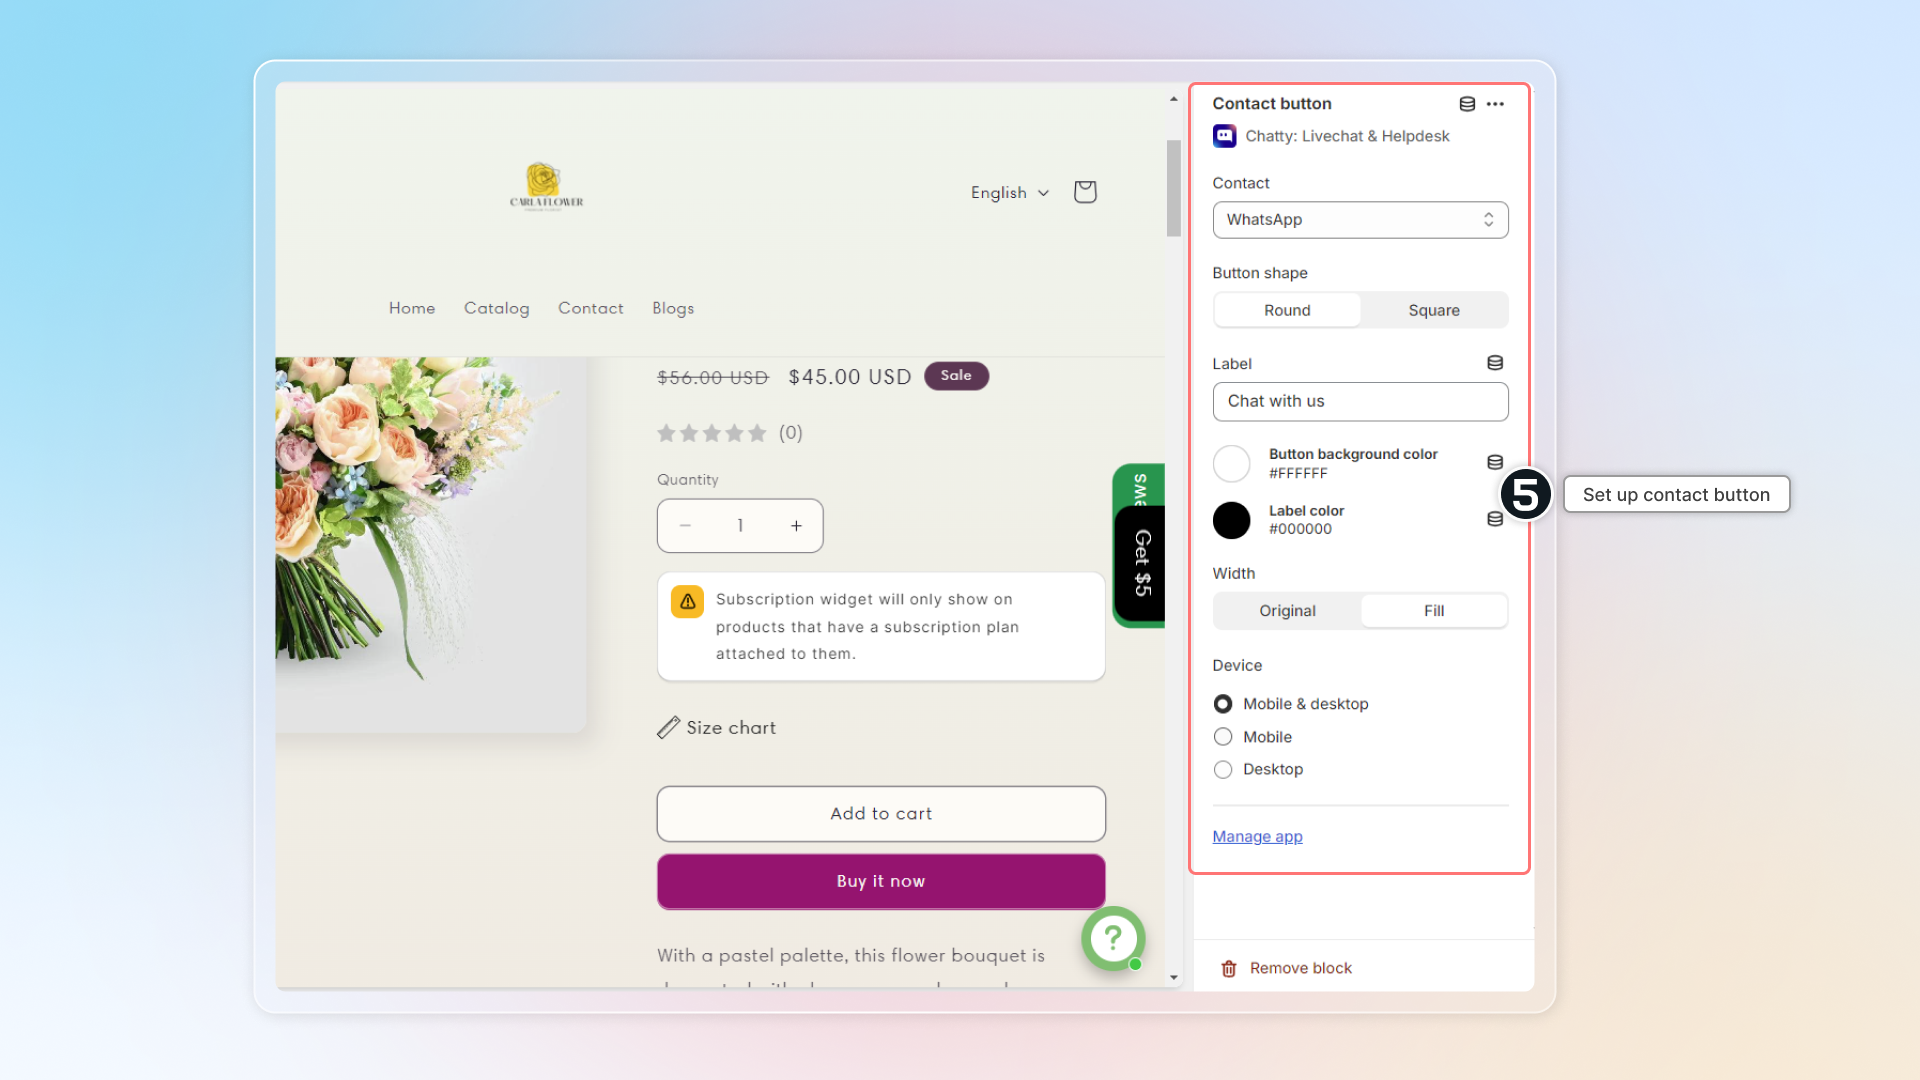
### Remove contact button
To remove contact button, go to theme editor, click on the Contact button block and click **Remove block.**
If you delete contact method in Chatty, contact button won't be deleted. Go to theme editor and delete that block.
================================================================
URL: https://help.chatty.net/chatbox/customer-chat-experience/
Locale: en
================================================================
# What customers see in the chatbox
Your [chatbox settings](/chatbox/chatbox-settings/) decide how the chatbox looks. This page covers what a shopper can actually do inside it, so you know what to expect when someone asks.
### Opening the chatbox
Shoppers open the chatbox from the floating button in the corner of your store. If a desktop visitor has not opened it during their visit, the button bounces once after 30 seconds to draw attention. It does not bounce on mobile, and it never bounces again once the visitor has opened the chatbox.
### Moving around
A navigation bar sits at the bottom of the chatbox with up to four tabs:
| Tab | What the shopper does |
| --- | --- |
| **Home** | Lands on the opening page with the blocks you turned on: contact methods, order tracking, featured questions and categories. |
| **Message** | Chats with your AI agent or your team. |
| **Track** | Looks up an order. Only appears when the order tracking block is on. |
| **Help** | Browses your FAQ categories, opens an answer, or searches your questions. |
You can hide this bar in **Chatbox → Appearance → Chatbox style**. The tabs also disappear on their own when you turn the matching block off.
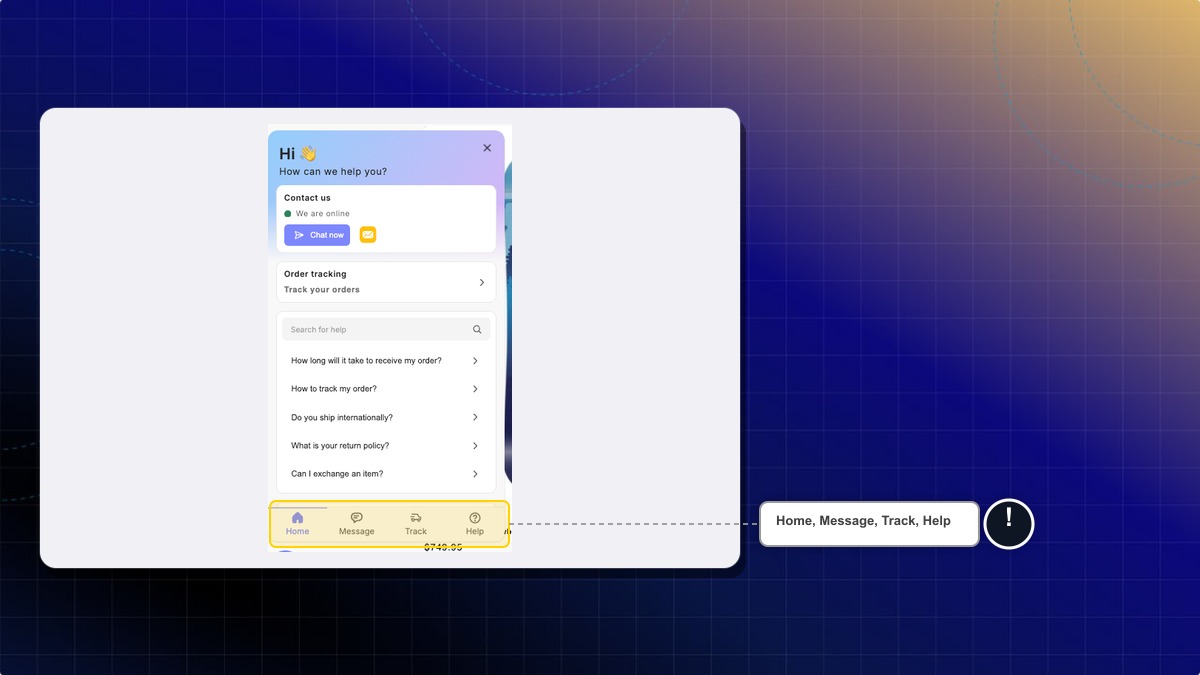
#### Making the chatbox bigger
On the Help tab — a category list, a single answer, or search results — a desktop shopper can click the expand icon in the header to widen the chatbox for easier reading, then click again to shrink it back. The icon is not offered on mobile or on the other tabs.
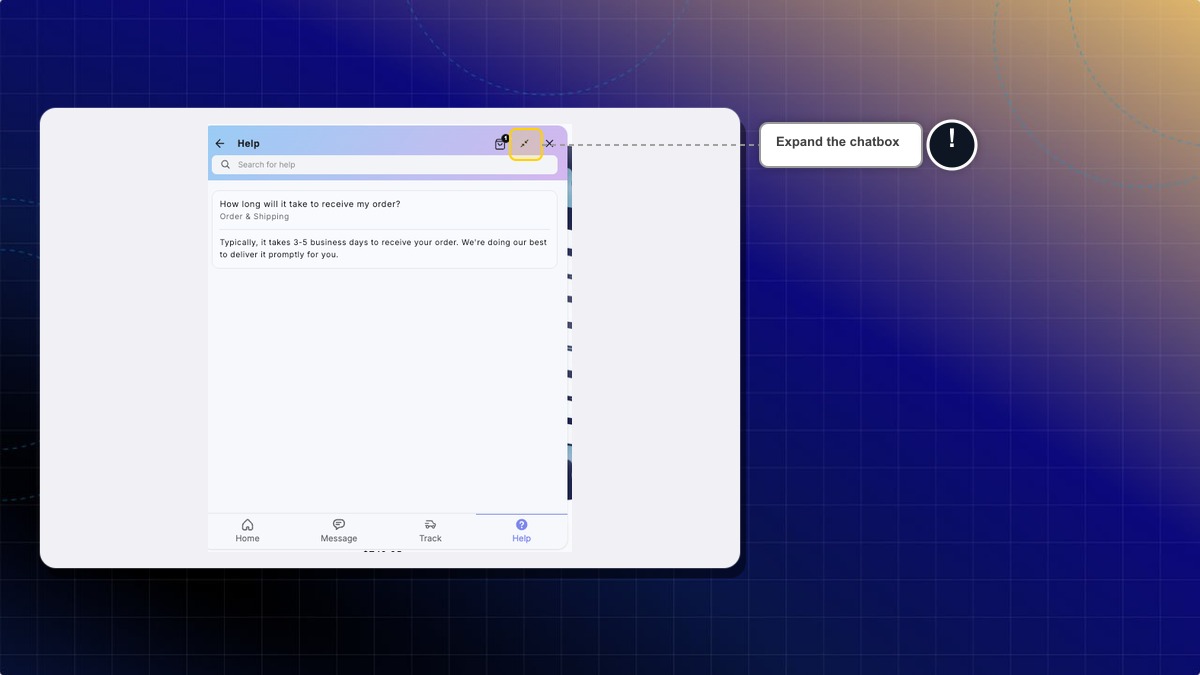
### The three-dot menu
The menu in the chatbox header appears once a shopper is on the Message tab and has sent at least one message. What it holds depends on your settings.
**Continue as email** moves the conversation to email so the shopper can reply from their inbox. It shows only when you have turned on Continue as email in **Chatbox → Advanced** and your store has an email channel connected.
**Reset conversation** clears the current chat and starts a fresh one. Use this as your answer when a shopper says the AI is stuck on an old topic. Resetting does not delete the transcript from your Inbox, and it does not use an extra AI conversation from your plan within the same 24 hours.
**Email transcript** lets the shopper type an address and have a copy of the chat sent to it. Handy when a customer wants a record of what your AI promised.
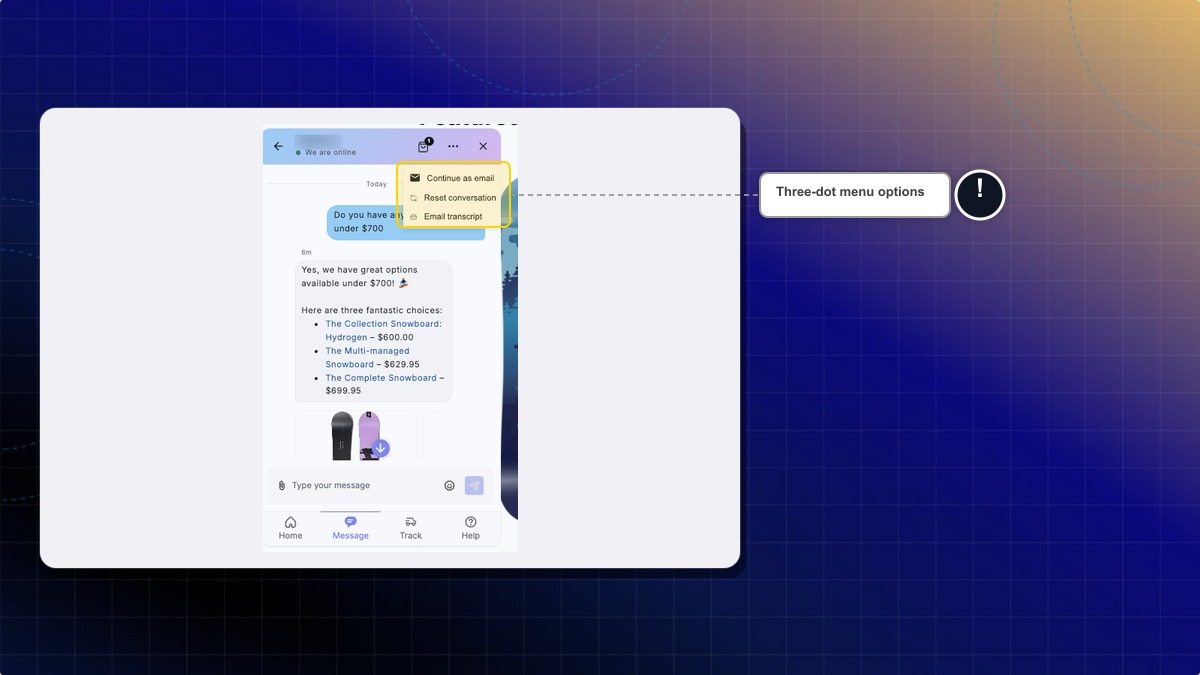
### Notifications while browsing
When your AI or one of your agents replies, the shopper hears a short notification sound. If they have switched to another browser tab, the number of unread replies is added to the front of the tab title, so they notice the reply without staying on your store. The count clears the moment they come back to the tab.
This is separate from the [unread message counter](/chatbox/chatbox-settings/#unread-message-counter) on the chat button itself.
### Rating your support
After a chat has gone quiet, the shopper can be asked to rate the help they got and leave a written comment. Turn this on in **Settings → Automation → Satisfaction survey**, where you also control the rating format and the wording. Ratings land against the conversation in your Inbox.
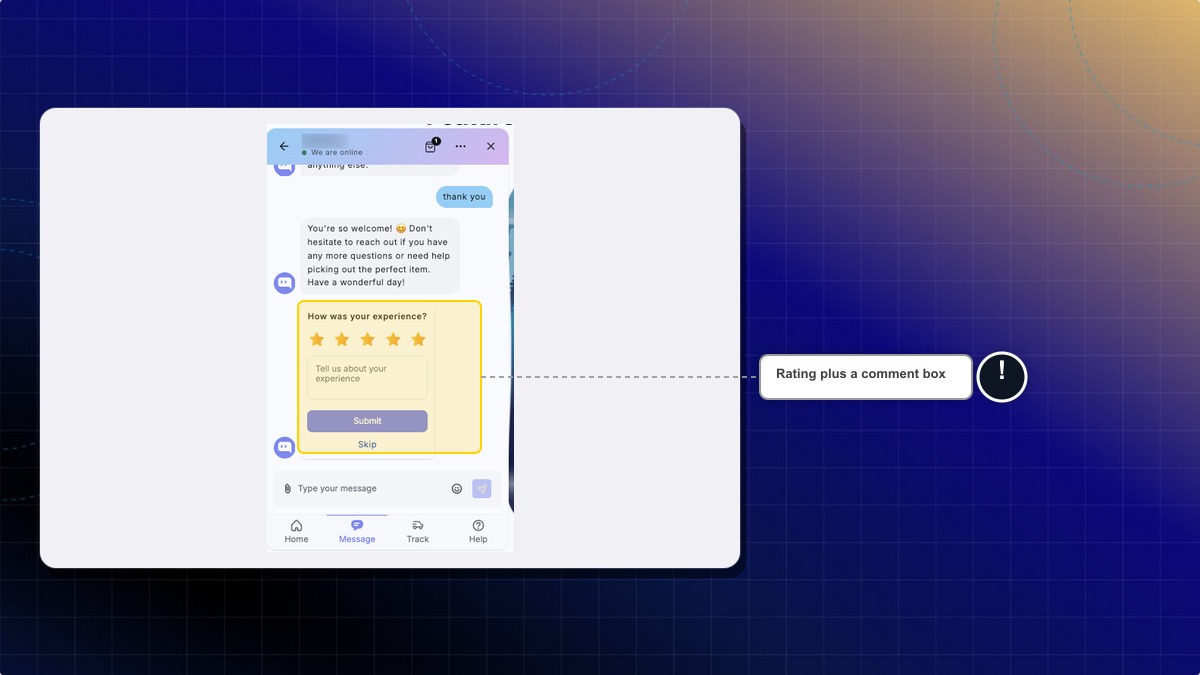
================================================================
URL: https://help.chatty.net/chatbox/deep-links/
Locale: en
================================================================
# Deep links
### What is deep links?
Deep links allow you to create a special URL. When this URL is clicked, it automatically opens the Chatty chatbox on your Shopify store page.
You can add this link to a button or a hyperlink text that you want to use as a trigger.
### How does it work?
1. Go to "Chatbox" -> Click **Advanced**
2. Copy deep link. If you want to open tab "Order tracking" in chatbox, copy deep link of Order tracking.
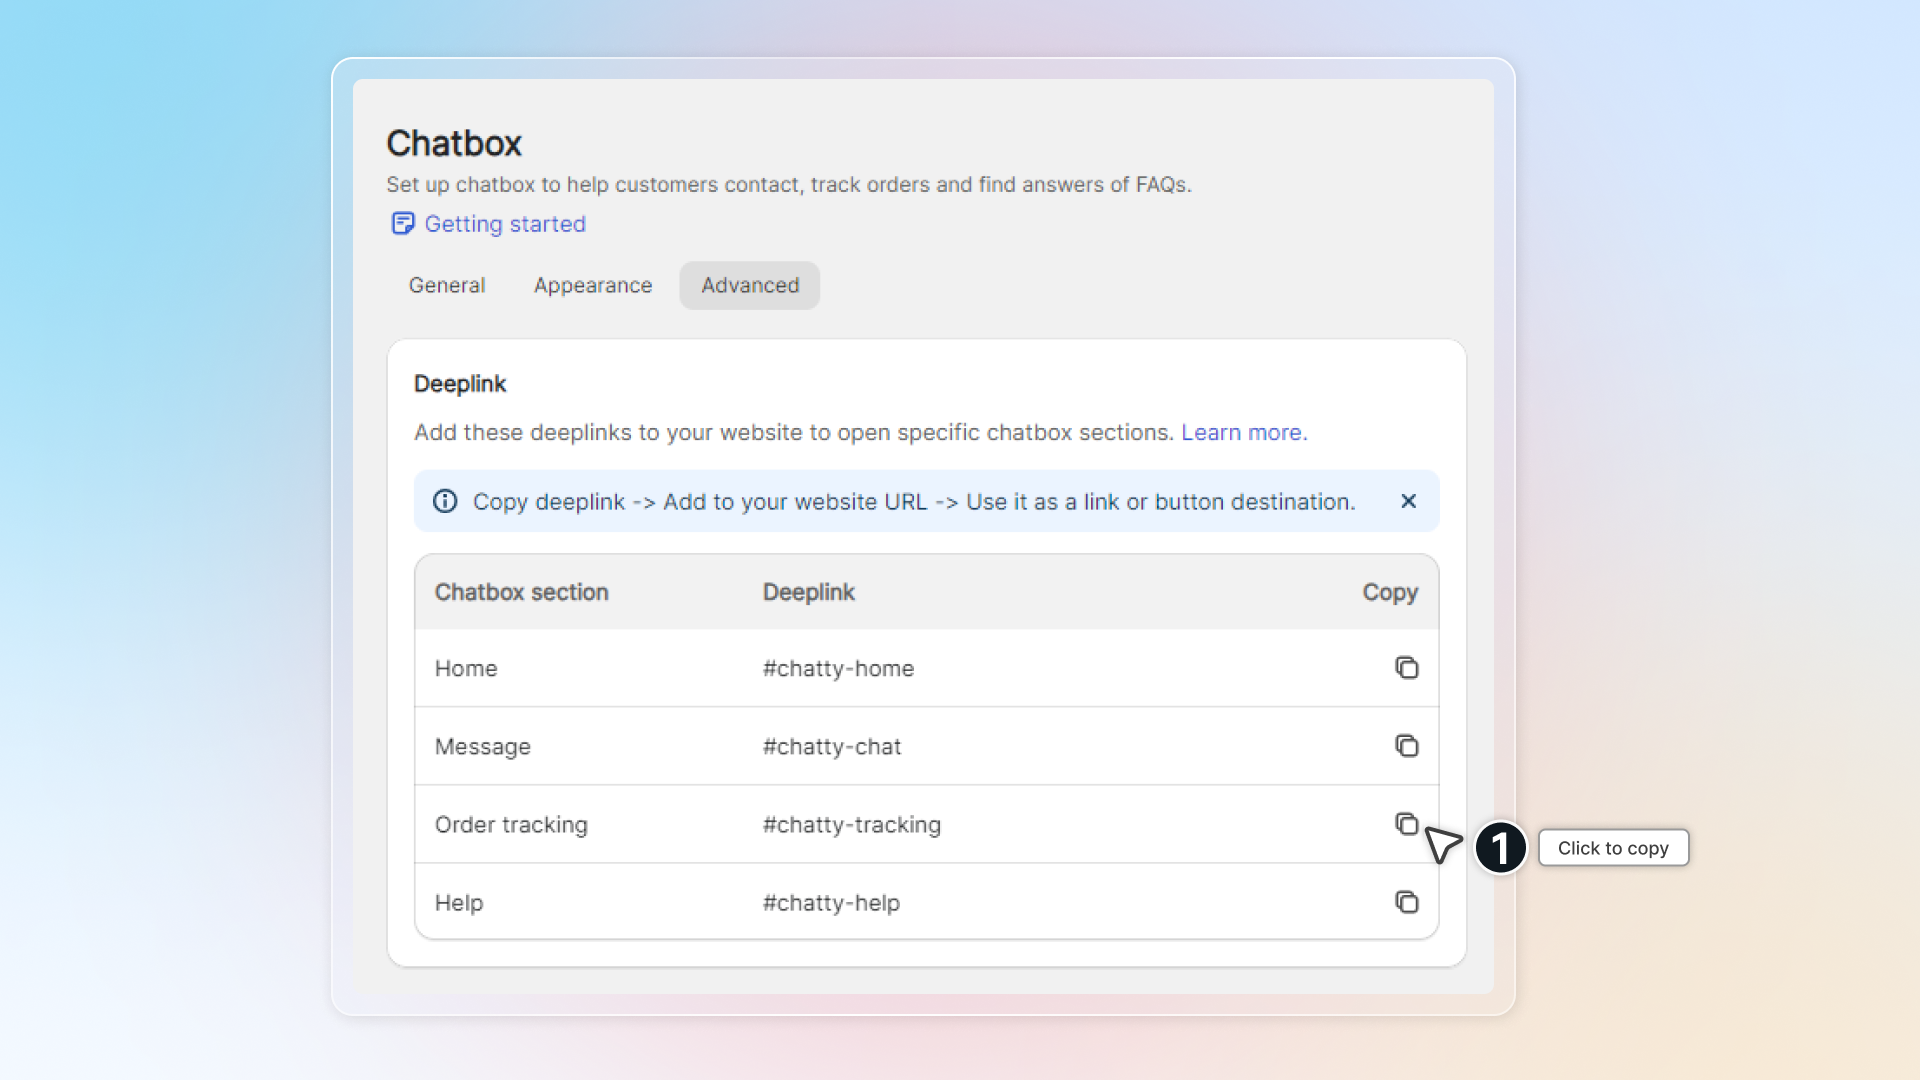
3. Add to your URL.
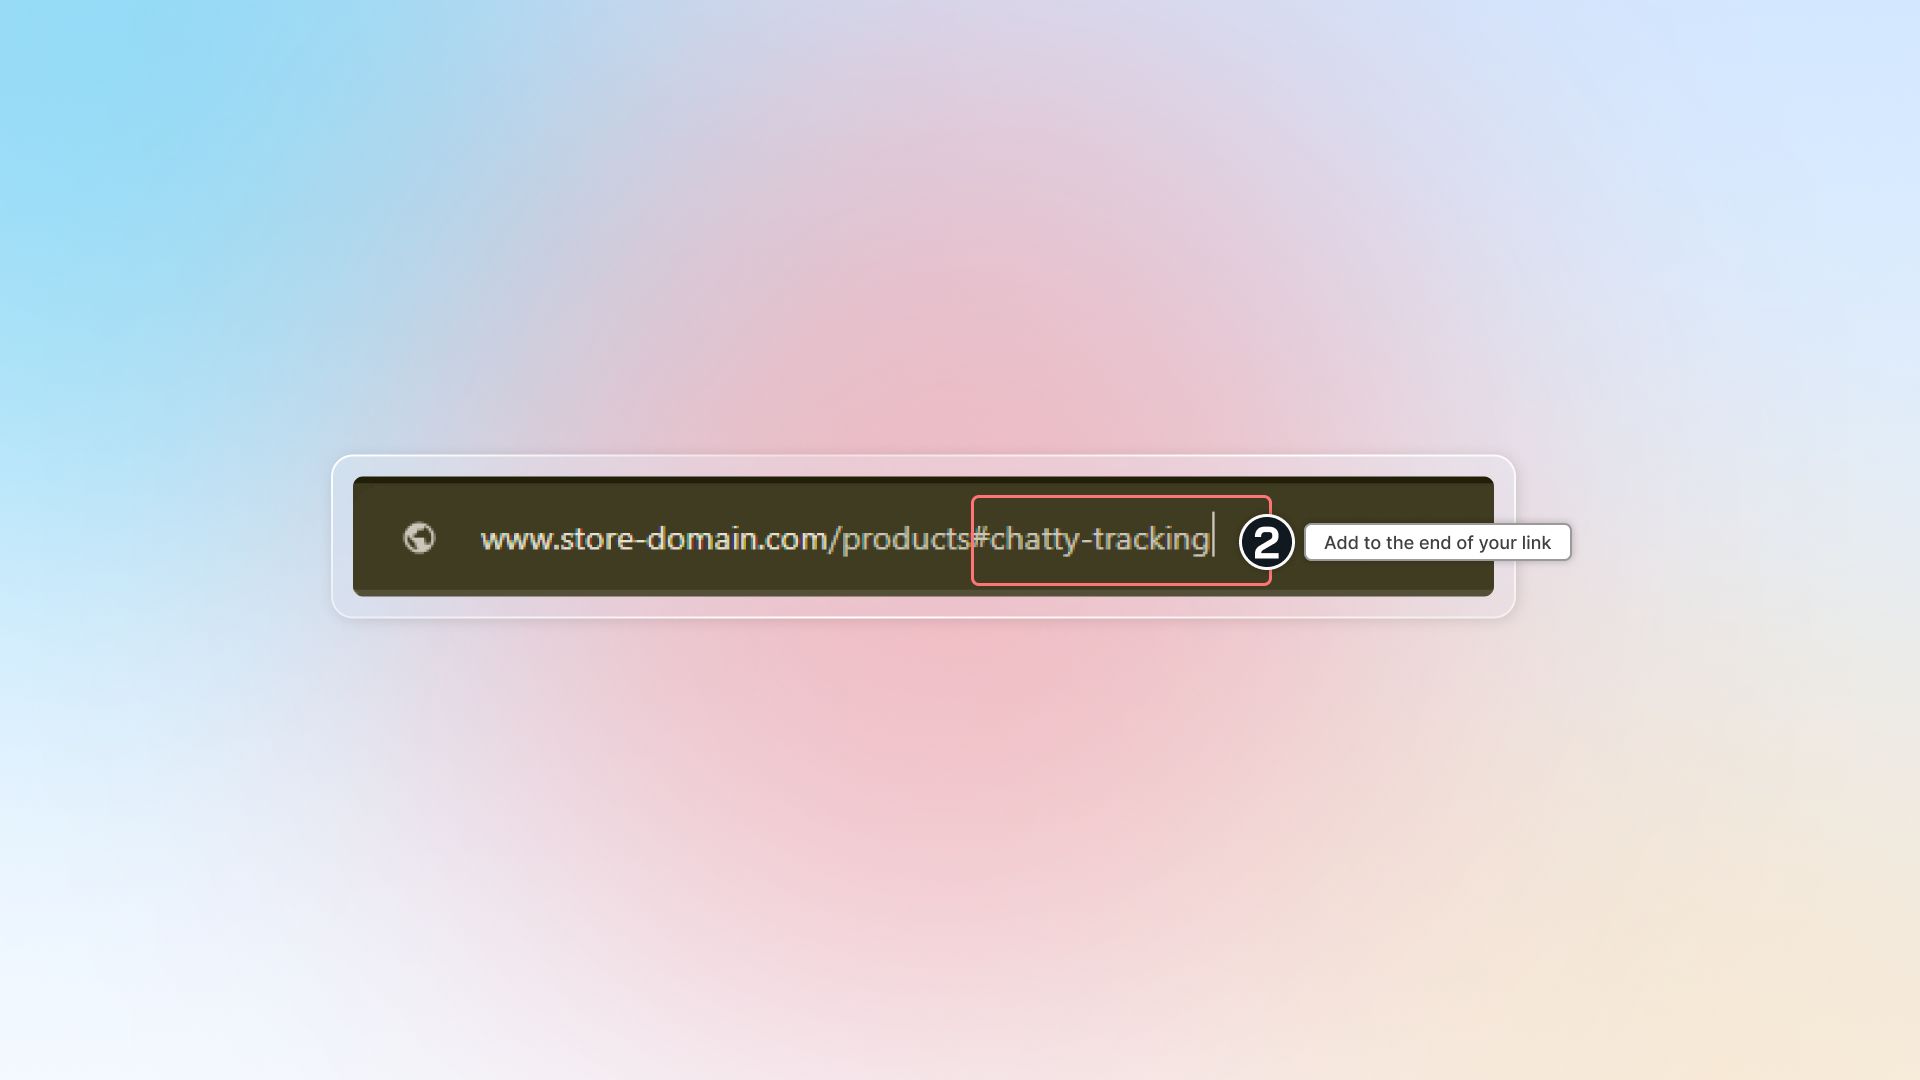
4. Add link to a button or anything on your website to use as a trigger.
For example, you can add a new button in your navigation.
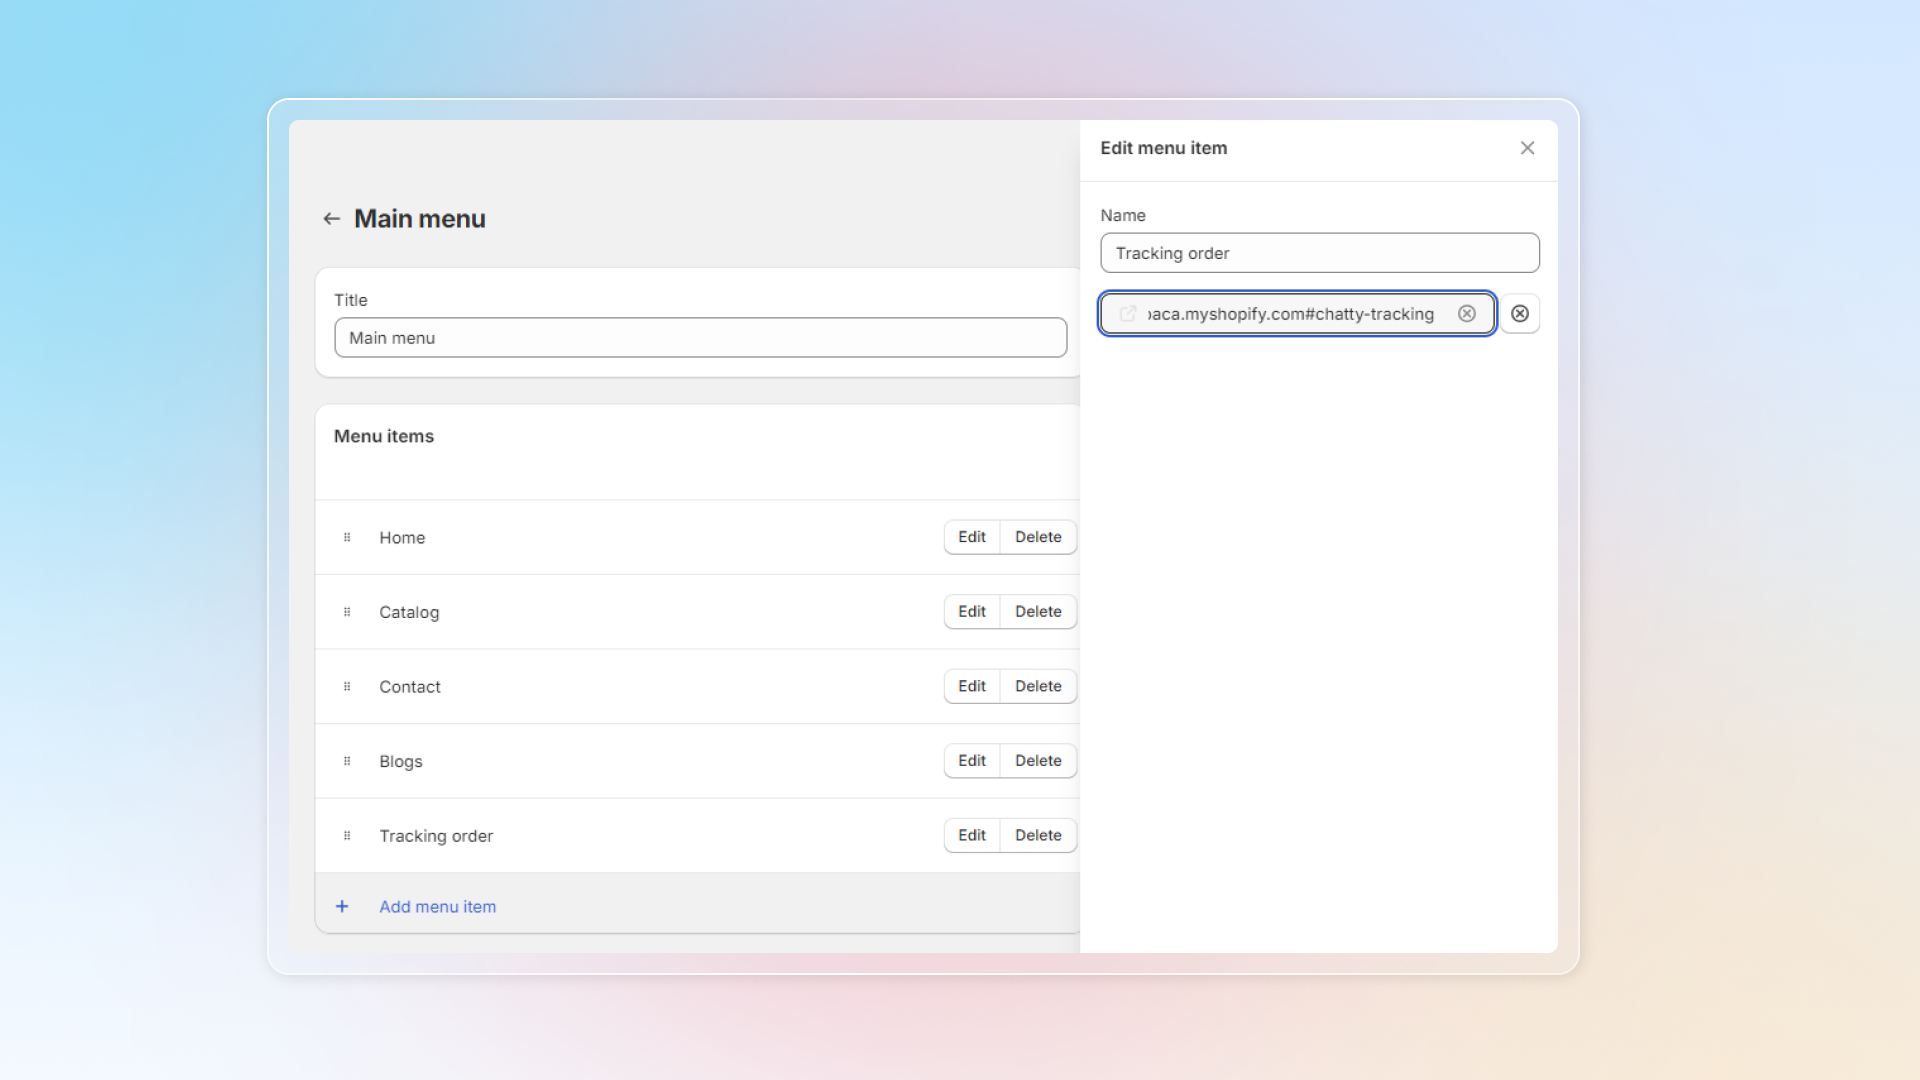
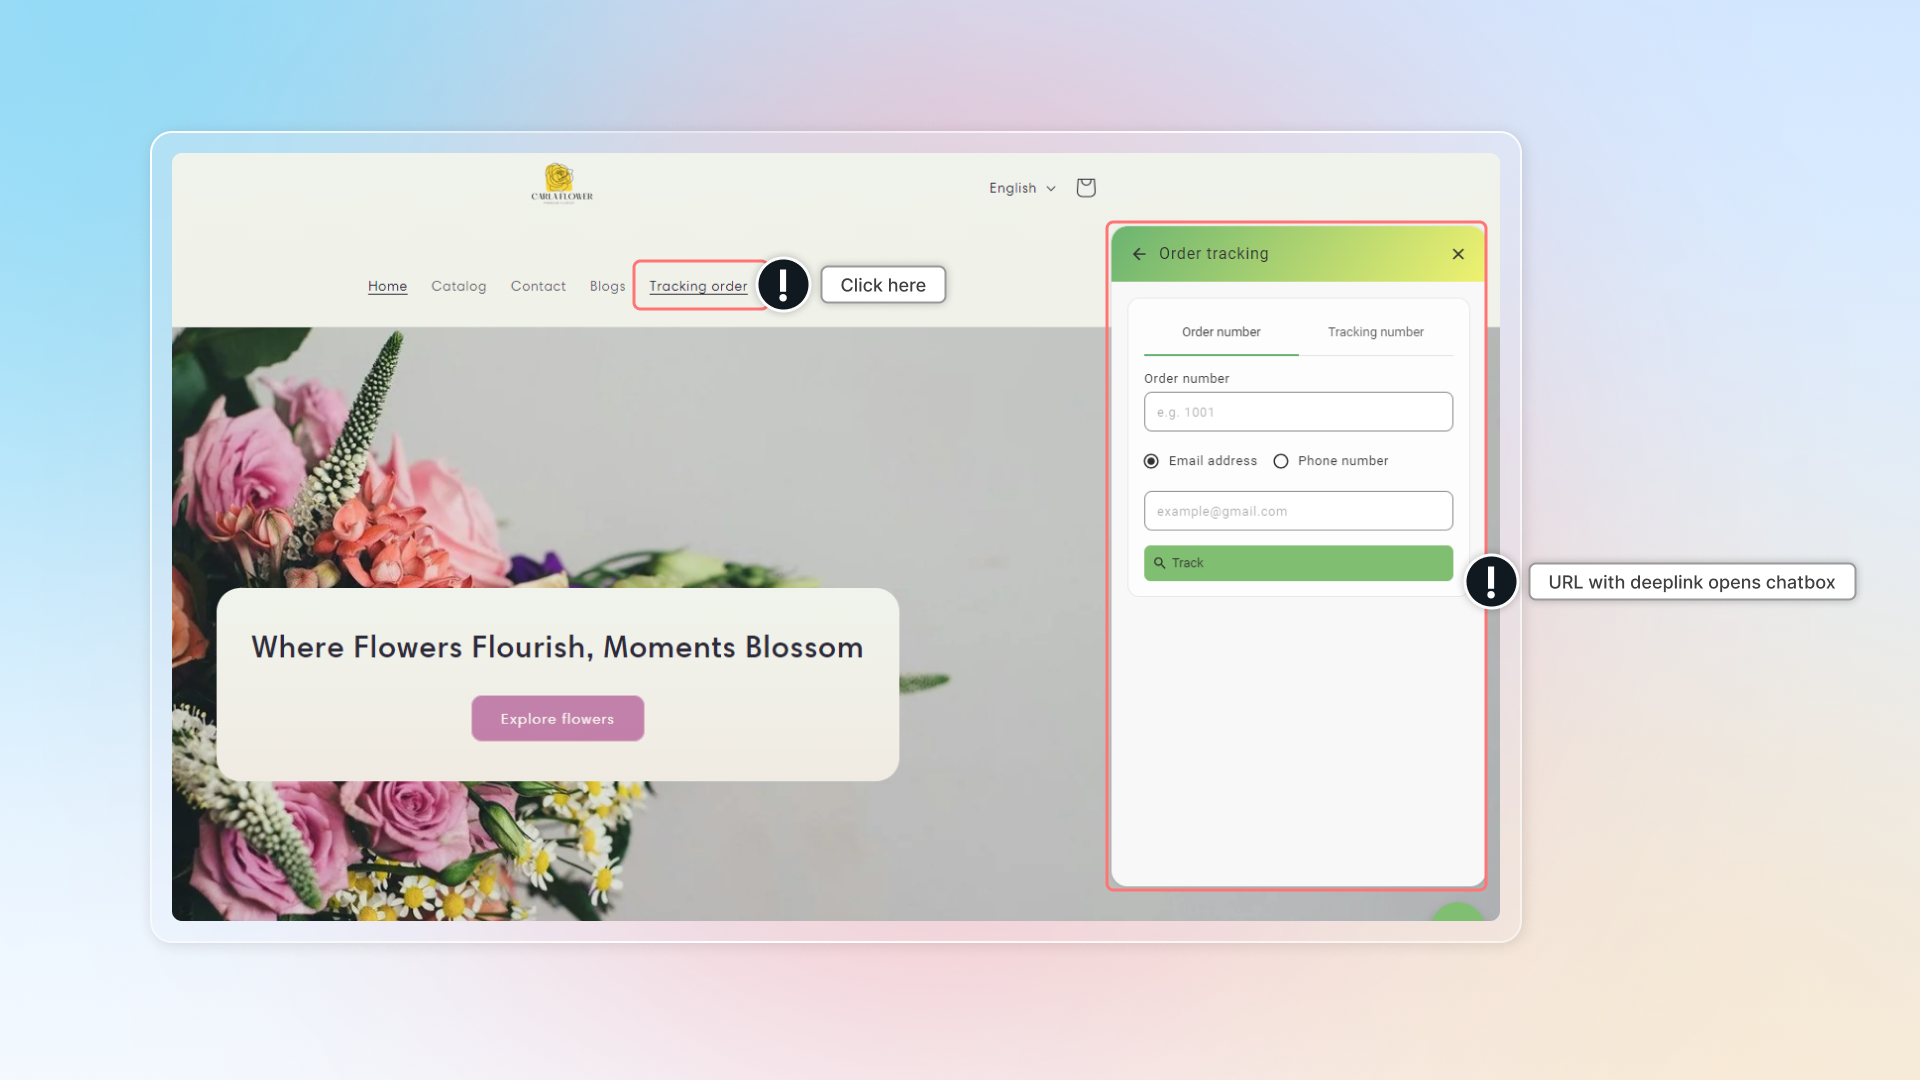
================================================================
URL: https://help.chatty.net/chatbox/embedded-chatbox/
Locale: en
================================================================
# Embedded chatbox
### What is embedded chatbox?
Embedded chatbox lets you add your complete chatbox directly into any page on your store as a full-width section.
Unlike the floating chatbox button, this embeds the entire chat interface seamlessly into your page layout.
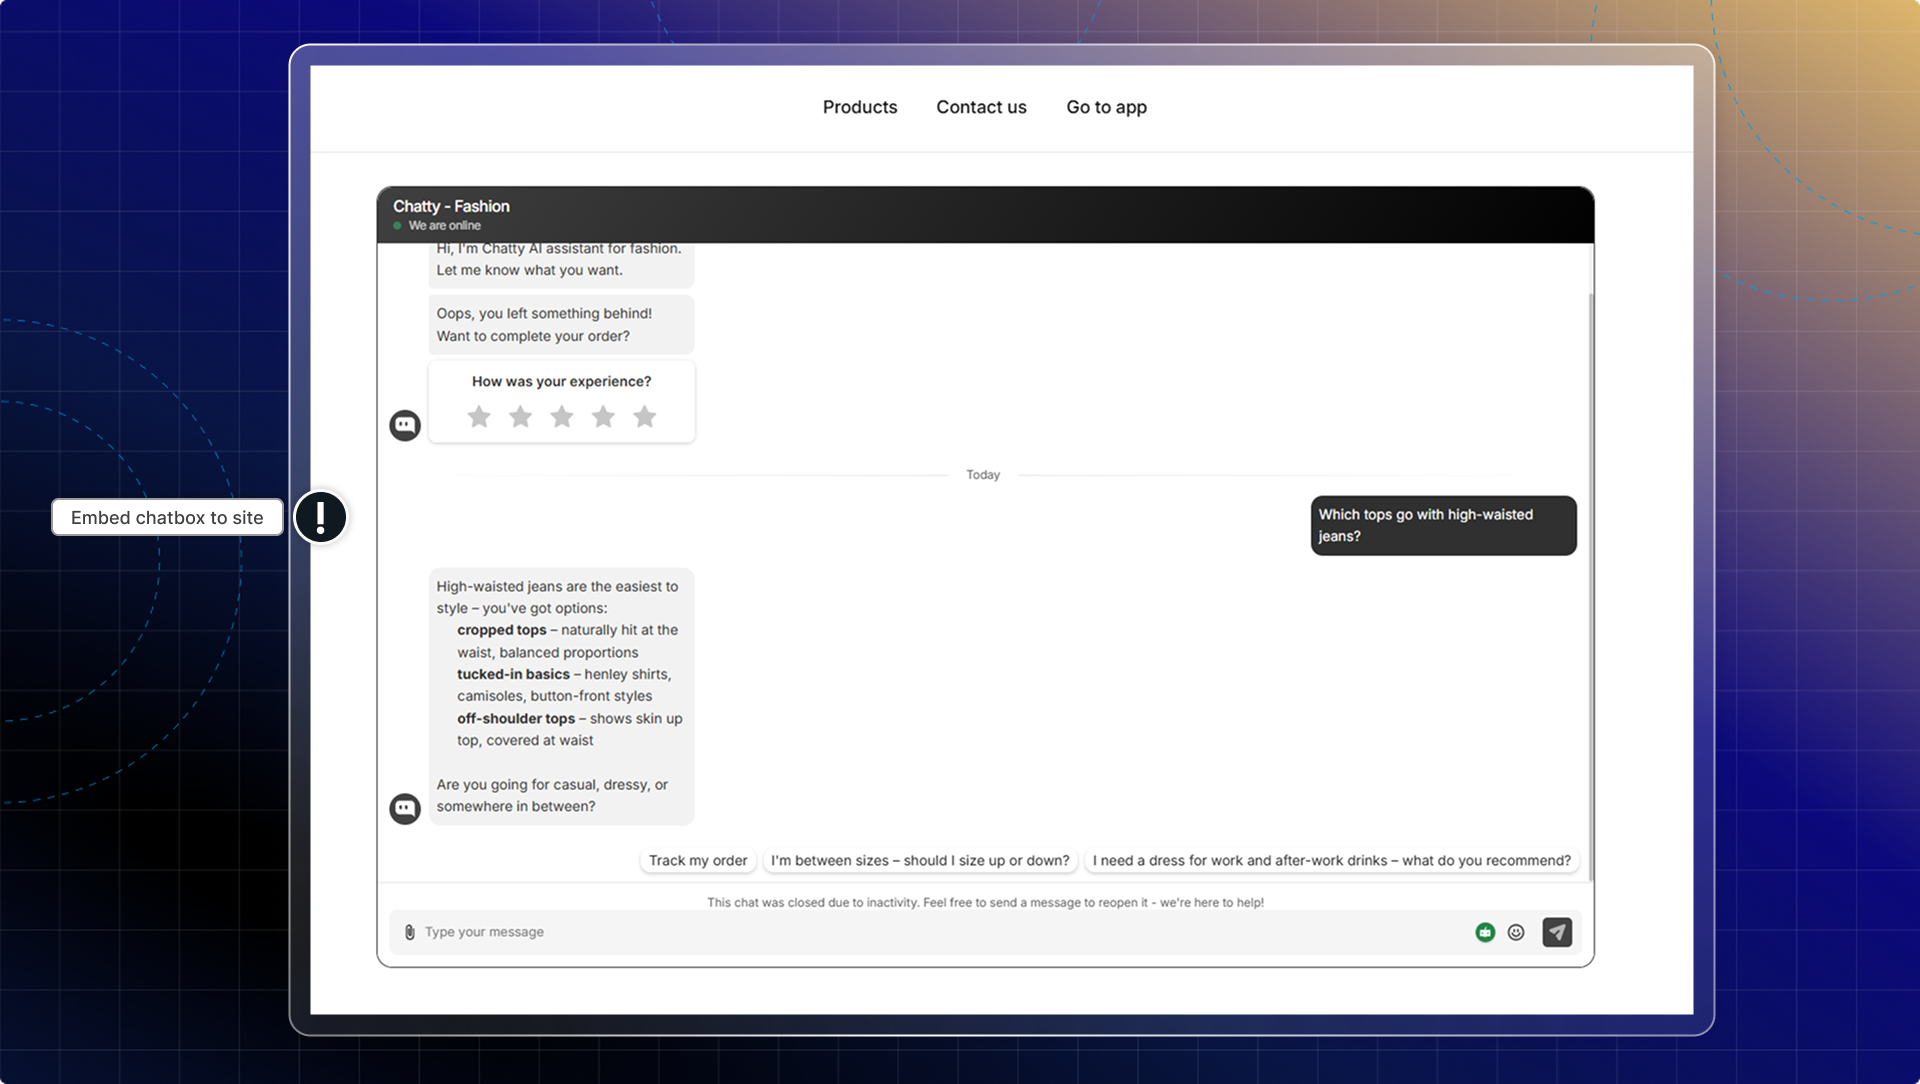
You can embed the full chatbox experience directly into specific pages like:
* Dedicated support or contact pages
* Product information pages
* FAQ pages with live support access
| | Floating chatbox | Embedded chatbox |
| --- | --- | --- |
| Display | Button that opens overlay | Full interface built into page |
| Visibility | Available on all pages | Only on pages where you add it |
| Space usage | Floats over content | Takes up section space on page |
| Best for | Store-wide availability | Dedicated support pages |
You can use both embedded and floating chatbox together. For example, have floating chat available everywhere, plus embedded one on your contact page.
### How to add embedded chatbox to your page
#### Go to Chatbox
#### In the **Advanced** tab, find **Embedded chatbox**
#### Click **Go to theme**
#### You'll land in your theme editor on the product template. Switch to the page you want first if you're adding the chatbox somewhere else.
#### Click **Add section**, open **Apps**, and pick **Embedded chatbox**
#### Set up the section on the right panel
#### Click **Save**
The section panel has these settings:
| Setting | What it does |
| --- | --- |
| **Width size** | Chatbox width in pixels. Ignored while **Fill** is on. |
| **Fill** | Stretches the chatbox to the full width of the section. On by default. |
| **Widget style** | **Border** or **Shadow** around the chatbox. Border by default. |
| **Widget border color** | Border color, used when the style is Border. |
| **Online status** | Shows or hides your online status inside the embedded chatbox. |
| **Widget radius** | Corner rounding in pixels. `0` by default. |
| **Device** | Show on **All**, **Desktop** only, or **Mobile** only. |
================================================================
URL: https://help.chatty.net/chatbox/widget-display-rules/
Locale: en
================================================================
# Widget Display Rules
## What are Widget Display Rules?
Widget Display Rules enable you to manage which store pages display or conceal the Chatty chat widget. You can employ simple wildcards or comprehensive regular expressions to match multiple pages simultaneously without enumerating each URL individually.
This proves beneficial when you need to:
- Hide the widget on all policy or legal pages (e.g. `/pages/terms`, `/pages/privacy`)
- Show the widget only on product and collection pages
- Target a group of URLs that share a common pattern
## Where to find it
Navigate to **Settings** → **General Settings** → **Advanced** → **Widget Display**.
## How it works
Widget Display provides two controls:
- **Show on specific pages** — the widget only appears on pages that match
- **Hide on specific pages** — the widget appears everywhere except pages that match
Each control includes a **Custom URL Regex** option for entering your own URL patterns.
## Writing patterns
Enter one pattern per line using:
| Pattern type | Example | What it matches |
| --- | --- | --- |
| Wildcard | `/pages/*` | All URLs that start with `/pages/` |
| Full regex | `/^\/pages(\/.*)?$/` | `/pages` and any sub-path under `/pages/` |
| Exact path | `/contact` | Only the `/contact` page |
**Limits:**
- Maximum 50 patterns
- Maximum 200 characters per pattern
## Inline validation
Incorrect pattern formats trigger error messages below the input field. Patterns must be corrected before saving — settings won't save with invalid patterns present.
## Examples
**Hide widget on all /pages/ URLs:**
```
/pages/*
```
**Hide widget on terms, privacy, and refund pages only:**
```
/pages/terms
/pages/privacy-policy
/pages/refund-policy
```
**Show widget only on product pages (regex):**
```
/^\/products(\/.*)?$/
```
Wildcards use `*` to match any characters. Full regex patterns must start and end with `/` and follow standard JavaScript regex syntax.
================================================================
URL: https://help.chatty.net/faqs/
Locale: en
================================================================
# FAQs
The most common questions about Chatty, grouped by topic. Each answer is the short version — open the linked guide when you need the full steps.
### Plans, pricing & billing
| Question | Short answer | Full guide |
| --- | --- | --- |
| Is there still a free plan available? | Yes. The Free plan stays available with its current features. | [Pricing](/product-roadmap/pricing/) |
| How much do the paid plans cost? | Monthly: Basic $19.99, Pro $68.99, Plus $199. Annual: Basic $16.99/month, Pro $58.99/month, Plus $169.99/month. | [Pricing](/product-roadmap/pricing/) |
| What additional features do the paid plans offer? | More AI conversations and training sources, AI handover and after-sales service, multi-channel inbox, team seats, auto translate, full chatbox customization. Pro and Plus add AI shopping, size guide, AI channels and API support. | [Pricing](/product-roadmap/pricing/) |
| Will there be a trial period for the paid features? | Yes, 7 days on any paid plan. You can cancel anytime during the trial. | [Pricing](/product-roadmap/pricing/) |
| Will I lose access to the features I'm currently using for free? If no, what are free features? | Free keeps working but is limited: default chatbox preset only, no auto translation, 90 days chat history, 1 email address, no shopping cart view. | [Pricing](/product-roadmap/pricing/) |
| Are there any discounts for long-term subscriptions? | Yes. Annual billing saves around 15% against monthly, and seasonal deals appear in the app. | [Pricing](/product-roadmap/pricing/) |
| How to apply a discount code? | Go to **Subscription**, enter your code in **Discount code** and click **Apply**. | [Pricing](/product-roadmap/pricing/) |
| What happens to my existing data and settings if I don't upgrade? | Your settings and data stay safe. | [Pricing](/product-roadmap/pricing/) |
| Will my chat history be affected if I don't upgrade? | Chat history older than 90 days is removed on the Free plan. | [Pricing](/product-roadmap/pricing/) |
| Can I have a refund? | Yes. A 30-day money back guarantee runs from the start of your free trial, for cancellations in the first cycle or an accidental paid plan. | [Pricing](/product-roadmap/pricing/) |
| What happens if I exceed the monthly AI conversation limit? | On Free the AI assistant stops and you handle chats manually in Inbox. On a paid plan the extra conversations are charged at your plan's overage rate. | [Pricing](/product-roadmap/pricing/) |
| What happens if my store exceeds the product limit? | Only the most recently added products are used by the AI assistant. Upgrade for a higher product limit. | [Pricing](/product-roadmap/pricing/) |
***
### AI conversations & usage
| Question | Short answer | Full guide |
| --- | --- | --- |
| When does an AI conversation start or end? | It starts when a customer sends the first message and the AI replies. It ends when the session closes, the customer resets the chat, or you resolve it. | [AI conversations](/ai/overview/ai-conversations/) |
| How many messages equal one AI conversation? | Any number. A chat with 1 AI message counts the same as one with 10. | [AI conversations](/ai/overview/ai-conversations/) |
| Do welcome messages count toward AI usage? | No. Only replies drawn from your trained data sources count. | [AI conversations](/ai/overview/ai-conversations/) |
| Does transferring to a human agent still count as an AI conversation? | Yes, if the AI gave at least one valid reply before the transfer. | [AI conversations](/ai/overview/ai-conversations/) |
| What happens if I delete a conversation? | It still counts if it had valid AI replies. Deleting ends the conversation and records the count. | [AI conversations](/ai/overview/ai-conversations/) |
| If a conversation stays open for days, when is it counted? | When it ends — either you resolve it, or the session expires and closes it. | [AI conversations](/ai/overview/ai-conversations/) |
| What is a session? | A time window of up to 5 days that groups related interactions and can hold one or more conversations. | [AI conversations](/ai/overview/ai-conversations/) |
| How do sessions affect conversation counting? | Inside a session, new messages continue the same conversation. After it expires, the next message starts a new one. | [AI conversations](/ai/overview/ai-conversations/) |
***
### Training AI & data sources
| Question | Short answer | Full guide |
| --- | --- | --- |
| What product information is synced to Chatty? | Product details, variants, prices, features, collections, inventory and metafields. It refreshes daily at 12:00 AM PST. | [Data sources](/ai/train-ai/training-data/knowledge-base/) |
| What types of product metafields are supported? | All Shopify metafield types except reference types and Link or URL. | [Data sources](/ai/train-ai/training-data/knowledge-base/) |
| Which Shopify pages are auto-synced when I activate AI? | Shipping, return and privacy policies, terms of service, FAQ, Contact us and About us. Re-run it from **AI agent → Training data → Custom knowledge → More actions → Sync store pages**. | [Data sources](/ai/train-ai/training-data/knowledge-base/) |
| Where should I add product advice for questions like "Which size for wide feet", "Best for sensitive skin"? | Put it in the product description, or in a product metafield synced to Chatty if you do not want it public. | [What goes in each data source](/ai/train-ai/what-goes-in-each-data-source/) |
| What is smart syncing (auto)? | Best sellers and New arrivals fill themselves with the top 20 products by sales over the last 30 days, refreshed daily. You can still add or remove products by hand. | [AI product recommendations](/ai/train-ai/ai-skills/ai-product-recommendations/) |
| What is the instruction of AI in size guide for? | It tells the AI how to handle size questions, for example to never invent sizing when no guide matches. Up to 500 characters. | [Size guide](/ai/train-ai/ai-skills/size-guide/) |
| Can I test AI assistant without enabling it? | Yes. The test zone works with the data sources you added, even before you turn the AI assistant on. | [Test & optimize AI](/ai/test-and-optimize-ai/) |
***
### AI on your storefront (homepage & product page)
| Question | Short answer | Full guide |
| --- | --- | --- |
| Will the inline AI work if AI assistant is not activated? | No. Activate the AI assistant first — the inline chat uses the same data sources and settings. | [AI homepage](/ai/settings/ai-homepage/) |
| Can I customize the suggested questions on the homepage/product page? | Not directly. They are generated from your store and product data, so improve those to change the questions. | [AI product page](/ai/settings/ai-product-page/) |
| Does the inline AI replace the main chatbox? | No. It works alongside the chatbox, focused on the store or the current product. | [AI homepage](/ai/settings/ai-homepage/) |
***
### Channels (Email, Facebook/Instagram, WhatsApp)
#### Email
| Question | Short answer | Full guide |
| --- | --- | --- |
| Why can't I connect my Outlook email to Chatty? | Your organization's Outlook settings block automatic email forwarding for security reasons. This is a default in many company email systems. Ask your IT admin to allow forwarding for your address, then connect again. | [Email](/live-chat/channels/email/) |
| Can I use different types of email providers? | Yes — Gmail, Outlook and custom domain emails. Verification works the same for all of them. | [Email](/live-chat/channels/email/) |
| I'm trying to add an alias email, but I don't receive the verification link. What should I do? | The link goes to your primary email, not the alias. Verify the primary address first, then add the alias and skip the inbox step. | [Email](/live-chat/channels/email/) |
| What if I only want to connect the alias email, not the primary one? | Verify the primary address first, add the alias, then remove the primary from Channels. The alias keeps working. | [Email](/live-chat/channels/email/) |
#### Facebook Messenger & Instagram
| Question | Short answer | Full guide |
| --- | --- | --- |
| Why does Chatty need access to my Facebook Page? | To show your Facebook messages in Chatty, let you reply from Chatty, and link each message to the right Page. | [Facebook Messenger & Instagram](/live-chat/channels/facebook-messenger-instagram/) |
| What happens to existing conversations if I disconnect? | They stay in Inbox, but they stop updating. | [Facebook Messenger & Instagram](/live-chat/channels/facebook-messenger-instagram/) |
| Can I connect multiple Facebook accounts? | No. Only one Facebook account per store. | [Facebook Messenger & Instagram](/live-chat/channels/facebook-messenger-instagram/) |
| Can I connect multiple Facebook Pages? | Yes. Each connected Page brings its linked Instagram account automatically. | [Facebook Messenger & Instagram](/live-chat/channels/facebook-messenger-instagram/) |
#### WhatsApp
| Question | Short answer | Full guide |
| --- | --- | --- |
| I don't see any WhatsApp accounts when trying to connect. What should I do? | Connect your WhatsApp Business account to your Facebook page first, then try again in Chatty. | [WhatsApp](/live-chat/channels/whatsapp/) |
| Can I connect my personal WhatsApp number? | No. Only WhatsApp Business accounts can be connected. | [WhatsApp](/live-chat/channels/whatsapp/) |
| What if I don't have a WhatsApp Business account? | Create one in the WhatsApp Business app, connect it to your Facebook page and wait for Meta approval, then return to Chatty. | [WhatsApp](/live-chat/channels/whatsapp/) |
| Why is my WhatsApp Business number showing as "Pending"? | Meta has not approved it yet. The usual causes are two-step verification not enabled, or a display name that breaks Meta's guidelines. | [WhatsApp](/live-chat/channels/whatsapp/) |
| Can I create a new WhatsApp account during the connection process? | Yes. It becomes a new WhatsApp number, not linked to any personal account. | [WhatsApp](/live-chat/channels/whatsapp/) |
| Can I disconnect WhatsApp later? | Yes, from **Channels → WhatsApp → Manage**. History stays in Chatty, but new messages stop syncing. | [WhatsApp](/live-chat/channels/whatsapp/) |
| Will customers know I'm using Chatty to reply? | No. Replies arrive from your WhatsApp Business account. | [WhatsApp](/live-chat/channels/whatsapp/) |
***
### Live chat & inbox
| Question | Short answer | Full guide |
| --- | --- | --- |
| Why can't a guest automatically convert to a customer? | Automatic conversion would create duplicate or incomplete profiles and could block real customer logins. Review guest details and create the profile yourself. | [Customers](/live-chat/inbox/customers/) |
| I set up online hours but I cannot see my online status in chatbox. | Online and offline status only shows when the **Live chat** block is turned on in your chatbox style settings. | [Online hours](/others/online-hours/) |
***
### Chatbox & widget
| Question | Short answer | Full guide |
| --- | --- | --- |
| How many contact methods are supported in Chatty? | 11: WhatsApp, Messenger, Phone, Email, Instagram, Telegram, Skype, Line, Zalo, TikTok and SMS. | [Chatbox settings](/chatbox/chatbox-settings/) |
***
### FAQs page & blocks
| Question | Short answer | Full guide |
| --- | --- | --- |
| Can I export all questions to my device? | Yes, as a CSV. Go to **FAQs → More actions → Export FAQs**, pick the questions and click **Export**. | [Add questions](/build-faqs/add-questions/) |
| How many different FAQs blocks can I create? | No limit. Create a separate block for each product or collection that needs one. | [FAQs block](/build-faqs/faqs-block/) |
| Can I use the same FAQ in multiple blocks? | Yes, by reusing the same block ID. | [FAQs block](/build-faqs/faqs-block/) |
***
### Translation & languages
| Question | Short answer | Full guide |
| --- | --- | --- |
| Does Chatty translate questions and answer? | Yes. Auto-translate covers chatbox labels, the FAQs page and individual questions. | [Translation](/others/translation/) |
| My language is added in Chatty but customers still see English. Why? | The language must also be published in **Shopify Admin → Settings → Markets**. Chatty only detects published languages. | [Translation](/others/translation/) |
| I publish a language but I cannot see it on my store. | Publish the language in Shopify Markets first, so your website is actually available in it. | [Translation](/others/translation/) |
| Can I translate content manually without auto-translate? | Yes. Add and publish the language, then click **Edit** to write the content yourself. | [Translation](/others/translation/) |
| What happens when I reach my auto-translate limit? | Existing languages keep working. Turn auto-translate off for one language to free a slot for another. | [Translation](/others/translation/) |
| Do translations update automatically when I add new FAQs? | Only with auto-translate on. Otherwise the language shows **Outdated** and you update it by hand. | [Translation](/others/translation/) |
| My language is not in the list. What should I do? | Pick **Custom** when adding the language and translate manually. Auto-translate is not available for Custom languages. | [Translation](/others/translation/) |
***
### Order tracking
| Question | Short answer | Full guide |
| --- | --- | --- |
| What does it mean to fulfill an order? | It is the Shopify process of picking, packing, labelling and shipping an order. Once done, the order status becomes "Fulfilled". | [Order tracking](/others/order-tracking/) |
| Why is my order status not updating correctly on the carrier's website? | Shopify-supported carriers update in real time. Other carriers only show Confirmed, On its way and Delivered — use a custom tracking link instead. | [Order tracking](/others/order-tracking/) |
***
### Website integration
| Question | Short answer | Full guide |
| --- | --- | --- |
| Can I add Chatty to multiple websites? | Yes. Reuse the same snippet anywhere; every conversation lands in one Chatty inbox. | [Website](/integrations/website/) |
| Will this slow down my website? | No. The widget loads asynchronously. | [Website](/integrations/website/) |
| Can I customize how the widget looks on different sites? | No. Every site uses your default Chatty settings. | [Website](/integrations/website/) |
| What if I need to remove Chatty from my website? | Delete the code snippet from your website's HTML. | [Website](/integrations/website/) |
| Does this work with website builders like WordPress or Wix? | Yes, as long as the builder lets you paste custom HTML. | [Website](/integrations/website/) |
***
### Account & web app
| Question | Short answer | Full guide |
| --- | --- | --- |
| Why use two-step verification? | It adds a second layer of security. Even with your password, nobody gets in without the code sent to your email. | [Web app](/web-app/) |
***
### Privacy & compliance
| Question | Short answer | Full guide |
| --- | --- | --- |
| What data does Chatty collect? | Chat messages and essential order information provided by customers. Nothing more unless customer service requires it. | [AI Compliance](/privacy-policy/ai-compliance/) |
| How long is data stored? | Chat history follows your configured retention period, 90 days by default, adjustable in settings. | [AI Compliance](/privacy-policy/ai-compliance/) |
| How do I handle customer data requests? | Use the export and delete tools in Chatty, or contact support for specific requests. | [AI Compliance](/privacy-policy/ai-compliance/) |
| Is Chatty's AI compliant with the AI Act? | Chatty supports AI Act requirements such as disclosing AI interaction and transparency, but holds no third-party conformity assessment. As the deployer of the chatbot, you remain responsible for your own obligations. | [AI Compliance](/privacy-policy/ai-compliance/) |
***
### Uninstalling Chatty
| Question | Short answer | Full guide |
| --- | --- | --- |
| What do I need to do after uninstalling Chatty? | Four steps: confirm the app is gone from Shopify, delete the "Frequently Asked Question" page, save any chat data you still need, and set up a replacement support channel. | [Uninstall Chatty](/faqs/uninstall-chatty/) |
***
### Need help?
Cannot find your question here? Contact support from your Chatty dashboard, or email [support@avada.io](mailto:support@avada.io).
================================================================
URL: https://help.chatty.net/faqs/uninstall-chatty/
Locale: en
================================================================
# Uninstall Chatty
### What do I need to do after uninstalling app?
Please note, in some cases, when the app is removed from your Shopify store, our code might remain in your store. This happens because we lose access to the theme files immediately when you uninstall our app.
Follow these steps to ensure that your store continue to run smoothly.
### 1. Verify uninstallation process
Make sure that you've properly uninstalled Chatty from your store.
Go to **Settings** -> **Apps and sales channels** -> Double-check app list to confirm that Chatty is no longer available.
### 2. Delete FAQ page
1. Get access to Shopify Admin → Online store → Pages
2. Select page "Frequently Asked Question"
3. Click **Actions** → **Delete pages**
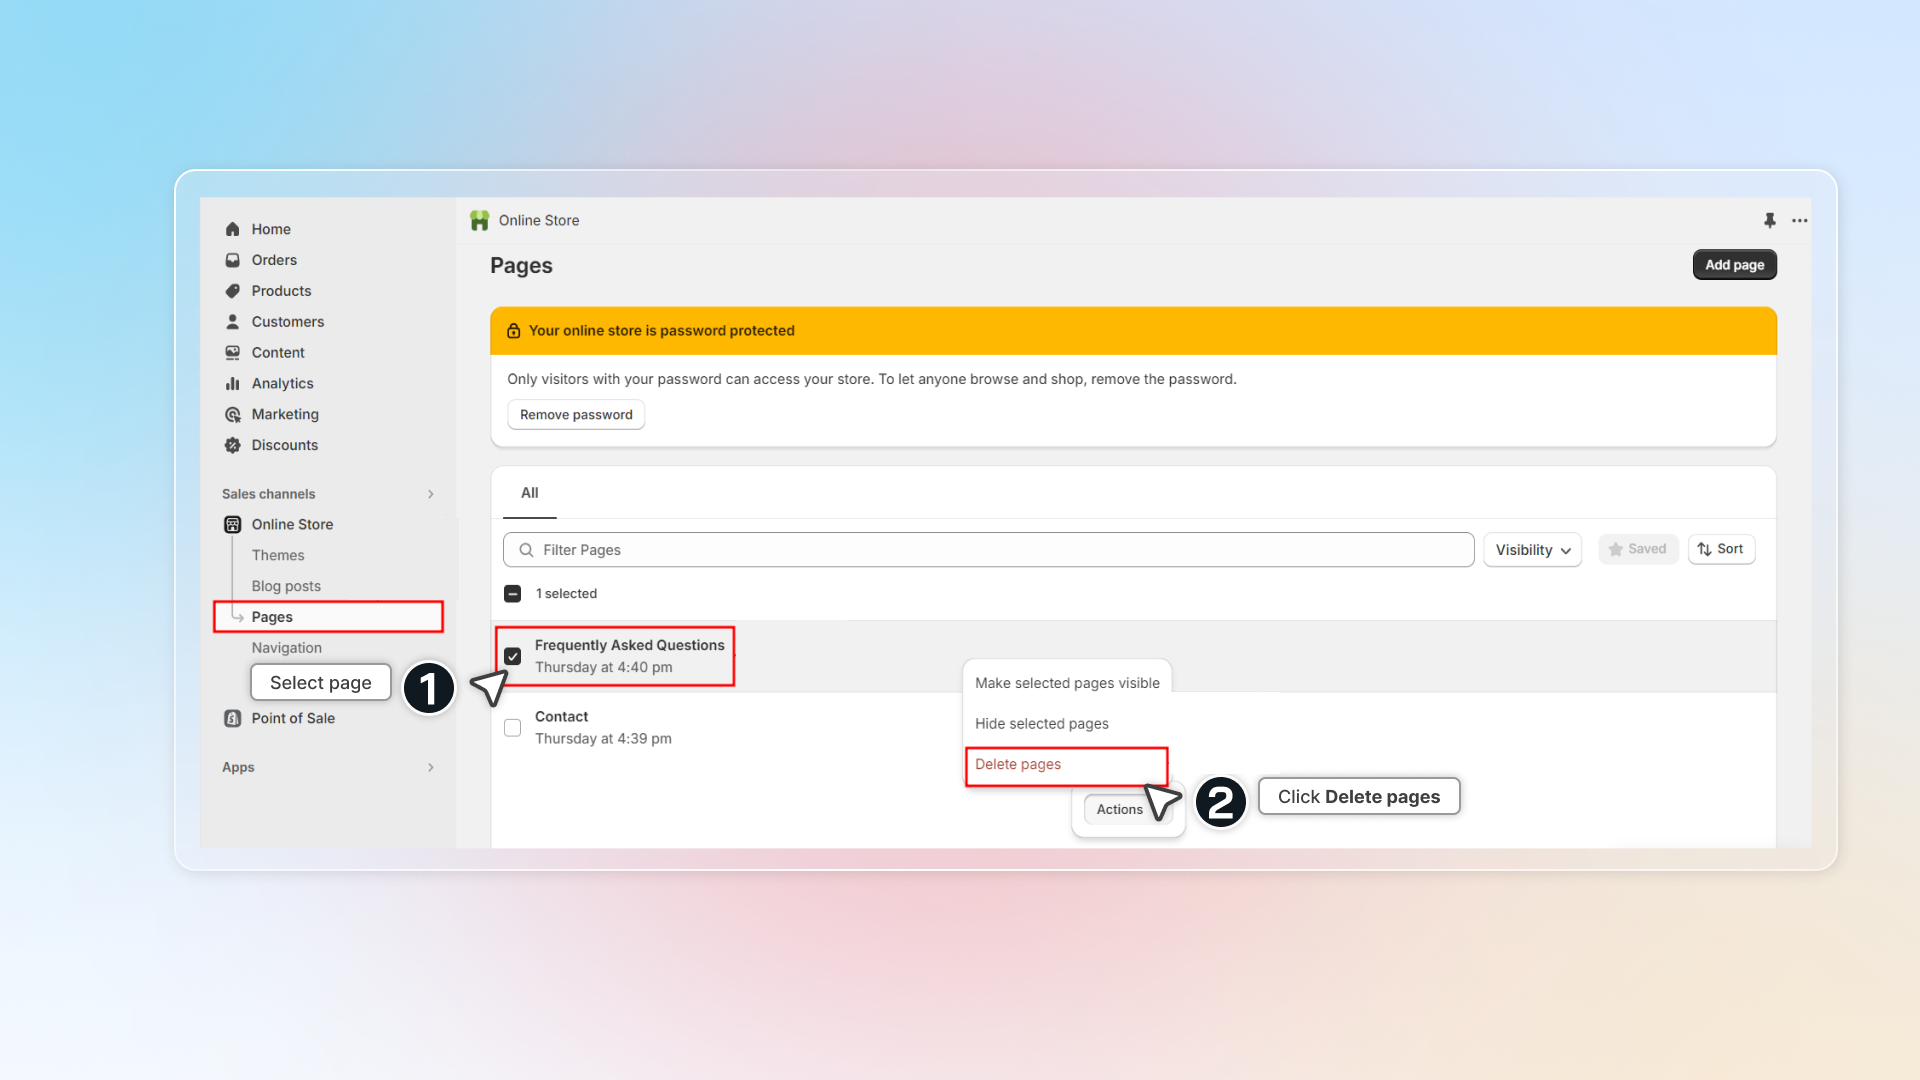
### 3. Handle lost conversations
The first thing to consider when uninstall Chatty is that you will lose access to all chat convesations you have with customers.
* Before uninstalling, check important conversation data and manually save critical information from recent conversations
* Inform your team that chat data will no longer be accessible
* Create a plan for addressing customer concerns about previous conversations
### 4. Update new customer service
Chatty helps you provide customer service and support. Now Chatty's uninstalled, consider:
* Setting up a new FAQs page to help answer customers' questions
* Updating your "Contact Us" page with clear instructions
* Implementing an alternative live chat solution
If you have any more concern, please contact our support team at [support@avada.io](mailto:support@avada.io).
================================================================
URL: https://help.chatty.net/getting-started/intro-to-chatty/
Locale: en
================================================================
# Intro to Chatty
**Who can use Chatty?**
* Chatty is available on Shopify App Store for all Shopify store plans
Chatty helps you communicate directly with visitors on your website, solve their problems, and guide them through their shopping experience towards making purchases.
Setting up Chatty is as straightforward as it gets. With a few simple steps, you'll be ready to:
#### Live chat
* [x] Enable live chat with customers
* [x] Set up various contact methods: WhatsApp, Messenger, etc.
* [x] Invite team members to manage conversations together
#### AI chatbot
* [x] Enable AI assistant for 24/7 support
* [x] Train AI with data about your stores & products
* [x] Customize your AI assistant with brand image, voice & tone
#### Help center
* [x] Build a self-serve knowledge hub with common questions and answers
* [x] Show FAQs page and section in chatbox with customized theme
* [x] Translate FAQs into multiple languages
### For your kickstart
Start here and work down:
* [Set up Chatty in 15 minutes](/getting-started/set-up-chatty/) — the setup flow, embedding the app, turning the chatbox on, and checking it works on your store
* [Quick start](/getting-started/quick-start/) — the short version, plus FAQs and the mobile app
* [Train your AI agent](/ai/train-ai/) — give the agent your products and policies so it answers accurately
* [Chatbox settings](/chatbox/chatbox-settings/) — colours, launcher button, blocks and where the chatbox shows
### Get more assistance
If you have any further concerns, search your topic on this page (hit `Ctrl` `K` for quick search) or look through our [Frequently Asked Question list.](/faqs/)
Our Customer Success team is also offer 24/7 assistance via [email ](mailto:support@avada.io)and live chat.
================================================================
URL: https://help.chatty.net/getting-started/quick-start/
Locale: en
================================================================
# Quick start
Chatty is a platform that helps Shopify users engage with their customers better.
After installing Chatty from the Shopify App Store, you can get access to the app in your Shopify admin.
For the full path from install to a live chatbox, see [Set up Chatty in 15 minutes](/getting-started/set-up-chatty/).
### Embed the app in your theme
Chatty shows a chatbox on your storefront, so the app has to be embedded in your theme first.
1. On the dashboard, find the **Embed app to your theme** card and click **Turn on**
2. You're taken to the theme editor, on the **App embeds** panel
3. Switch on **Chatty - Core** and click **Save**
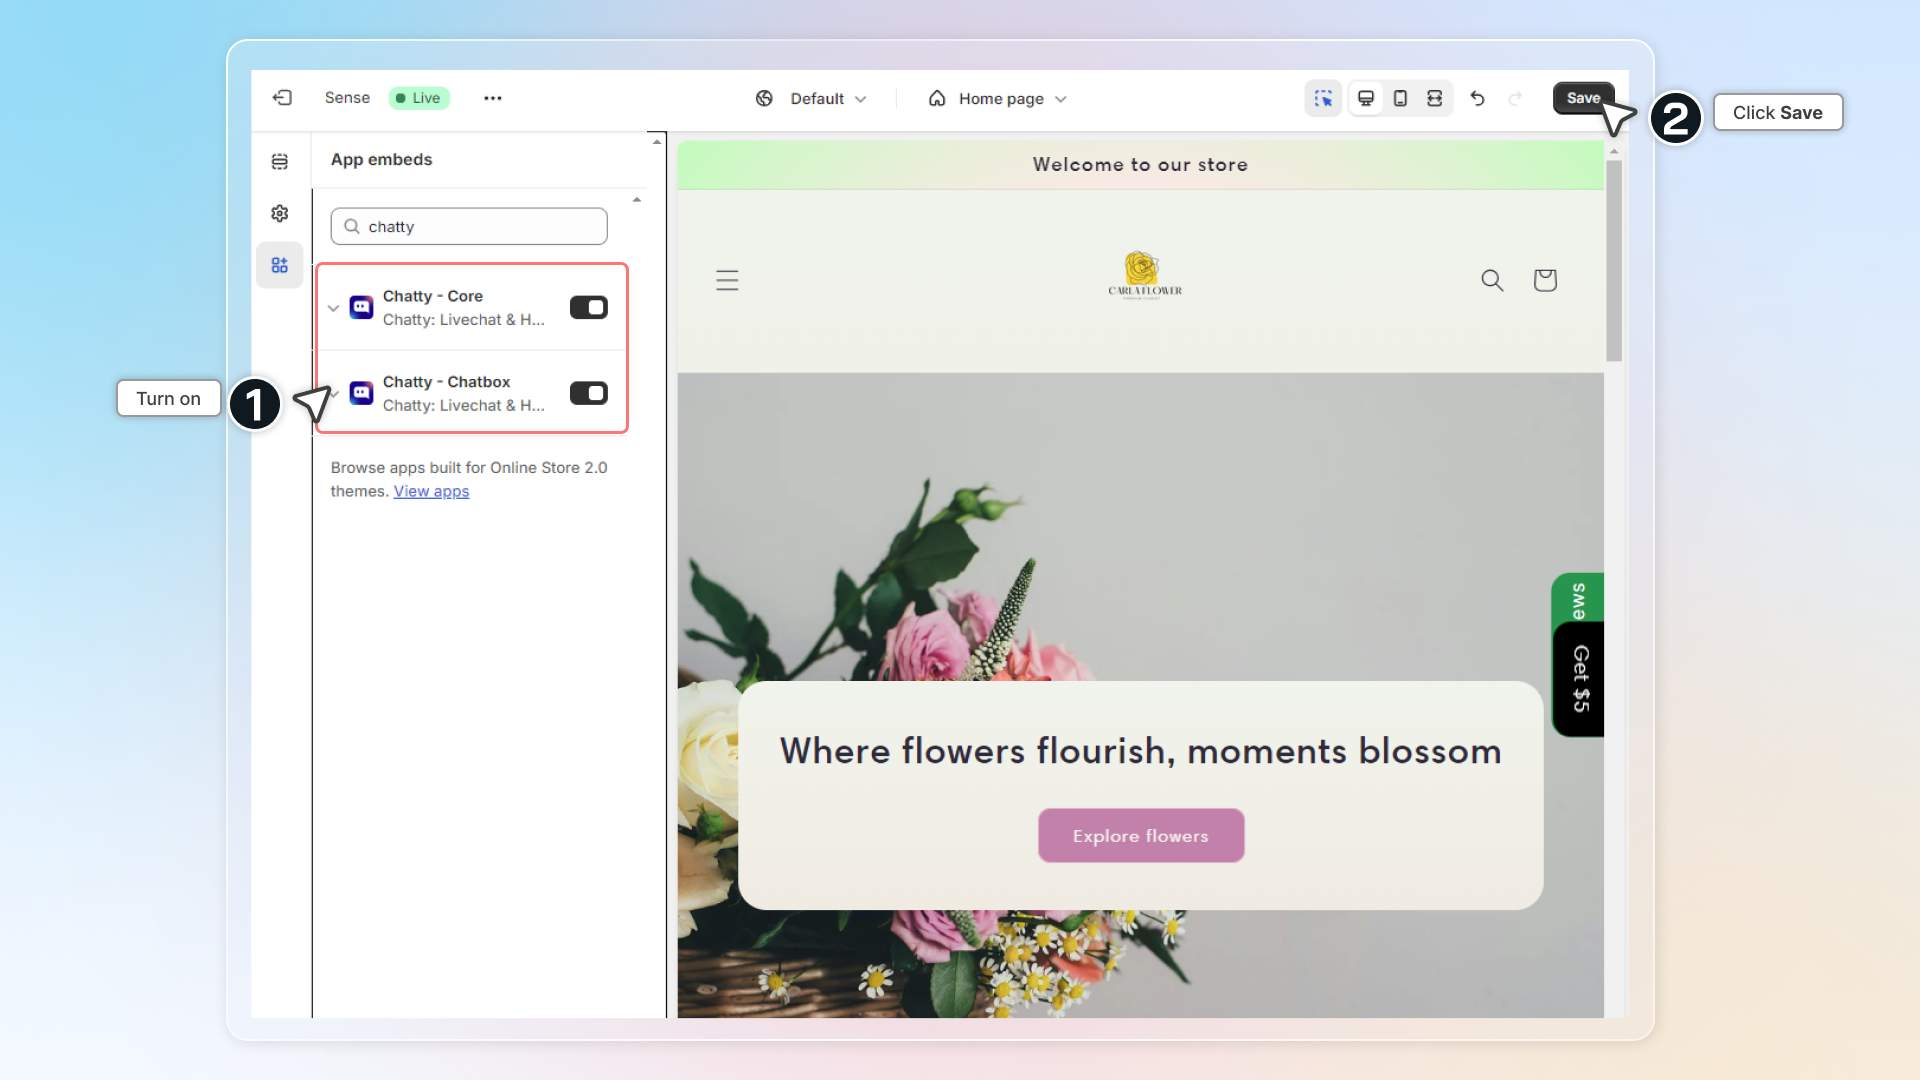
### Set up FAQs
#### 1. Build FAQs hub
Write the questions your customers ask most. See [Add questions](/build-faqs/add-questions/).
#### 2. Create FAQs page
Show a page of FAQs on your Shopify site.
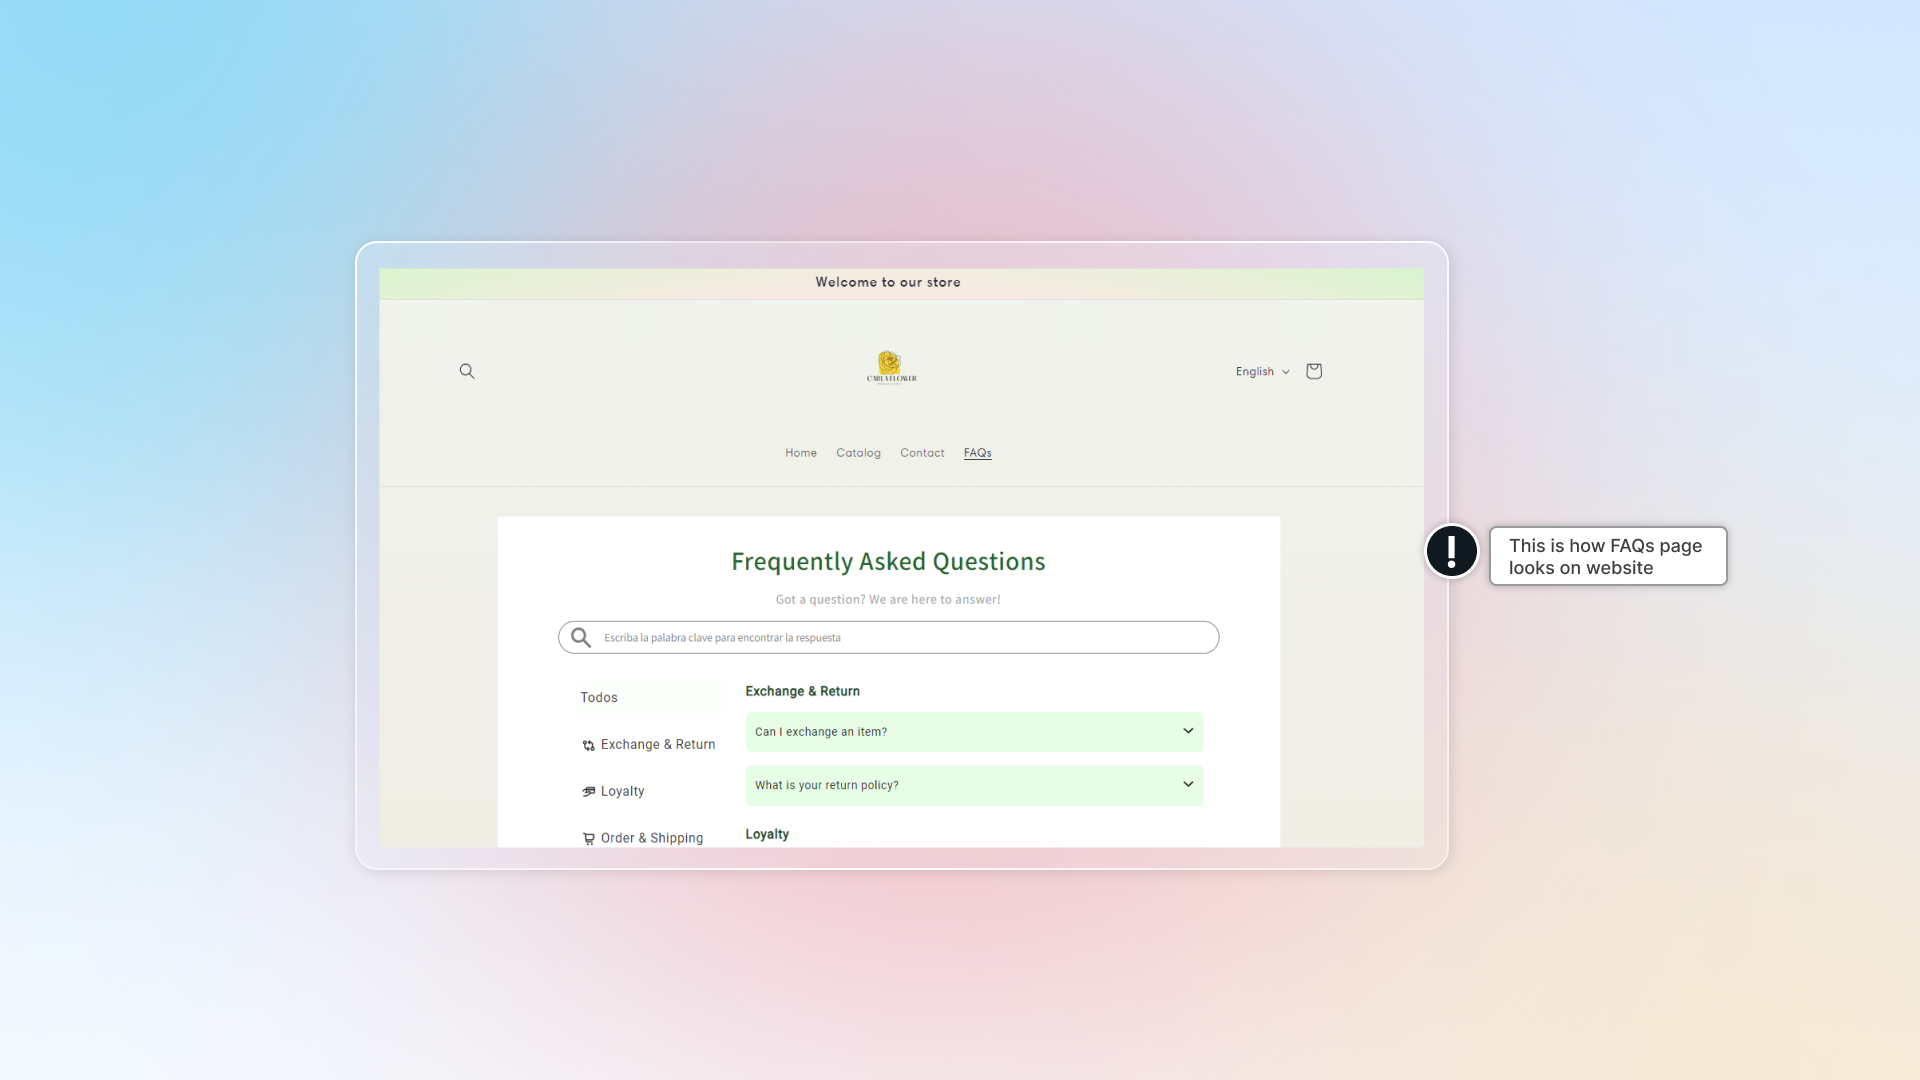
#### 3. Add FAQs block
You can show a FAQs list on any page of your store.
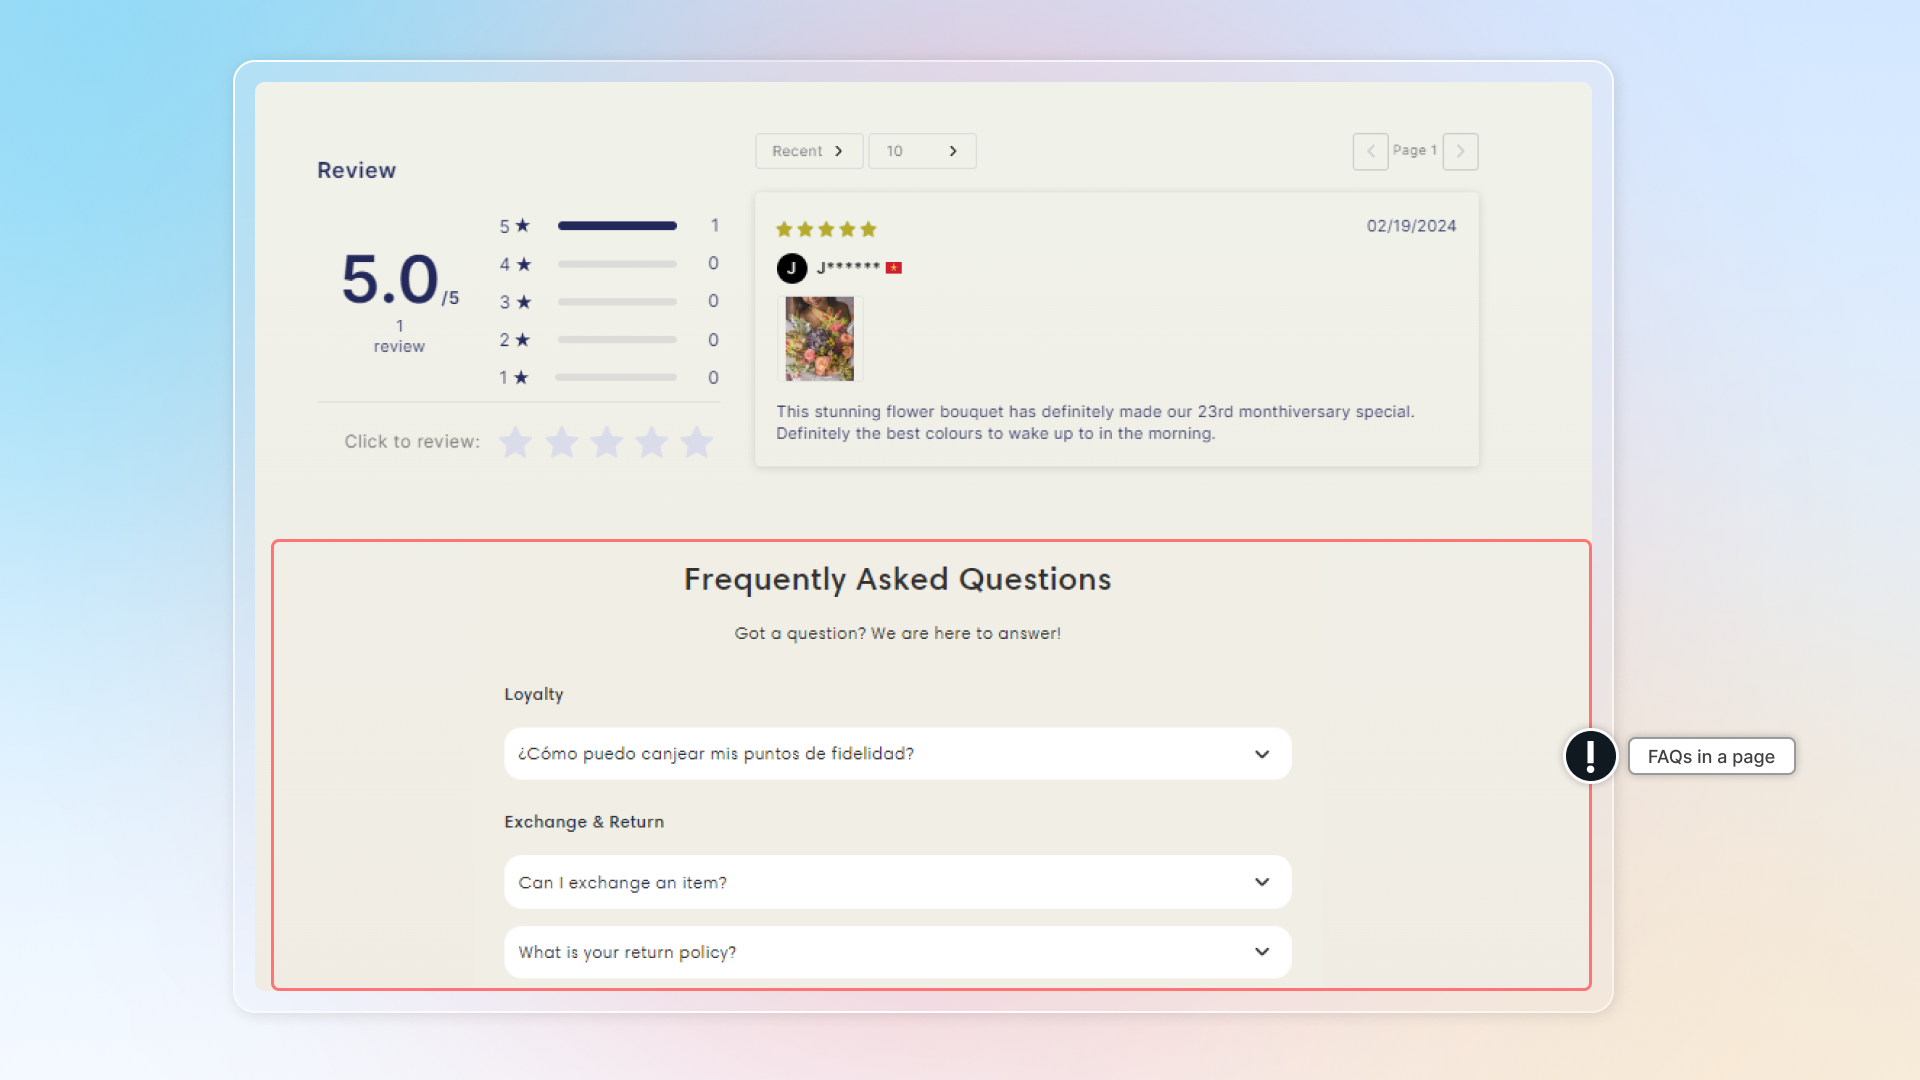
### Set up live chat
#### 1. Enable live chat
1. Go to **Chatbox** and turn on **Display chatbox on your store**
2. On the **General** tab, under **Blocks**, turn on **Live chat**
3. Click **Save**
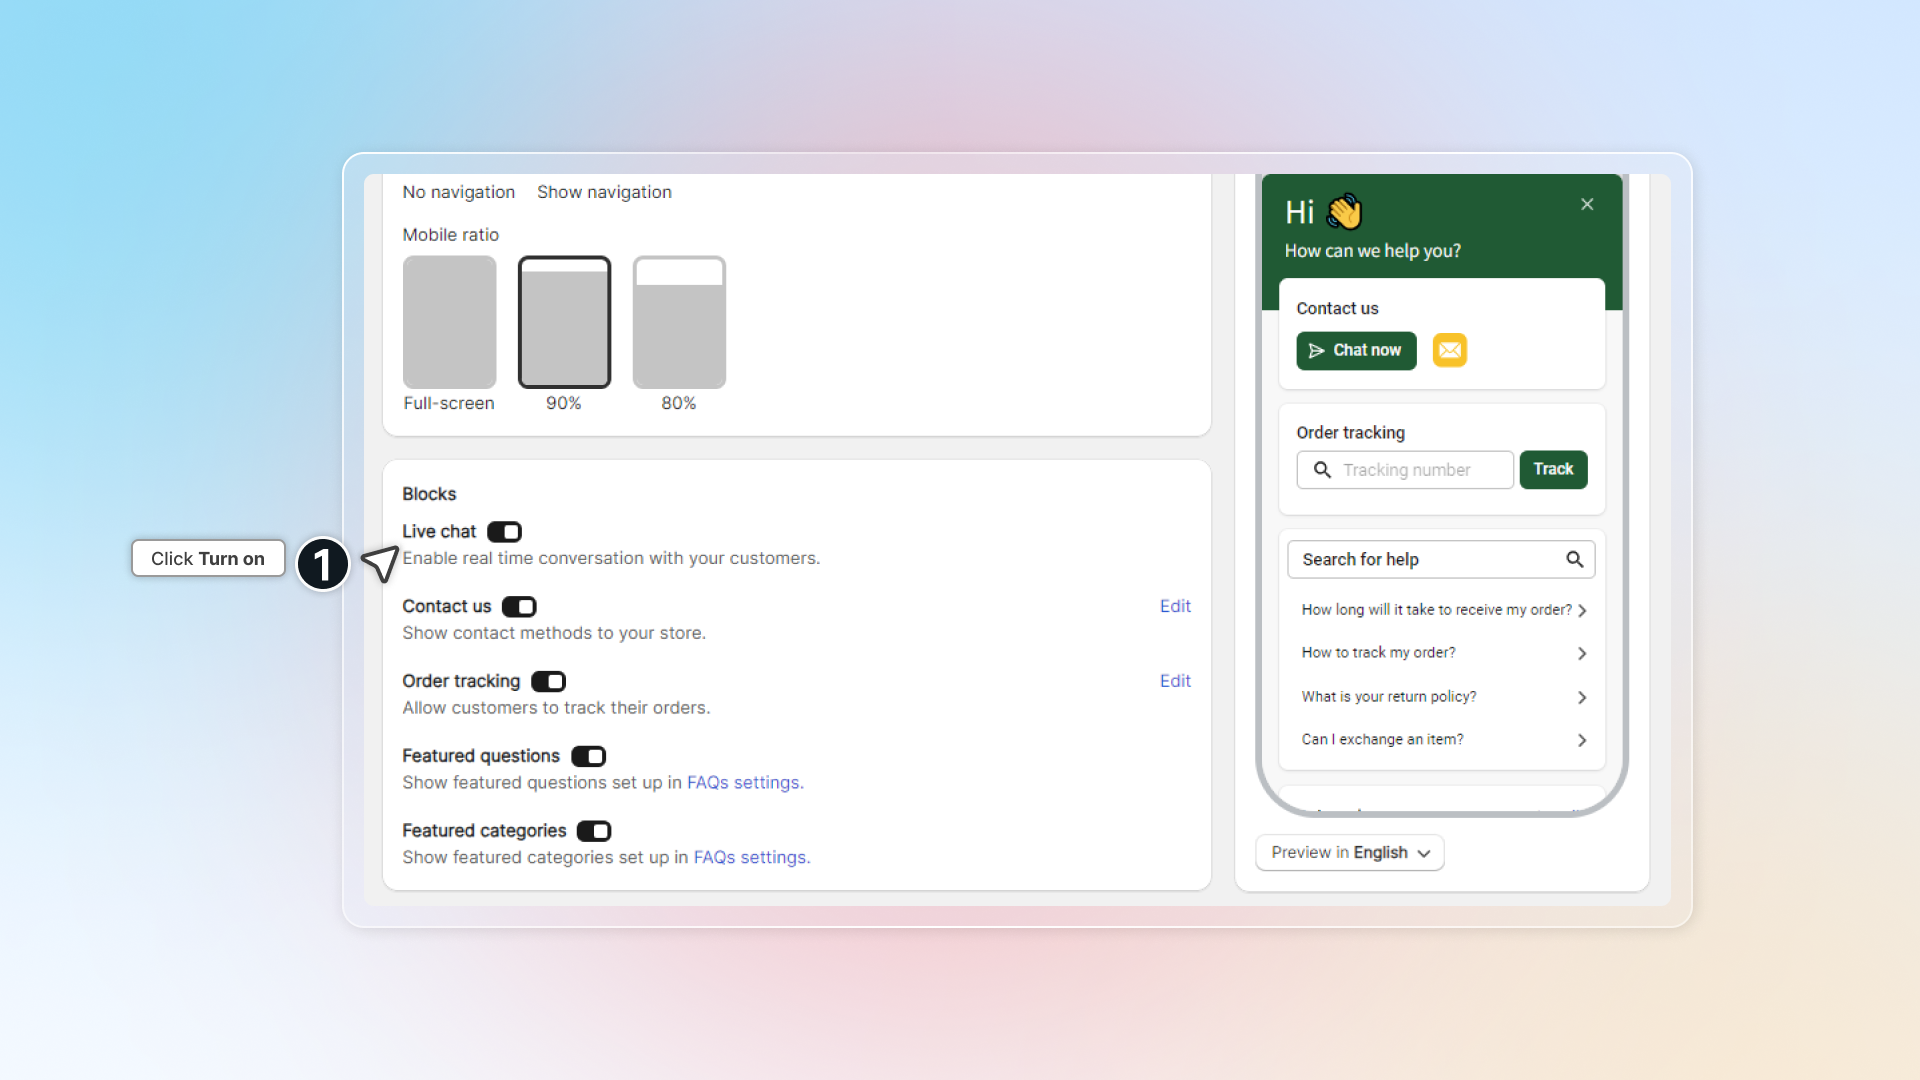
#### 2. Customize your chatbox appearance
Set your colours, launcher button and chat page on the **Appearance** and **Chat page** tabs of **Chatbox**.
#### 3. Connect channels
Connect your other channels to manage all conversations in the Chatty inbox. See [Channels](/live-chat/channels/).
#### 4. Install the mobile app
With the Chatty mobile app, you can answer customer questions anytime, anywhere.
Go to **Settings** → **Notifications** and find the **Chatty mobile app** section. Pick the **Android** or **iOS** tab, then either scan the QR code with your phone or click the store badge to open Google Play or the App Store.
================================================================
URL: https://help.chatty.net/getting-started/set-up-chatty/
Locale: en
================================================================
# Set up Chatty in 15 minutes
**Who can use this feature?**
* The setup flow runs on every plan, including Free.
* The steps below are for the person who installed the app. Team members you invite later skip the setup flow.
This is the path from a fresh install to a working chatbox on your storefront. Four things have to happen, in this order: finish the setup flow, embed the app in your theme, turn the chatbox on, then check it on a live page.
***
### Finish the setup flow
The first time you open Chatty, the app shows a setup flow instead of the dashboard. You cannot skip past it into the app — the dashboard only appears once the flow is finished, so do this first.
#### Click See it in action
The opening screen introduces the AI sales agent. There is one button and nothing to fill in.
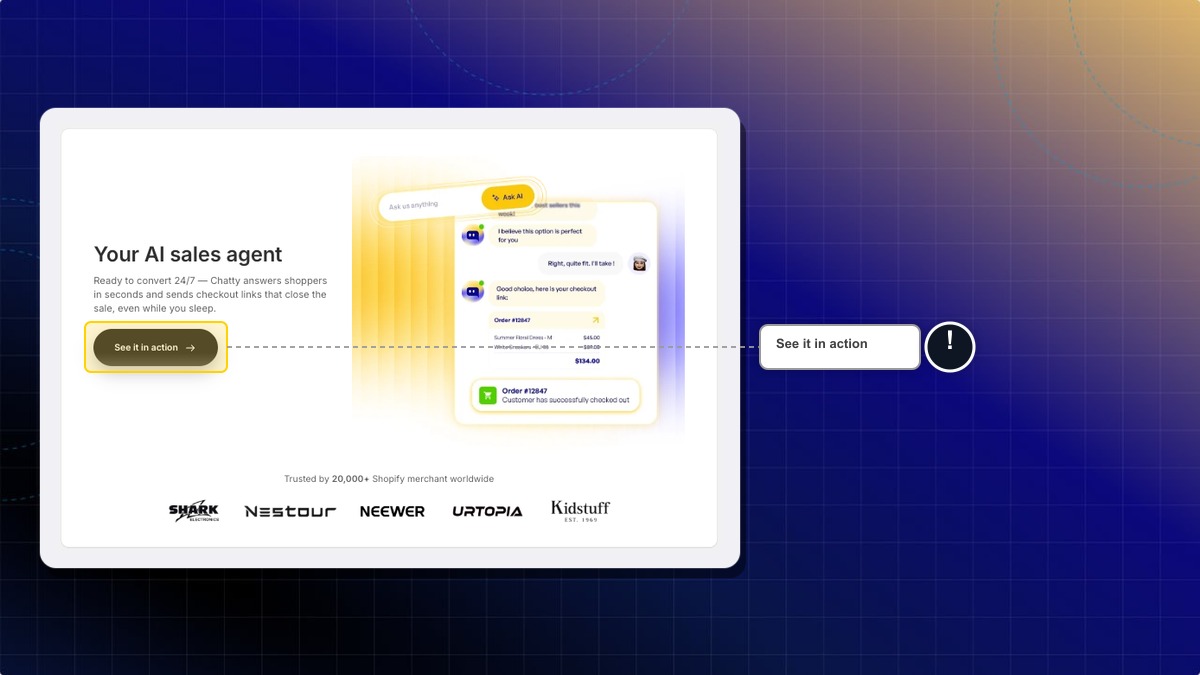
#### Wait while Chatty reads your store
The next screen says **Setting up your AI...** with a progress bar. Chatty is pulling your products in so the demo on the following screen uses your real catalogue. It moves on by itself as soon as the first product is ready. A store with no products still moves on after a short wait, so nothing gets stuck here.
You only ever see this screen once.
#### Pick a skill to preview
**See how AI works for you** shows four skills in two groups:
| Group | Skills |
|---|---|
| Help you sell more | AI Sales Agent, AI Product Assistant |
| Help you support less | Order Tracking, Return/ Refund |
Picking one changes the sample conversation on the right. This is a preview only — it does not turn a skill on or off. Choose whichever one matches what you want to see, then continue.
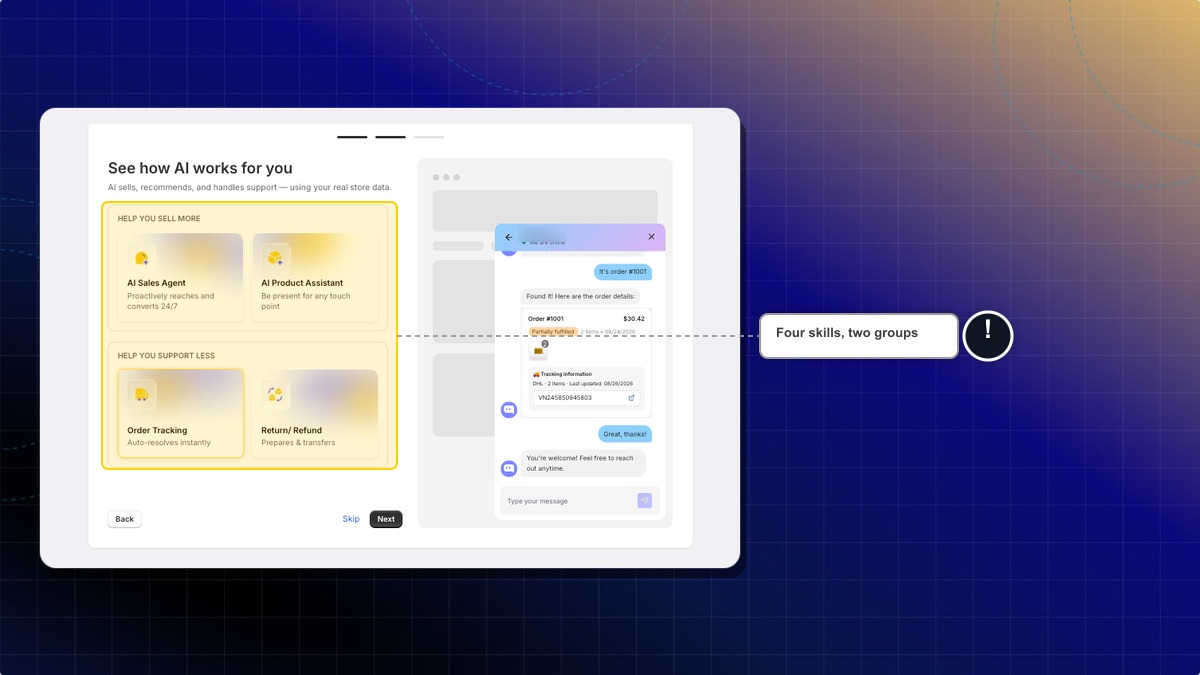
#### Set your brand, name and language
**Your brand, your tone** is the only screen that saves settings:
* **Brand color** — pick one of the swatches. Chatty pre-fills a set based on your store's own colours.
* **AI name** — what customers see the agent called, up to 30 characters.
* **AI welcome message** — the first thing the agent says.
* **What language do your customers mainly speak?** — the language the agent answers in.
The preview on the right updates as you type. Click **Finish setup**.
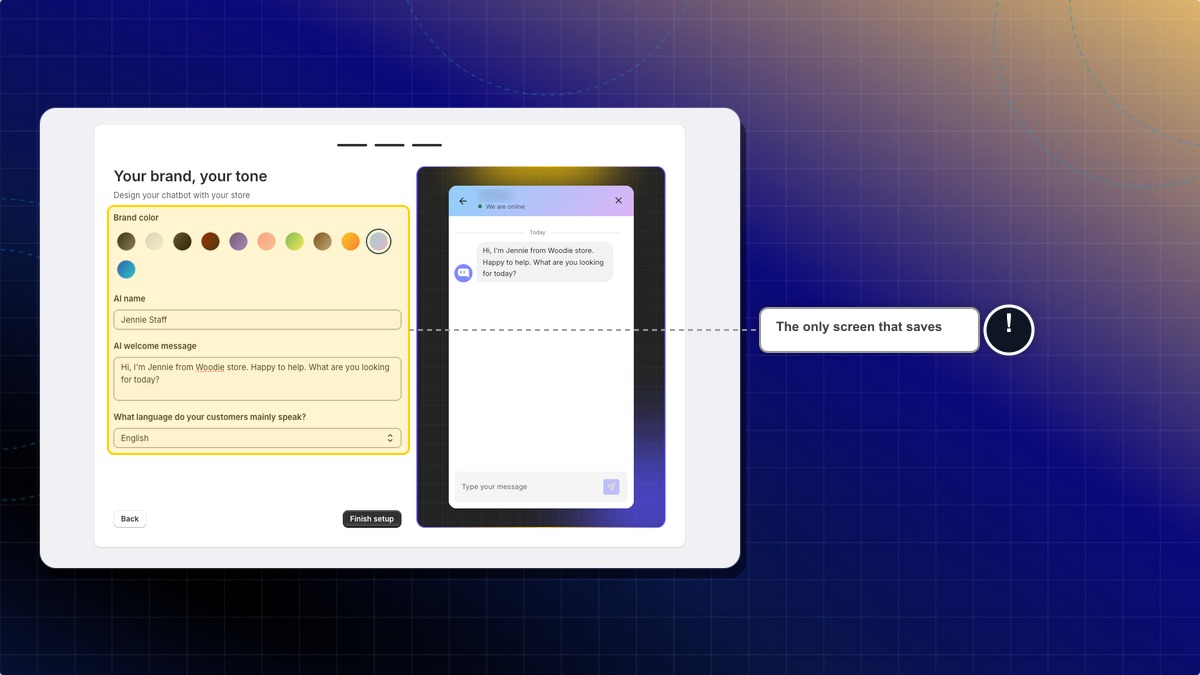
#### Choose a plan
The last screen is **Choose the best fit for you**. Pick a plan or stay on Free. After this, the dashboard opens.
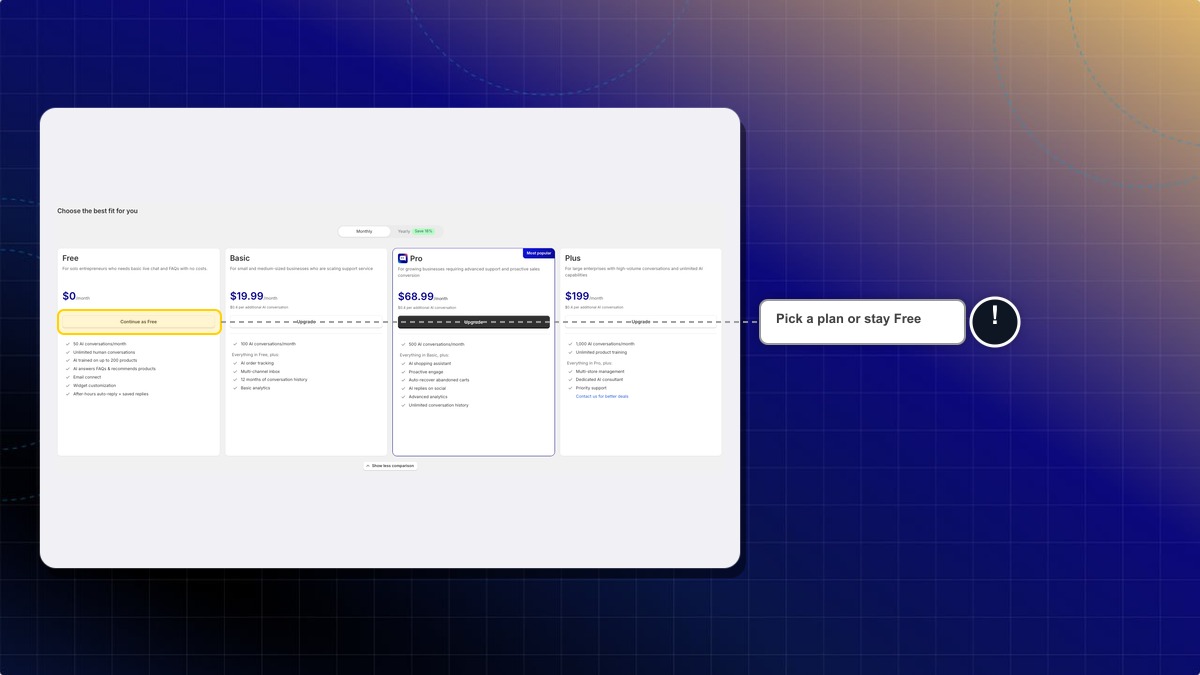
Everything you set here can be changed later. Name, welcome message and language are in **Chatbox**; the colours are in **Chatbox** → **Appearance**.
***
### Embed the app in your theme
Chatty cannot draw anything on your storefront until the app embed is switched on in your theme. Until then the chatbox is invisible to customers no matter what your settings say.
The dashboard shows a card called **Embed app to your theme** with an **On** or **Off** badge. The same row appears at the top of the **Chatbox** page while the embed is off.
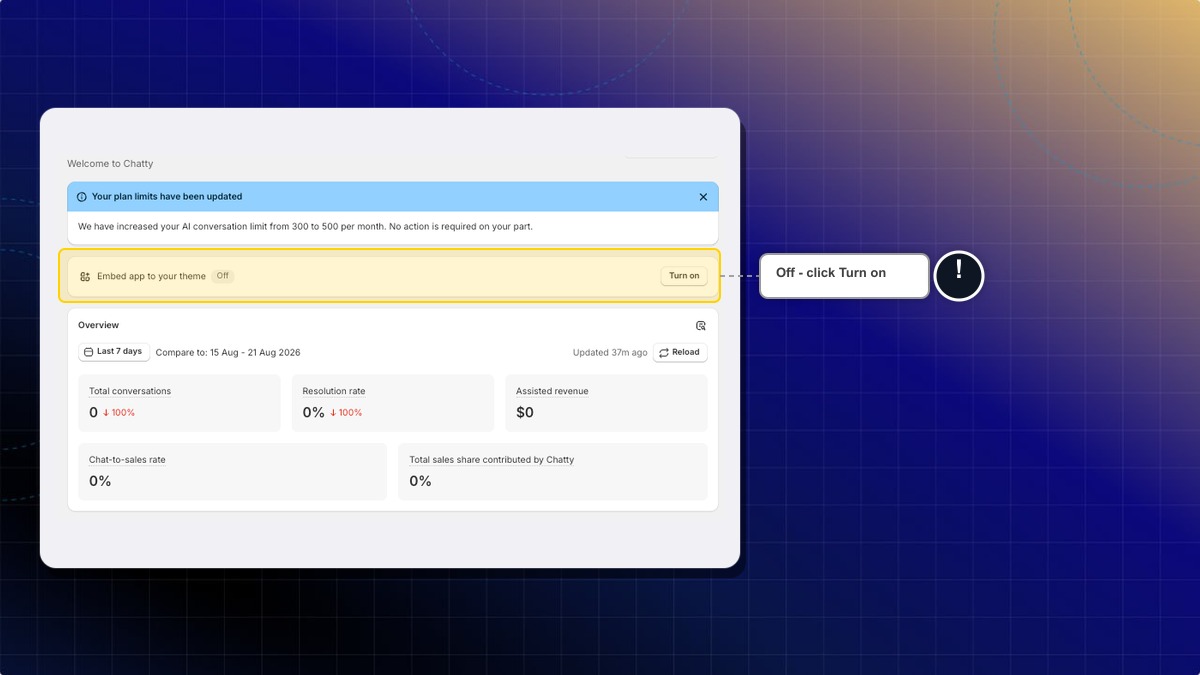
#### Click Turn on
This opens your Shopify theme editor in a new tab, on the **App embeds** panel, with the Chatty entry already selected.
#### Switch on Chatty - Core
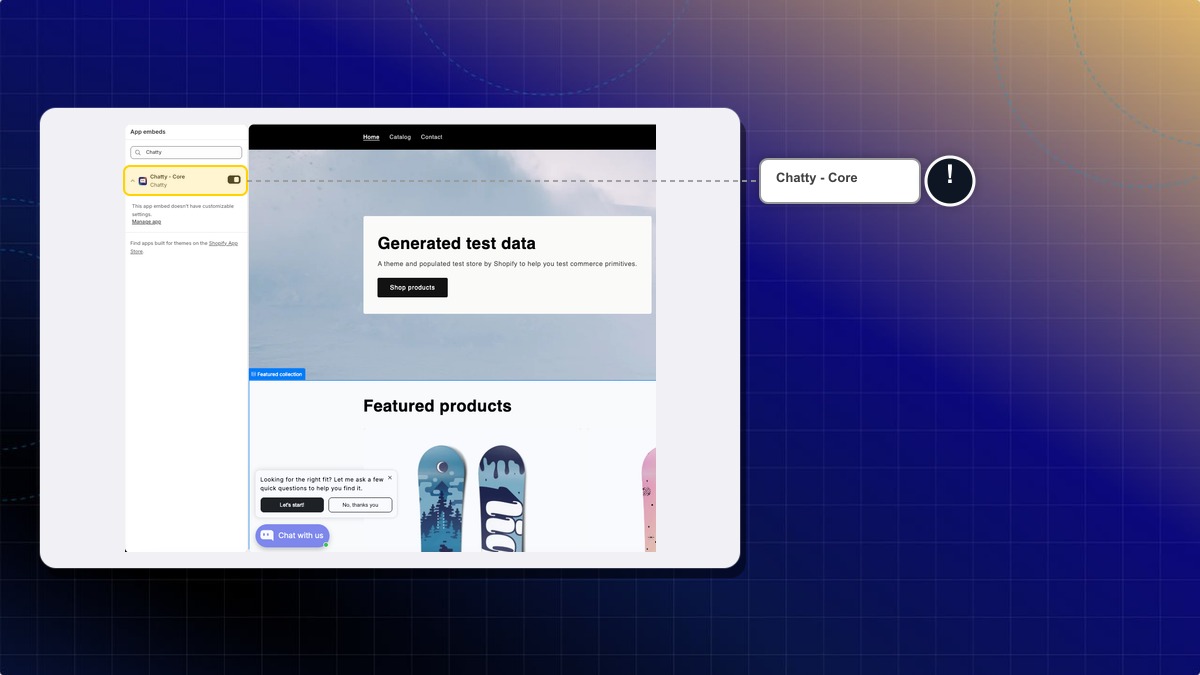
#### Click Save in the theme editor
The badge flips to **On** and the button becomes **Turn off**. The card stays on the dashboard so you can always see the embed's state; on the **Chatbox** page the row hides itself once the embed is on.
***
### Turn the chatbox on
The embed lets Chatty run. A separate switch decides whether the chatbox actually shows.
#### Go to Chatbox
#### Turn on Display chatbox on your store
It is in the first card on the page, under the tabs. The same card shows the app embed row while the embed is still off, so you can do both from here.
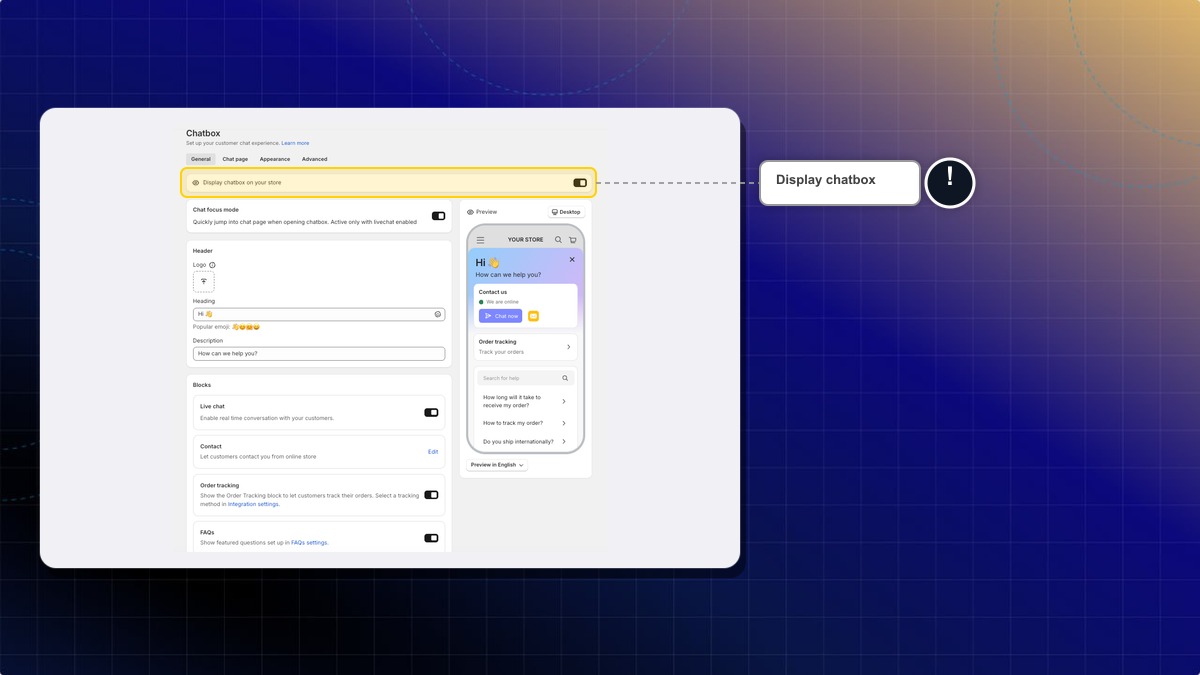
#### Click Save
***
### Check it on your store
Open your storefront in a new tab. You should see the chat launcher in the corner you chose. Click it and the chatbox opens.
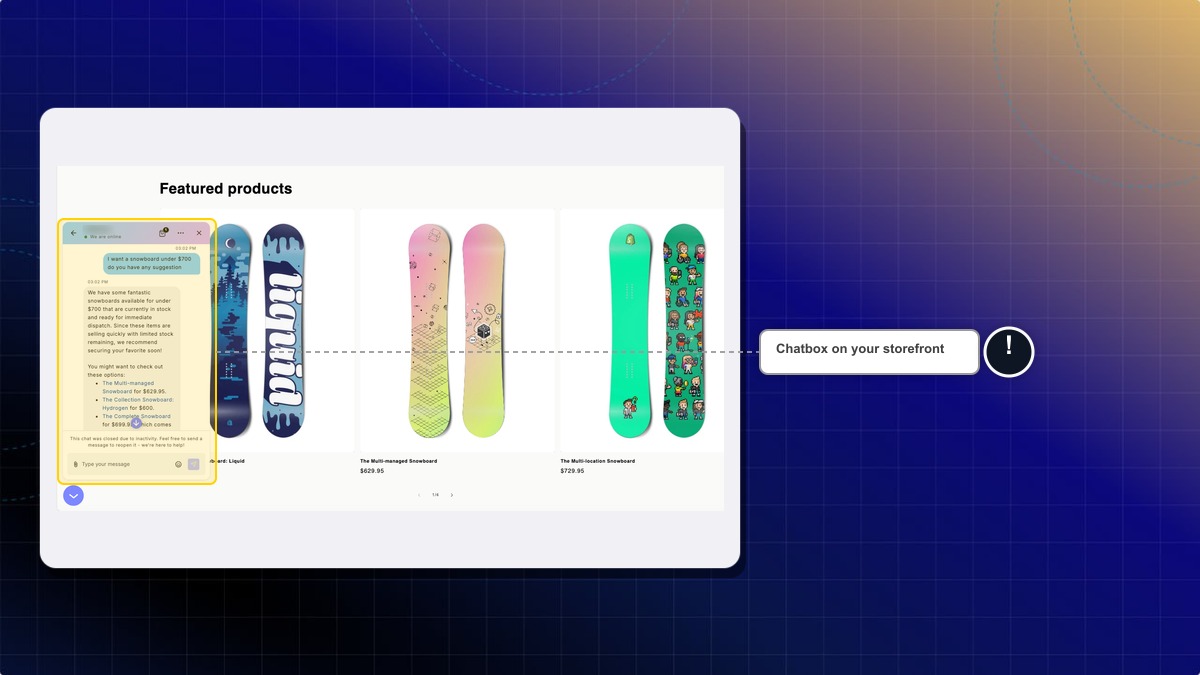
If nothing appears, work through these in order:
| Check | Where |
|---|---|
| Is the app embed on? | Dashboard, **Embed app to your theme** card |
| Is **Display chatbox on your store** on? | **Chatbox** |
| Are you on a page the chatbox is allowed on? | **Chatbox** → **Advanced** → **Display pages** |
| Are you on a device the chatbox is allowed on? | **Chatbox** → **Advanced** → **Display devices** |
***
### Work through the Quick start guide
The dashboard carries a card called **Quick start** with five tasks. It tells you how many are done, and names the next unfinished one.
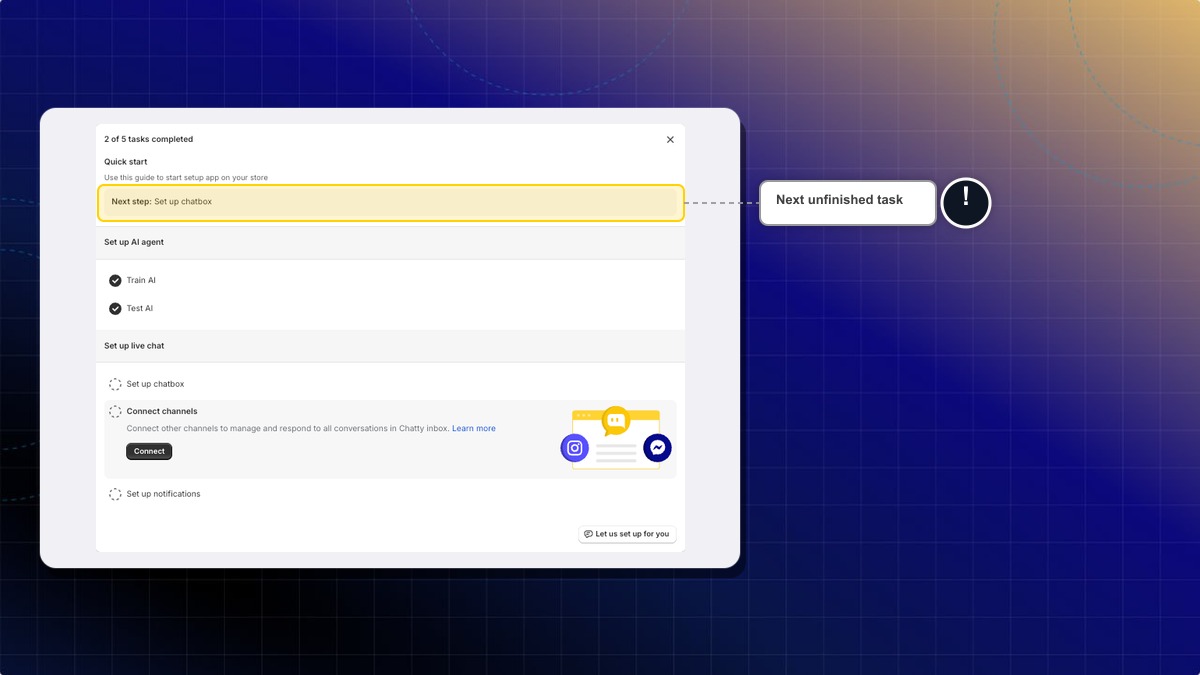
| Group | Task | What it means |
|---|---|---|
| Set up AI agent | Train AI | Give the agent your data so it can answer accurately |
| Set up AI agent | Test AI | Chat with the agent yourself and find the gaps |
| Set up live chat | Set up chatbox | Appearance, blocks and chat page |
| Set up live chat | Connect channels | Bring Messenger, Instagram, WhatsApp and email into one inbox |
| Set up live chat | Set up notifications | So new messages reach you |
Click a task to open its description, then use its button to jump to the right screen. Each task also has a circle on the left you can click to tick it off or untick it by hand, whatever the app detected.
Two more controls:
* **Let us set up for you** at the bottom opens a chat with the support team, listing the steps you have left.
* The **X** at the top hides the card. You get one chance to undo before it is gone for good.
The card collapses on its own when all five are done. It does not delete itself, so you can reopen it any time.
***
### Read your dashboard
Once you have conversations, the dashboard shows an **Overview** card with five numbers over a date range you pick, each compared against the previous period:
| Number | What it counts |
|---|---|
| Total conversations | Every conversation, with an AI-handled count and share underneath |
| Resolution rate | Share of conversations resolved, with the resolved and total counts |
| Assisted revenue | Value of orders that came out of Chatty conversations |
| Chat-to-sales rate | Share of conversations that produced a sale |
| Total sales share contributed by Chatty | Chatty's share of your whole store's sales |
The search icon at the top right opens the full **Analytics** section.
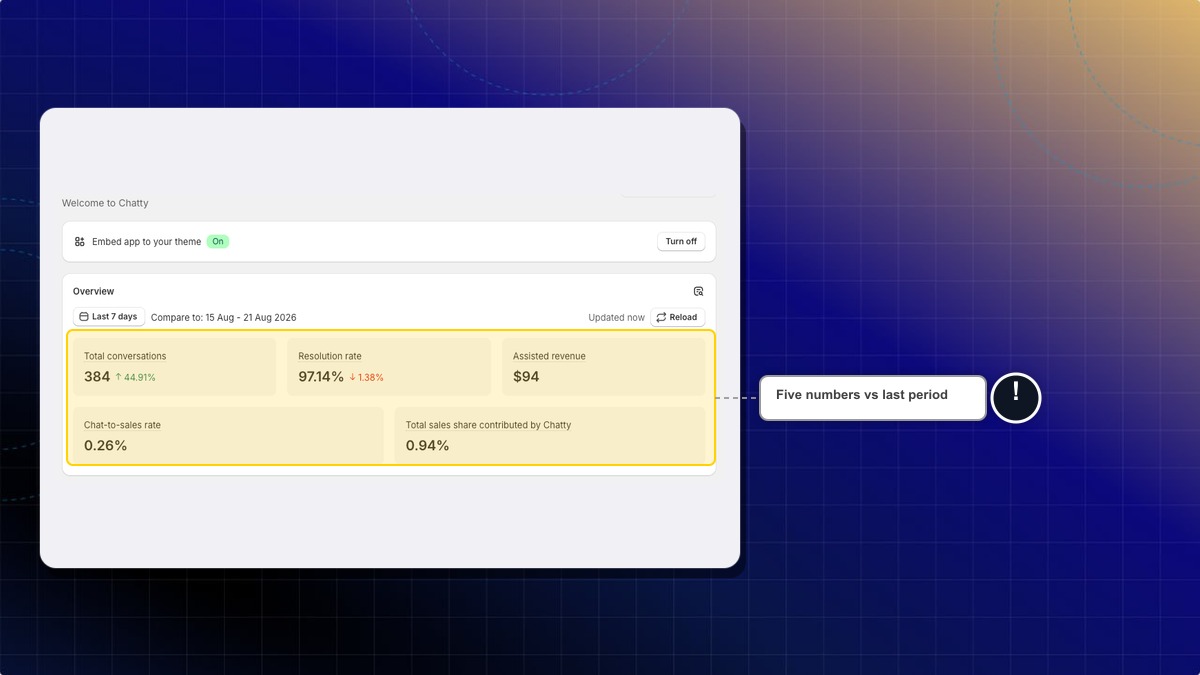
The card is hidden until your store has its first conversation, so a brand new store will not see it.
***
### The rest of the dashboard
| Card or button | What it does |
|---|---|
| **What's new** (top right) | Release announcements. The button marks them read as you go |
| Plan banners | Notices about your plan — limit changes, trial offers, a confirmation after you switch plans. Each one links to where you act on it |
| **New in Chatty** | Recently shipped features, two at a time, with a preview and a link into the feature |
| **Missing something in Chatty?** | Opens the feature request list |
***
### Ask for a feature
**Feature requests** is a public list of what other stores have asked for and what the team is building.
#### Open the list
From the dashboard, click **View feature requests** on the **Missing something in Chatty?** card.
#### Filter it
Two dropdowns in the page header: status (**All statuses**, **Considering**, **In progress**, **Done**) and sort (**Most votes** or **Recent**). The **My requests only** checkbox narrows the list to what you submitted.
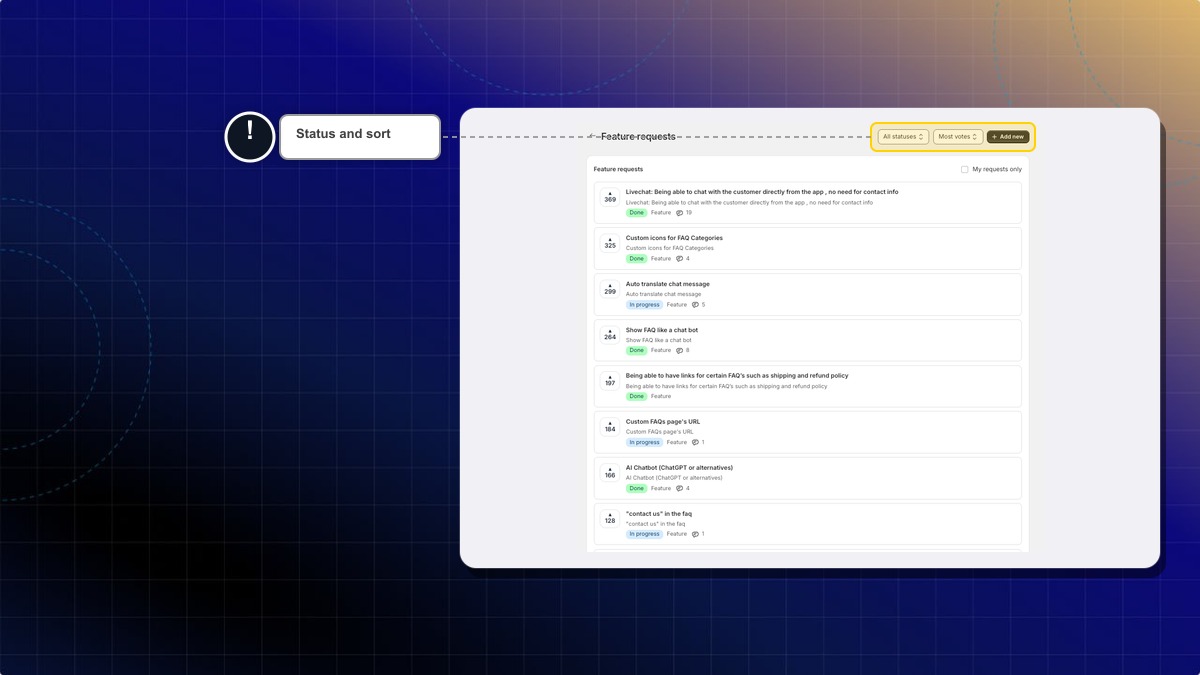
#### Vote on what you want
The arrow button on the left of each row is an upvote. Click it again to take your vote back. Requests with the most votes get built first.
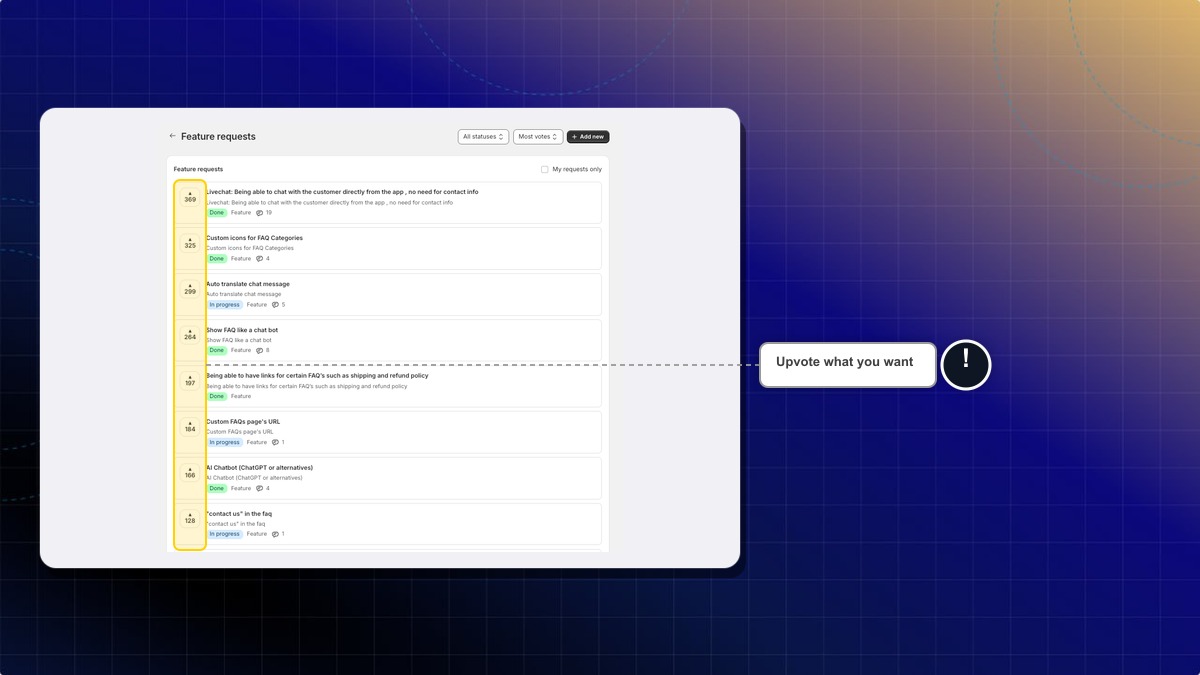
#### Open a request to comment
Click the title to open it and join the discussion.
#### Add your own
**Add new** in the page header opens a form: what Chatty should be able to do (up to 120 characters), more detail on what you are struggling with (up to 1000 characters), and a type — **New feature**, **Improvement** or **Bug report**.
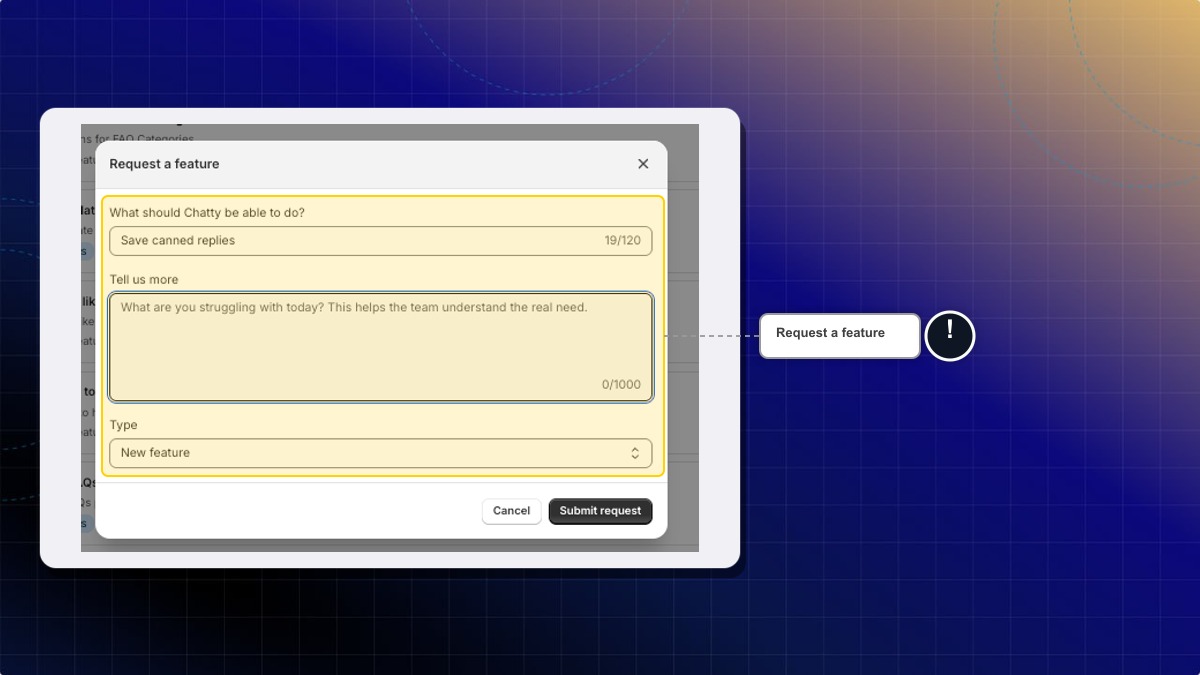
A new request does not appear in the list straight away. It goes to the team for review first, and shows up once it has been accepted. There is also a cap on how many requests one account can submit in a day; the app tells you if you reach it.
***
### Your account
Your own profile is separate from your store settings. In the web app, click your avatar at the top right and choose **My account**.
| Section | What you can do |
|---|---|
| **Details** | Upload or remove your avatar, set first and last name (30 characters each), and see the email your account uses. The email is read-only |
| **Password** | Change your password |
| **Login service** | Shows whether your account is connected to Google, and to which email |
| **Manage devices** | Every device signed in to your account |
The avatar has to be a `.jpg` or `.png` under 1 MB.
**Manage devices** lists each session with its device type, browser, operating system, city, country, IP address and when it was last active. Your current device is badged. **Log out** on a row ends that one session; **Log out all other devices**, the button at the top of the section, clears everything except the device you are on. Devices you have logged out stay listed under **Logged out** so you can see what happened. See [Manage login devices](/live-chat/team/manage-login-devices/) for more.
**Password**, **Login service** and **Manage devices** only appear in the Chatty web app. Inside Shopify admin your session belongs to Shopify, so those sections are hidden.
***
### Where to go next
* [Build your FAQs](/build-faqs/add-questions/) so both the chatbox and the AI agent have something to answer with
* [Train your AI agent](/ai/train-ai/) on your products and policies
* [Connect your other channels](/live-chat/channels/) to bring every conversation into one inbox
* [Set up notifications](/others/notifications/) so you do not miss a message
* [Invite your team](/live-chat/team/) and give each person the right access
================================================================
URL: https://help.chatty.net/integrations/
Locale: en
================================================================
# Integrations
Chatty connects with the apps your store already uses — from email marketing and loyalty programs to contact forms and review tools.
================================================================
URL: https://help.chatty.net/integrations/air-reviews/
Locale: en
================================================================
# Air Reviews
**Who can use this feature?**
* This feature is available for all users
* Get [Air Product review](https://apps.shopify.com/air-reviews?utm_source=chatty\&utm_medium=ug_\&utm_campaign=_integration) free
### How to set up Chatty for review collection
#### Install Chatty & Air Reviews
#### Set up a customer support center
* Enable chatbox
* Enable live chat
* Activate & train AI
Learn more to [get started](/getting-started/) with Chatty
#### Best practices for review collection
#### :round\_pushpin: Training AI assistant to encourage reviews
* Add questions about leaving a review
* Create replies that politely guide customers to leave reviews
#### :round\_pushpin: Set up proactive chat for potential customers
* Identify when customers can leave review
* Set up proactive messages to encourage customers to leave a review
#### :round\_pushpin: Add FAQs about review collections for post-purchase questions
* In FAQs list, add more content about review collection to answers for post-purchase questions
#### Respond quickly to prevent negative reviews
When customers have issues, the speed of your response can determine whether they leave a negative review or become loyal advocates:
1. Set up [notifications ](/others/notifications/)in Chatty to alert you of new messages
2. Use [quick replies](/live-chat/quick-replies/) for common questions
3. Prioritize responding to customers who express frustration
4. Resolve issues completely before requesting a review
================================================================
URL: https://help.chatty.net/integrations/gorgias/
Locale: en
================================================================
# Gorgias
### What is Gorgias integration?
Gorgias integration automatically saves your Chatty conversation history to Gorgias as support tickets.
When a conversation is resolved by AI or an agent in Chatty, the system creates a closed ticket in Gorgias with the full conversation transcript and customer details, tagged `chatty_resolved`.
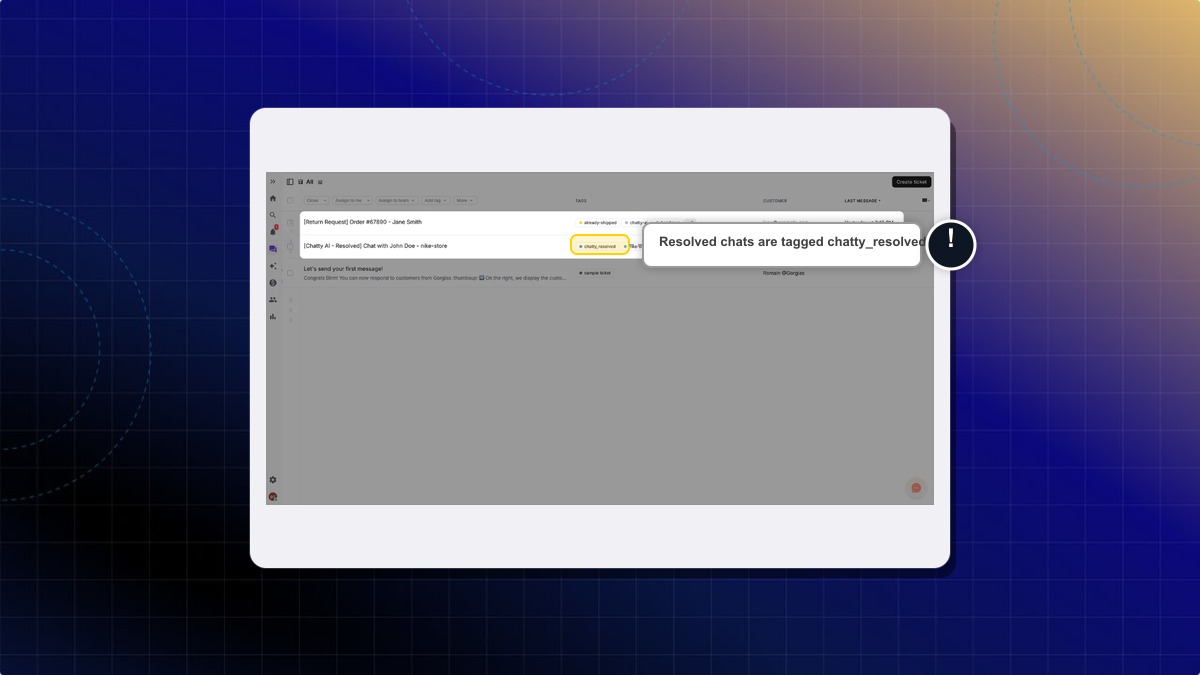
#### Why integrate Gorgias?
With Gorgias integration, you can:
* Automatically save all resolved conversations as Gorgias tickets
* Keep complete conversation history in one central system
* Identify Chatty-handled tickets quickly with the `chatty_resolved` tag
* Access customer interaction records without manual work
#### How to connect Gorgias with Chatty
#### Go to Gorgias Integration
* Go to **Settings** → **Integrations**
* Find **Gorgias** in the integrations list
* Click **Manage**
#### Enter your Gorgias subdomain
Enter your Gorgias account subdomain.
Your Gorgias subdomain is the first part of your Gorgias URL. For example, if your Gorgias URL is `mystore.gorgias.com`, your subdomain is `mystore`.
#### Authorize connection
* Click **Connect**
* You'll be redirected to the Gorgias OAuth page
* Click **Allow** to authorize Chatty
* You'll be redirected back to Chatty
* Your connection status will show as **Connected**
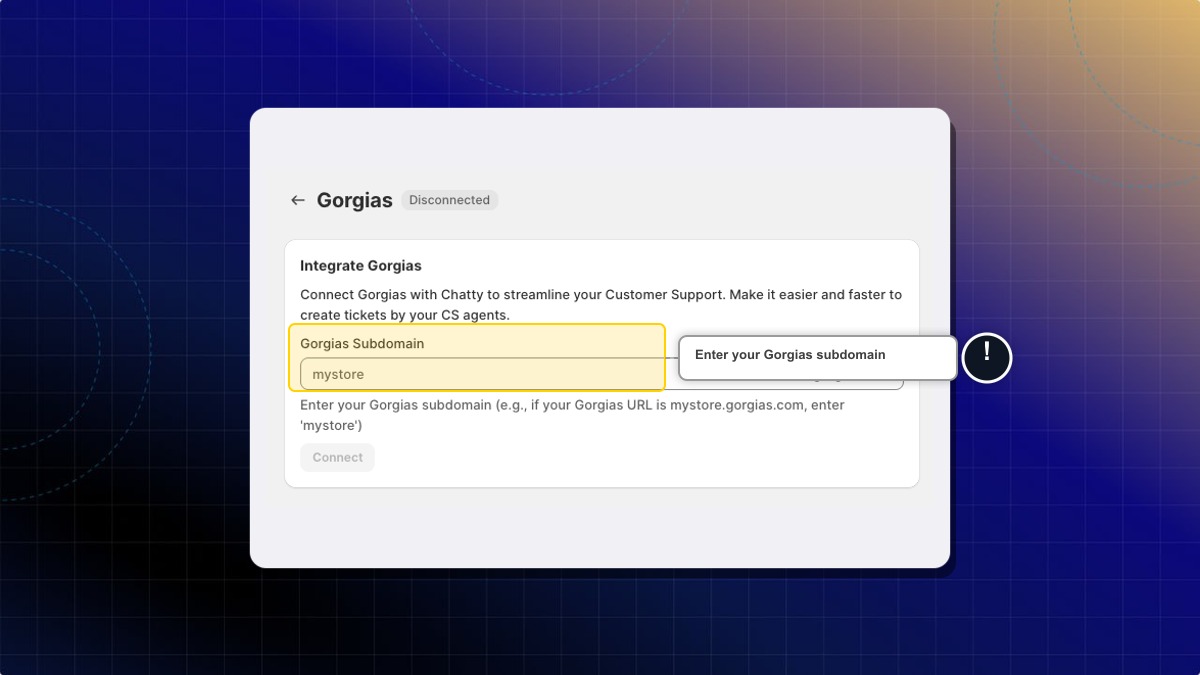
#### How Gorgias integration works
**Automatic ticket creation**
When a conversation is resolved by AI or an agent in Chatty inbox, the integration automatically creates a closed ticket in Gorgias.
Each ticket includes:
* Customer profile information (name, email, contact details)
* Complete conversation transcript
* The `chatty_resolved` tag
* Timestamp of the conversation
**Reopened conversations**
If you reopen and resolve a conversation again, Chatty creates a new ticket in Gorgias instead of updating the previous ticket. This helps you track each support interaction separately.
================================================================
URL: https://help.chatty.net/integrations/joy/
Locale: en
================================================================
# Joy
**Who can use this feature?**
* This feature is available for Joy Ultimate plan users
### What is Joy Rewards & Loyalty Program?
[Joy](https://joy.so/?utm_source=help_center\&utm_medium=integration\&utm_campaign=joy) is a Shopify app that provide loyalty program for enhancing customer retention and satisfaction.
It offers a full suite of features (rewards program, points, VIP tiers and referrals…).
Learn more about [Joy Rewards & Loyalty Program](https://joy.so/?utm_source=help_center\&utm_medium=integration\&utm_campaign=joy)
### Why integrate Joy?
#### Sync customer information
By integrating Chatty with Joy, you can get access to customers’ loyalty profiles and activity right in Chatty Inbox, which includes
* Type
* VIP tier
* Points balance
* Birthday
* Referral link
Then, you have more information to personalize answers to customer inquiries or provide suitable services/products.
You can check Joy profile in:
* Customer details in Contacts
* Conversation details
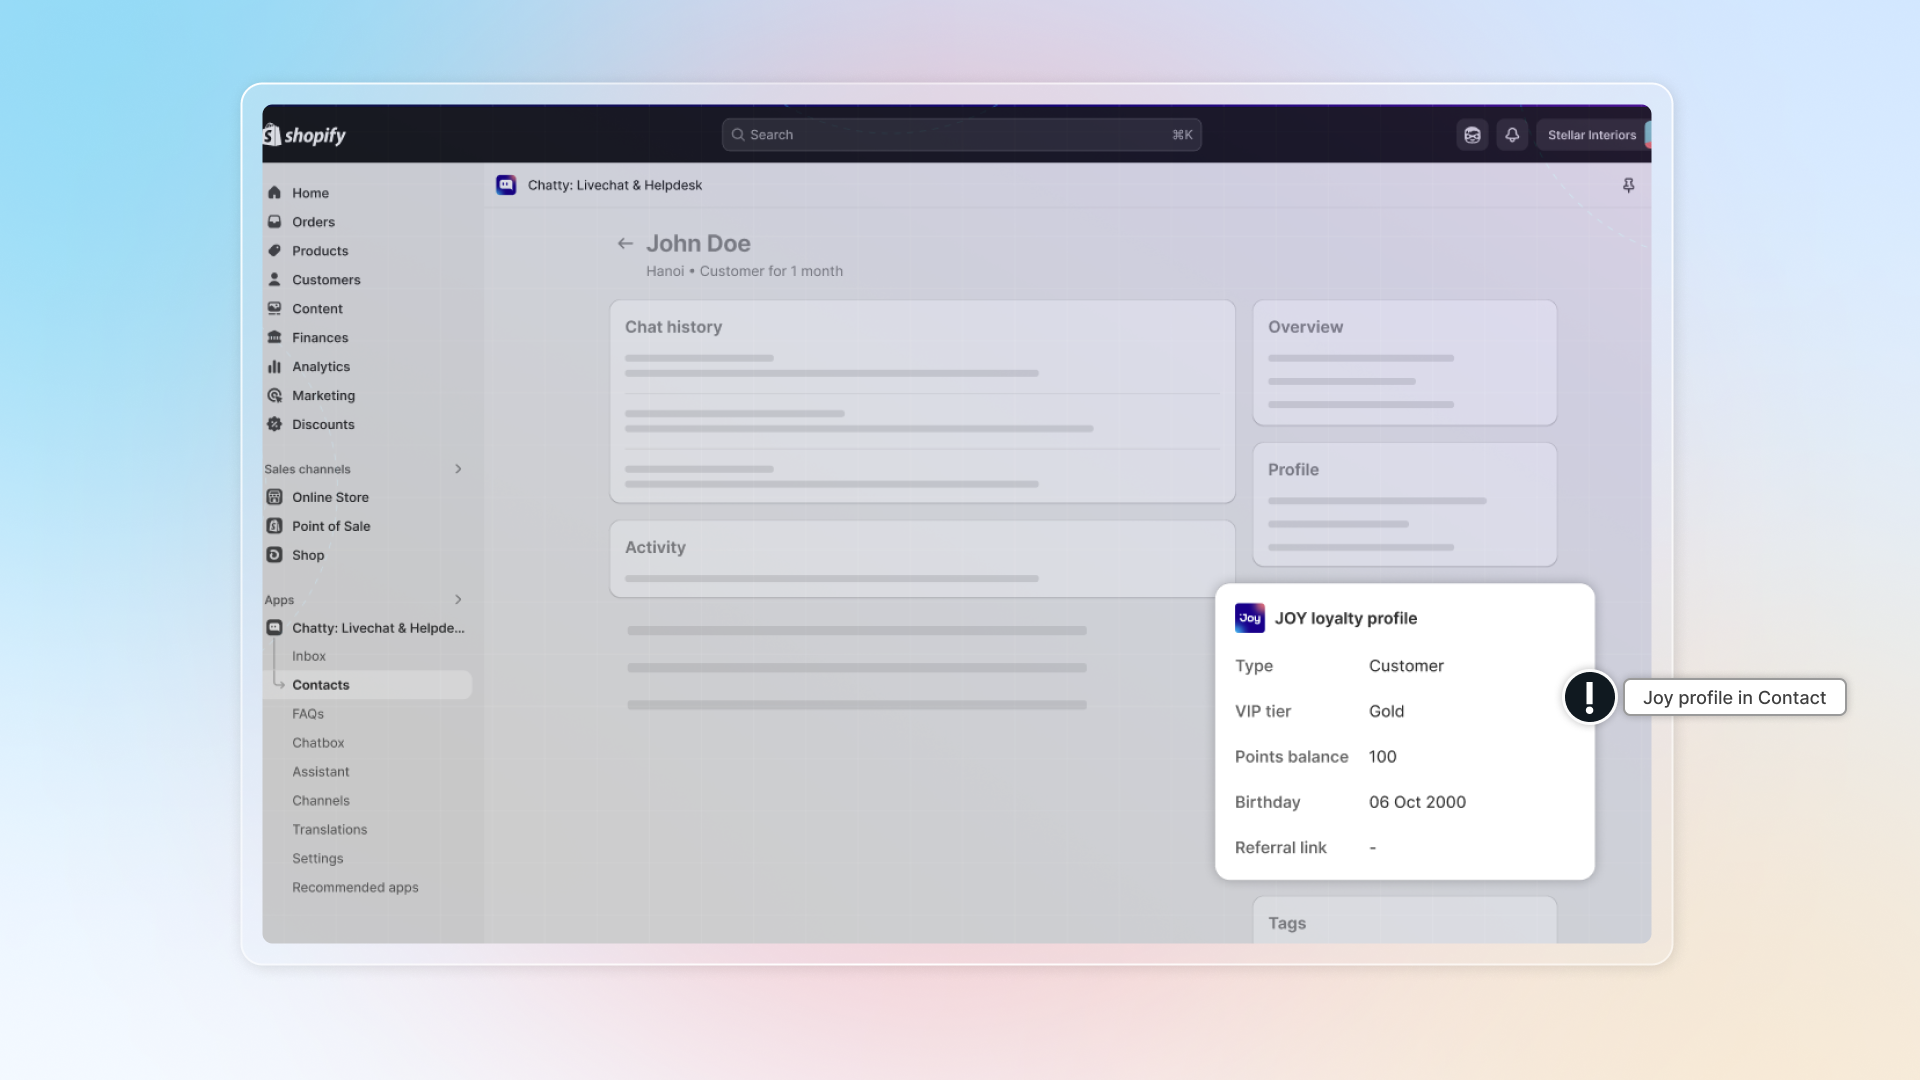
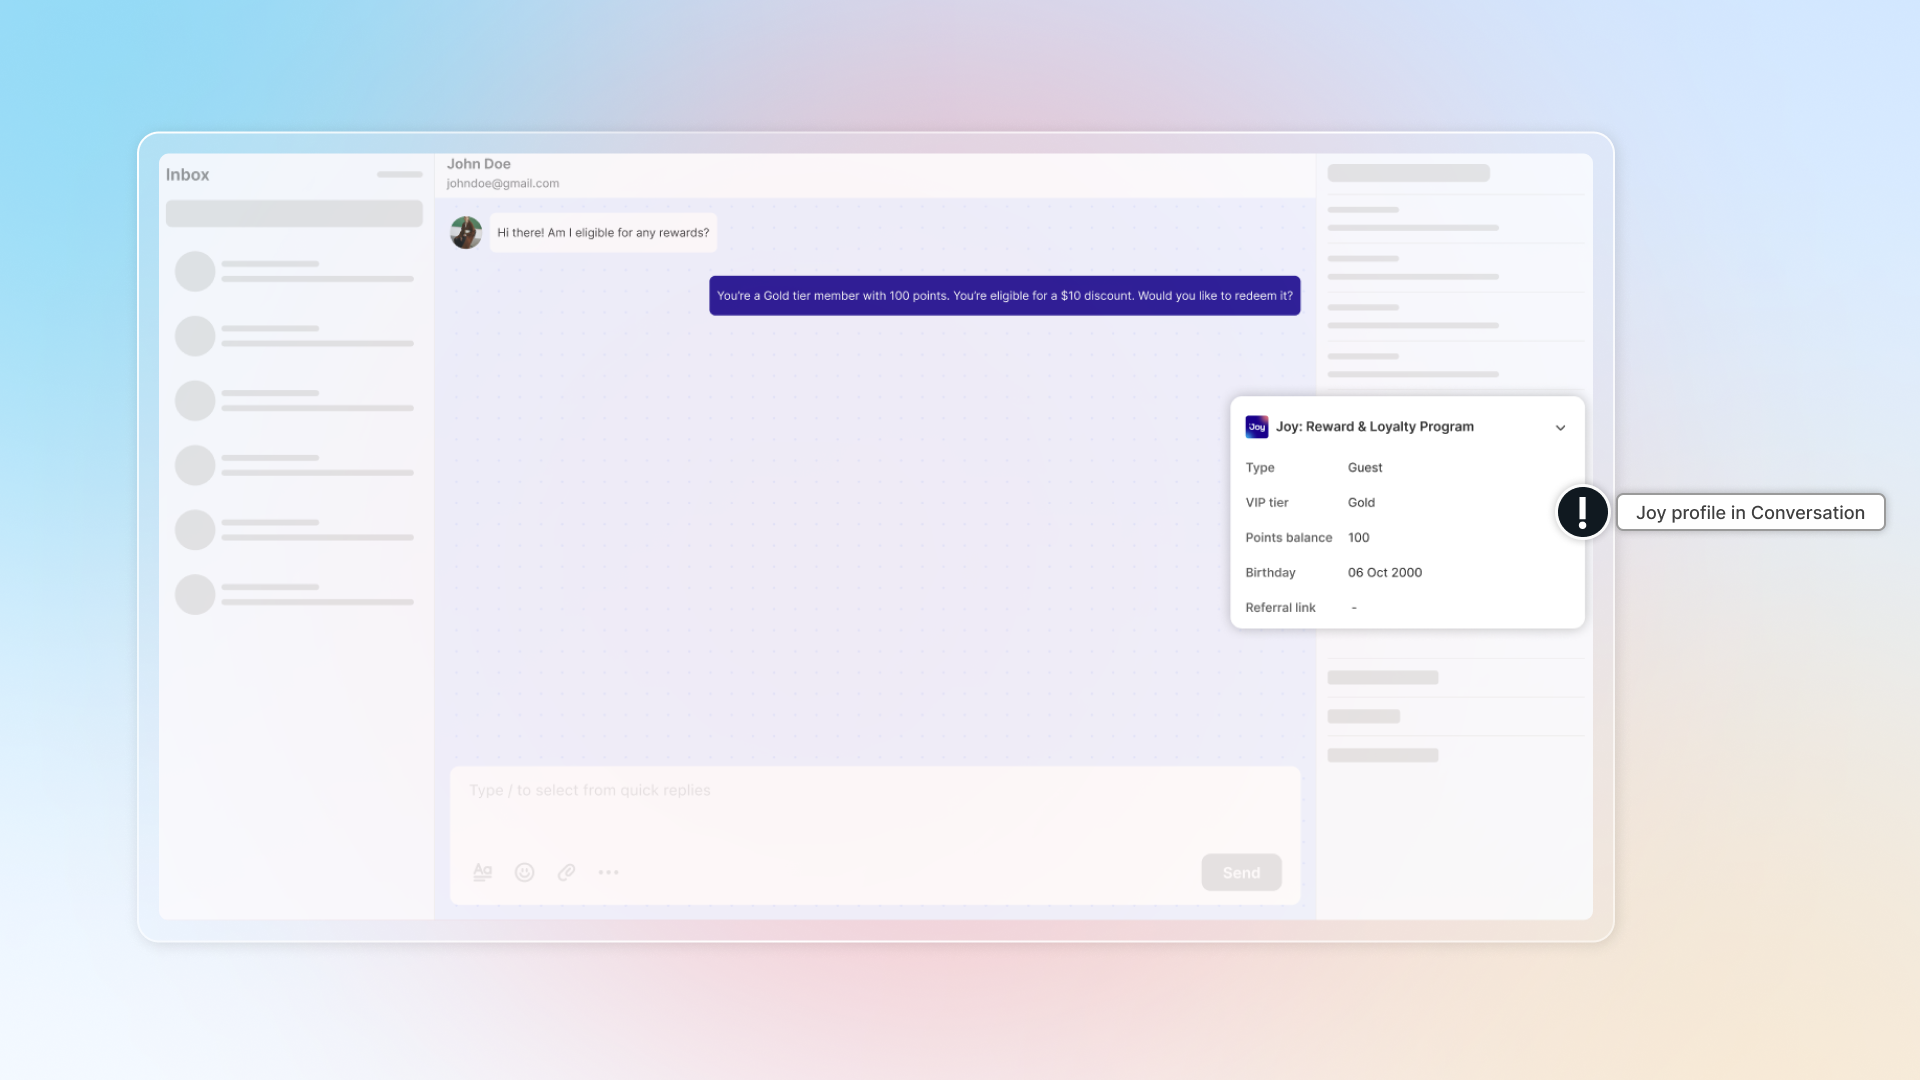
#### Let AI answer loyalty questions
AI-powered loyalty answers are only available on the Joy Ultimate plan.
With the Joy integration, your AI assistant can read customers' loyalty data and use it to answer questions directly in the conversation.
When a customer asks things like "How many points do I have?", "What's my VIP tier?", or "How do I redeem my points?", the AI can check their Joy profile and reply with accurate, personalized information, without a human agent stepping in.
### How to integrate?
Go to **Integrations**
In "Joy" click **Manage**
#### Install Joy (step 1)
Click **Go to Joy** and install app.
If you have already installed Joy, skip this step
#### Click **Connect** (step 2)
Click Connect to enable loyalty data sync between Joy and Chatty
#### View Joy info
After integrating, you can go to **Customer details** or **Conversation details** to view Joy info. Also, AI can answer questions about loyalty program in Joy.
================================================================
URL: https://help.chatty.net/integrations/klaviyo/
Locale: en
================================================================
# Klaviyo
**Who can use this feature?**
* The Klaviyo integration is available on every plan, including Free.
* You need the **Integrations** permission in Chatty to connect or disconnect it.
* You need a Klaviyo account. Chatty does not create one for you.
### What this integration does
Klaviyo is an email and SMS marketing platform. The integration sends your Chatty contacts to Klaviyo as customer profiles, so you can build segments and flows around who has talked to you and how often.
Data moves one way only: from Chatty to Klaviyo. Chatty does not read your Klaviyo lists, campaigns, or subscribers back into the inbox.
Learn more about [Klaviyo](https://apps.shopify.com/klaviyo-email-marketing?utm_source=chatty)
***
### Before you connect
* A Klaviyo account you can sign in to.
* Contacts in Chatty with an email address. Klaviyo identifies profiles by email, so contacts without one are skipped.
***
### Connect your Klaviyo account
#### Open the Klaviyo integration
Go to **Settings** → **Integrations**, find **Klaviyo**, and click **Manage**.
#### Authorize Chatty
Click **Connect**. Chatty sends you to Klaviyo, where you sign in and confirm access. Klaviyo asks for permission to read and write profiles and lists, and to read your account details.
#### Allow access
Click **Allow**. Klaviyo returns you to Chatty and the status next to the page title changes to **Connected**.
#### Wait for the first sync
Chatty sends every existing contact with an email to Klaviyo in one batch. A badge next to **Integrate Klaviyo** shows **Syncing** with the percentage done, and turns into **Synced 100%** when the batch finishes. Large contact lists take a few minutes.
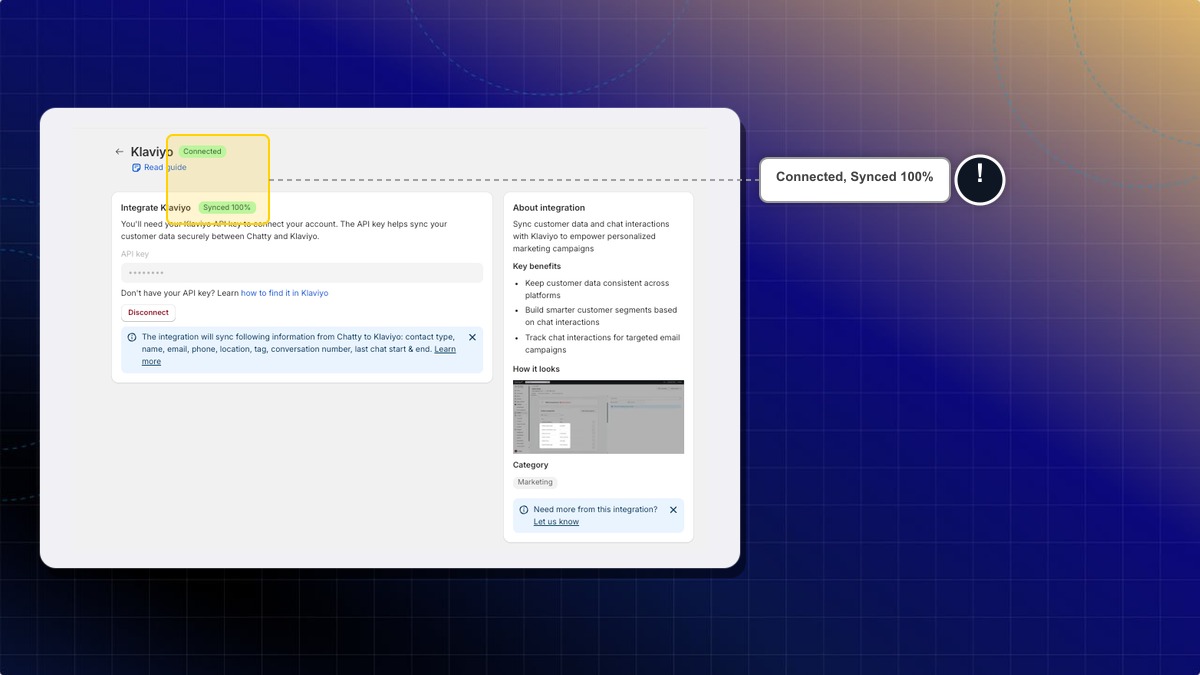
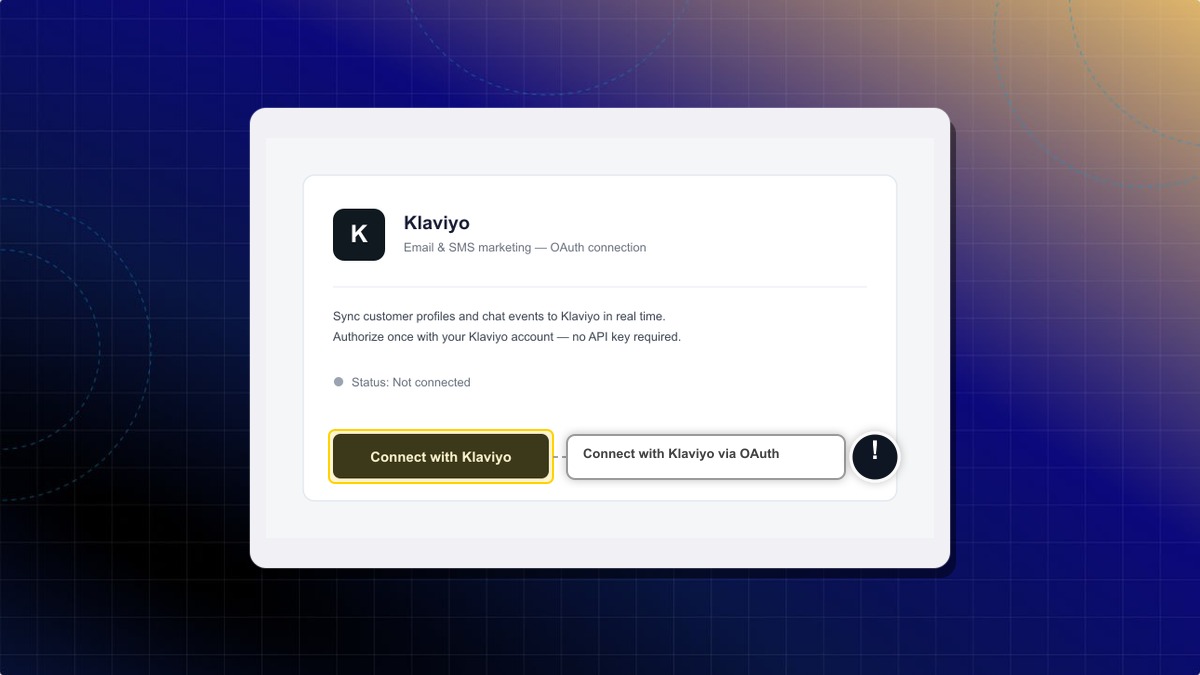
**Seeing an API key field instead of a Connect button?**
Chatty is moving stores to the authorized sign-in above in stages. Until your store is moved, the page asks for a Klaviyo API key. Follow [Connect with an API key](#connect-with-an-api-key) instead.
If you close the Klaviyo screen or decline the request, nothing is connected and no data is sent. Return to **Settings** → **Integrations** → **Klaviyo** and click **Connect** again.
***
### Connect with an API key
This is the older setup. Use it if your Klaviyo page shows an **API key** field, or if you connected this way before and want to keep it running.
#### Open the Klaviyo integration
Go to **Settings** → **Integrations**, find **Klaviyo**, and click **Manage**.
#### Paste your API key
Paste the private API key you created in Klaviyo into the **API key** field. See [How to get Klaviyo API key](#how-to-get-klaviyo-api-key) below.
#### Click Connect
Chatty checks the key against Klaviyo. If the key is wrong or lacks the right access, the page shows **Fail to connect. Check again your API key** and nothing is sent.
Once your store moves to the authorized sign-in, a warning appears telling you the API key connection is deprecated. Click **Disconnect**, then **Connect** again to switch. Profiles already in Klaviyo are not affected.
***
### How to get Klaviyo API key
#### Log in to Klaviyo
#### Go to Settings
Click your profile in the bottom left corner, then click **Settings**.
#### Create an API key for Chatty
* Go to **API keys**
* Click **Create Private API key**
* Name the key, for example `Chatty integration`
* Select access level **Custom key**
* Under API scopes, grant **Read/Write Access** to Accounts, List, and Profiles
#### Copy the key
Click **Create**, copy the key, and paste it into Chatty.
***
### What Chatty sends to Klaviyo
Each Chatty contact becomes one Klaviyo profile, matched on email address. Chatty writes these fields:
| Field in Klaviyo | What it holds |
| --- | --- |
| `email` | The contact's email address. This is what matches the profile. |
| `Chatty contact name` | The contact's name in Chatty. |
| `Chatty phone` | The contact's phone number. |
| `Chatty location` | The location Chatty detected for the contact. |
| `Chatty tag` | The contact's Chatty tags, separated by commas. |
| `Chatty contact type` | Whether the contact is a customer, guest, or anonymous visitor. |
| `Chatty conversation count` | How many conversations the contact has had. |
| `Chatty last chat` | When the contact last chatted. |
Chatty writes to Klaviyo at two moments:
* **Right after you connect** — all existing contacts with an email are sent in one batch.
* **Whenever a contact is created or updated in Chatty** — that single profile is updated in Klaviyo.
Chat transcripts, message content, and order data are not sent.
***
### Check that it worked
* The status next to the page title reads **Connected**.
* The sync badge reads **Synced 100%**.
* In Klaviyo, open **Profiles** and search for a contact you know chatted with you. The `Chatty ...` fields appear on the profile.
If the connection fails, Chatty shows a red banner on the Klaviyo page with a link to contact support.
***
### How to disconnect
Go to **Settings** → **Integrations** → **Klaviyo** → **Manage** and click **Disconnect**.
Disconnecting stops the sync immediately and removes Chatty's access to your Klaviyo account. Profiles Chatty already created in Klaviyo stay there. Delete them in Klaviyo if you don't want to keep them.
***
### Need help?
Contact the Chatty support team from your dashboard. Include your store URL, whether you connected with the **Connect** button or an API key, and the email address of a contact you expected to see in Klaviyo.
================================================================
URL: https://help.chatty.net/integrations/powerful-contact-form/
Locale: en
================================================================
# Powerful contact form
### What is Powerful contact form integration?
Powerful contact form integration connects your form app with Chatty inbox, automatically turning each form submission into a conversation.
Get [Powerful contact form](https://apps.shopify.com/form-builder-contact-form?utm_source=chatty) free
### Why integrate Powerful contact form?
With Powerful contact form integration, you can:
* Create individual conversations for each customer who submits a form
* Automatically capture customer details from the form
* Keep all inquiries organized in your inbox
* Respond to customers directly from Chatty
* Track customer conversation history
Forms must include either email or phone number to create conversations.
#### How to set up Powerful contact form integration
#### Set up forwarding email in Chatty
(If you have already connected your email, skip this step.)
Add an email address as a forwarding email in Chatty to receive form submissions.
1. From Chatty, go to **Channels**
2. Click **Add email**
3. Add your email as forwarding email
4. Click **Send verification email** to confirm
#### Copy forwarding email
#### Go to Powerful contact form
#### Open the form you want to connect
#### Paste email in form settings
* Open form builder
* Click **Mail**
* Add the email you set up in Chatty as the form notification email
#### Click Save
#### Manage form conversations
When a customer submits a form, Chatty automatically creates a conversation in your inbox.
Each form submission:
* Creates a new conversation with the customer's profile
* Captures customer information from the form (name, email, phone)
* Shows form content as the first message
* Allows you to reply directly to the customer from Chatty inbox
**Note:** Form notification emails won't create duplicate conversations in your inbox.
================================================================
URL: https://help.chatty.net/integrations/sea-survey/
Locale: en
================================================================
# SEA Post Purchase Survey
**Who can use this feature?**
* This feature is available for all users
* Get [SEA Post Purchase Survey](https://apps.shopify.com/sea-survey) on Shopify
### What is the SEA Post Purchase Survey integration
SEA Post Purchase Survey (SEA Survey) is a Shopify app for sending surveys to customers after they buy. This integration keeps your Chatty contacts in sync with SEA Survey, so you can send surveys to the right people.
Once connected, Chatty sends your contacts to SEA Survey and keeps them up to date as they change.
### How to connect SEA Post Purchase Survey
Go to **Settings** → **Integrations** → **SEA Post Purchase Survey**.
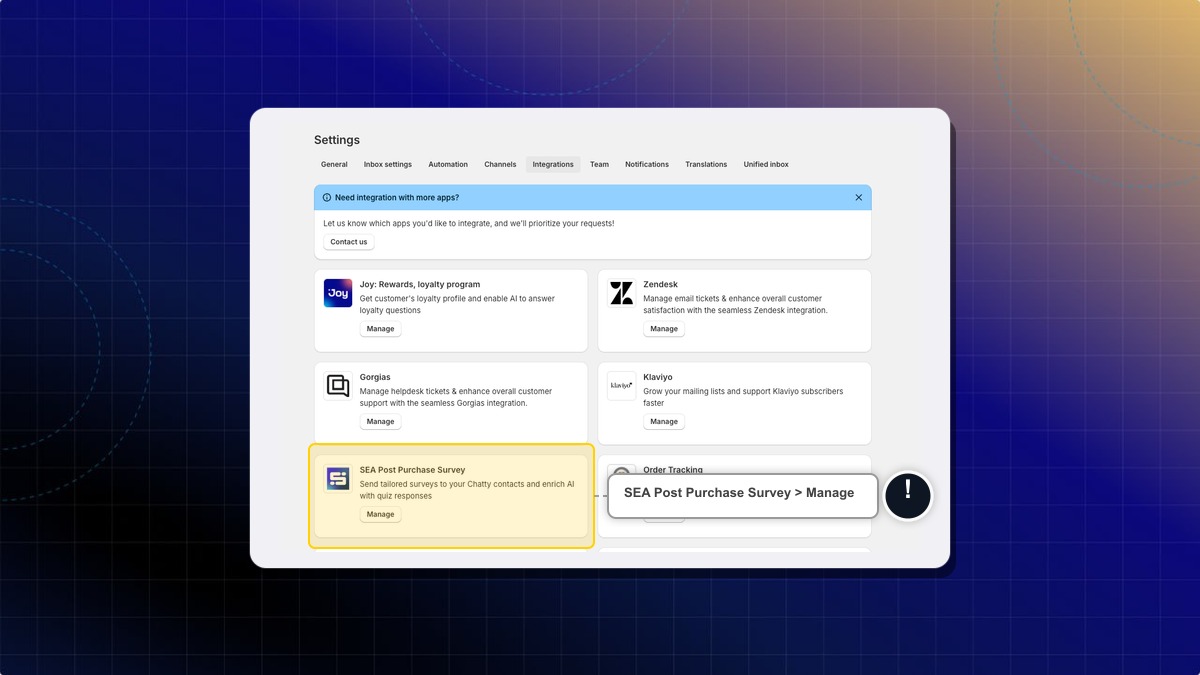
#### Install SEA Post Purchase Survey
Open the app on Shopify and install it on your store.
#### Connect the integration
In **Step 2. Connect**, click **Connect**. No API key is needed. The button stays disabled until Step 1 shows SEA Survey as installed.
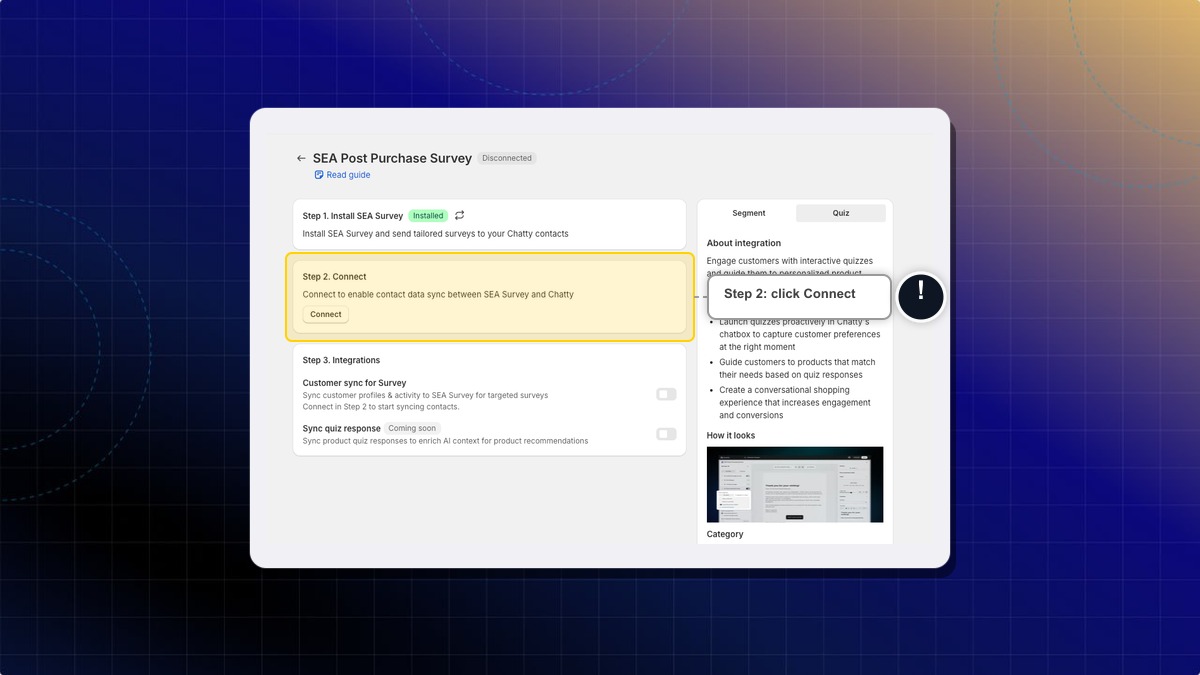
#### Turn on customer sync
In **Step 3. Integrations**, turn on **Customer sync for Survey** to send your Chatty contacts to SEA Survey. The toggle stays locked until Step 2 connects, and reads "Connect in Step 2 to start syncing contacts" until then.
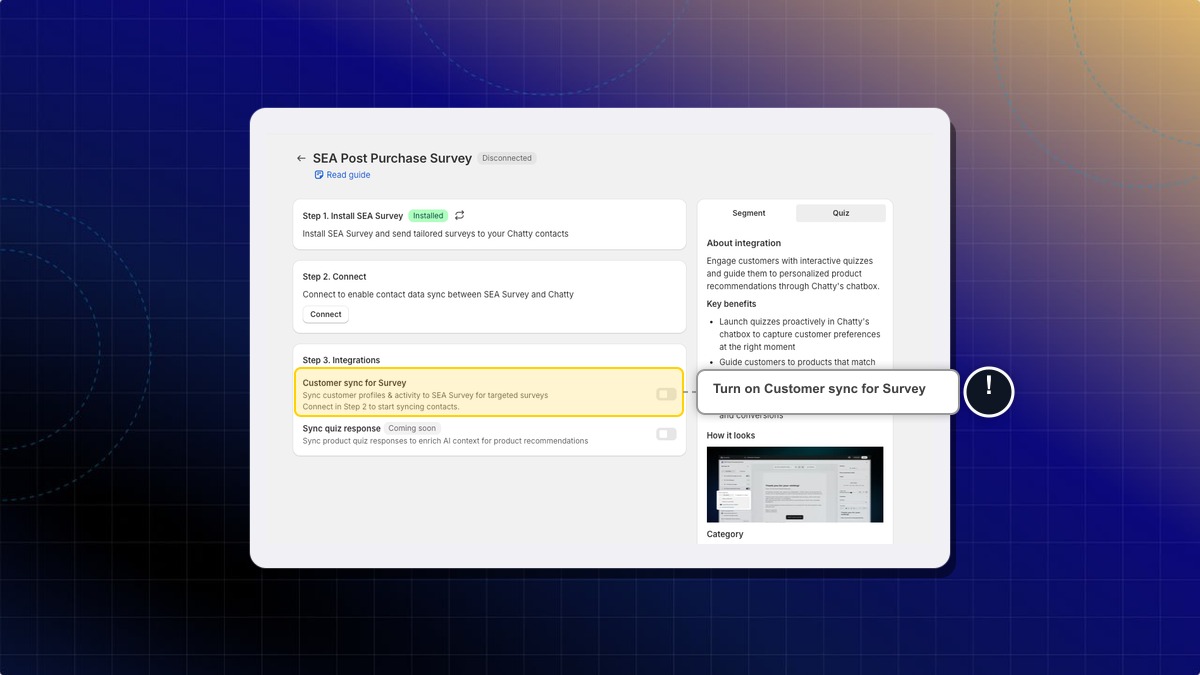
**Expected result:** Your contacts are sent to SEA Survey, and new or updated contacts keep syncing on their own.
**Sync quiz response** will bring customers' quiz responses into Chatty to help your AI. This option is marked **Coming soon** and is not available yet.
Do I need to sync contacts by hand?
No. After you turn on **Customer sync for Survey**, Chatty keeps your contacts up to date on its own, so new and changed contacts reach SEA without any extra step.
What is the "Send survey" button on the Contacts page?
It shows until you install and connect SEA Survey. Click it, then click **Go to integration** to open the setup page. Once connected, the button disappears.
================================================================
URL: https://help.chatty.net/integrations/website/
Locale: en
================================================================
# Website
### What is website integration?
Website integration allows you to add Chatty to any website you own, even if it's not hosted on Shopify.
This means your customers can get instant answers whether they're on your blog, landing page, or any custom website. And you can manage all those conversations in Chatty only.
### Why use website integration
* Capture sales opportunities across all your websites
* Provide consistent 24/7 support everywhere your brand appears
* Manage all customer conversations from one unified inbox
### How to add Chatty to your website
#### Before you start:
Make sure you have:
* Access to your website's HTML files (or content management system)
* Basic ability to add code snippets to your website (or access to someone who can)
#### Get your widget code
1. From your Chatty admin, go to Settings
2. Click **Integrations**
3. Click **Manage** in Website integration
4. Your unique code snippet will be automatically generated
#### Copy the [code snippet](#user-content-fn-1)[^1]
1. Select type of code: `HTML` or `Liquid`
2. Click **Copy**
#### Add code to your website
1. Open your website's HTML file
2. Locate the `` section
3. Paste the code snippet just before the closing `` tag
4. Save your changes
After you've added the code, the Chatty chat widget will appear on your website within a few minutes.
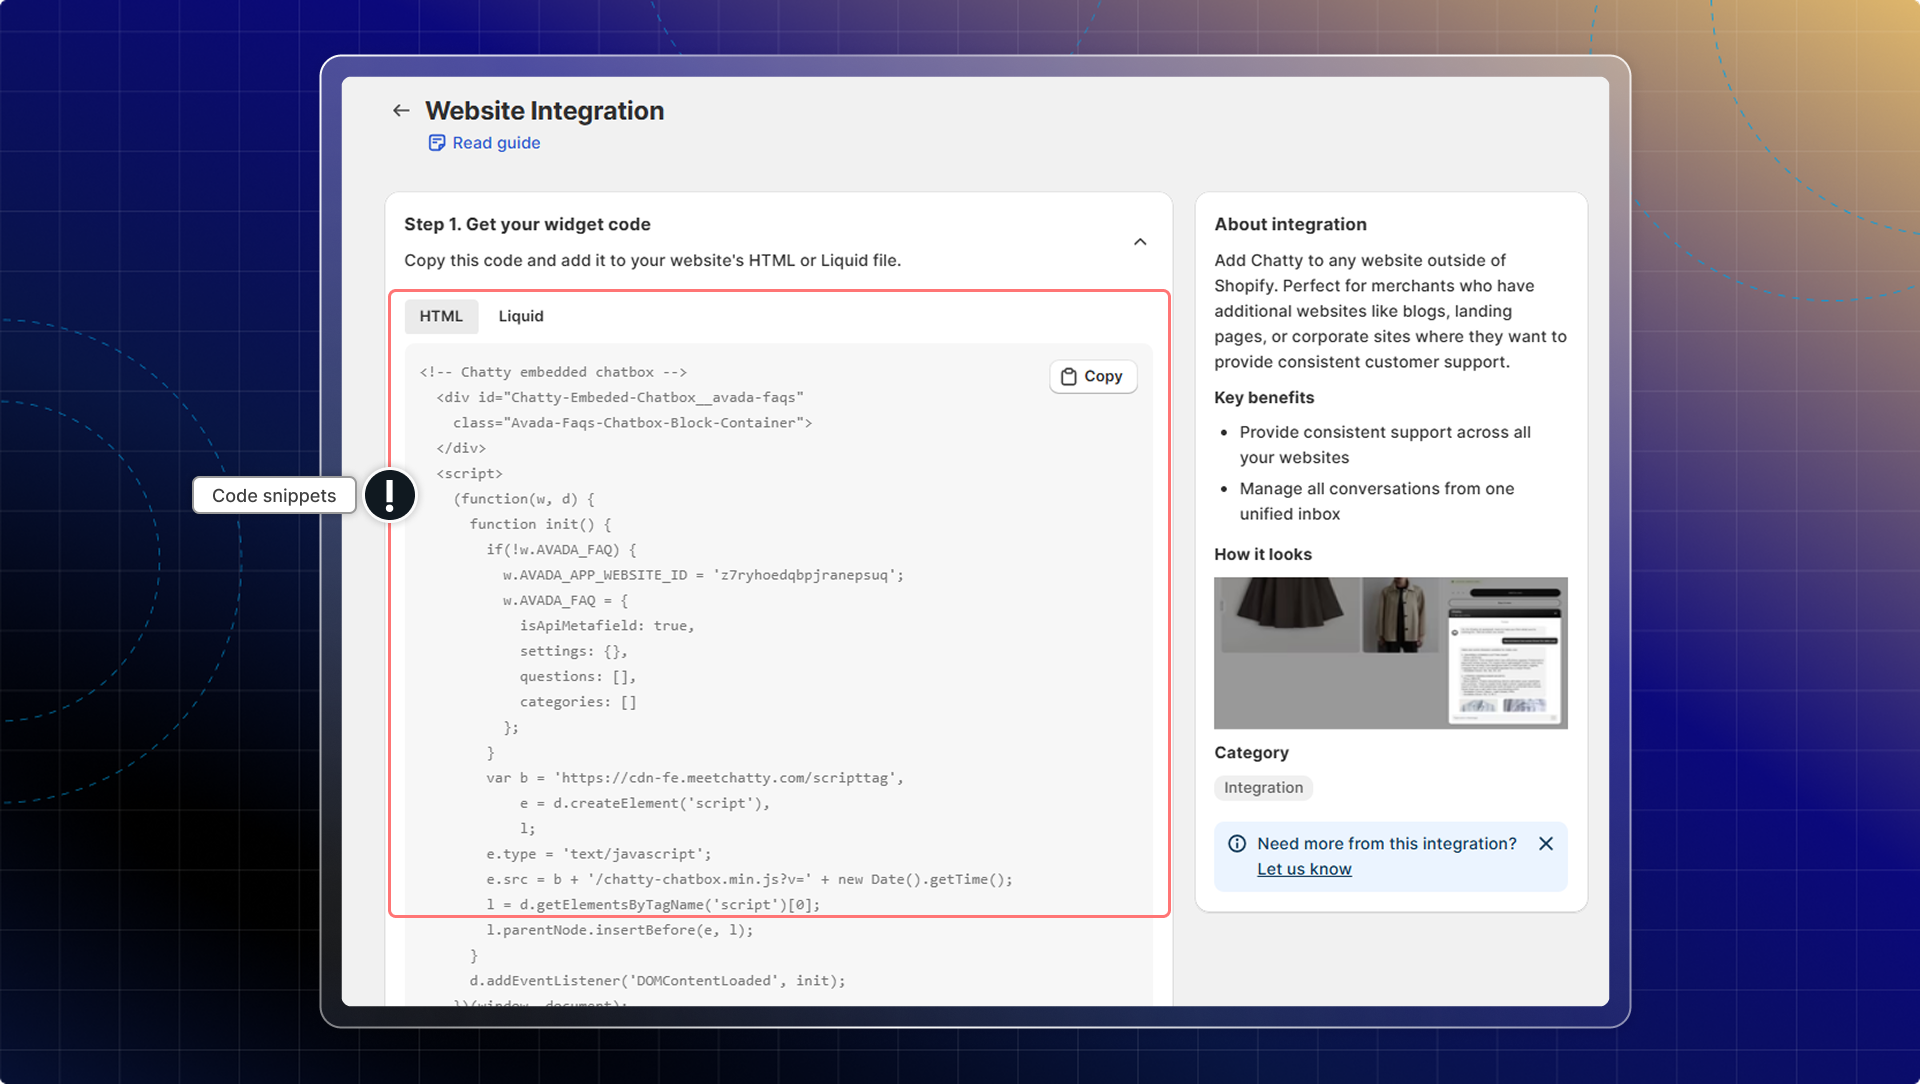
### How does it work?
When customers visit your other websites:
* They'll see the same Chatty chat widget as on your Shopify store
* AI assistant responds to their questions instantly using your trained data
* All conversations from your external websites flow into the same inbox
### FAQs
Can I add Chatty to multiple websites?
Yes, you can use the same code snippet on as many websites as you want. All conversations will flow into your single Chatty inbox.
Will this slow down my website?
No, the Chatty widget loads asynchronously, which means it won't affect your website's loading speed.
Can I customize how the widget looks on different sites?
The widget will use your default Chatty settings.
What if I need to remove Chatty from my website?
Simply delete the code snippet from your website's HTML.
Does this work with website builders like WordPress or Wix?
Yes, as long as you can add custom HTML code to your website, the integration will work. Most website builders have a custom code section where you can paste the snippet.
[^1]: A small piece of JavaScript code that merchants copy and paste into their website's HTML to embed the Chatty chat interface
================================================================
URL: https://help.chatty.net/integrations/zendesk/
Locale: en
================================================================
# Zendesk
### What is Zendesk integration?
Zendesk integration automatically saves your Chatty conversation history to Zendesk as support tickets.
When you resolve a conversation in Chatty, the system creates a ticket in Zendesk with the full conversation transcript and customer details.
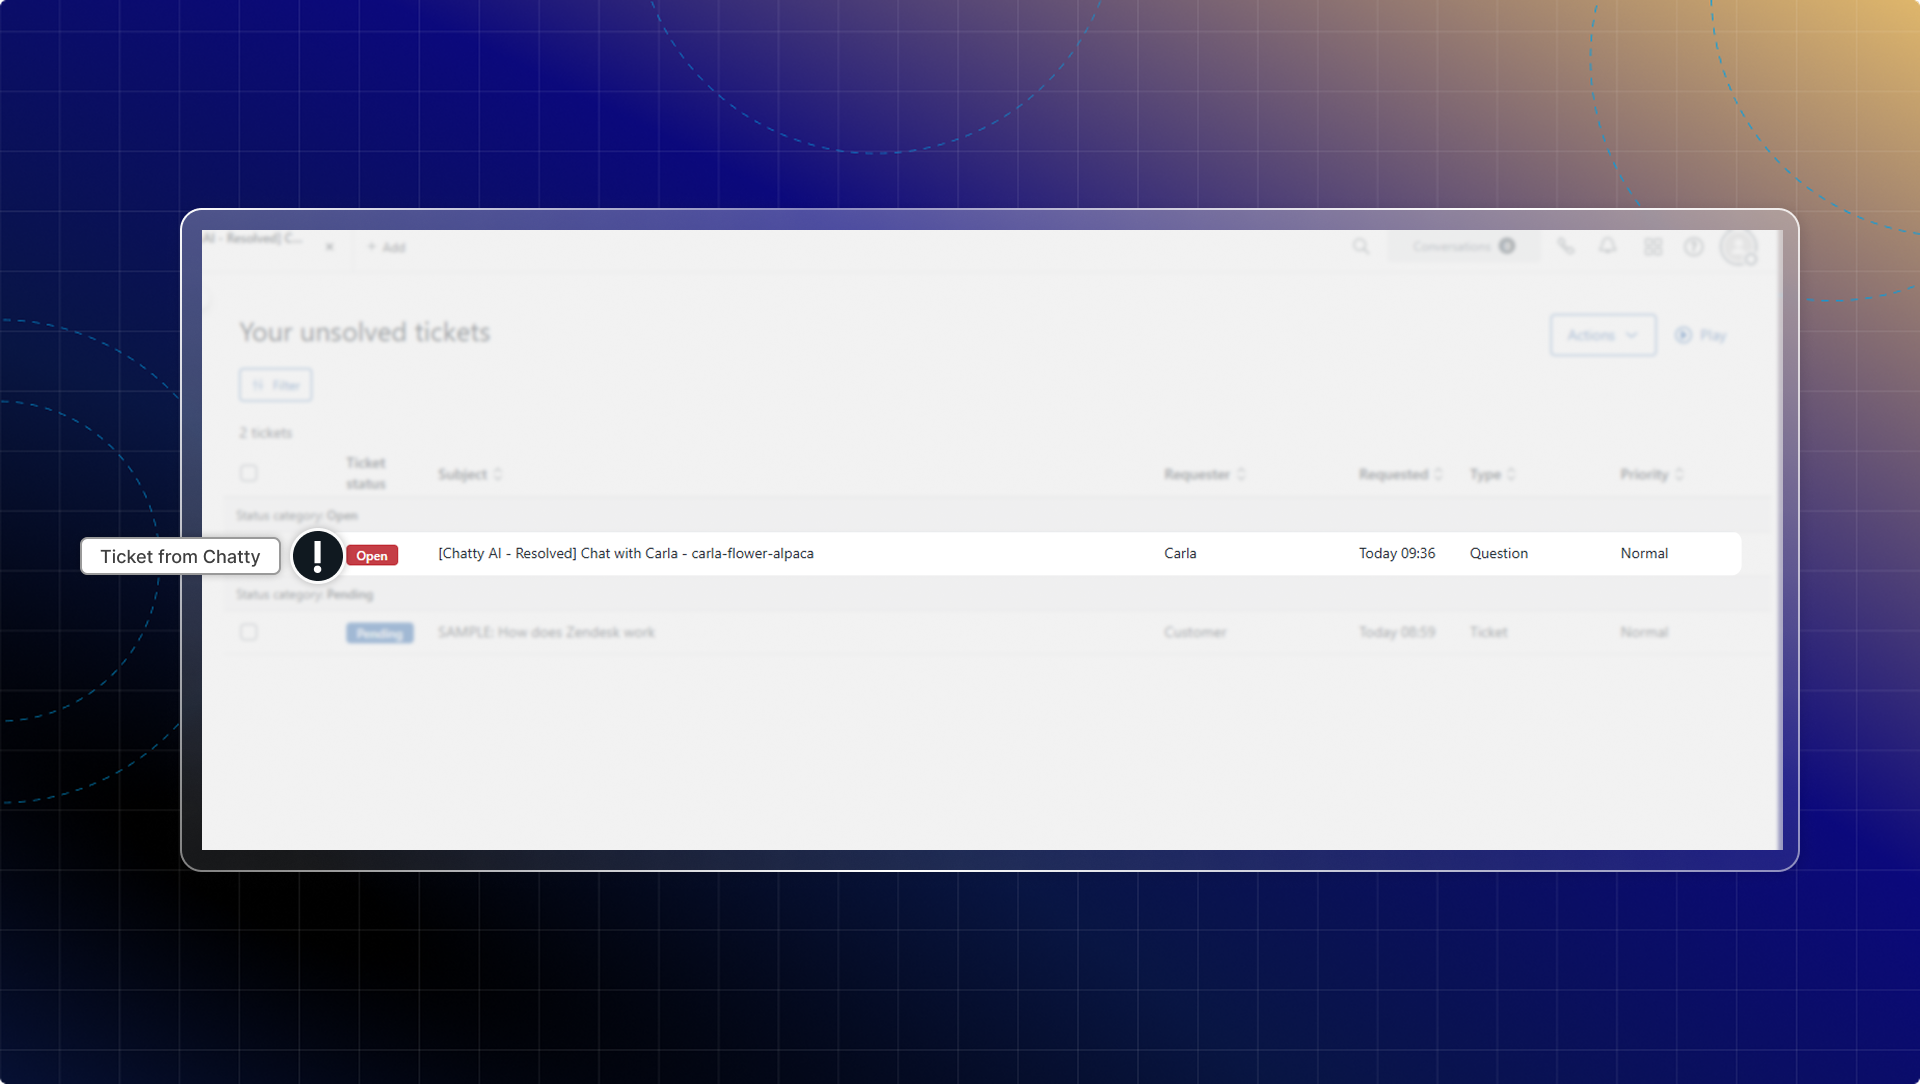
#### Why integrate Zendesk?
With Zendesk integration, you can:
* Automatically save all resolved conversations as Zendesk tickets
* Keep complete conversation history in one central system
* Track support performance across all channels
* Access customer interaction records without manual work
#### How to connect Zendesk with Chatty
#### Go to Zendesk Integration
* Go to **Settings** → **Integrations**
* Find **Zendesk** in the integrations list
* Click **Manage**
#### Enter Zendesk subdomain
Enter your Zendesk account subdomain.
Your Zendesk subdomain is the first part of your Zendesk URL. For example, if your Zendesk URL is `yourstore.zendesk.com`, your subdomain is `yourstore`.
#### Authorize connection
* Click **Connect**
* You'll be redirected to Zendesk OAuth page
* Click **Allow** to authorize Chatty
* You'll be redirected back to Chatty
* Your connection status will show as **Connected**
#### How Zendesk integration works
**Automatic ticket creation**
When you resolve a conversation in Chatty inbox, the integration automatically creates a ticket in Zendesk.
Each ticket includes:
* Customer profile information (name, email, contact details)
* Complete conversation transcript
* Timestamp of the conversation
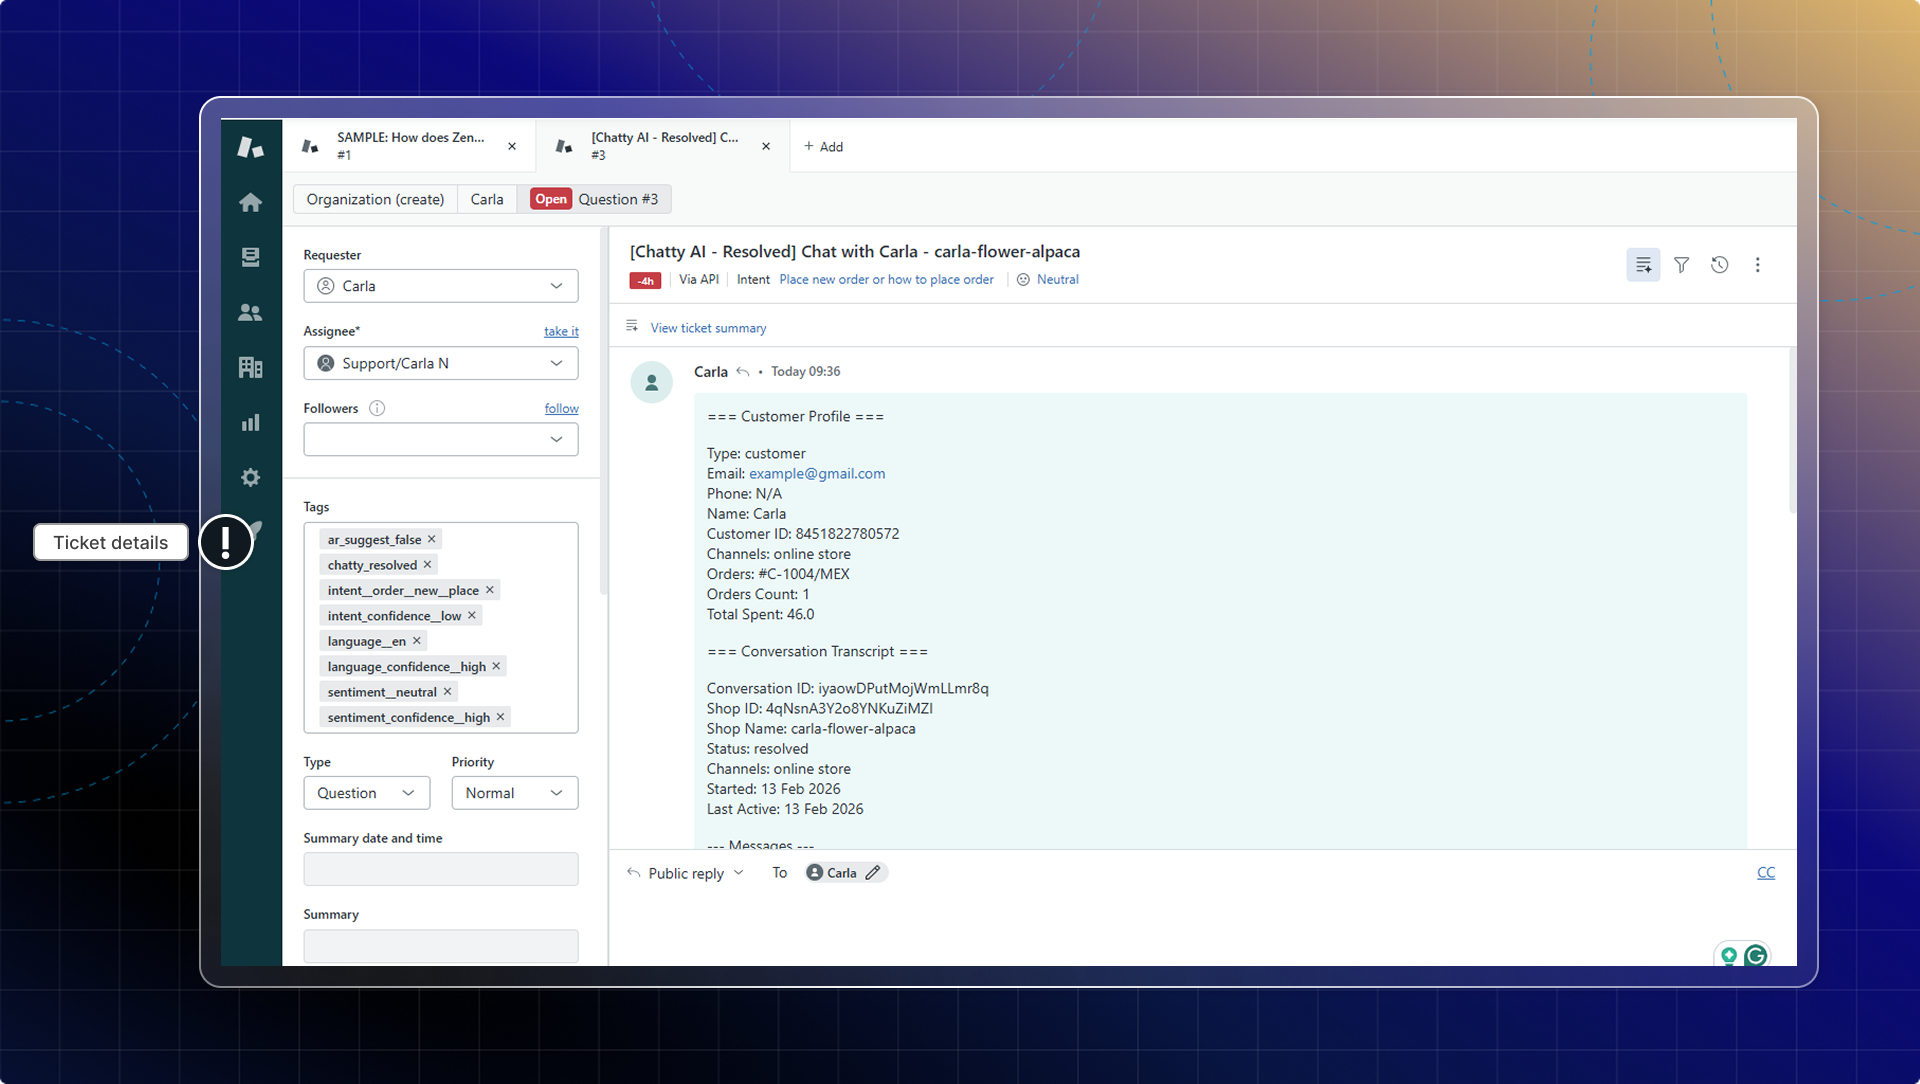
**Reopened conversations**
If you reopen and resolve a conversation again, Chatty creates a new ticket in Zendesk instead of updating the previous ticket. This helps you track each support interaction separately.
================================================================
URL: https://help.chatty.net/live-chat/channels/
Locale: en
================================================================
# Channels
Chatty allows you to manage conversations from multiple channels in one centralized location.
You can manage all messages from email, Facebook Messenger, and Instagram right in Chatty, alongside your live chat conversations.
### Email
By [connecting email](/live-chat/channels/email/), you can get emails from customers right in Chatty. **You can only connect one email to Chatty.**
In Inbox, conversation from email will be shown with email icon.
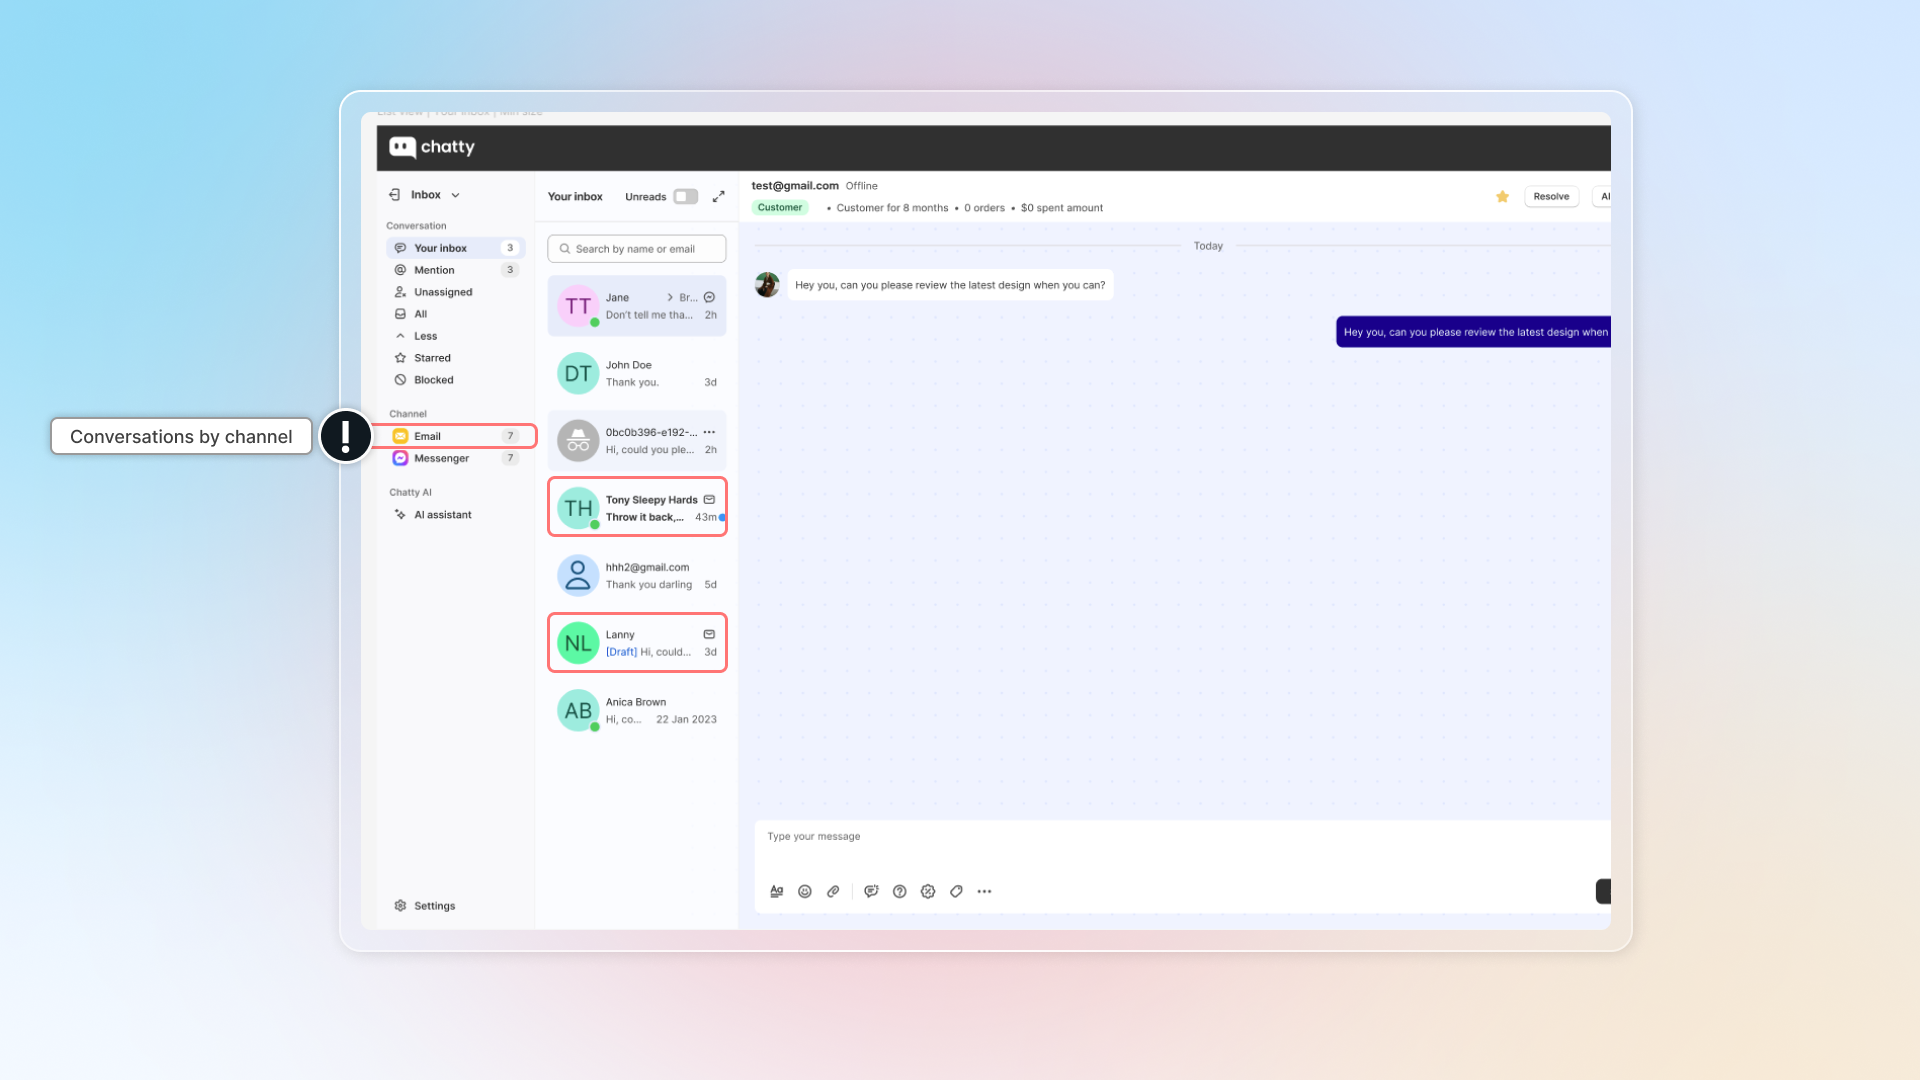
In email, you can set up:
* **Email forwarding:** Email you want to connect to Chatty. All inboxes from that email will be sent to Chatty Inbox.
* **Email sender:** You'll use this email to reply to customers' email in Chatty Inbox.
* **Email signature:** Email signature will be used in emails replied to customers.
#### Conversation history
Now you can send conversation history (the entire chat) to customer when the conversation is marked as solved.
1. Go to **Channels**
2. Select **Email channel**
3. Go to **Preferences**
4. Turn on **Conversation history**
5. Conversation history email will be sent to customer's email. Add more emails if you want to receive conversation history.
#### Connect email forwarding
Follow our instruction to finish connecting email forwarding :
#### Update email sender
In default, we use [noreply@chattyemail.com](mailto:noreply@chattyemail.com) to send email replies to your customer.
To update email sender:
1. Go to **Email sender**
2. Select **Own email address**
3. Click **Add and verify email**
4. Enter your email and click **Verify**
5. Check email for verication link & follow link to verify
6. Get back to app and click **Done**
7. Enter name for your email
#### Default CC email
Set a list of CC email addresses once and Chatty automatically adds them to every outgoing email. This keeps internal recipients in the loop without agents having to add them manually each time.
**To set up default CC emails:**
1. Go to **Settings → Channels → Email → Sender**
2. Find the **CC email** section
3. Enter up to 5 email addresses, separated by commas
4. Click **Save**
The default CC list applies to all outgoing email in Chatty, including:
* **Email replies** in conversations
* **Offline email messages** sent when no agents are available
When sending an offline email, CC addresses appear in the send modal as read-only. They are applied automatically and cannot be edited per message.
### Facebook Messenger/Instagram
By [connecting Facebook](/live-chat/channels/facebook-messenger-instagram/) account to Chatty, you can receive and reply to Facebook/Instagram messages right in Chatty.
Follow our instruction to connect Facebook fanpage:
After connecting your Facebook account, you can check pages you've connected here.
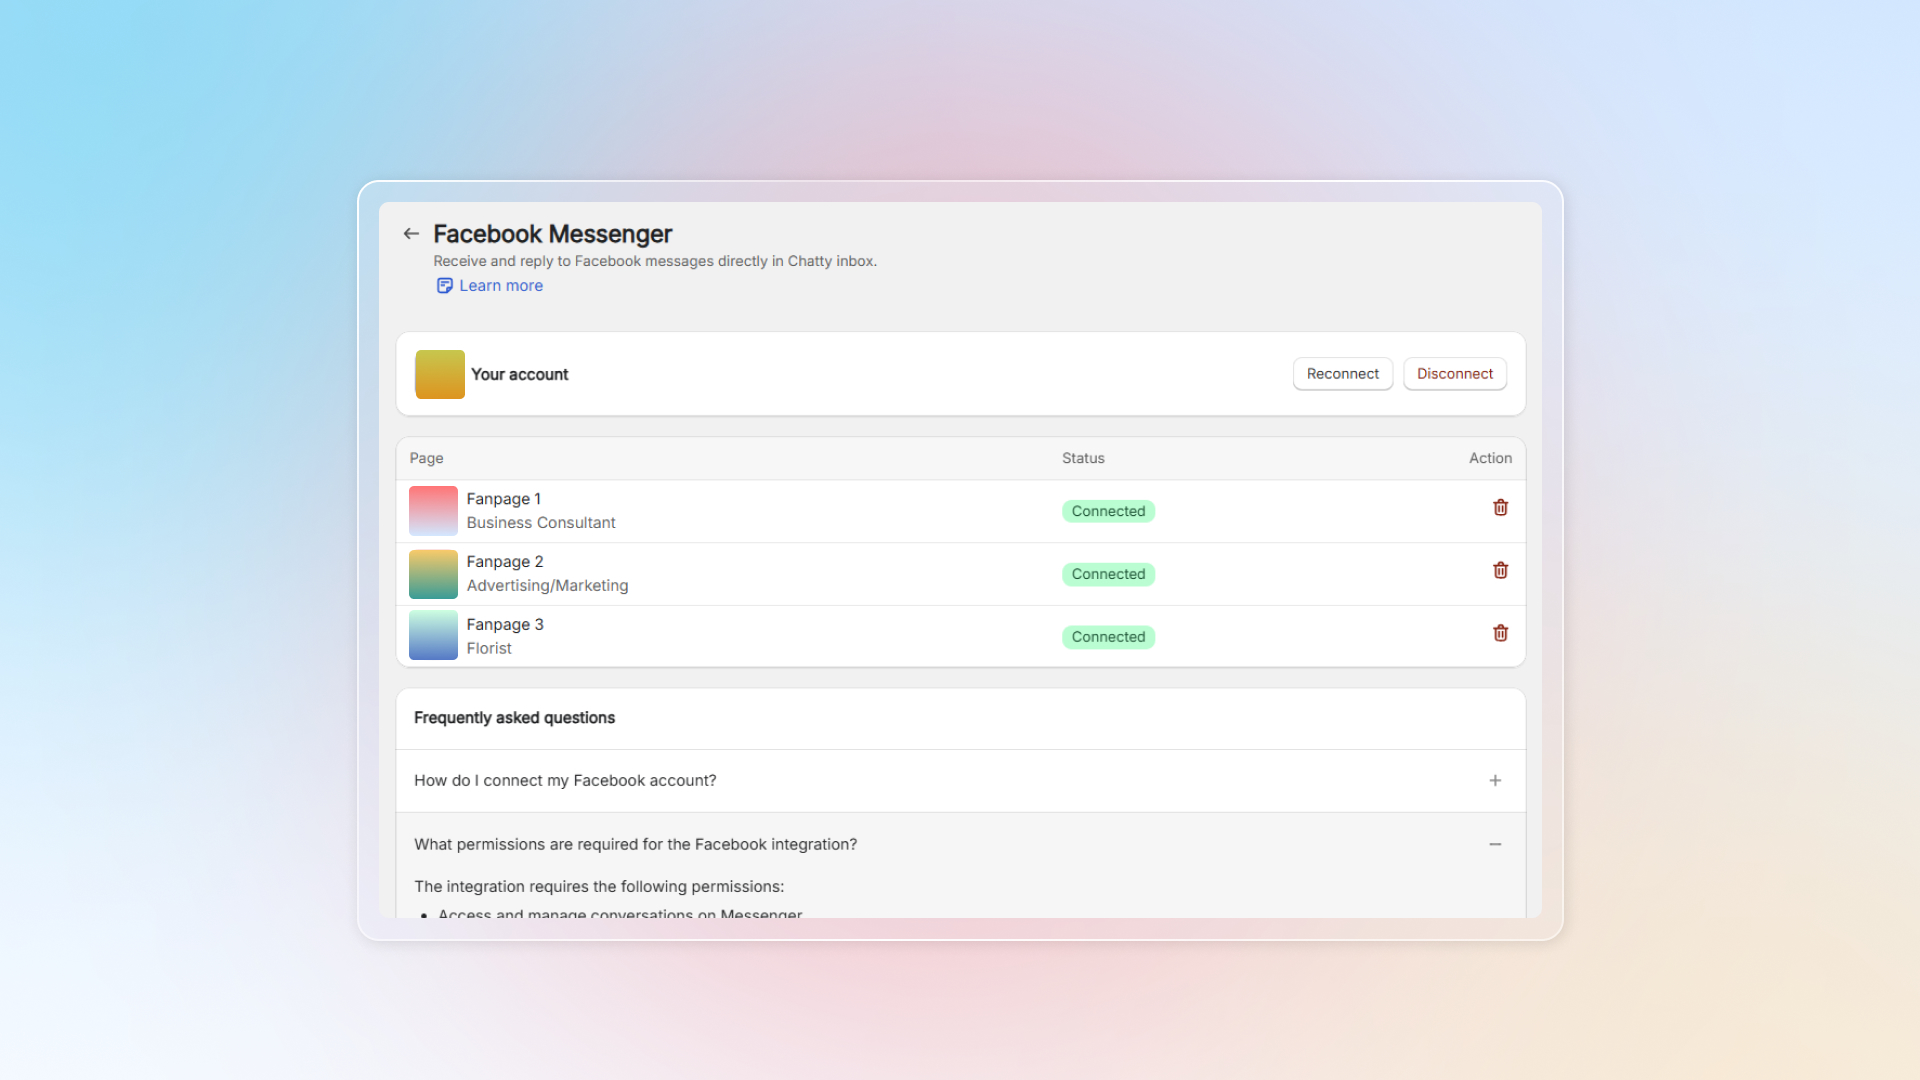
Messages from connected fanpages will be synced to Chatty inbox.
In Inbox, messages from Facebook have the Messenger icon next to it, those from Instagram have Instagram icon.
Or you can click **Messenger or Instagram** in "Channel" to select all conversations.
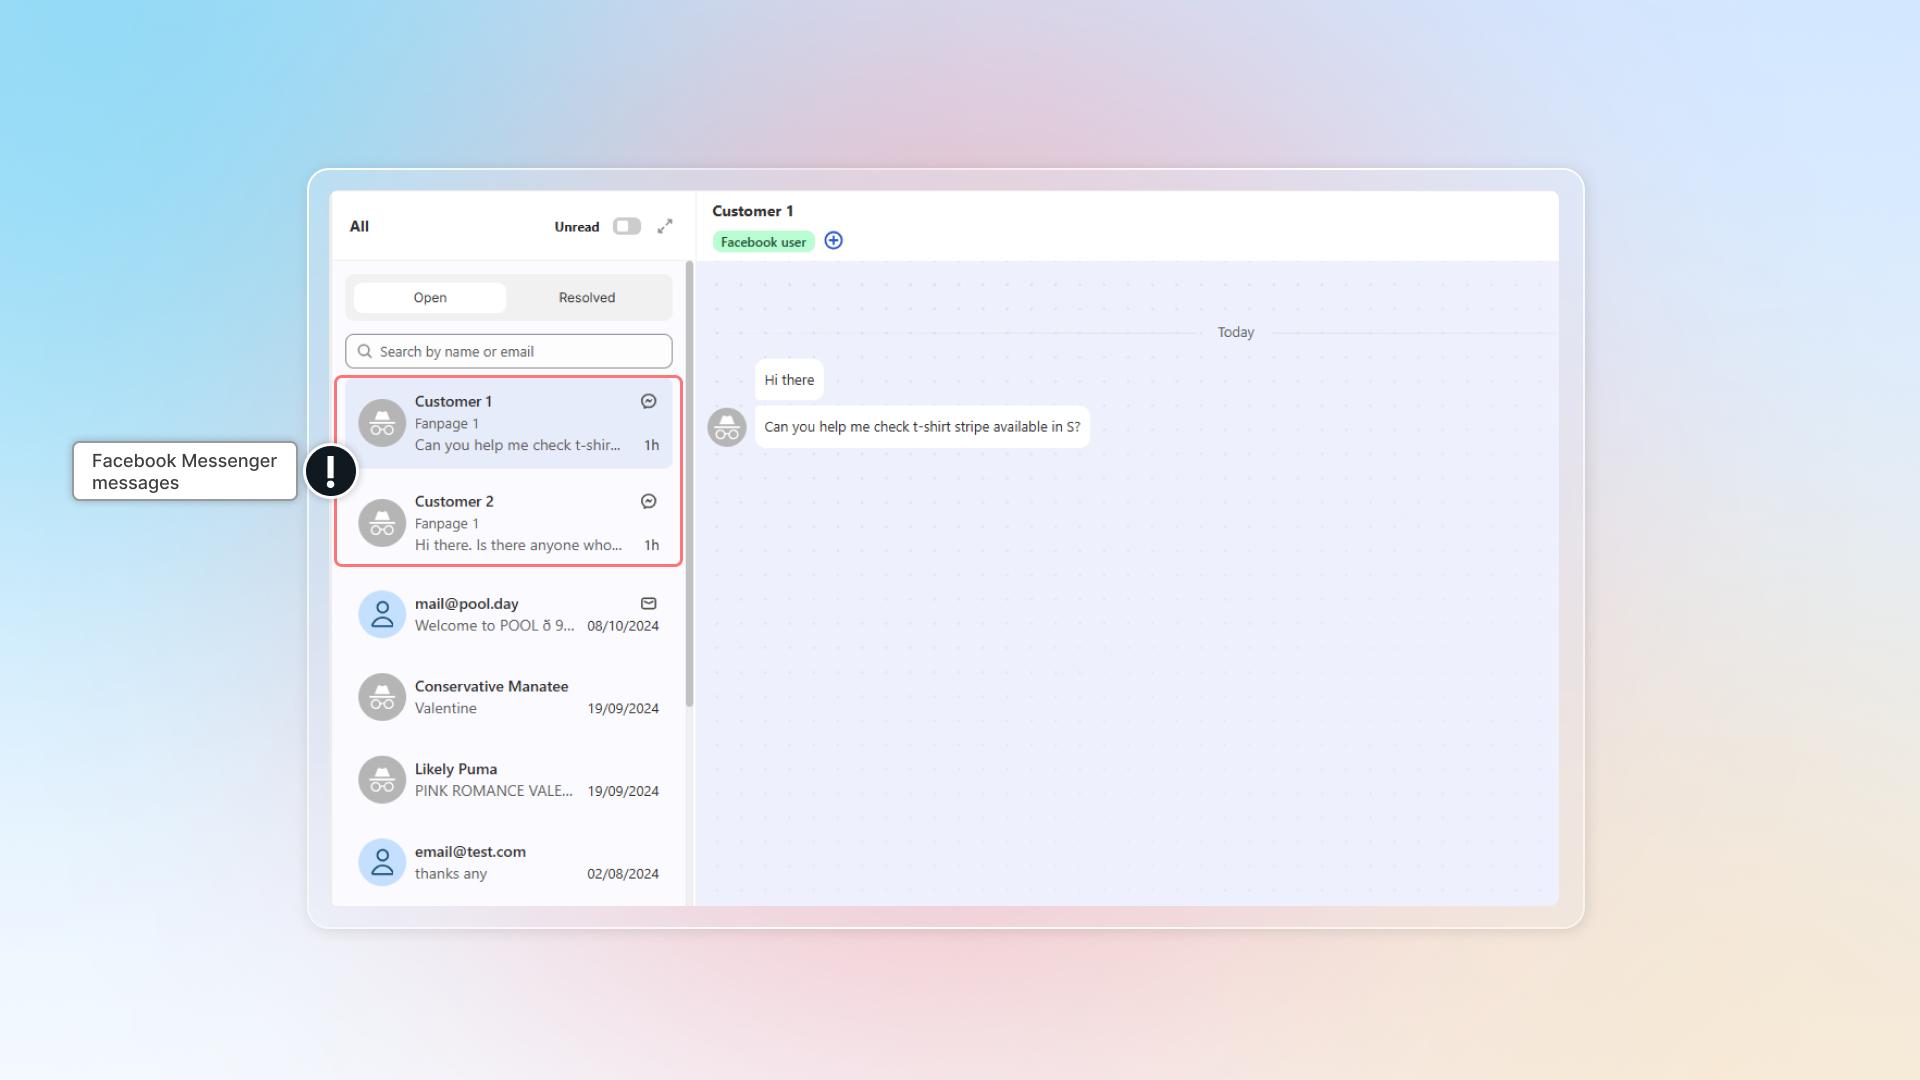
By disconnecting with Facebook fanpages, existing conversations will stay in Inbox without update.
Why does Chatty need access to my Facebook Page?
Chatty needs access to your Facebook Page to do the following:
1. **Show your Facebook messages in the Chatty app.** This allows you to see and manage all your conversations in one place.
2. **Let you reply to messages directly from Chatty.** This makes it more convenient to respond to people without switching apps.
3. **Organize your conversations and link messages to the correct Facebook Page.** This helps keep your messages organized and easy to find.
### WhatsApp
By connecting WhatsApp, you can check messages from WhatsApp right in Chatty.
Before connecting WhatsApp to Chatty, make sure you have:
* A Facebook page for your business
* A WhatsApp Business account linked to that Facebook page
* Admin access to both your Facebook page and your WhatsApp Business account
You can connect multiple WhatsApp accounts to Chatty.
Follow our instruction to connect Whatsapp:
================================================================
URL: https://help.chatty.net/live-chat/channels/email/
Locale: en
================================================================
# Email
This feature is available for all users. Follow our instruction to finish connecting emails. Instruction will vary on different email providers:
We support many email providers beyond this list. If you don't see your email provider here, please [contact us](https://go.crisp.chat/chat/embed/?website_id=72a663b0-4cda-4e3b-8878-426bdd79364c).
### Gmail
1. Sign in to your Gmail account
2. Click Settings icon -> Click **See all settings**
3. Go to "Forward and POP/IMAP" -> Click **Add a forwarding address**
4. Copy forwarding address in instruction -> Paste as forwarding address -> Click **Next**
5. Click **Proceed** to confirm
6. Get back to instruction, click **Get Verification link** -> Follow link and click **Confirm**
7. Go back to Gmail settings -> Go to "Forward and POP/IMAP" -> Select forwarding option **Forward a copy of incoming mail to \** -> Click **Save changes**
8. Click **Send verification email** to confirm. Now your email status is verified.
Follow this interactive guide to connect your Gmail
***
### Outlook
1. Sign in your Outlook account using web browser.
* If you're using Outlook app, click **File** -> Go to "Info" -> In Account Settings, click link to web.
2. Click Settings icon
3. Go to "Mail" -> "Forwarding and IMAP"
4. Turn on **Enable forwarding**
5. Copy forwarding address in instruction -> Paste as forwarding address -> Click **Save**
6. Click **Send verification email** to confirm. Now your email status is verified.
Follow this interactive guide to connect your Outlook
#### ⚠️ Unable to connect Outlook email to Chatty
When connecting your Outlook email to Chatty, you might see an error message saying your organization doesn't allow external forwarding.
```
550 5.7.520 Access denied, Your organization does not allow external forwarding. Please contact your administrator for further assistance. AS(7555)
```
#### Why this happens
* Many organizations disable email forwarding by default for security reasons
* This is common for company/organization Outlook accounts
* The system blocks attempts to forward emails to Chatty's email address
#### How to fix it
1. Contact your organization's IT administrator and take a screenshot of error message
2. Request permission to allow email forwarding to Chatty
3. Go back to Chatty and try connecting your Outlook email again
[Learn more about this with Microsoft.](https://answers.microsoft.com/en-us/msoffice/forum/all/550-57520-access-denied-when-forwarding-to-another/c519e969-b4b4-44be-bc40-89509cb4113c)
***
### Zoho
1. Log in to your Zoho email
2. Click icon Settings
3. Go to **Mail accounts** -> Go to **Forwards**
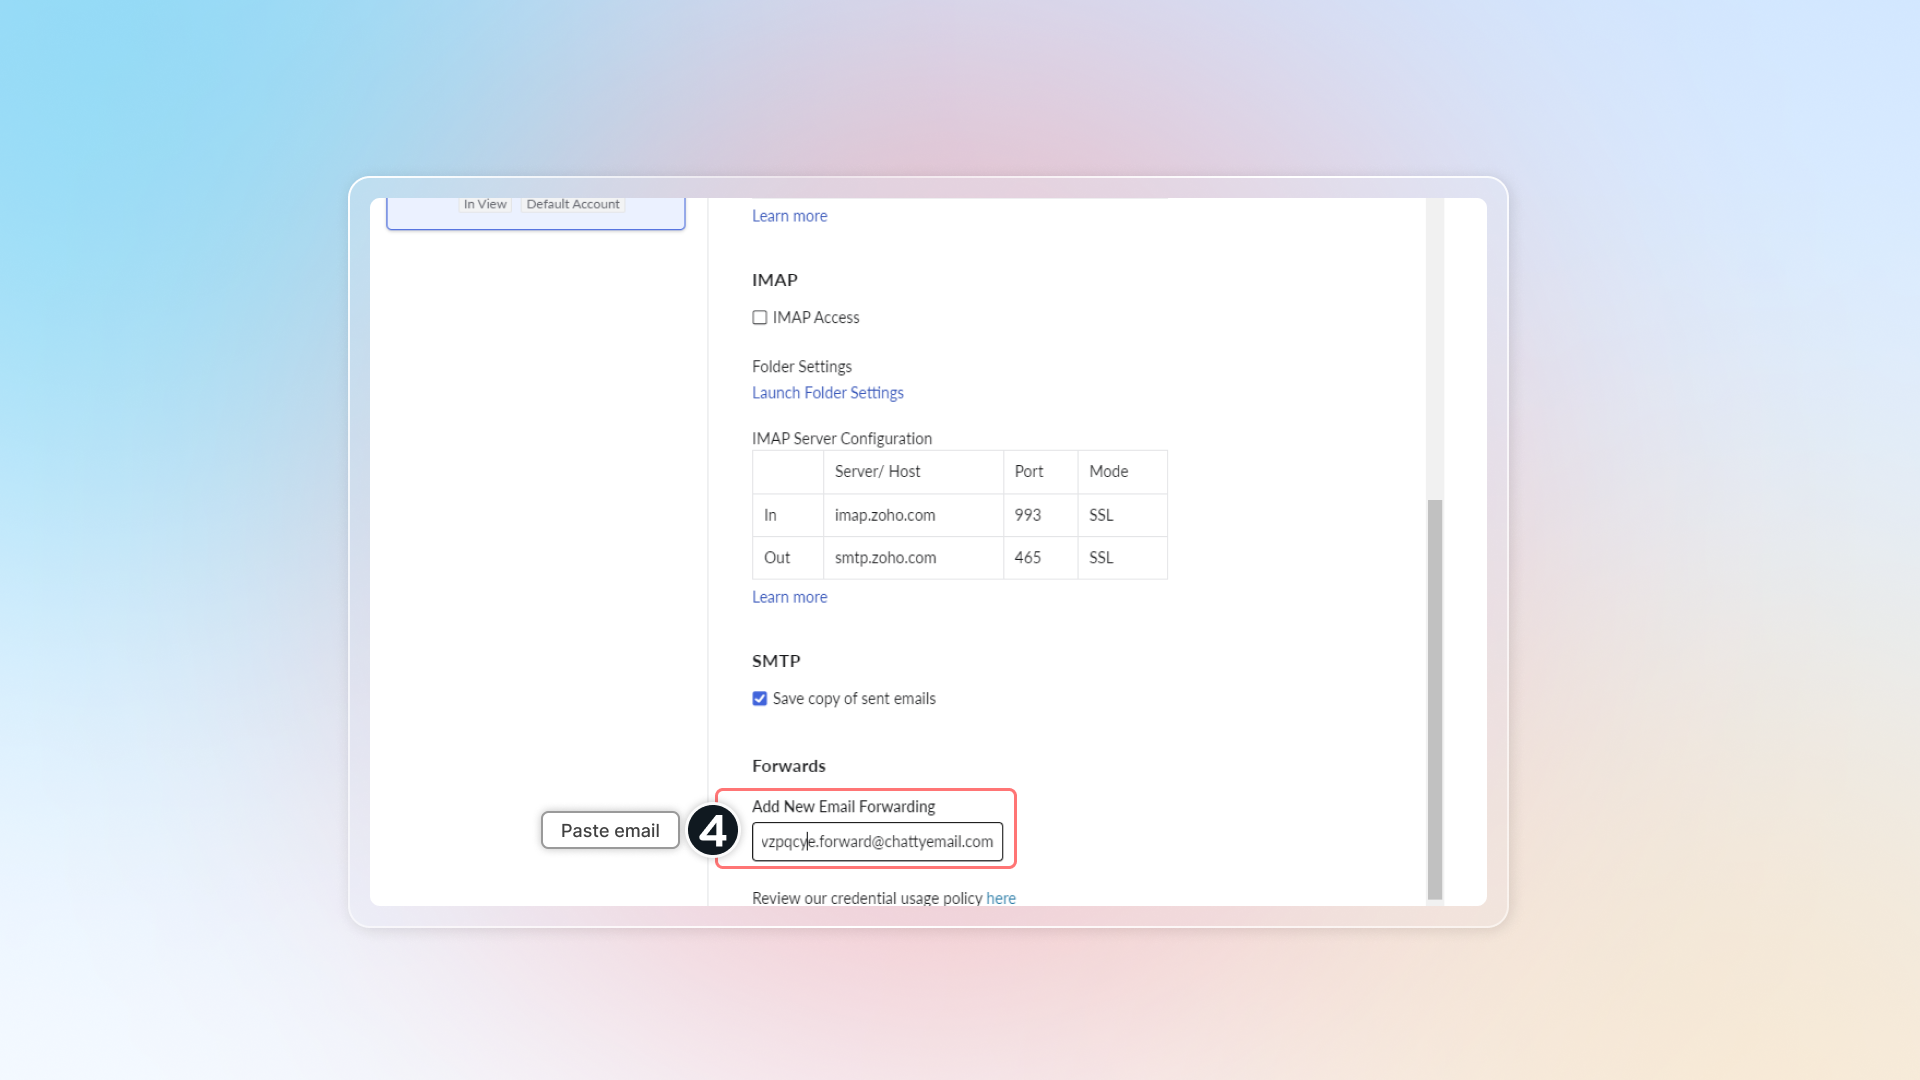
4. Copy forwarding email in Chatty. Paste it in "Add new email forwarding" and click **Enter**
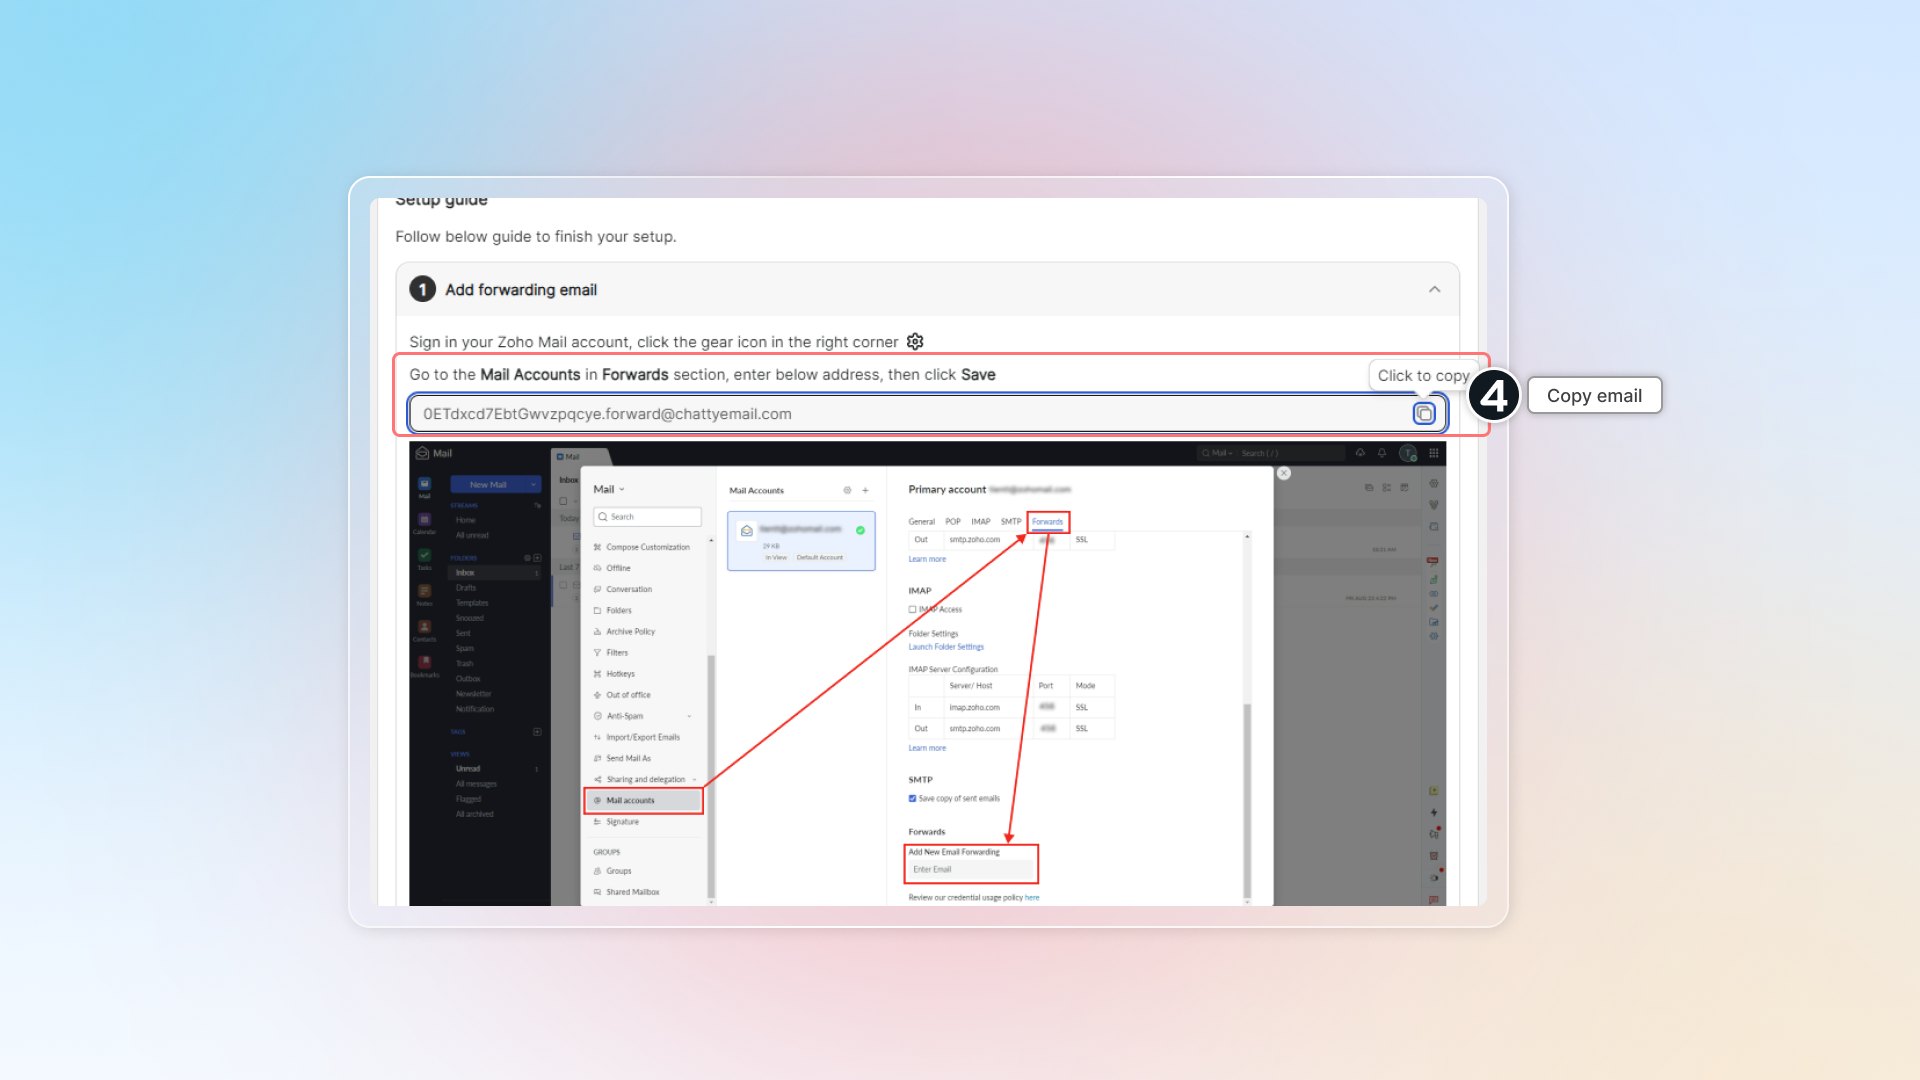
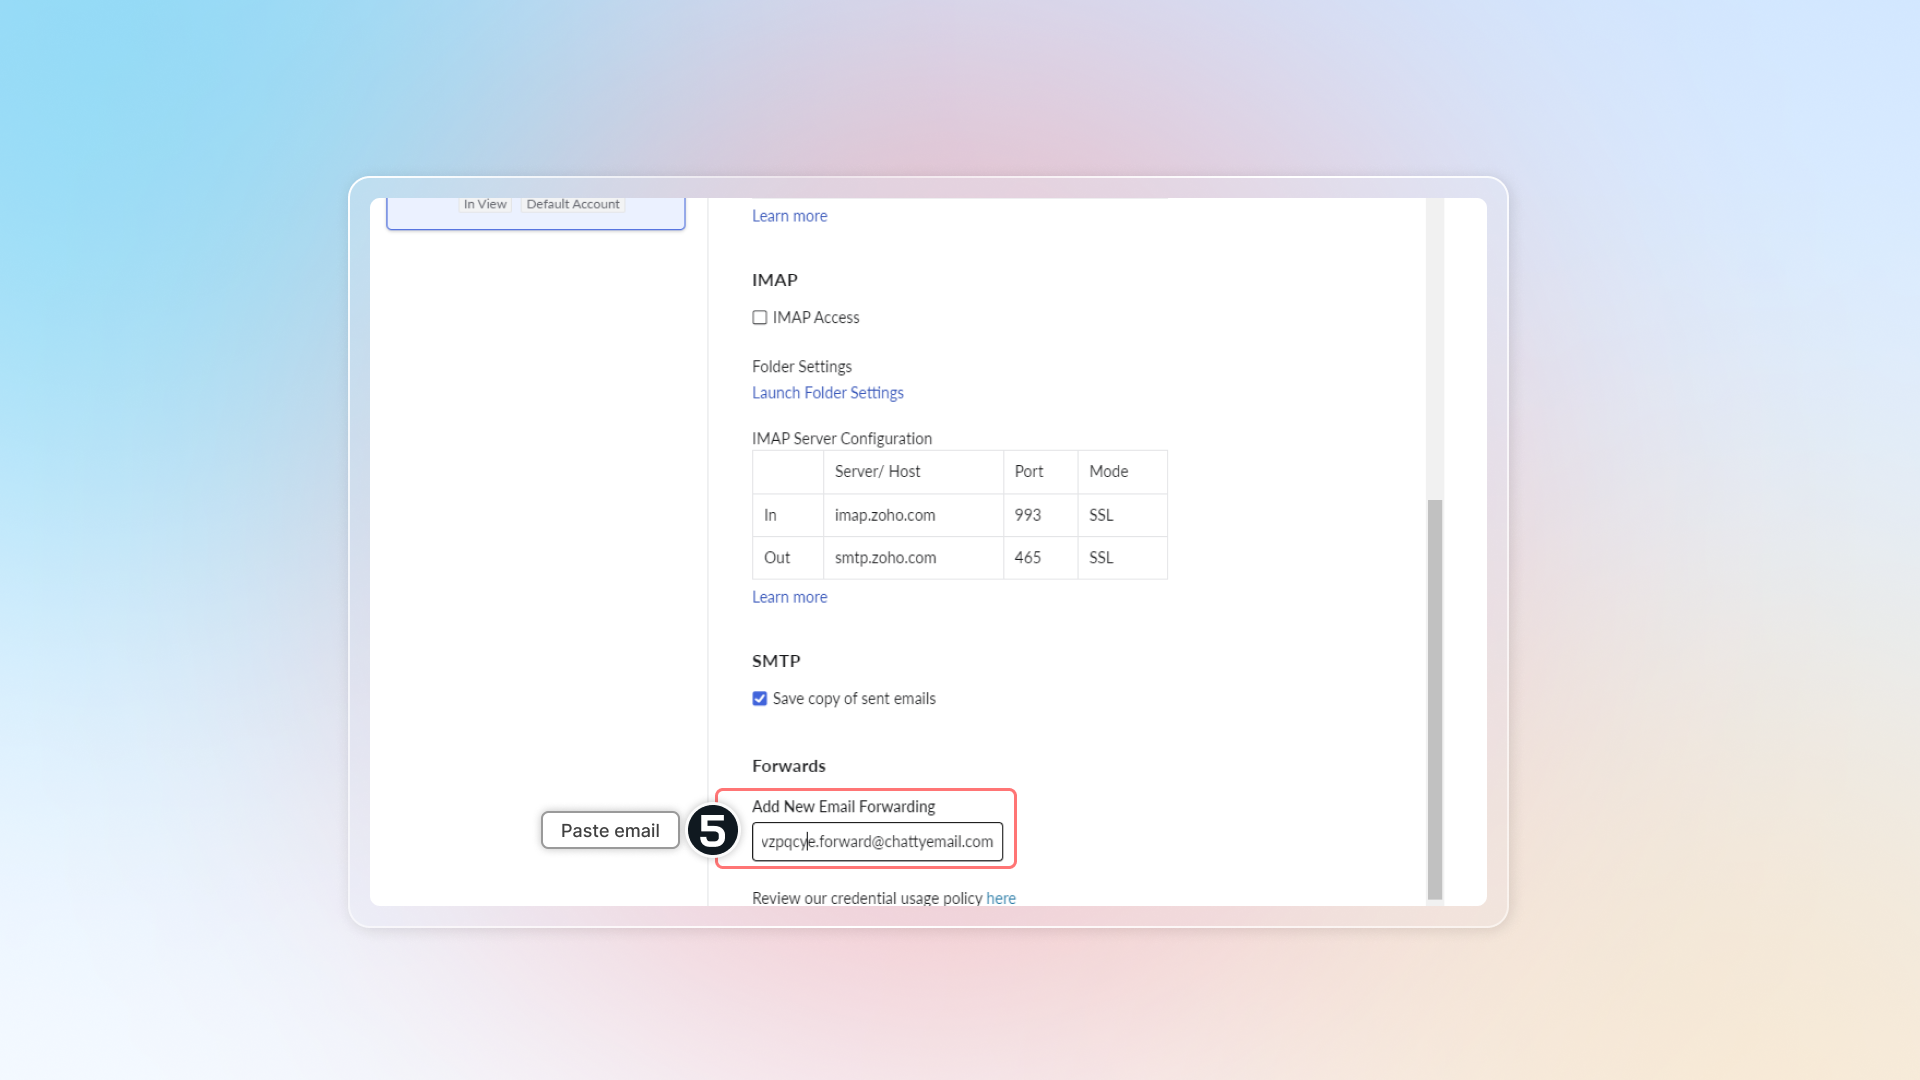
5. Click **Verify**
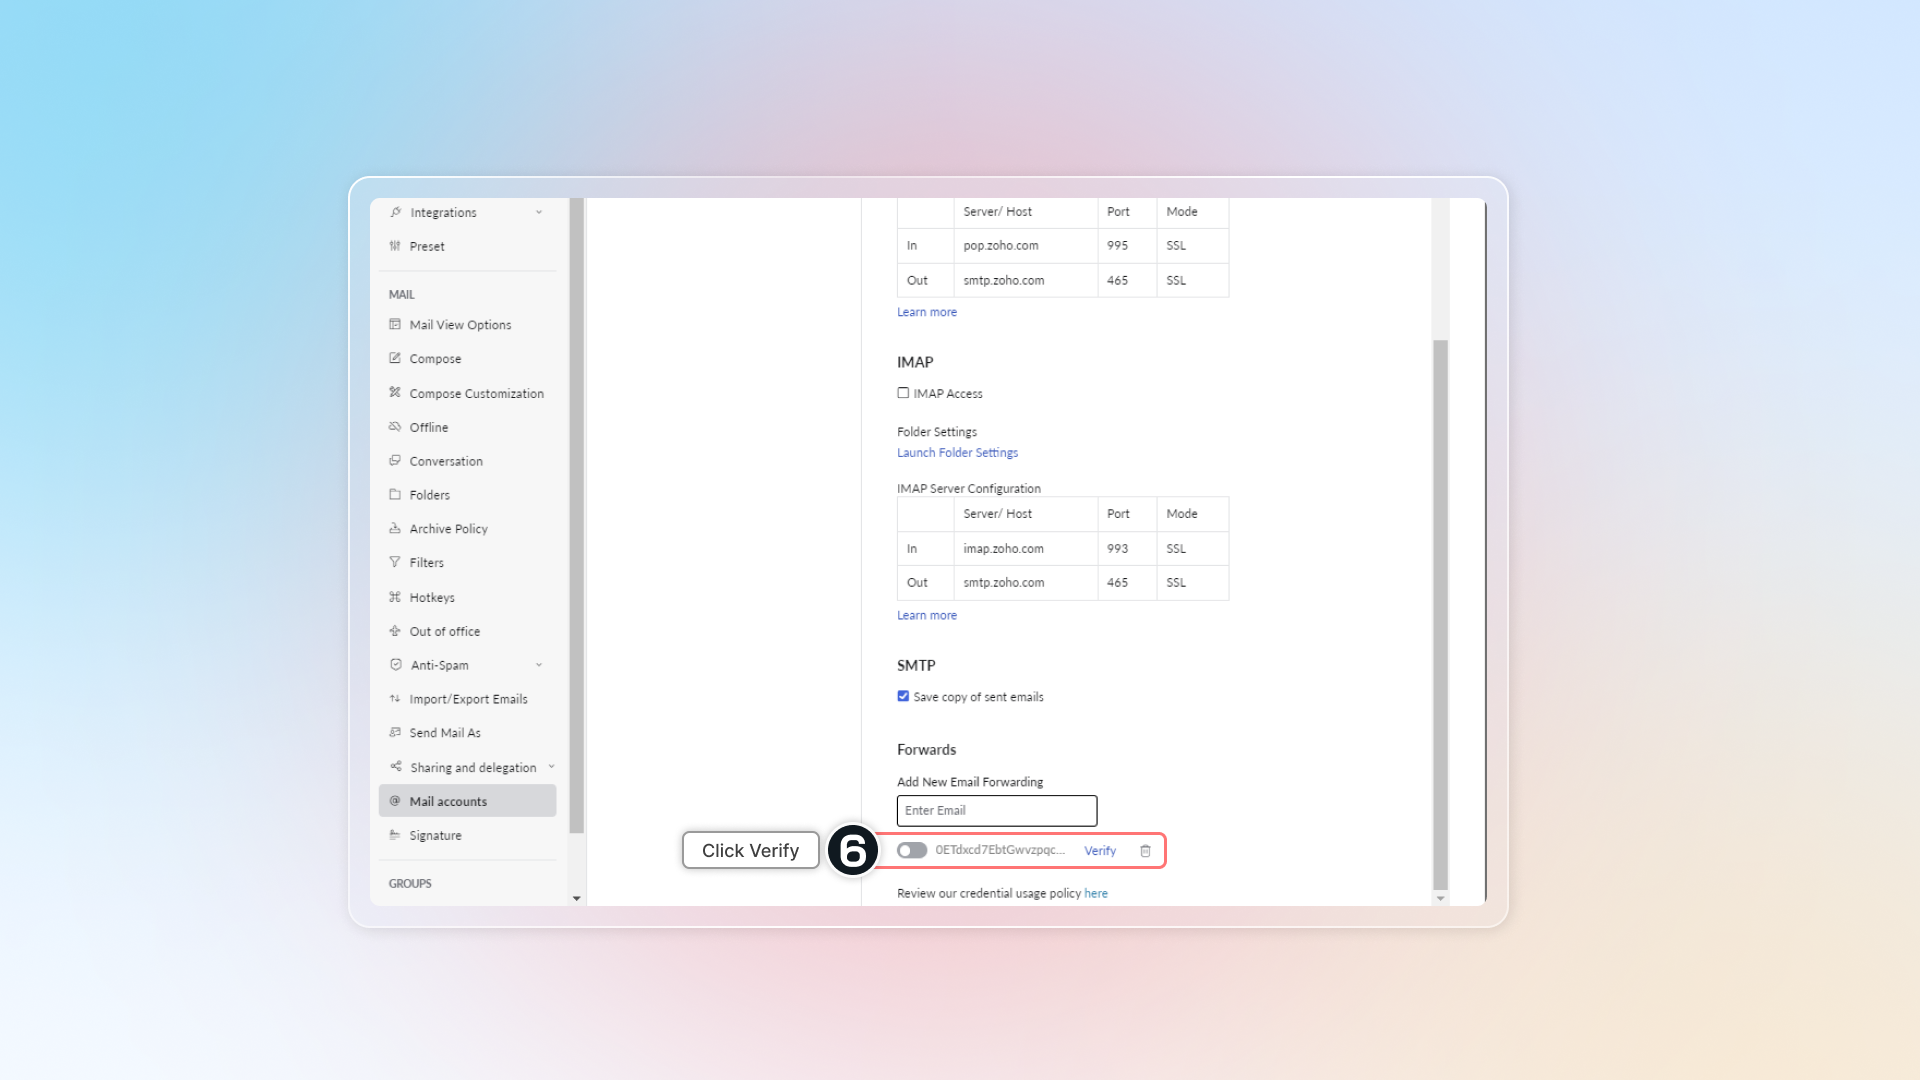
6. In step 2 "Verify your email", click **Get confirmation code** -> Copy code and paste in Chatty -> Click **Confirm**
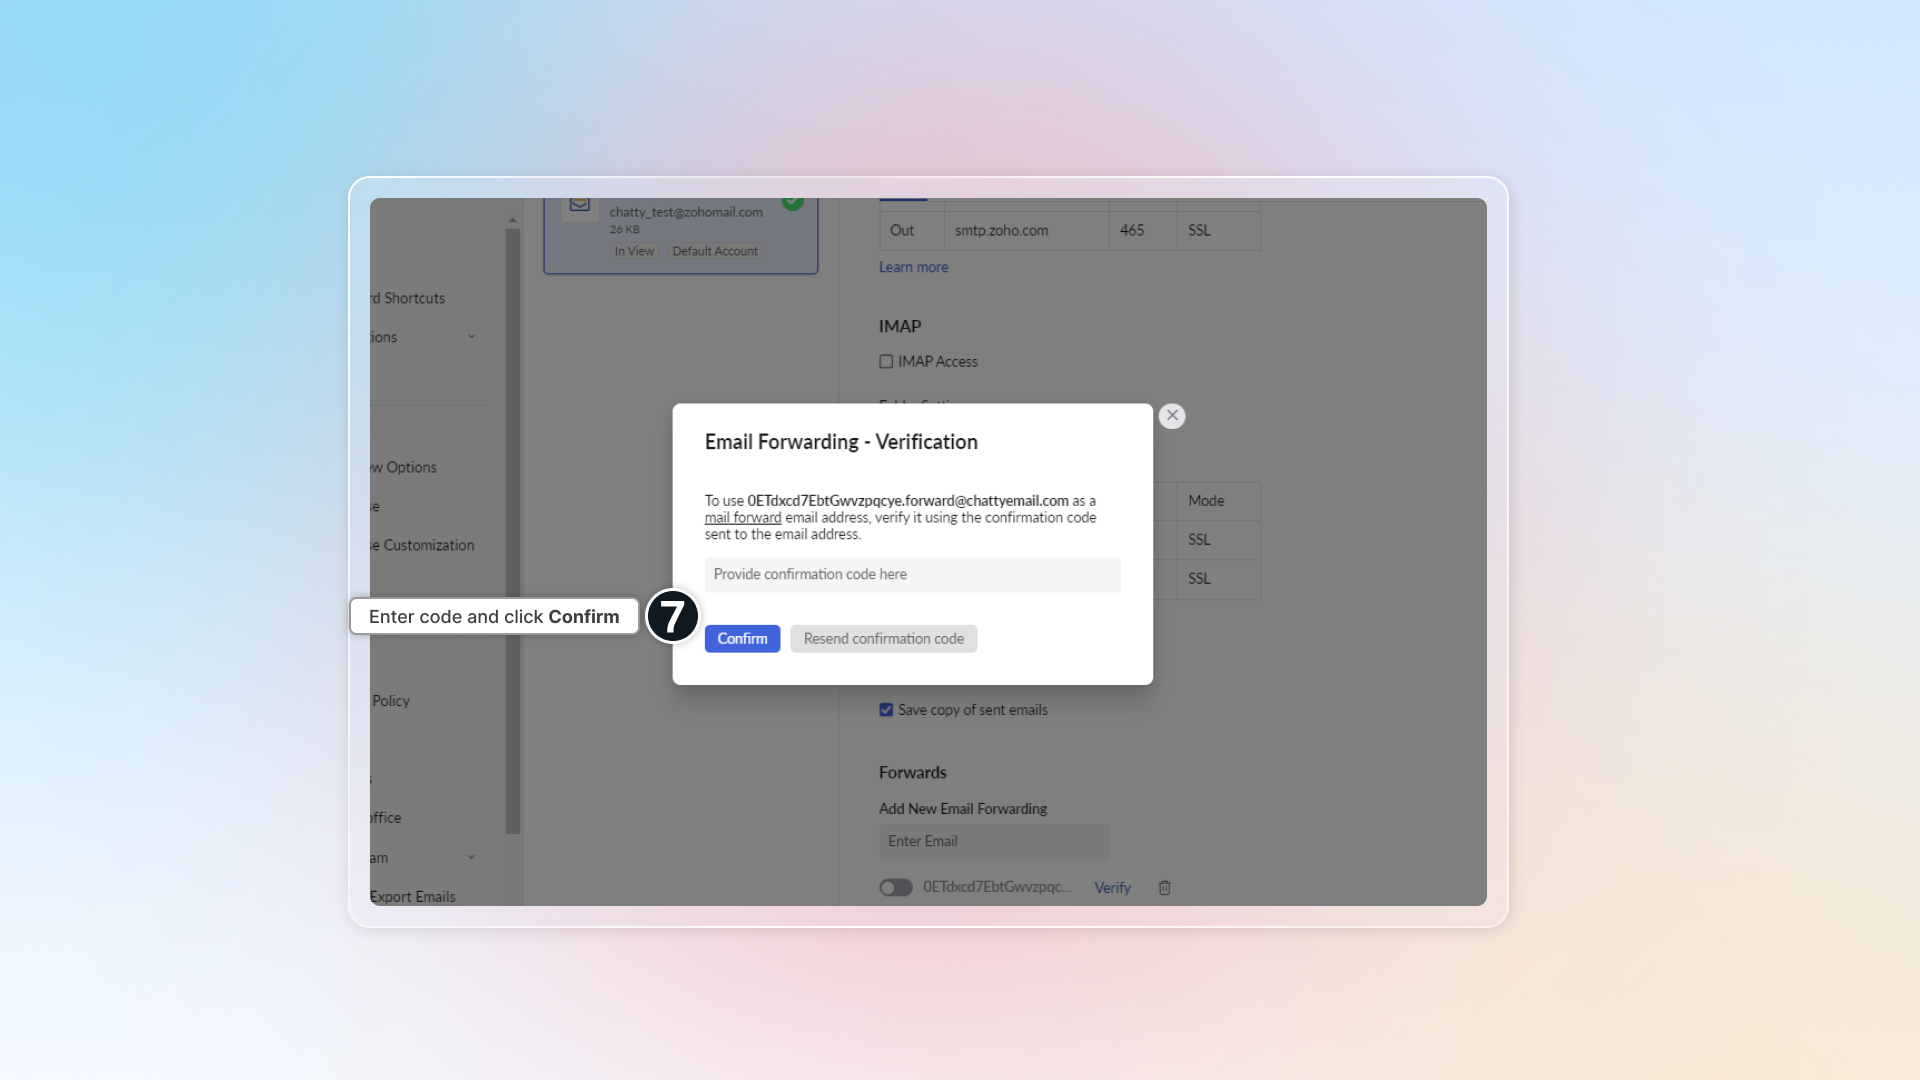
7. Click **Send verification email** to confirm. Now your email status is verified.
***
### Hostinger
1. Sign in your Hostinger email
2. Click Manage
3. Go to **Forwarders** -> Click **Create a forwarder**
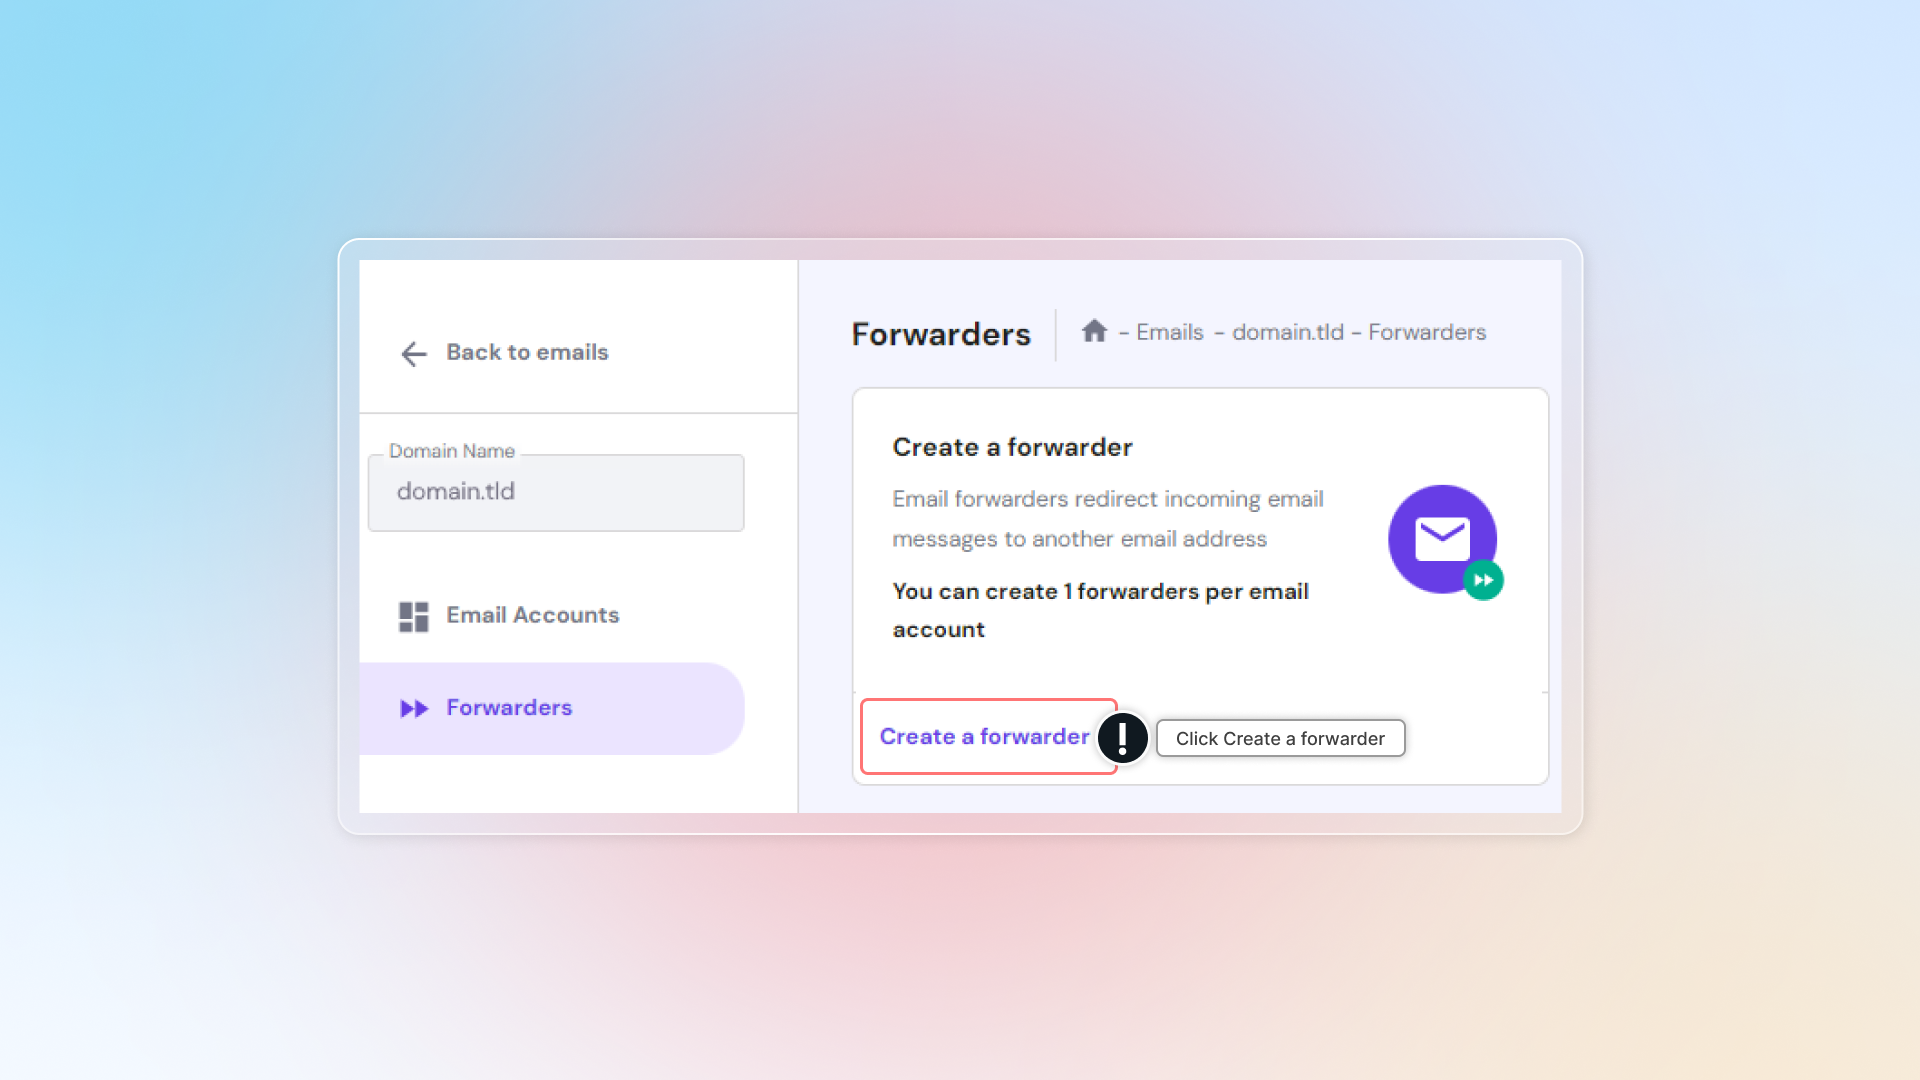
4. Copy forwarding email in Chatty. Paste it in "To email address" and click Create
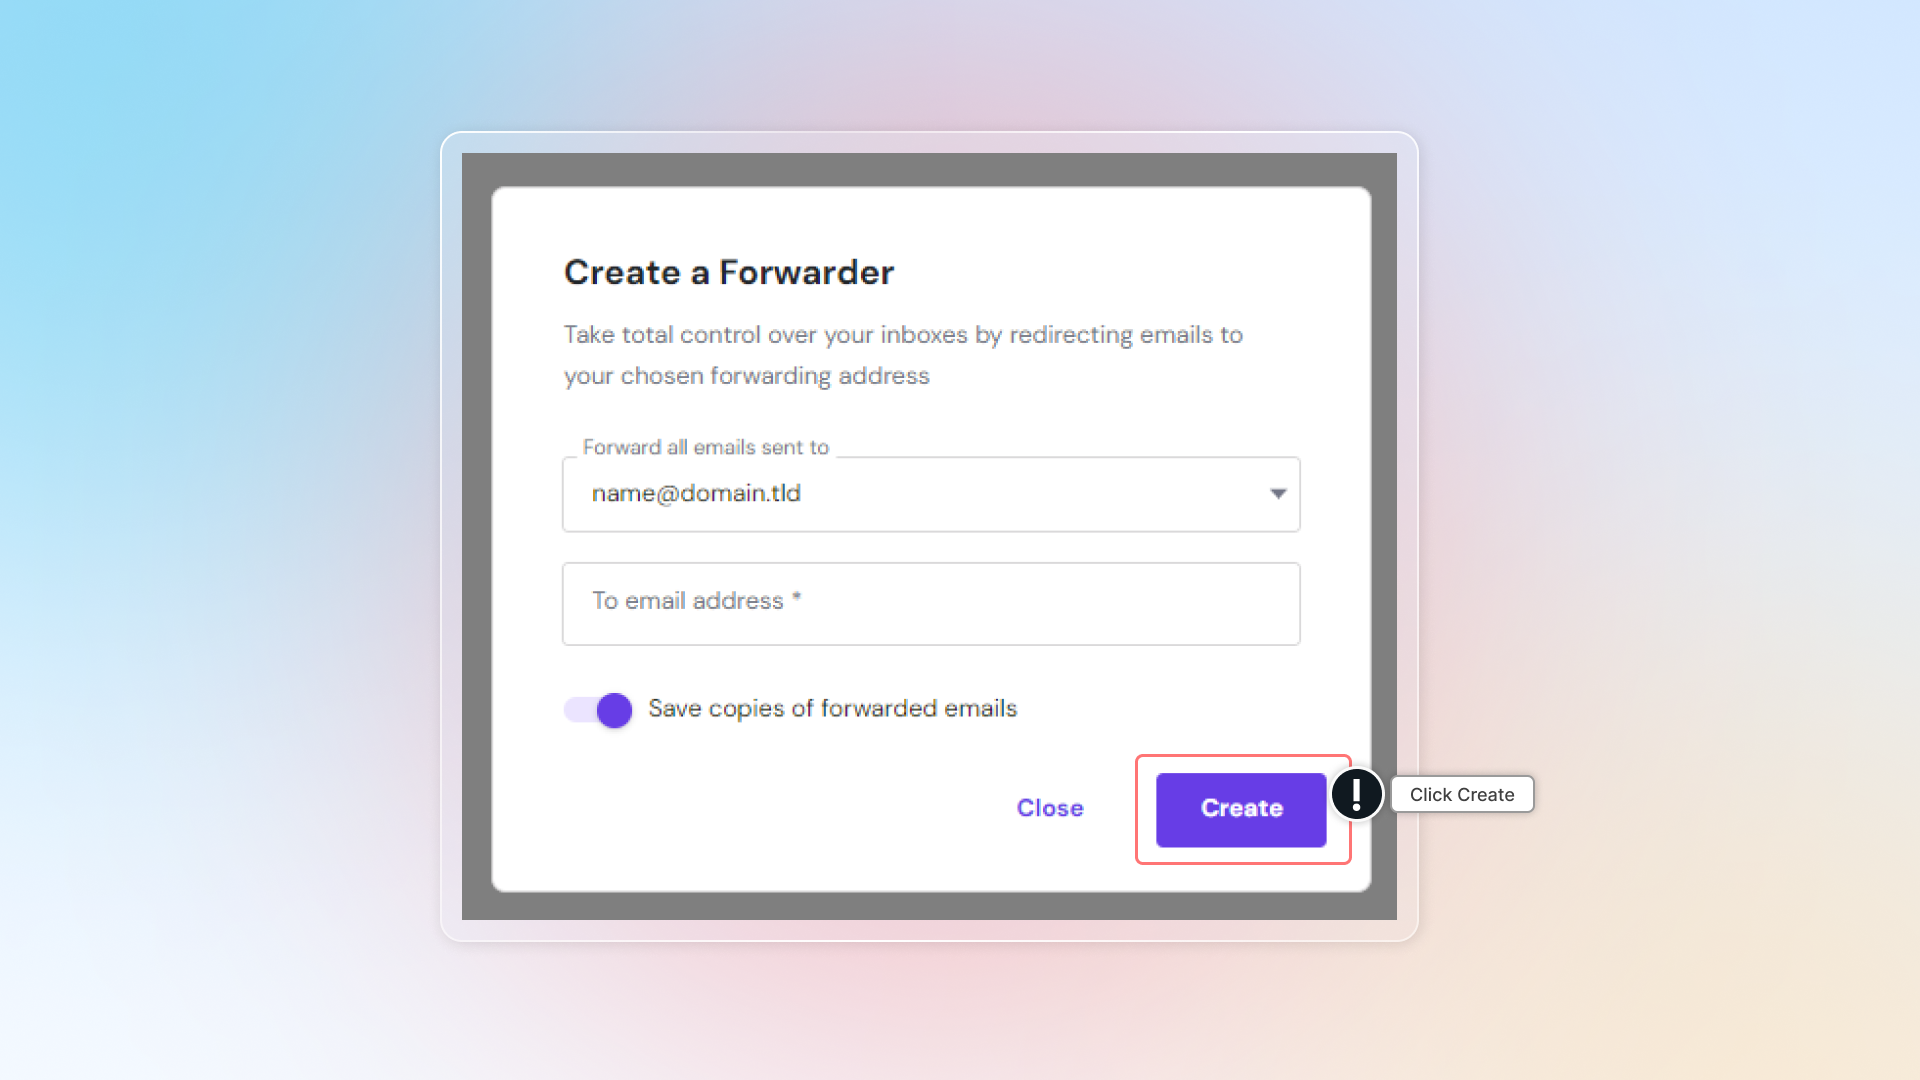
5. Click **Send verification email** to confirm. Now your email status is verified.
***
### Others
Since there are many email providers available, we cannot include all of them in this list. If your email provider is not in the provided list, please [contact us](https://go.crisp.chat/chat/embed/?website_id=72a663b0-4cda-4e3b-8878-426bdd79364c).
You can try finding `Forwarding` in settings and follow instructions to add Chatty as forwarding email.
***
### Amazon SES
If you're using Amazon Simple Email Service (SES) to send transactional emails, you can forward a copy of incoming emails to Chatty.
1. Sign in to your AWS Management Console
2. Go to **Amazon SES** → **Email Receiving**
3. Create a receipt rule that forwards emails to Chatty's forwarding address
4. Copy the forwarding address from Chatty and add it as the destination
5. Click **Send verification email** to confirm. Now your email status is verified.
Amazon SES email receiving is only available in certain AWS regions (US East N. Virginia, US West Oregon, EU Ireland). Make sure your SES is configured in a supported region.
***
### FAQs
Can I use different types of email providers?
Yes, Chatty works with most email providers including Gmail, Outlook, and custom domain emails. The verification process remains the same regardless of your provider.
I'm trying to add an alias email, but I don't receive the verification link. What should I do?
When you add an alias email, the verification link is sent to your primary (main) email address, not to the alias itself.
How to add alias emails:
1. **First, verify your primary email address**
* Add your main email address to Chatty
* Check your inbox for the verification link
* Click the link to verify
2. **Then, add your alias emails**
* Go to Channels and add your alias email
* When prompted for verification, you can skip to the final step
* Click "Verify" to complete the setup
* You won't need to check your inbox again since the primary email is already verified
**Example scenario:**
* Email A ([info@yourdomain.com](mailto:info@yourdomain.com)) is your primary email - verify this first
* Email B ([support@yourdomain.com](mailto:support@yourdomain.com)) is an alias of Email A - skip inbox verification
All emails sent to either address will forward to your Chatty inbox.
What if I only want to connect the alias email, not the primary one?
You can do this, but you'll still need to verify the primary email first:
1. Add and verify your primary email
2. Add your alias email (skip inbox verification)
3. Once the alias is connected, remove the primary email from Channels
Your alias email will continue working in Chatty.
================================================================
URL: https://help.chatty.net/live-chat/channels/email/fix-email-delivery-issues-with-amazon-ses/
Locale: en
================================================================
# Fix email delivery issues with Amazon SES
## Overview
This guide assists users experiencing email delivery challenges when connecting emails to Chatty. It addresses bounce messages, spam filtering, and DMARC authentication failures by explaining how to add Amazon SES to your SPF record.
## Who should read this guide?
Users who:
- Experience email delivery issues like bounces or spam filtering
- See DMARC authentication failures in email reports
- Notice emails going to customer spam folders
## When you need this guide
Follow this guide if experiencing:
**Email delivery problems:**
- Bounce messages mentioning SPF failures
- DMARC authentication failures
- Emails going to spam or junk folders
- Delivery delays from major email providers like Gmail or Outlook
Note: If emails are already delivering successfully through Amazon SES, no changes are necessary. Only update your SPF record when experiencing delivery problems.
## Before you start
**SPF record requirements:**
- Only have one SPF record per domain
- Replace the existing record, don't create a duplicate
- Always keep `~all` at the end of the record
- The order of include statements doesn't matter
**Multiple AWS regions:** If using Amazon SES in multiple regions, you might need region-specific includes instead of the general `amazonses.com`. Contact support for multi-region setup assistance.
## How to add Amazon SES to your SPF record
### Find your current SPF record
1. Go to your domain's DNS management panel
- Access through your domain registrar (GoDaddy, Namecheap, etc.)
- Or through your DNS provider if different from your registrar
2. Look for a TXT record that starts with `v=spf1`
- This is your current SPF record
- Example: `v=spf1 include:_spf.example.com ~all`
### Update your SPF record
1. Locate the existing SPF record — find the TXT record containing your current SPF settings
2. Add Amazon SES to the record — add `include:amazonses.com` to your existing SPF record, placing it before the `~all` at the end
3. Example update:
- **Before:** `v=spf1 include:_spf.example.com ~all`
- **After:** `v=spf1 include:amazonses.com include:_spf.example.com ~all`
### Save and verify changes
1. Save the DNS changes in your DNS panel
2. Wait for propagation — DNS changes take 15–60 minutes to take effect (some providers may take up to 24 hours)
3. Send a test email through Chatty and check if delivery issues are resolved
## Verify your SPF record
1. Use an online SPF checker — search "SPF record checker" and enter your domain to verify that Amazon SES is included
2. Check DNS propagation using tools like "DNS checker" to see if changes have propagated globally
## Need help?
If email delivery issues persist after updating your SPF record:
1. Contact your DNS provider — some providers have specific SPF record requirements
2. Check email authentication — ensure DKIM and DMARC are also properly configured
Contact the Customer Success team for 24/7 assistance via email and live chat in app.
================================================================
URL: https://help.chatty.net/live-chat/channels/facebook-messenger-instagram/
Locale: en
================================================================
# Facebook messenger/Instagram
### What is Facebook and Instagram connection?
This feature allows you to receive and respond to both Facebook Messenger and Instagram direct messages directly within your Chatty inbox.
By connecting these to Chatty, you can:
* Manage all conversations from Facebook and Instagram, in one centralized location
* Save time by not switching between different platforms
* Provide faster and more consistent customer support
* Keep track of customer interactions across different platforms
* Respond to customers on their preferred communication channel
### How to connect Facebook and Instagram to Chatty
Only Instagram business accounts connected to your Facebook Page can be integrated.
#### Go to **Settings** → **Channels**
#### In **Messenger/Instagram**, click **Manage**
#### Click **Connect to Facebook**
#### Log in to your Facebook account
#### Select pages to connect
#### Click **Save**
### Manage Facebook and Instagram accounts
After connecting your Facebook account, you can check your connected pages here.
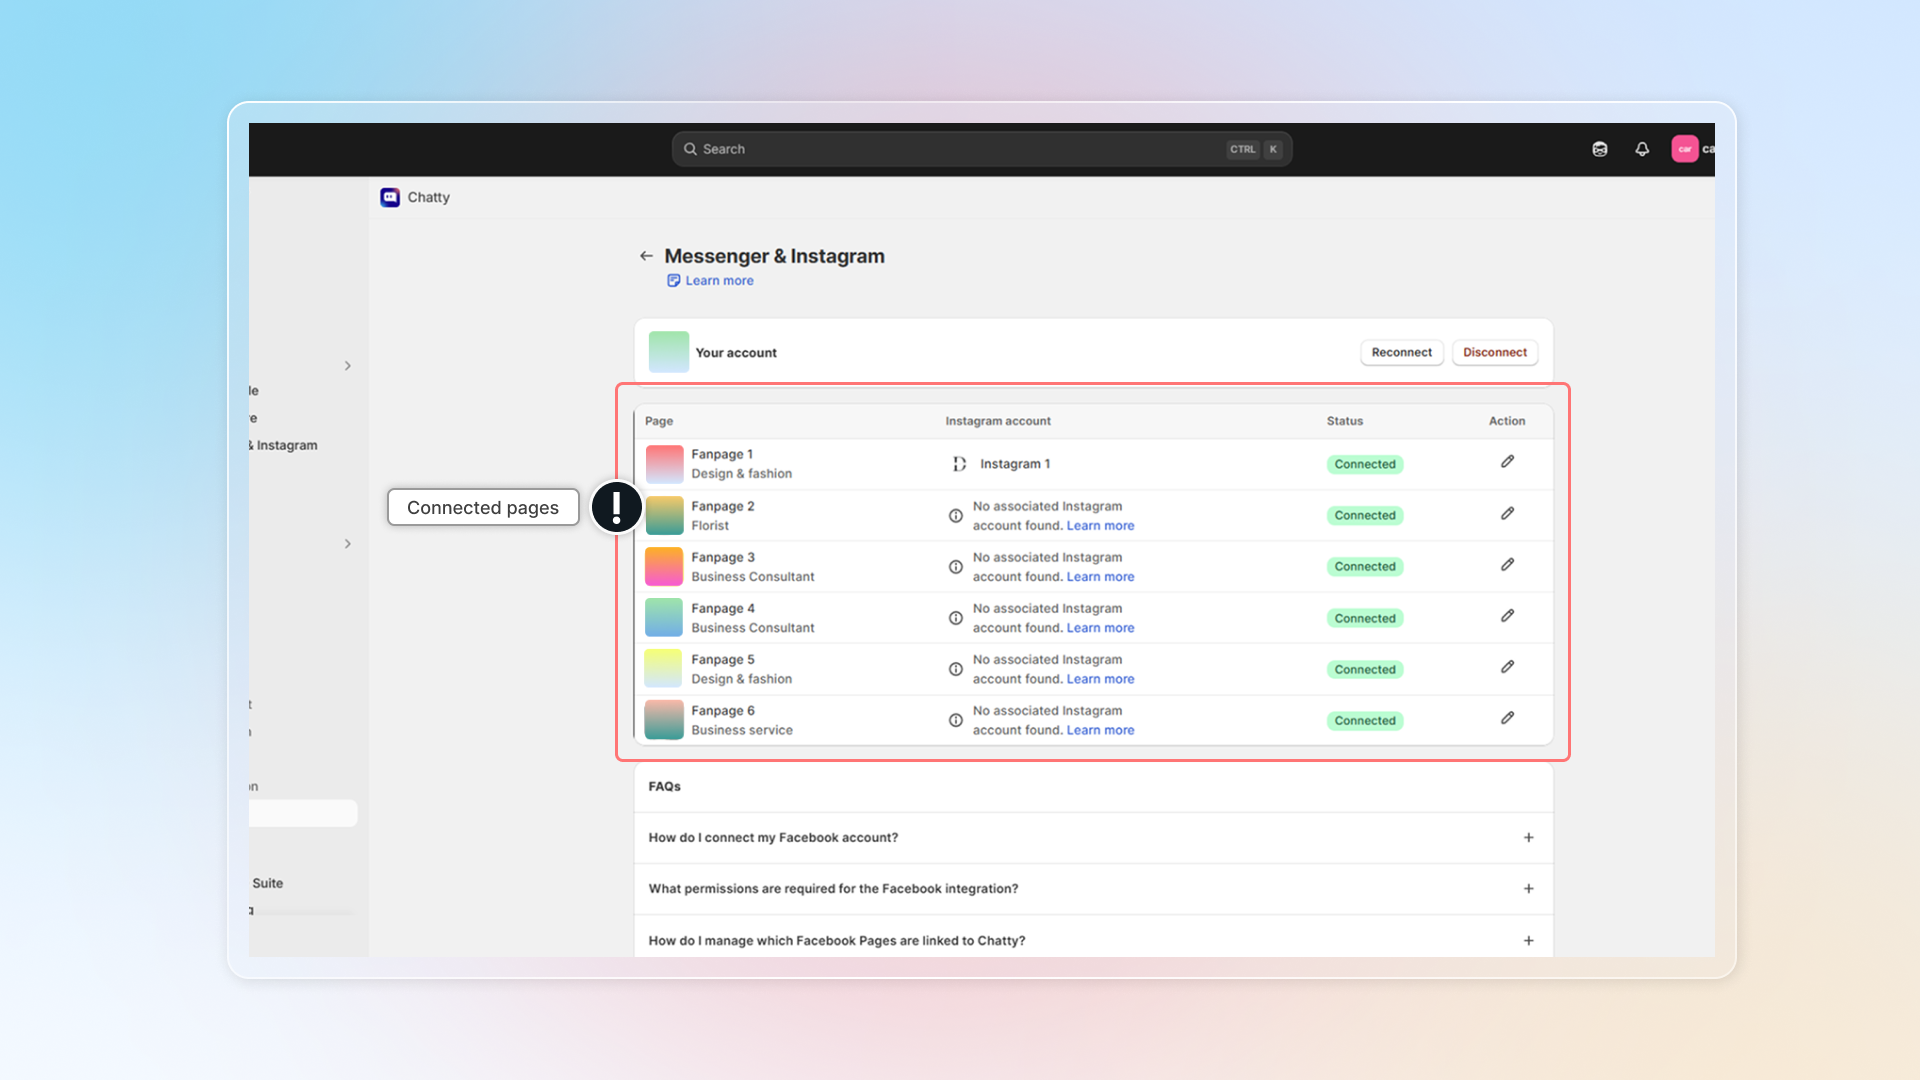
If "No associated Instagram account found" appears, you need to connect an Instagram business account to your Facebook Page first through Facebook's settings. [Learn more.](https://help.instagram.com/570895513091465/?helpref=related_articles)
#### Add pages from the same Facebook account to Chatty
#### Click **Reconnect**
#### Click **Edit previous settings**
#### Select the pages you want to connect
#### Continue to save
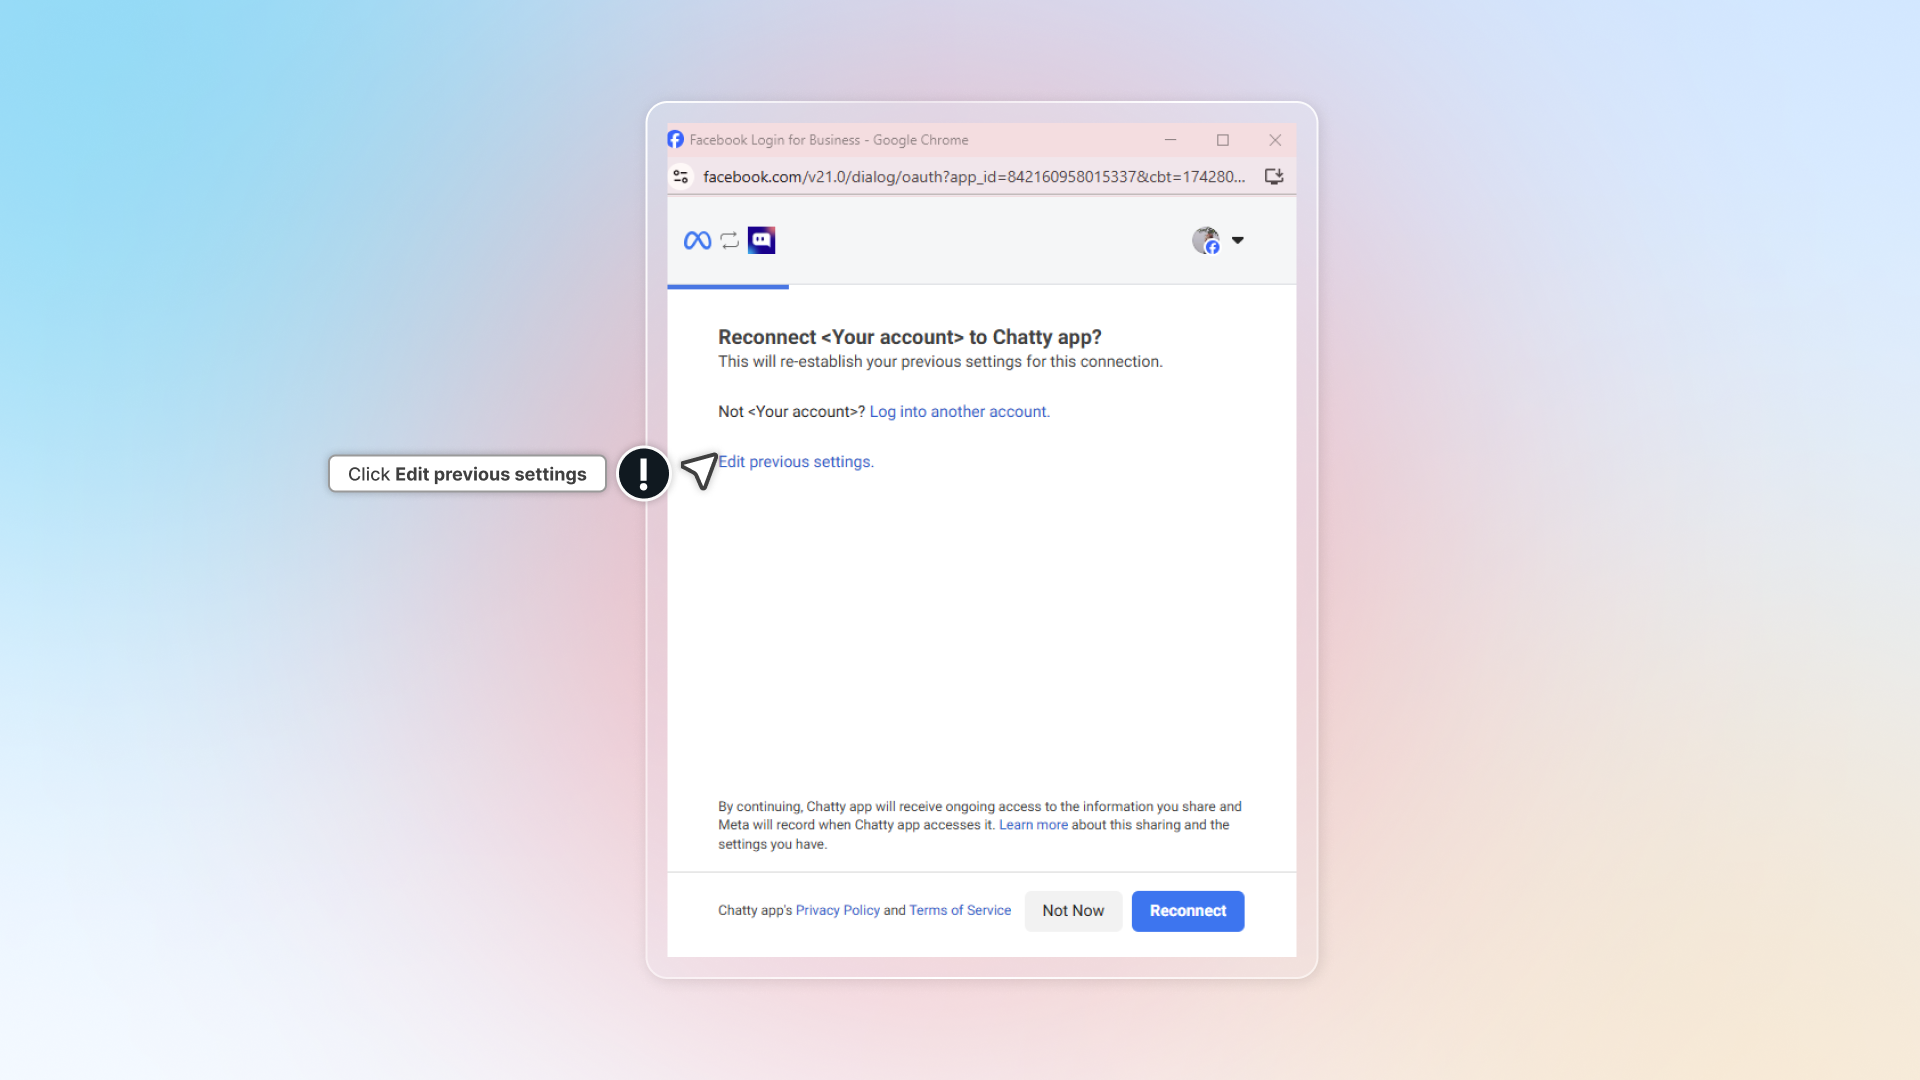
#### Remove connected pages from Chatty
#### Click **Edit** in the connected page
#### Turn off page
#### Click **Save**
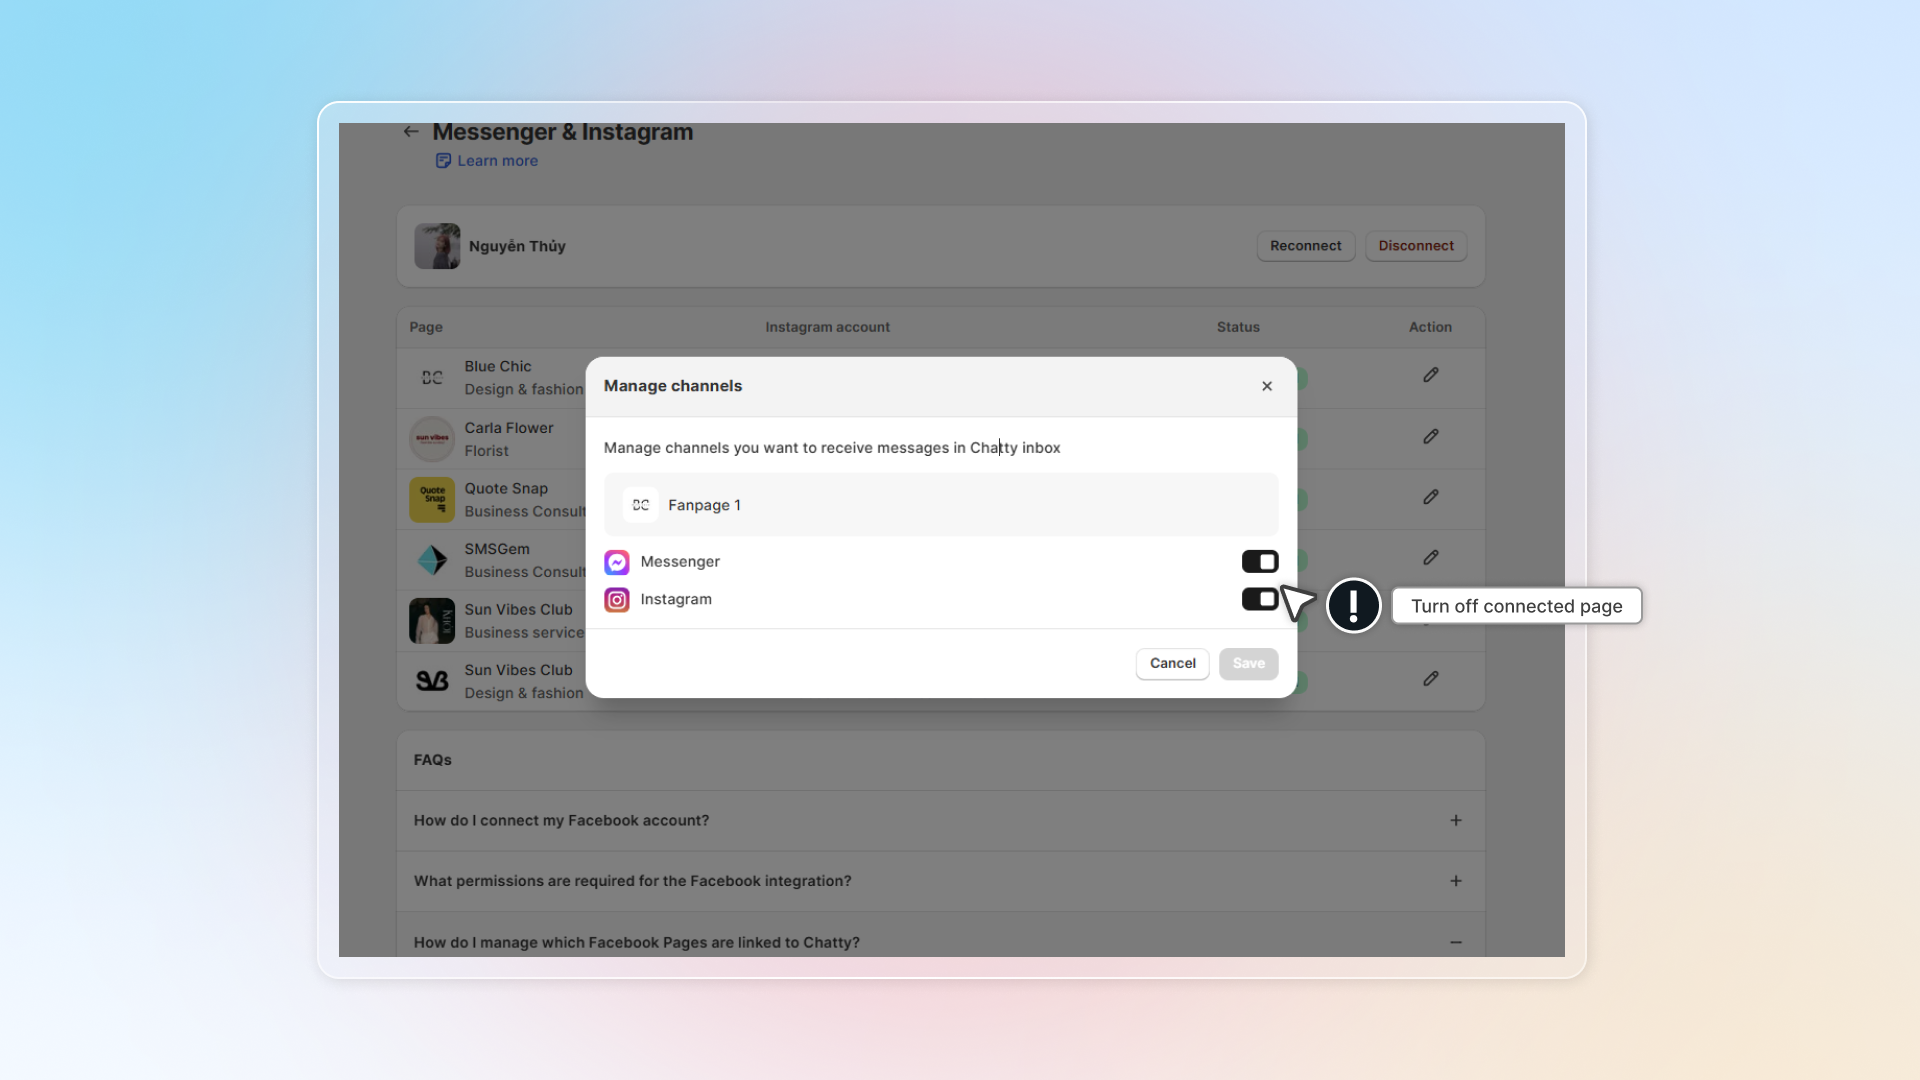
#### Connect other Facebook account
#### Click **Disconnect**
#### Click **Connect to Facebook** and connect to your new account
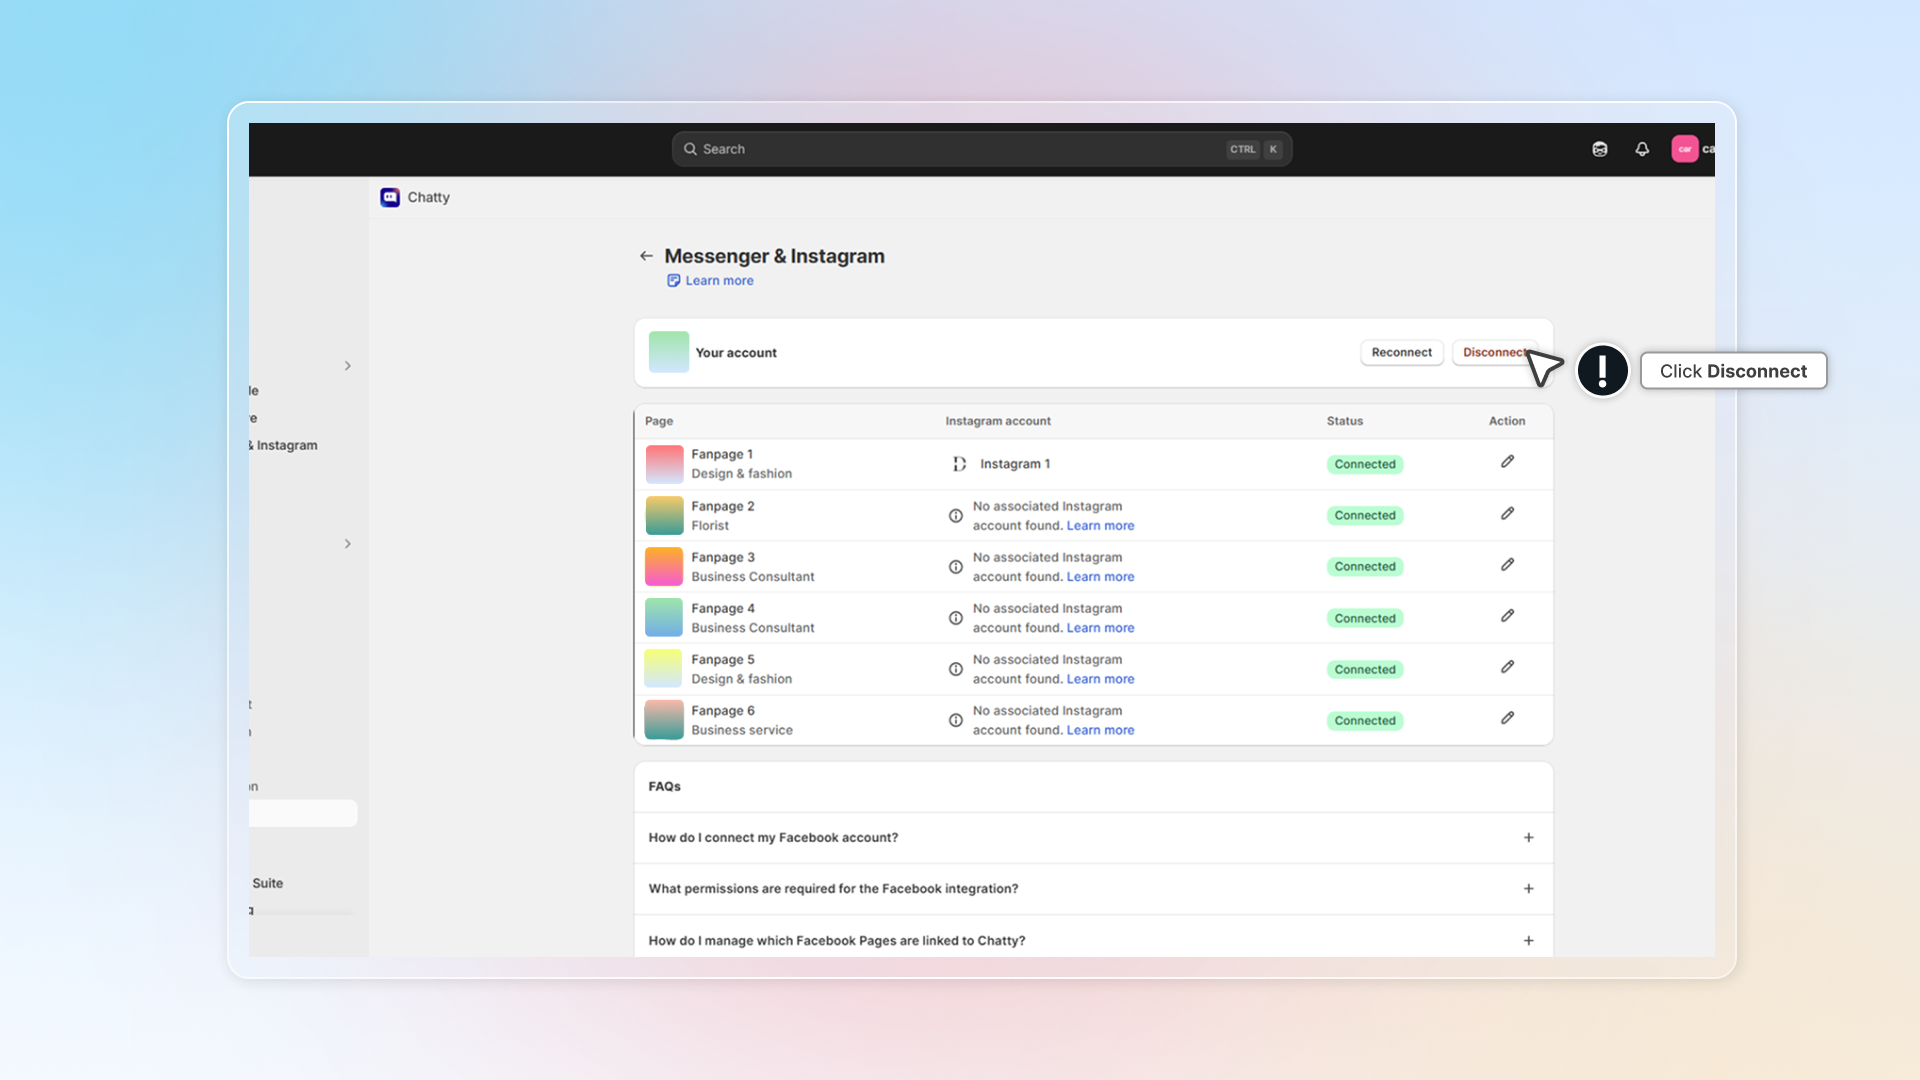
### Messages from Facebook and Instagram
Messages from connected pages will be synced to Chatty inbox.
In Inbox, messages from Facebook/Instagram have Messenger/Instagram icon.
You can click **Messenger** in "Channel" to select all conversations from Facebook or Instagram.
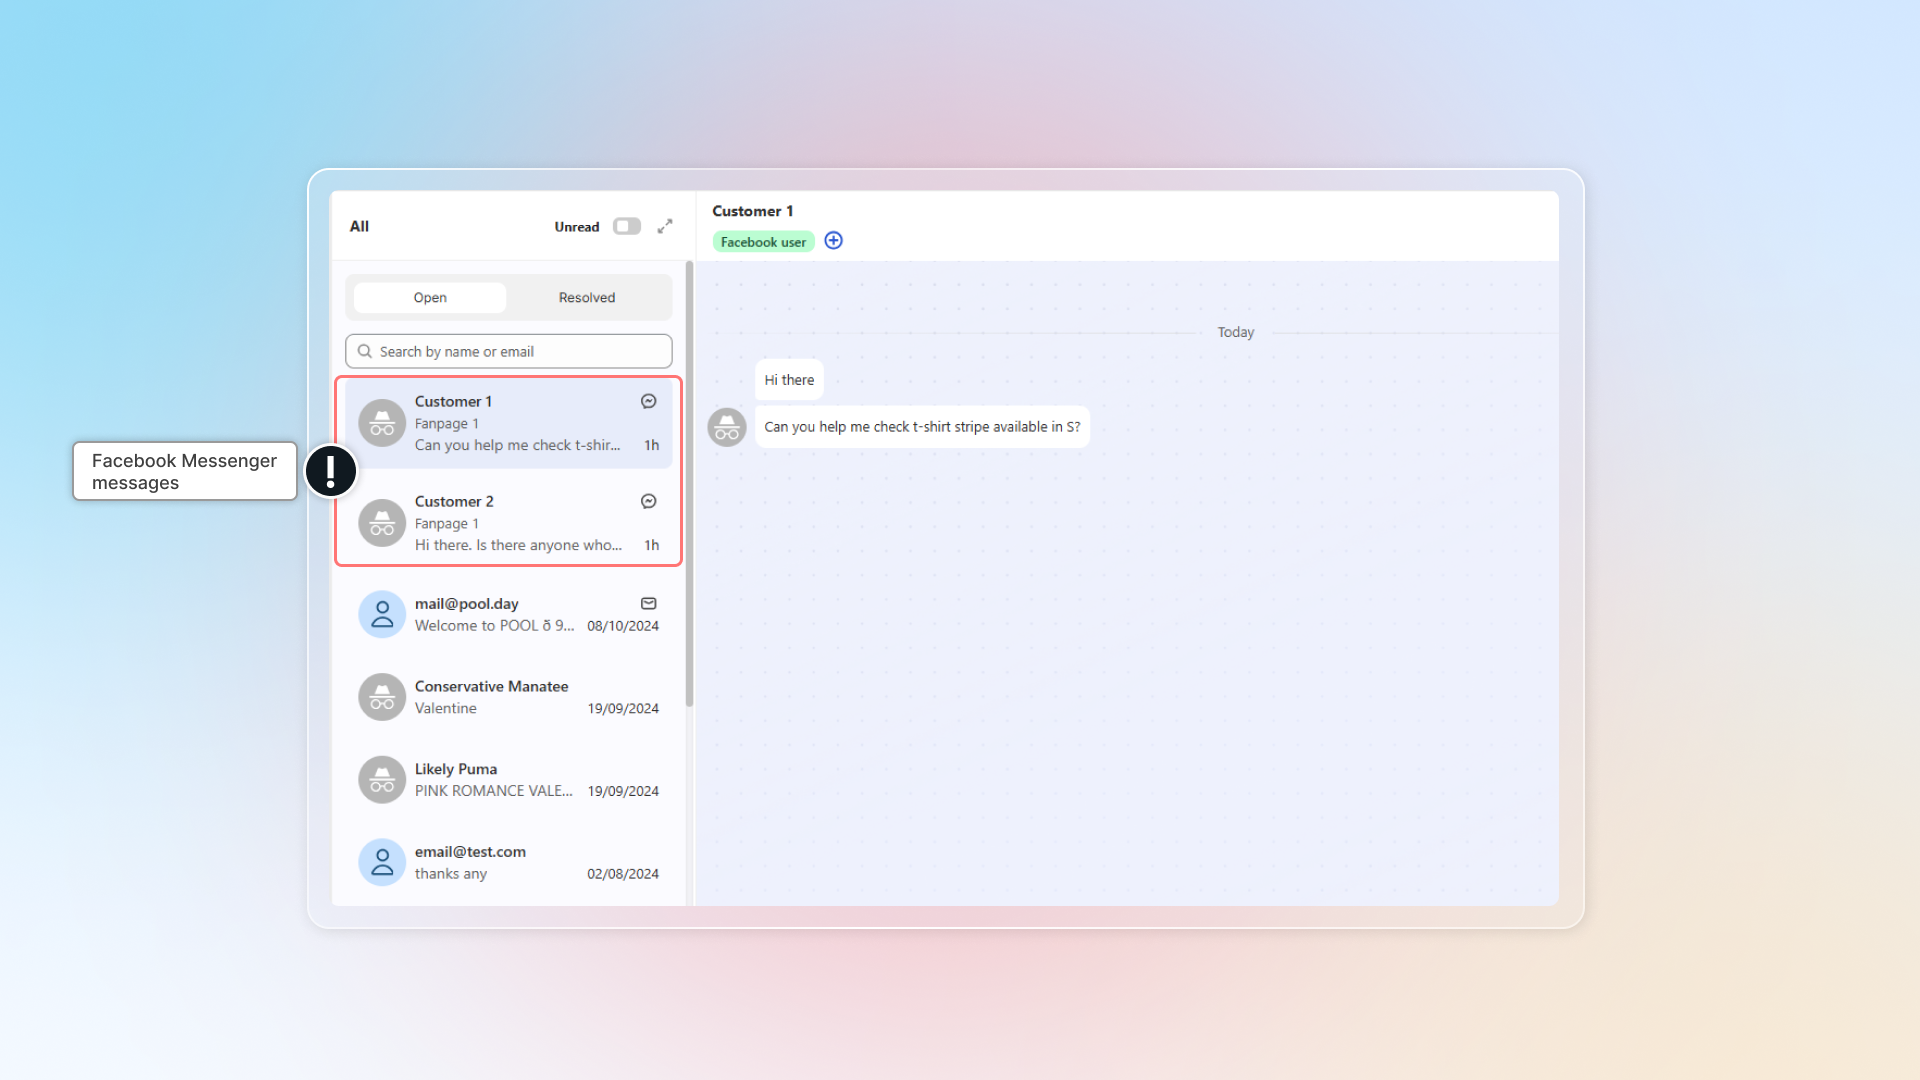
Why does Chatty need access to my Facebook Page?
Chatty needs access to your Facebook Page to do the following:
1. **Show your Facebook messages in the Chatty app.** This allows you to see and manage all your conversations in one place.
2. **Let you reply to messages directly from Chatty.** This makes it more convenient to respond to people without switching apps.
3. **Organize your conversations and link messages to the correct Facebook Page.** This helps keep your messages organized and easy to find.
What happens to existing conversations if I disconnect?
By disconnecting from Facebook pages, existing conversations will stay in Inbox **without update.**
Can I connect multiple Facebook accounts?
No. You can connect **only one Facebook account** to Chatty.
Can I connect multiple Facebook Pages?
Yes, you can connect **multiple Facebook Pages** to Chatty. Each connected page will have its associated Instagram account connected automatically (if applicable).
================================================================
URL: https://help.chatty.net/live-chat/channels/whatsapp/
Locale: en
================================================================
# WhatsApp
By connecting WhatsApp, you can check messages from WhatsApp right in Chatty.
### Before connecting WhatsApp to Chatty, make sure you have:
* A Facebook page for your business
* [A WhatsApp Business account linked to that Facebook page](#how-to-connect-whatsapp-business-to-a-facebook-page)
* Admin access to both your Facebook page and your WhatsApp Business account
You can connect multiple WhatsApp accounts to Chatty.
### How to connect WhatsApp to Chatty
#### Go to channels settings
1. Go to **Channels** in your Chatty dashboard
2. Find the WhatsApp section
3. Click **Manage**
#### Connect your Facebook account
1. Click **Connect account**
2. You’ll be redirected to Facebook login
3. Enter your Facebook credentials and log in
4. Review the permissions that Chatty requests
5. Click **Continue** to grant access
#### Select your WhatsApp account
1. After connecting Facebook, you’ll see a list of WhatsApp Business accounts linked to your Facebook page
2. Select the WhatsApp account you want to connect to Chatty
3. Click **Connect** to complete the setup
#### Confirm connection
1. You’ll see a confirmation message that WhatsApp is connected
2. WhatsApp conversations will now appear in your Chatty inbox with a WhatsApp icon
3. Test the connection by sending a message to your WhatsApp Business number
### How to connect WhatsApp Business to a Facebook page
#### Download WhatsApp Business app
#### Login Facebook
1. From the Tools tab, tap Facebook & Instagram
2. Click Facebook
3. Click Continue
4. Log in
#### Connect Facebook page
1. Select the Facebook Page you want to link to your WhatsApp Business account
2. Click Connect WhatsApp
If you don’t have a Facebook Page, you’ll have the option to create one
#### Successfully connected WhatsApp
You’ll now see a WhatsApp button on your Facebook page.
Once you return to the WhatsApp Business app, you’ll see your linked Facebook Page at the top of the Facebook & Instagram screen.
### WhatsApp template
WhatsApp templates are pre-approved message formats that let you start conversations with customers. They're the only way to send WhatsApp messages to customers who:
* Haven't messaged you before
* Haven't sent you a message in the last 24 hours
Templates come in three types:
* **Marketing**: Promotional offers, product announcements, sales campaigns
* **Utility**: Order updates, shipping notifications, appointment reminders
* **Authentication (not supported)**: Verification codes, security messages
Once a customer replies to your template message, you can have a normal conversation for the next 24 hours without needing templates.
### FAQs
I don't see any WhatsApp accounts when trying to connect. What should I do?
Your WhatsApp Business account must be connected to your Facebook page first. Follow these steps:
1. Go to your Facebook page settings
2. Navigate to WhatsApp
3. Connect your WhatsApp Business account to your Facebook page
4. Return to Chatty and try connecting again
Can I connect my personal WhatsApp number?
No, you can only connect WhatsApp Business accounts. Personal WhatsApp accounts cannot be integrated with business tools like Chatty.
What if I don't have a WhatsApp Business account?
You'll need to create a WhatsApp Business account first:
1. Download WhatsApp Business app
2. Set up your business profile
3. Connect it to your Facebook page
4. Make sure Meta approves your account
5. Return to Chatty to complete the integration
Read [this guide](https://www.facebook.com/business/help/2087193751603668?id=2129163877102343) for more details.
Why is my WhatsApp Business number showing as "Pending"?
When your WhatsApp Business number shows "Pending" status in Chatty, it means Meta (WhatsApp) hasn't approved your number yet, even though you've completed the connection process.
There are two main reasons why your WhatsApp Business number remains pending:
#### Two-Factor Authentication (2FA) not enabled
1. Open your WhatsApp Business app
2. Go to Settings → Account → Two-step verification
3. Turn on Two-step verification and set up a 6-digit PIN
4. Wait for Meta to approve your number (Meta's approval process typically takes 24-48 hours, but can take longer during busy periods.**)**
5. Reconnect to Chatty once approved
#### Display name doesn't meet Meta's guidelines
Learn more about [WhatsApp Business display name](https://www.facebook.com/business/help/338047025165344)
Can I create a new WhatsApp account during the connection process?
Yes, if you don't have a WhatsApp Business account connected to your Facebook page, you can create one during the setup process. Note that this will be a new WhatsApp number, not linked to any existing personal WhatsApp account.
Can I disconnect WhatsApp later?
Yes, you can disconnect WhatsApp at any time:
1. Go to Channels → WhatsApp → Manage
2. Click **Disconnect**
3. Confirm the disconnection Existing conversation history will remain in Chatty but no new messages will sync.
Will customers know I'm using Chatty to reply?
No, customers will see your responses as coming directly from your WhatsApp Business account. The integration is invisible to customers.
================================================================
URL: https://help.chatty.net/live-chat/contacts/
Locale: en
================================================================
# Contacts
**Contacts** is the list of everyone who has chatted with your store. Open it from the main menu.
From here you can search a contact, read their chat history, edit their profile, convert a lead into a Shopify customer, and export the list.
If you delete a contact, all conversations of that contact are deleted too.
### Contact types
The **Type** column carries a badge. There are three types you create by chatting, plus one Shopify sets for you.
| Type | Who it is |
| --- | --- |
| Customer | Placed an order on your store, or subscribed to it. |
| Lead | Left an email to start a chat, or reached you through Email, Messenger or Instagram. |
| Anonymous | Started a chat with "Chat with us as anonymous" and left no details. |
| Redacted | Shopify asked to erase this person's data. The profile is emptied and stays in the list. |
### Find a contact
The list holds six columns: **Name**, **Email**, **Type**, **Channel**, **Location** and **Conversation**. **Channel** lists every channel this person has used, **Conversation** counts their chats.
* **Search** by name or email in the search field.
* **Sort** by **Name**, **Customer added date** or **Last updated**, each in both directions.
* **Filter** by type with the **All**, **Customer**, **Lead** and **Anonymous** buttons above the table.
* **Copy an email** with the clipboard button next to it, without opening the contact.
A contact opens only if they have at least one conversation. Rows showing `0` in **Conversation** stay closed.
### Read a contact
Click a row to open the contact. The page carries:
| Section | What it holds |
| --- | --- |
| Customer | Overview for Shopify customers — how long they have been a customer, order count, amount spent — then Type, Name, Email, Phone and Address. |
| Channels | Every channel this person has reached you on. |
| Joy loyalty profile | Their points and tier, if you have the Joy app connected. |
| Tags and Note | Your own labels and internal notes. |
| Chat overview | **Conversation** count and **Last chat at**. |
| Customer snapshot | What Chatty learned about this person from their chats. |
| Chat history | The last five conversations, with **View more** for the rest. |
| Activity | Every change made to this contact and their conversations. |
To edit, use the button next to **Profile** and pick **Edit contact** or **Edit address**. Tags and Note are edited in place. To remove the contact, use **Delete contact** at the top right, or the bin icon on its row in the list.
For a Shopify customer, the icon next to **Overview** opens their profile in Shopify.
### Customer snapshot
**Customer snapshot** is built from this person's conversations, so you don't have to reread them before replying.
* **Summary** — a short profile in plain sentences, plus their average sentiment, conversation count and tags. It appears after their first conversation.
* **Key facts** — single lines Chatty picked up, such as a size or a preference. A fact you added yourself carries a **Manual** chip; a fact that is no longer current carries an **Expired** chip.
Admins can add, edit and remove facts. Use the plus button next to **Key facts**, write the fact, and pick its **Type**: Behavior, Preference, Size, Demographic, Issue or Contact. Other team members can read the snapshot but not change it.
### Convert a lead into a customer
A lead or an anonymous contact has no Shopify customer record. Converting one creates that record so their next order links to the same person.
#### Open the contact
#### Click Convert to customer
The button sits at the top right. It is hidden for contacts that are already Shopify customers.
#### Fill the Create customer form
First name, last name, email address and phone. At least one field must be filled.
#### Click Create
### Export contacts
Export downloads your contact information in a standard format, ready for an email marketing or loyalty platform.
**What you get:** contact type, name, email, phone, address, total orders, total spent, customer since, last updated, tags and note.
#### Go to Contacts and click Export
#### Choose what to export
**Current page** exports the contacts on screen. **All contacts** exports every page.
#### Confirm the email address
For **All contacts**, the file is sent to the address shown under **Your export will be sent to**.
#### Click Export
**Current page** downloads straight away. **All contacts** arrives by email.
### Who can do what
Contacts follow the team permissions you set in **Settings** → **Team**.
| Permission | What it controls |
| --- | --- |
| Contacts — view | Opening the Contacts page and reading a contact. |
| Contacts — edit | Editing a profile, tags and notes, converting a lead, and deleting a contact. |
| Export contacts | The **Export** button. |
Without the view permission, the page opens with a no-access message instead of the list.
================================================================
URL: https://help.chatty.net/live-chat/inbox/
Locale: en
================================================================
# Inbox
### What is Inbox
Inbox is your central hub for managing all customer conversations across multiple channels.
It brings together messages from live chat, email, Facebook Messenger, and other connected channels into one workspace
You can easily track, respond to, and organize every customer interaction.
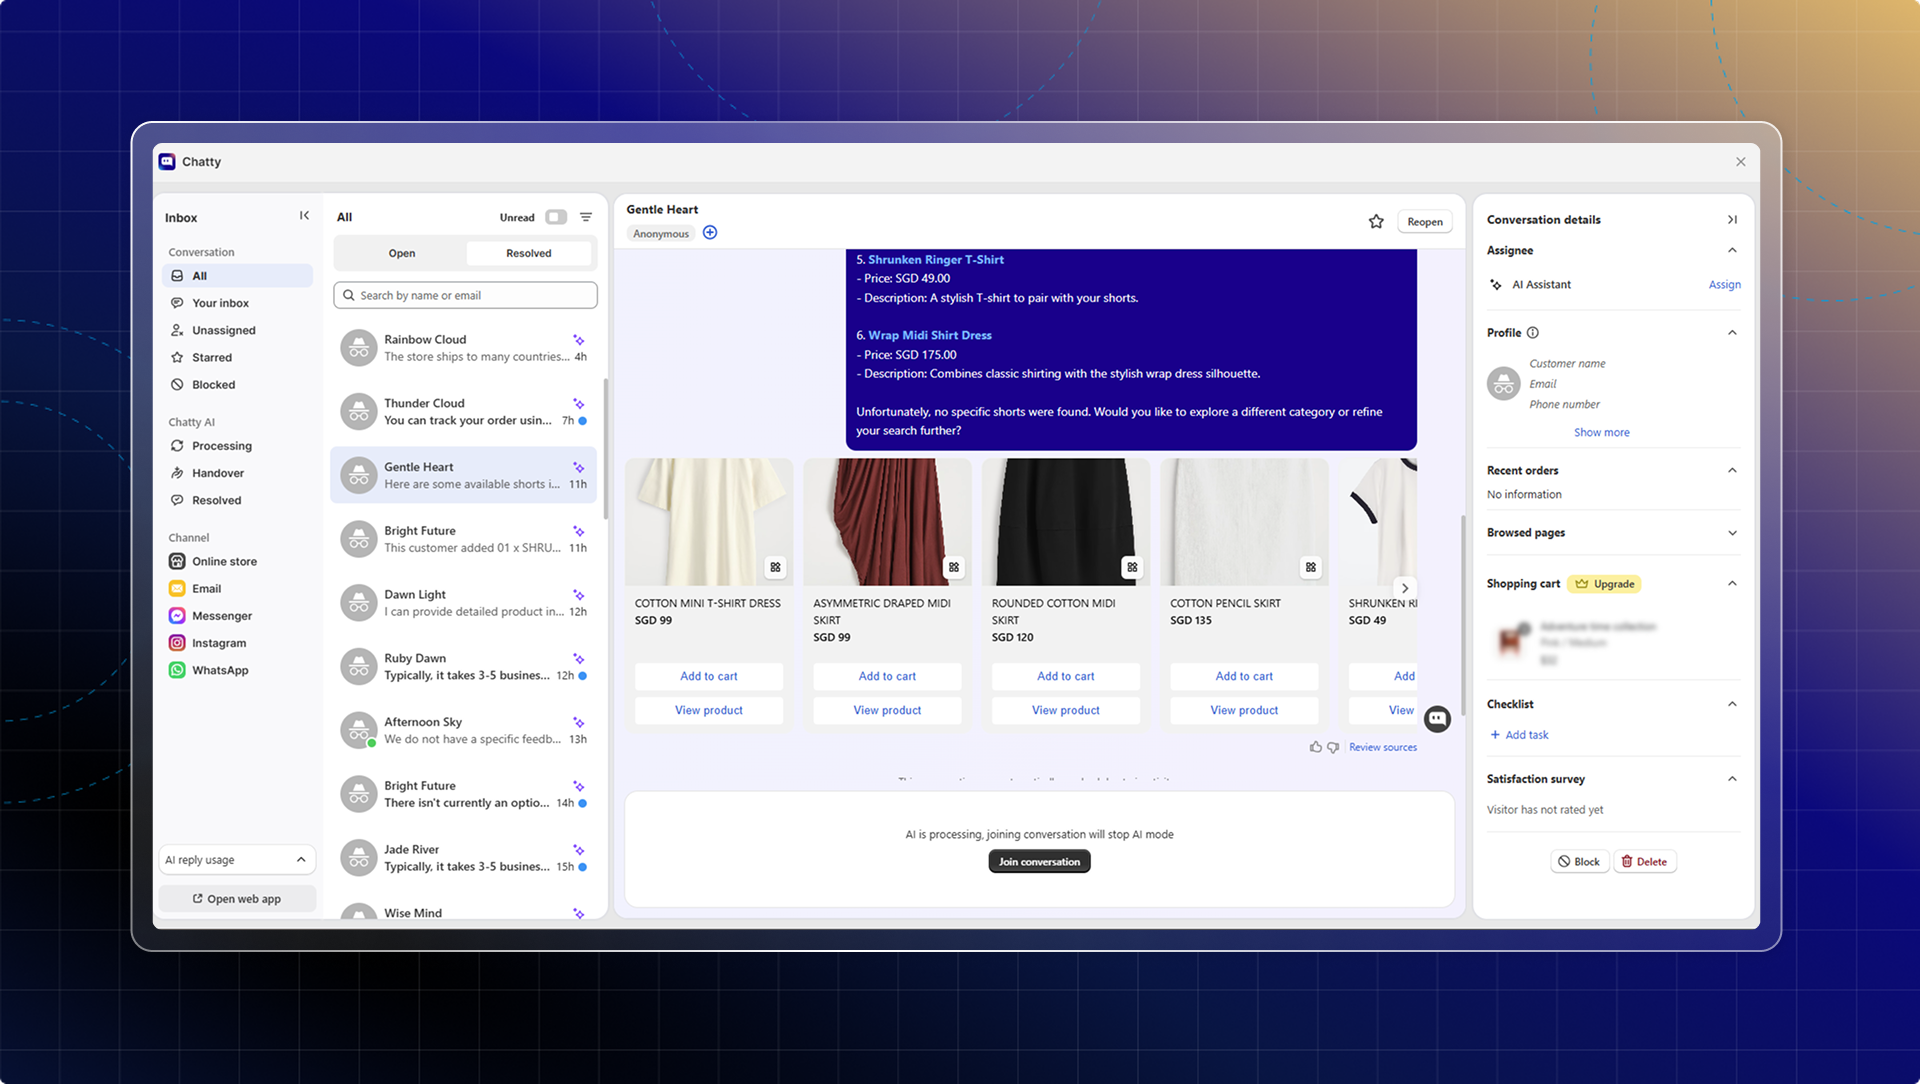
### What Inbox helps you do
* [x] Respond to all conversations from all [channels](/live-chat/channels/) in one place
* [x] Easily find conversation with smart filter & search
* [x] Check customer details while chatting
* [x] Manage conversations effectively: star, mark as resolved, etc.
### How to use Inbox
Access your inbox
1. Go to Chatty in your Shopify admin
2. Click **Inbox** tab in the main navigation
3. Or click **Go to inbox** from Dashboard
Your inbox opens with the conversation list on the left and chat details on the right.
#### Respond to conversations
**Send messages**
1. Select a conversation from the list
2. Click the message input field at the bottom
3. Type your message
4. Press **Enter** or click **Send**
With conversation assigned to AI, click **Join conversations** to start responding. You can reassign to AI anytime for AI auto-reply.
**Change send behavior**
By default, pressing **Enter** sends your message. You can change this in settings (**Settings** → **Inbox settings** → **Message preference**)
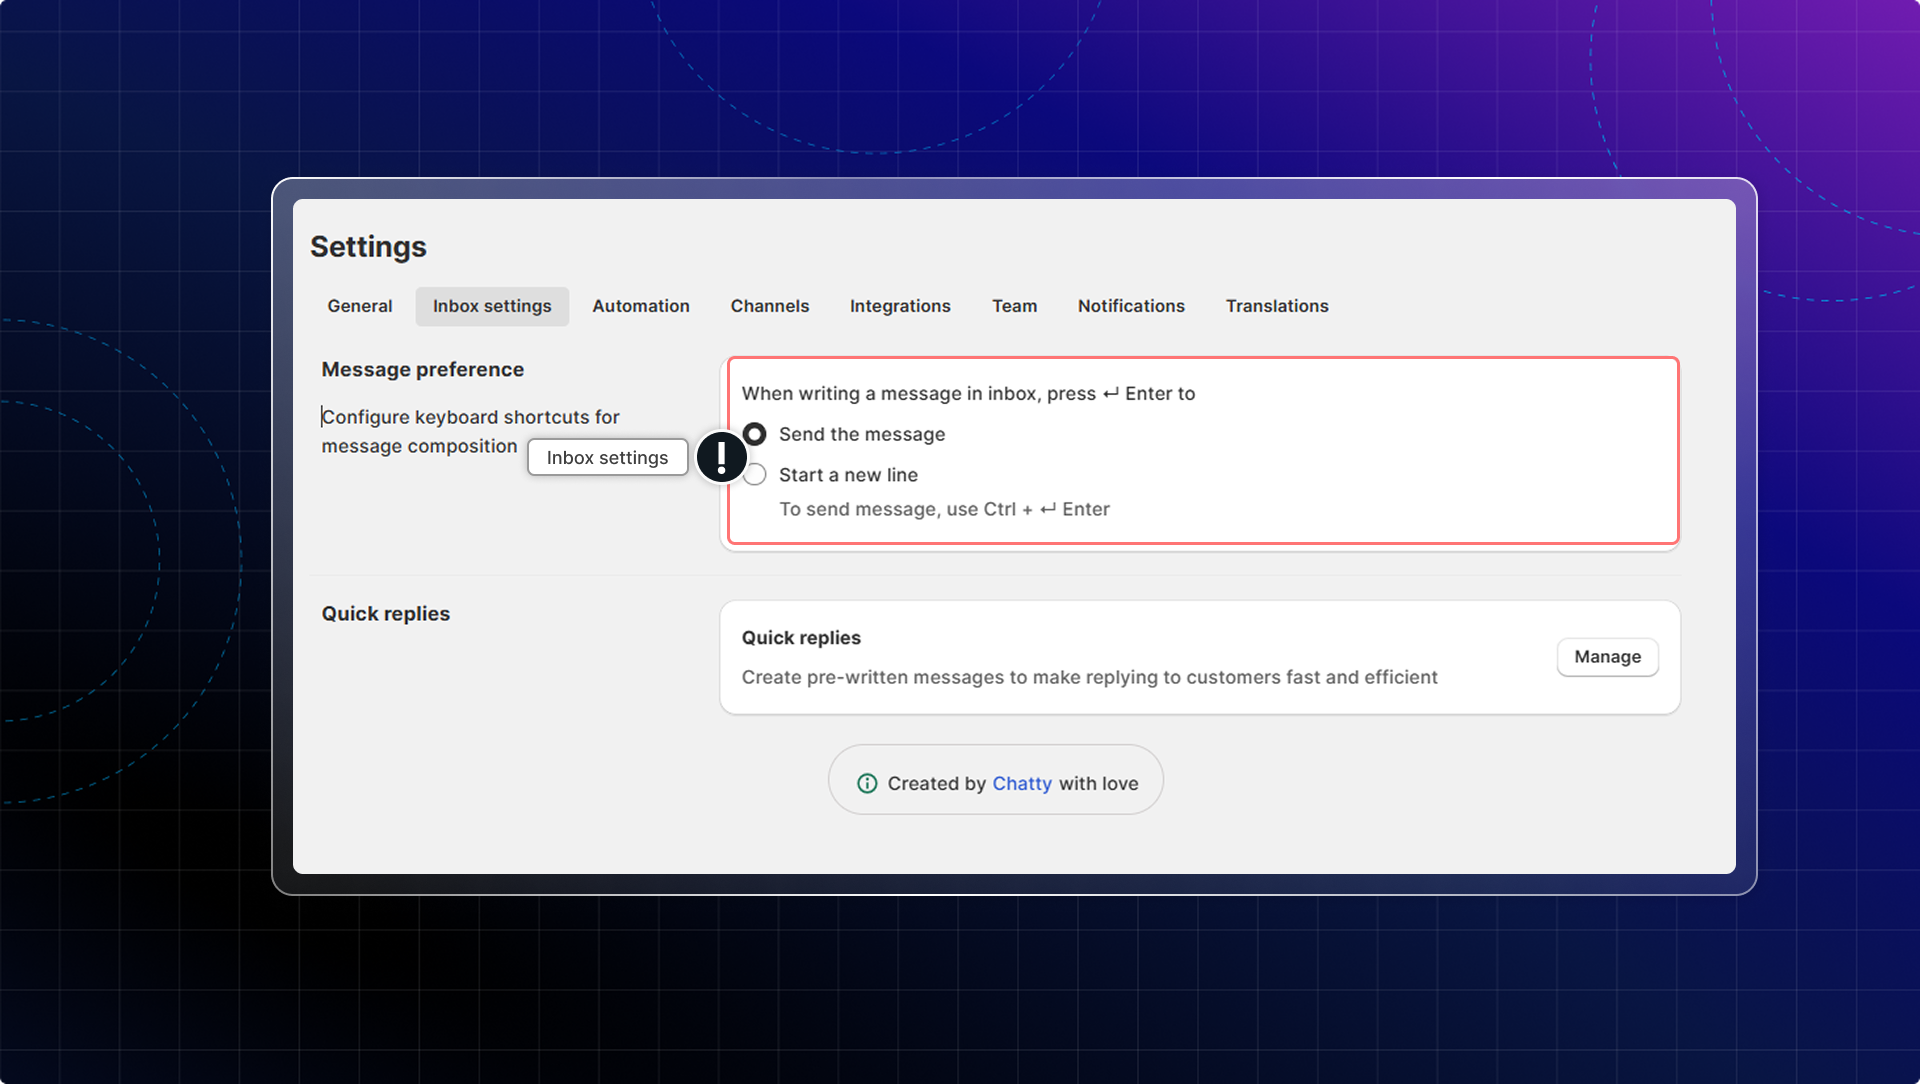
Learn more about responding in chat zone.
#### Filter conversations
**Use the left sidebar**
The sidebar groups conversations so you can jump to the pile you care about.
| Group | Items |
| ---------- | ----------------------------------------------------------------- |
| Conversations | All, Your inbox, Unassigned, Starred, Blocked |
| Chatty AI | Processing, Handover, Resolved |
| Channels | Online store, Email, Messenger, Instagram, WhatsApp |
**Chatty AI** splits conversations by what the AI did with them. **Processing** is what the AI is handling right now, **Handover** is what it passed to a person, and **Resolved** is what it closed on its own.
**Switch between Open and Resolved**
Above the conversation list there are two tabs, **Open** and **Resolved**. Search and filters only look inside the tab you are on, so switch tabs if a conversation does not show up.
**Show only unread**
Turn on the **Unread** toggle above the conversation list to hide everything you have already read. The toggle shows on All, Your inbox, Unassigned, and on each channel.
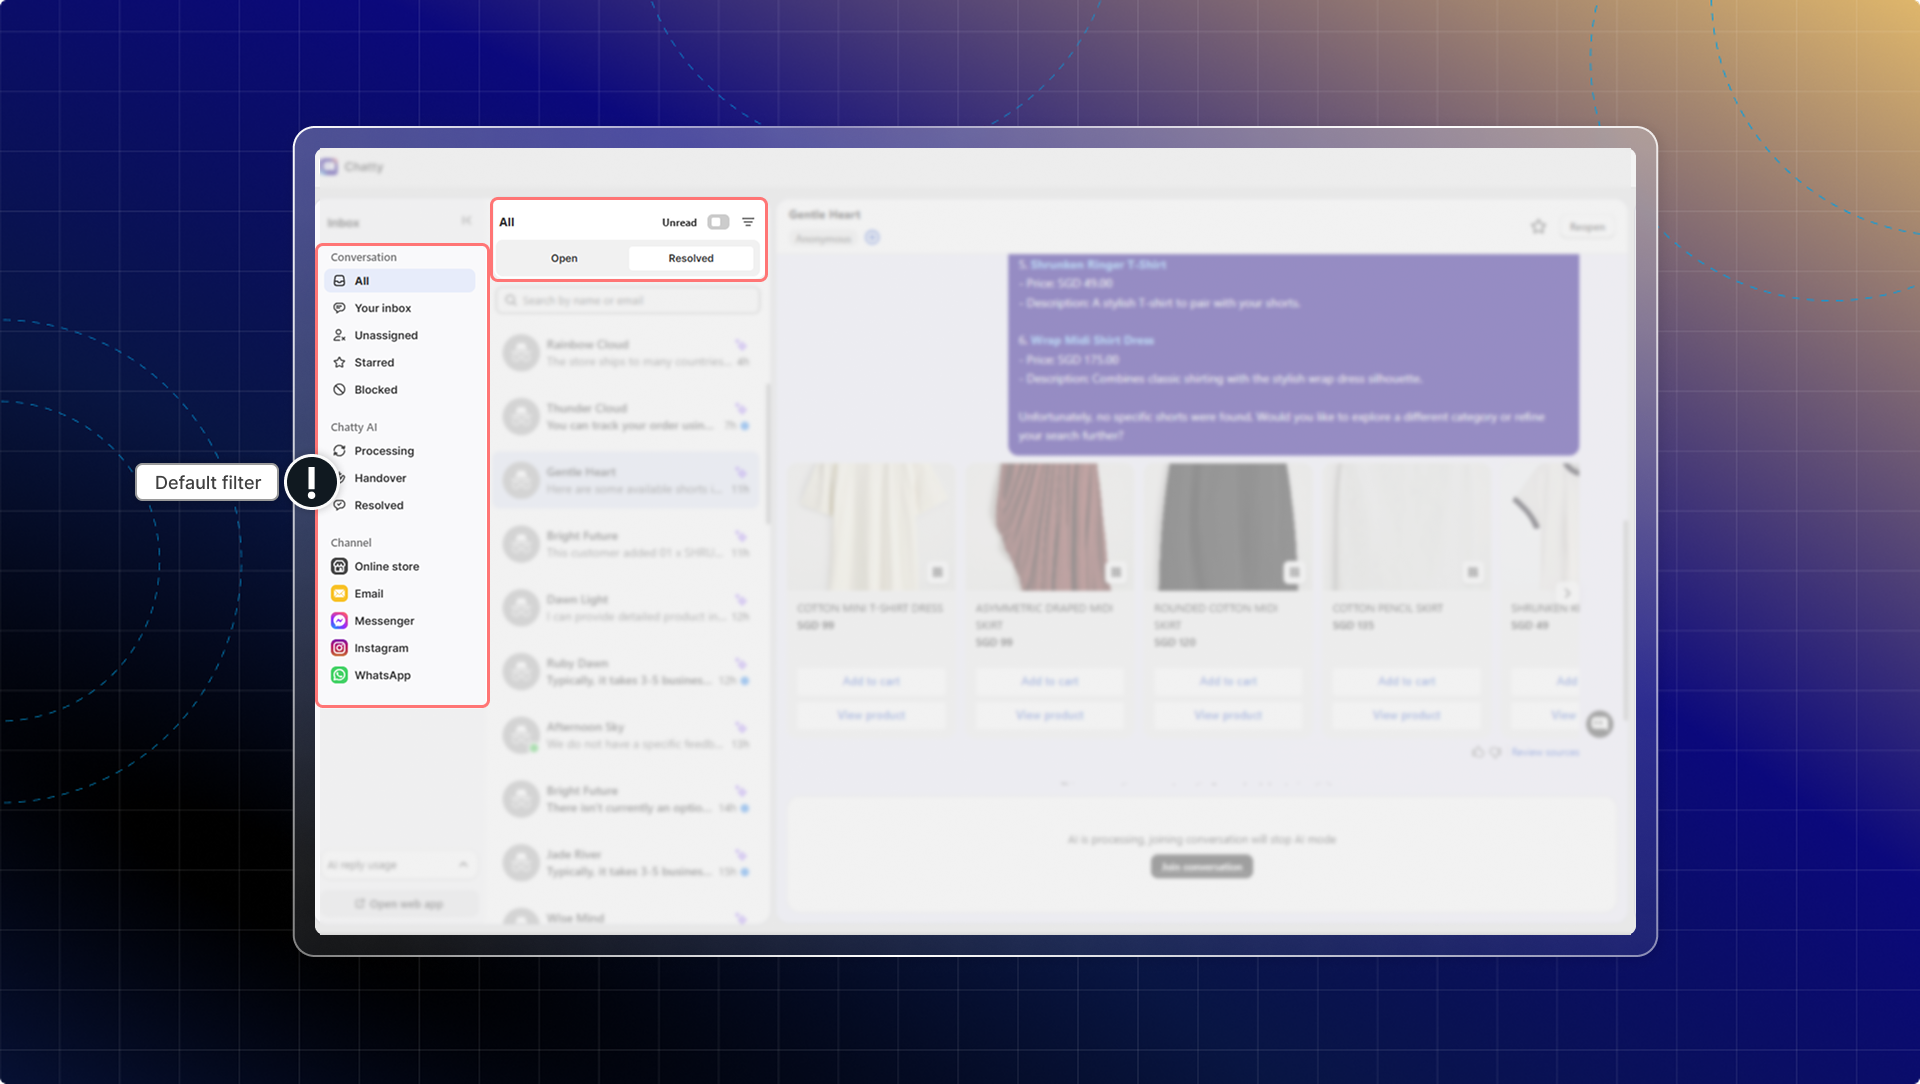
**Filter by assignee**
1. Select **Your inbox** (Conversation assigned to you), **Unassigned** from the filter menu; or select an assignee in the list at the top of conversation list
2. View conversations assigned to that assignee.
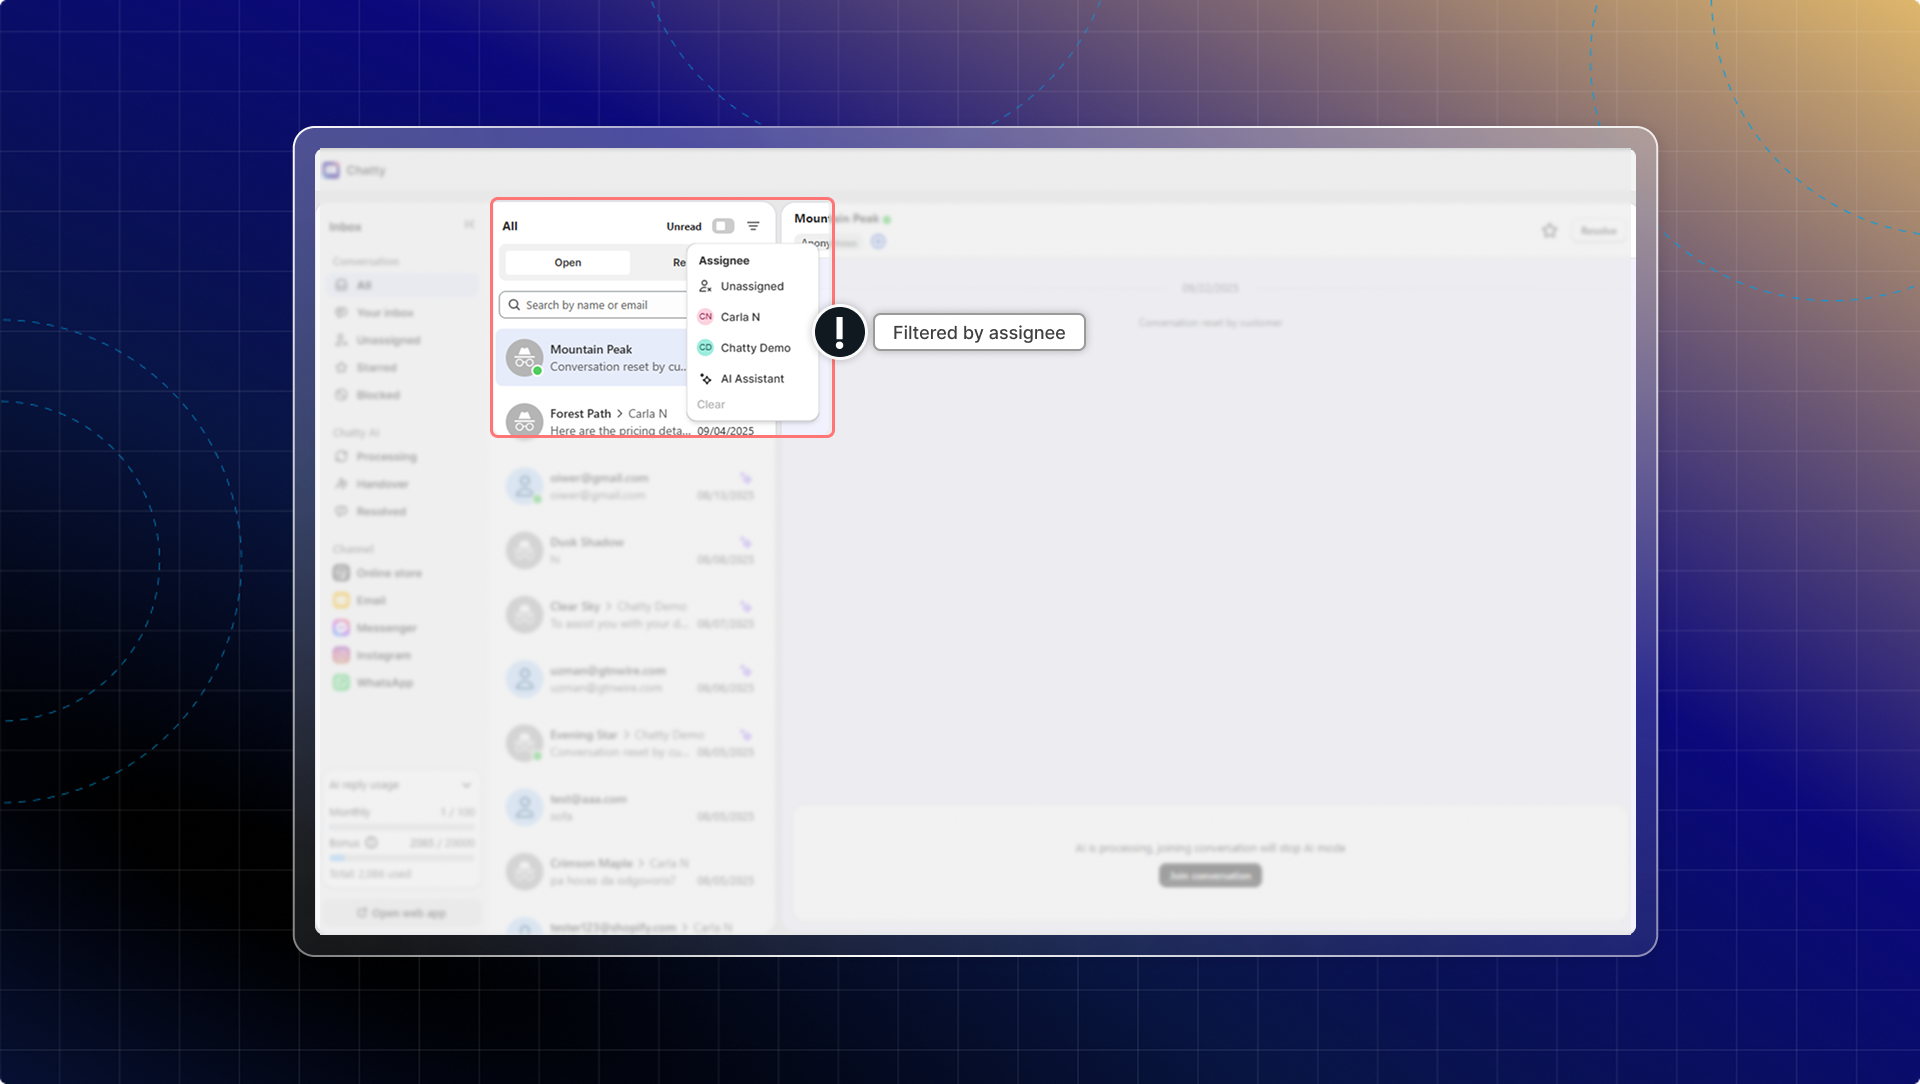
The assignee list also has **Unassigned** and **AI Agent**, so you can pull up everything the AI is still holding.
**Save a filter you use every day**
A custom filter is a saved set of tags, built under **Custom filter** in the filter menu. Tick it and the list only shows conversations carrying those tags. Custom filters are only available on **All** and **Handover**. See [Save a filter you use every day](/live-chat/inbox/filters-and-bulk-actions/#save-a-filter-you-use-every-day).
**Start a conversation yourself**
You do not have to wait for a customer to message first. Click the plus icon above the conversation list, enter the customer email, add a subject and your message, then click **Create**. See [Start a conversation yourself](/live-chat/inbox/filters-and-bulk-actions/#start-a-conversation-yourself).
**See every store in one inbox**
**Who can use this feature?**
* Multi-store inbox is available on the Plus plan.
Click the store icon in the header, or press `Cmd/Ctrl + Shift + A`, to switch between one store and all connected stores. In the all stores view the search bar is turned off, so switch back to a single store to search.
#### Manage conversations
**Mark as resolved:**
1. Open the conversation
2. Handle the customer inquiry completely
3. Click **Resolve**
4. Conversation moves to **Resolved** filter.
Learn how to [resolve conversations automatically](/others#resolve-conversations/).
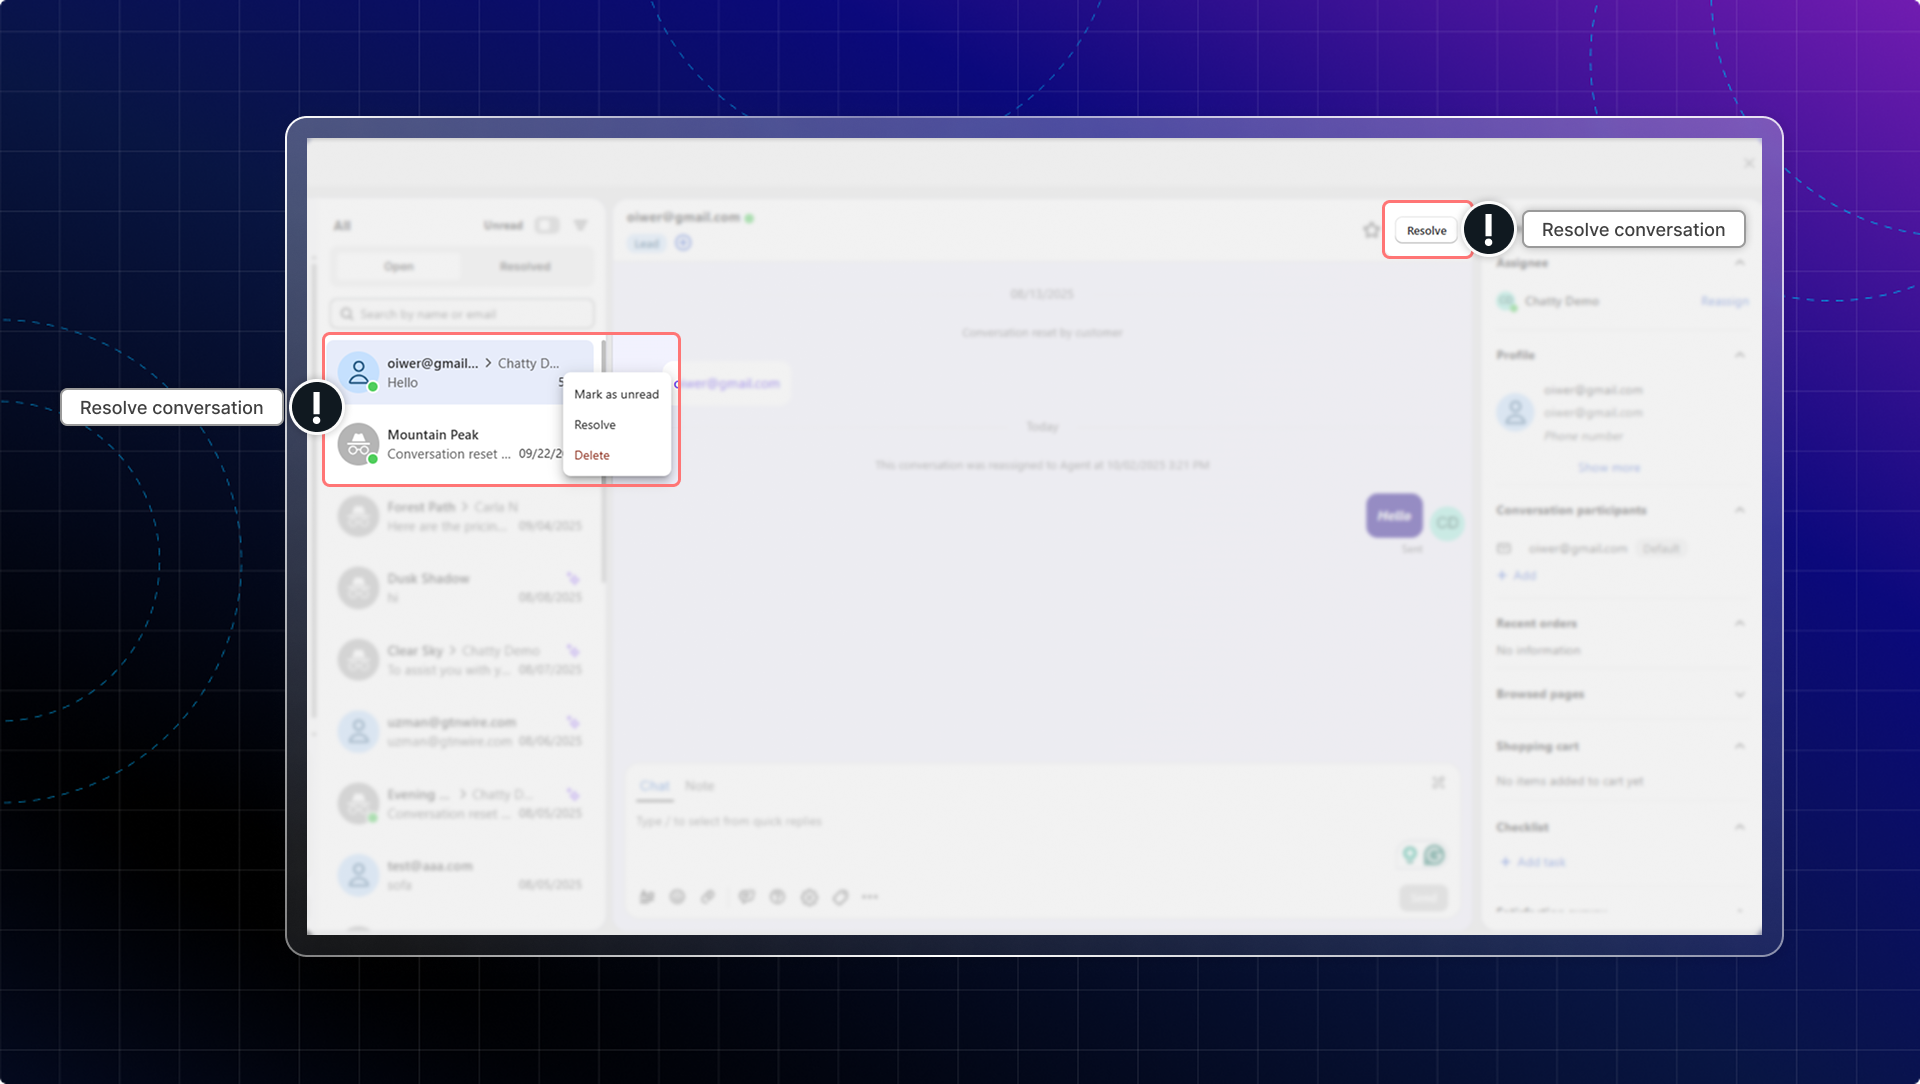
**Star conversations:**
1. Open important conversation
2. Click the star icon in the conversation header. The tooltip reads **Star conversation**
3. Find starred conversations in the **Starred** filter
Click the star again to unstar it.
**Send or download a transcript:**
Open the conversation, then click the three-dot menu in the conversation header. The menu shows on desktop.
| Action | What it does |
| -------------------- | ------------------------------------------------------------------------------------ |
| **Send transcript** | Emails the chat. Choose **To me**, **To [customer]**, or **To someone else** and type an address |
| **Export transcript**| Downloads the chat to your computer. Choose **CSV file** or **Text file** under **Export as**, then click **Export** |
| **Set subject** | Sets the email subject carried by this conversation when it goes out by email |
Timestamps in the exported file follow the date format set for your store and the time zone of the computer you are on.
**Delete conversations:**
1. Open conversation to delete
2. Click **Delete**
**Handle conversations in bulk:**
Mark many conversations as read or unread, resolve them, reopen them, or delete them in one move. See [Act on many conversations at once](/live-chat/inbox/filters-and-bulk-actions/#act-on-many-conversations-at-once).
If you delete conversations, it will also delete contact info of anonymous users and leads. Contact info of customers stays the same.
If you delete contacts, all conversations of that contact will be deleted.
#### Check customer details
See important customer information while chatting:
* Contact information (email, phone)
* Order history and purchase details
* Customer tags and notes
* Pages they've browsed on your store
* Real-time actions:
* View FAQs
* Add products to empty cart (with product details)
* Add products to existing cart (with product details)
* Remove products from cart (with product details)
* Place an order
These behaviors help you understand customer intent and respond appropriately.
#### Use with team members
When working with team members:
1. **Assign conversations**: Select team member in conversation details
2. **Add notes**: Leave context for teammates handling the conversation
3. **Track assignments**: Filter by assigned conversations
4. **Collaborate**: Multiple team members can view conversation history
Learn more about team collaboration.
================================================================
URL: https://help.chatty.net/live-chat/inbox/chat-zone/
Locale: en
================================================================
# Chat zone
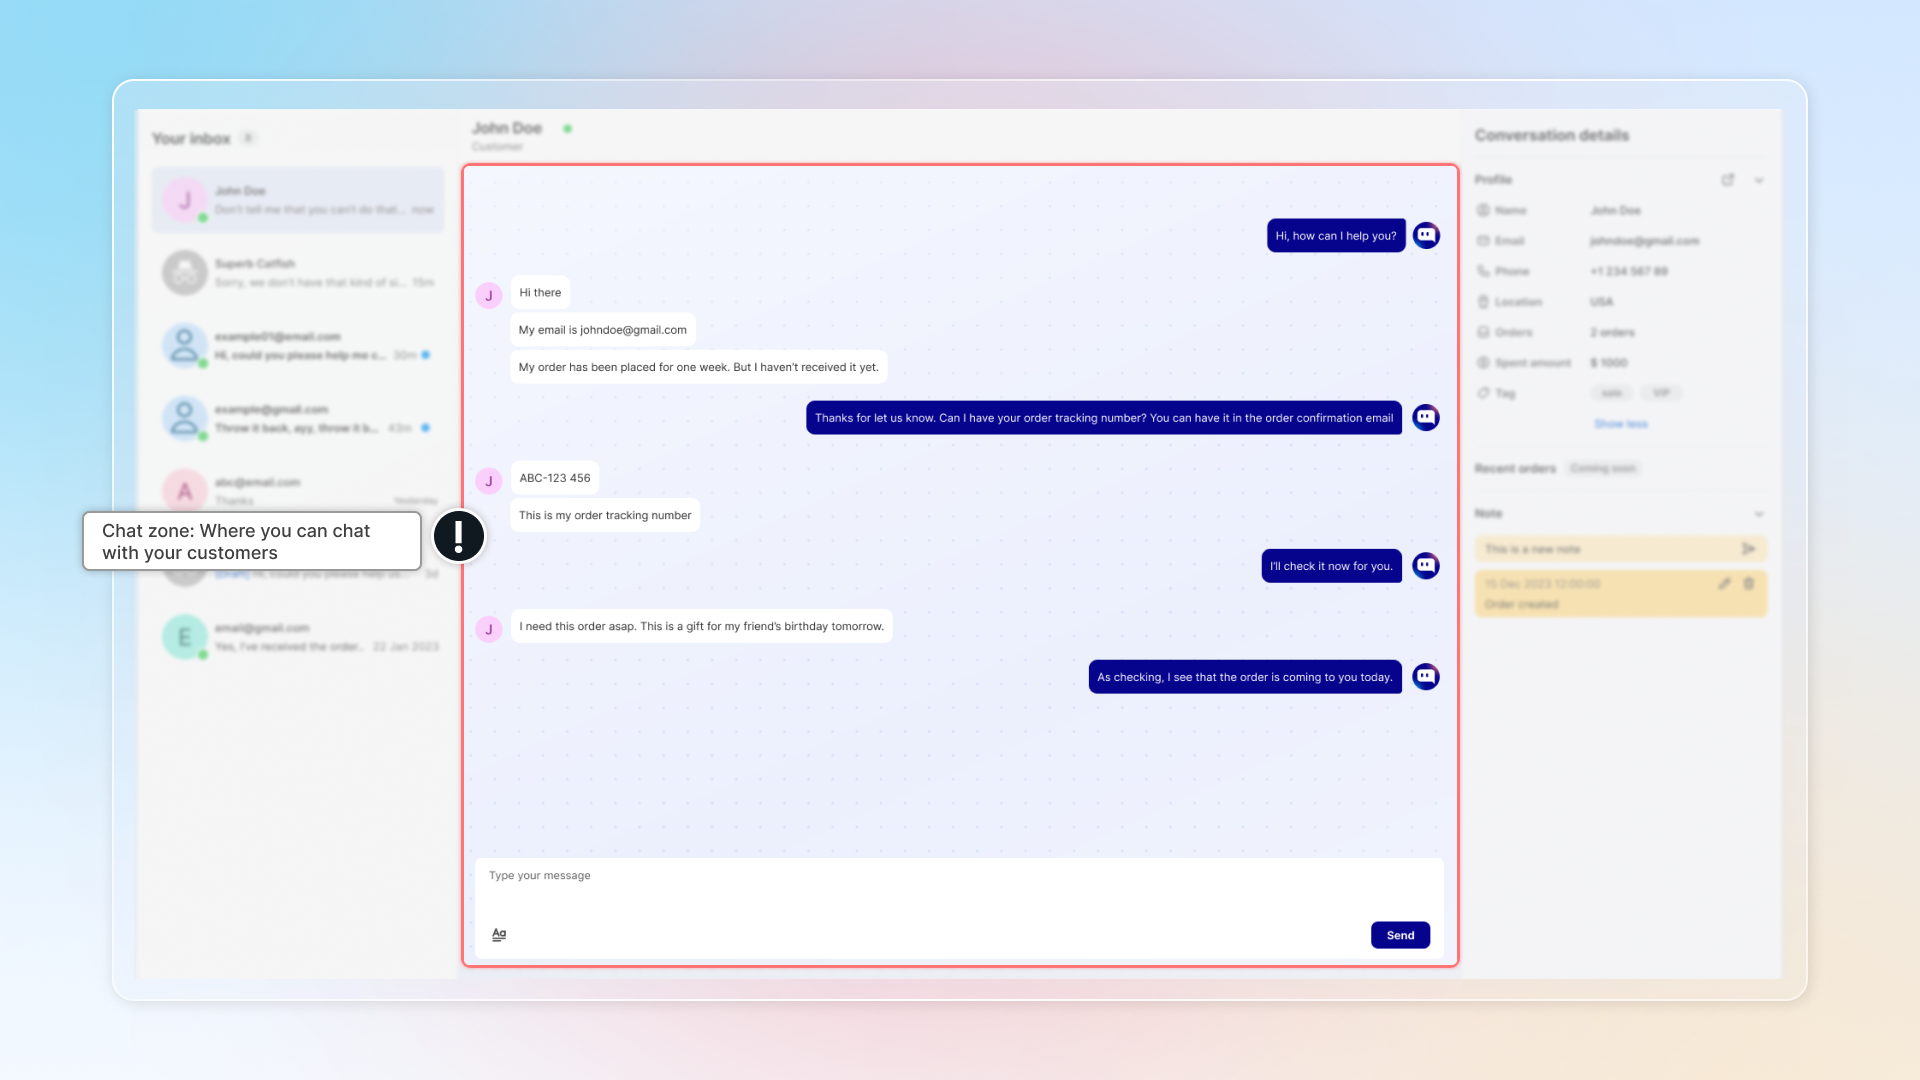
### Shortcut
| Shortcut in chat zone | Action |
| --------------------- | ------------------ |
| `/` | Open quick replies |
| `?` | Insert FAQs |
| `%` | Insert discounts |
| `!` | Insert products |
| `Ctrl + B` | Bold text |
| `Ctrl + I` | Italic text |
| `@` (in Note) | Tag team member |
Type the character in the message box and the picker opens right where you are typing. You can also click the matching icon on the toolbar.
### Chat, Note, and Reminder tabs
Above the message box there are three tabs. Each one sends a different kind of message.
| Tab | What it does | Send button |
| -------- | ----------------------------------------------------------------------- | ----------- |
| Chat | Sends the message to the customer | **Send** |
| Note | Saves a private note for your team, type `@` to tag and notify a member | **Send** |
| Reminder | Sets a reminder note to come back to this conversation | **Set** |
Notes and reminders are never shown to the customer.
Quick replies, FAQs, products, and discounts can be inserted in the Chat and Note tabs. They are turned off in the Reminder tab.
### Set a reminder
Use a reminder when you need to follow up later, for example while you wait for a supplier to confirm stock.
#### In the conversation, **click** the **Reminder** tab.
#### **Type** your reminder note.
#### **Click** the clock icon to open **Schedule a Reminder**.
#### **Choose** a time: Remind me in 1h, Remind me in 2h, Remind me on tomorrow at same time, or Remind me at custom time.
#### **Click** **Assign to** to open **Select reminder assignee**, then pick the team member who should get the reminder.
#### **Click** **Set**.
Only active team members show in the assignee list. If you do not pick anyone, the reminder stays with the person the conversation is assigned to. You can hand a follow-up to whoever is on shift when it comes due, not only to yourself.
When the reminder comes due, three things happen at once:
* The assignee gets an email titled **Reminder: conversation with** the customer's name, with your note and the last three messages.
* The assignee gets a push notification.
* The conversation goes back to unread and moves to **Open**, even if it had been resolved.
Each reminder belongs to one conversation, so set a separate reminder for each follow-up you need.
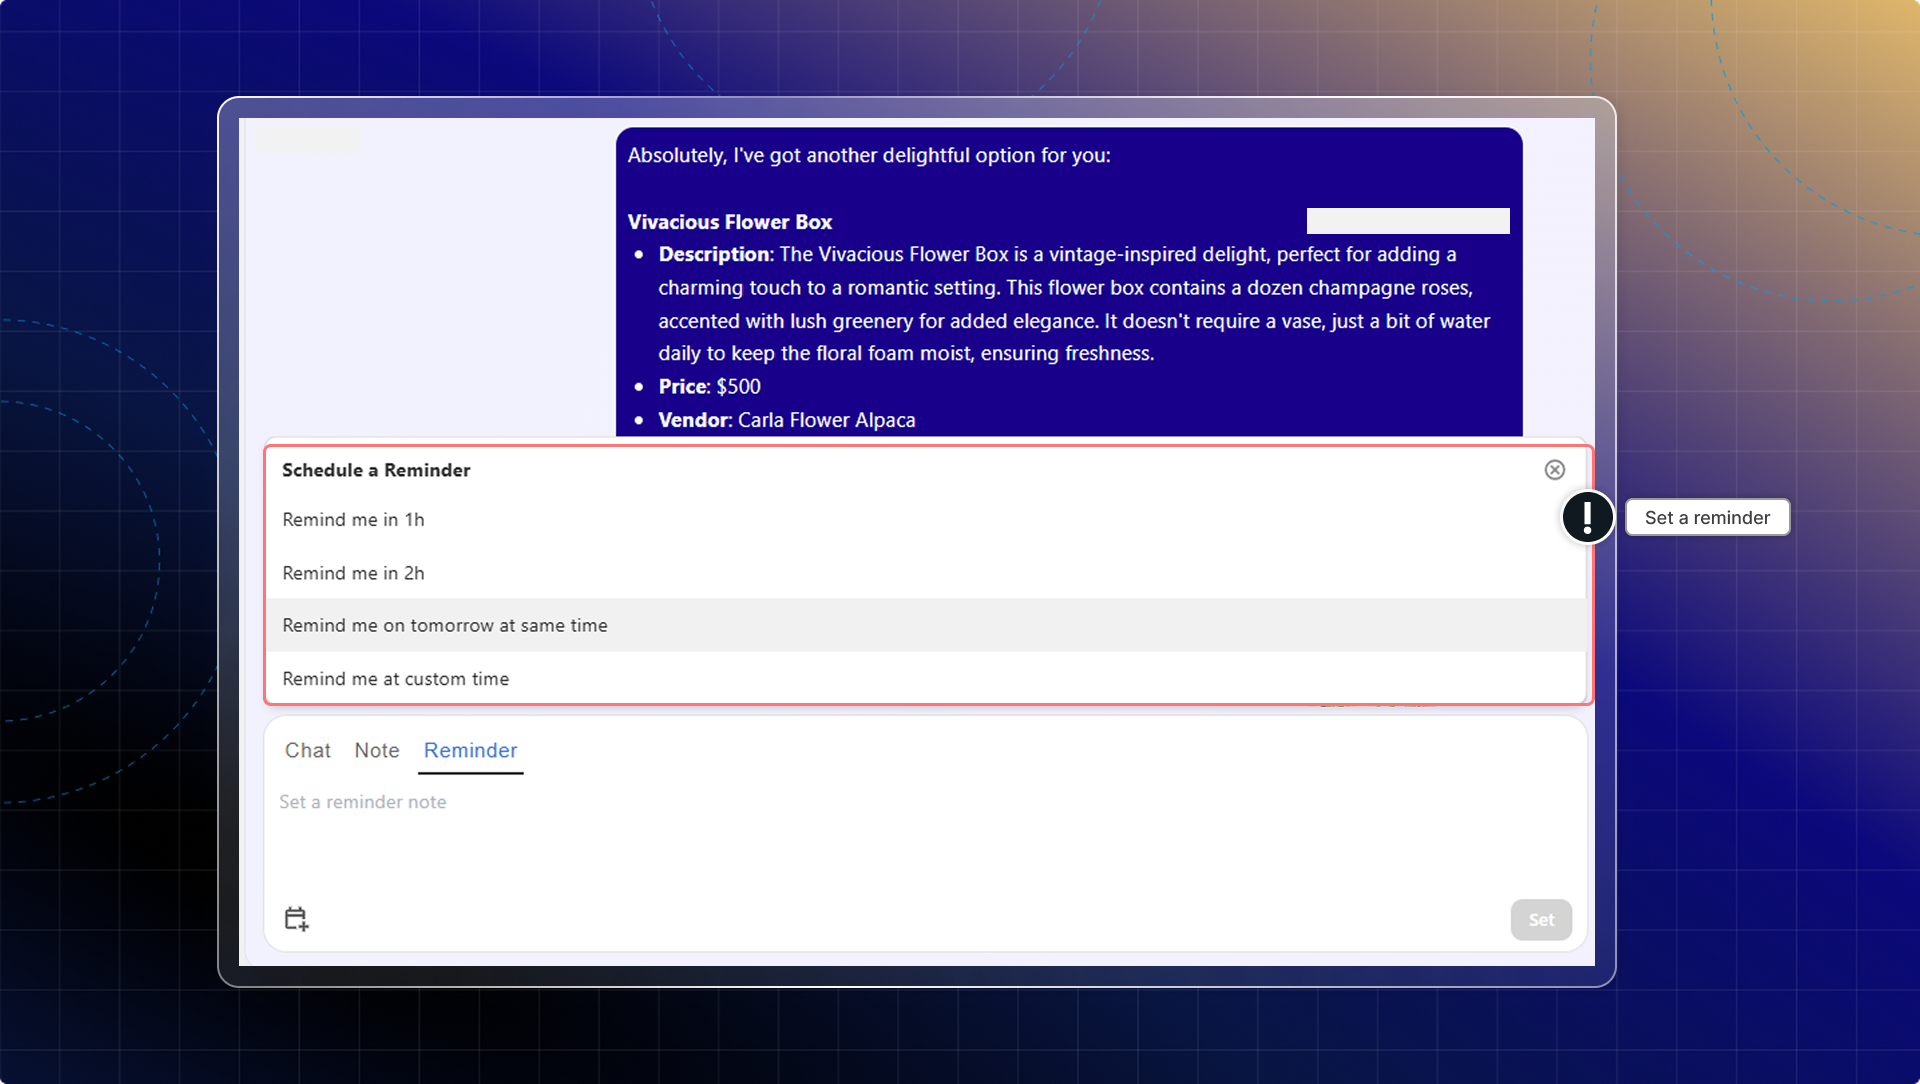
#### Delete a reminder
The reminder shows as an internal card in the conversation thread, with the time, who created it, and the note. Click the trash icon on that card and confirm to cancel it. The icon disappears once the reminder has fired.
### AI writing tools
In the Chat tab, open the AI menu next to the message box.
* **Improve writing** rewrites your draft so it reads better. It only works in the Chat tab.
* **Chat summary** reads the conversation and inserts a summary into the message box, split into Chat summary, Main issues, and Recommendations. It works in the Chat tab and the Note tab.
Both tools write into the message box. Nothing is sent until you click **Send**, so you can edit the result first.
### Customer's online status
You can check customer's online status on the top banner.
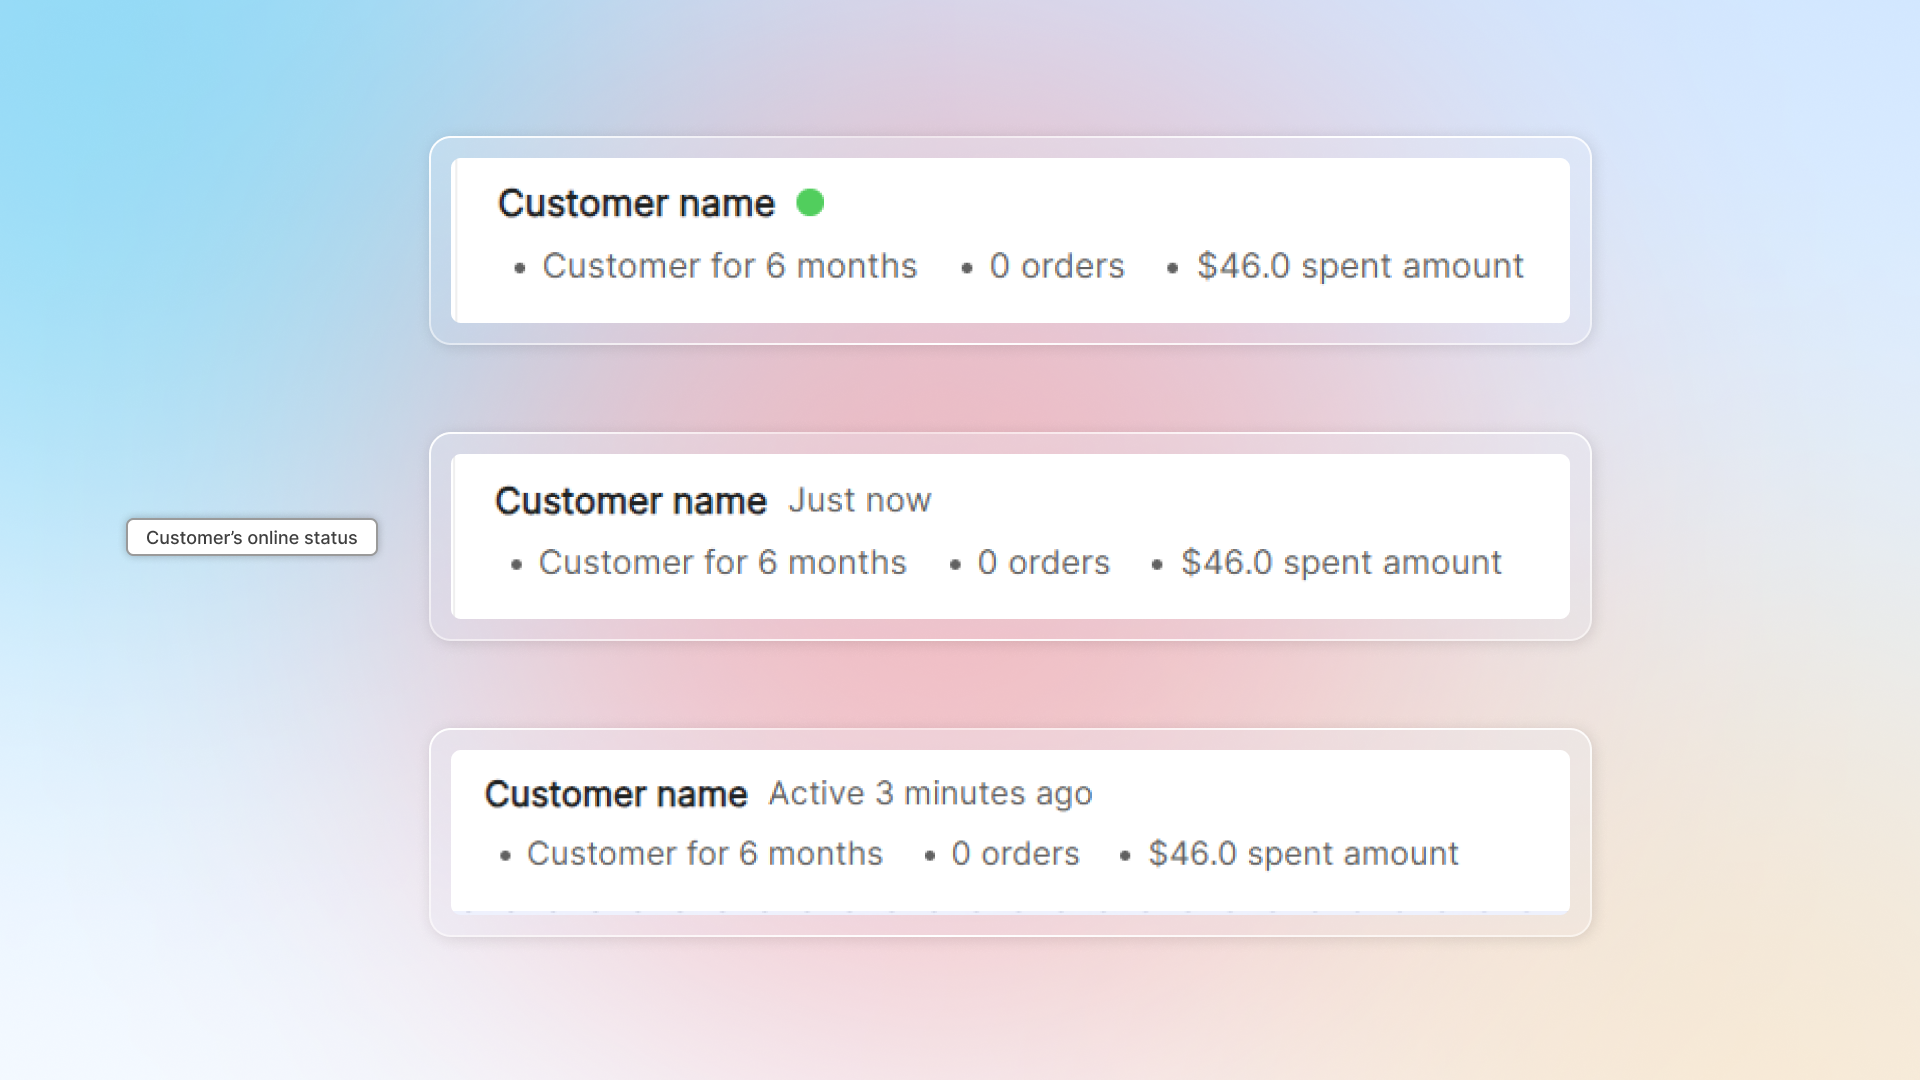
If your customer is offline, message will be sent to their email.
If they are anynomous users (those don't have emails), you'll need to prodive email to keep the conversation going with them.
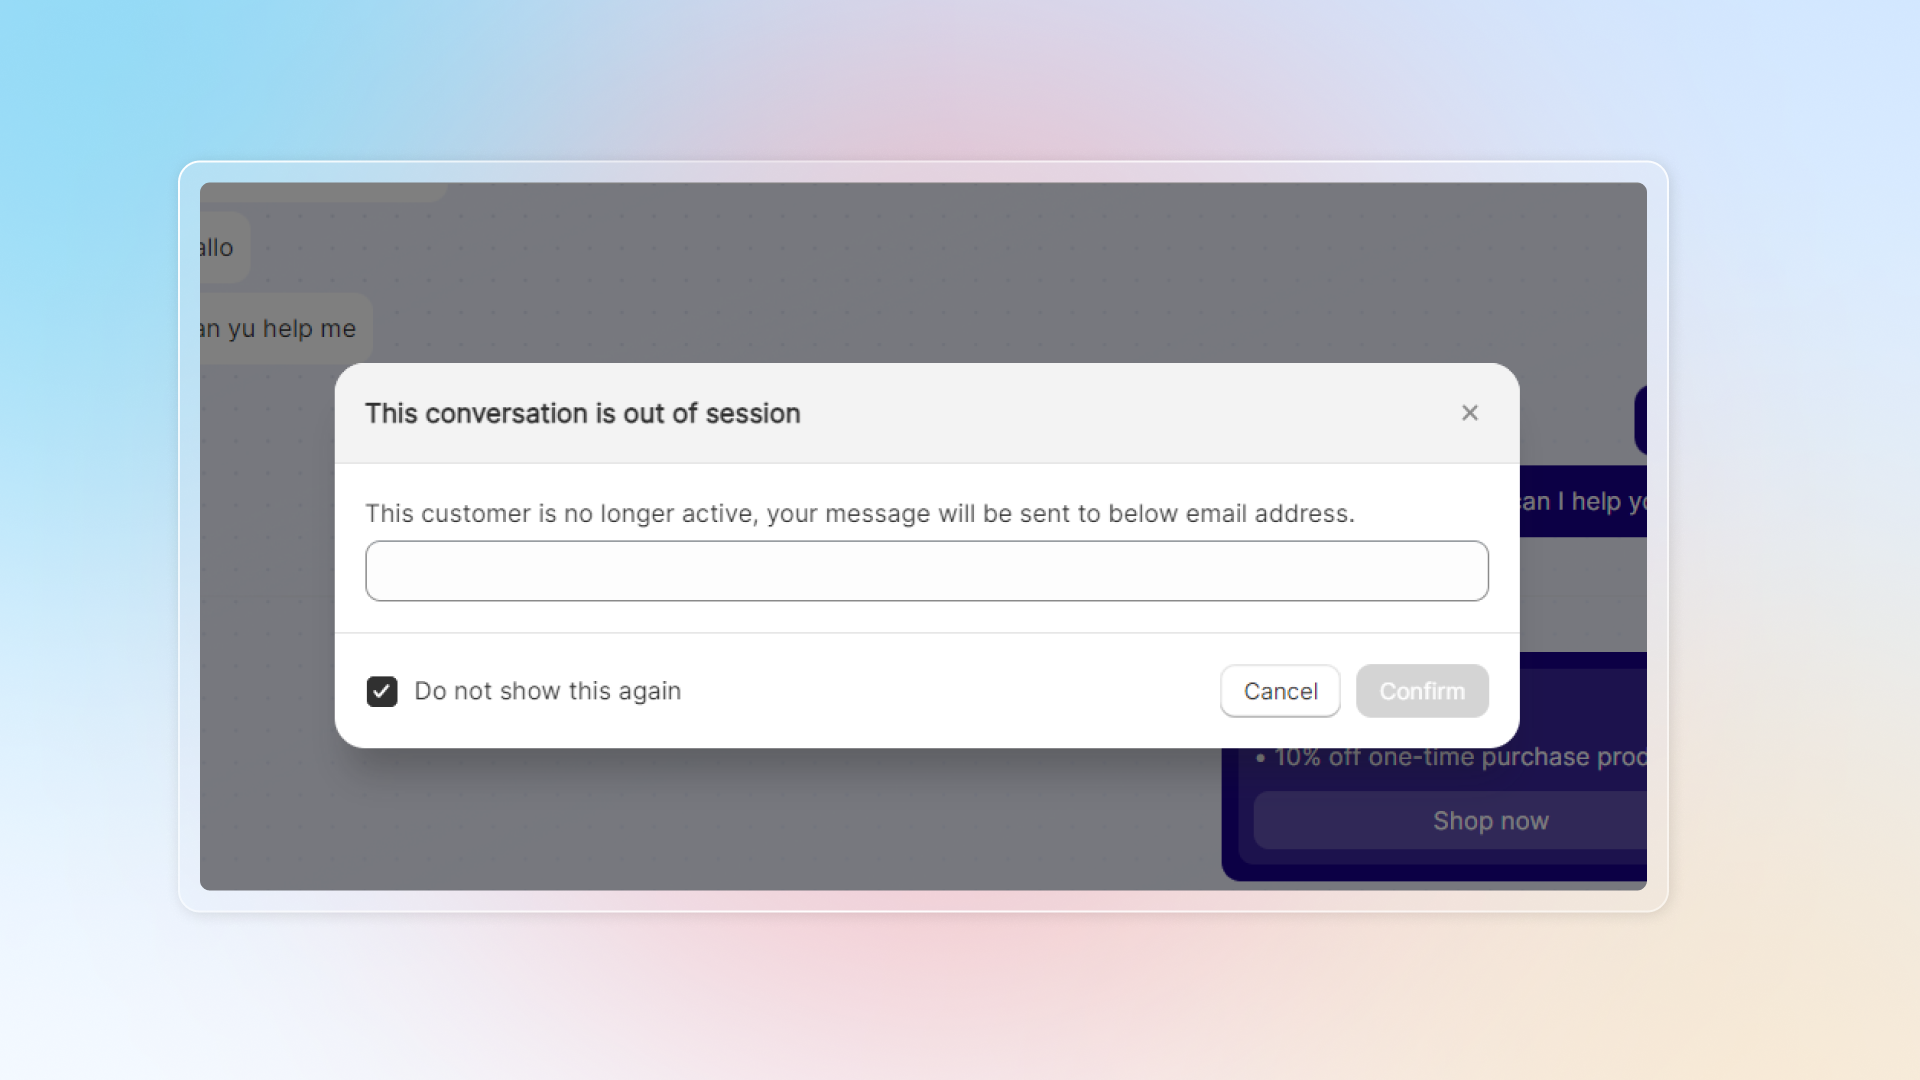
### Customer behavior
In chat zone, you can check customer behaviour like add to cart or place an order.
List of customer behavior:
* Start a chat
* Add products to empty cart (show with product details)
* Add products to existing cart (show with product details)
* Remove products from cart (show with product details)
* Place an order
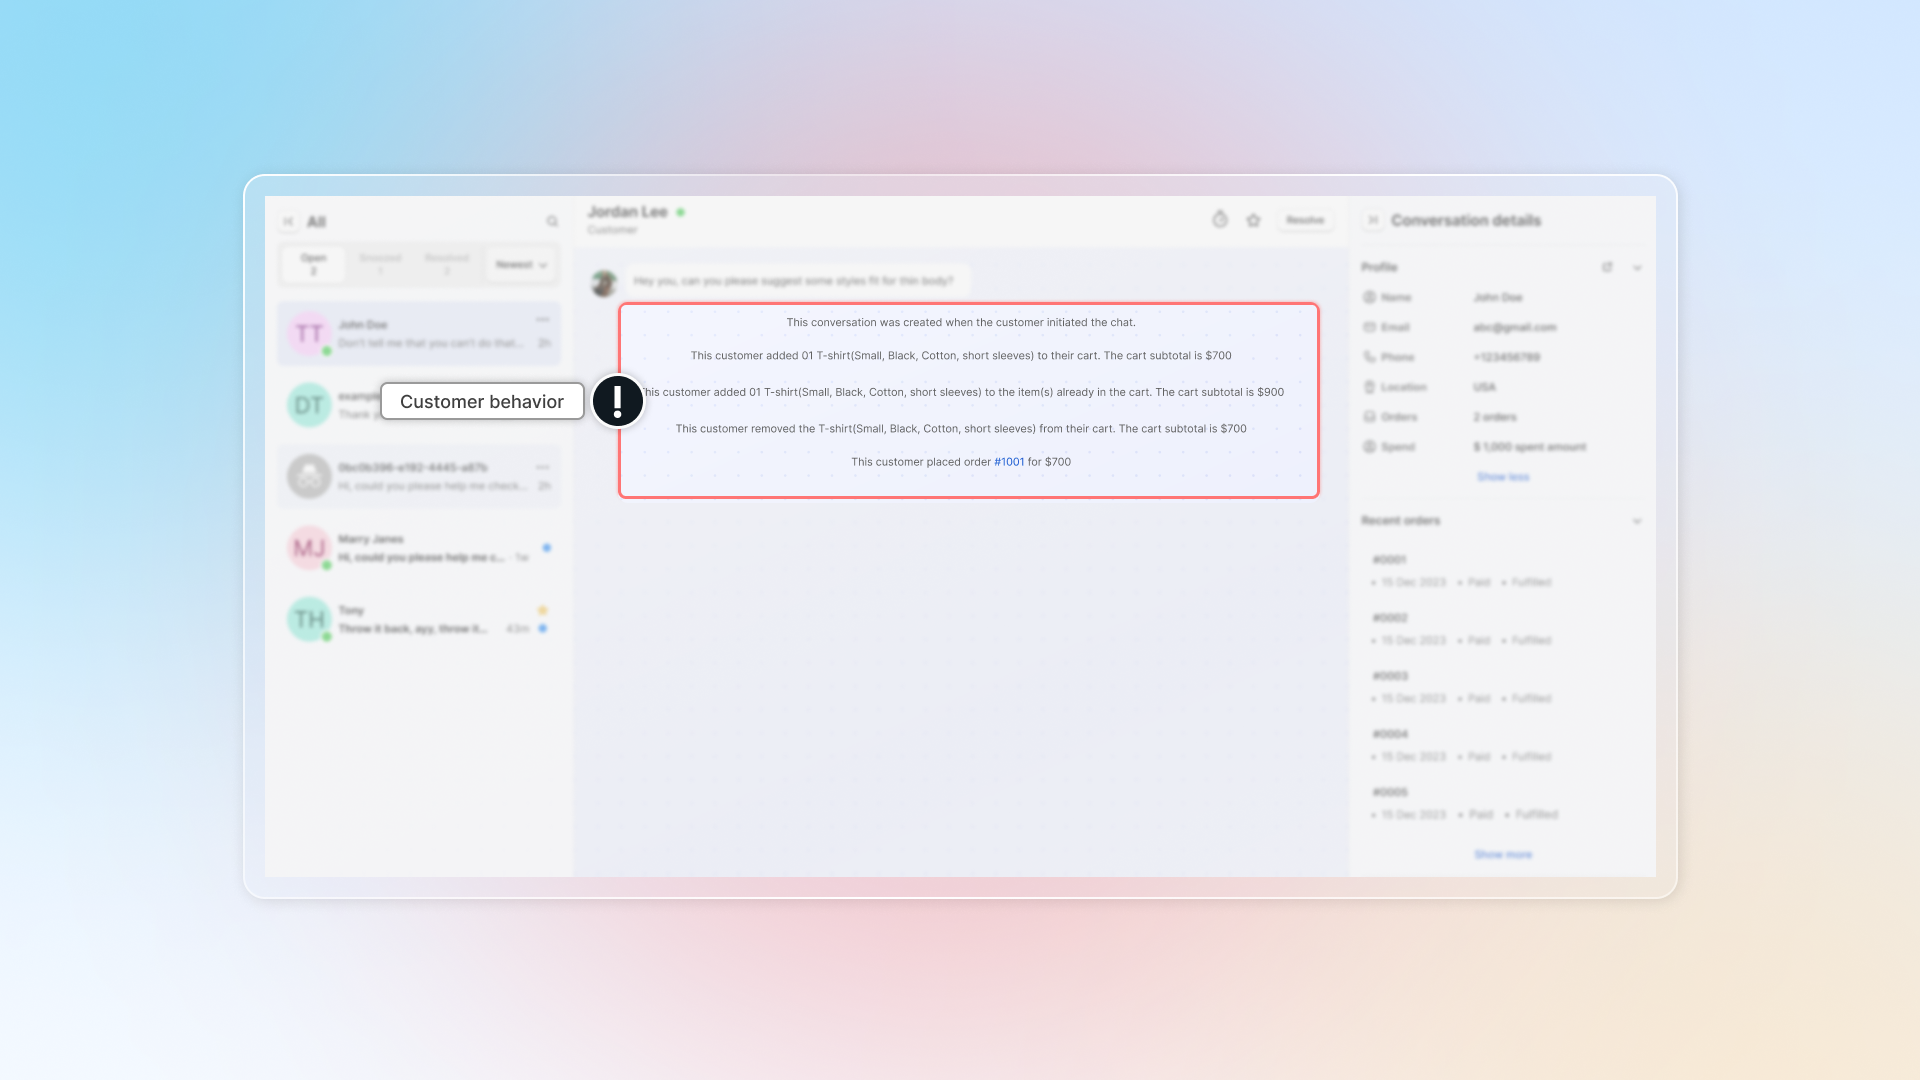
### Send message
In chatzone, enter your message and click **Send** or **Enter** to send messages.
You can change the action of **Enter** in settings.
Go to Settings -> General -> Go to Inbox settings -> Select method to send message
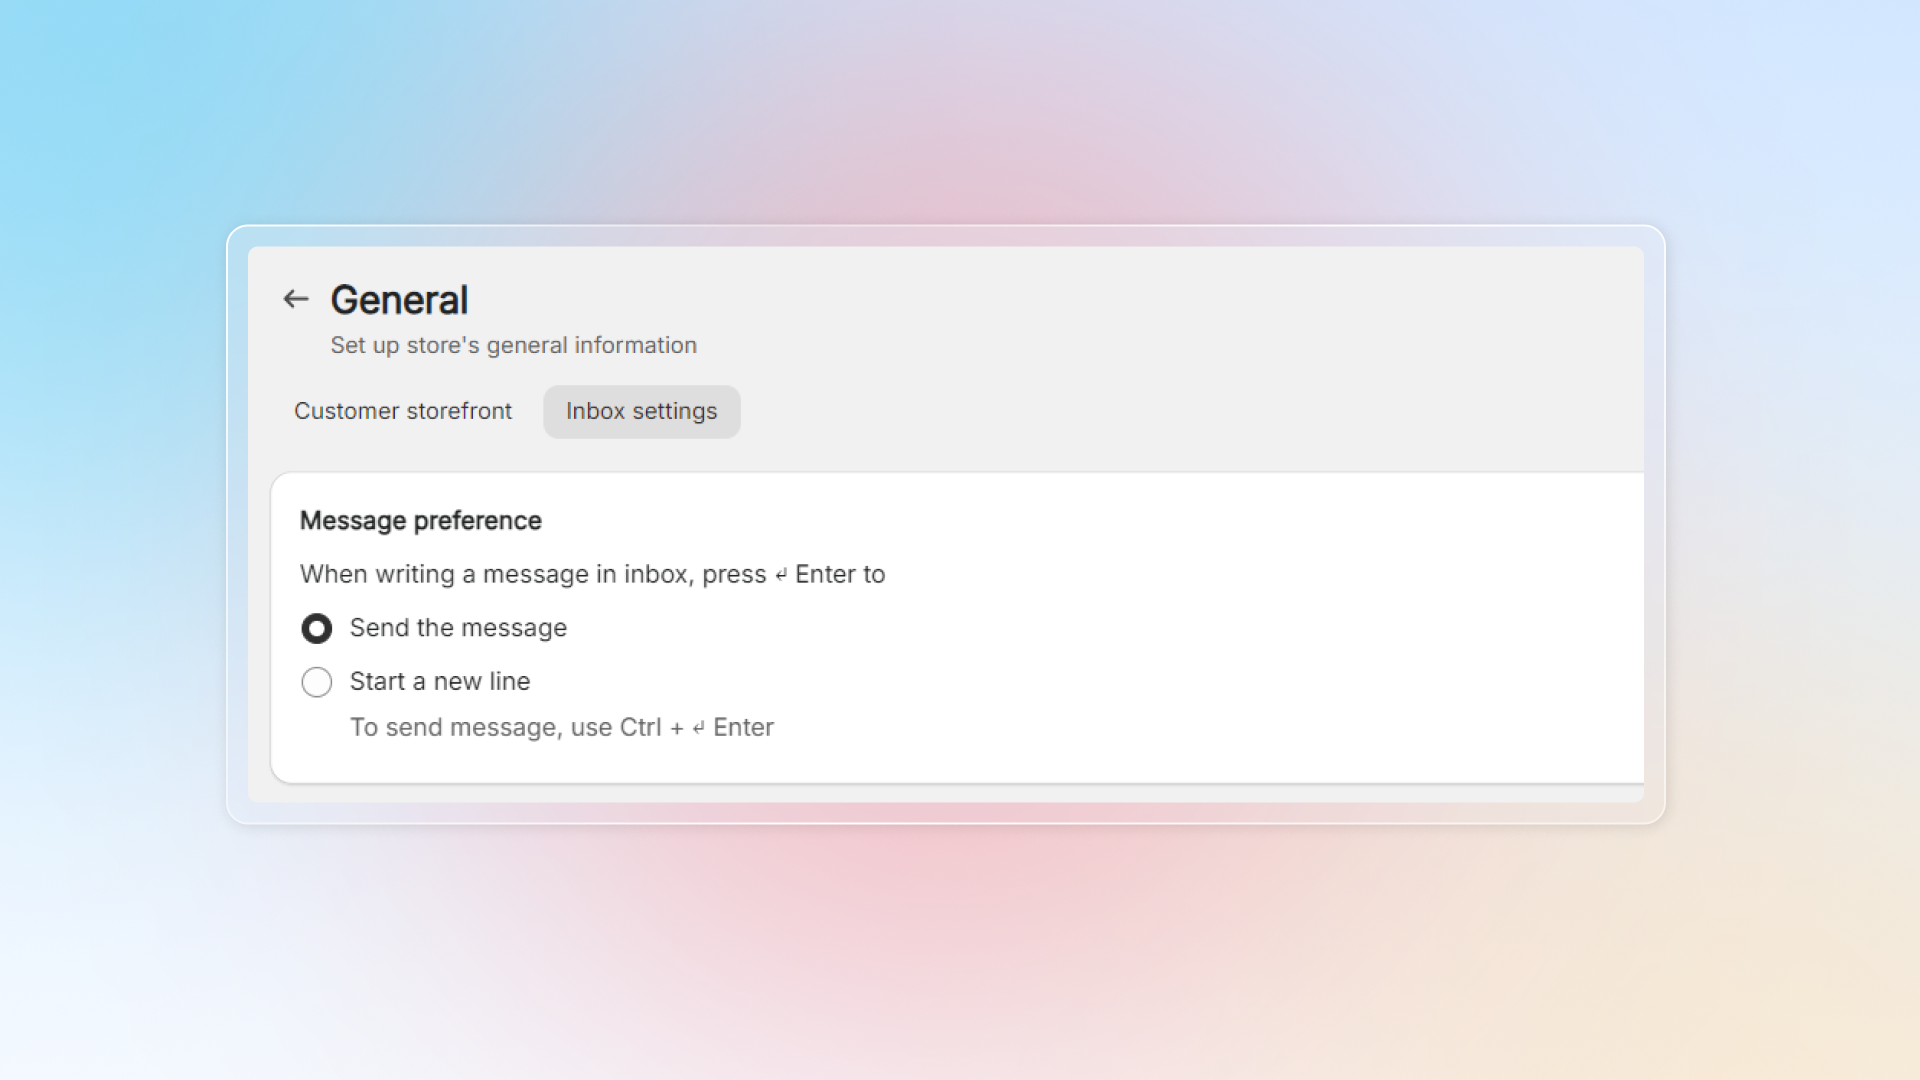
### Format text
Make your messages clearer with text formatting: **Bold text, Italic text, Insert link**
You can use icon **`B`** , *`I`* or keyboard shortcut. (Ctrl + B, Ctrl + I)
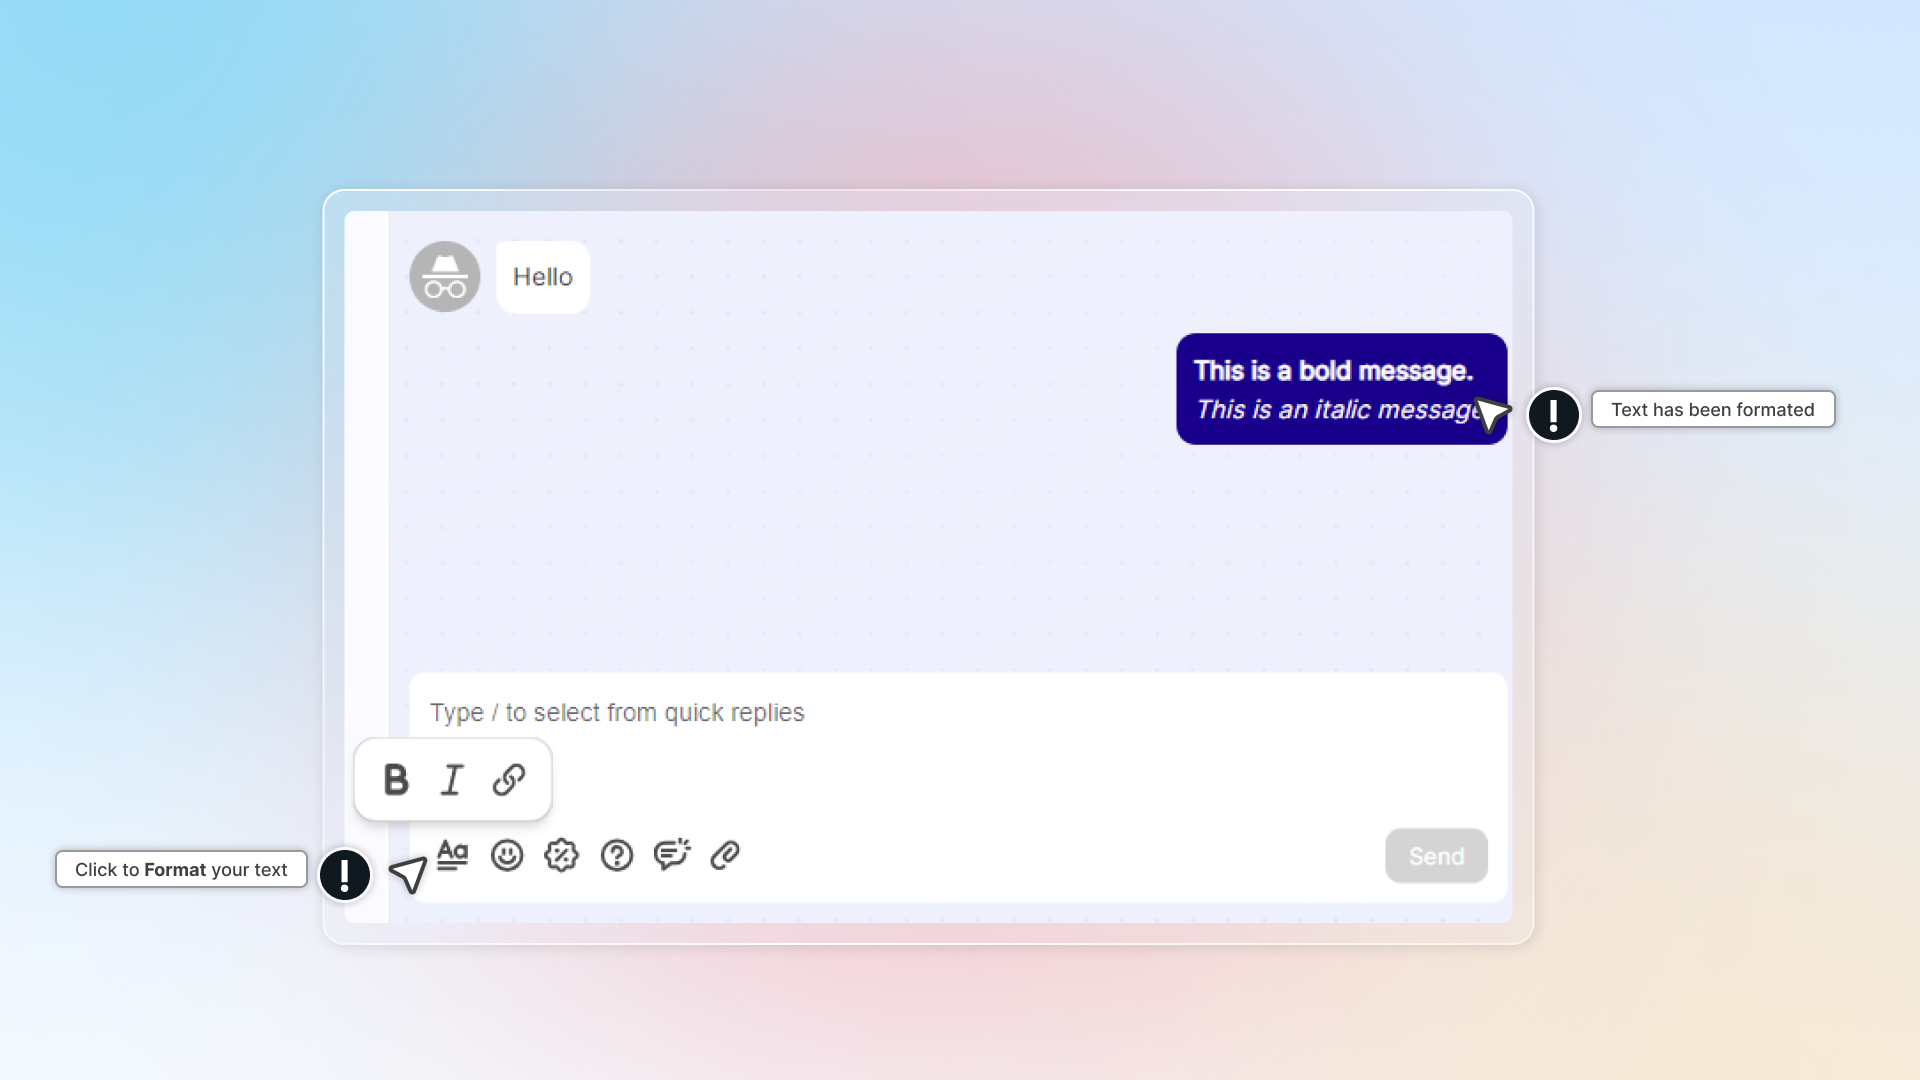
To add link into text in chat, you can:
* Click and enter your text and link
* Enter your text in chat -> Select text and click -> Enter your link
* Enter your link in chat -> Click **Edit**
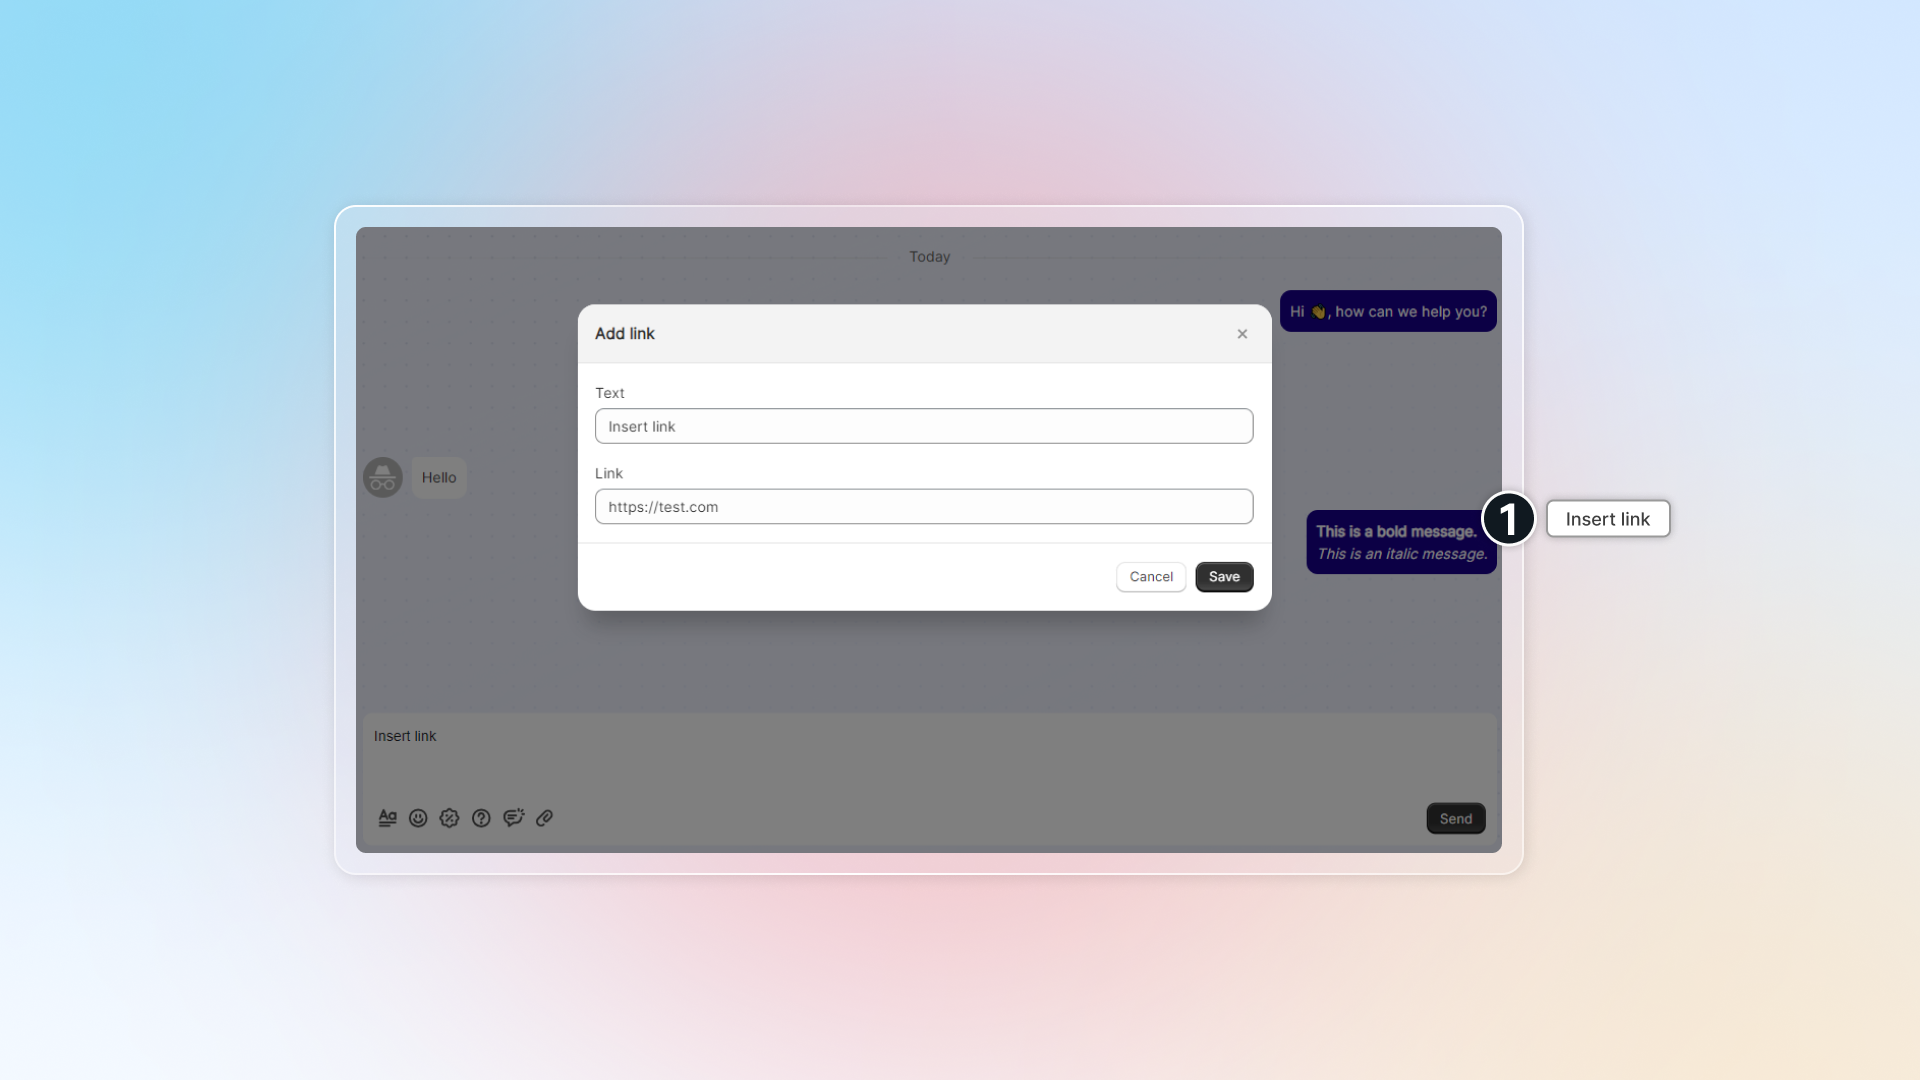
### Send emoji
Send emoji to your customers in conversation by clicking icon
The same picker has a **GIF** tab. Search the GIF library, then click a result to send it.
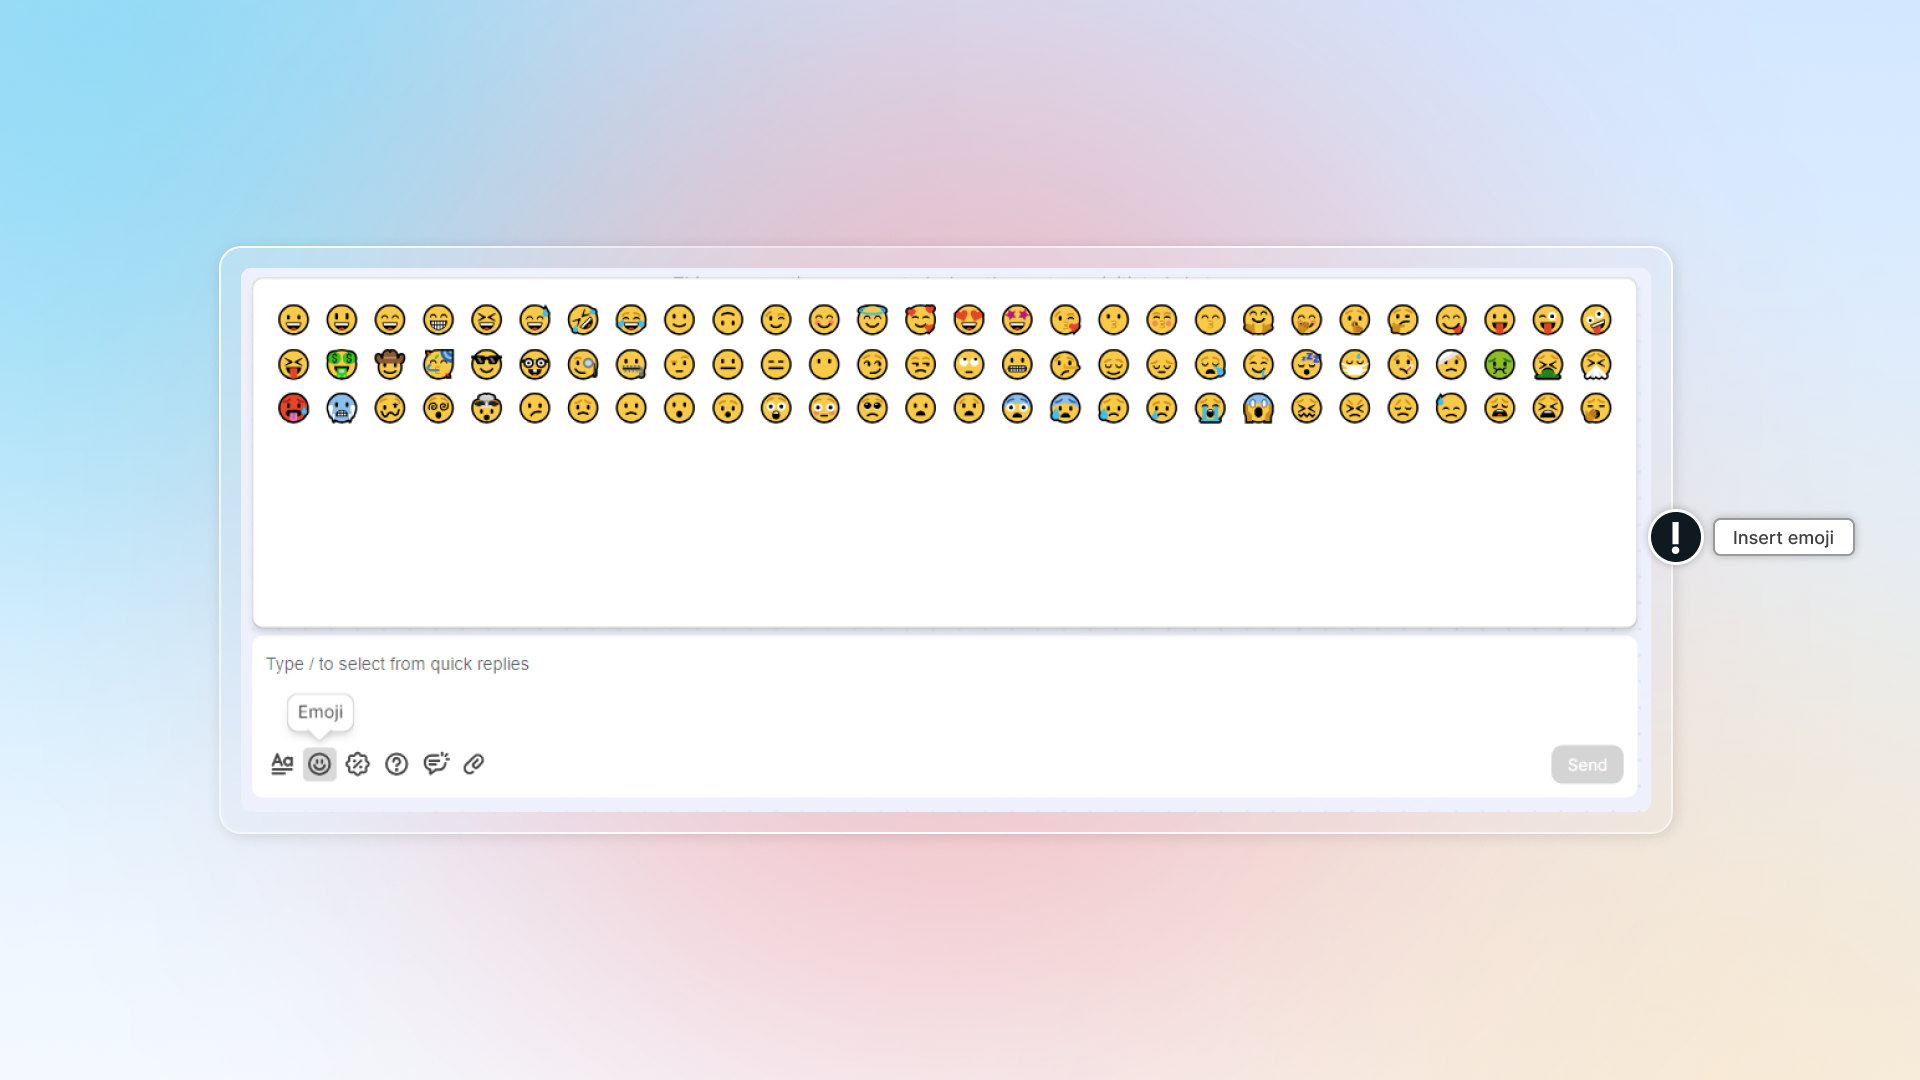
### React and reply message
In chat, you can reply ro react to a message.
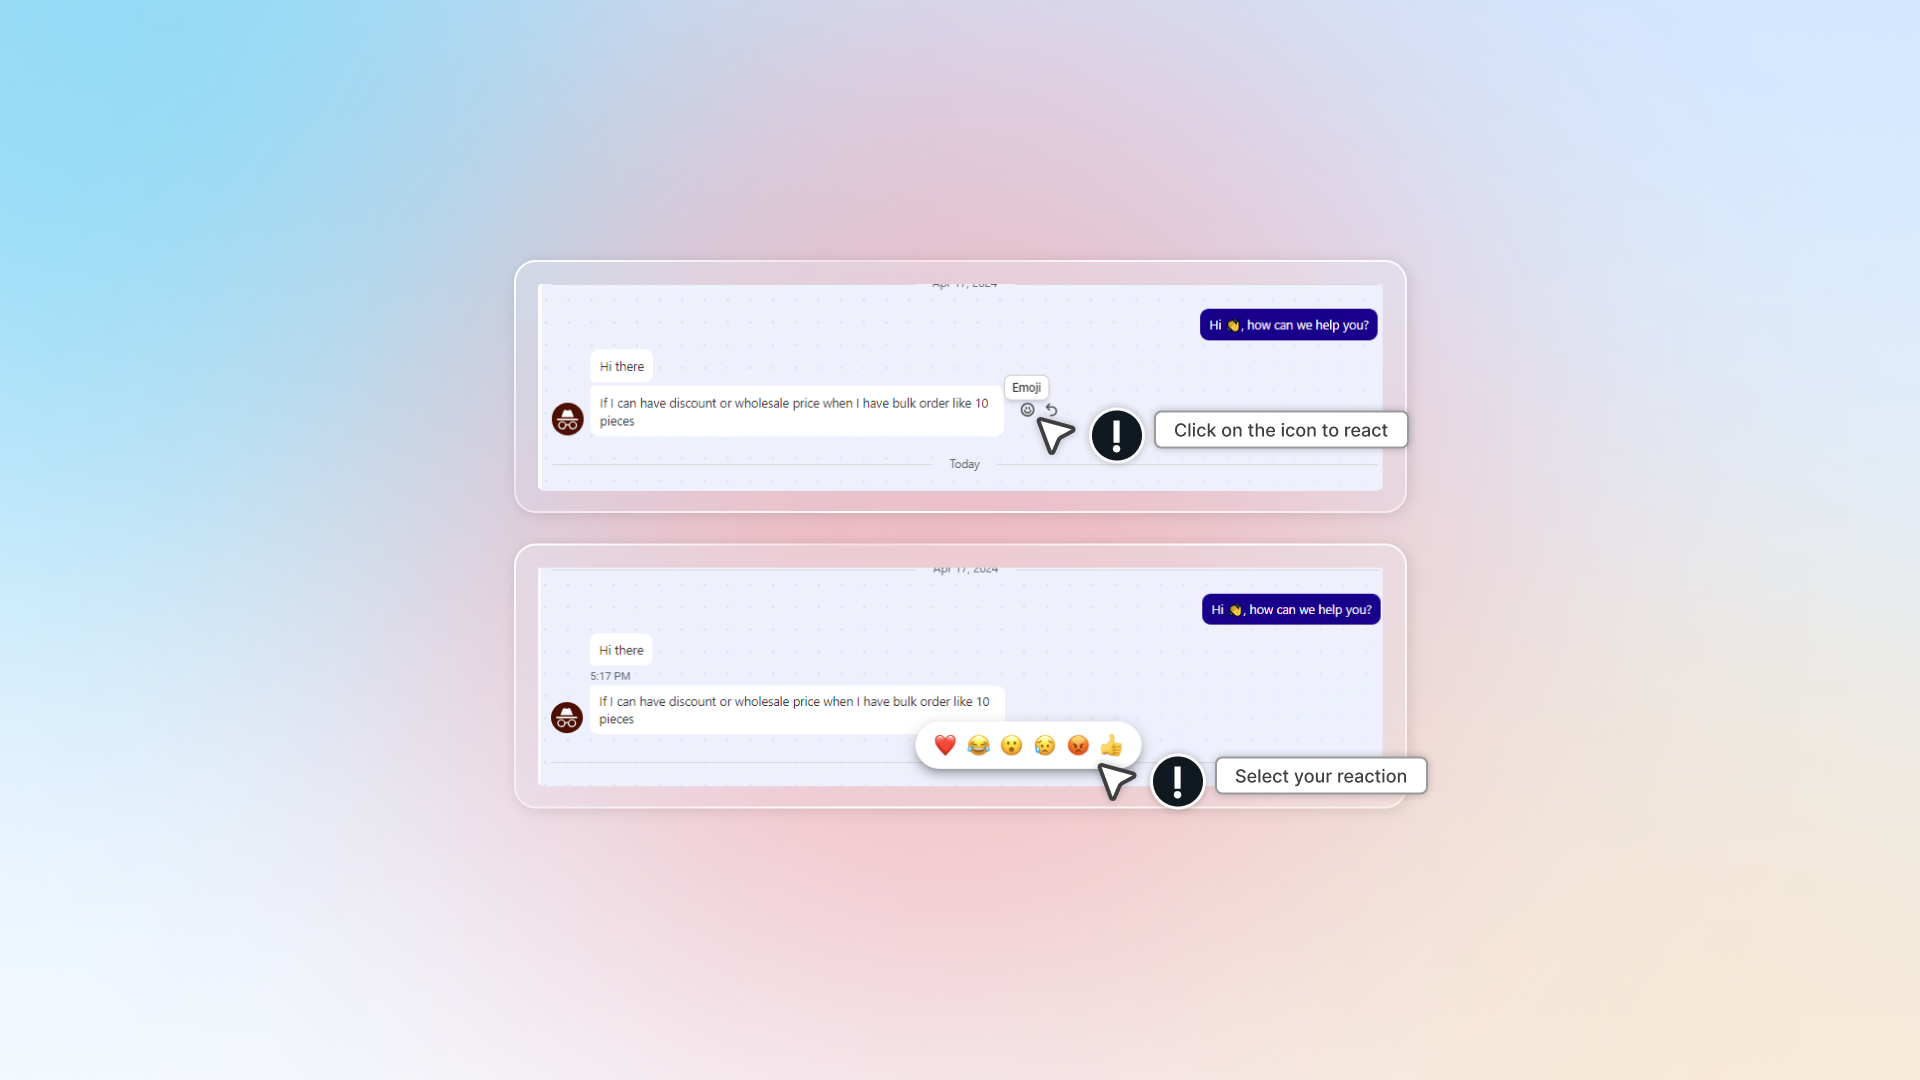
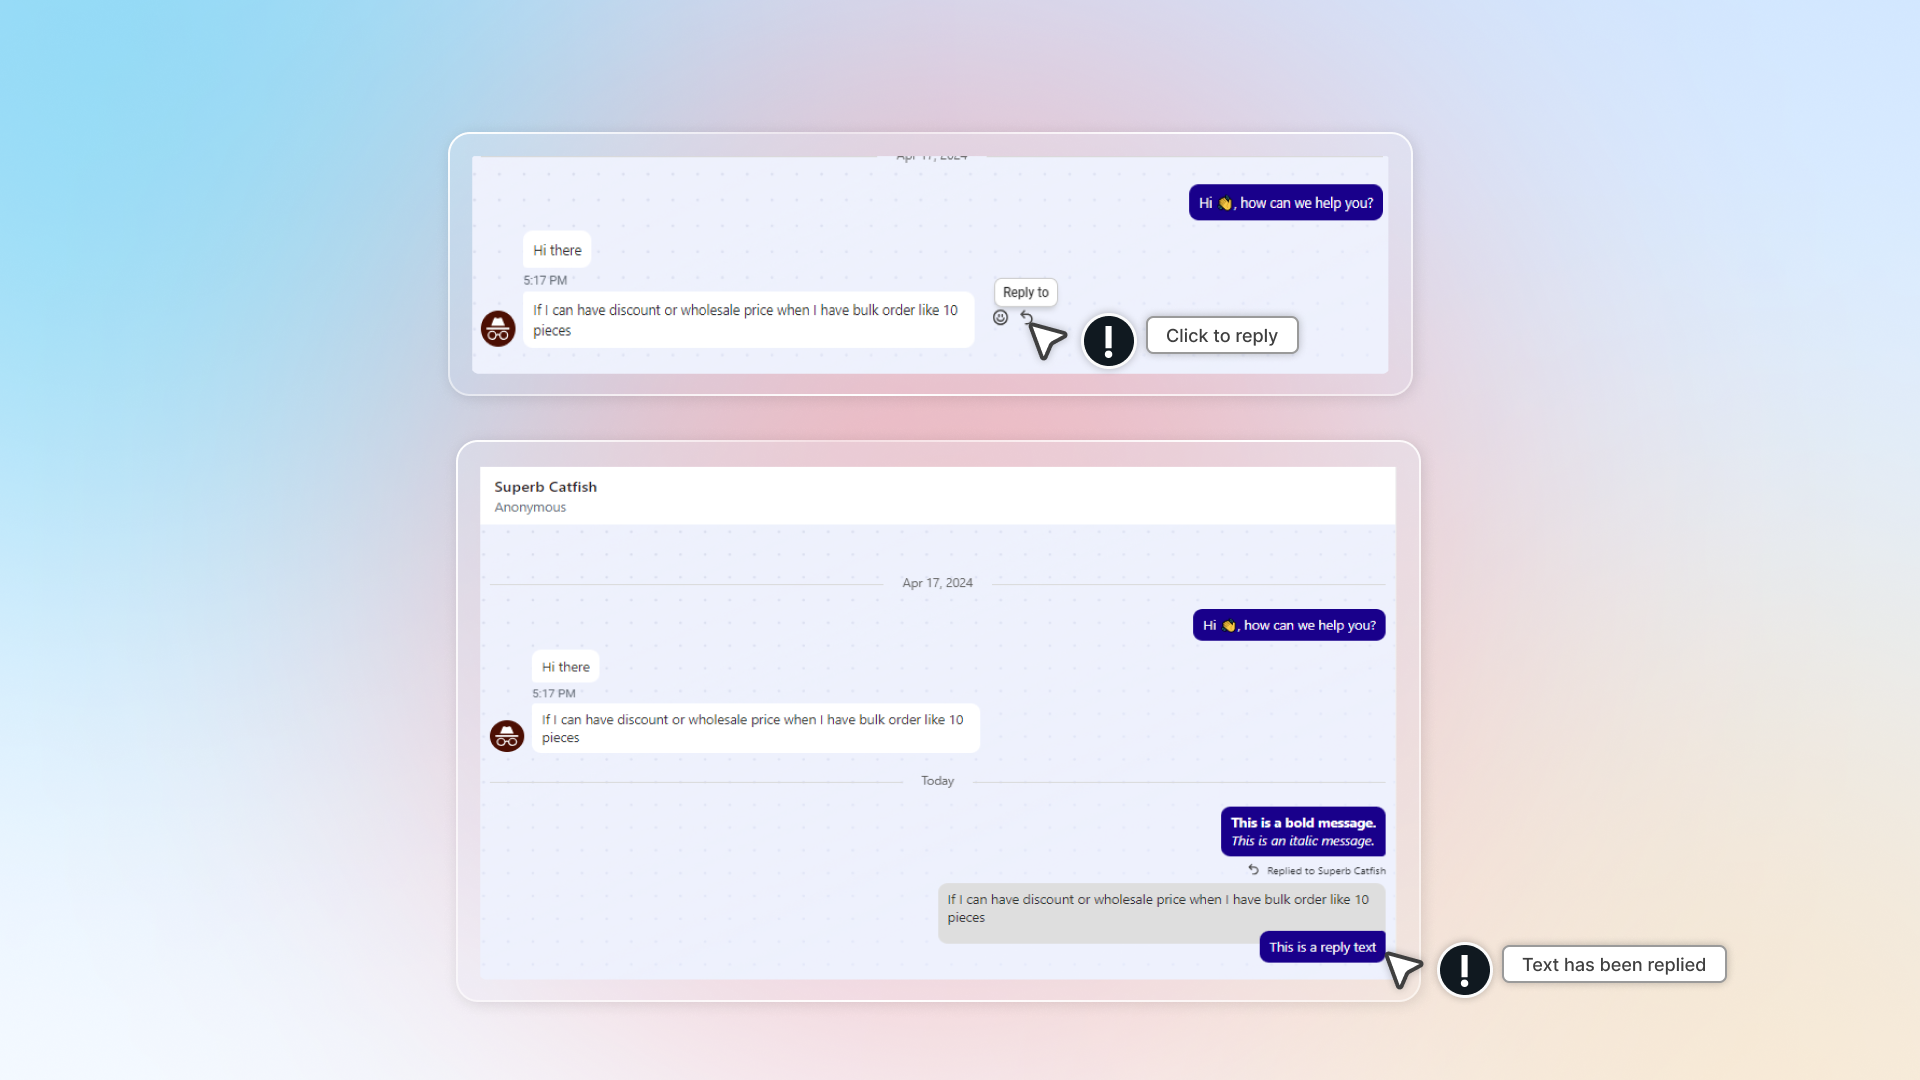
### Real-time translation
Real-time translation detects the customer's language and lets you translate messages in Inbox.
**Who can use this feature?**
* This feature is available on paid plans. Each plan has a monthly translation quota: Basic 50, Pro 300, Plus 700. The Free plan has no quota.
Click **Translate to [your language]** on the bar above the chat to start, and **Stop** to go back to the original language. See [Real-time translation](/live-chat/inbox/real-time-translation/).
### Insert discount
In chatzone, you can insert and send customer discounts available in your store.
1. In conversation, click
2. Select your discount
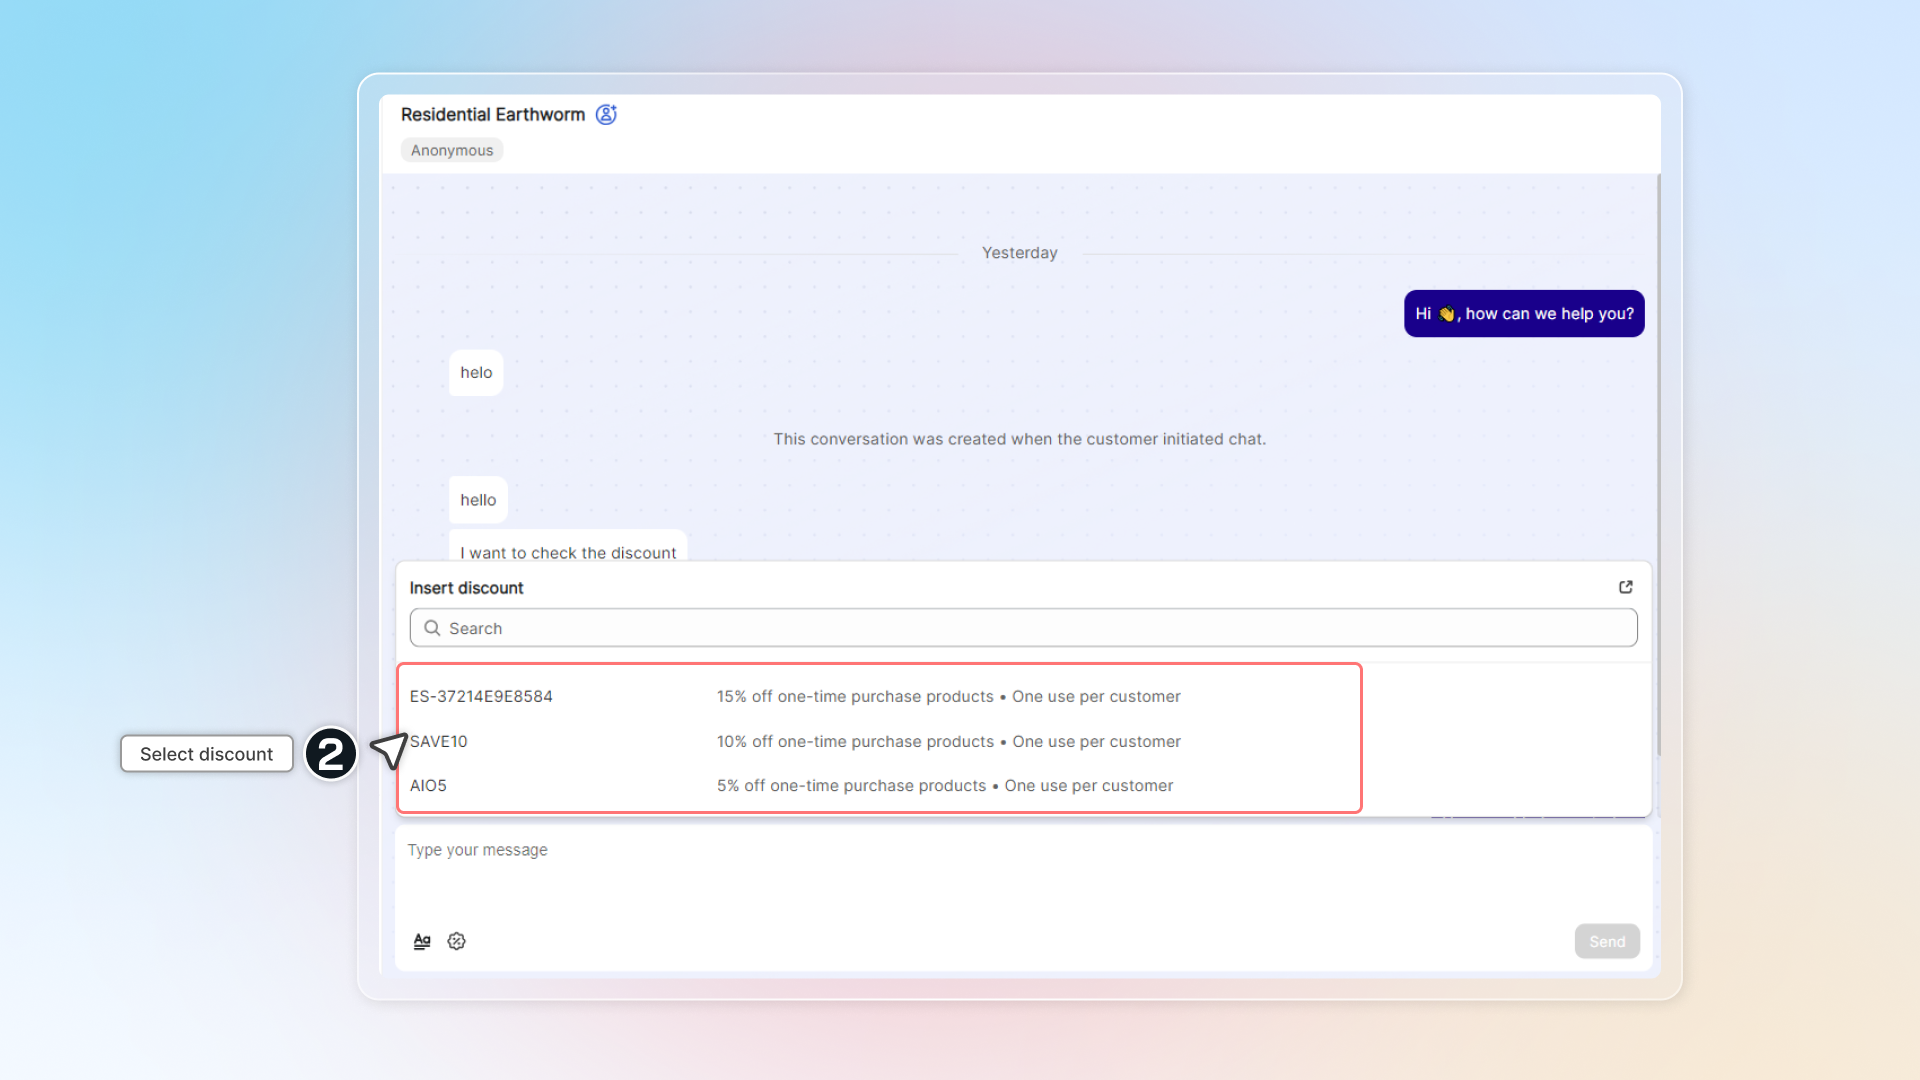
3. Click **Send**
4. Discount will be shown in conversation with **Shop now** button. Customer can click S**hop now** to go shopping with your discount.
### Insert FAQs
You can send answers from your [FAQs hub](/build-faqs/) directly in chat.
In conversation, click icon to get access to FAQs hub. Click to quickly insert your answer and send.
You can only add FAQs in default language.
### Send files
1. In conversation, click icon
2. Select your files. You can send unlimited images and files in chat, maximum 10 files per time.
Supported image types are: JPG, JPEG, PNG, GIF. File size must be less than 20MB.
3. Click Send
### Quick replies
In conversation, click icon or type `/` to get access to quick replies. Then simply click to select your quick replies.
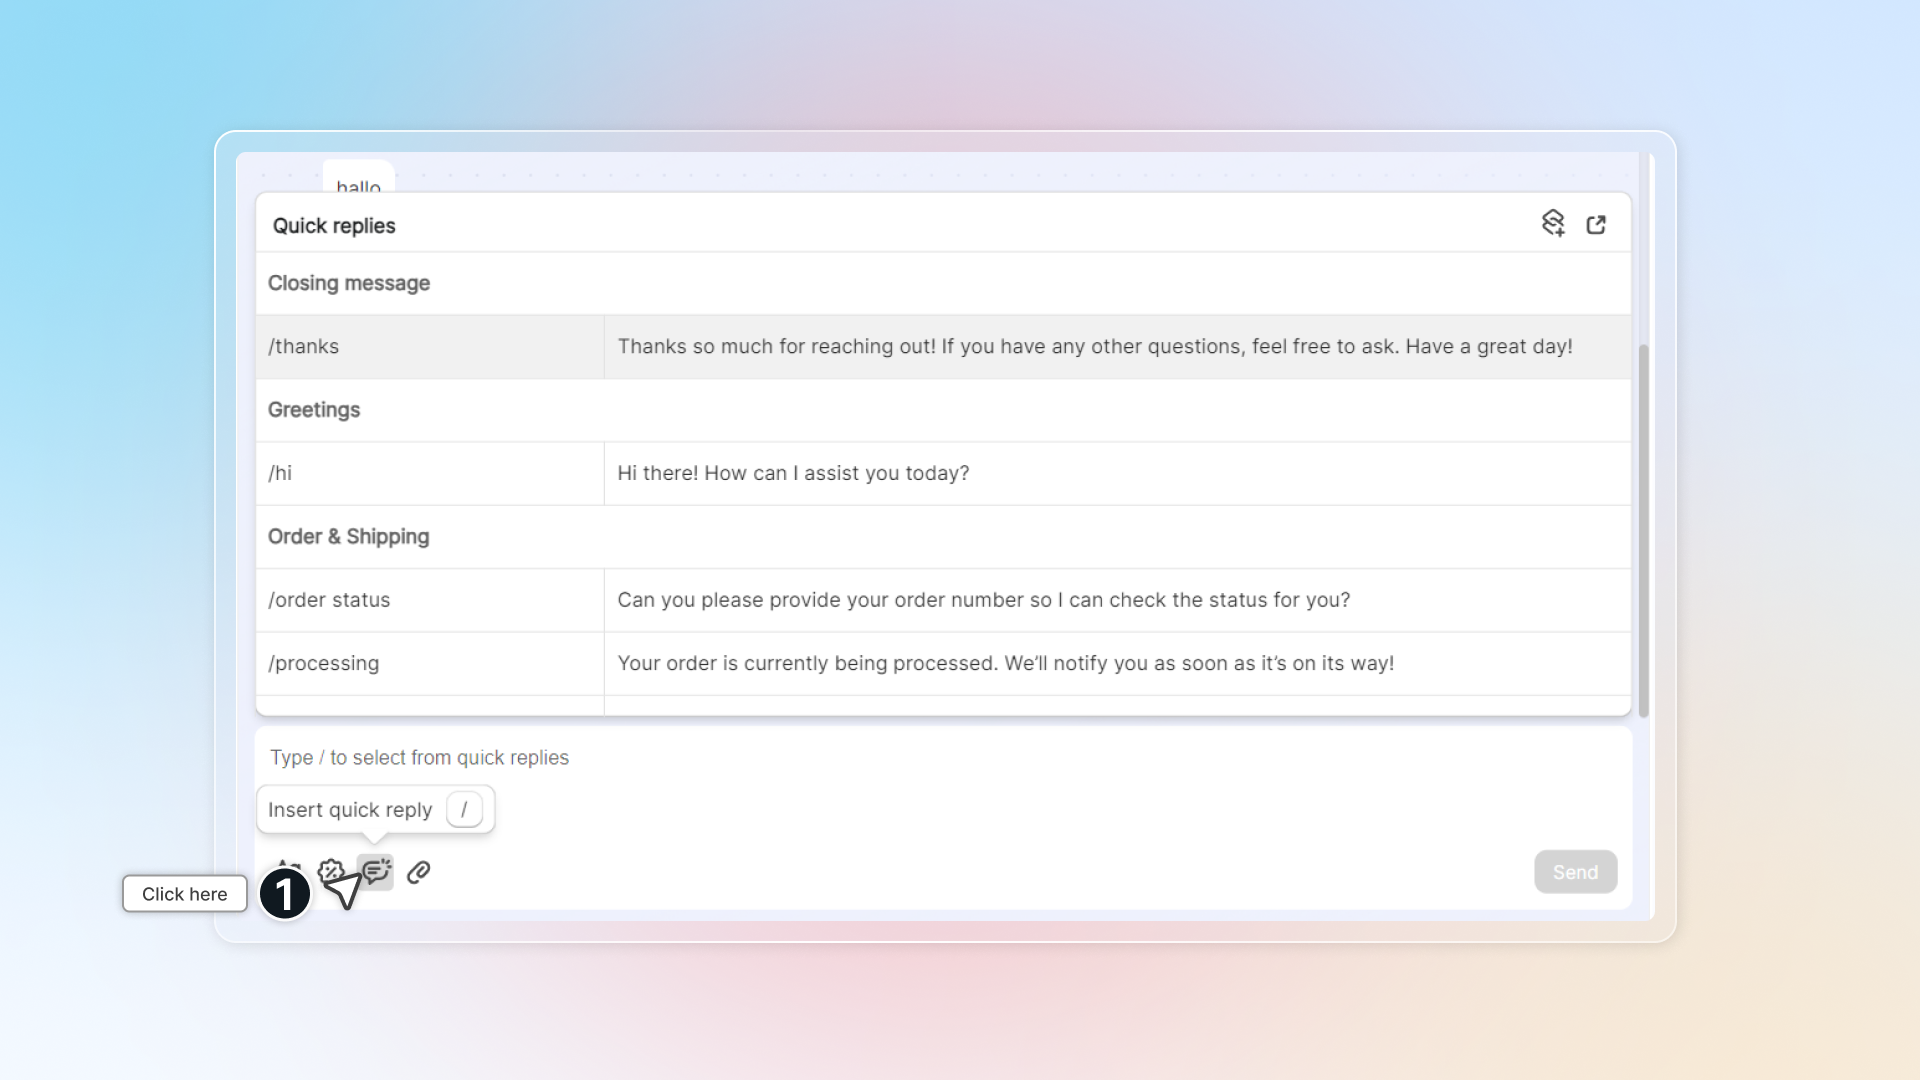
To set up quick replies, go to Settings -> Quick replies. Learn more [how to set up quick replies.](#quick-replies)
### Insert products
You can send producs (product variants) or collections to customer in chat.
In conversation , click icon -> Select product or collection -> Click **Insert**
Insert product and Insert discount are not available on WhatsApp conversations.
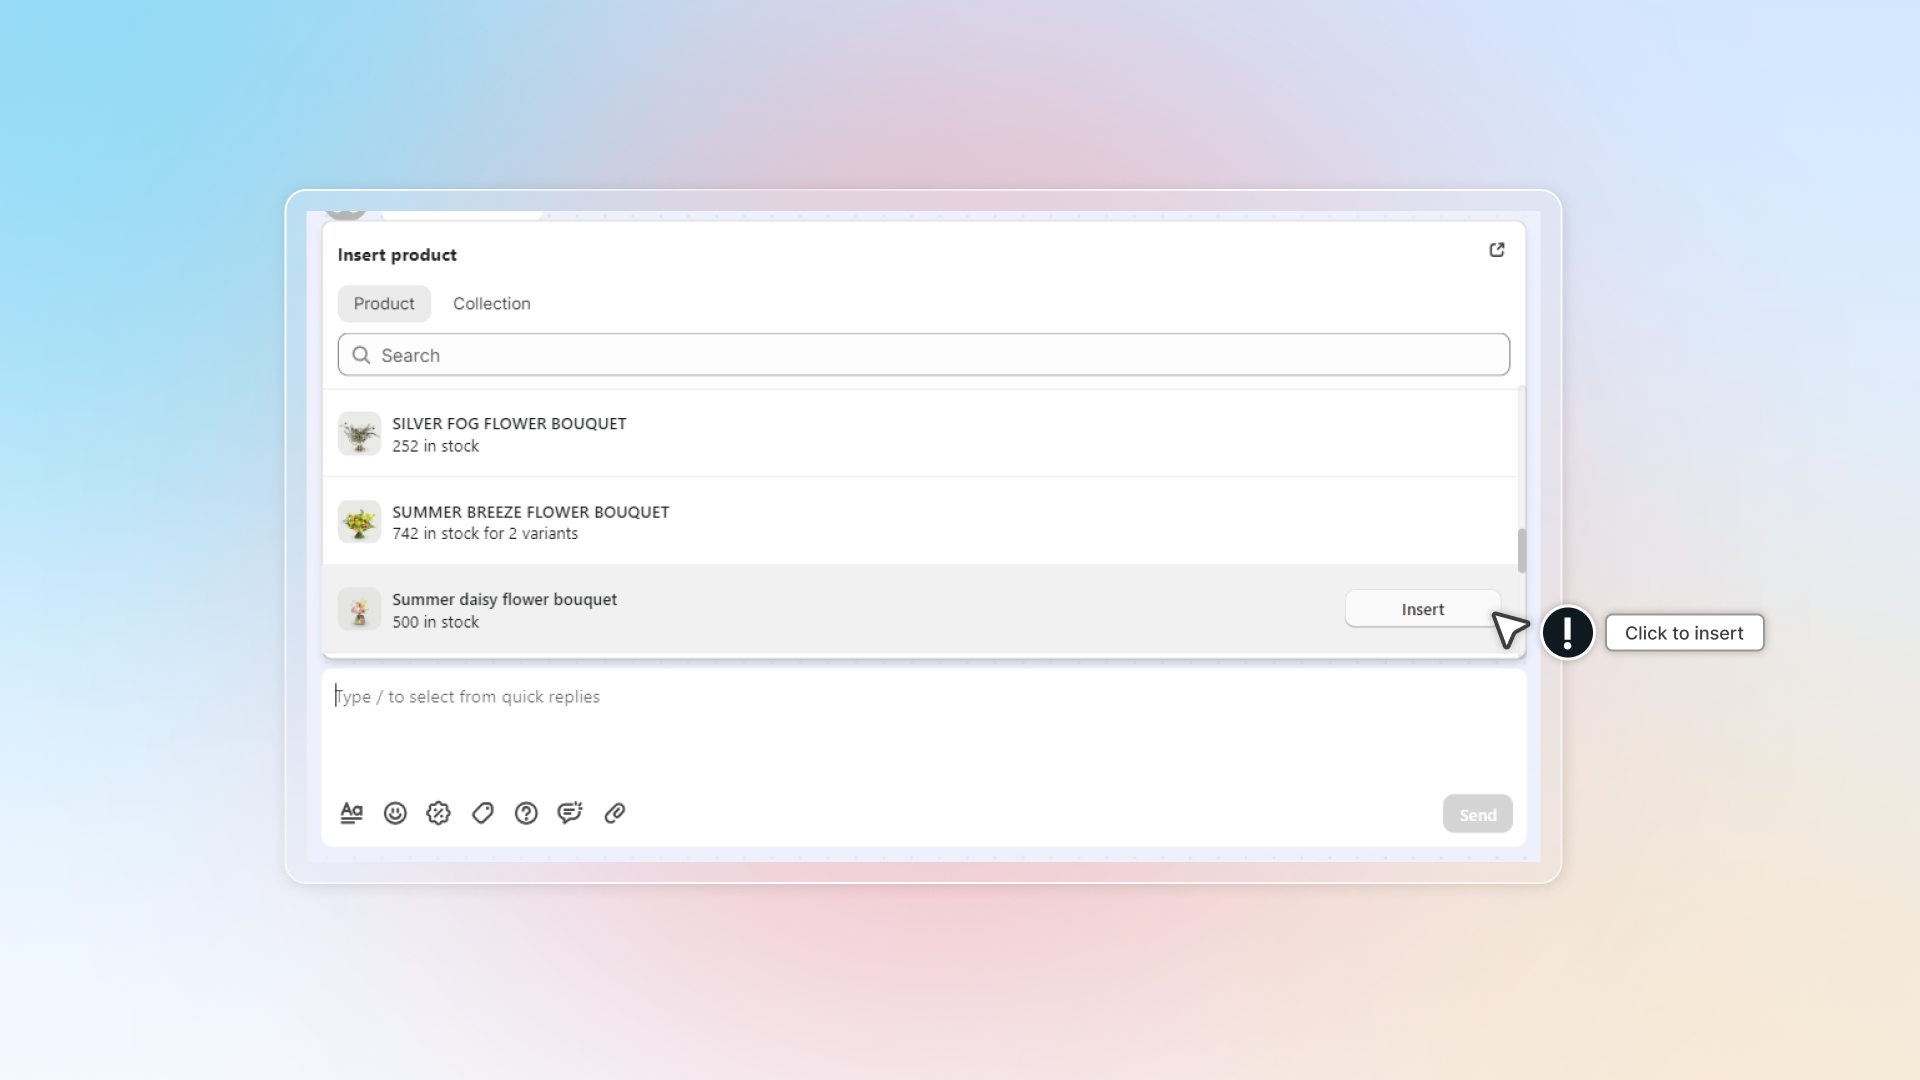
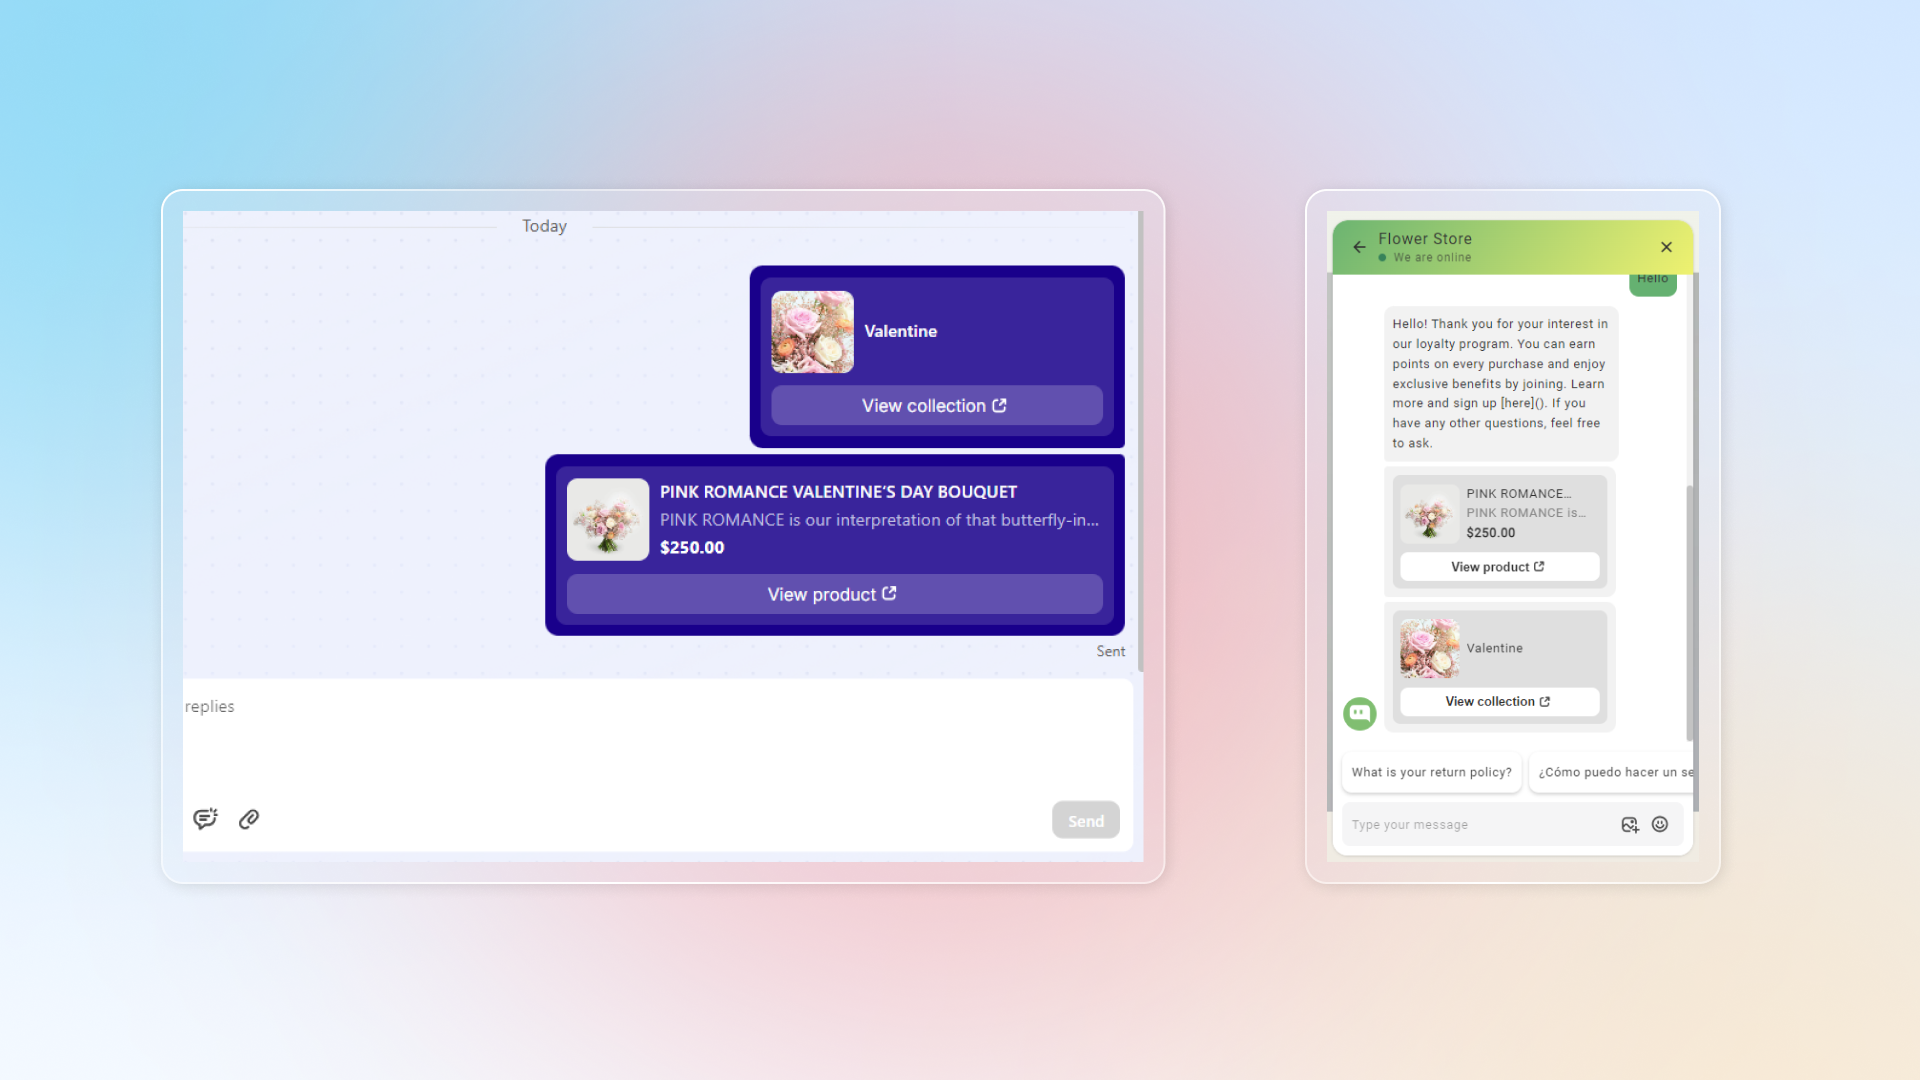
### Choose which actions stay on the toolbar
The toolbar only shows the actions you pin, so you can keep the ones your team uses every day within one click. **Insert product** and **Insert discount** are the two actions you can pin.
#### In the message box, **click** the three-dot icon to open the action list.
#### **Find** Insert product or Insert discount.
#### **Click** the pin icon on that row.
A pinned action shows on the toolbar. Click the pin again to unpin it. Your choice is saved for the store, so it stays after you reload. Pinning is available on desktop only.
### Check why the AI answered that way
Under every AI reply there is a **Review sources** button. Click it to see what the answer was built from: scenario instructions, FAQs, questions, products, product pages, URLs, and discounts.
From the same panel you can add a custom answer, so the next customer asking the same thing gets the reply you want.
### Send feedback on an AI reply
Next to **Review sources** there is a **Feedback** button. Click it to open **Share feedback** and write what was wrong or right about that response, up to 1000 characters.
Feedback goes to the team that trains the AI. It does not change the reply already sent to the customer.
================================================================
URL: https://help.chatty.net/live-chat/inbox/conversation-details/
Locale: en
================================================================
# Conversation details
### What is conversation details?
Conversation details is the right-side panel in Inbox that gives you a full picture of who you're talking to.
You can see what's in their cart, their profile, browsing history, past conversations, and more. All while you're in the middle of a chat.
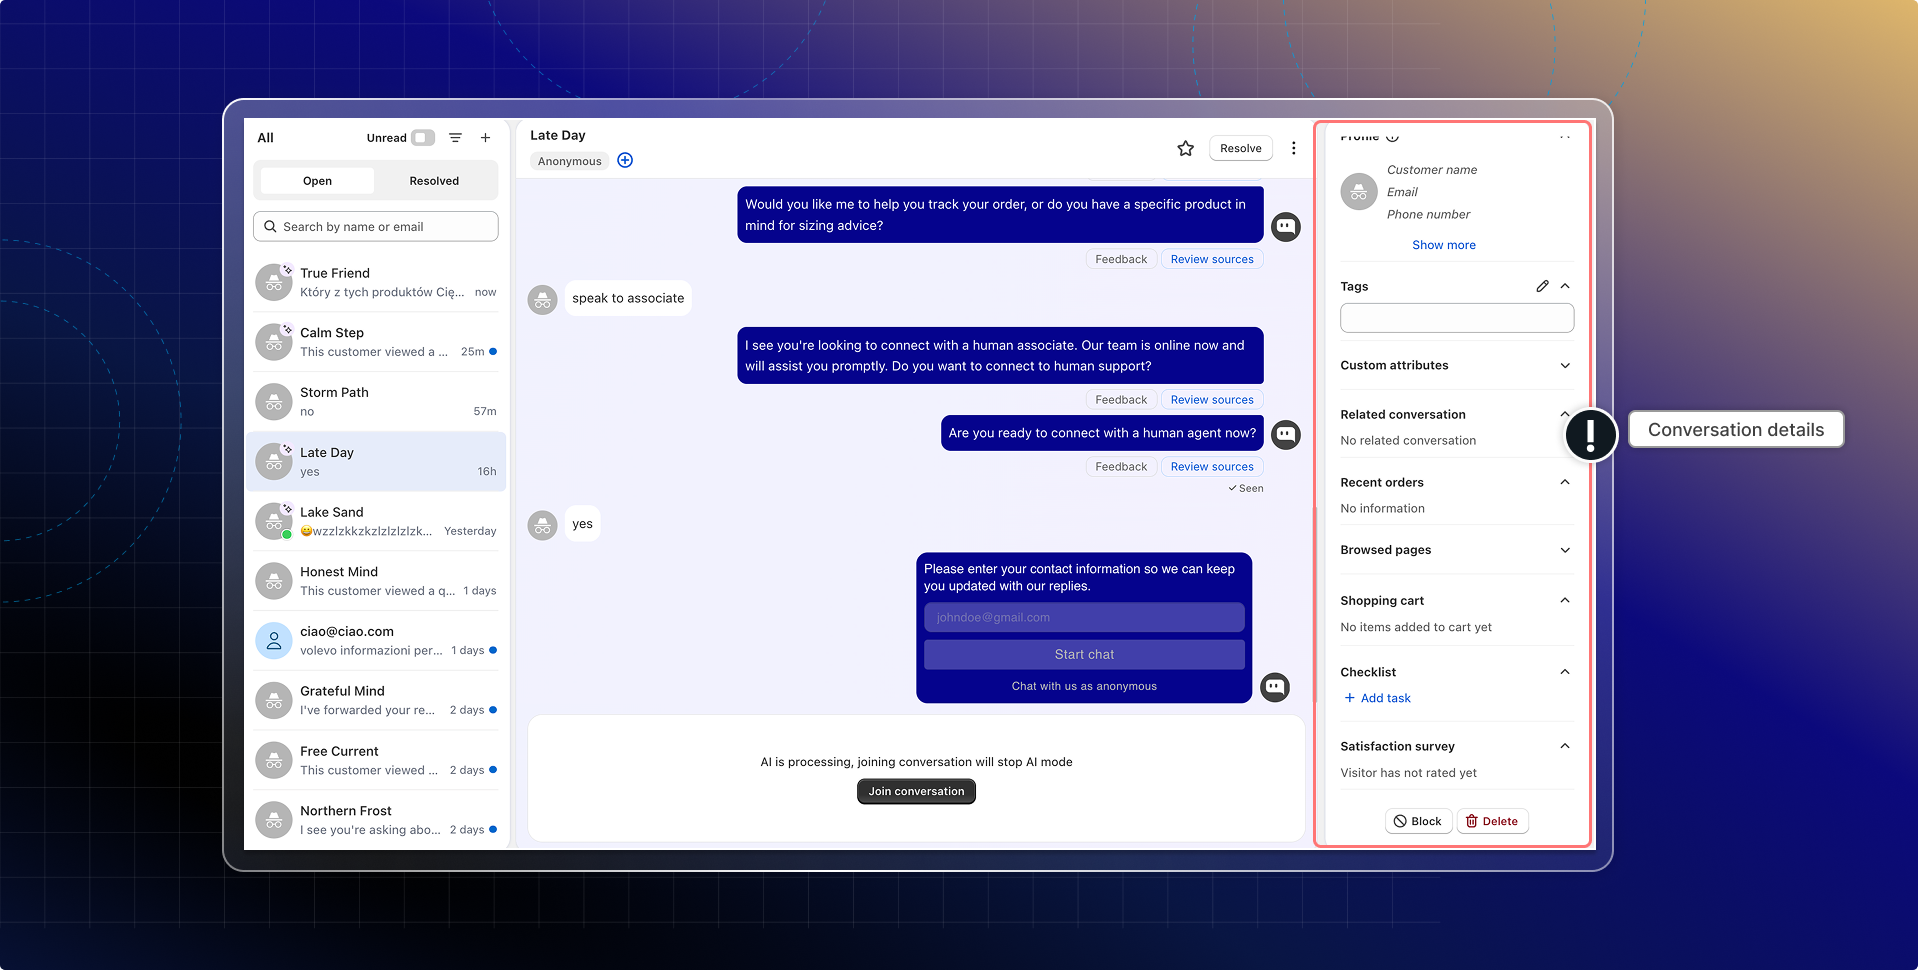
In conversation details, you can check customer details:
* [Assignee](#assignee)
* [Tags](#tags)
* [Participants](#participants)
* [Shopping cart](#shopping-cart)
* [Recent orders](#recent-orders)
* [Customer profile (email, phone, etc.)](#customer-profile)
* Browsed pages
* [Custom attributes](#custom-attributes)
* [Related conversation](#related-conversations)
* [Customer behavior](#customer-behavior)
* [Note](#note)
* [Checklist](#checklist)
* [Satisfaction survey](#satisfaction-survey)
* [AI conversation summary](#ai-conversation-summary)
### How does this help?
When you're handling a live conversation, switching between tabs to look up customer information slows you down. Conversation details put everything in one place so you can:
* See what a customer has in their cart and help them complete a purchase
* Understand who you're talking to: guest, returning customer, or anonymous visitor
* Review past conversations from the same customer without leaving the current chat
* Track follow-up tasks and notes for each conversation
* Check customer satisfaction ratings after a conversation ends
### How conversation details work
#### Assignee
Assignee shows who owns this conversation. Click it to pick a team member, hand it to **AI Agent**, or set it back to **Unassigned**.
Members who have been deactivated show as **Inactive**, and members removed from the store show as **Deleted user**, so you can spot a conversation that needs a new owner.
#### Tags
Tags label a conversation so you can find it later. Type in the tag box to search existing tags or create a new one, then click a tag to remove it.
Tags are what [custom filters](/live-chat/inbox/#filter-conversations) are built on, so tag consistently if you want saved filters to work.
#### Participants
Participants are the extra email addresses that receive this conversation, on top of the main customer. The main address is marked **Default**.
#### In Participants, **click** **Add participant**.
#### **Enter** the **Email address**.
#### **Click** to confirm.
To remove one, click the delete icon next to it and confirm. Messages stop going to that address.
You can add up to 10 participants per conversation.
#### Shopping cart
Shopping cart shows the items the customer has added to their cart. This helps you understand what they are interested in and support them faster during the chat.
If the customer has not added anything yet, the shopping cart shows *"No items added to cart yet".*
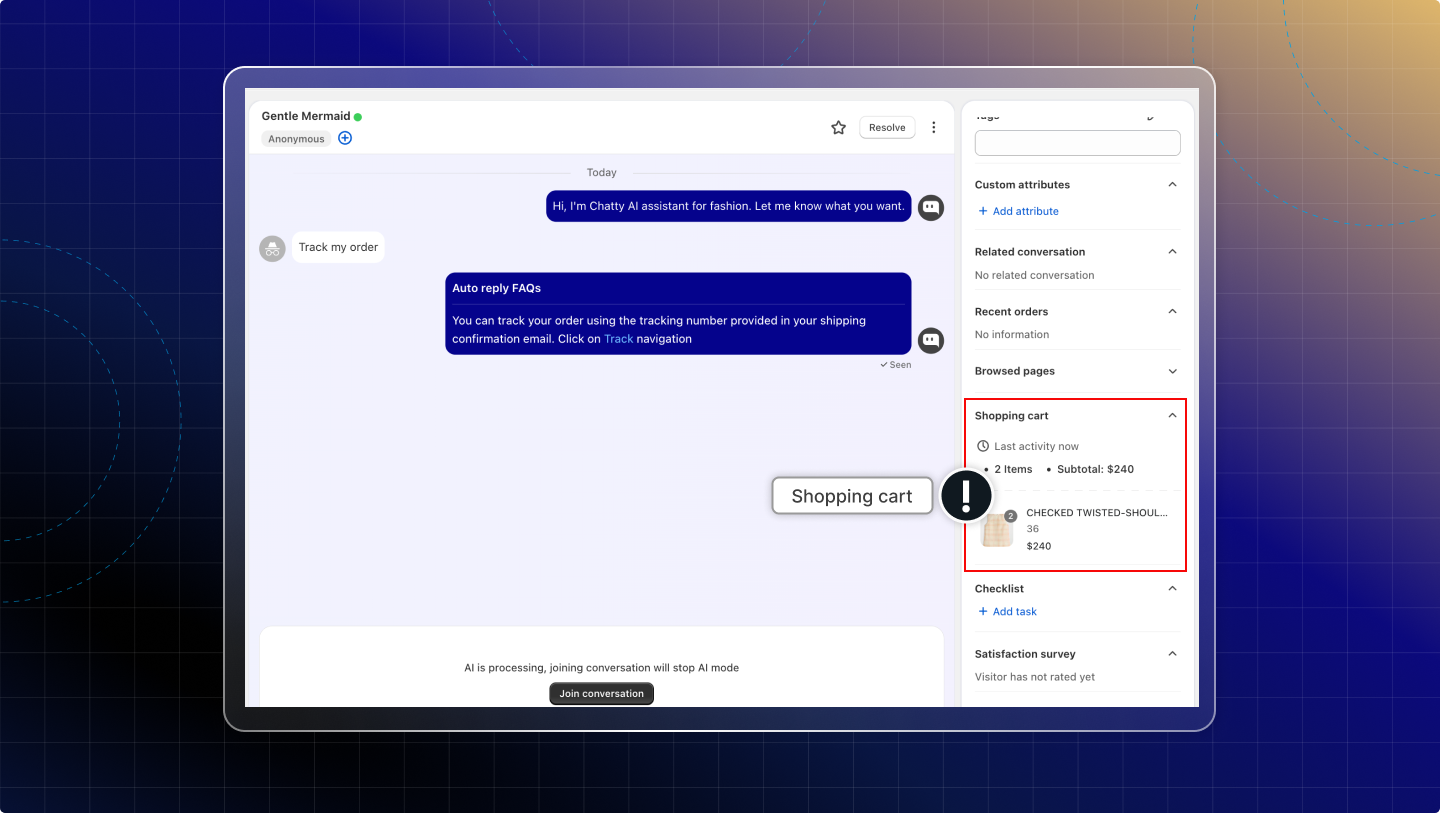
#### Recent orders
**Recent orders** lists what this customer has bought. Click an order to open its details without leaving the chat. If a new order comes in while you are talking, a banner tells you so.
If you connect the 17Track integration, a **17Track** section appears underneath with the shipping status and tracking number for those orders, so you can answer "where is my parcel" straight away.
#### Browsed pages
You can check a customer's browsing history in the browsed pages.
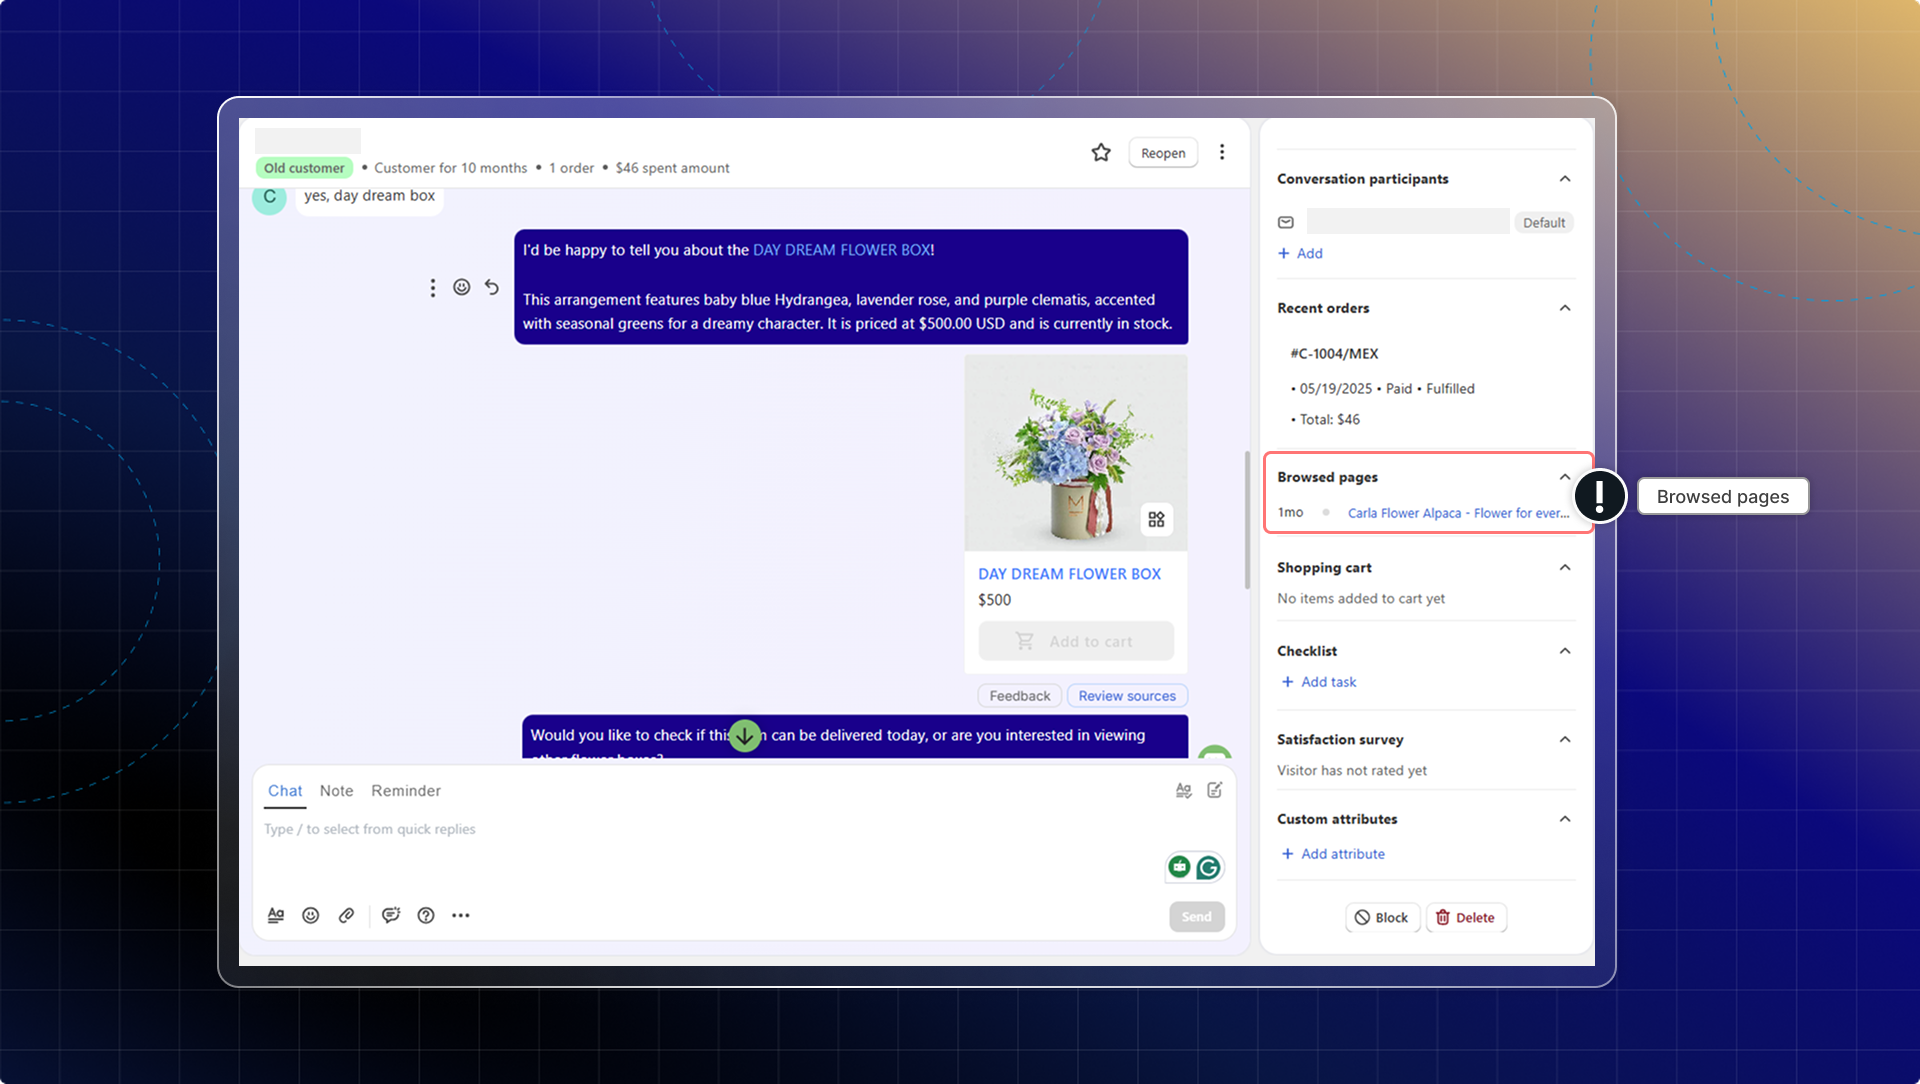
#### Customer profile
To each type of customer, you get access to different information. There are 3 types of customers: guest, customer, and anonymous user.
**Guest**
Guests are visitors who have not been linked to a customer profile. You can see some basic information in Profile, depending on what the visitor shares during the chat: Email, Phone, and Name.
You can convert a guest to a customer by adding contact information right inside the Inbox. This helps you identify the person and keep their chat history under one customer.
In Edit contact information, **enter** the customer’s First name and Last name (optional).
**Enter** the customer’s Email.
**Enter** the Phone number and select the country code (optional).
**Click Save.**
**Expected result:** The Profile updates, and the conversation is linked to a customer (you will see customer information in Profile).
**Note:** If the visitor logged in with an email account, the chat form will suggest or auto-fill their email address. In this case, you can see the guest’s email in Profile even before converting them to a customer.
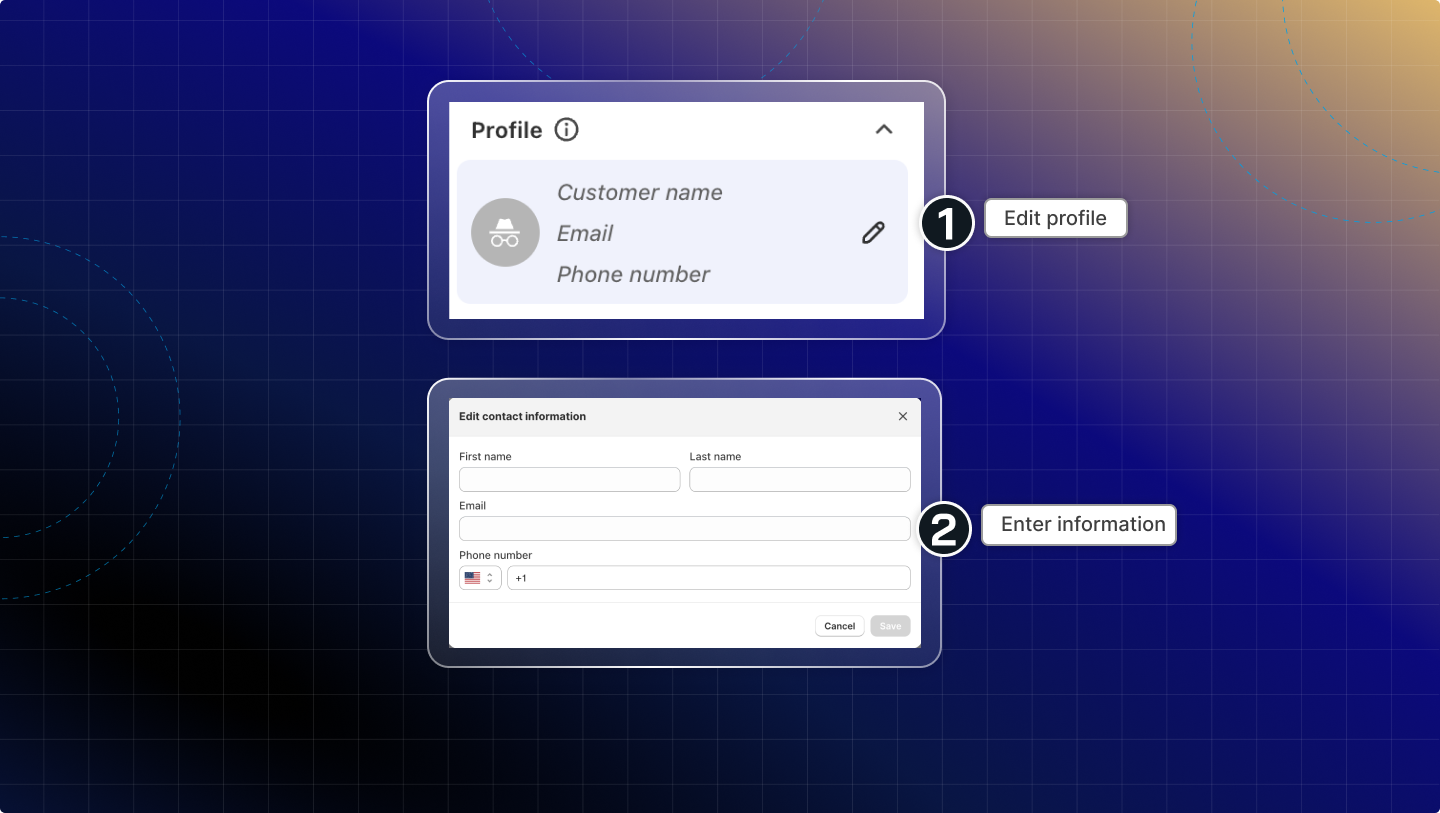
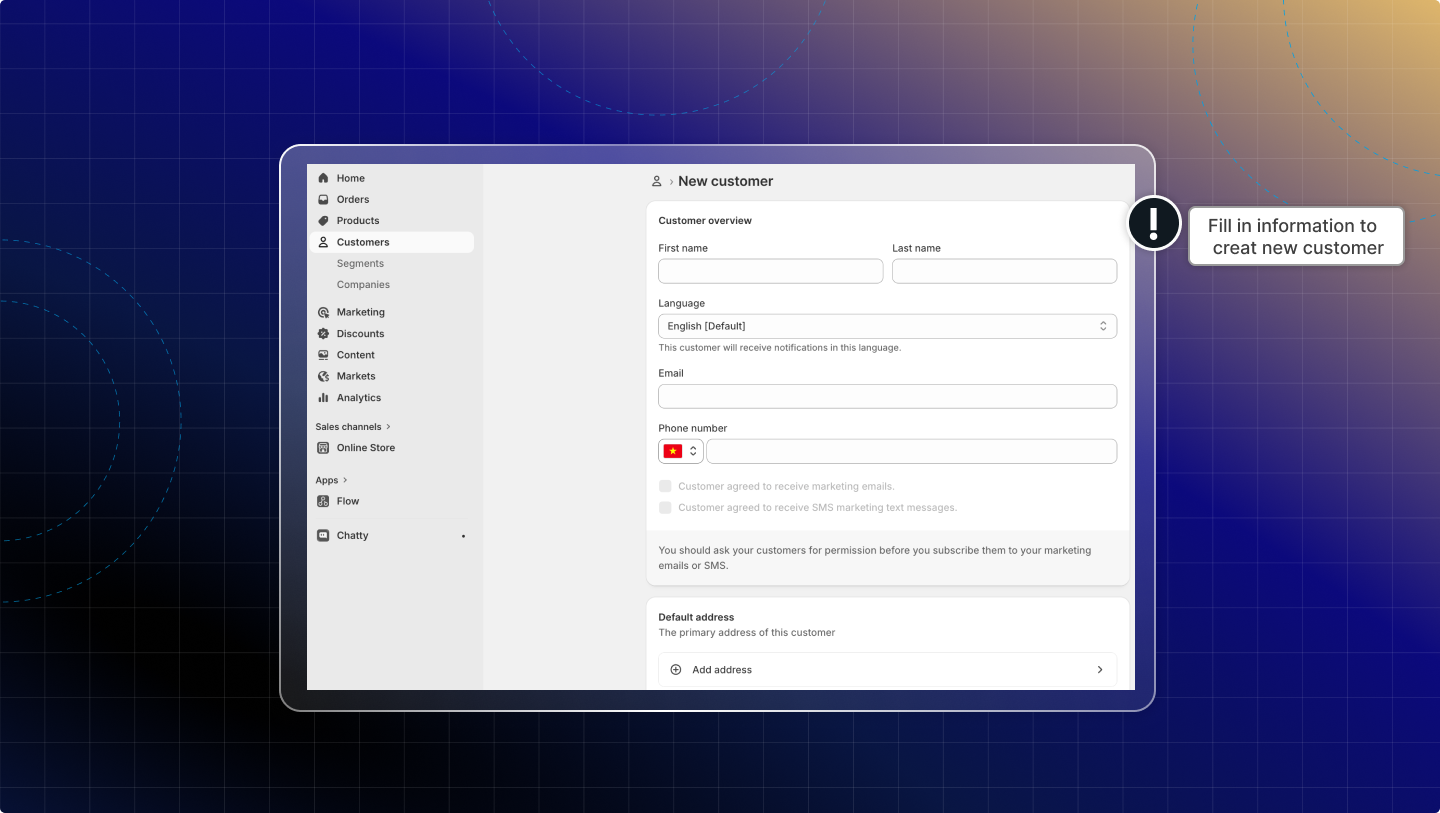
**Customer**
This customer already purchased from your store. All information in Shopify Customer will be synced to the profile: Name, Email, Phone, Location, Tag
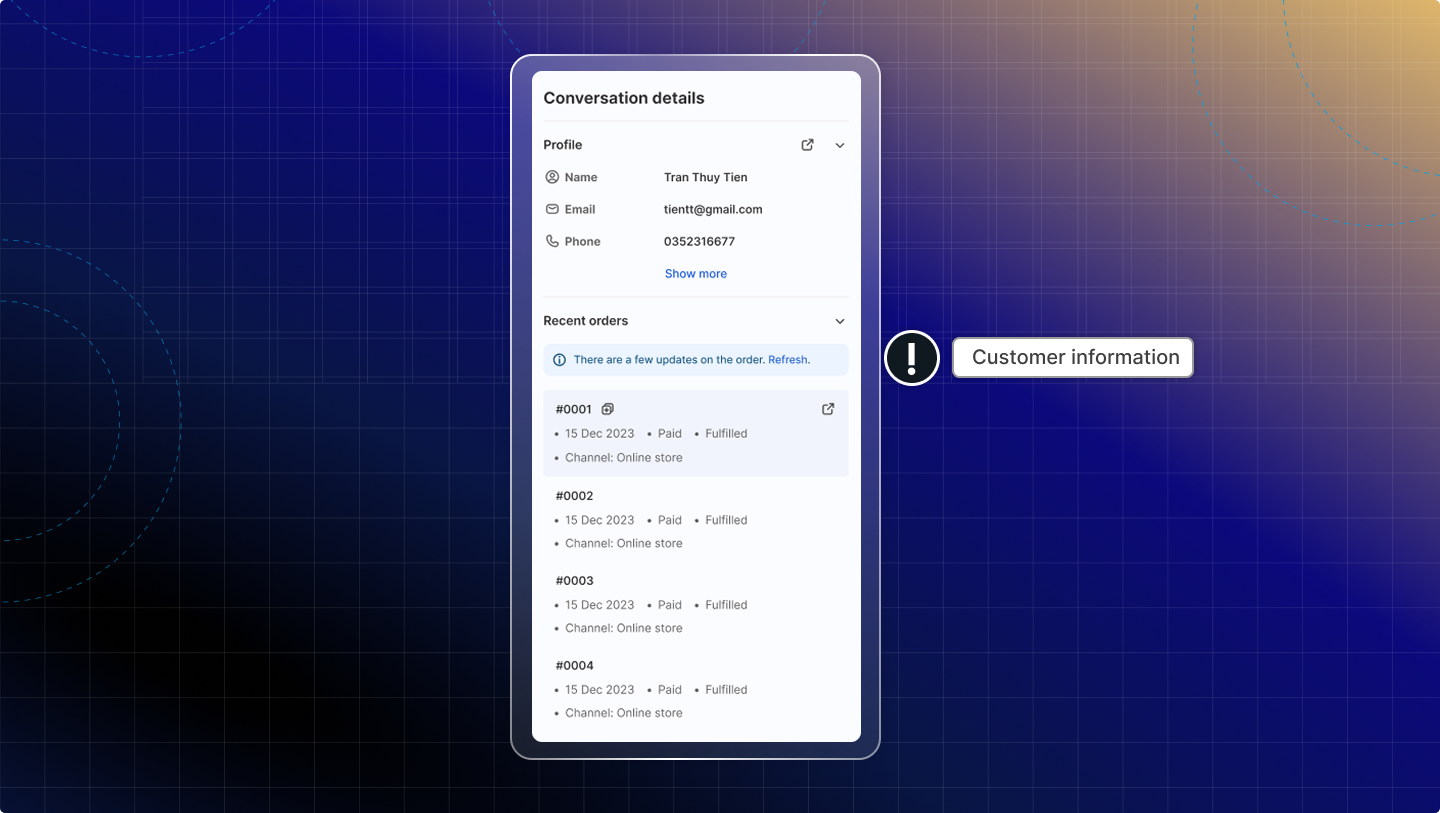
This information will also be shown under the customer name.
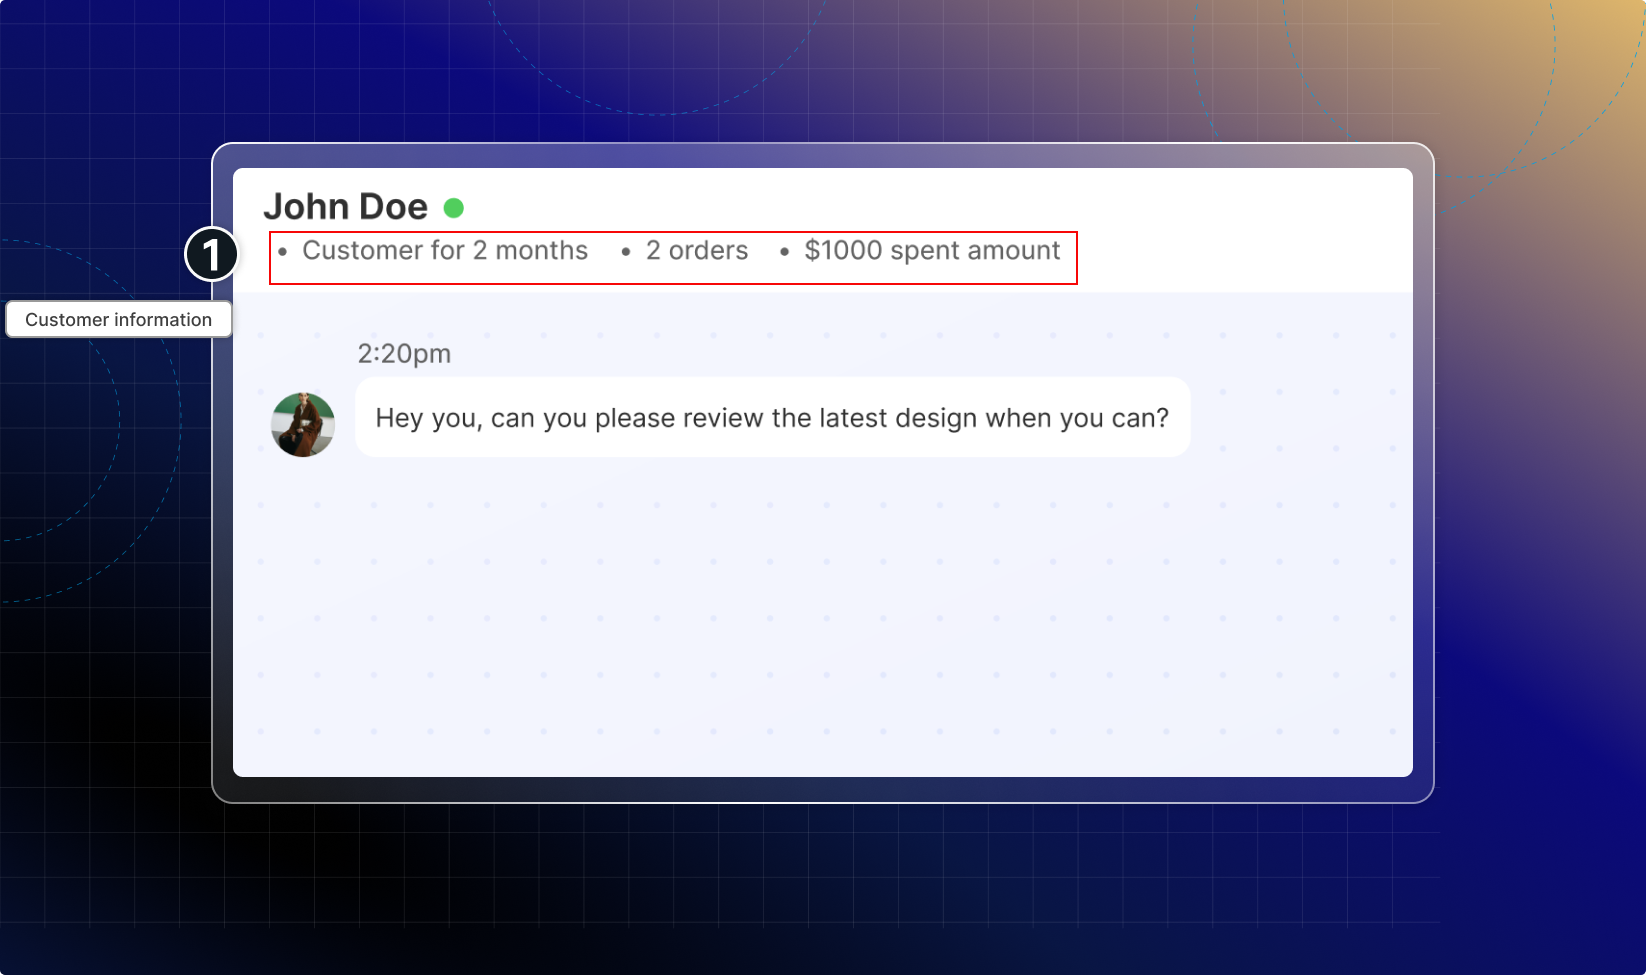
**Anonymous user**
With an anonymous user, you can still add them as a new customer by clicking the pencil icon to add a customer**.**
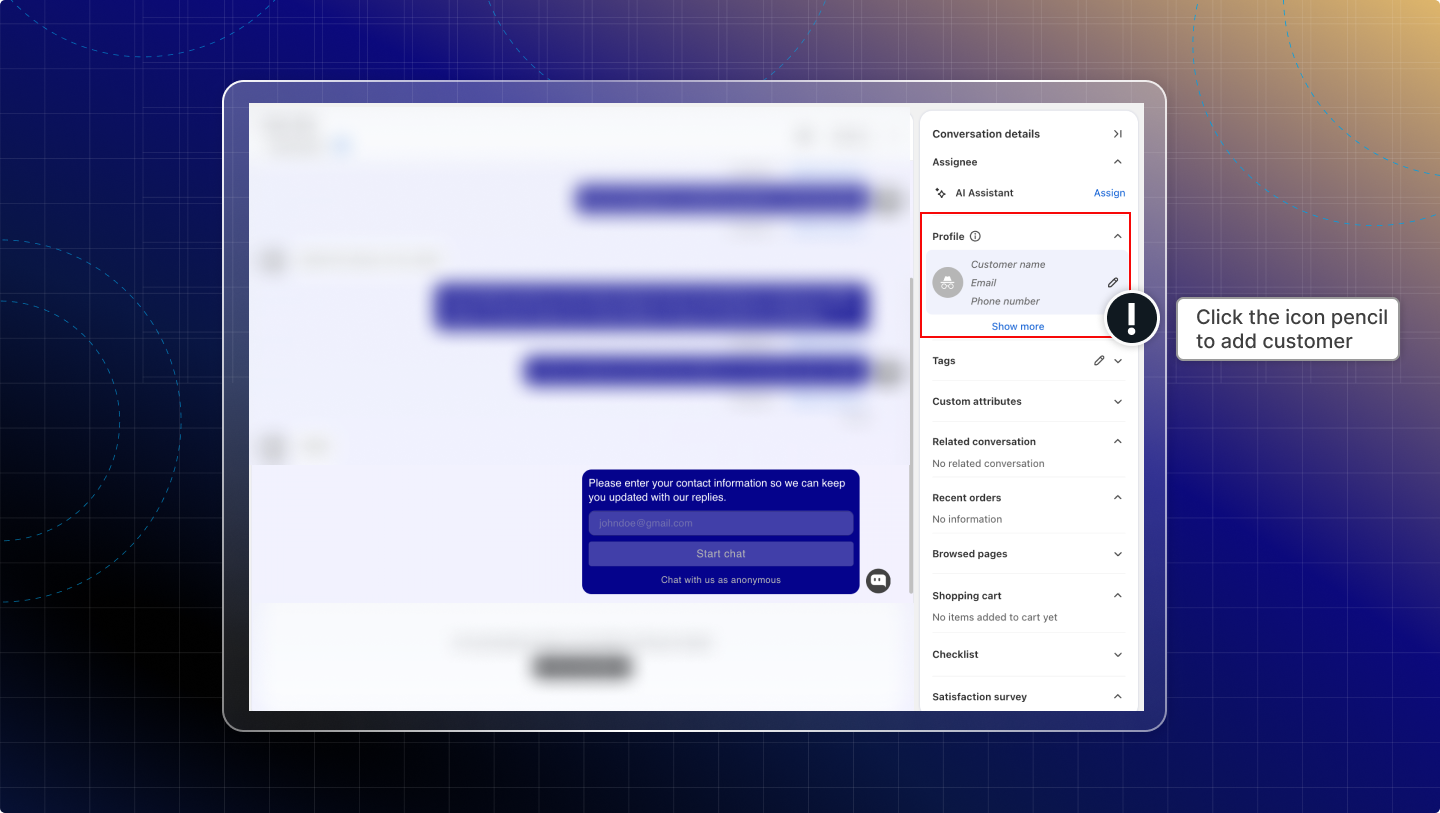
#### Custom attributes
Custom attributes let you add your own extra information for each conversation to manage chats and prepare for easier filtering and reporting later.
* Name: what the info is about
* Value: the detail you want to save
Example:
* Name: Order type → Value: Preorder
* Name: Priority → Value: High
* Name: Issue → Value: Deliver delay
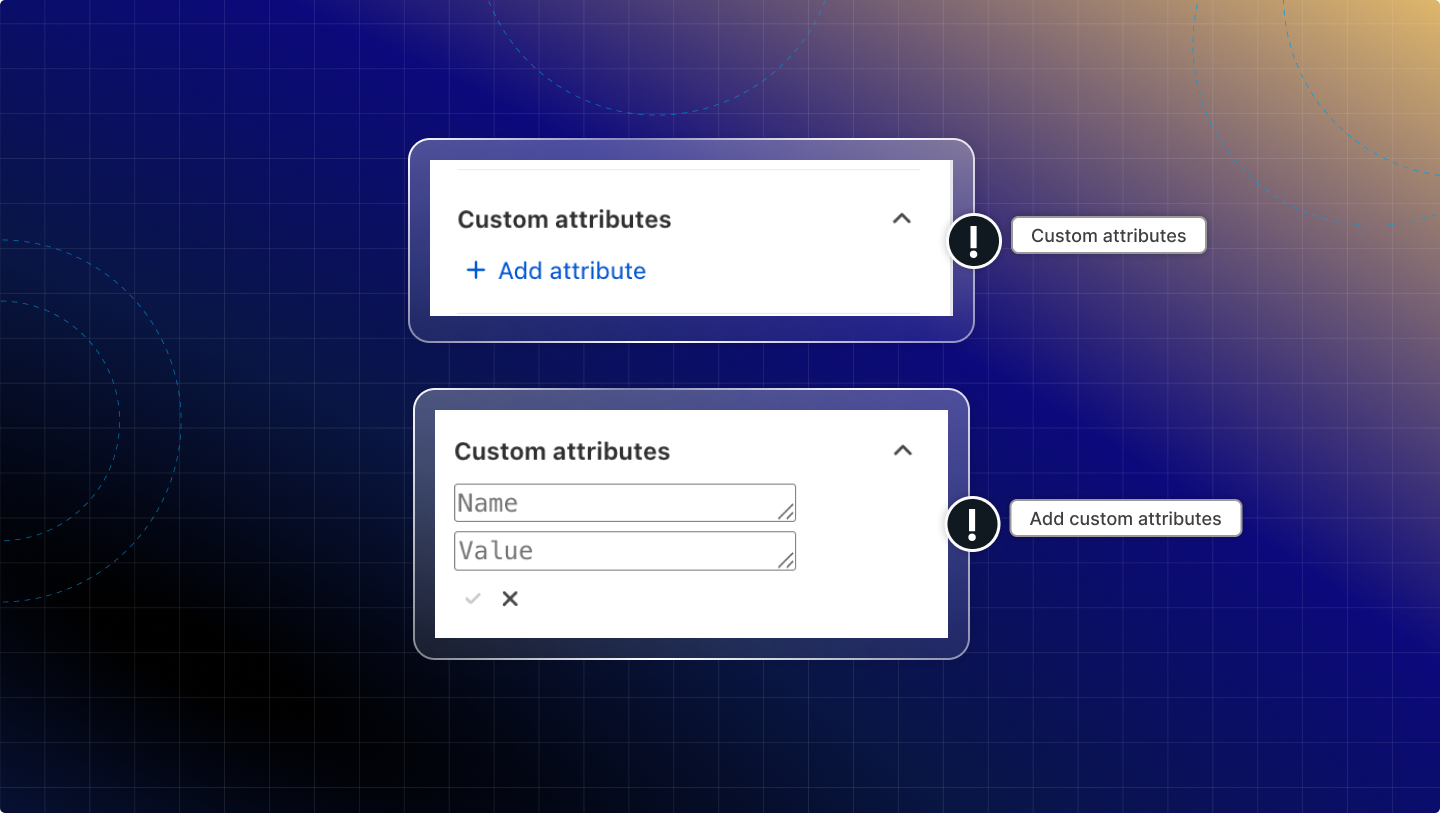
**Add an attribute**
In Conversation attributes, click **Add.**
**Enter** the attribute **Name.**
**Enter** the attribute **Value.**
**Click save.**
**Delete an attribute**
**Find** the attribute you want to remove.
**Click** **Delete** (X icon).
**Search by attribute value**
You can search the Inbox by an attribute value saved on a conversation. This pulls up every chat with that value, without a manual filter.
1. Go to **Inbox**.
2. **Click** the search bar above the conversation list. It reads **Search by name, email, phone, or order...**
3. **Type** an attribute value, for example `Preorder`.
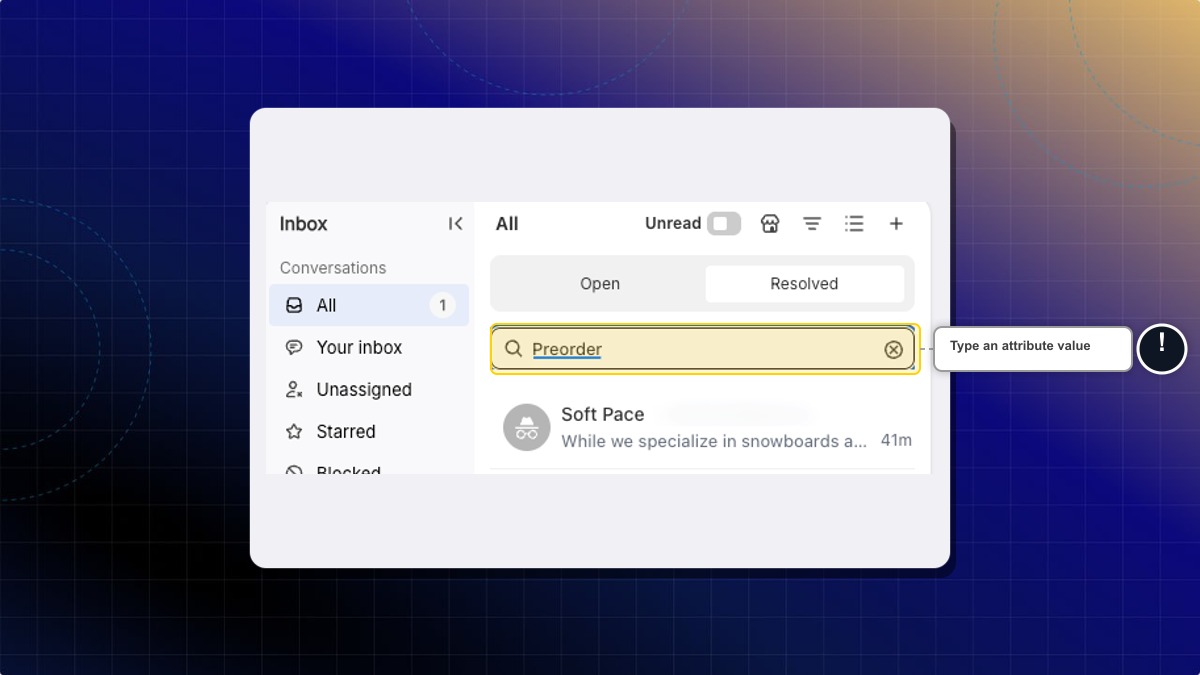
**Expected result:** The conversation list updates to show only conversations that carry that attribute value.
* Attributes are added to this conversation only. This won't be applied to other conversations.
* You can search these attribute values from the Inbox search bar, alongside name, email, tags, and message text.
* Search is turned off in the All stores view. Click the store icon in the header to switch back to one store.
* Search only looks inside the tab you are on. Switch between **Open** and **Resolved** if a conversation does not show up.
#### Related conversations
Related conversations let you see other conversations from the same customer while you are replying, so you can support faster without leaving the current chat.
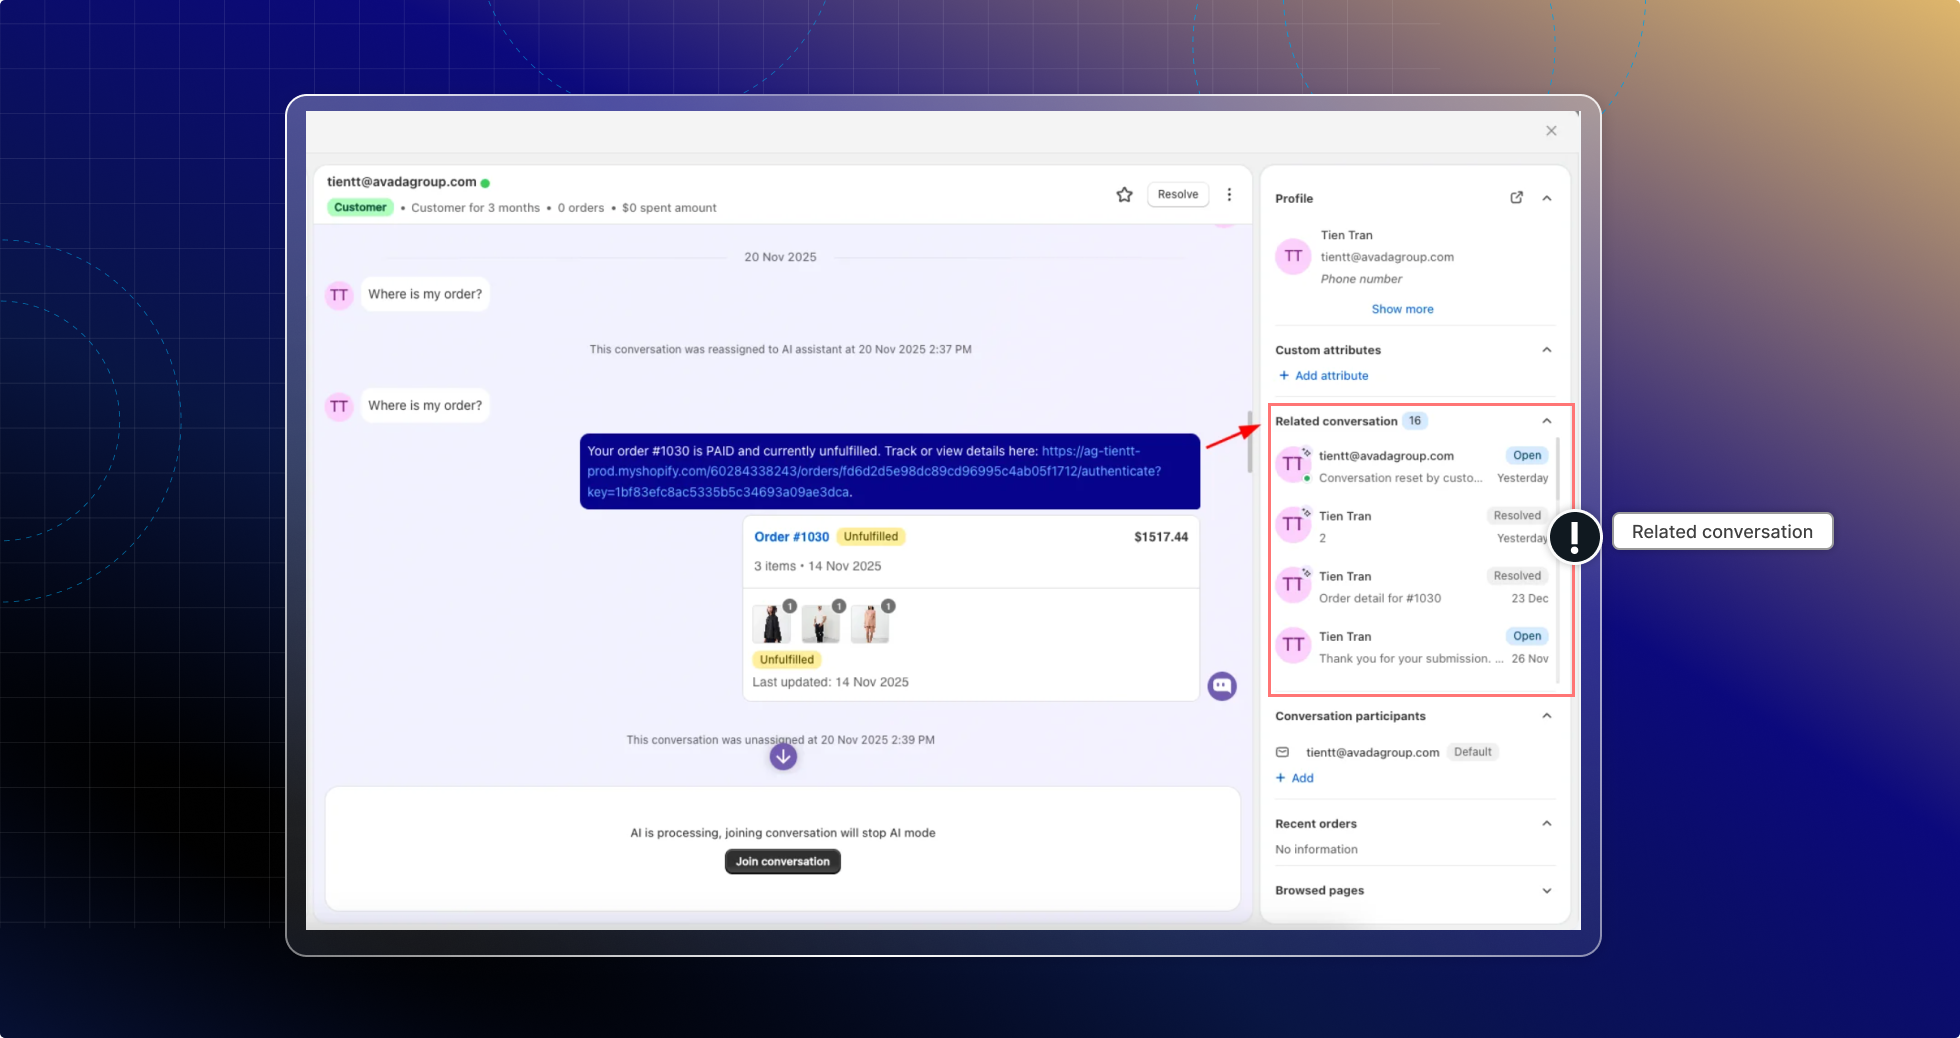
**What do you see in related conversations?**
* Customer name
* The 5 most recent conversations are by default
* Conversation status
* Assignee
**How does Chatty choose related conversations?**
Chatty finds the related conversation based on who the person is and the same visit.
| Customer type | How Chatty matches |
| ------------------------------- | ------------------------------------------------------------------------ |
| Customers (logged-in customers) | Same customer profile, including reset conversations and converted leads |
| Lead (guest) | Same email, same phone number, or same active session |
| Anonymous user | Same session only |
If you don’t see any related conversations, this means there are no conversations that match the same customer (email/phone/profile) or the same session.
#### Customer behavior
In the chat zone, you can check customer behavior in real-time, like add to cart or place an order.
List of customer behavior:
* Start a chat
* Add products to empty cart (show with product details)
* Add products to existing cart (show with product details)
* Remove products from cart (show with product details)
* Place an order
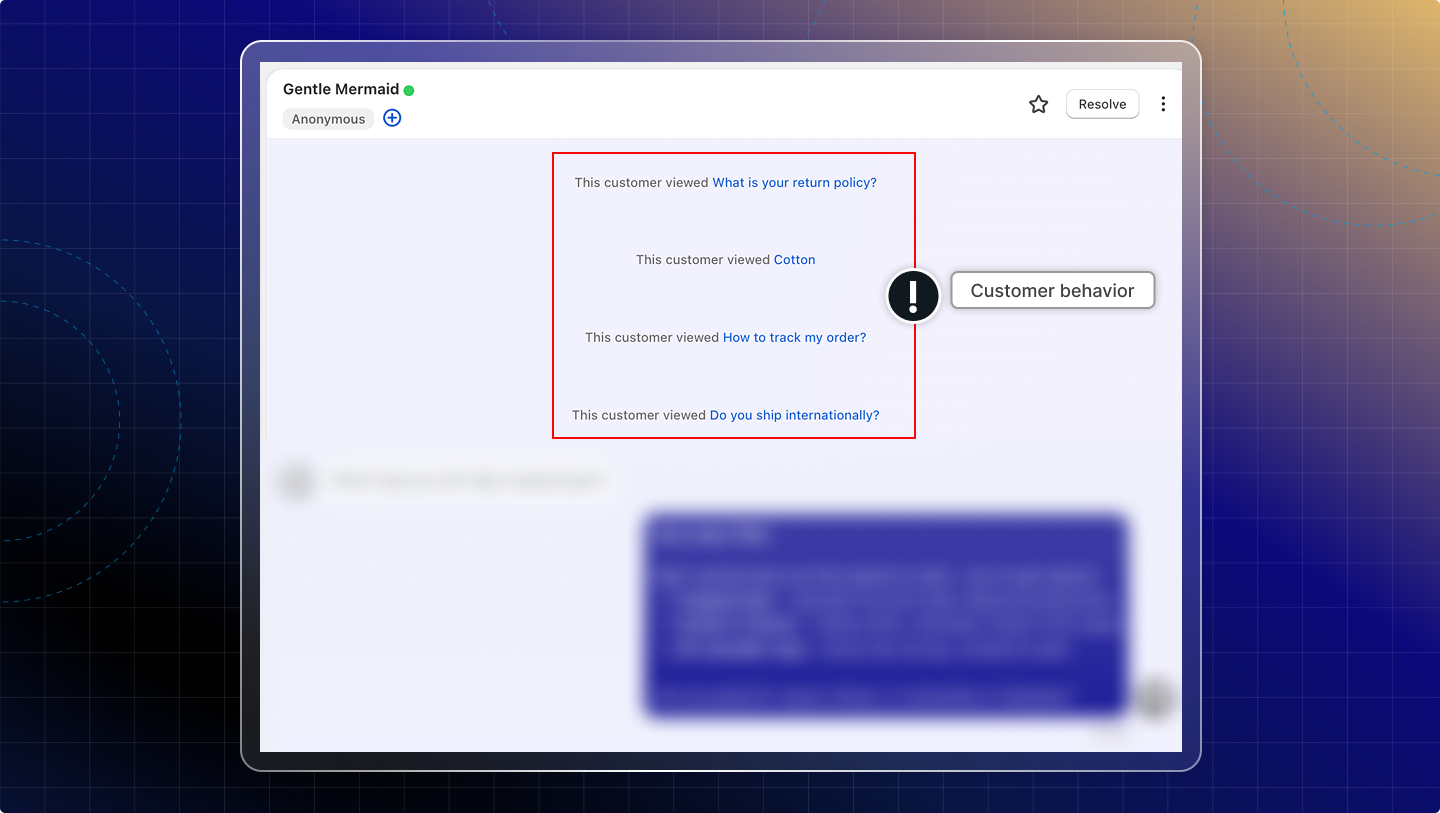
#### Note
You can leave a note for each customer for further information. A note will go together with the created time. You can edit or delete a note.
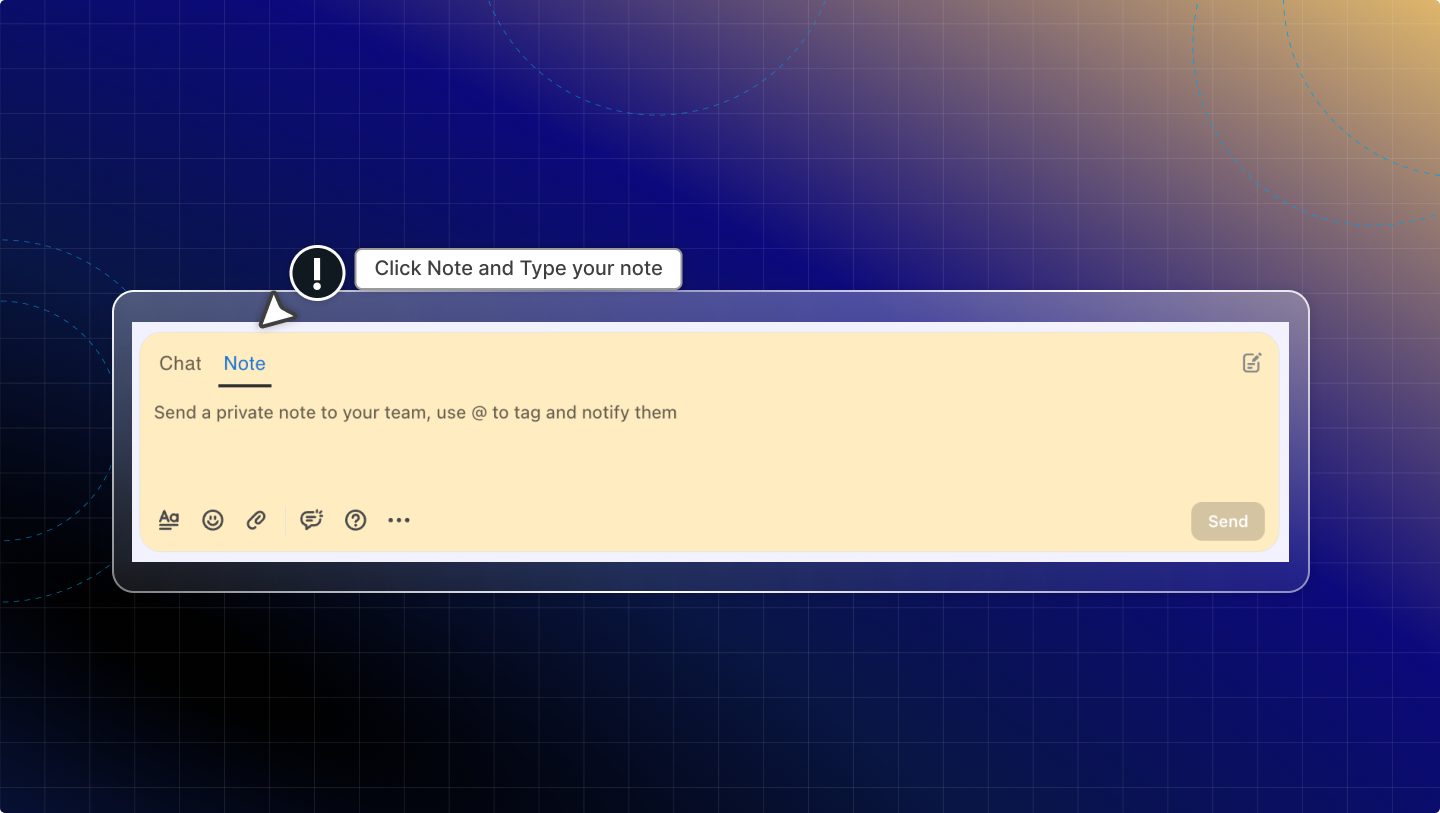
#### Checklist
A checklist helps you keep track of follow-up tasks for each conversation, so nothing is missed during support or handover.
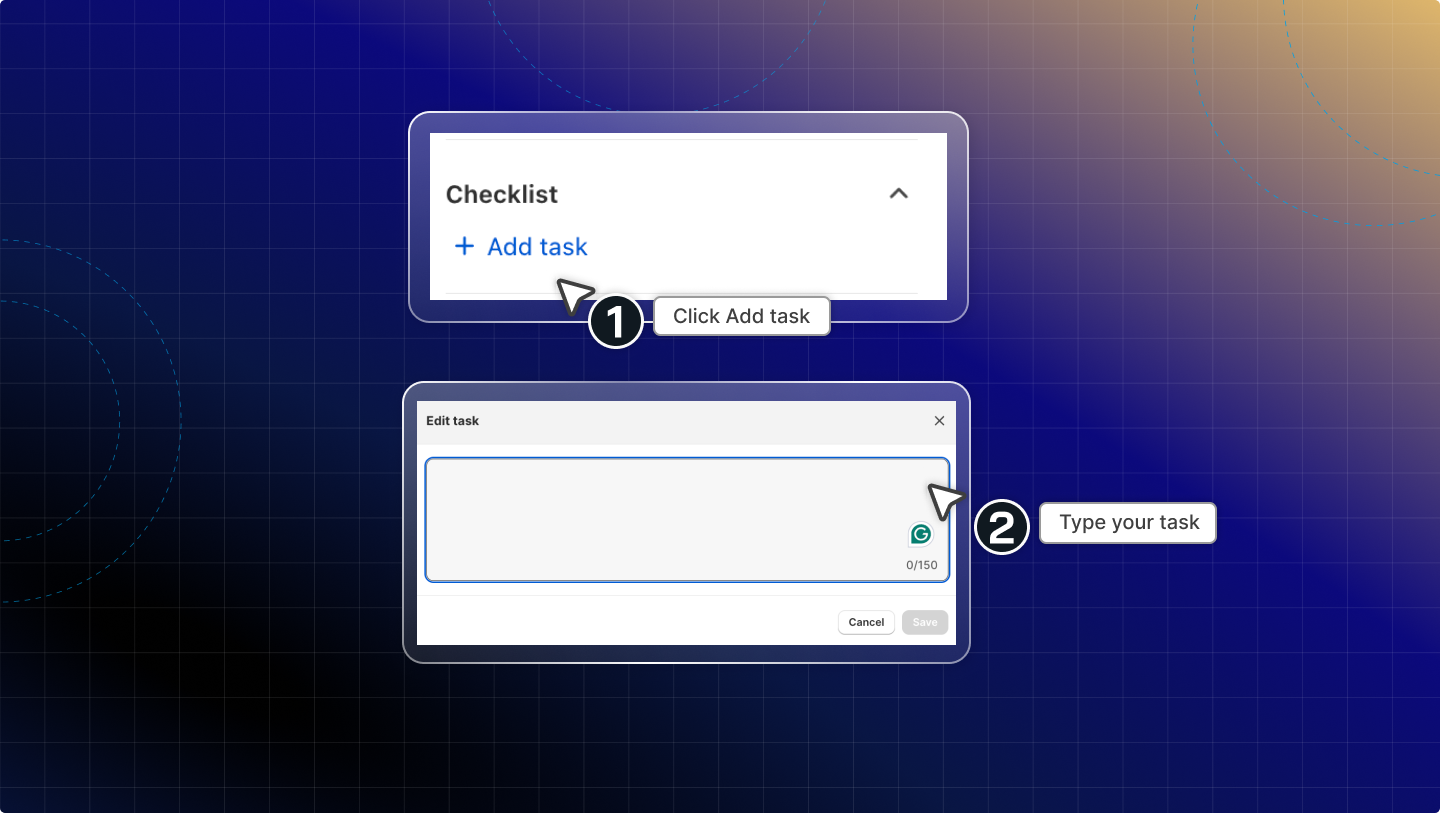
**Add a task**
In Checklist, **click** **Add task**.
**Type** your task
Example: “Check with the internal team and respond within 1 hour”.
**Press** **Enter** to save.
**Edit a task**
In Checklist, **find** the task you want to update.
**Click** the **Edit** icon (pencil).
**Update** the task text.
**Press Enter to save.**
**Delete a task**
In Checklist, **find** the task you want to remove.
**Click** the **Delete** icon (trash).
#### Satisfaction survey
The satisfaction survey shows the customer’s rating for this conversation after the chat ends. This helps you understand how satisfied the customer is and track service quality over time.
**What you can see**
* Rating status (rated/not rated yet)
* Rating result when the customer submits a rating.
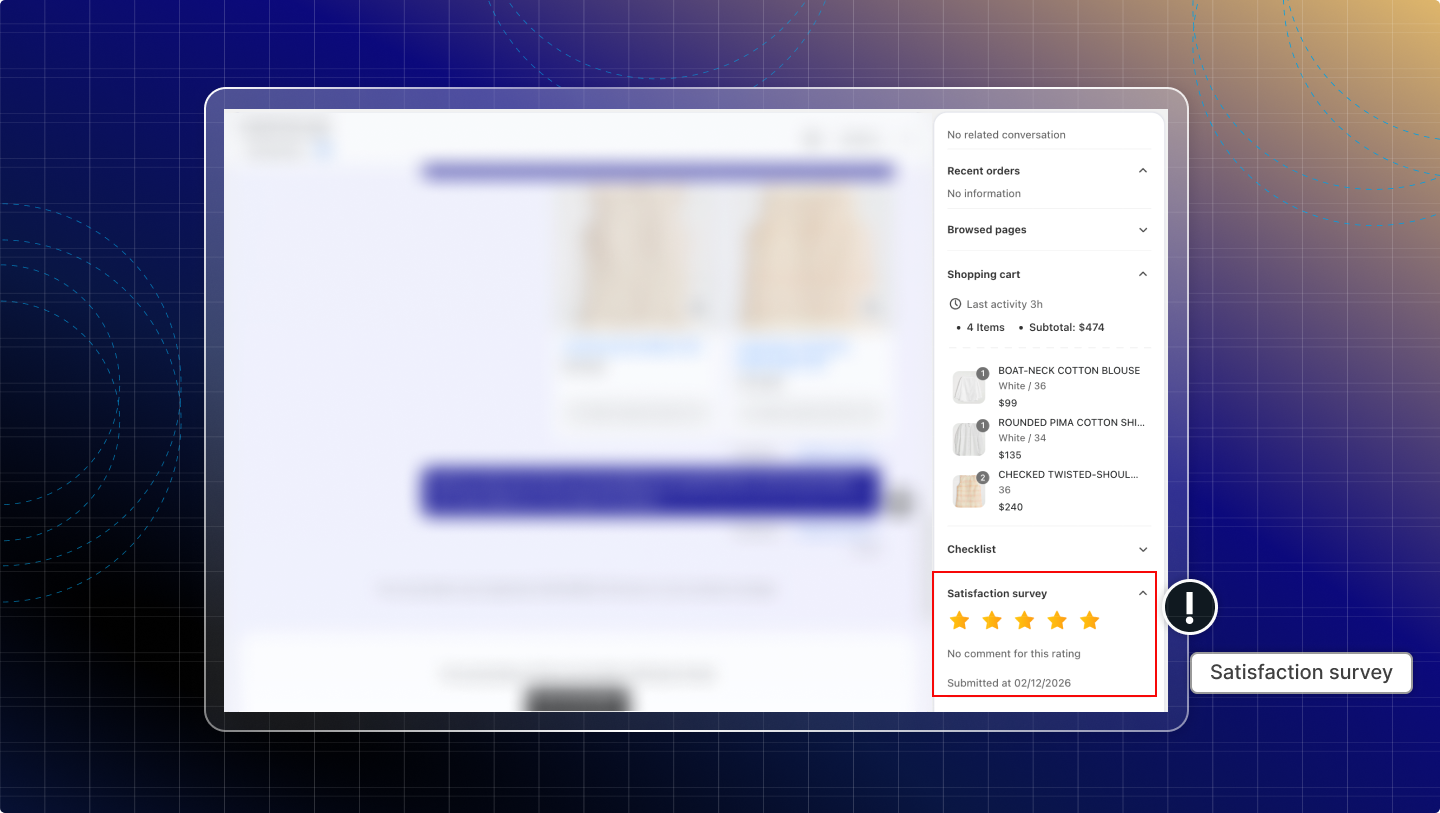
#### AI conversation summary
This section is in beta. It only appears after the conversation is resolved.
Once you resolve a conversation, Chatty writes a short summary of what happened, along with the outcome and the products that were discussed. It saves you reading the whole thread when the customer comes back.
If there is no summary yet, click **Generate now**. If a summary looks wrong, click the refresh icon to write it again. Admins also see a delete icon to remove the summary.
================================================================
URL: https://help.chatty.net/live-chat/inbox/customers/
Locale: en
================================================================
# Customers
### Customer type
In your inbox, you can check each customer and their conversations in the left panel of inbox.
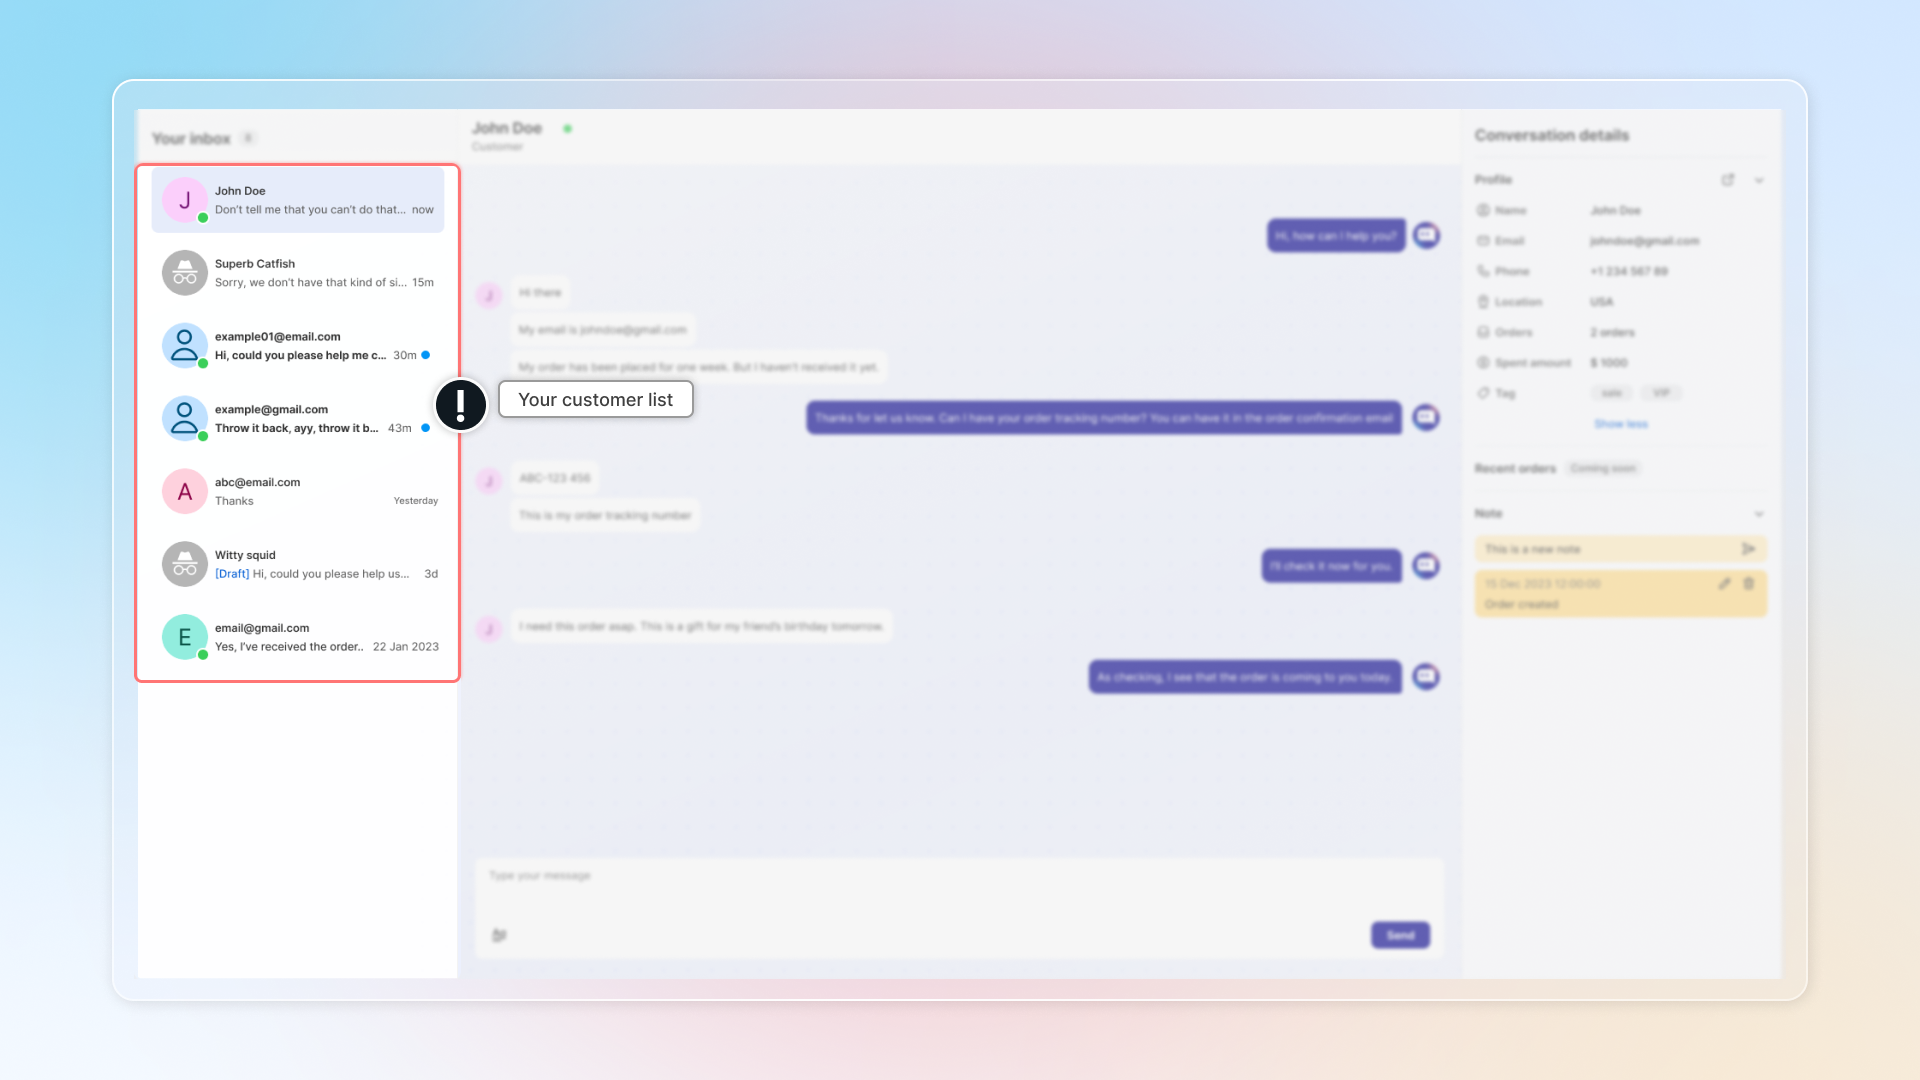
There're 3 types of customers in the list.
| Types | Definition | How it displays |
| --- | --- | --- |
| Guest (lead) | Who visits your website and haven't made an order yet | Customer icon + email |
| Customer | Who made an order on your store | Name in icon + customer name |
| Anonymous user | Who chats on your store by clicking "Chat with us as anonymous" | Anonymous icon + random name |
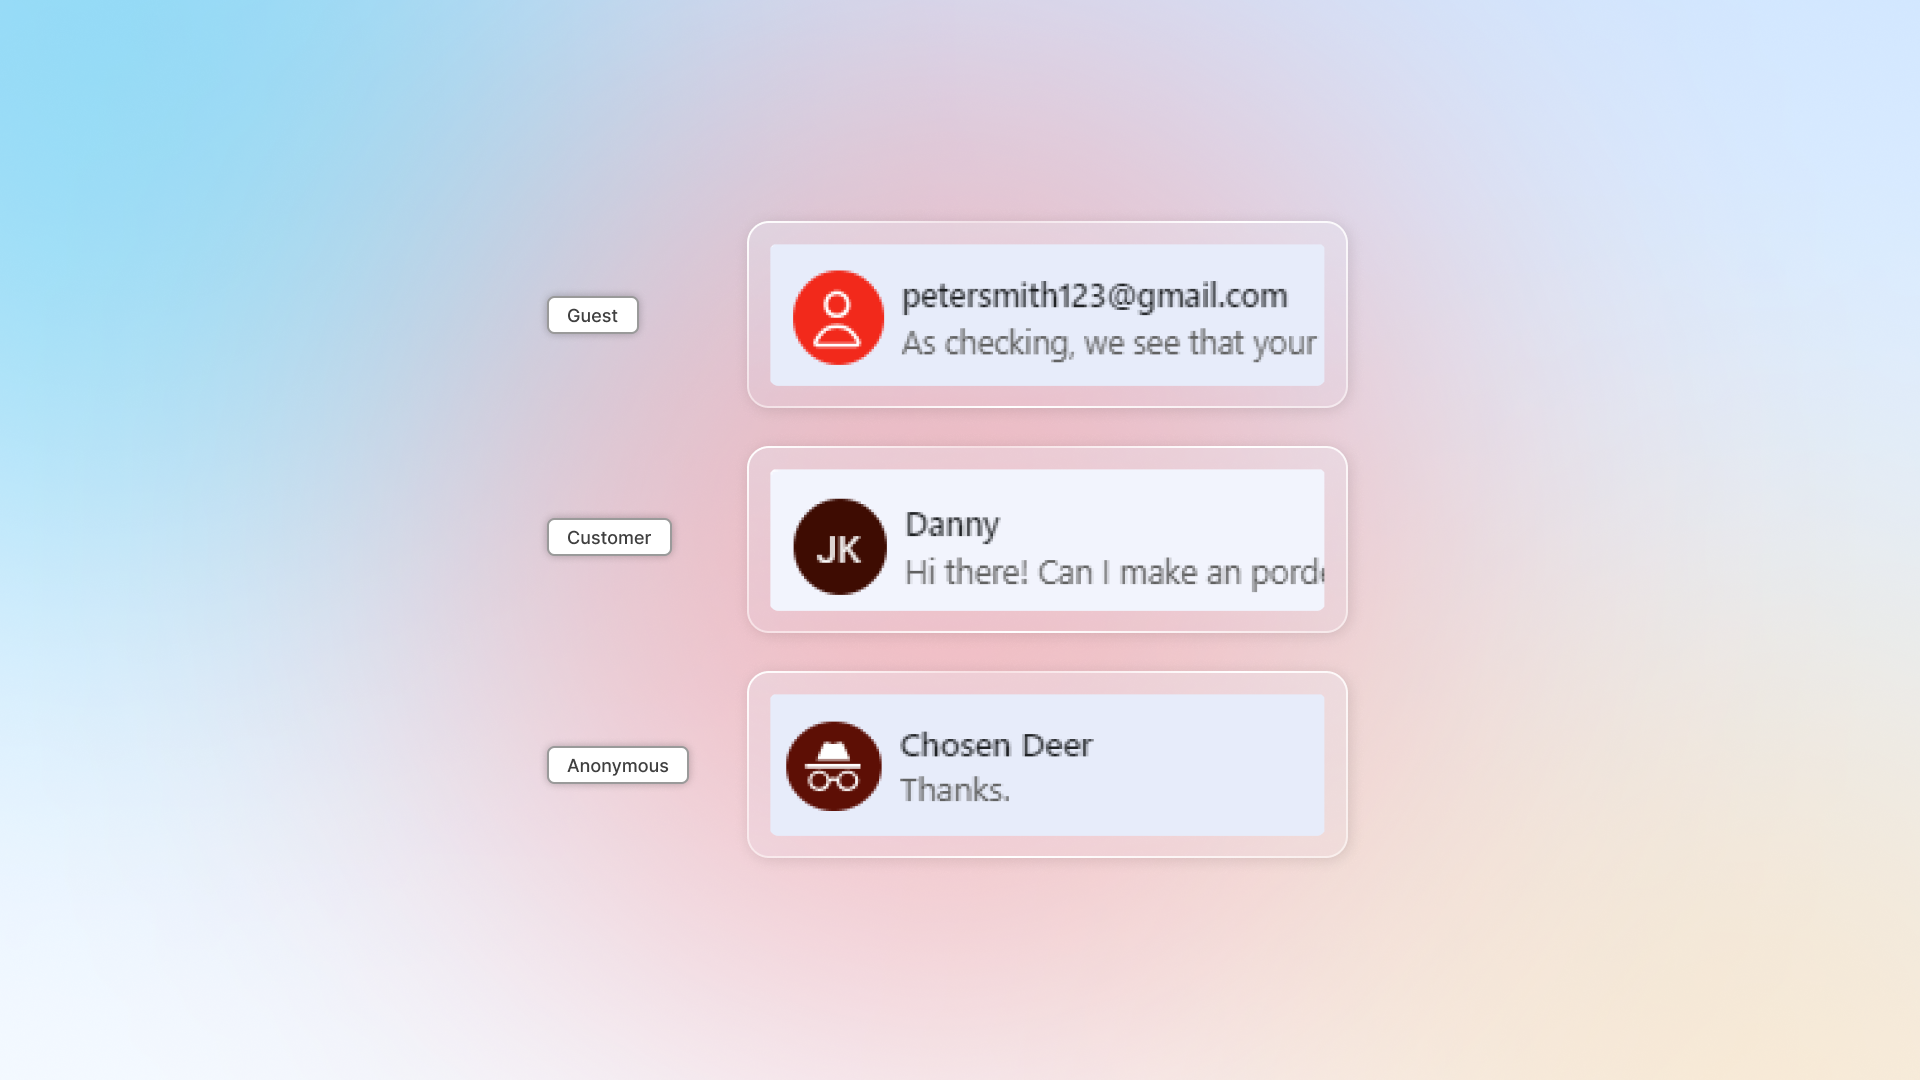
Why can't guest automatically convert to customer?
Chatty doesn't automatically convert guest to customer to maintain data accuracy and protect your customers' experience:
* **Prevents duplicate or inaccurate customer profiles**: Automatic conversion could create multiple profiles for the same customer or generate profiles with incomplete information.
* **Protects customer login access**: Creating customer accounts without verification could prevent customers from accessing their actual accounts later.
**What you can do instead:**
1. Review guest information manually before creating customer profiles
2. Create customer profiles with validated information
A guest or an anonymous visitor can be turned into a real customer without leaving Inbox. Click **Create customer profile** in the conversation header, or fill in the contact fields in [Conversation details](/live-chat/inbox/conversation-details/#customer-profile).
### Manage customers
#### Block customers
You can block a customer so that you do not get any messages from that customer.
In their conversation, scroll to the bottom of the right panel and click **Block**, then confirm. The button reads **Unblock** once they are blocked, so you can undo it any time.
Customers who get blocked won't be notified that they're block. They can still message you in the chatbox, but they cannot receive replies.
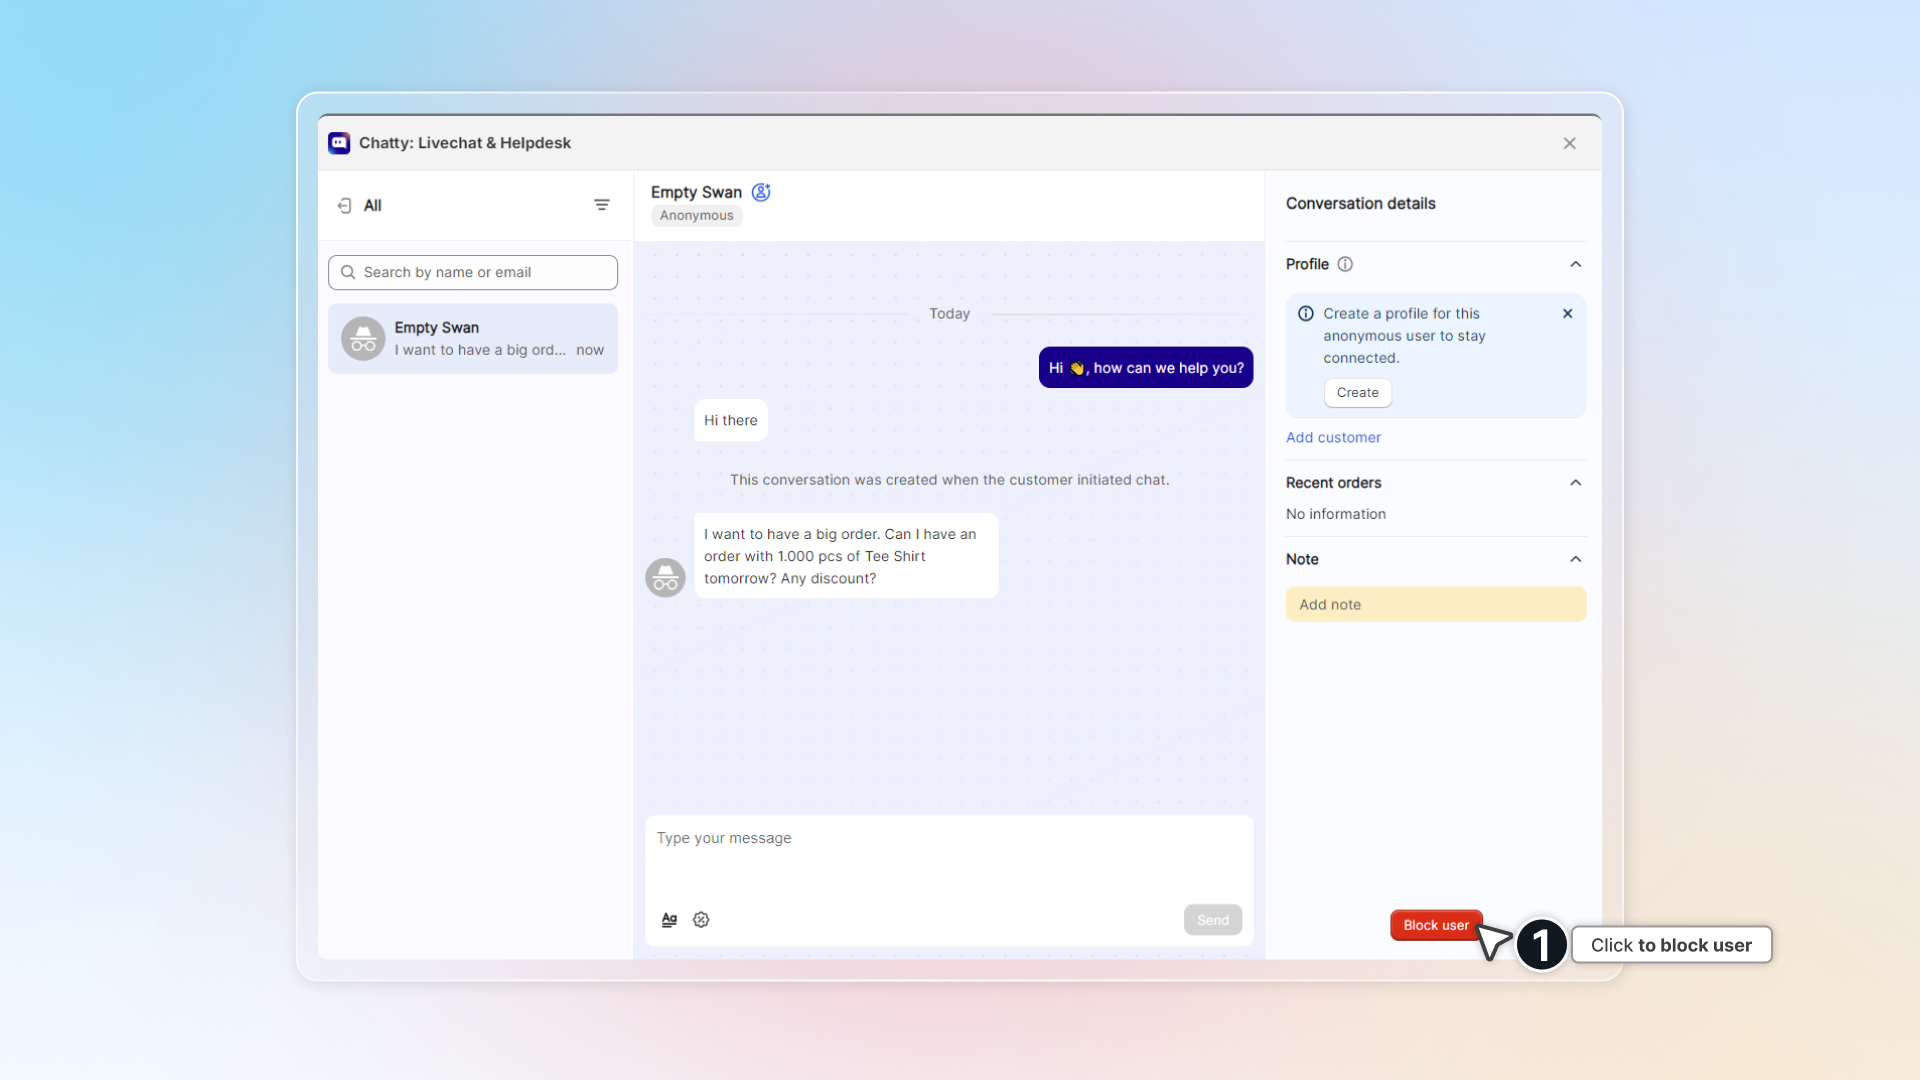
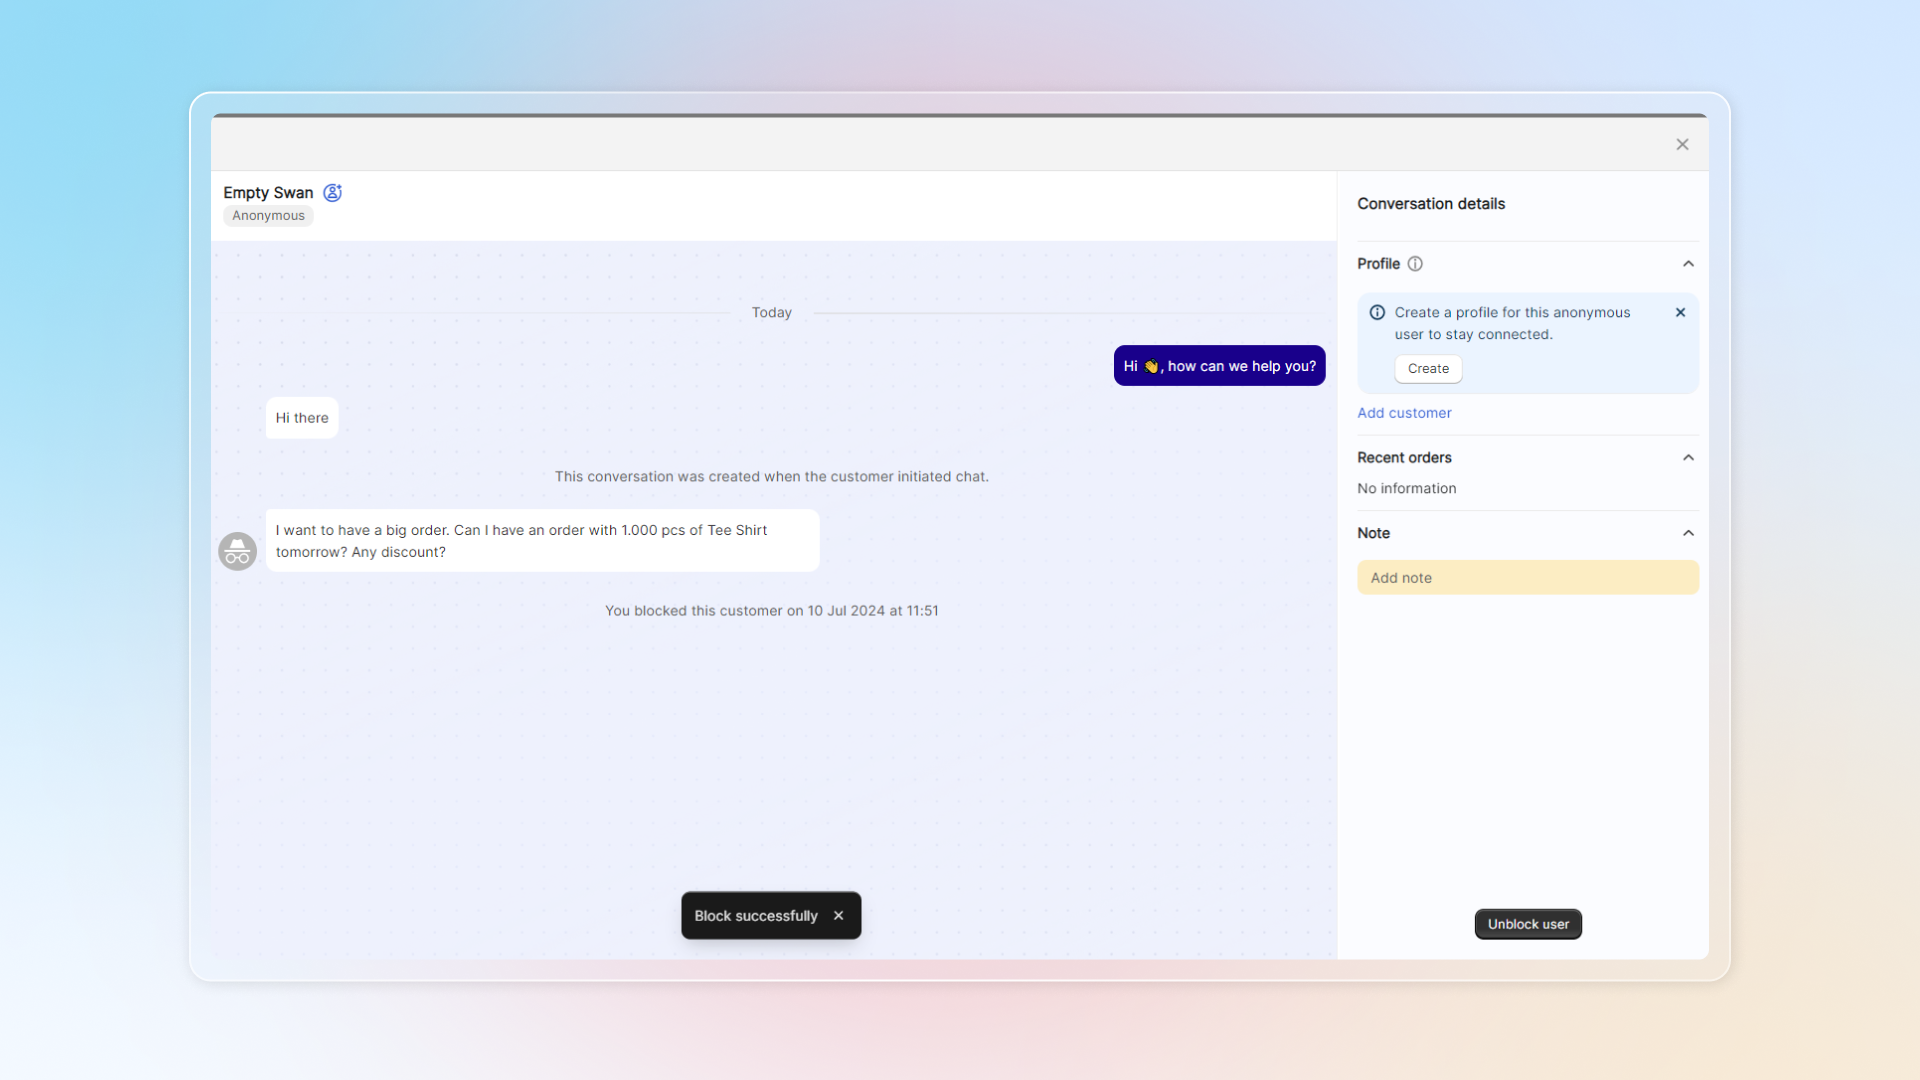
#### Delete customers
You can delete customers in Contacts, where you can manage customer information.
================================================================
URL: https://help.chatty.net/live-chat/inbox/filters-and-bulk-actions/
Locale: en
================================================================
# Filters, bulk actions and reminders
**Who can use this feature?**
* Filters, bulk actions, reminders, creating conversations and exporting transcripts are available for all users.
* **Delete** in bulk actions is available for admins only.
If you open Inbox every morning to dozens of conversations, this page is for you. It covers the tools that cut a long list down to the conversations you actually need, let you clear the rest in one move, and remind you to come back to the ones that are still waiting.
### Narrow the list with filters
Filters stack. The left sidebar sets the group, the **Open** / **Resolved** tabs set the state, and the controls above the list refine it further. Everything you turn on applies at the same time.
| Control | Where it is | What it filters by |
| --- | --- | --- |
| Conversations group | Sidebar | All, Your inbox, Unassigned, Starred, Blocked |
| Chatty AI group | Sidebar | Processing, Handover, Resolved |
| Channels group | Sidebar | Online store, Email, Messenger, Instagram, WhatsApp |
| Open / Resolved tabs | Top of the conversation list | Whether the conversation is still open or already resolved |
| Search box | Above the conversation list | Customer name, email, phone number, or order number |
| Unread | Above the conversation list | Shows only conversations you haven't read |
| Assignee | Filter icon | Unassigned, a specific team member, or AI Agent |
| Custom filter | Filter icon | Tags you saved into a named filter |
Some controls only appear where they make sense. **Unread** and the bulk action icon show on **All**, **Your inbox**, **Unassigned** and the five channel views. The filter icon shows on **All**, **Handover** and the five channel views. **Custom filter** sits inside the filter icon but is hidden on the channel views, so you only get it on **All** and **Handover**.
### Save a filter you use every day
A custom filter is a saved set of tags with a name. Tick it once and the list only shows conversations carrying those tags.
#### **Click** the filter icon above the conversation list.
#### Under **Custom filter**, **click** Add custom filter.
#### **Enter** a **Filter name**, up to 50 characters.
#### **Search** and **select** the tags you want, up to 20 per filter.
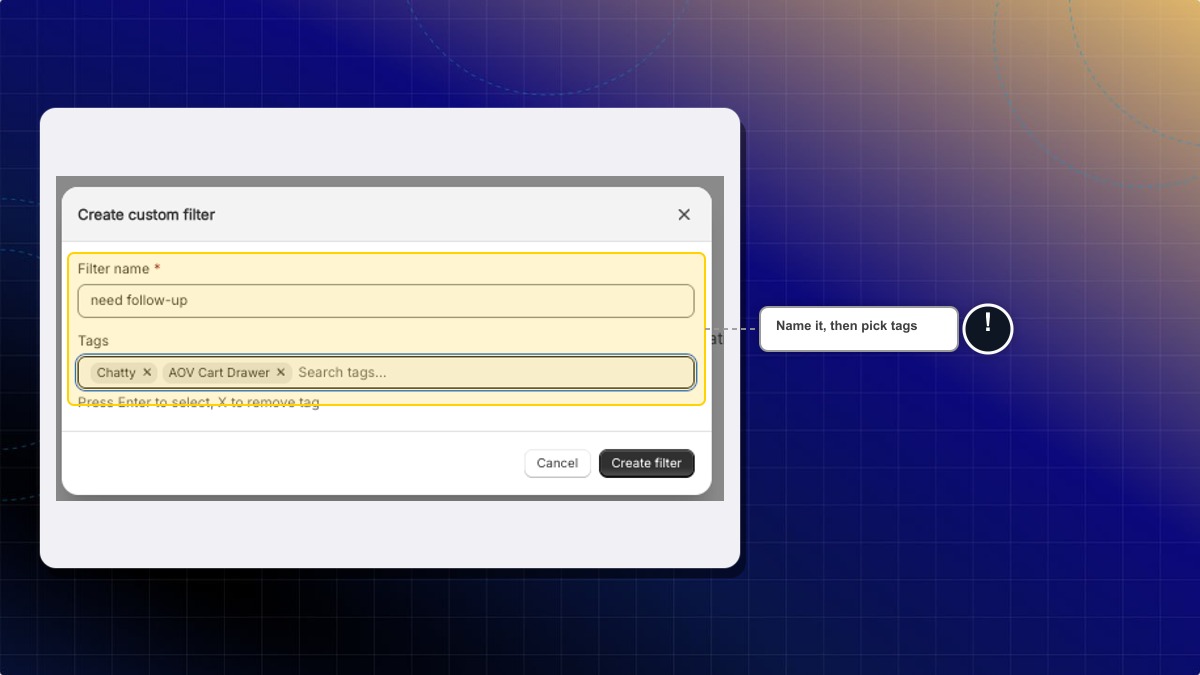
#### **Click** Create filter.
Your filter now appears in the filter panel with a checkbox. To change it later, hover over it and use the edit or delete icon.
You can tick more than one custom filter at a time. Chatty then shows conversations that carry the tags of any of the filters you ticked. **Clear** removes all of them at once.
### Act on many conversations at once
#### **Click** the bulk action icon above the conversation list.
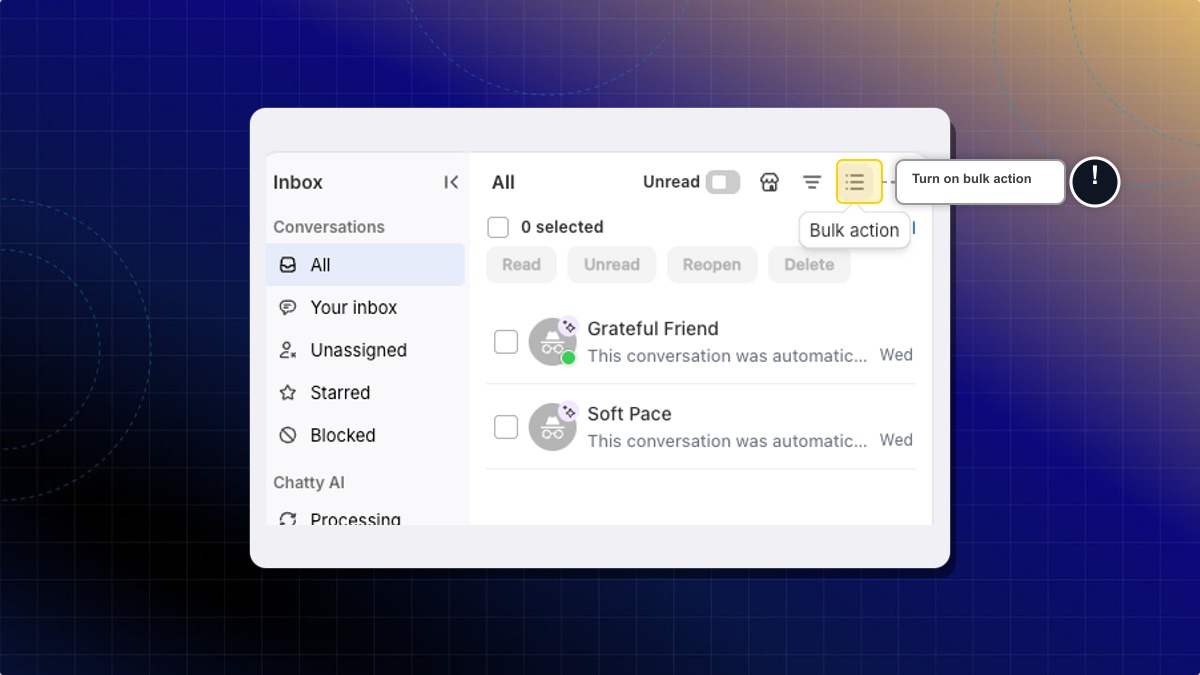
#### **Tick** the conversations you want, or use the checkbox at the top to take everything on the page.
#### **Click** the action you want.
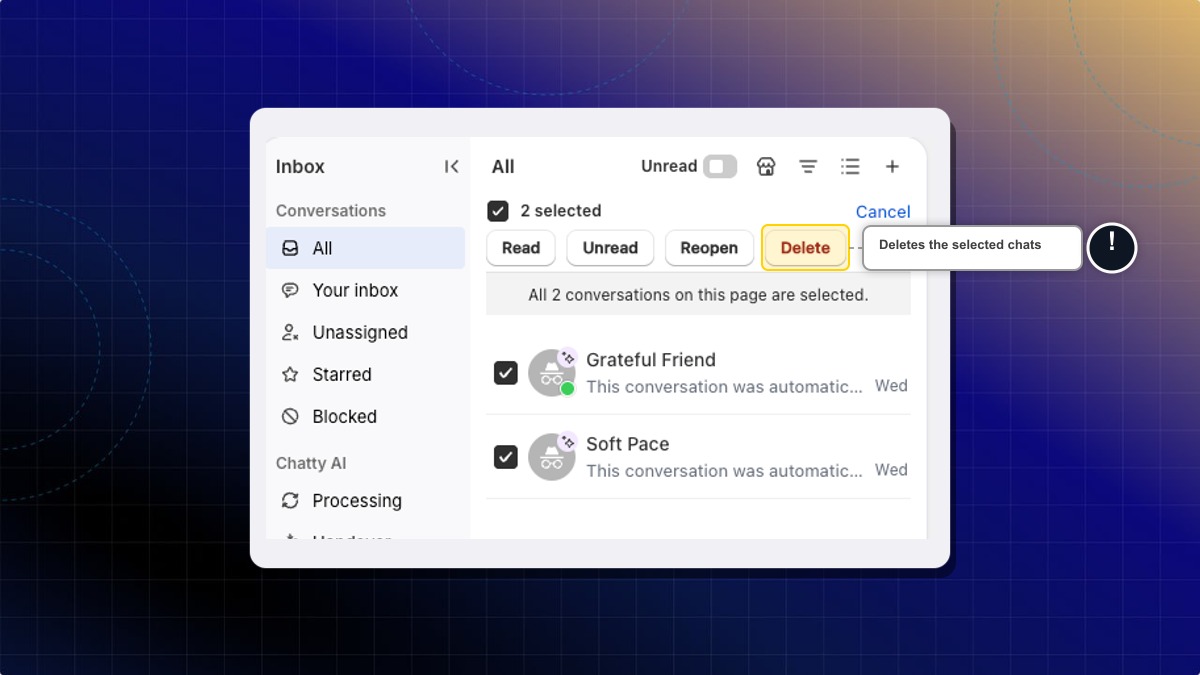
The bar shows how many conversations you have selected, and **Cancel** leaves bulk mode without changing anything.
| Action | What happens | Notes |
| --- | --- | --- |
| Read | Marks the selected conversations as read | — |
| Unread | Marks them back as unread | — |
| Resolve | Closes them, same as resolving one by one | Only on the **Open** tab. Sends the satisfaction survey if you have it turned on |
| Reopen | Reopens them | Only on the **Resolved** tab |
| Delete | Removes the conversations, and the contact profile too if that customer has no other conversation left | Admins only. **Cannot be undone** |
**How many you can take at once.** Ticking selects the conversations currently loaded in the list. When they're all ticked and more still match your filters, a link appears: **Select all conversations in this view**. Click it and Chatty applies the action to every matching conversation, including the ones not loaded yet. Those are processed in the background, so the list may take a moment to settle.
Delete asks you to confirm and tells you how many conversations are affected. It also deletes the contact profile of any customer left with no other conversation, and there is no way to bring them back. Deleting always runs in the background, so it reports as in progress rather than finished.
Changing a filter or switching tab clears your selection. Select first, then act.
### Set a reminder to come back
A reminder reopens a conversation for you at a time you choose, so you don't have to keep it unread as a mental note. You set it from the **Reminder** tab above the message box, and you can send it to any active team member. See [Set a reminder](/live-chat/inbox/chat-zone/#set-a-reminder).
### Start a conversation yourself
Use this when a customer emailed you elsewhere, or when you need to follow up first.
#### **Click** the plus icon above the conversation list.
#### **Enter** the customer **Email**.
#### Optionally **add** participants with **Add a participant**, up to 5.
#### Optionally **enter** a **Subject of the email**, up to 50 characters.
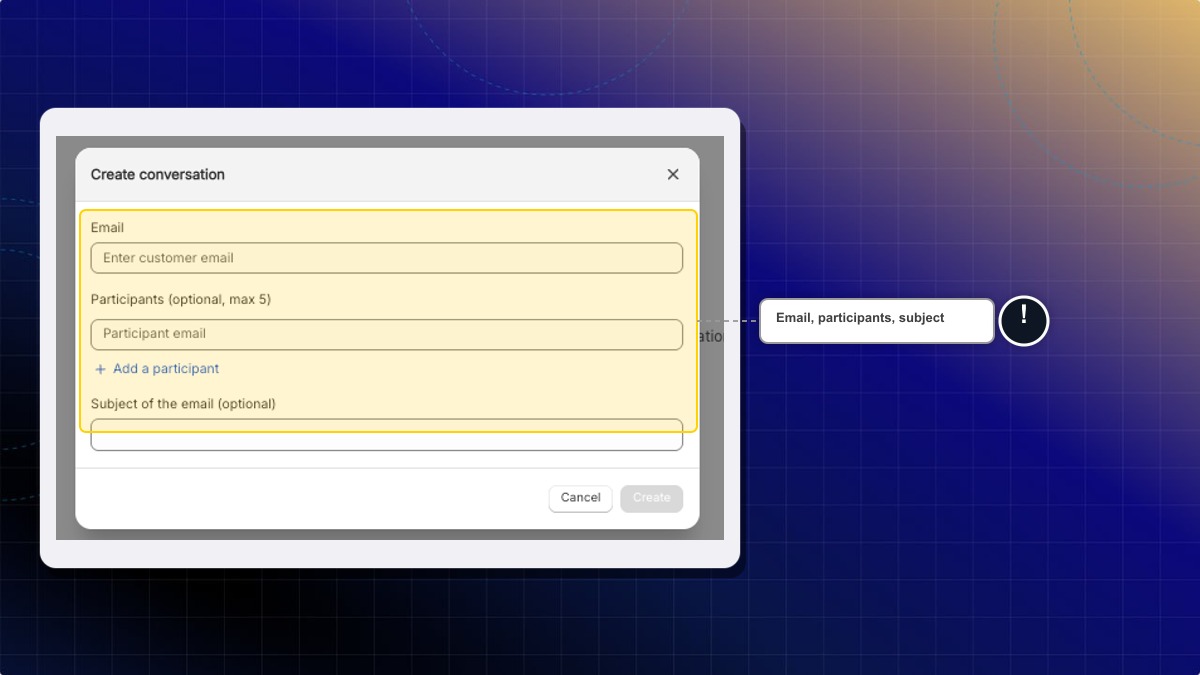
#### **Click** Create.
Participants are extra recipients on the email thread. They receive the messages alongside the main customer. The new conversation is assigned to you and opens straight away.
You can add 5 participants while you are creating the conversation. Once it exists, [Conversation details](/live-chat/inbox/conversation-details/#participants) lets you go up to 10.
If a conversation already exists on the email channel and only the subject is wrong, you don't need a new one. Open it, **click** the three-dot menu in the conversation header, and **choose Set subject**.
### Save a copy of a conversation
The three-dot menu in the conversation header can email the conversation to yourself, to the customer, or to another address, and can download it as a CSV or text file. See [Send or download a transcript](/live-chat/inbox/#manage-conversations).
### A routine for a busy day
#### **Start in Unassigned** with **Unread** on, so you see what nobody has picked up yet.
#### **Reply or assign** each one, then clear the ones that need nothing with **Read** in bulk.
#### **Switch to Your inbox** and work through what is actually yours.
#### **Set a reminder** on anything waiting on a supplier, a refund, or a colleague, instead of leaving it unread.
#### **Finish on All with a custom filter** for your recurring topic, and **Resolve** the batch that is already done.
Search does not work while you're viewing conversations from all connected stores at once. Switch back to a single store to search by name, email, phone or order.
***
================================================================
URL: https://help.chatty.net/live-chat/inbox/real-time-translation/
Locale: en
================================================================
# Real-time translation
**Who can use this feature?**
* This feature is available on paid plans.
* Each plan has a monthly translation quota: Basic 50, Pro 300, Plus 700. The Free plan has no quota. When you run out, the bar shows an upgrade link instead of the Translate button.
Real-time translation detects the customer’s language and lets you translate messages in Inbox.
### Translate the customer message
#### Detect customer language
Chatty automatically detects the customer’s language and shows it in the conversation and in the customer profile.
You can see the detected language while viewing the conversation.
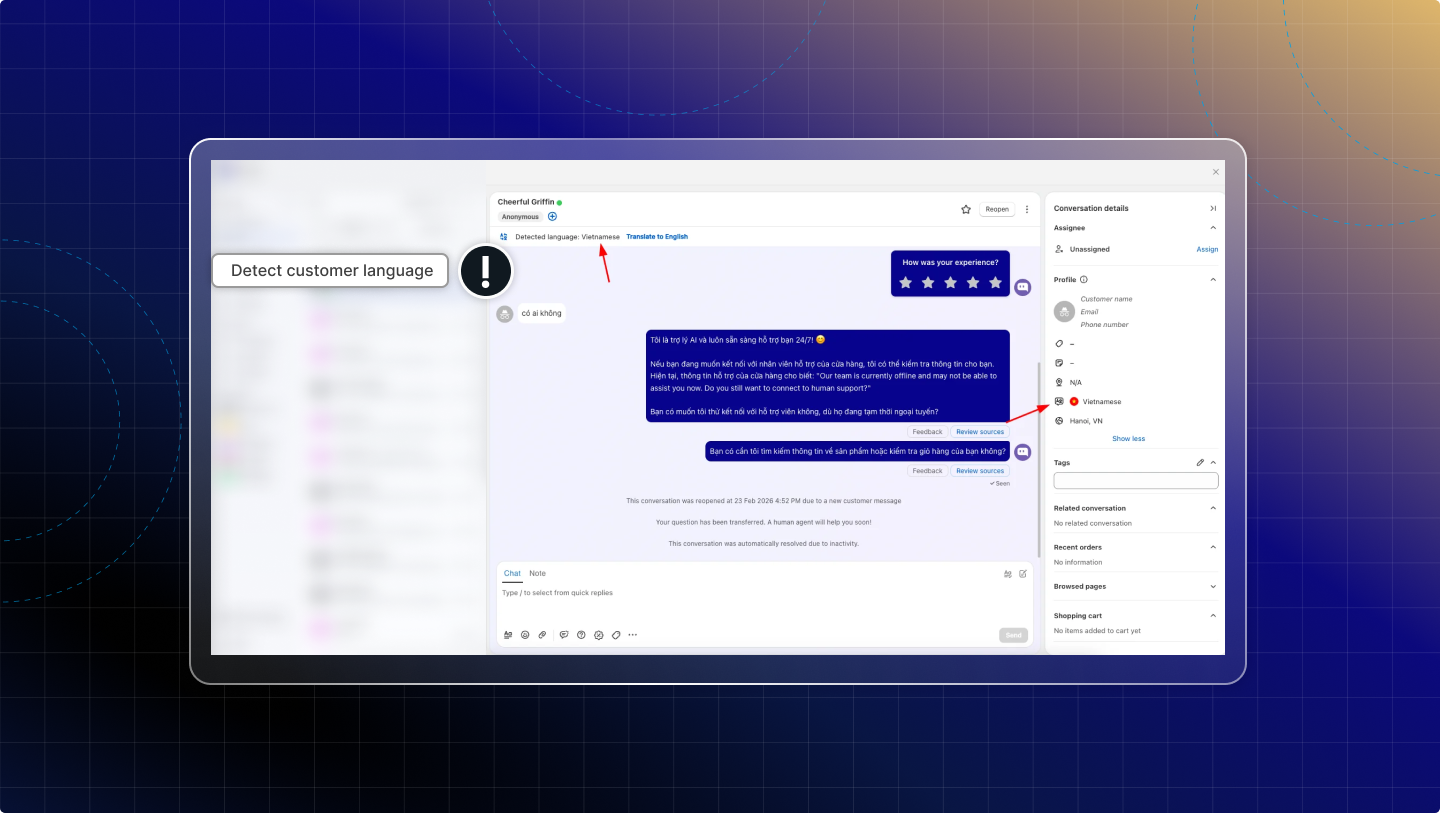
#### Auto-translate new messages
When Translate is turned on, Chatty automatically translates any new customer message that comes in.
#### In Inbox, **open** a conversation.
#### On the bar above the chat, **click** **Translate to [your language]**.
Chatty translates all customer messages to your default language (set in [**Settings → Translation**](/others/translation/)).
You always see the latest customer message in your selected language.
If you want to stop translating, **click** Stop. Messages show in the original language again.
### Live Translate
Live Translate helps you write a reply in your language and preview the translated version before sending.
#### Preview translation
#### In Inbox, **open** a conversation.
#### **Turn on** Live Translate.
#### **Type** your message.
#### **Click** Preview translation.
A translated preview displays before you send.
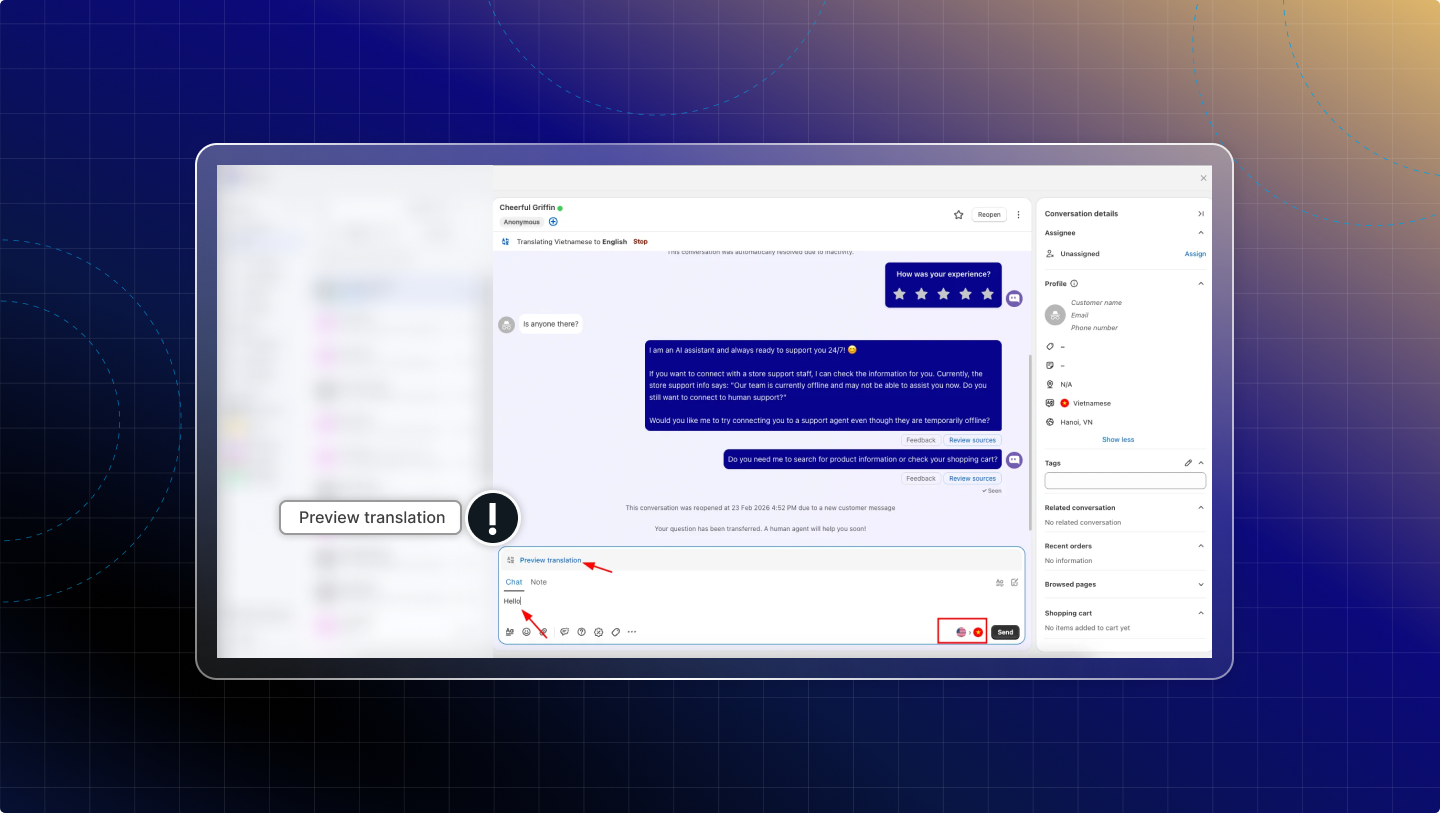
#### Refresh translation
When you edit the message, **click** Refresh to update the latest translated preview.
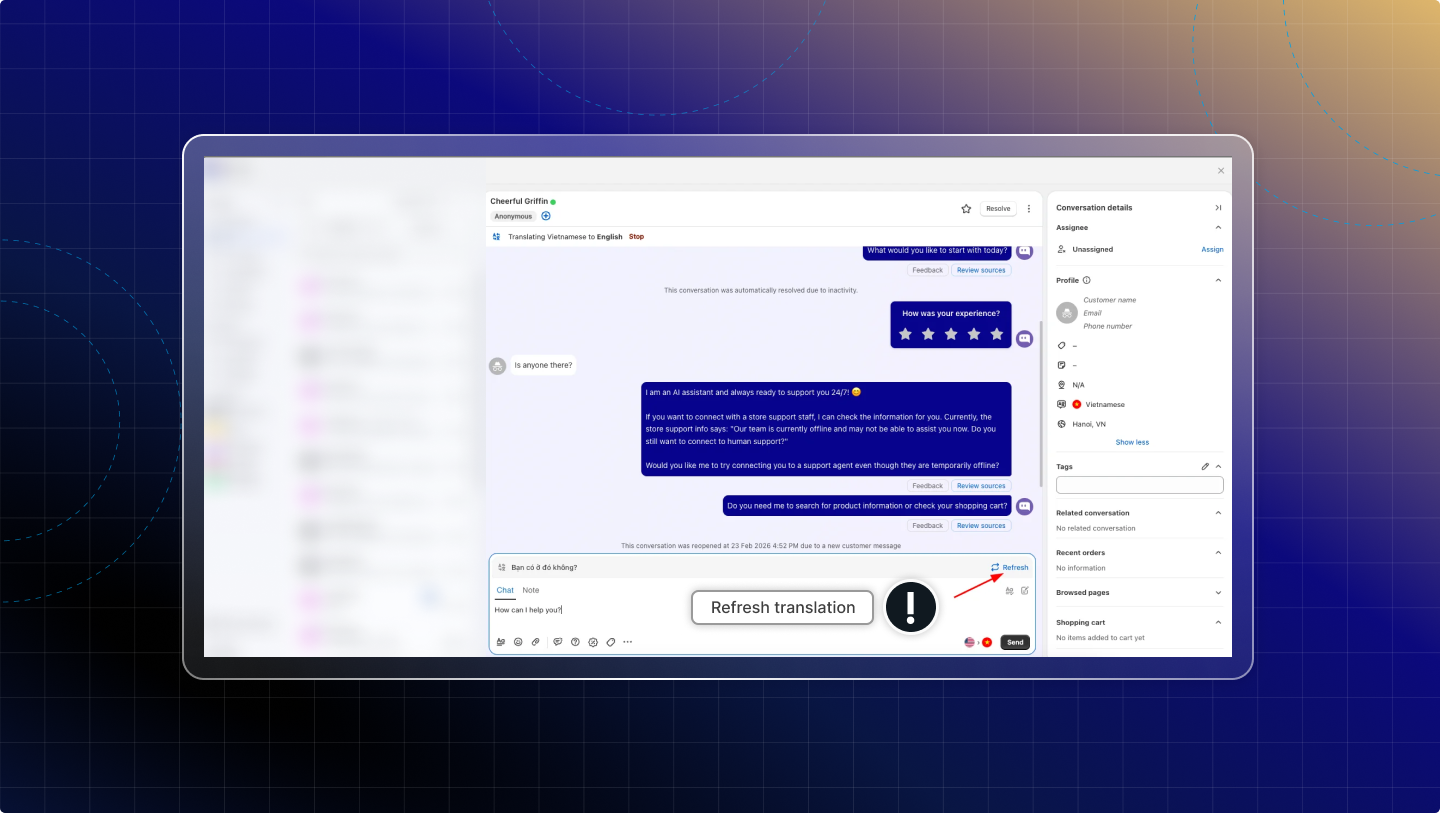
***
================================================================
URL: https://help.chatty.net/live-chat/others/
Locale: en
================================================================
# Others
### Resolve conversations
This moves the conversation out of your "Open" list and to "Resolved" list. This helps with:
* Keep your inbox organized
* See which customers need help
* Track finished conversations
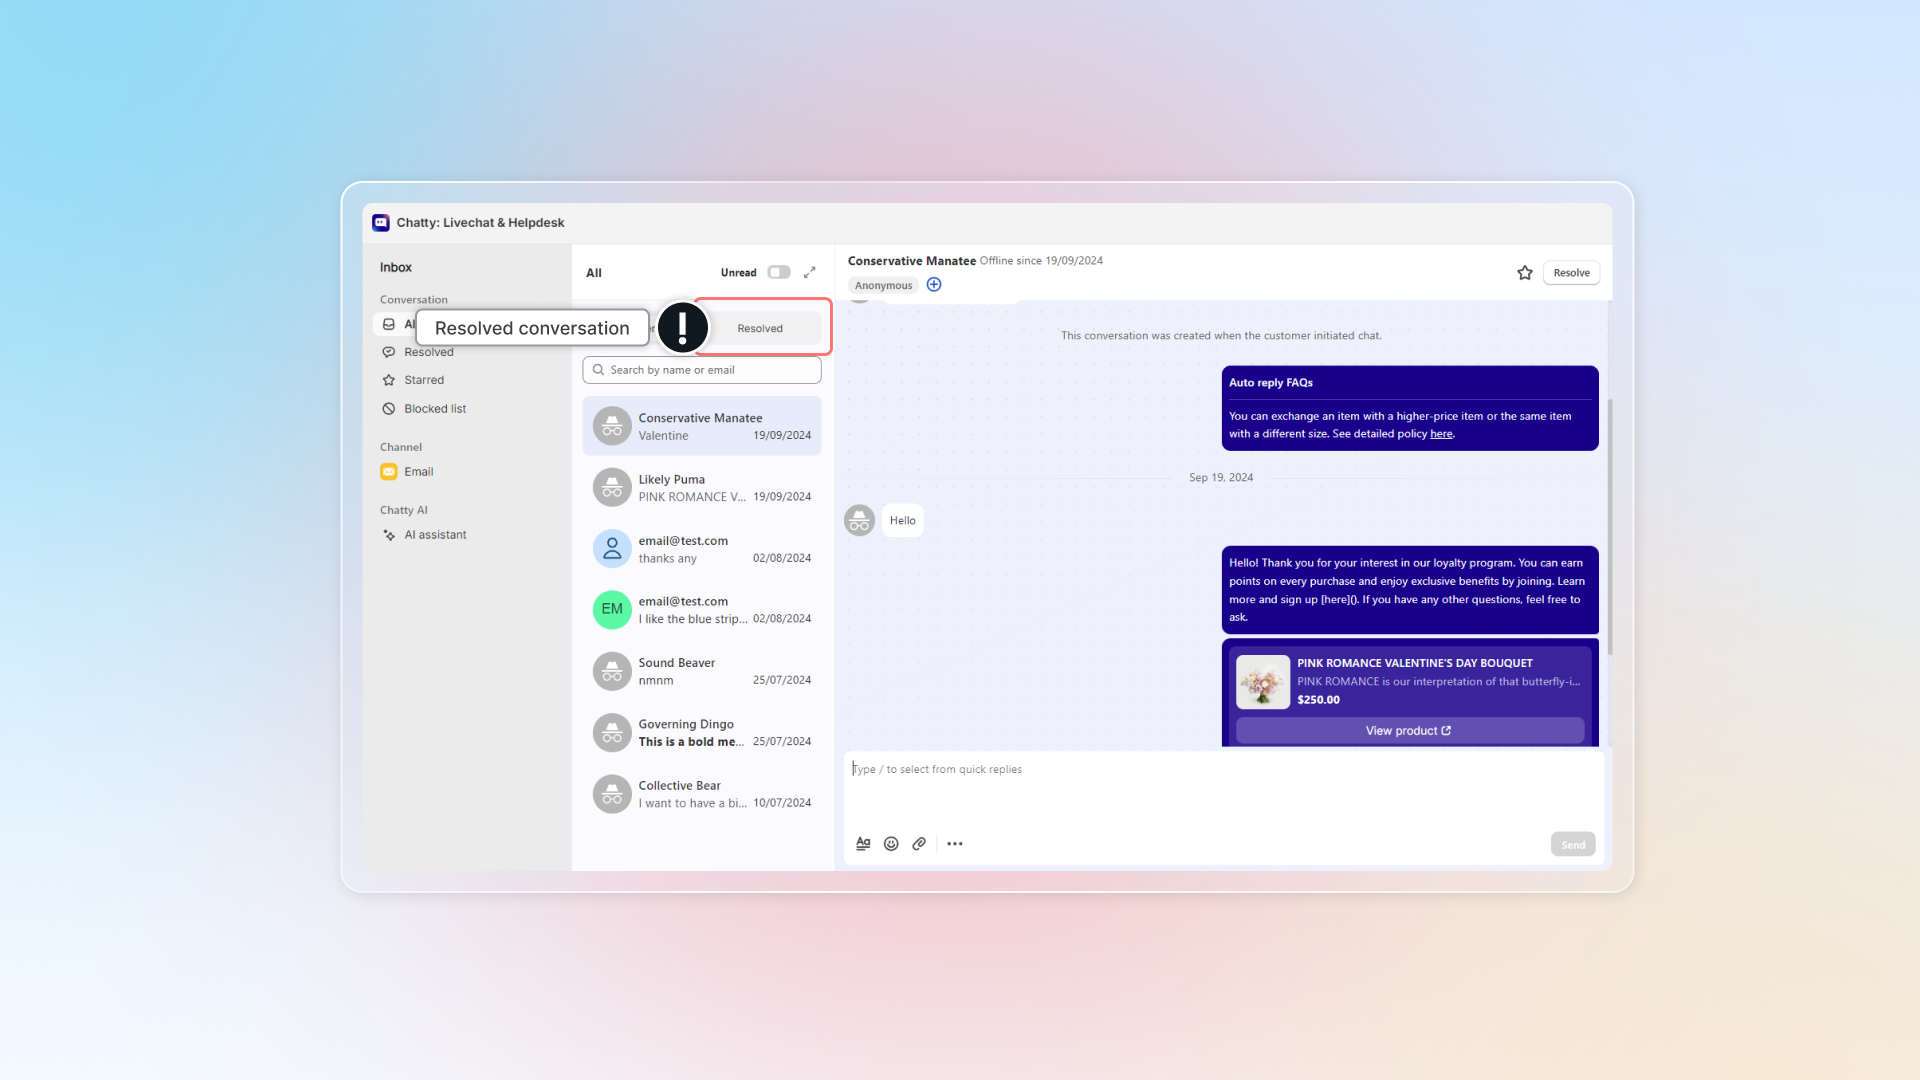
#### How to resolve conversations?
🅰️ **Manually**
1. Go to the conversation in your **Inbox**
2. Click **Resolve** in the chat
3. The conversation moves to **Resolved**
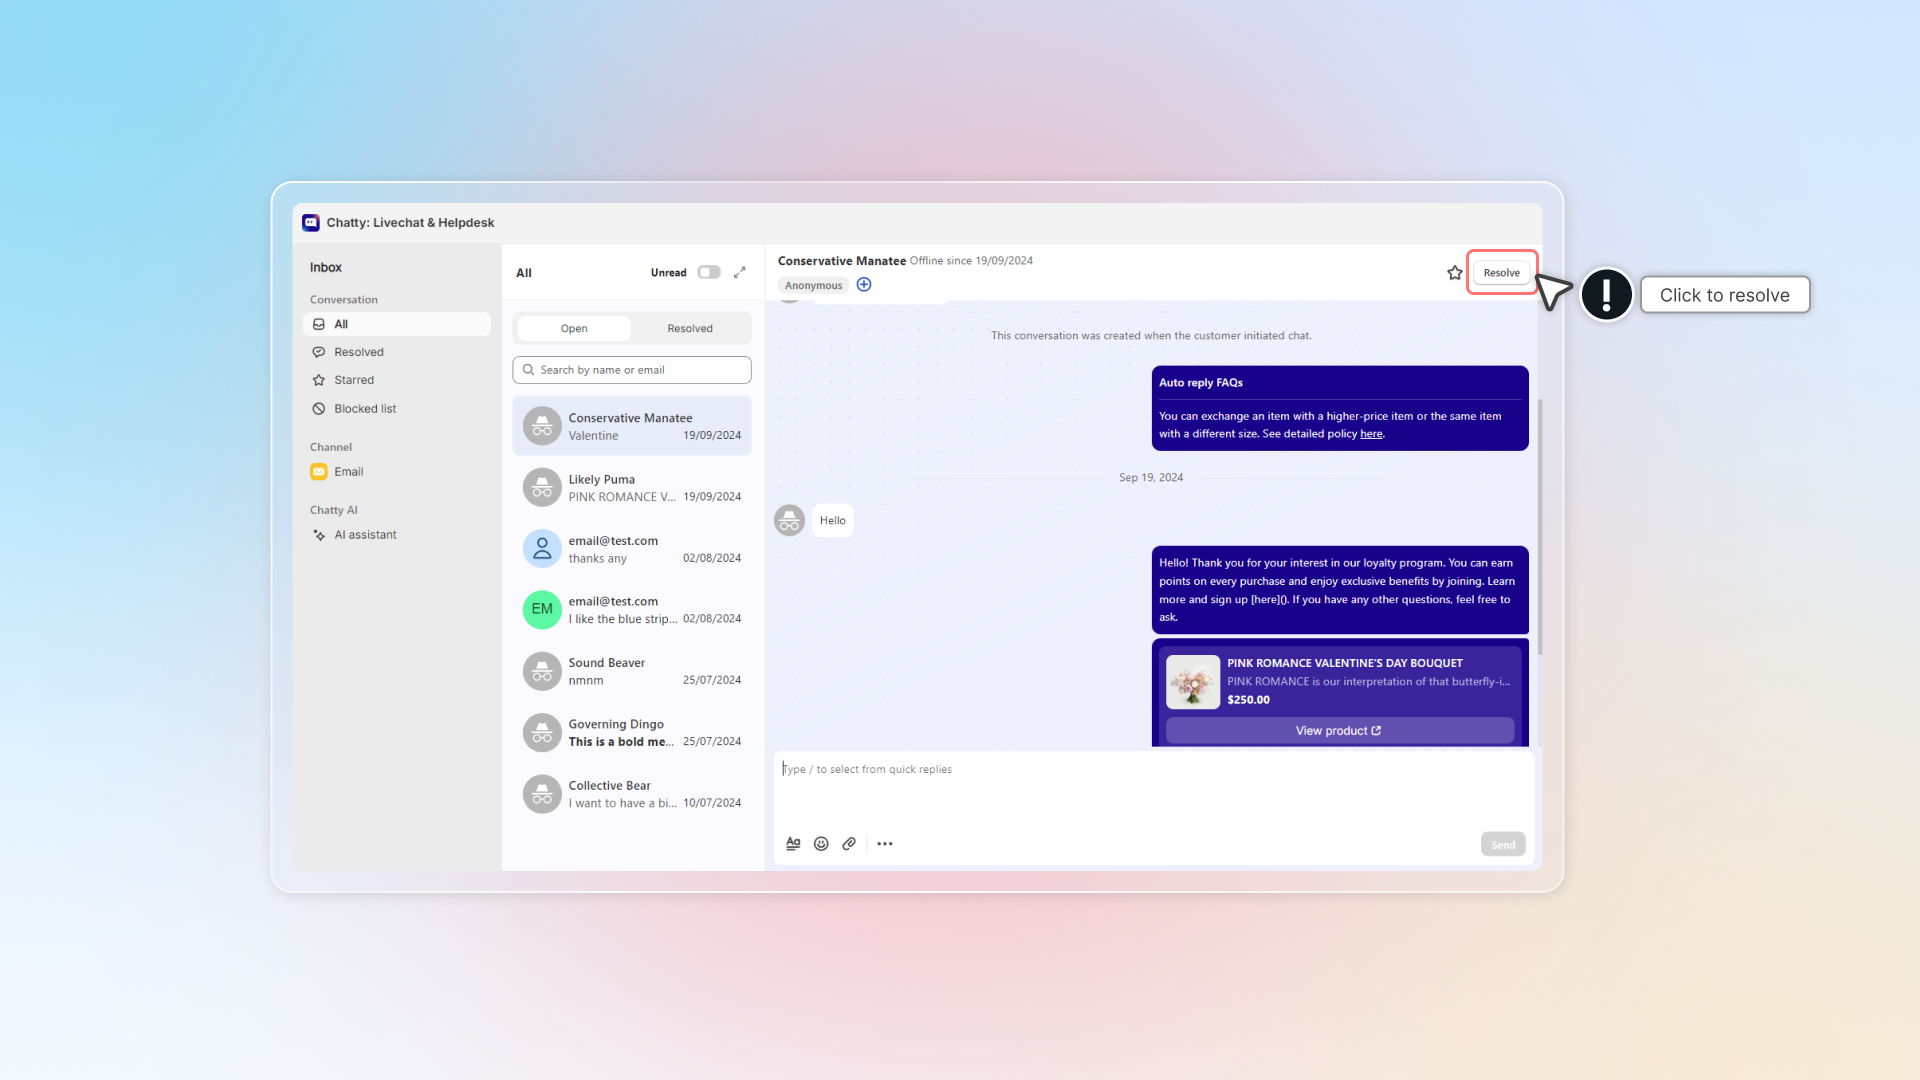
🅱️ **Automatically**
How automatic resolution works:
* Old conversations with no new messages get resolved
* Customers see your notice message explaining why
* They can send a new message to reopen the chat
How to set up automatic resolution:
1. Go to **Settings**
2. Go to **Automation**
3. Turn on **Automatic resolution**
4. Set up your preferences:
* **Auto resolve after**: Pick how long to wait
* **Time unit**: Pick minutes, hours, or days
* **Notice message**: Message what customers will see
5. Click **Save**
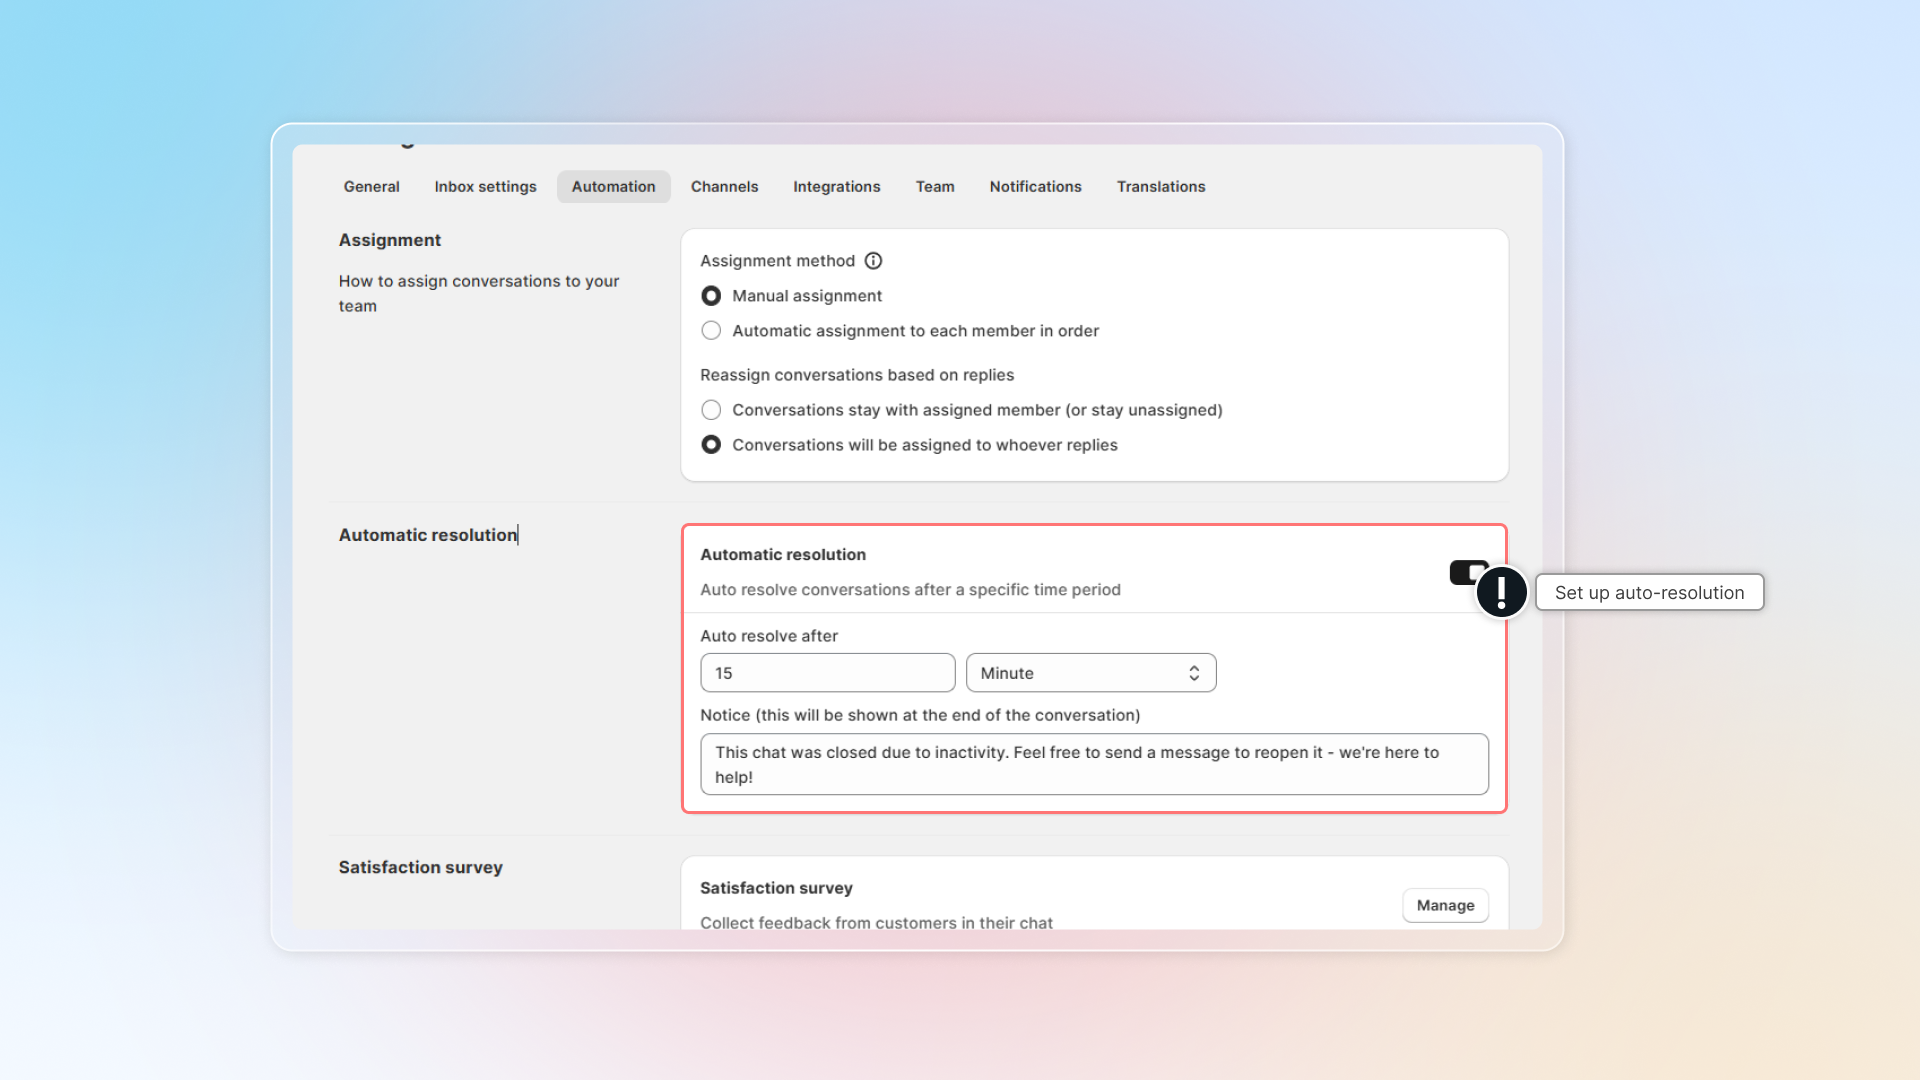
💡 **Best practices**
**For manual:**
* Don't resolve if you're waiting for the customer to reply
* Ask "Anything else I can help with?" before resolving
**For automatic:**
* **Busy stores**: 2-4 hours
* **Special support**: 24 hours
* **Always open stores**: 4-8 hours
**Notice message tips:**
* Keep it friendly
* Tell customers they can restart easily
* Example: "This chat was closed due to no activity. Send a message to reopen it - we're here to help!"
***
### Remind conversations
Set a follow-up alert on a conversation and Chatty reopens it at the time you picked, then notifies the team member you assigned it to. Steps: [Set a reminder](/live-chat/inbox/chat-zone/#set-a-reminder).
***
### Transcript (copies of conversation)
**Conversation transcript:** An email copy of the complete chat conversation, including all messages, timestamps, and customer information.
Chatty will send you email copies of conversations for easy record-keeping and sharing.
Customers might need transcript to:
* Reference product recommendations or advice later
* Share technical support instructions with others
* Keep track of customer service interactions
Your team might need transcripts to:
* Forward customer issues to other departments
* Keep records for compliance or training
* Share context with colleagues who weren't in the original conversation
#### How to set up transcript feature
Before customers can request transcripts, you need to enable this feature:
1. Go to **Settings**
2. Go to **Channels**
3. Click **Email channel**
4. Go to **Preferences**
5. In **Conversation transcript email**, turn on the feature
6. In **Forward to**, enter the email address where transcripts should be sent
* You can add multiple email addresses separated by commas
* This is typically your store's support email or team inbox
7. (Optional) Set up your **Email signature** to appear at the end of transcript emails
* Toggle on **Email signature**
* Add your signature text, including your name and store information
8. Click **Save**
After setup, customers will see the **Email transcript** option in their chat menu.
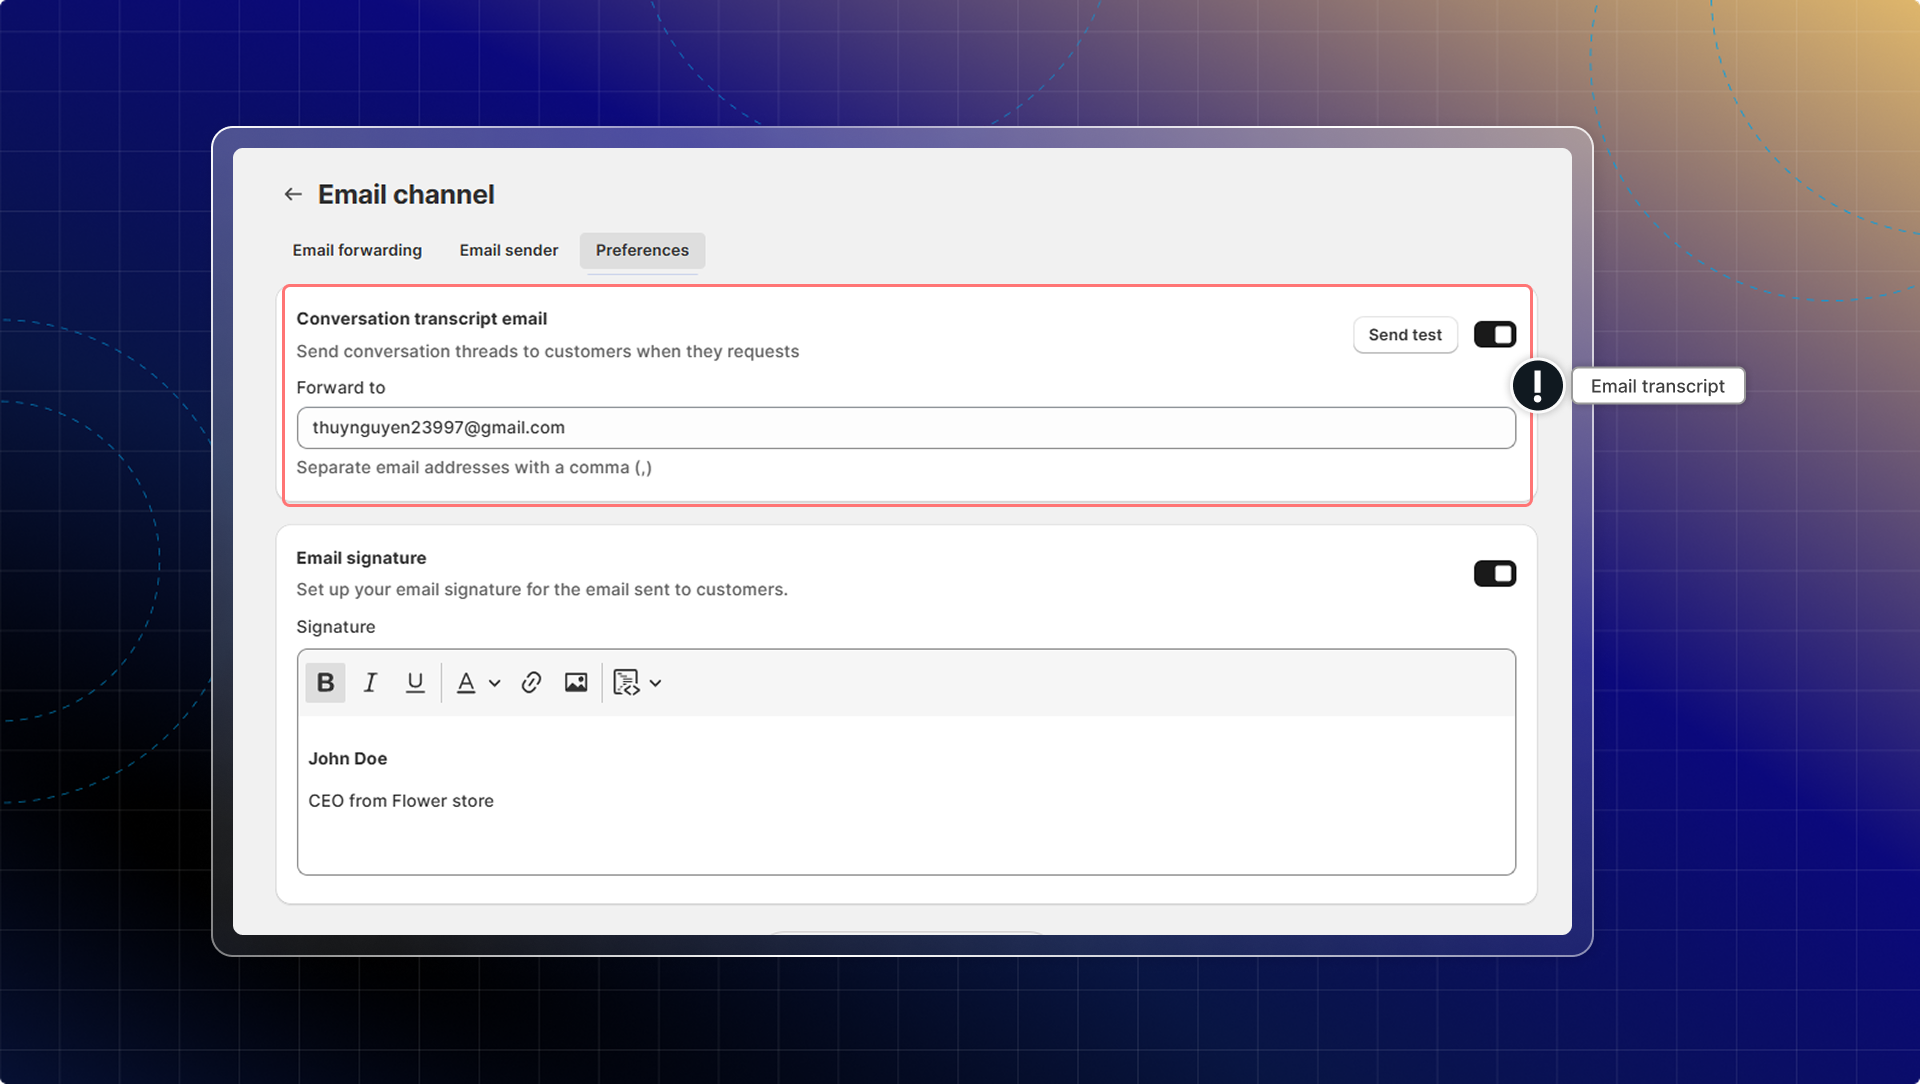
#### How customers request transcripts
Customers can request a transcript at any point during a conversation:
1. In the chatbox, click the menu icon (three dots) in the top right corner
2. From the menu, select **Email transcript**
3. The transcript is automatically sent to their email address
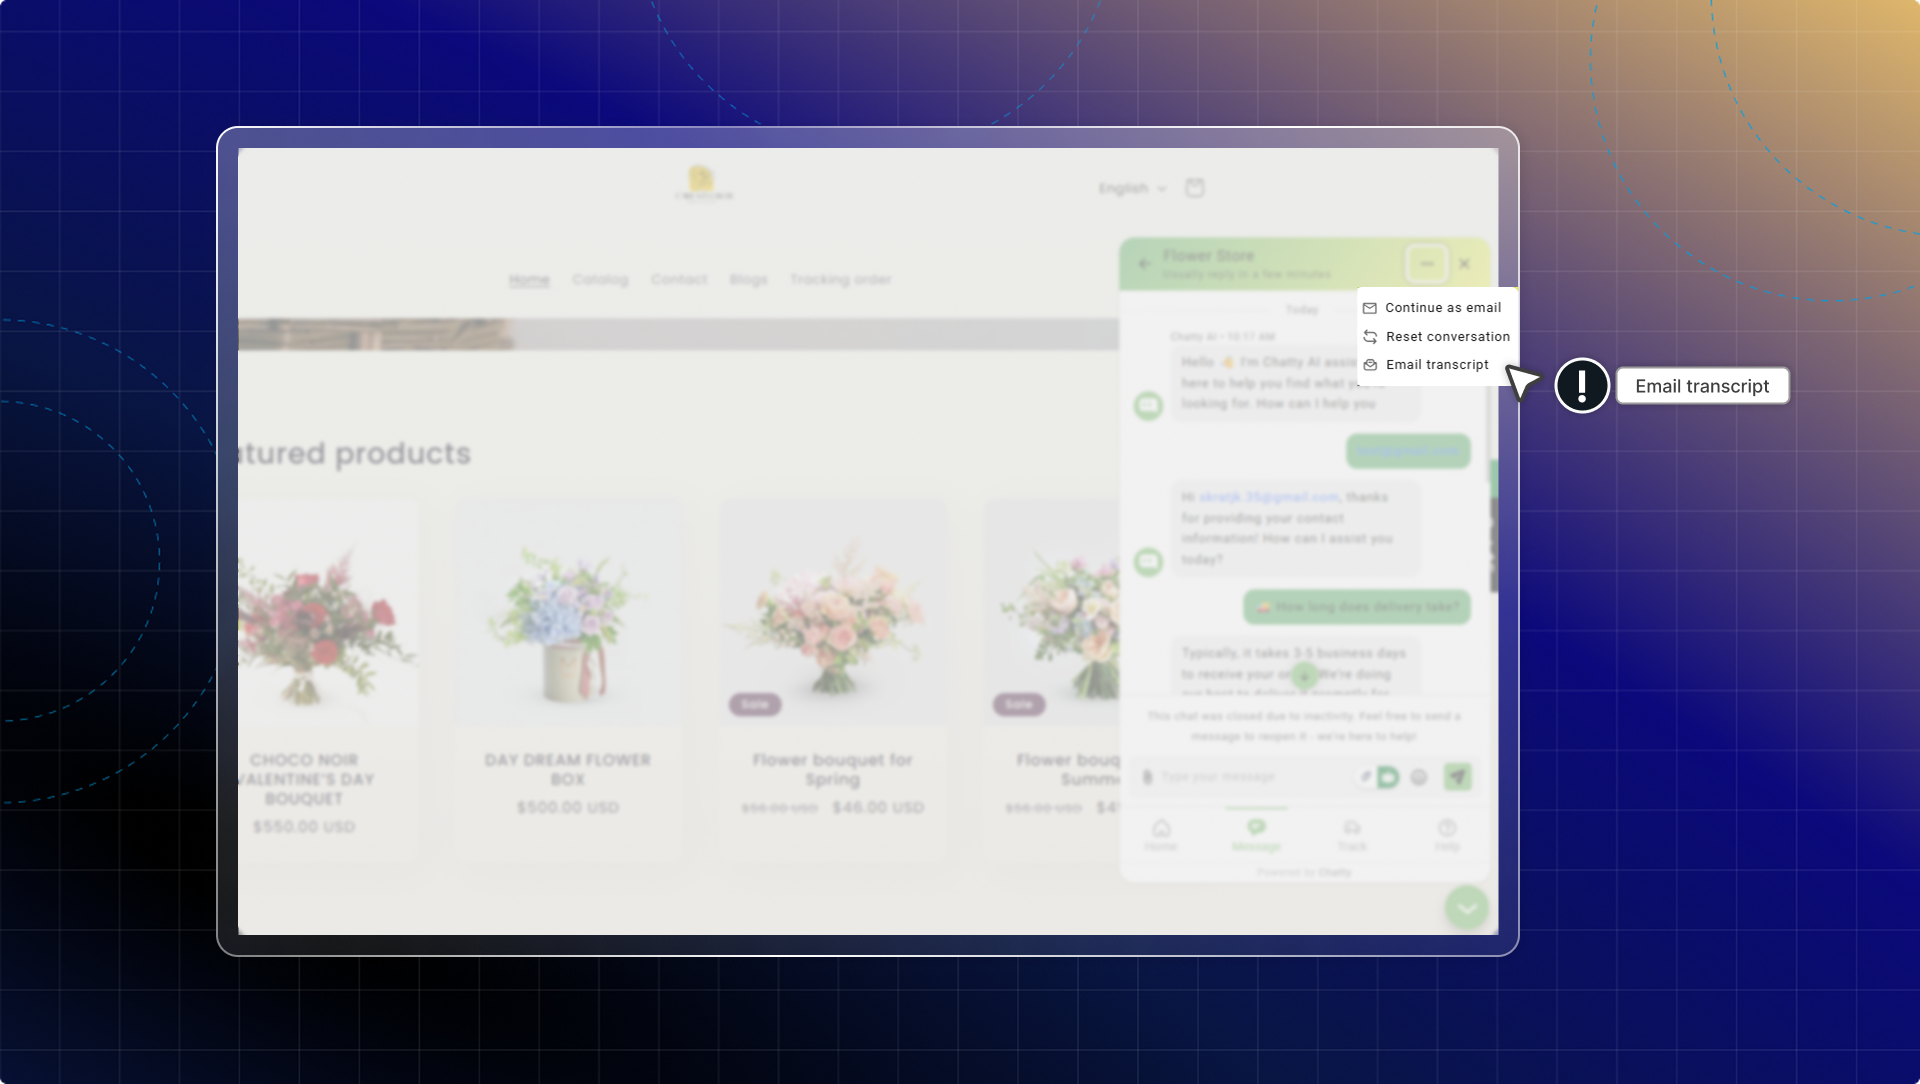
#### How team members send transcripts
While managing conversations in your inbox, you can send transcripts to anyone:
1. Open the conversation in your inbox
2. Click 3 dots in the top right corner → **Send transcript**
3. Choose where to send the transcript:
* **To me** - Send to your Chatty account email
* **To \[customer email]** - Send to the customer's email address
* **To someone else** - Enter a custom email address
4. Click **Done**
The transcript email includes the complete conversation with timestamps, so recipients have full context.
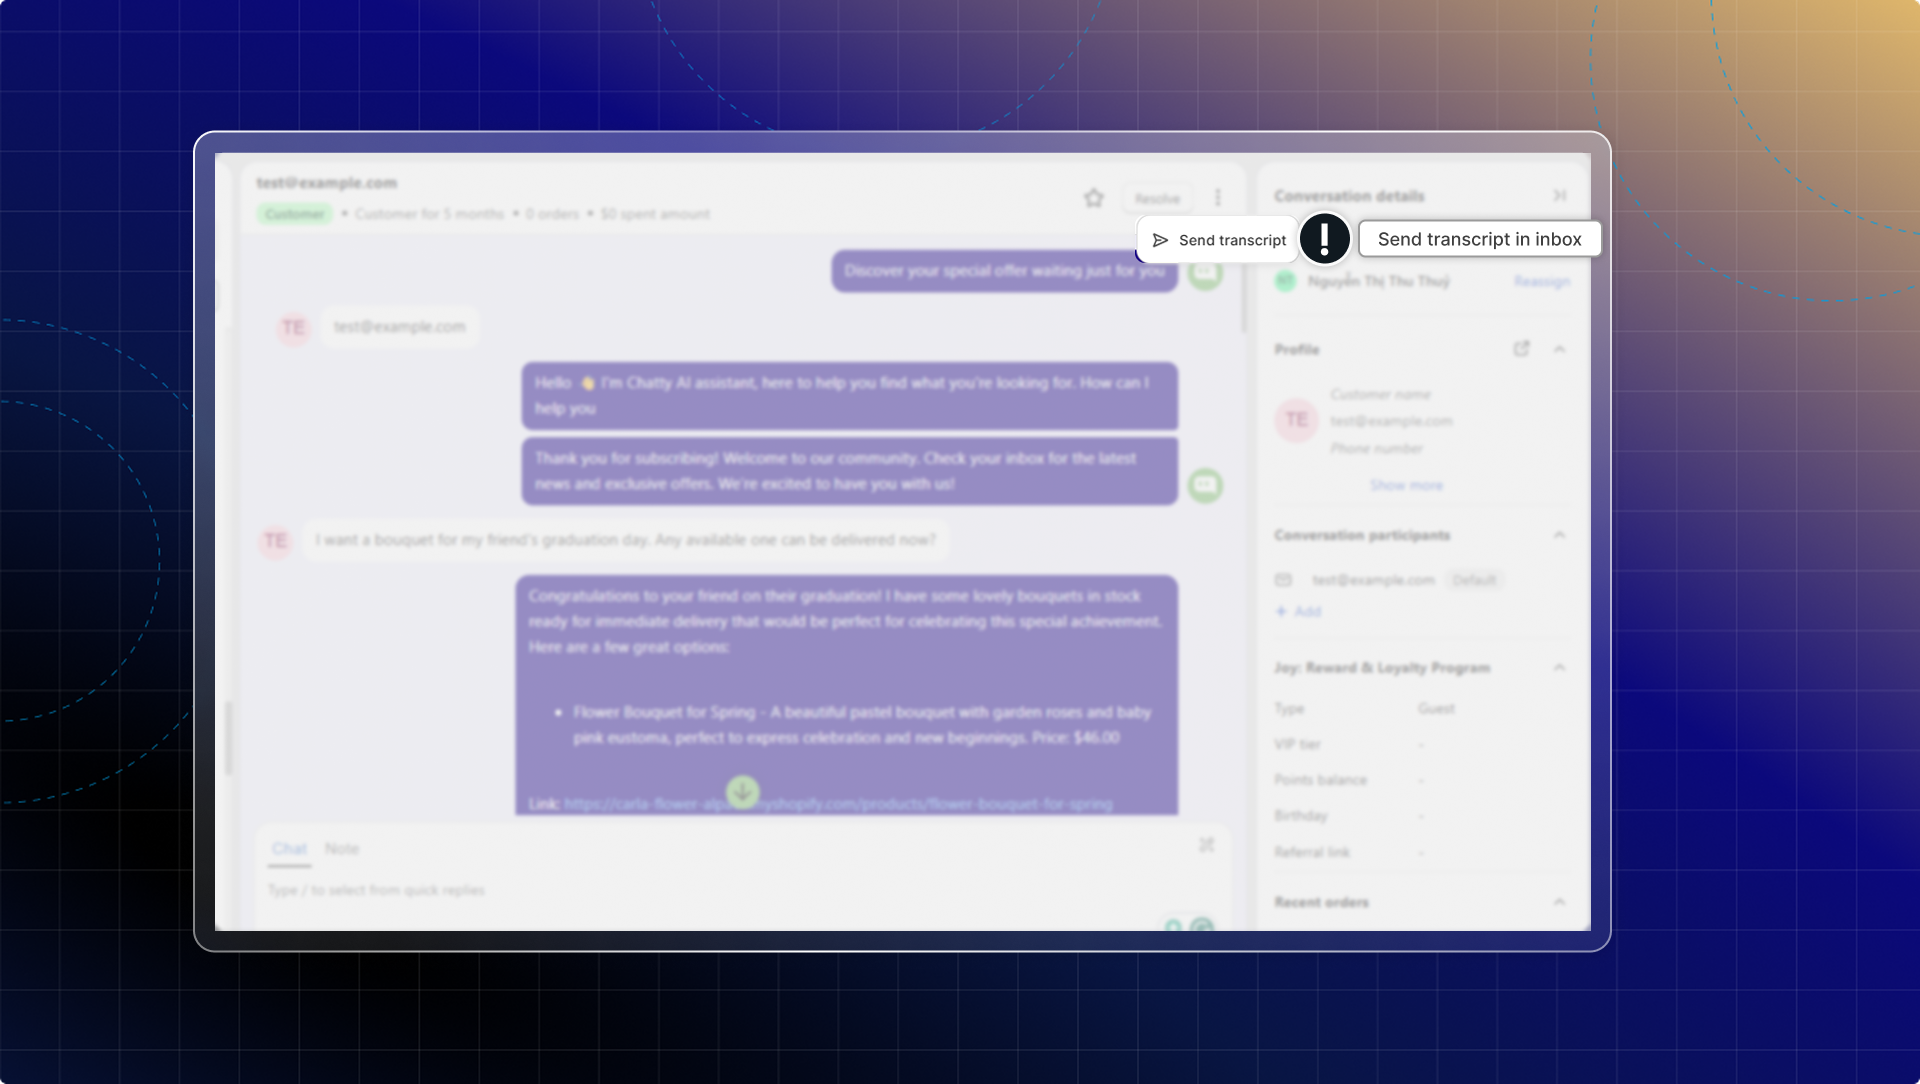
***
### Satisfaction survey
Satisfaction survey helps you gather feedback from customers after conversations are resolved.
Customers can rate their experience using stars or emojis, helping you understand how well your team handles support. You can:
* Track your team's support performance over time
* Identify which conversations need better handling
* Improve customer satisfaction with data-driven changes
* Show customers you care about their experience
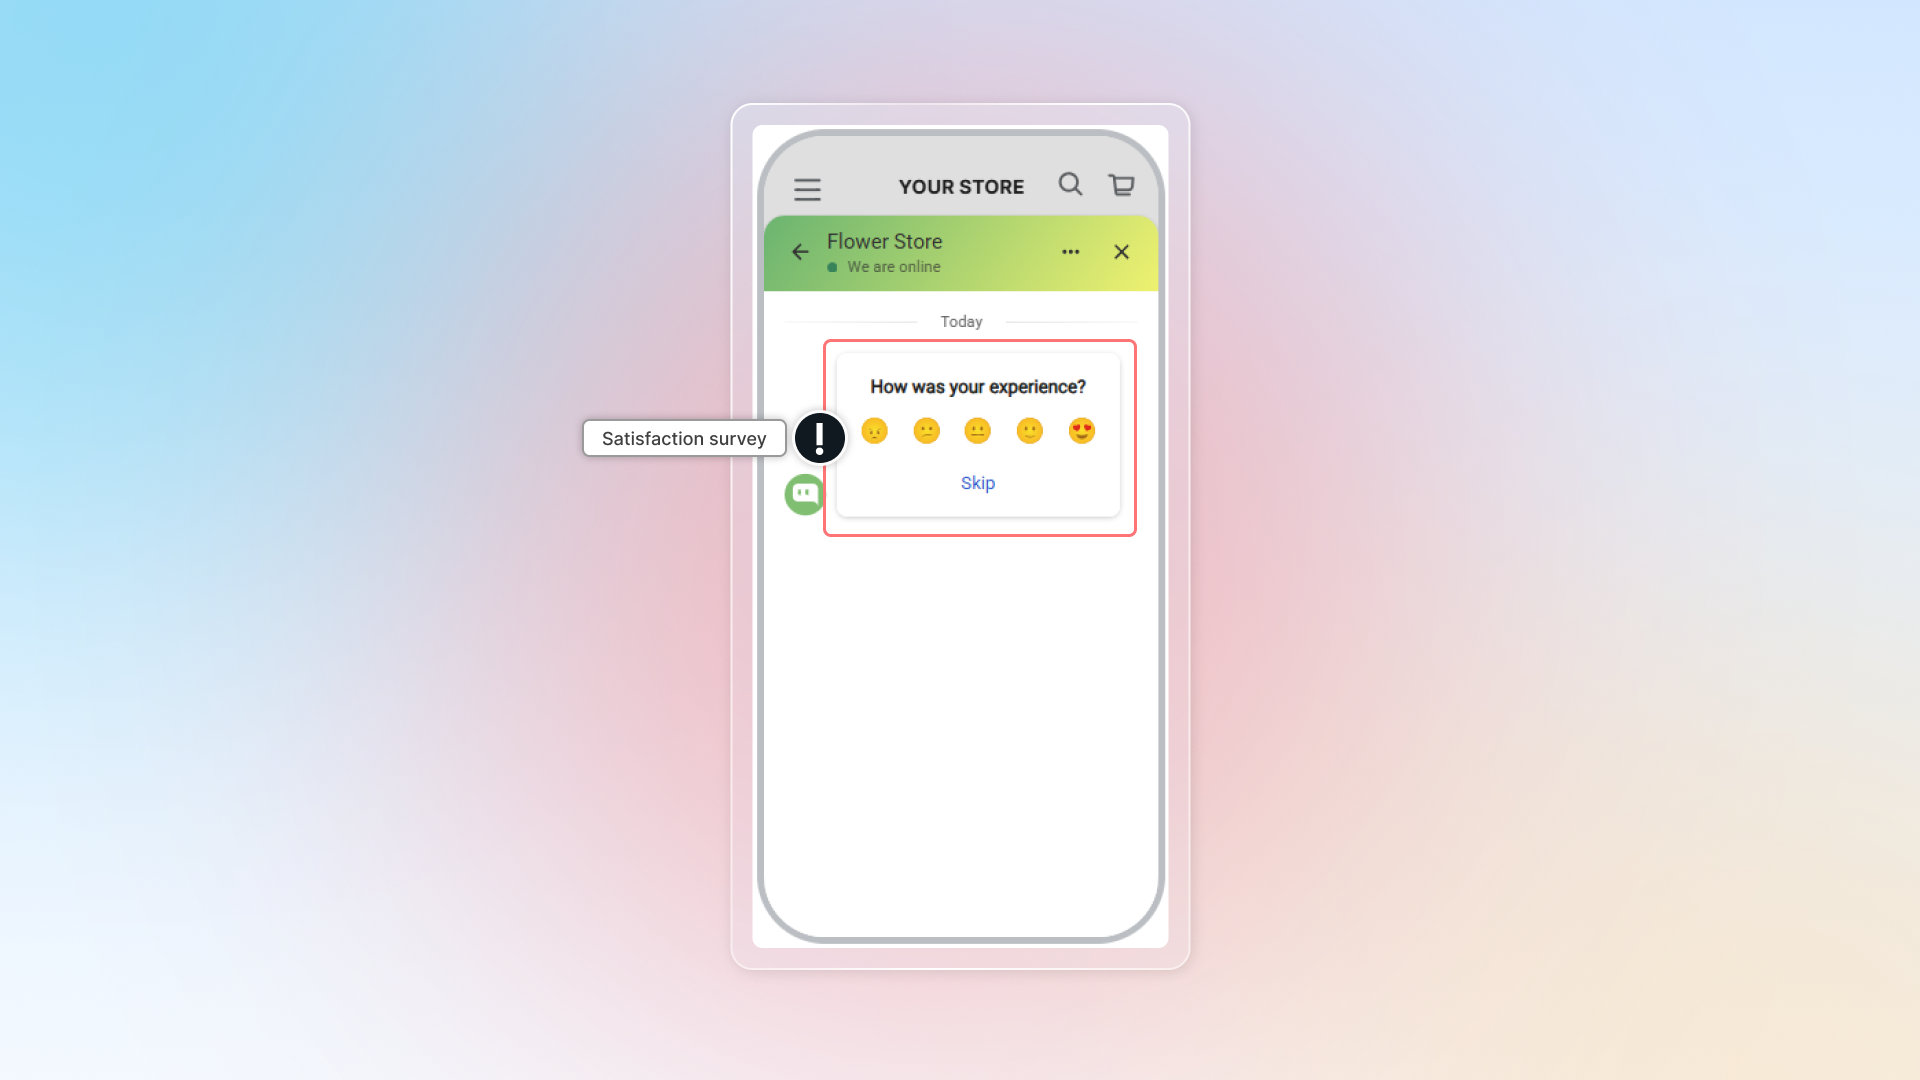
#### How to set up satisfaction survey
**Go to Satisfaction survey**
Go to Settings *→* Automation → In Satisfaction survey, click Manage
**Turn on survey**
Click to turn on Survey
**Select survey format**
Select how customers will rate their experience:
**Star rating**: Customers rate using 1-5 stars
**Emoji scale**: Customers choose from 5 emoji faces (very unhappy to very happy)
**Set survey content**
**Intro**: Enter the question customers see first (Default: "How was your experience?")
**Thank you message**: Message shown after customers submit feedback. (Default: "Thank you for your feedback!")
**Set trigger time**
Choose when to send the survey:
**Conversation is resolved**: Survey appears when you mark conversations as resolved
**When specific keywords appear**: Survey triggers when customers use certain words
Add keywords like "thank you," "thanks," "got it," "perfect". Customers often use these words when they're satisfied.
**Save**
Click **Save** to activate your satisfaction survey
================================================================
URL: https://help.chatty.net/live-chat/proactive-chat/
Locale: en
================================================================
# Proactive chat
**Who can use this feature?**
* Proactive chat is available on every plan, but some templates need a paid plan:
* **Pro or above:** Cart booster, View cart, Abandoned cart reminder
* **Any paid plan:** Collection boost
* **Free plan:** all other templates
* Inside a campaign, the **Product Quiz** content tab and the **Recommend similar products** option also need Pro or above.
### What is Proactive chat?
Proactive chat sends targeted messages to website visitors before they ask questions.
Instead of waiting for customers to contact you, these campaigns reach out at key moments in their shopping journey to guide them toward purchases.
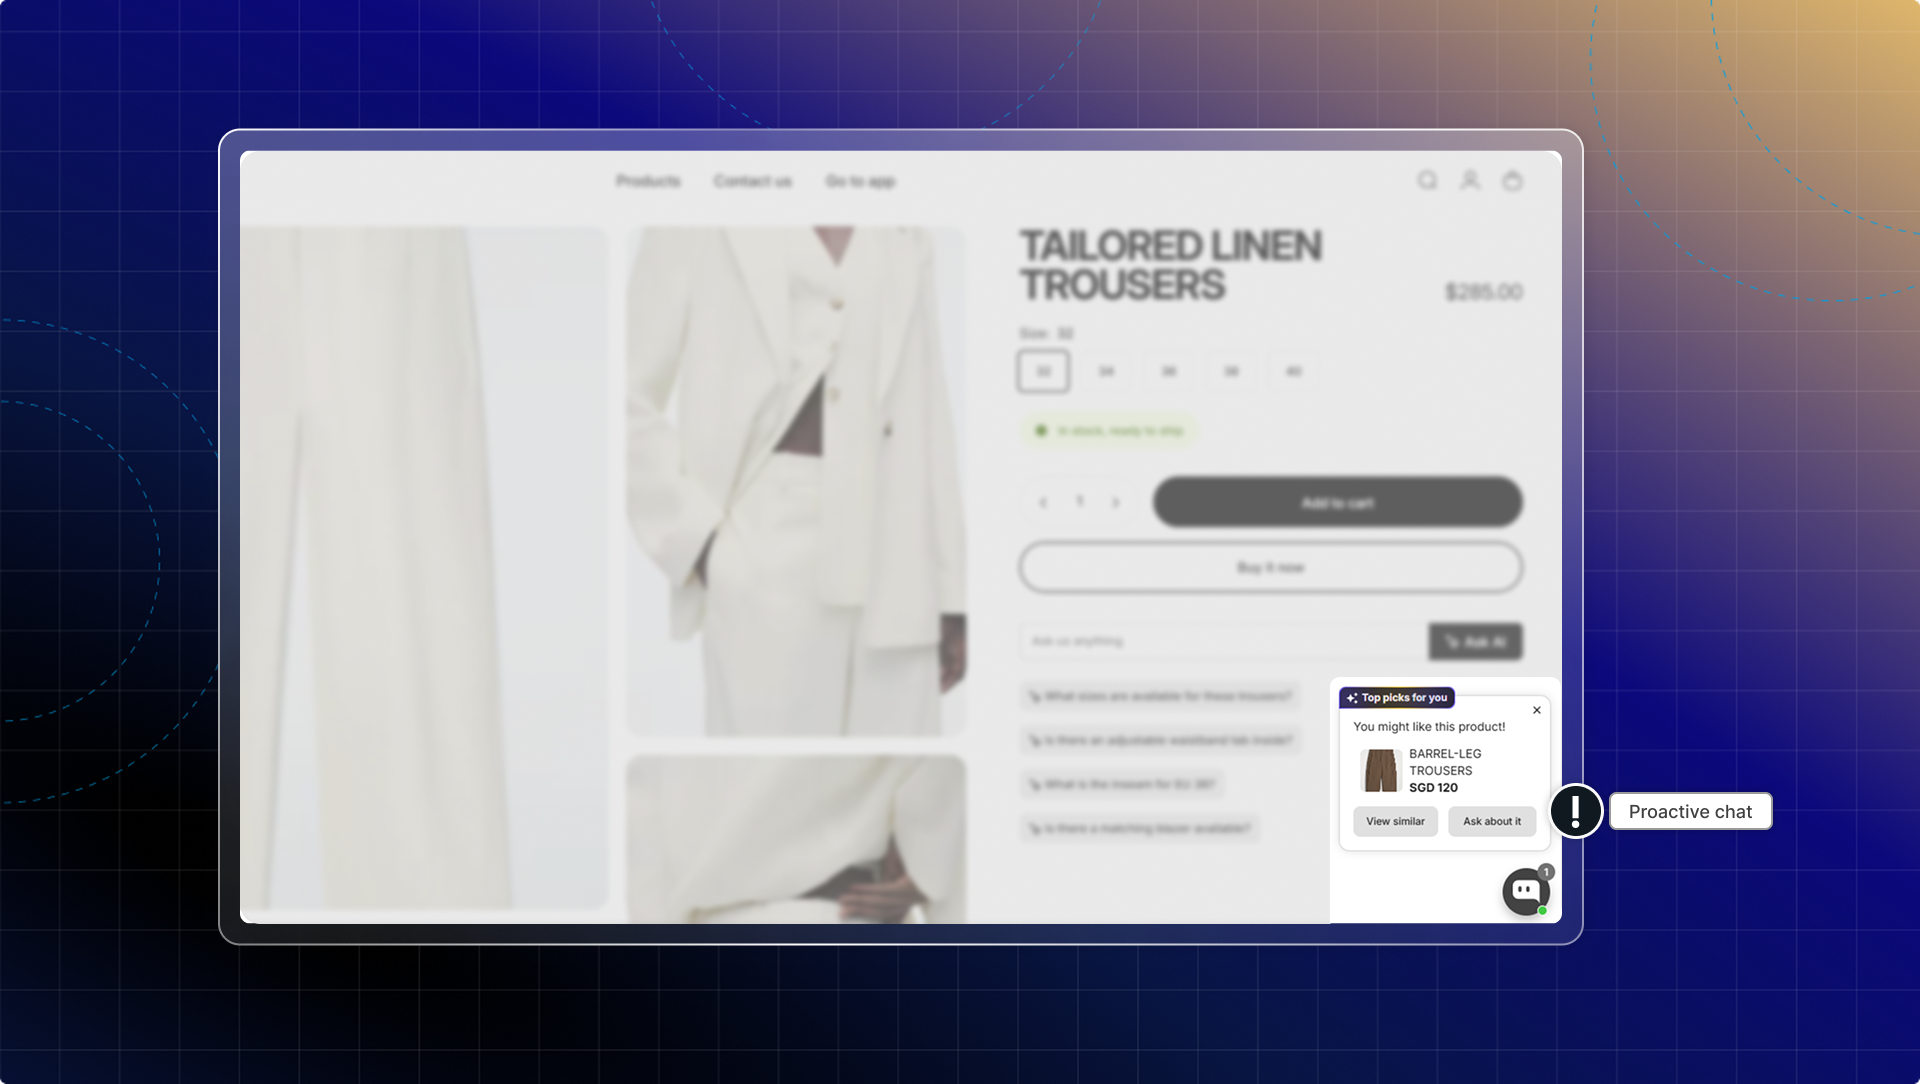
### Why use Proactive chat?
* **Turning visitors into customers:** Welcome new visitors and guide them to relevant products instead of letting them browse aimlessly.
* **Recovering lost sales:** Automatically target customers who add items to cart but haven't completed purchase with incentives or assistance.
* **Growing your email list:** Offer exclusive discounts to visitors who subscribe to your newsletter at strategic moments.
* **Increasing average order value:** Recommend bestselling or complementary products when customers show buying intent.
### Proactive chat templates
Chatty provides pre-built templates to help you create effective proactive chat campaigns quickly.
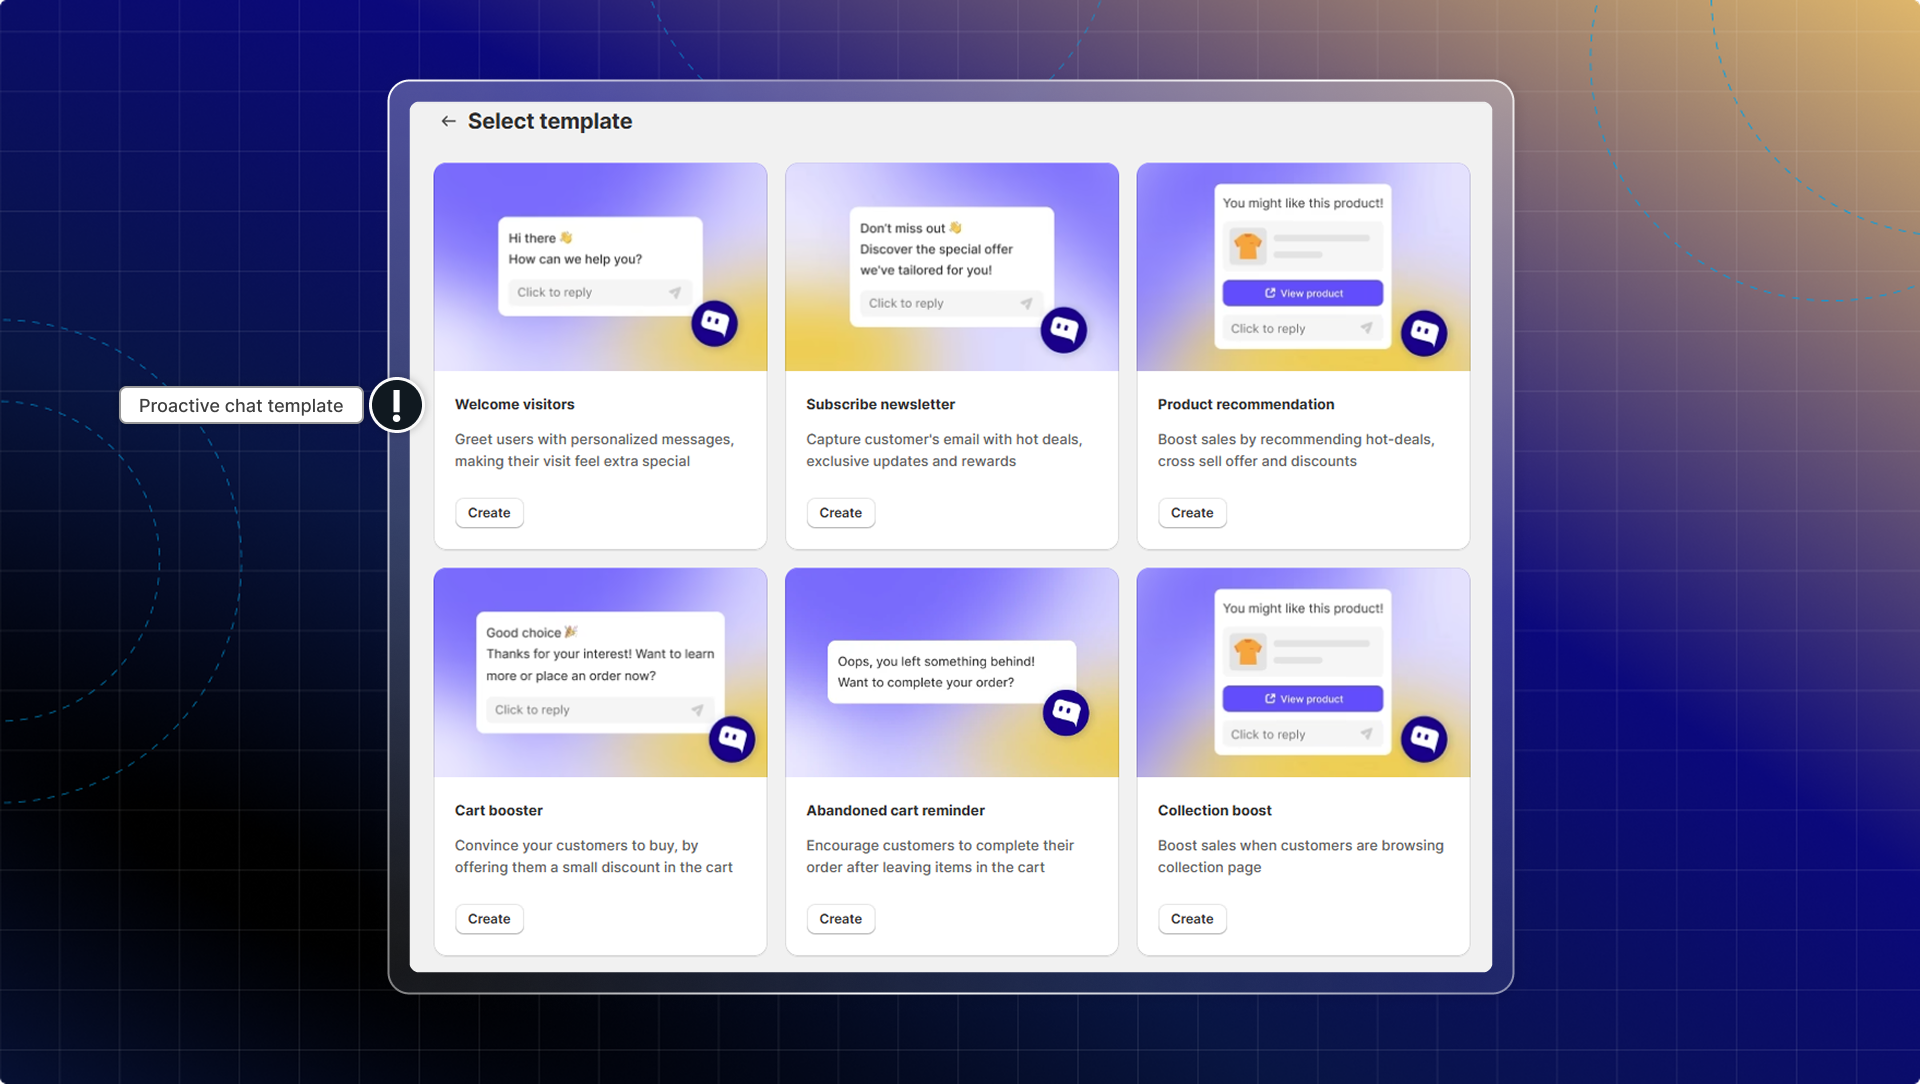
Each template is designed for specific customer scenarios and includes proven messaging that drives results.
| Template | Goal | Trigger moment | Plan |
| --- | --- | --- | --- |
| Welcome visitors | Greet new visitors and guide them to products | Homepage, landing pages | All plans |
| Subscribe newsletter | Capture emails with discount offers | Product pages, repeat visitors | All plans |
| Product recommendation | Show relevant products to browsing customers | Category, product detail pages | All plans |
| Smart Product Page | Show a floater with a variant picker and in-chat Add to cart | Product pages | All plans |
| Collection boost | Drive engagement when customers browse your collections | Collection pages | Any paid plan |
| Search page | Assist customers actively searching for products | Search results page | All plans |
| View cart | Engage customers the moment they open their cart | Cart page | Pro or above |
| Cart booster | Target customers with items in cart | Cart page, checkout | Pro or above |
| Abandoned cart reminder | Recover carts by reminding customers what they left behind | After activity | Pro or above |
| Remove items from cart | Win back customers who remove products with a coupon or alternative | Cart page | All plans |
### How to set up proactive chat
#### Go to Proactive chat
#### Click Create proactive chat
#### Choose your type
* **Welcome visitors:** Greet new visitors and guide them to products
* **Subscribe newsletter:** Capture emails with discount offers
* **Product recommendation:** Show relevant products to browsing customers
* **Smart Product Page:** Show a floater with a variant picker and in-chat Add to cart
* **Collection boost:** Drive engagement when customers browse your collections
* **Cart booster:** Target customers with items in cart
* **Abandoned cart reminder**: Recover carts by reminding customers what they left behind
* **View cart:** Engage customers the moment they open their cart
* **Remove items from cart**: Win back customers who remove products with a coupon or alternative
* **Search page**: Assist customers actively searching for products
Templates that need a paid plan show a plan tag on the card. See the plan table above.
#### Configure settings
**Campaign details**
* Campaign name: Enter a name to identify this campaign in your dashboard
* Activate campaign: Turn on to make the campaign live on your storefront
**Targeting options**
* Trigger options: When to send proactive chat
* Pages: Select which pages show this campaign (If you select specific pages, click **Enter** after URL to add)
* Audience: Choose who sees the campaign (all visitors or returning customers)
* Countries: Show the campaign to every country, or pick the countries you want (not available on View cart)
* Cart value: On the four cart templates — Cart booster, View cart, Abandoned cart reminder, Remove items from cart — set a minimum and maximum cart value so the campaign only fires in that range
* Devices: Select desktop, mobile, or both
* Display time: Set when the campaign appears (after page load, scroll percentage, or time delay)
* Display duration: Choose how long the campaign stays visible
**Message content**
* Proactive message: Write the message that appears above your chatbox.
* Content type: Most templates let you pick what the popup sends. Choose one of four tabs:
| Content tab | What customers get | Available in |
| --- | --- | --- |
| Text | A plain chat message when they click the teaser | Welcome visitors, Product recommendation, Collection boost, Search page, Cart booster, View cart, Abandoned cart reminder, Remove items from cart |
| Product Recommendation | A product card list — best sellers, new arrivals, similar products, complementary products, or your own picks. **Recommend similar products** needs Pro or above and is not offered on Welcome visitors | Same templates as Text |
| Discount | A discount code from your Shopify discounts, with a usage instruction you write | Same templates as Text |
| Product Quiz | A short quiz that guides customers to the right product, with your own teaser, Yes and No button labels | Welcome visitors, Product recommendation, Collection boost, Search page — **Pro or above** |
#### Activate proactive chat
* Check **Preview** to see how your campaign appears on your storefront.
* Click **Activate** to make your campaign live
#### Publish proactive chat
If you have never published before, activating a campaign is not enough on its own: your campaigns stay drafts until you publish once. Chatty shows the prompt below until you do, then stops asking.
* From the campaign form, click **Publish now** in the "Next action: Publish new version" banner.
* Or go back to **Proactive chat** and click **Publish proactive chat**.
#### Recommend products from a collection
In the **Product Recommendation** content tab you can point a campaign at a whole collection instead of picking products one by one. Chatty then picks products from that collection at random, so the campaign stays current when your inventory changes. This suits seasonal collections, new arrivals, and category promotions such as "Summer Sale".
1. Open the **Product Recommendation** content tab and select **Custom recommendation**.
2. Choose **Products from collection**.
3. Choose the collection you want to feature.
4. Save and activate the campaign, then publish it to your storefront.
If a collection is empty or all its products are out of stock, the campaign shows no product recommendation.
Use collections for evergreen campaigns — Best Sellers, New Arrivals, seasonal ranges. For a specific product launch, pick the products manually instead.
#### Products excluded from AI training
When AI is turned on for a campaign, Chatty removes products you excluded from AI training (**AI agent** → **Training Data**) from the recommendation pool, so your AI can answer every follow-up question about what it recommends. Nothing to configure — the filter applies on its own.
| AI enabled? | Excluded products shown? |
| --- | --- |
| Yes | Never shown in recommendations |
| No | All active Shopify products shown |
A product stays out of AI training when you excluded it yourself, or when it has no description for the AI to learn from. If a product you want to recommend does not appear while AI is on, check whether it is excluded — re-include it and Proactive chat picks it up after the next sync.
***
**Campaign priority**
When multiple campaigns could show at the same time, priority is determined in two steps:
1. **Priority number (primary rule)**: Each campaign has a priority number from 1 to 10. Lower number = higher priority. Drag and drop campaigns in your list to reorder them.
2. **Closest to checkout (tiebreaker):** If multiple campaigns share the same priority number and trigger conditions fire at the same time, the campaign with the trigger closest to a checkout action wins:\
`Cart Booster → Abandoned Cart → View Cart → Remove Items from Cart → Smart Product Page → Product → Collection → Search → Subscribe → Welcome`
**Session limit**: Maximum 5 proactive chats per session. Only 1 displayed at any given time.
***
**Marketing double opt-in (in Subscribe newsletter)**
By enabling this option, customers will receive a confirmation email to confirm their subscription before get the discount.
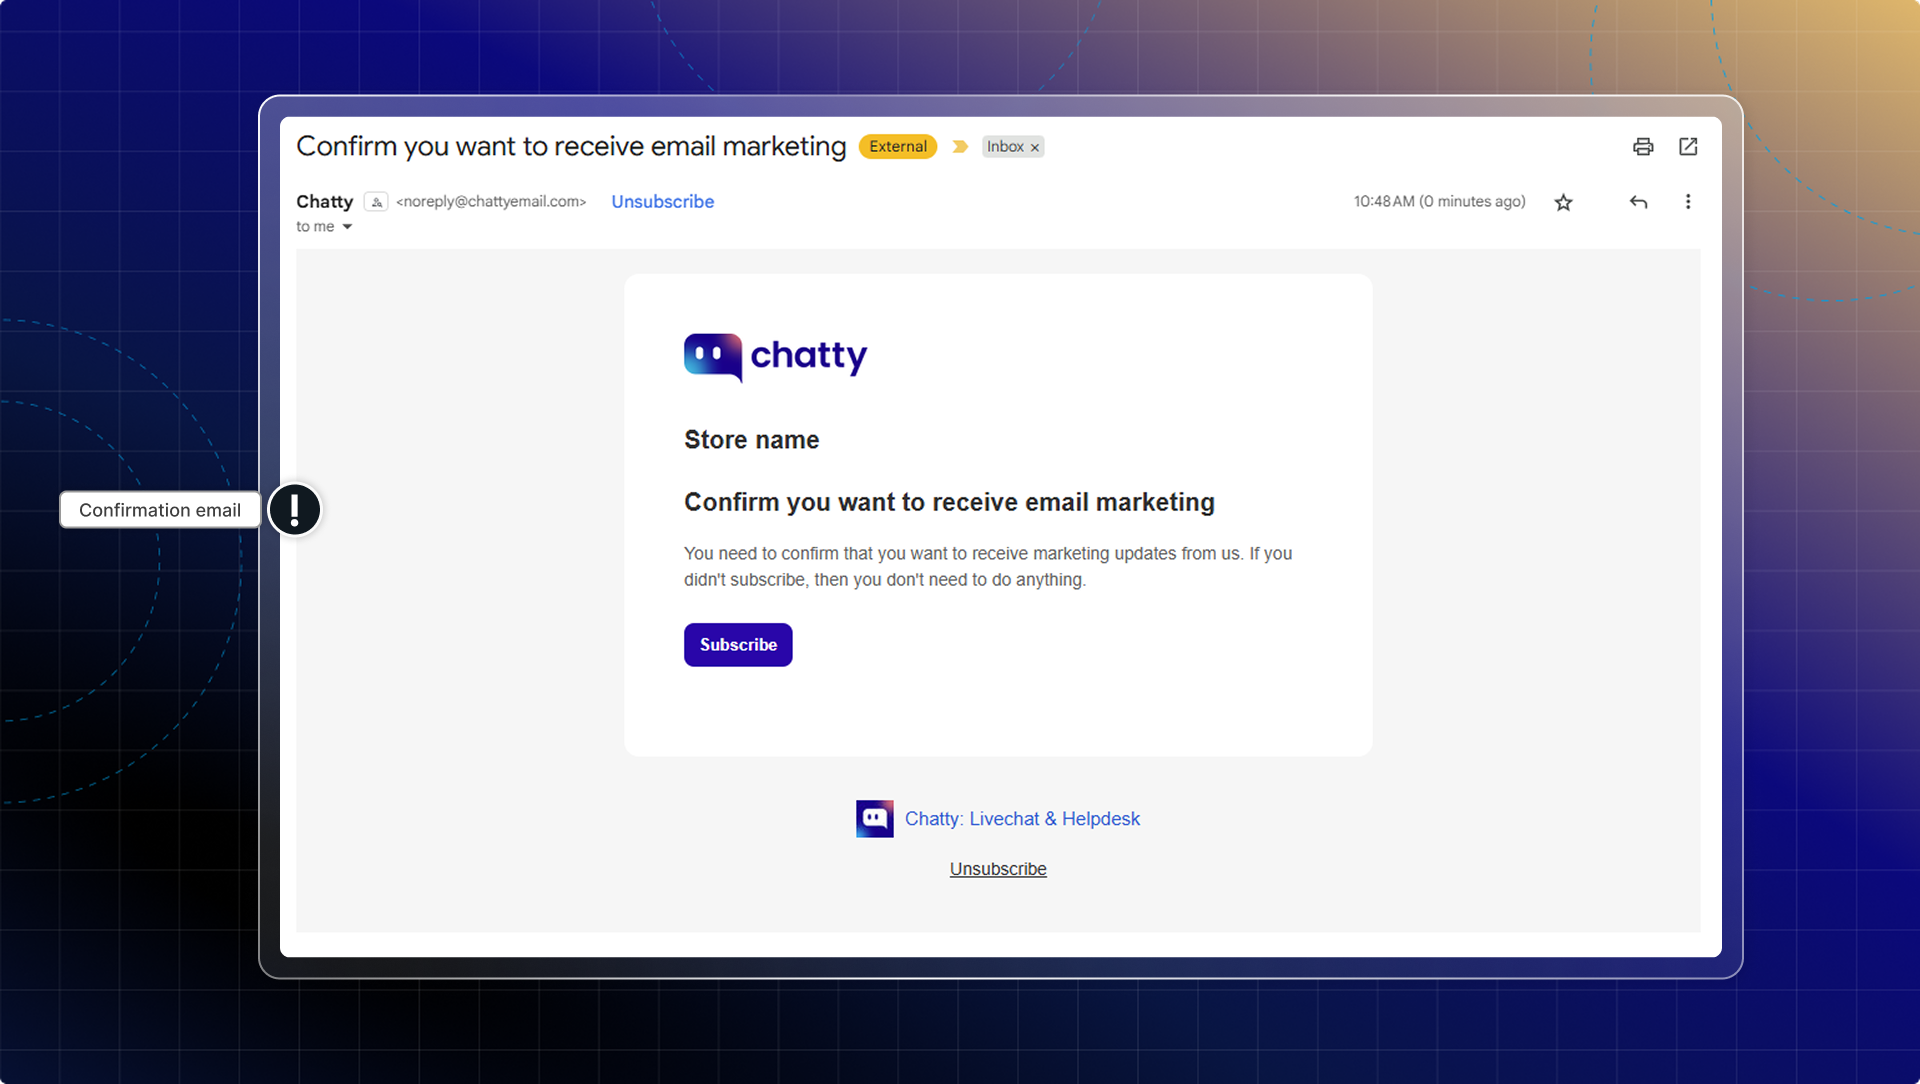
**Timing best practices**
* Welcome messages: 5-10 seconds after page load
* Product recommendations: After 30-50% page scroll
* Cart boosters: 2-3 minutes after adding items to cart
* Newsletter signup: Before exit intent or after browsing multiple products
================================================================
URL: https://help.chatty.net/live-chat/quick-replies/
Locale: en
================================================================
# Quick replies
Quick replies help users set up messages which are common for merchants to answer customers.
### Create quick replies
1. Go to **Settings** -> In Quick replies, click **Manage**\
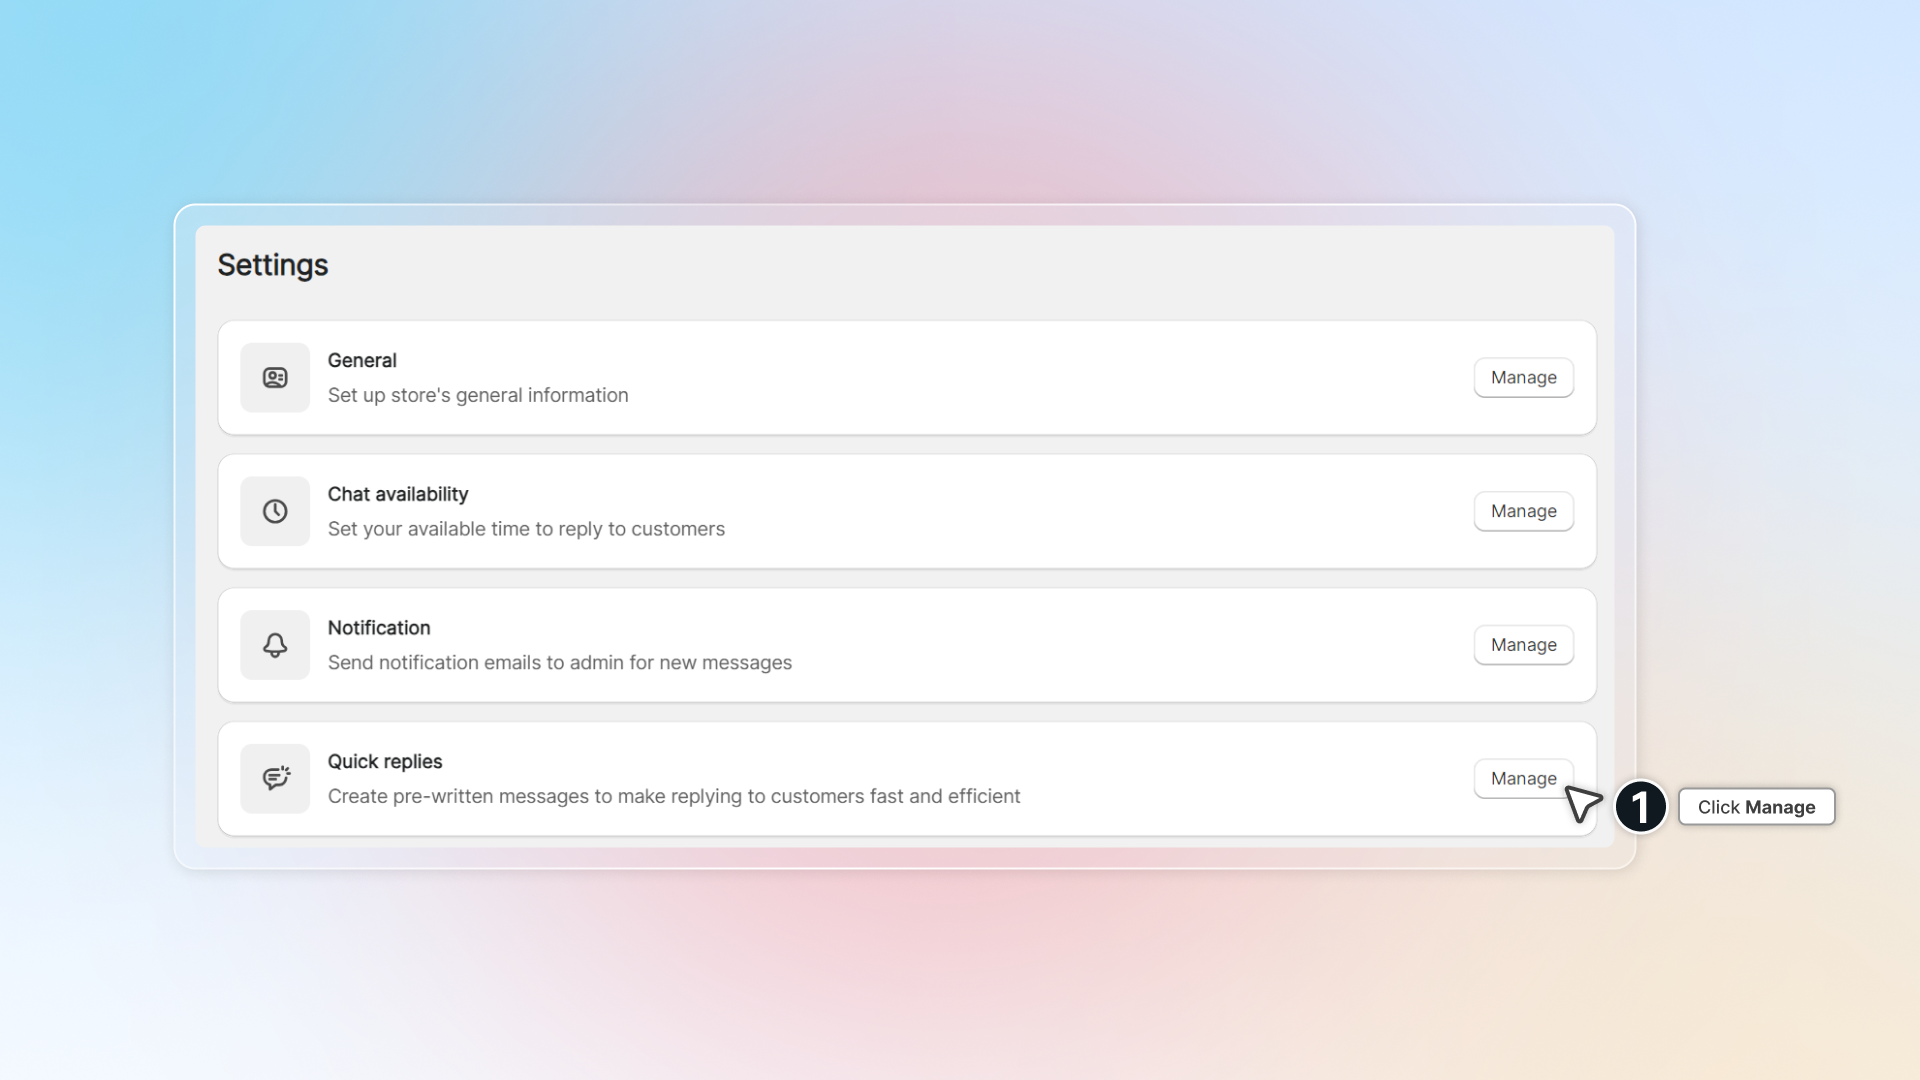
2. Turn on Quick replies to enable quick replies in chat
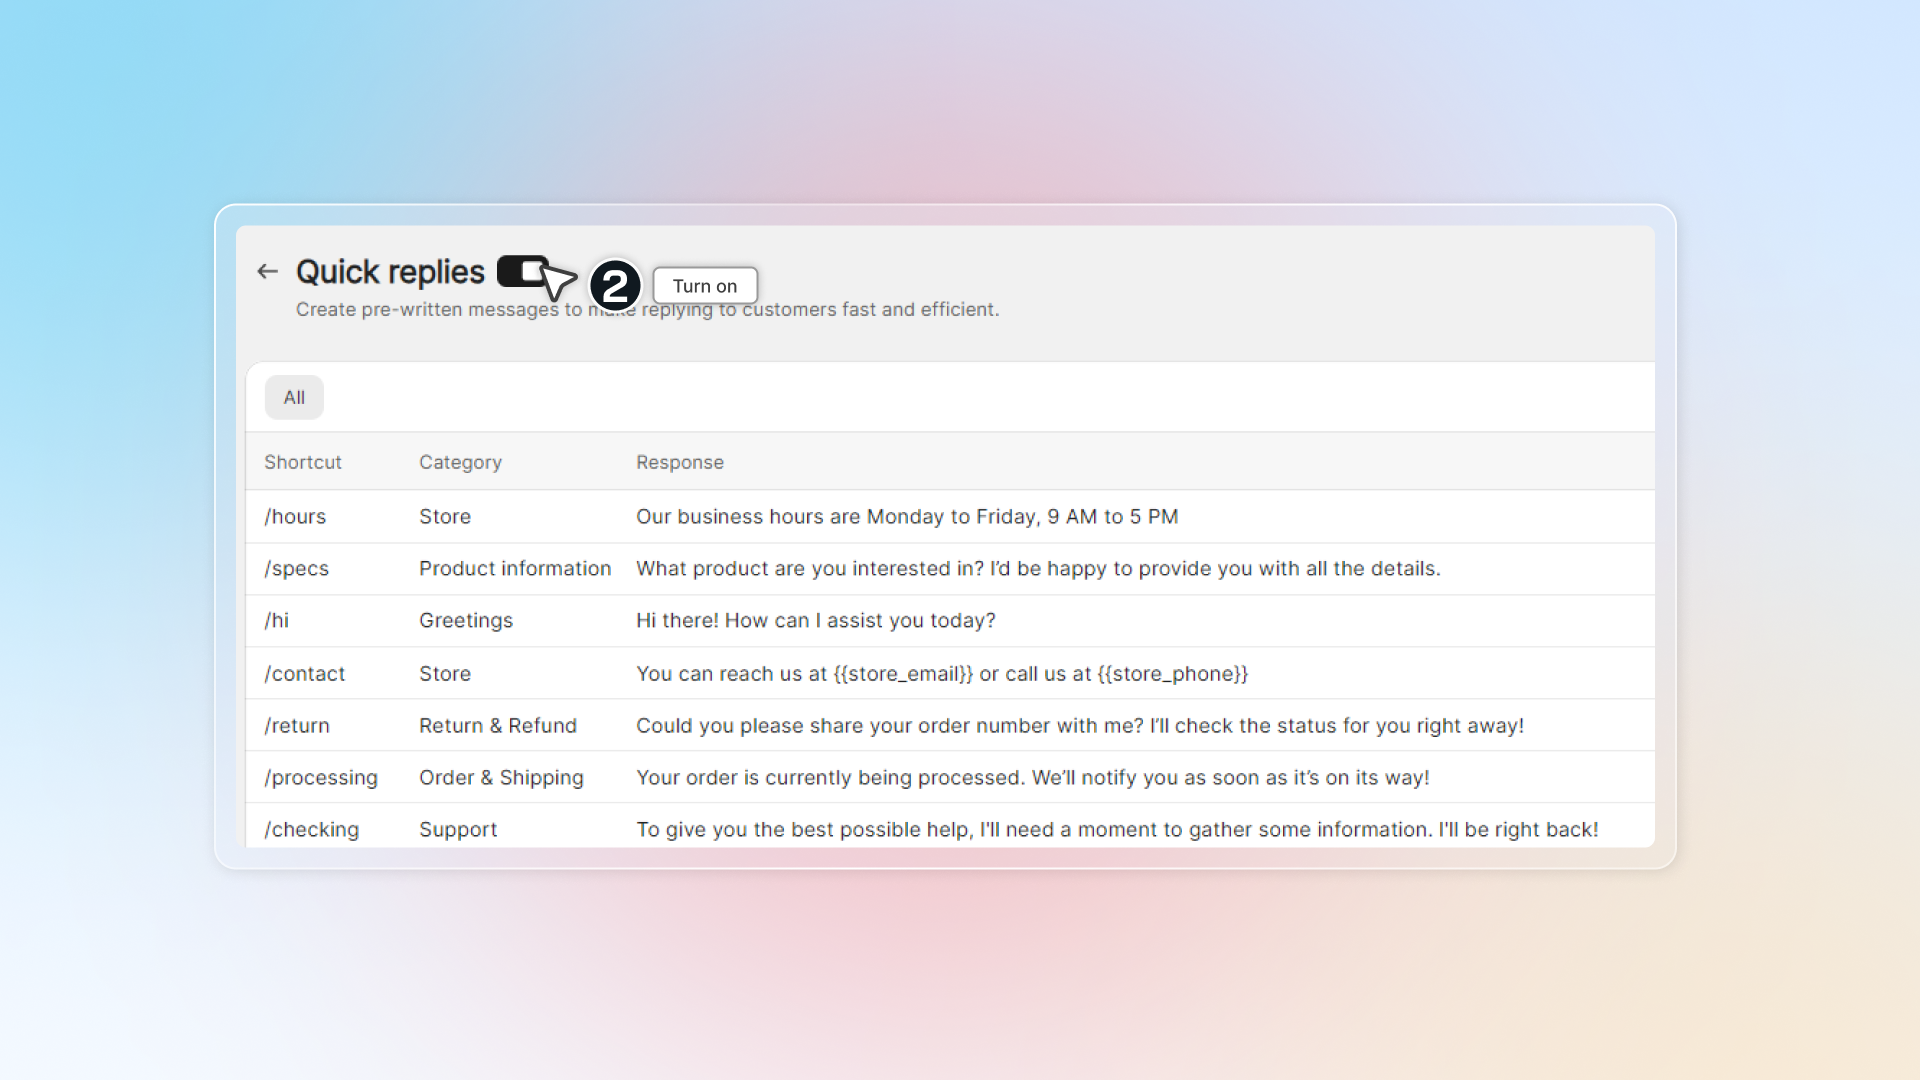
3. Click Create quick reply
4. Enter shortcut, category and your response. \
You can enter category name and click Add to add new category.
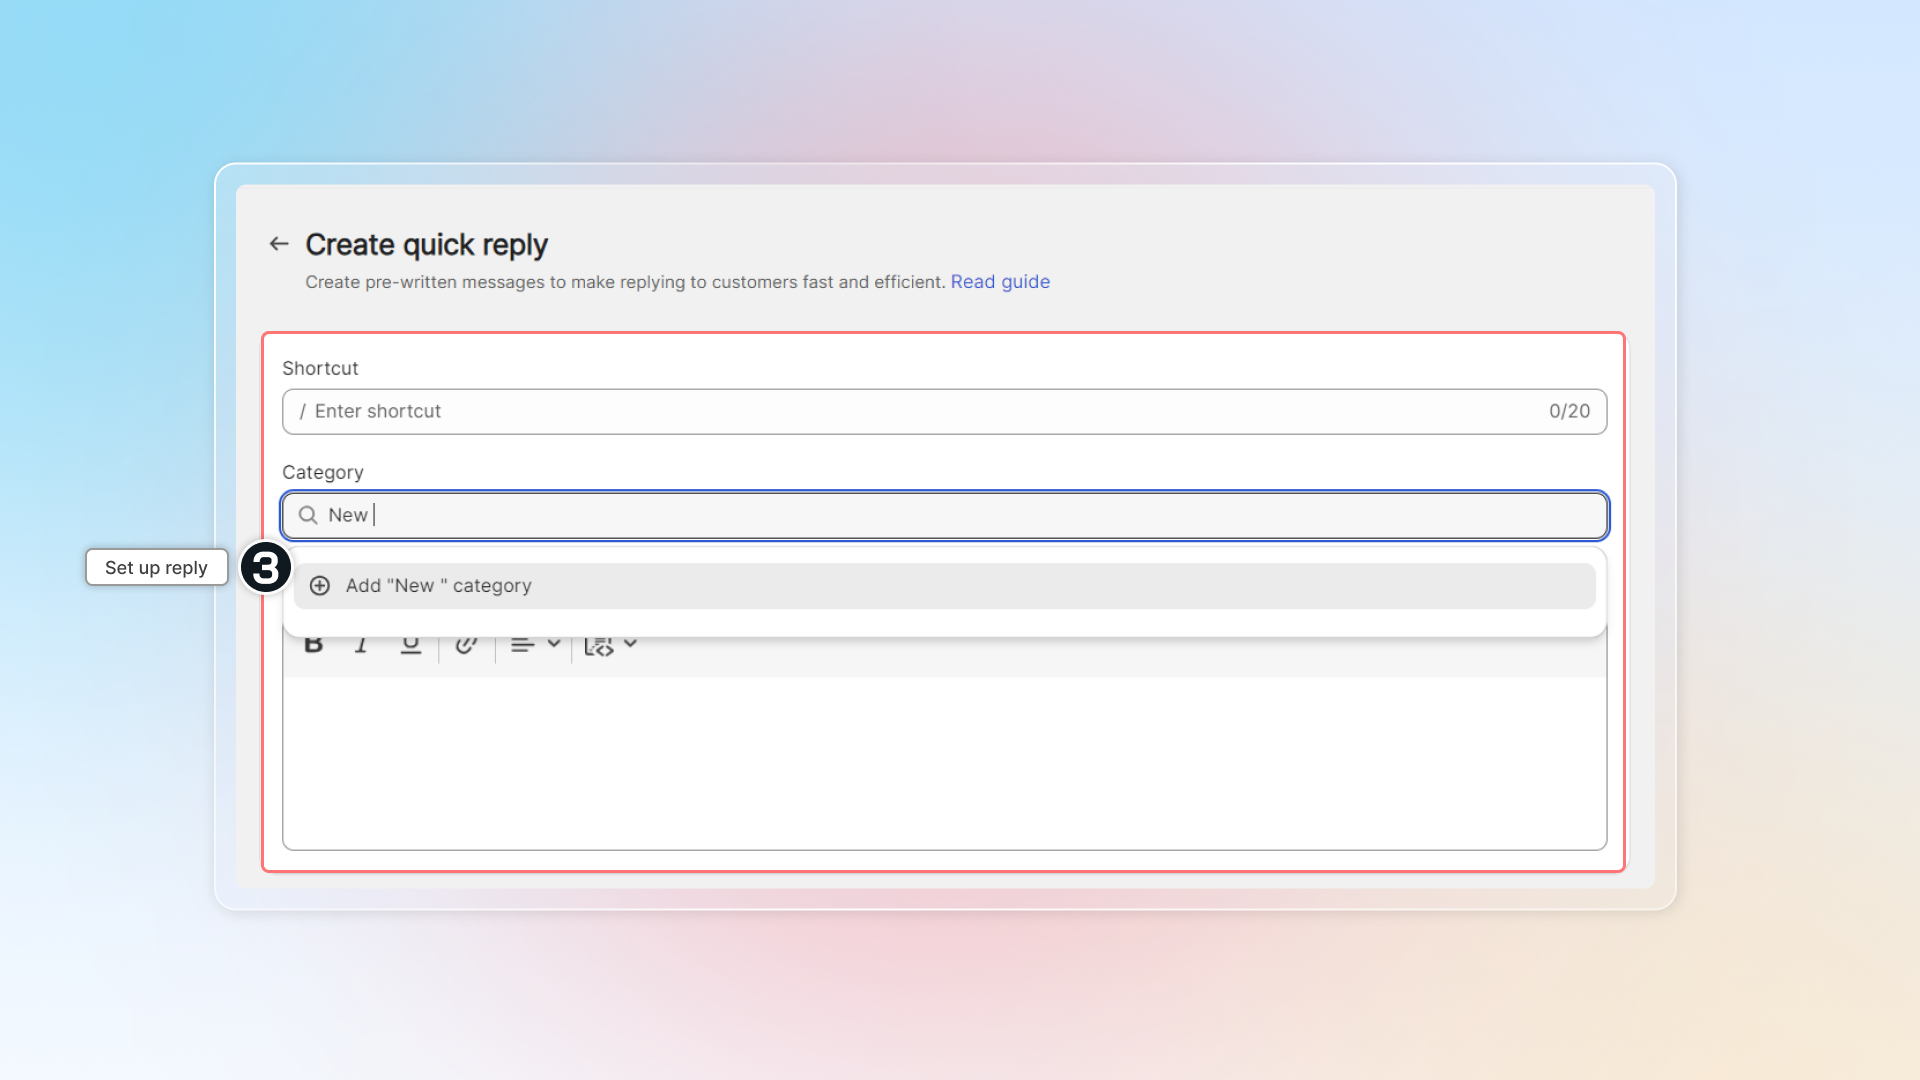
5. Click **Save**
6. You can edit or delete quick replies.
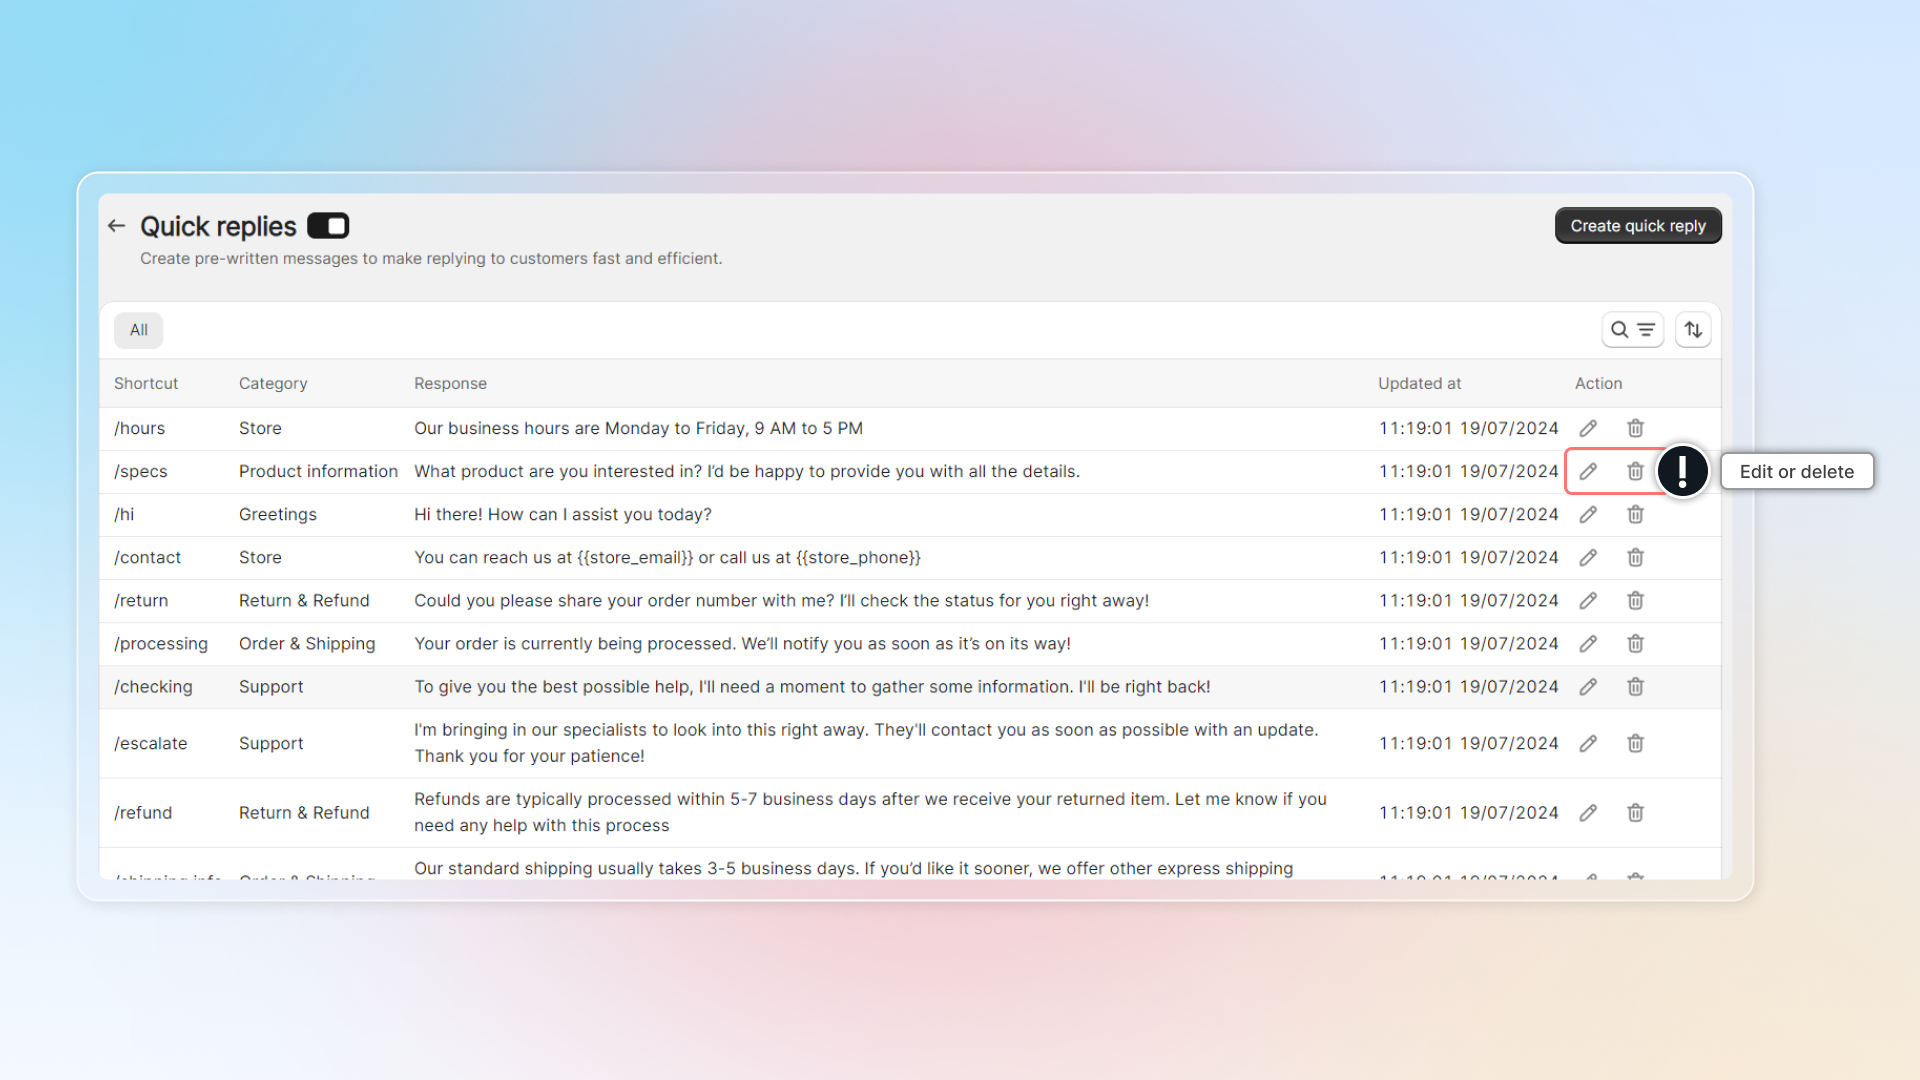
### Use quick replies in chat
In conversation, click icon or type `/` to get access to quick replies. Then simply click to select your quick replies.
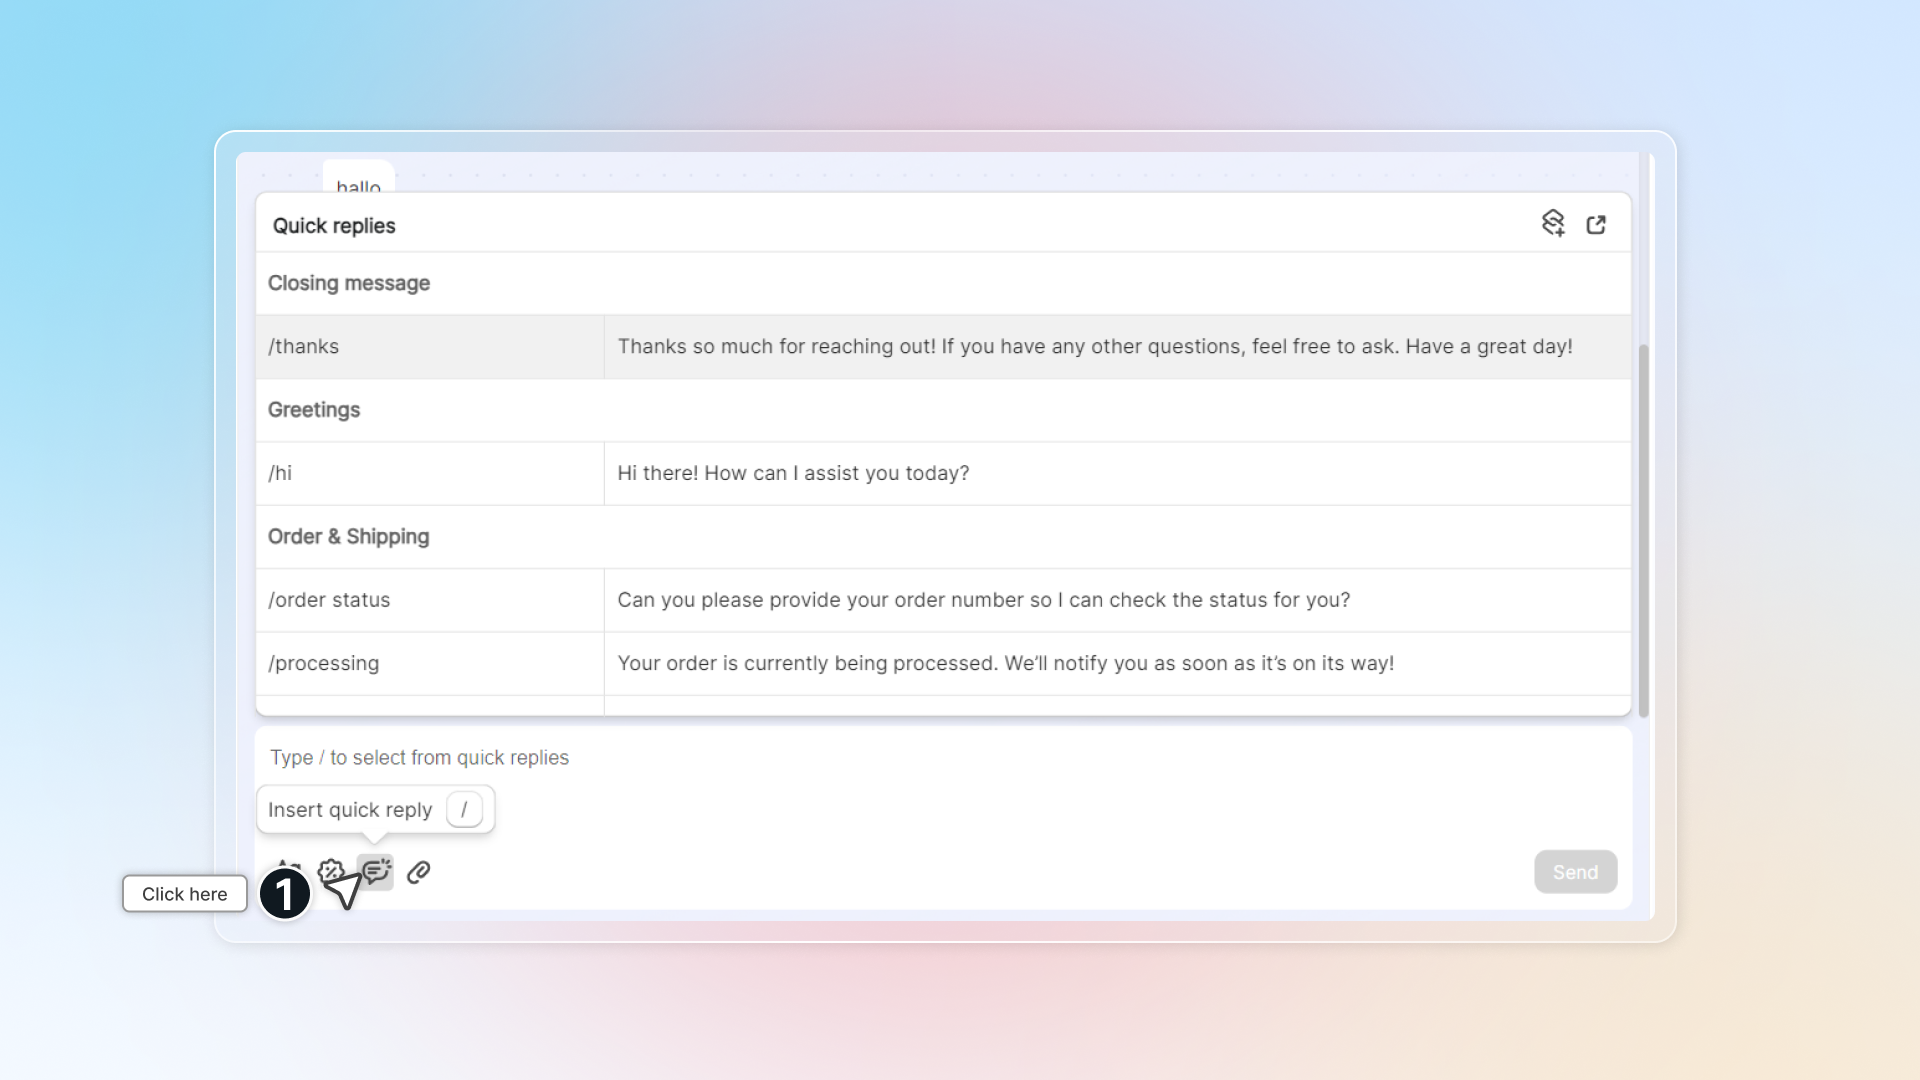
In chat, click icon to add new quick replies, or go to quick replies settings by clicking icon .
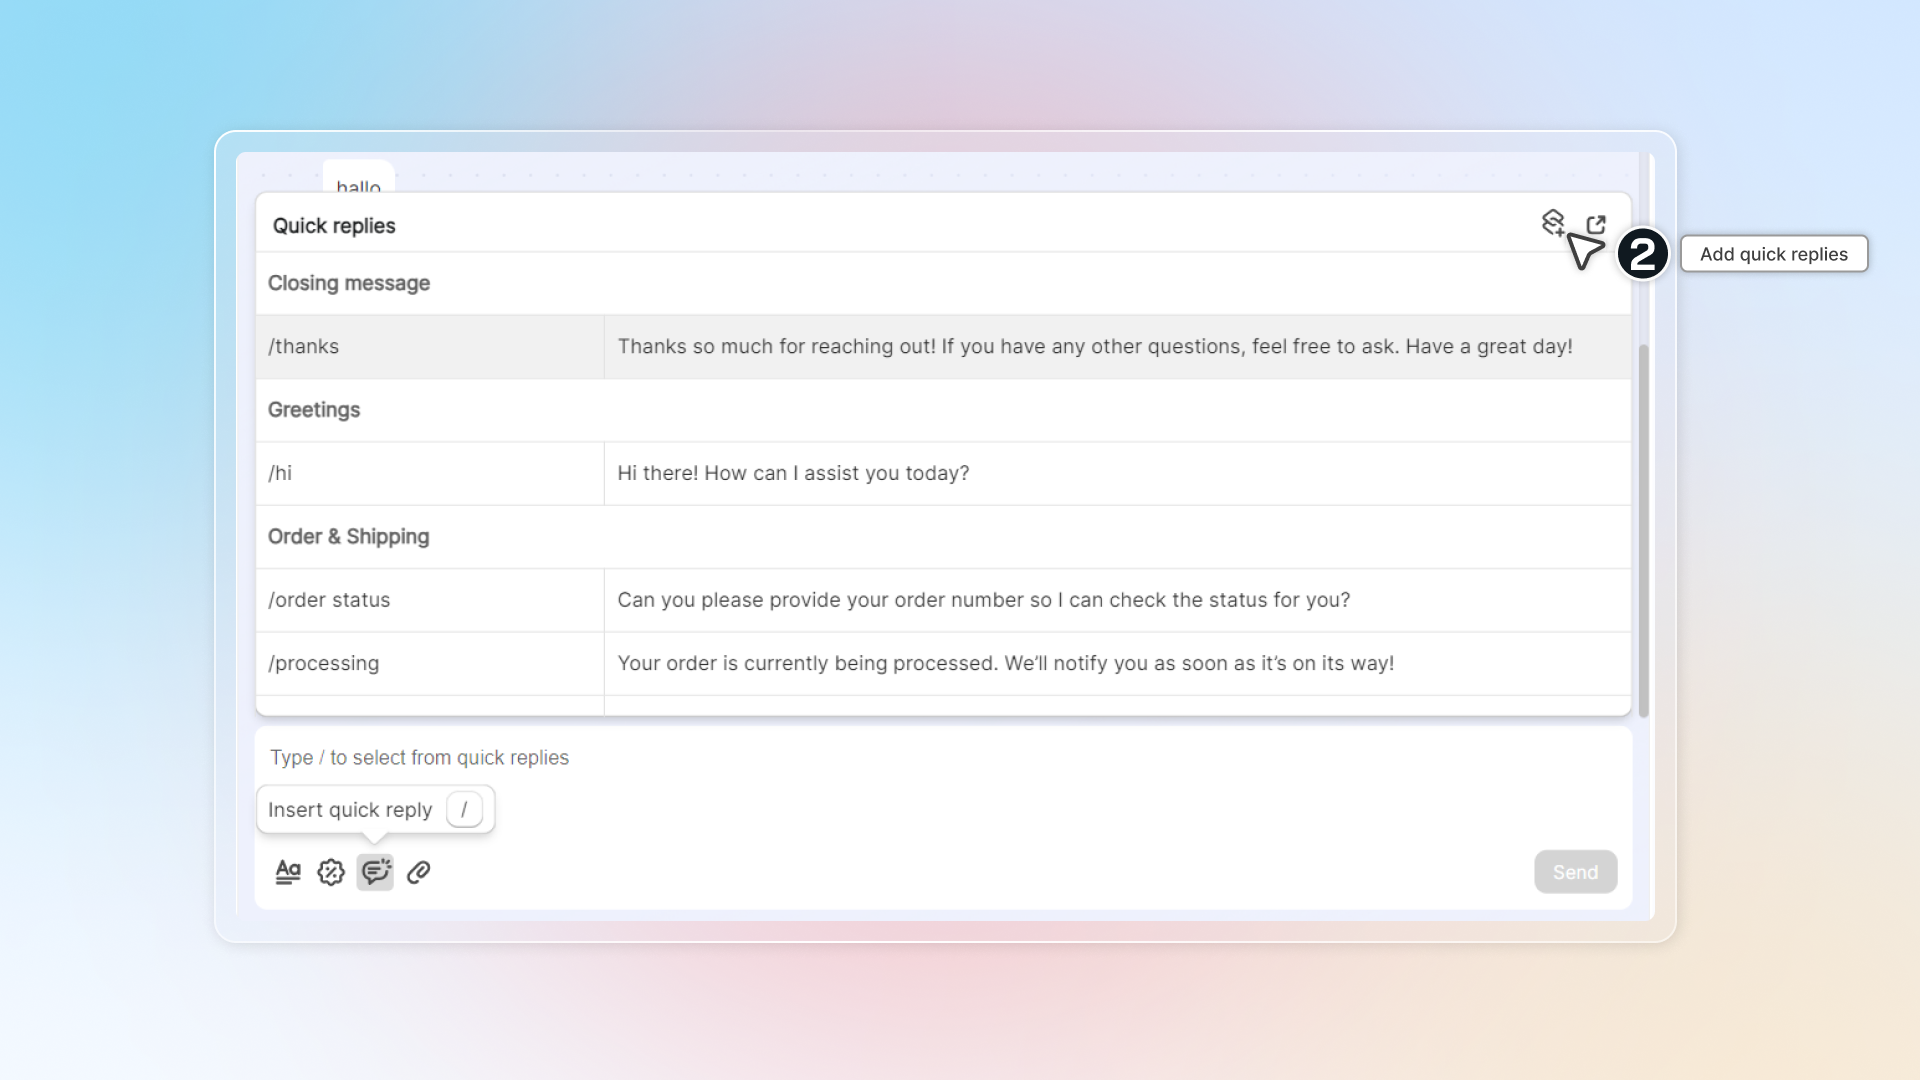
================================================================
URL: https://help.chatty.net/live-chat/team/
Locale: en
================================================================
# Team
**Who can use this feature?**
* This feature is available for all users
* Seats include the admin. Free has 1 seat, Basic 5, Pro 10, and Plus is unlimited.
### What is Team?
With Chatty Team, you can now invite your staff to help manage customer conversations. Your whole support team can work together in one place to answer customer questions faster.
Best for:
* Stores with multiple support staff
* Busy shops that need quick response times
* Teams working different shifts
* Growing businesses that want to scale their customer support
### How does Team help?
* Invite multiple team members to handle live chats
* Share the workload of customer support
* Respond to customers faster with more people available
* Manage your entire support team and keep track of their performance from one place
### How does Team work?
#### Invite member
#### Go to Settings, click Manage in Teams
#### Click Invite member
Basic plan users can invite 4 more members. Pro plan users can invite 9 more. Plus has no limit.
#### Enter member info
You can update member's information later (profile pic, name), but email. Email is connected to an account and can't be edited.
#### Click Invite to send invitation email
#### Ask your team member to check invitation email and click Create account
Go to email inbox to check email from Chatty.
#### Create Chatty account
#### Log in Chatty to manage conversations
Follow this interactive to invite team members to Chatty.
#### Assign conversation to member
Go to Inbox
Select a conversation
In conversation details, go to Assignee
Click Assign and select team member
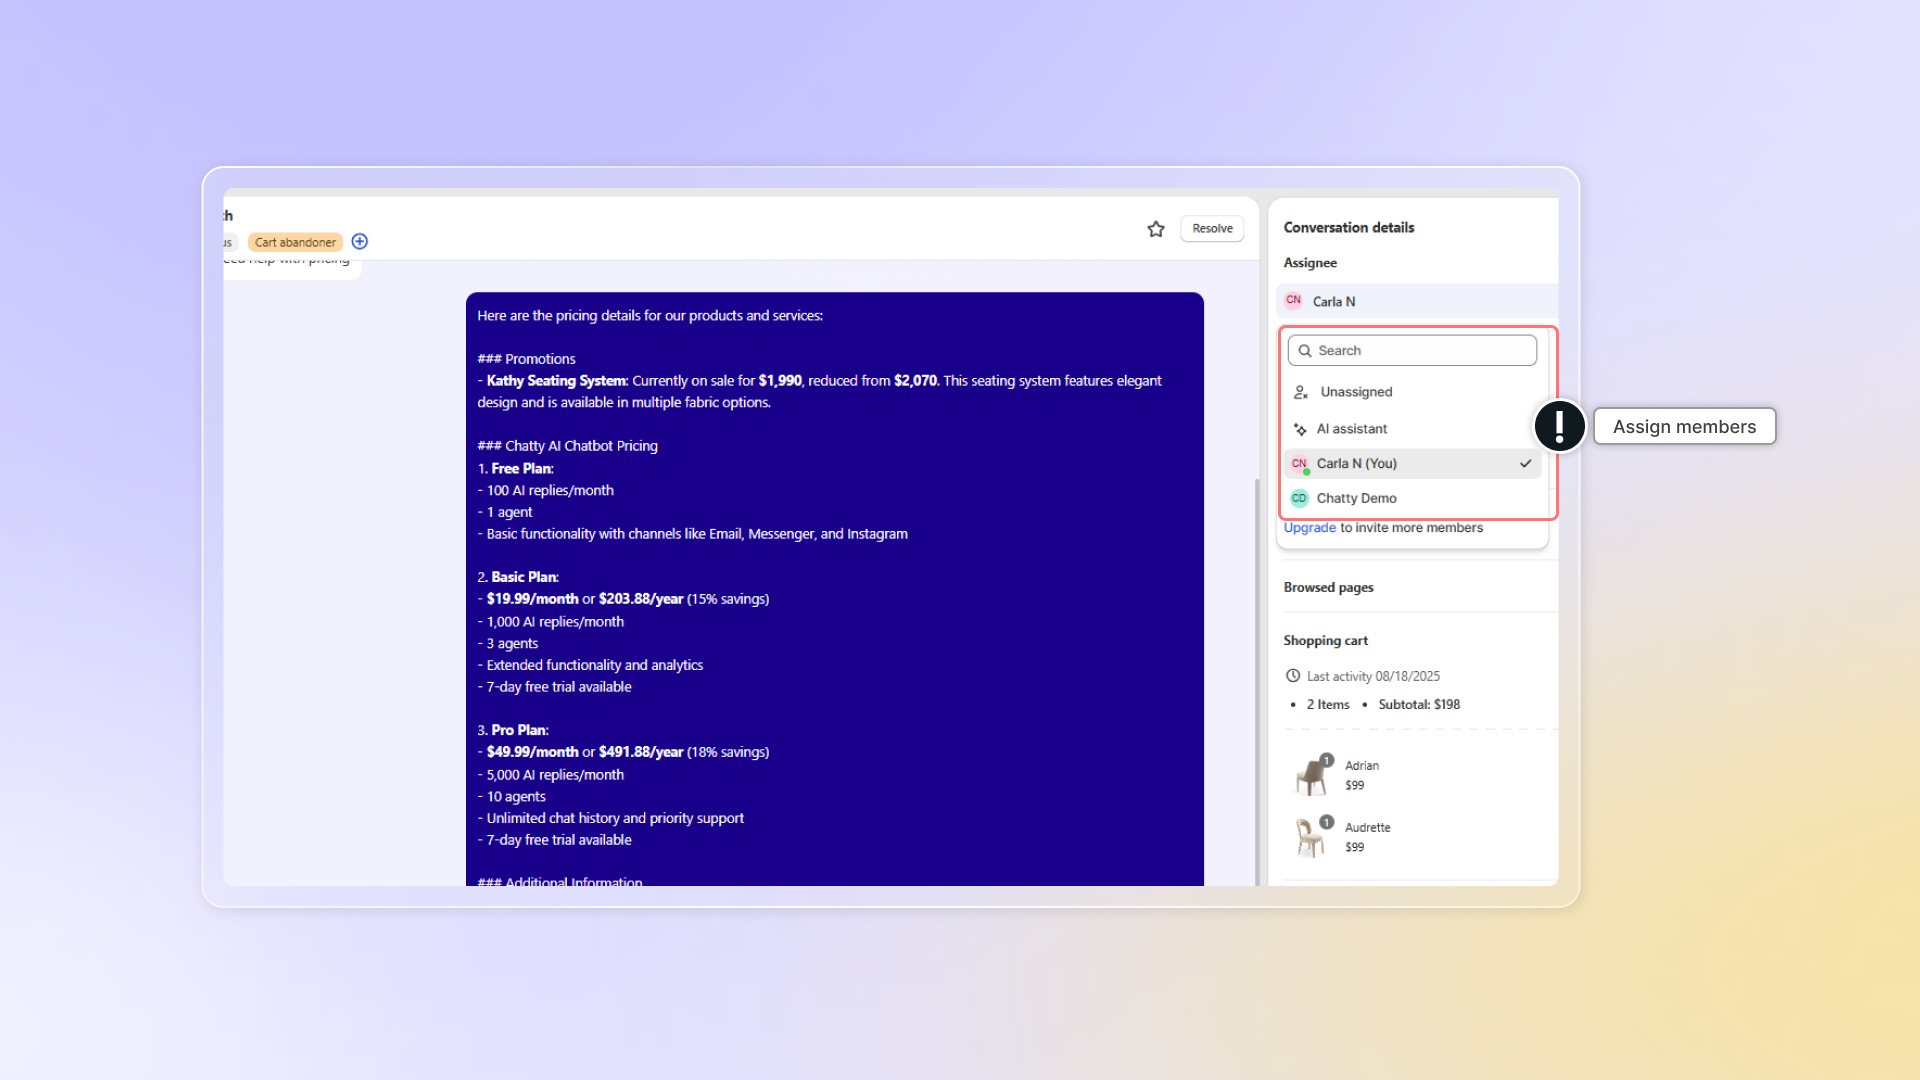
You can also set up auto-assignment in **Settings**.
Go to Settings *→* Automation *→* Assignment *→* Automatic
Chatty automatically assigns new conversations to team members in rotation. When a conversation comes in, it goes to the next available team member in your list.
These settings will be applied to conversations transferred from AI assistant.
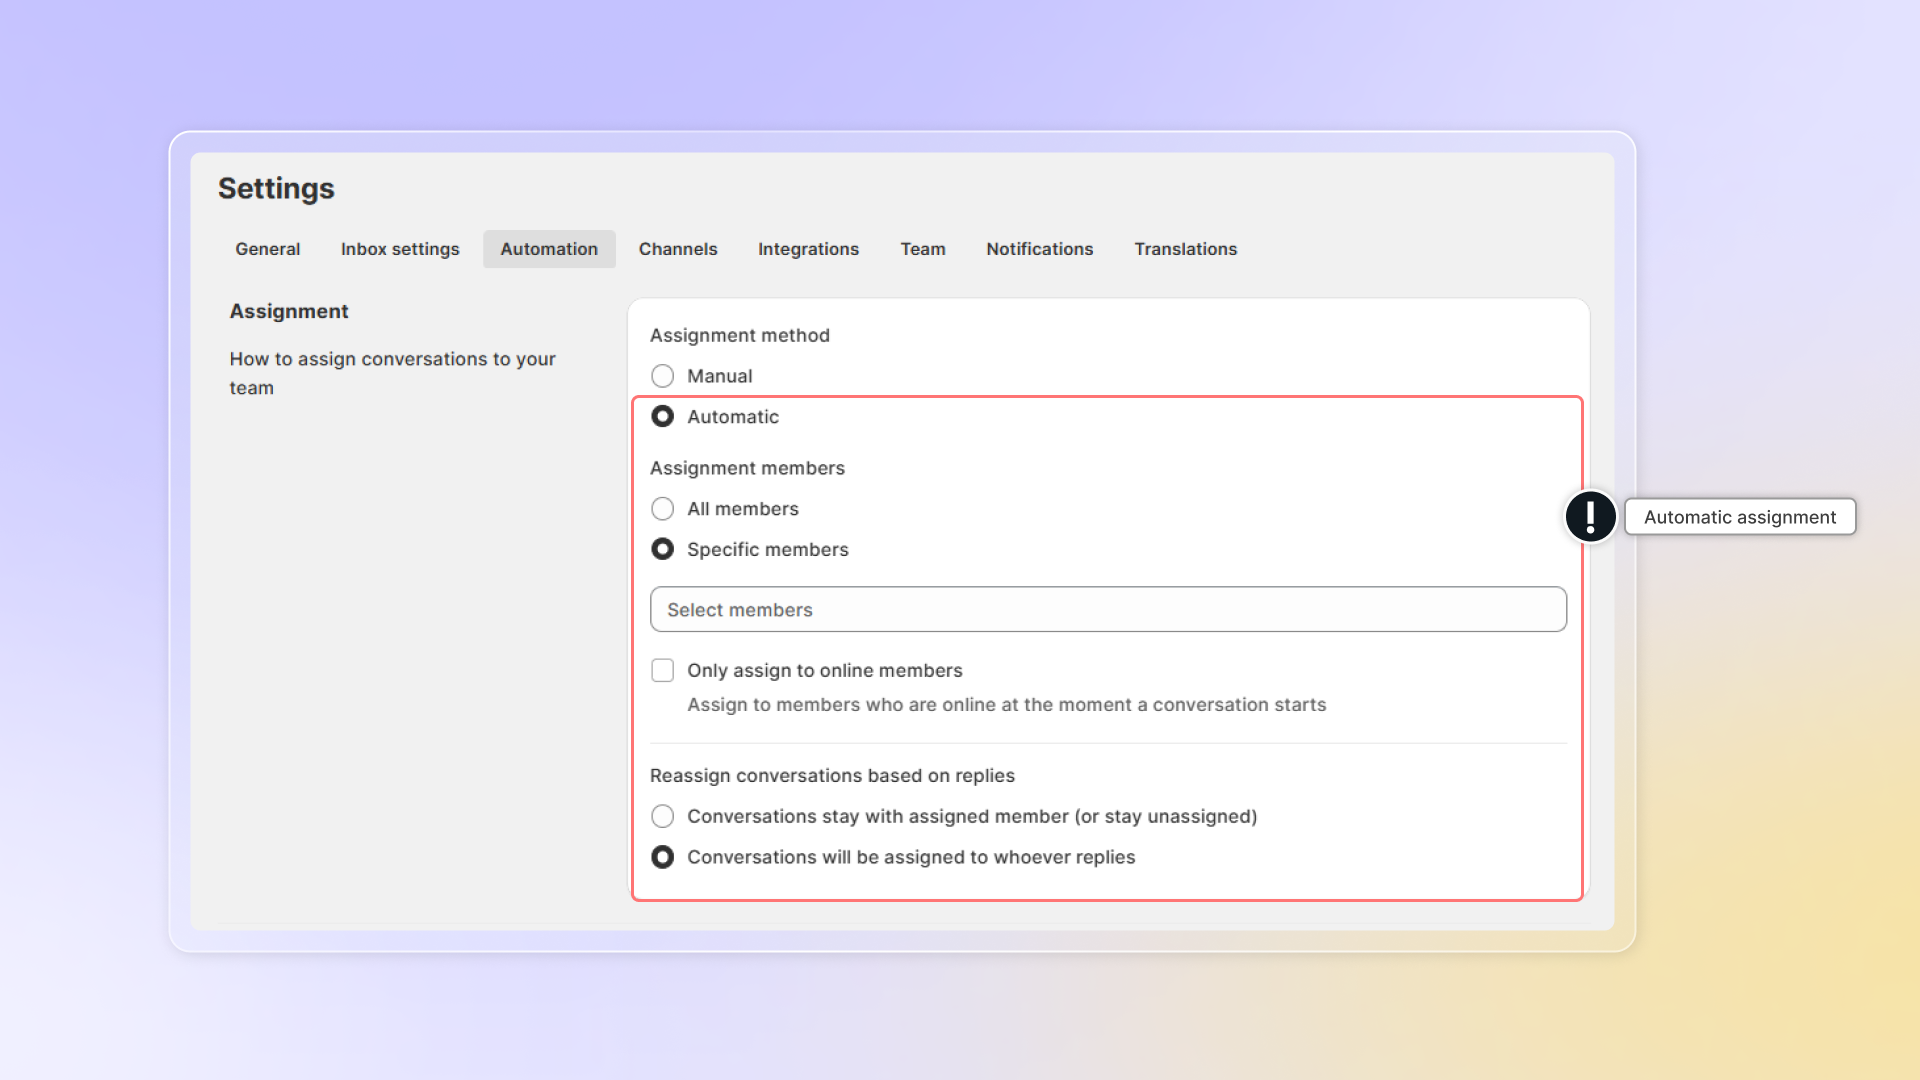
These settings will be applied to conversations transferred from AI assistant.
#### Mention team member in conversation
You and your team can leave private comments within conversations by **Internal note**.
These notes are only visible to your team members, not to customers.
**How to leave a note**
1. During a customer conversation, click the **Note** tab in the chat zone
2. Type your note in the text box
3. To mention a team member, type `@` followed by their name
4. Click **Send** to save your note
5. Note will be saved in the conversation with timestamp and sender
When you mention someone using `@mention`:
* They'll receive a push notification
* They'll get an email notification about the mention
* Only members who have access to the conversation can read internal notes
#### How to reply a note
* Find the note you want to reply to
* Click **Reply** next to that note
* Type your response in the text box
* You'll see "Replying to \[name]" indicating who you're responding to
* For your own notes, it shows "Replying to yourself"
* Click **Send** to save your reply
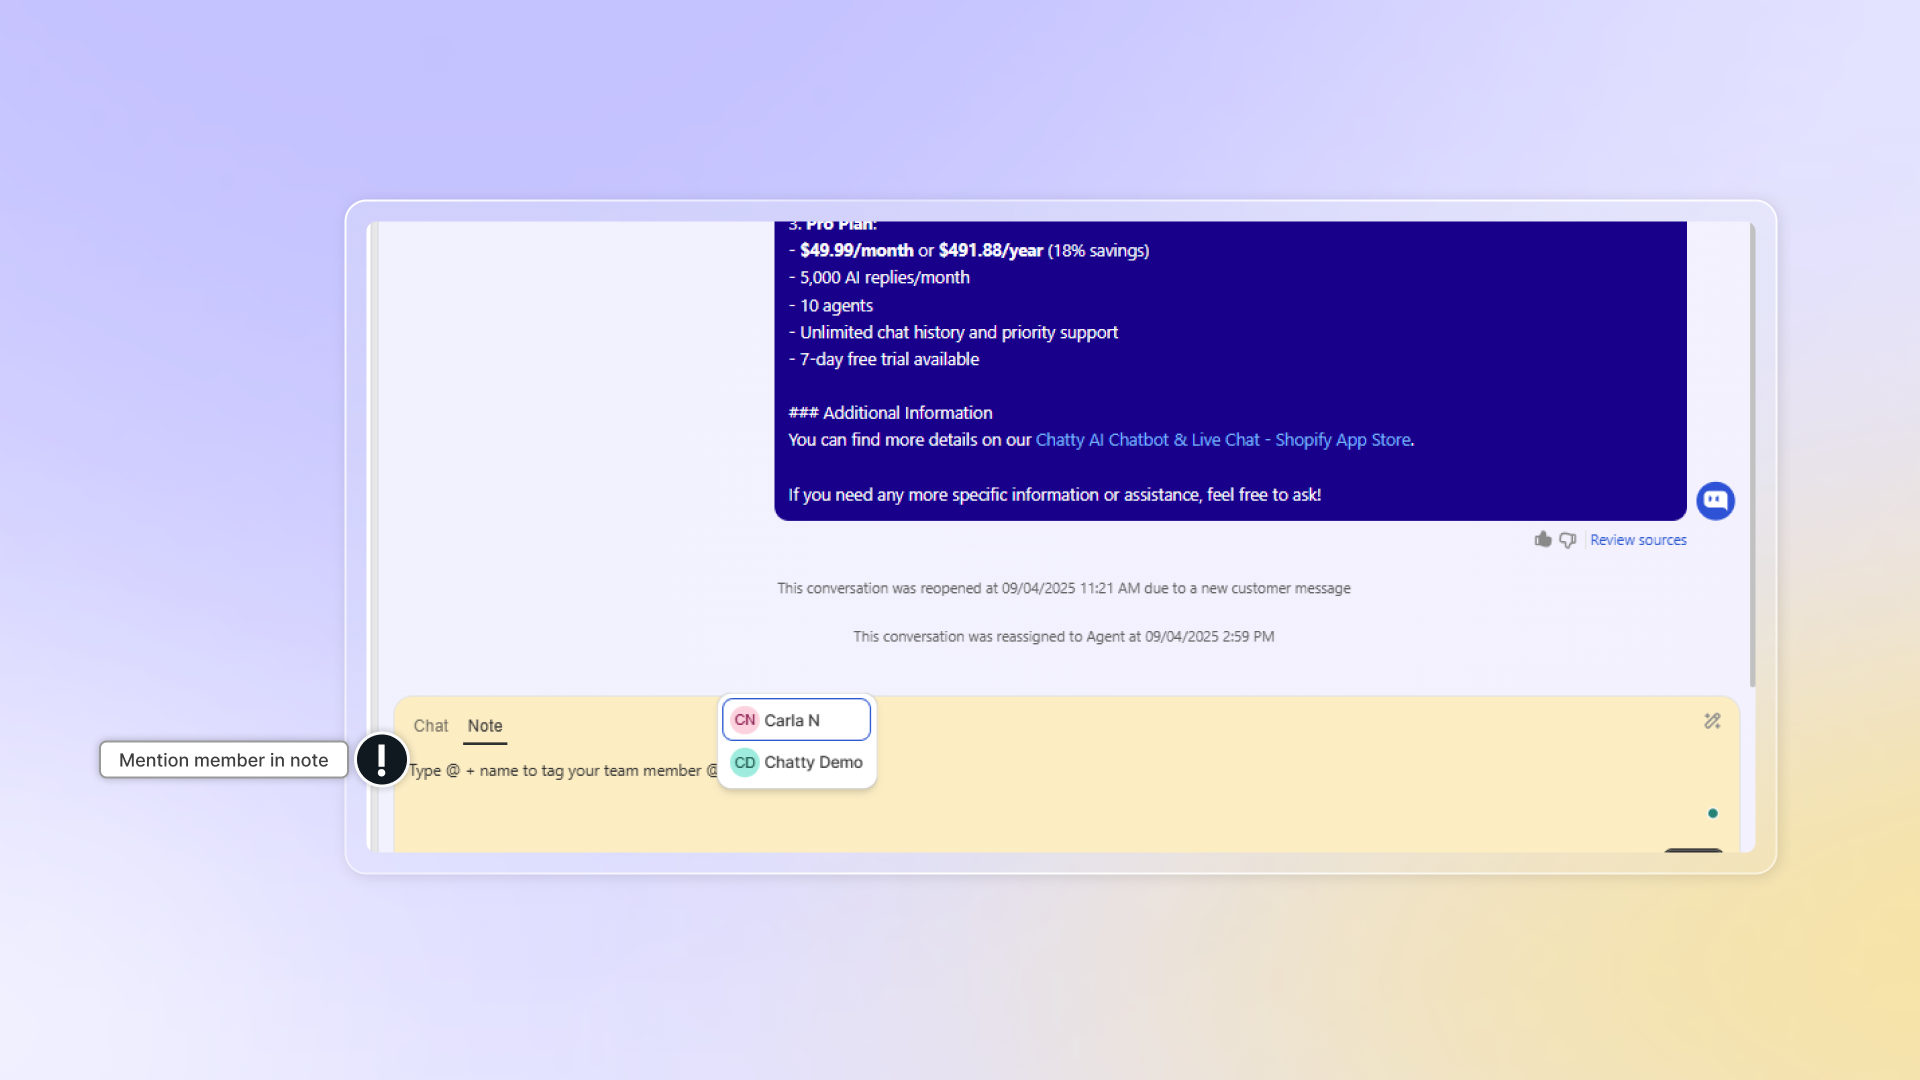
================================================================
URL: https://help.chatty.net/live-chat/team/manage-login-devices/
Locale: en
================================================================
# Manage login devices
### Overview
If you've logged into Chatty on multiple devices - a work laptop, a personal phone, a shared computer - it can be hard to keep track of where your account is active.
This gives you a clear view of every active session, so you can stay in control of who (and what) has access to your account.
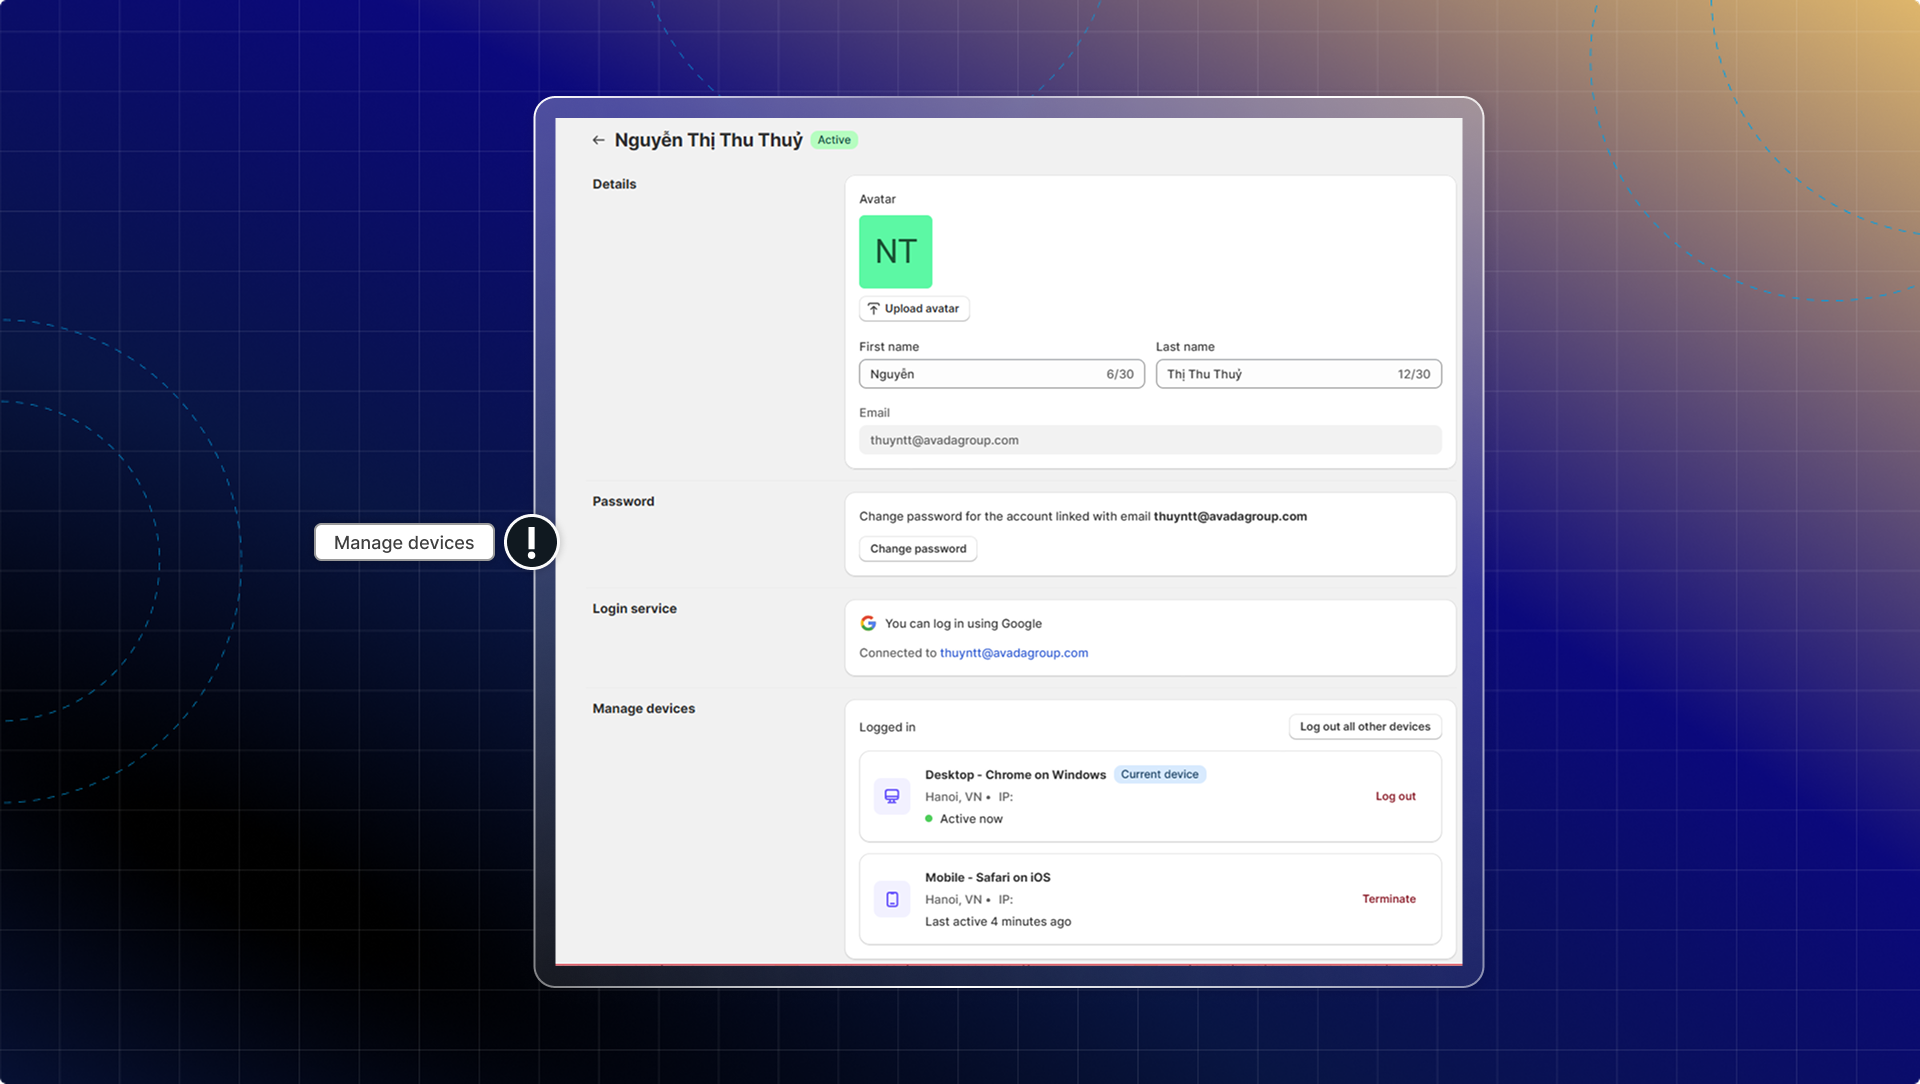
***
### View your active login sessions
When you open the Login Devices page, you'll see a list of all devices currently logged into your Chatty account. For each session, Chatty shows:
* **Device type:** Desktop, mobile, or tablet
* **Browser:** The browser used to log in (e.g. Chrome, Safari)
* **Location:** Approximate location based on IP address
* **Last active:** When this session was last used
Your current device is always marked with a **"Current device"** badge so you can identify it at a glance.
#### How to view your login devices
1. Go to Web App
2. Click your account avatar in the top-right corner.
3. Select **Manage Account**.
4. Go to the **Login Devices** tab.
5. Review the list of active sessions.
***
### Remove a specific device
If you see a session you don't recognize, or a device you no longer use, you can log it out immediately without affecting your current session.
#### How to log out a specific device
1. On the **Login Devices** tab, find the session you want to remove.
2. Click **Log out** next to that device.
3. The session is ended instantly. That device will need to log in again to access your account.
Logging out a device doesn't change your password. If you suspect unauthorized access, log out all devices and update your password as well.
***
### Log out of all other devices
If you want to clear all active sessions at once - except the device you're currently using - you can do it in a single action.
#### How to log out all other devices
1. On the **Login Devices** tab, scroll to the bottom of the page.
2. Click **Log out all other devices**.
3. All sessions except your current device are ended immediately.
This action cannot be undone. Any team member who was logged in on an affected device will need to sign in again.
================================================================
URL: https://help.chatty.net/live-chat/team/mobile-app/
Locale: en
================================================================
# Mobile app
With the Chatty mobile app, you can answer customer questions on the go, right from your phone. The app is available on the App Store for iOS and on Google Play for Android.
### How to download the Chatty mobile app
1. On your dashboard, open **Quick start** and click **Enable notifications** under **Set up notifications**. You can also go straight to **Settings** → **Notifications**.
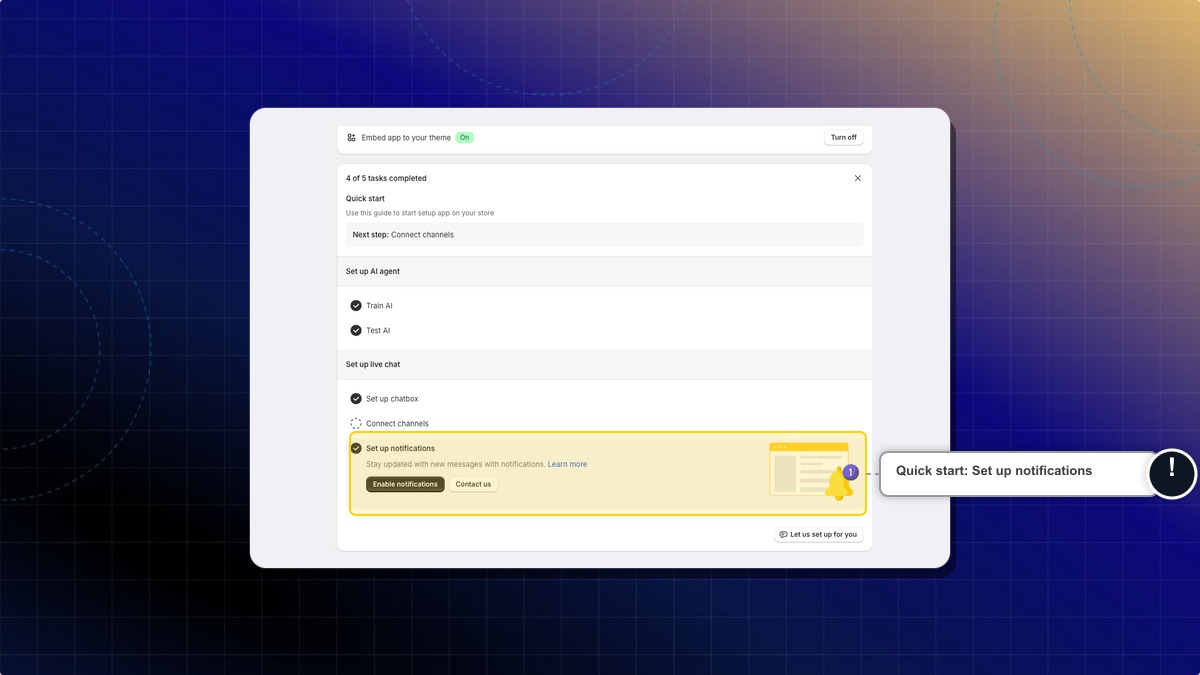
2. Find the **Chatty mobile app** section and choose your device tab: **iOS** or **Android**.
3. Install the app in one of two ways:
* **On a computer:** scan the QR code with your phone camera to open the store listing.
* **On your phone:** tap the **App Store** or **Google Play** badge to open the app directly.
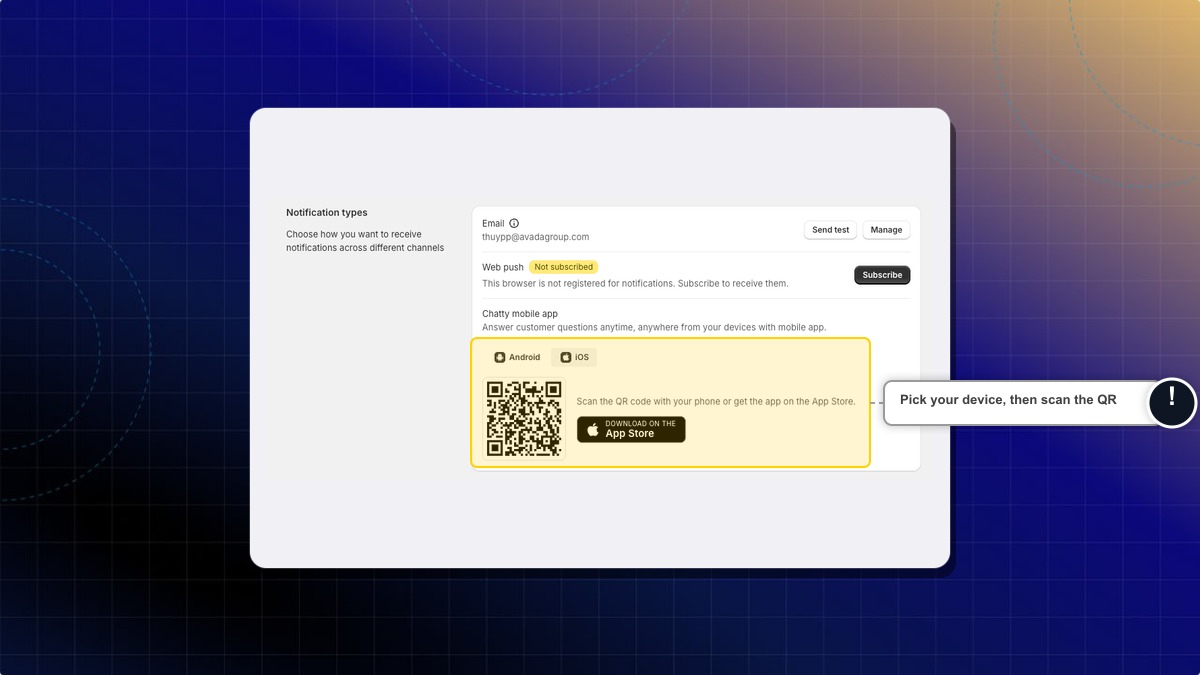
4. Install the app, open it, and sign in with your Chatty account.
**Expected result:** The Chatty app opens on your phone with your conversations, so you can reply to customers anywhere.
### What you can do in the app
In the conversation list you see every conversation and can reply to all of them, with the same tools you have on desktop: send files, use [quick replies](/live-chat/quick-replies/), [and more](/live-chat/inbox/chat-zone/).
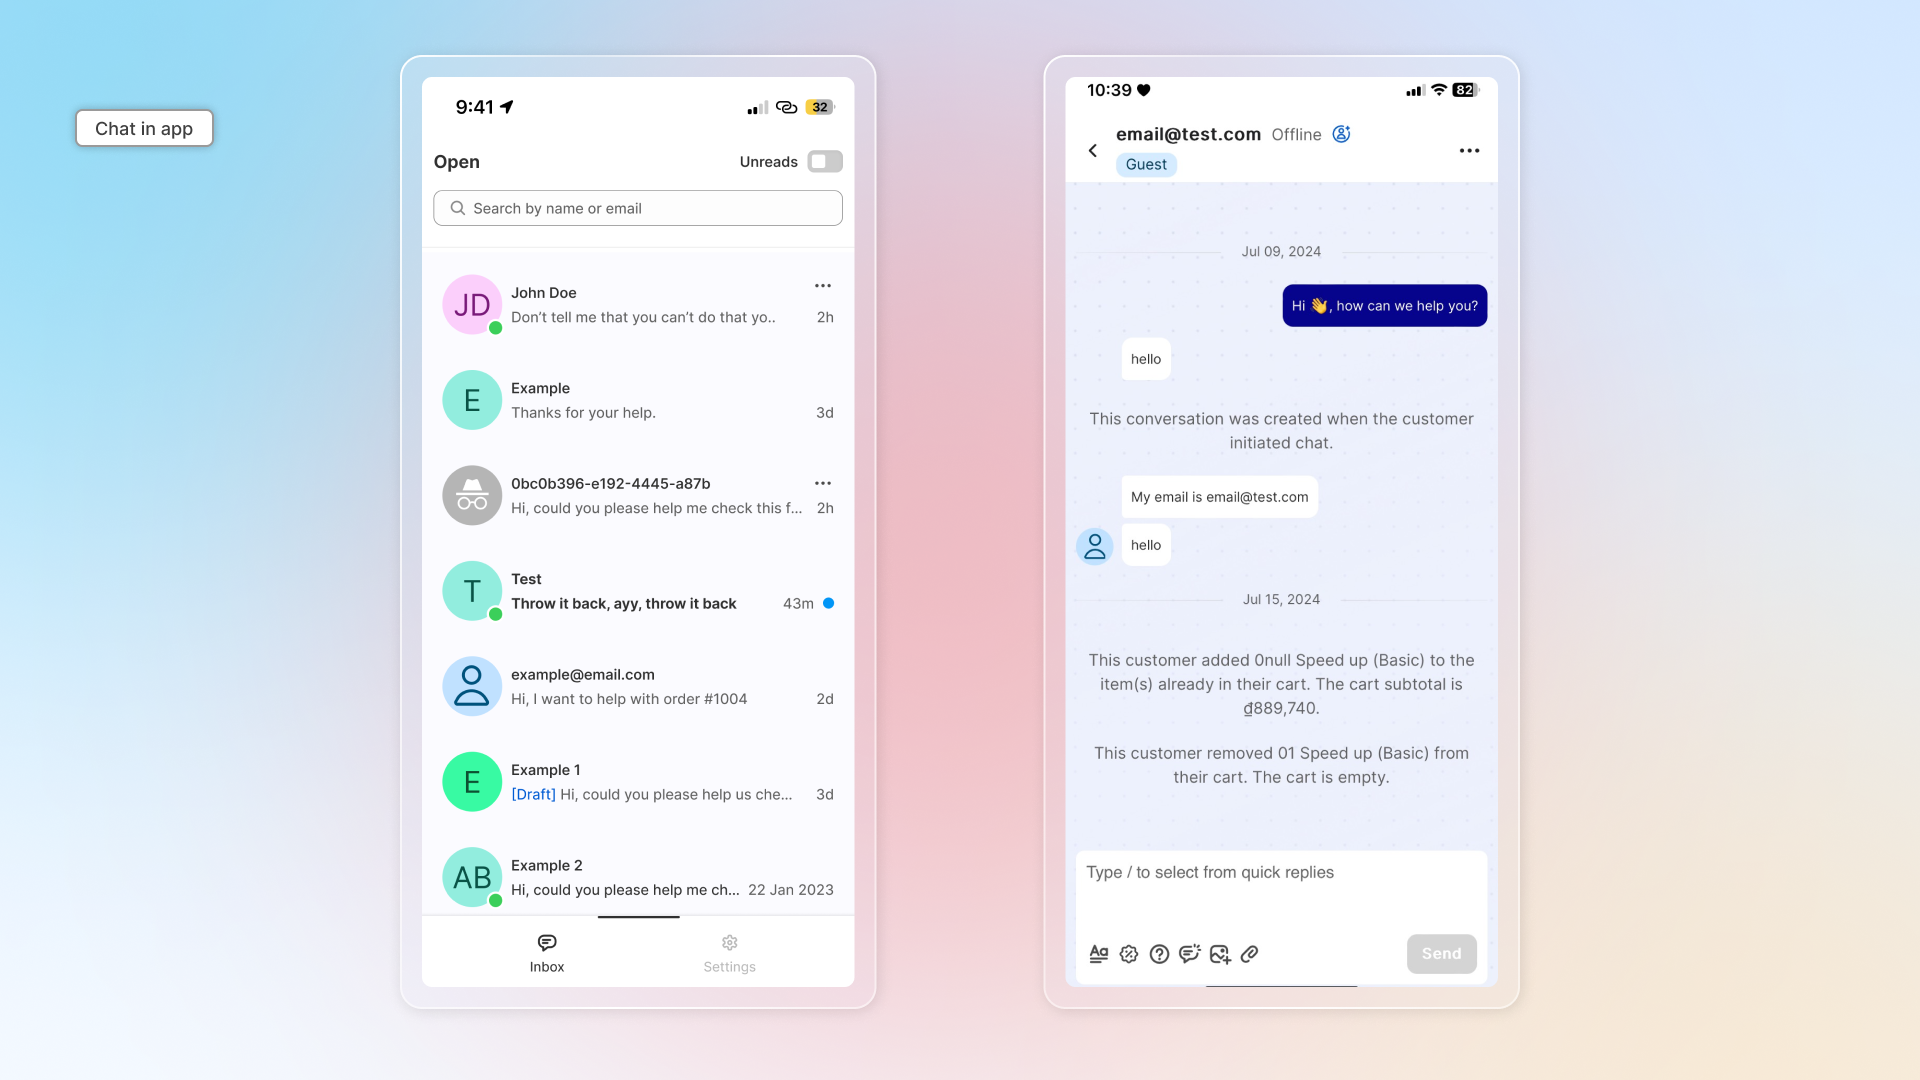
In **Settings** you can set up [general settings](/others/general-settings/), [notifications](/others/notifications/), [online hours](/others/online-hours/) and [quick replies](/live-chat/quick-replies/).
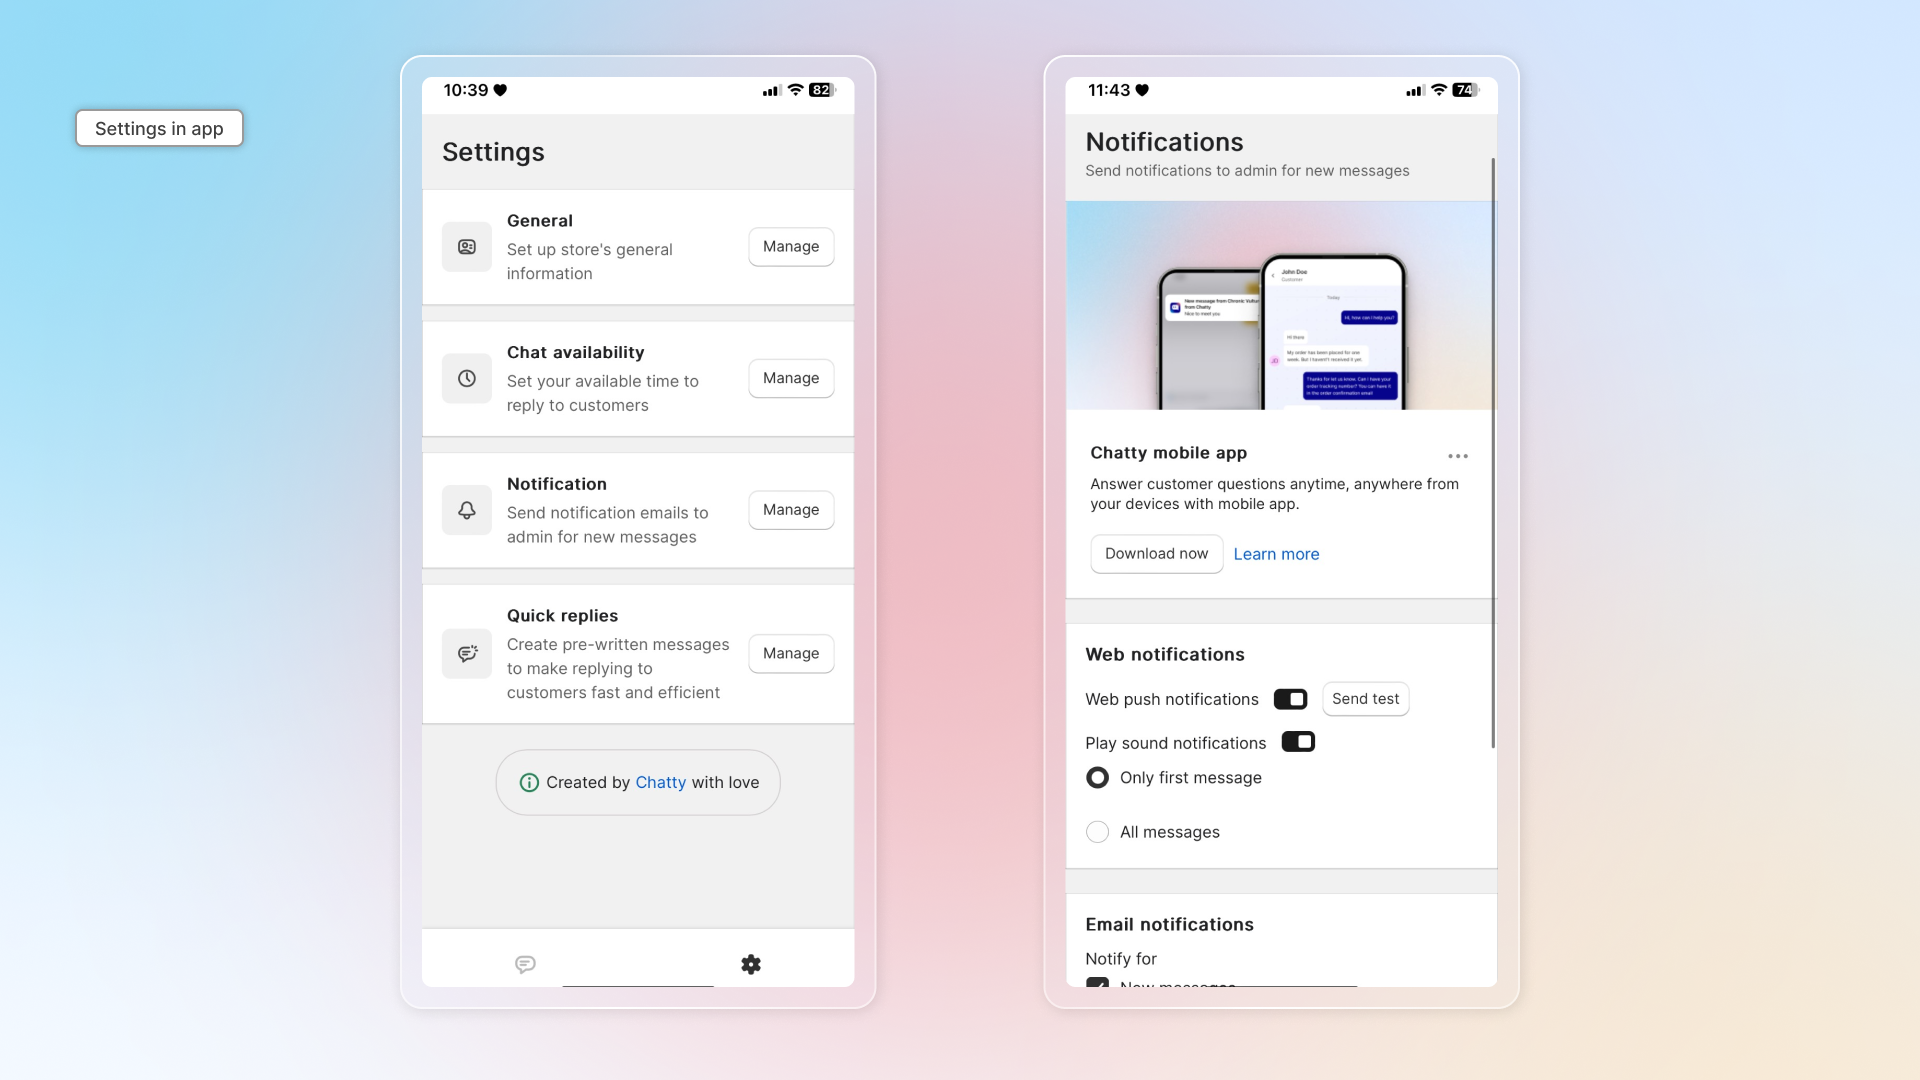
Which devices are supported?
The native app runs on iOS (App Store) and Android (Google Play). If you were using the old "add to home screen" web version, download the native app instead.
Do I need a separate account for the app?
No. Sign in with the same Chatty account you use in Shopify admin. Your conversations and settings stay in sync.
================================================================
URL: https://help.chatty.net/live-chat/team/team-member/
Locale: en
================================================================
# Team member
**Who can use this feature?**
* This feature is available on paid plans (Basic and above)
* This guide is for team members who are invited to Chatty support team
As a team member invited to Chatty, you’ll collaborate with your team to manage conversations efficiently.
Go to Web app to log in: [https://app.meetchatty.com/](https://app.meetchatty.com/)
### Team member permissions
Chatty allows multiple team members to collaborate to manage conversations. Each team member has specific permissions:
* Respond to conversations from all channels (Live chat, Email, Facebook messenger, etc.)
* Access conversation histories and customer's profile
* Leave note
* Resolve, mark as unread and block conversations
* Assign conversations
* Set up notifications and update profile
### Getting started as a team member
#### Accept invitation
Go to your email and check invitation email from Chatty.
Click Create account in email.
#### Create account
Create password for your email to create account to log in Chatty.
Onced logged in, go to **Settings** to edit your name and profile picture.
#### Understand app interface
Your main app interface will be the [Inbox](/live-chat/inbox/).
You have access to a list of conversations and your account settings.
#### Set up notifications
You can set up notifications for messages to help you take care of all messages.
Go to **Settings** and set up your notifications on your devices.
Learn more about [Notifications](/others/notifications/).
#### Set online/offline status
You can set up online/offline status when you're logging in Chatty.
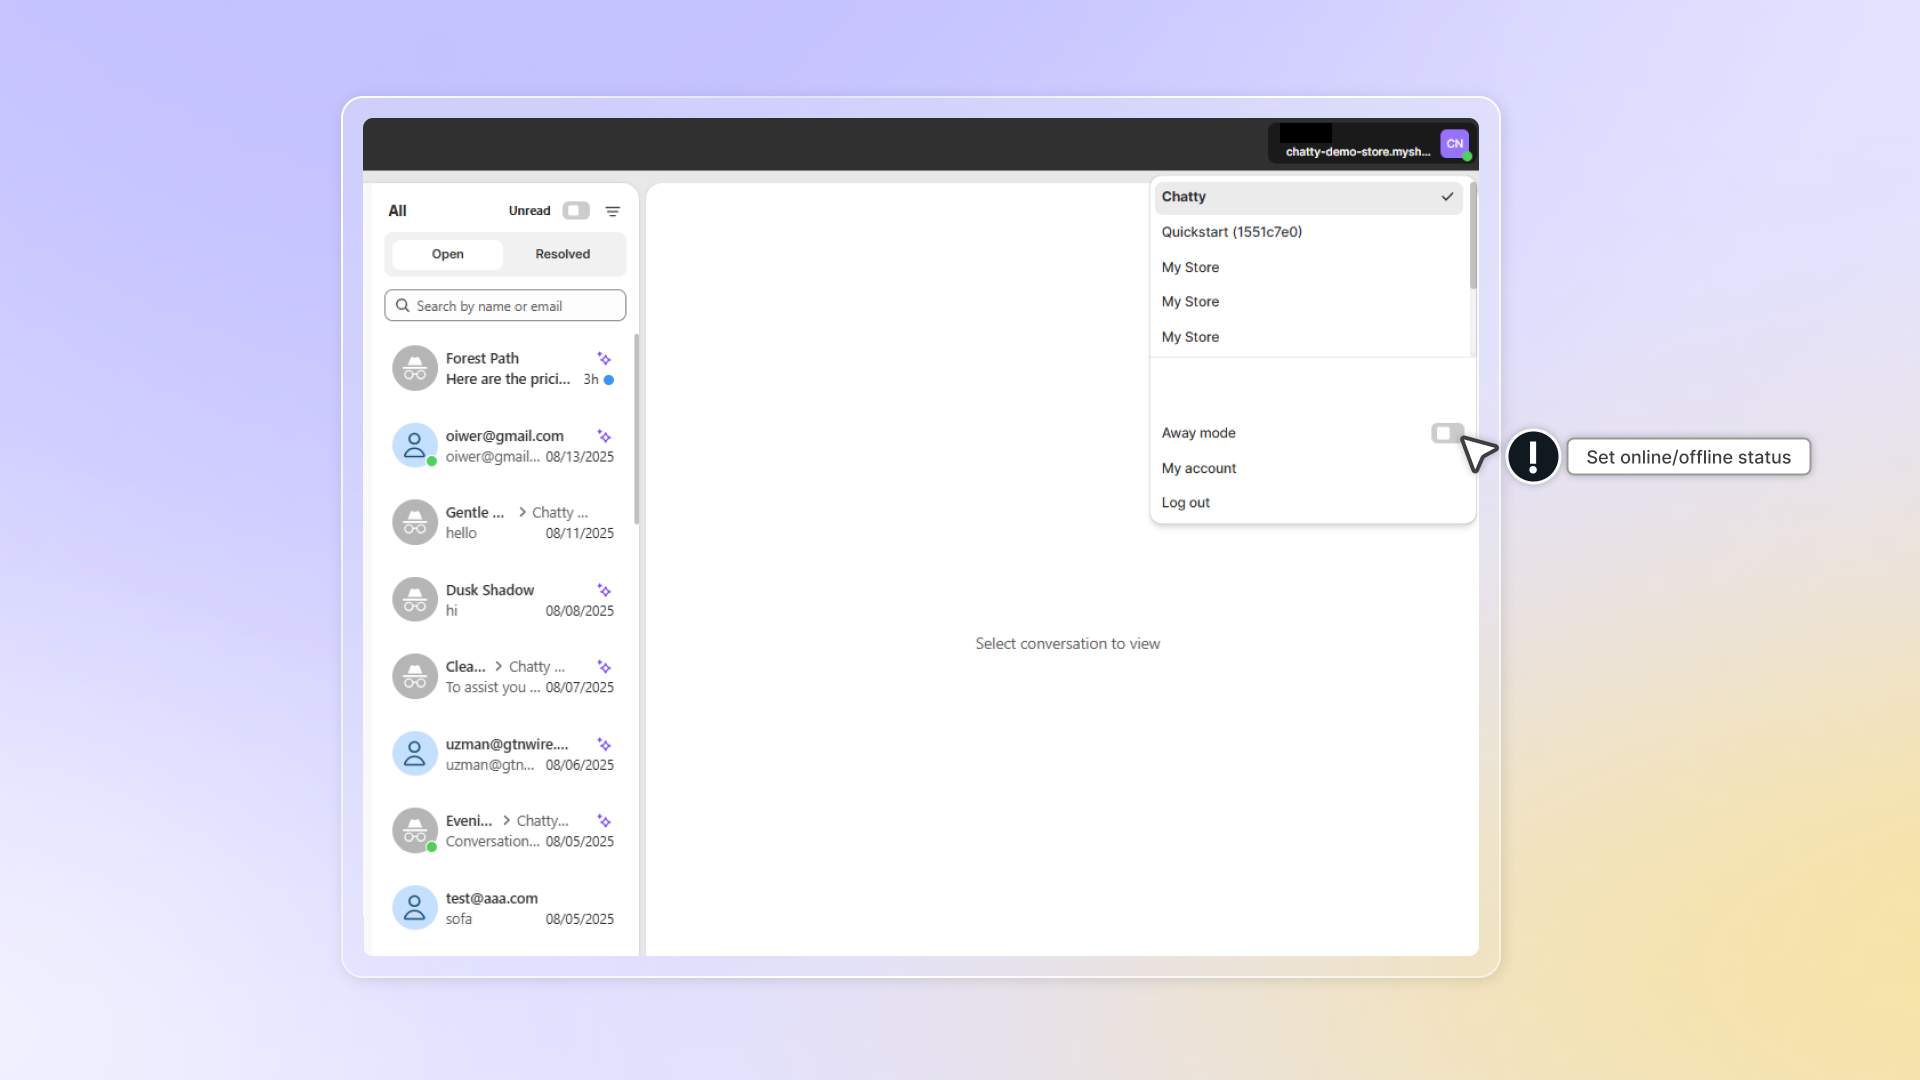
#### Switch between multiple stores
While logging in Chatty, you can switch between stores to manage conversations from different stores (that your account is linked to).
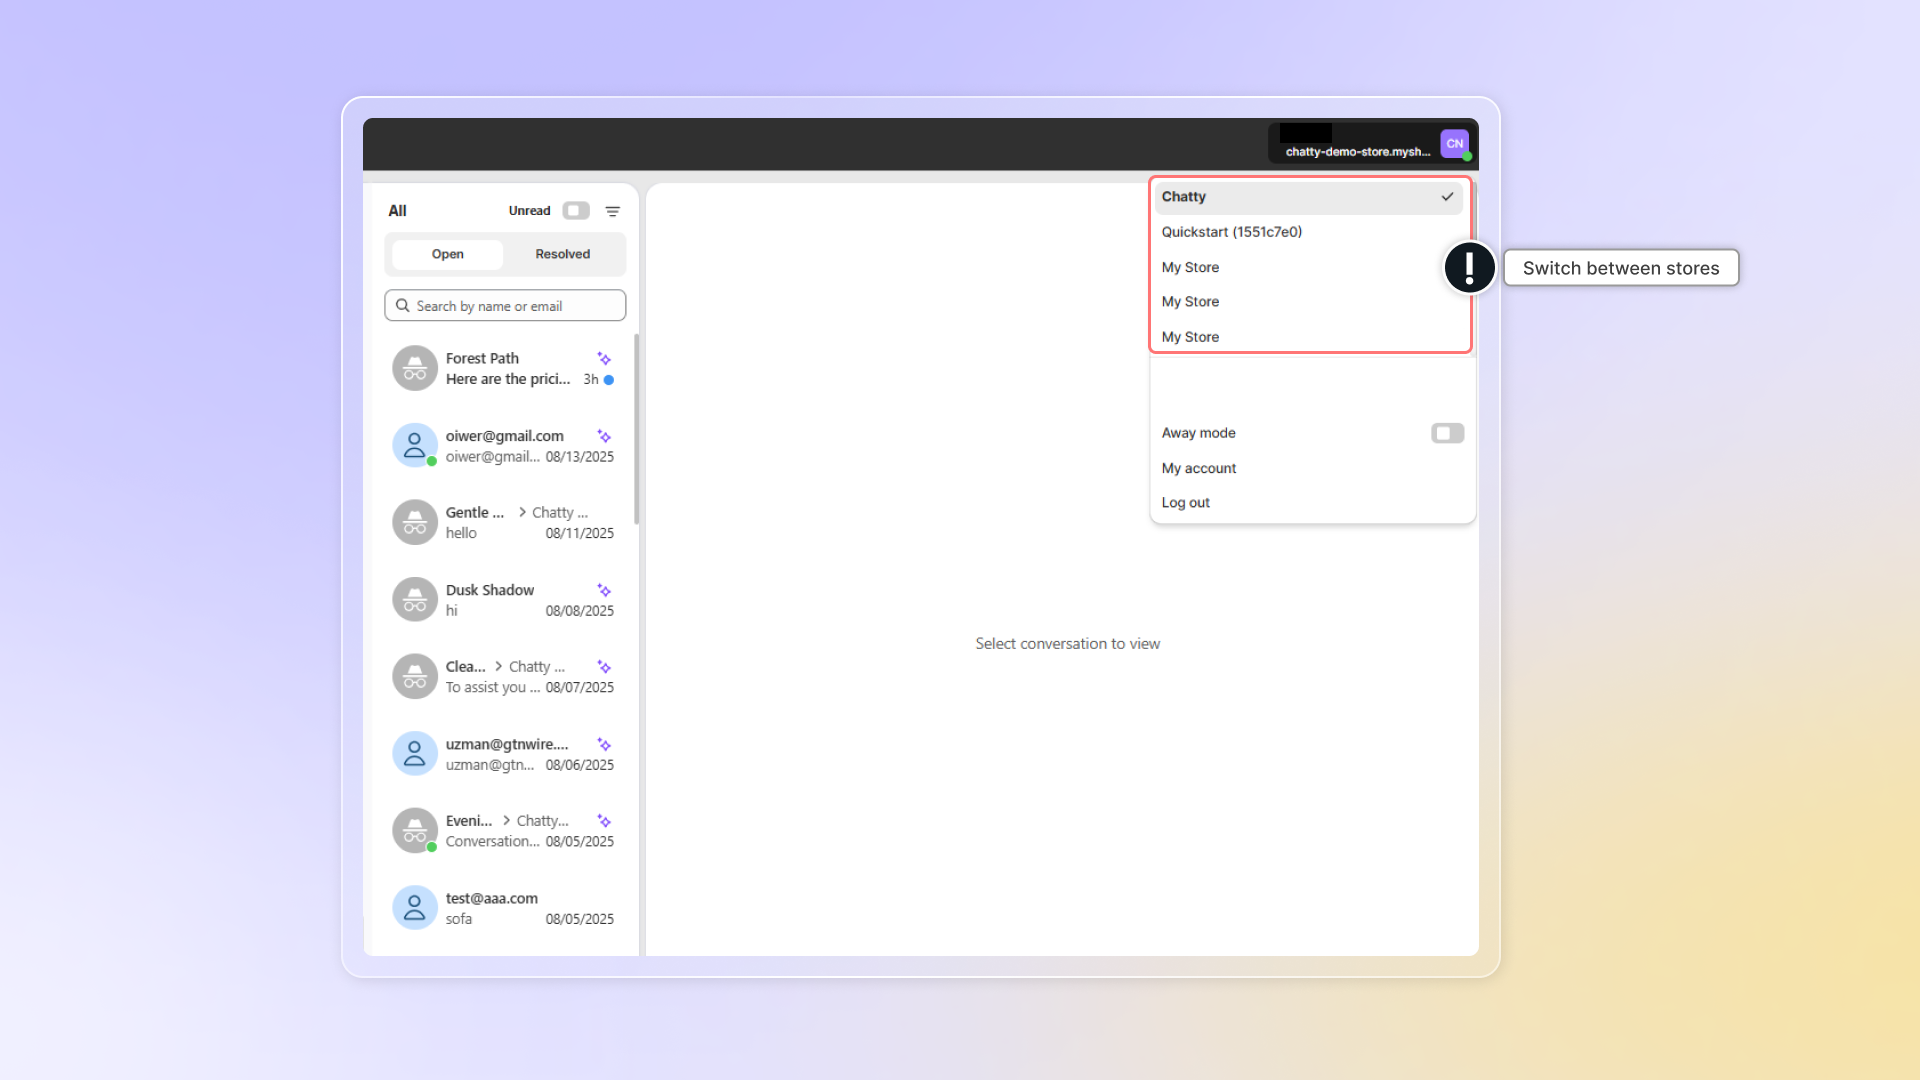
#### Mention team member in conversation
You and your team can leave private comments within conversations by **Internal note**.
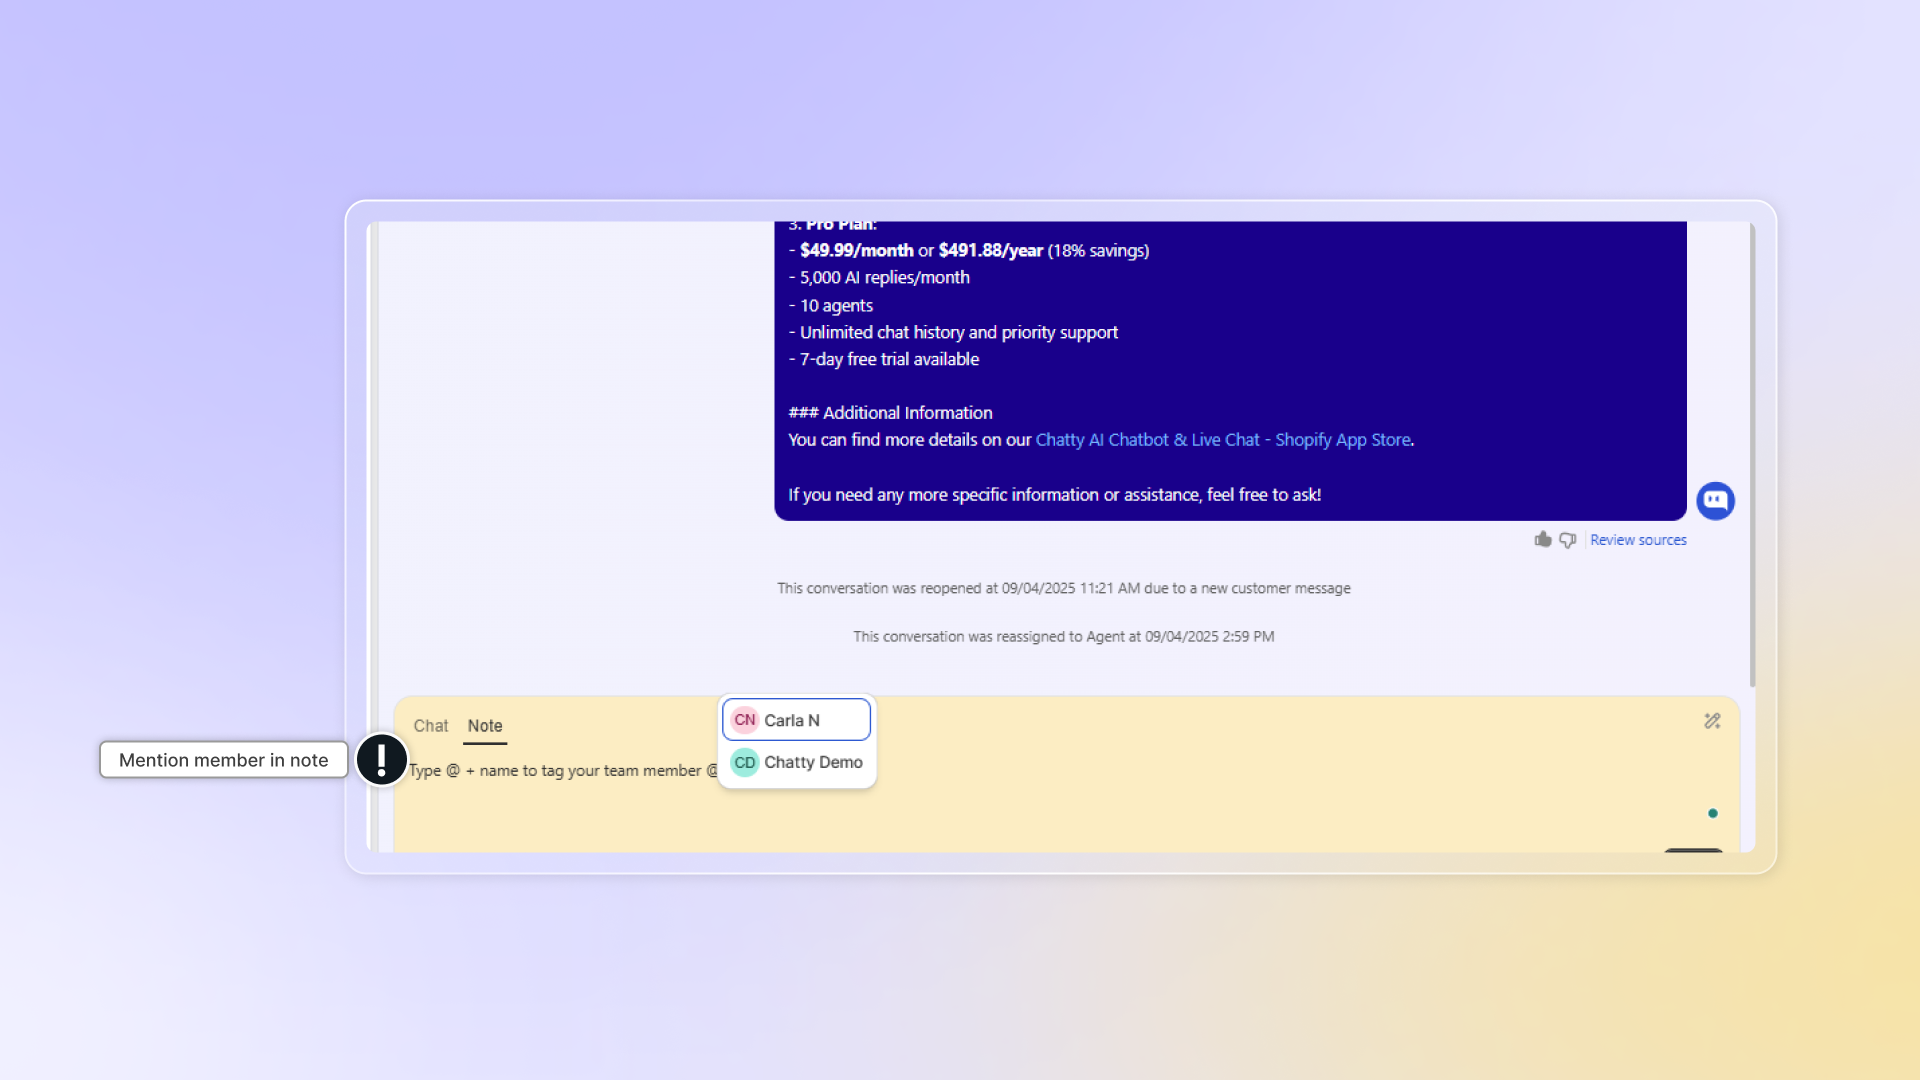
================================================================
URL: https://help.chatty.net/mcp/
Locale: en
================================================================
# MCP
**Who can use this feature?**
* You need the **Pro** or **Plus** plan to create and manage API keys.
* Setting this up needs a developer. You create the key yourself in **Settings** → **General** → **Manage keys**, then someone who writes code connects the bot to it.
### Overview
MCP lets an AI assistant you run yourself work inside your Chatty inbox: read a conversation, look up a product, an order, or an FAQ, and post its reply where the customer sees it. That assistant can be a bot your team builds, or a tool such as Claude.
Chatty exposes your store's chat capabilities as an [MCP](https://modelcontextprotocol.io) server. An external bot connects once, discovers the tools your store has enabled, calls them to gather what it needs, and posts its answer back into the conversation.
A typical loop:
1. A customer sends a message.
2. Chatty fires a `message.created` webhook to your bot. Read `senderType` and act on `customer` only.
3. Your bot calls Chatty's MCP tools: look up a product, search FAQs, check an order.
4. Your bot calls `send_message` to reply. The answer appears in the conversation.
Use it to run your own model, apply your own logic before answering, or plug Chatty into an agent framework you already have.
Every parameter, type, and return value is listed in the [Tool Reference](/mcp/tools/).
***
### Connect
| | |
| --- | --- |
| **Endpoint** | `POST https://app.chatty.net/mcp` |
| **Server name** | `chatty-mcp`, version `1.0.0` |
| **Protocol** | JSON-RPC 2.0 over Streamable HTTP |
| **Mode** | Stateless, so every request is self-contained. Only `POST` is accepted. |
#### Headers
| Header | Required | Value |
| --- | --- | --- |
| `X-App-Id` | Yes | Your App ID, the field at the top of **Settings** → **General** → **Manage keys**. Some clients call it a Client ID. |
| `Authorization` | Yes | `Bearer sk_...`, an API key from the same panel. |
| `X-Chatty-Convo-Id` | No | The conversation the bot is acting in. `add_note`, `update_tags`, and `assign_member` read `convoId` from this header when you omit the parameter. |
Both credentials sit in the same place, and the key is the same one the [Chat Conversations API](/api-reference/chat-read-api/) uses. The two APIs read it from different headers: MCP wants `Authorization: Bearer sk_...`, the Chat Conversations API wants `X-Api-Key: sk_...`. Sending it the wrong way returns `401` on either side.
Each store can hold up to 5 active keys. See the [API reference](/api-reference/) for how to create one.
#### Check the connection
**List the tools your store exposes**
```bash
curl -s -X POST "https://app.chatty.net/mcp" \
-H "X-App-Id: $CHATTY_APP_ID" \
-H "Authorization: Bearer $CHATTY_KEY" \
-H "Content-Type: application/json" \
-H "Accept: application/json, text/event-stream" \
-d '{"jsonrpc": "2.0", "id": 1, "method": "tools/list"}'
```
Call `tools/list` after connecting rather than hard-coding a list. The tool set is rebuilt on every request from your store's AI agent settings, so it changes the moment you flip a switch in the app.
***
### Connect from an MCP client
Clients that speak Streamable HTTP take the URL and the two headers as they are. Clients that expect a local command need the `mcp-remote` bridge.
#### Claude Desktop
Add this to `claude_desktop_config.json`, then restart the app.
```json
{
"mcpServers": {
"chatty": {
"command": "npx",
"args": [
"-y", "mcp-remote", "https://app.chatty.net/mcp",
"--header", "X-App-Id:${CHATTY_APP_ID}",
"--header", "Authorization:Bearer ${CHATTY_API_KEY}"
],
"env": {
"CHATTY_APP_ID": "YOUR_APP_ID",
"CHATTY_API_KEY": "sk_..."
}
}
}
}
```
#### Cursor
Add this to `.cursor/mcp.json` in your project, or to `~/.cursor/mcp.json` for every project. Cursor speaks Streamable HTTP directly, so no bridge is needed.
```json
{
"mcpServers": {
"chatty": {
"url": "https://app.chatty.net/mcp",
"headers": {
"X-App-Id": "YOUR_APP_ID",
"Authorization": "Bearer sk_..."
}
}
}
}
```
Your API key grants full access to your inbox, including sending messages as your store. Keep these files out of version control and off shared machines.
***
### Which tools your store gets
Chatty exposes 17 tools. Eight are always registered. Nine more depend on switches in your AI agent settings, and Chatty reads those switches on every single request.
**Three tools share one switch.** Turning on **AI agent > Training data > Products** registers `product_lookup`, `product_faq_lookup`, and `manage_cart` together. There is no separate switch for the cart — if the AI can read products, it can also edit the cart.
**Four switches are off until you turn them on.** Products, Collections, Discounts, and Size guide all default to off. A store that has never touched its AI agent settings exposes 11 tools: the 8 always-on ones plus order tracking, after-sale support, and human handover, which are on by default.
| Switch in the app | Tools it registers | Default |
| --- | --- | --- |
| **AI agent > Training data > Products** | `product_lookup`, `product_faq_lookup`, `manage_cart` | Off |
| **AI agent > Training data > Collections** | `collection_lookup` | Off |
| **AI agent > Training data > Discounts** | `discount_lookup` | Off |
| **AI agent > Instructions > Assistant skills > Size guide** | `size_guide_lookup` | Off |
| **AI agent > Instructions > Assistant skills > Order tracking** | `check_order_status` | On |
| **AI agent > Instructions > Assistant skills > After-sale support** | `customer_support` | On |
| **AI agent > Instructions > Assistant skills > Human handover** | `human_agent_transfer` | On |
No tool is plan-gated at the MCP layer. The plan check happens earlier, on the switch itself and on the API key: order tracking needs the **Basic** plan or higher, size guide needs **Pro**, and creating any key at all needs **Pro** or **Plus**.
***
### Rules for your bot
Six rules cover the mistakes that break a Chatty bot in production.
1. **Ask before you assume.** Call `tools/list` after connecting. The tool set is rebuilt from your settings on every request, so a hard-coded list goes stale the moment someone flips a switch.
2. **Answer customers, not yourself.** `message.created` fires for every message, including the ones your bot sends. Act only when `senderType` is `customer`.
3. **Copy ids verbatim.** Every id comes from an earlier call. Never build, shorten, or reformat one. See [Identifiers](/mcp/tools/#identifiers).
4. **Read before you replace.** `update_tags` overwrites the whole tag list rather than merging. Read the current tags first if you mean to add one.
5. **Confirm before you escalate.** `customer_support` and `human_agent_transfer` take two calls. The first asks the customer; the second sends `isConfirmed: true`. Send it only after the customer has actually agreed.
6. **Nothing reaches the customer until you send it.** Every tool returns text to your bot. `send_message` is the only one that posts into the conversation.
***
### Receive customer messages
Your bot needs to know when to act. Register a webhook, either with the `register_webhook` tool or with `POST /chat/webhooks` on the [Chat Conversations API](/api-reference/chat-read-api/):
```bash
curl -s -X POST "https://app.chatty.net/chat/webhooks" \
-H "X-Api-Key: $CHATTY_KEY" -H "Content-Type: application/json" \
-d '{
"url": "https://your-bot.example.com/hooks/chatty",
"events": ["message.created"]
}'
```
**Events you can subscribe to**
| Event | Fires when |
| --- | --- |
| `message.created` | A message is added to a conversation. |
| `message.updated` | A message is edited. |
| `message.removed` | A message is deleted. |
| `conversation.created` | A conversation starts. |
| `conversation.state_changed` | The conversation status changes. |
| `conversation.assigned` | The conversation is assigned to a member. |
| `conversation.tags_updated` | The tags on a conversation change. |
| `conversation.removed` | A conversation is deleted. |
| `customer.created` | A customer record is created. |
`message.created` fires for every message added to a conversation, whichever side added it. The payload carries `senderType`. Act only when it is `customer`, so your bot never answers itself.
Do not set your own signing secret. Chatty generates it and ignores any `secret` you send. The generated value comes back in the `register_webhook` result, and in the response body of `POST /chat/webhooks`. It looks like `whsec_` plus 48 hex characters. Store it when you register, and verify every payload with it.
Verify every delivery before acting on it. See [Webhooks](/api-reference/webhooks/) for the payload shape and signature check.
***
### Rate limits
| Limit | Value |
| --- | --- |
| Requests to `/mcp` | No limit today. Chatty counts nothing on this endpoint. |
| Requests to `/chat/*` with the same key | 120 per minute per key, 300 per minute per IP |
The absence of an MCP limit is not a licence to hammer it. Your bot almost always calls the [Chat Conversations API](/api-reference/chat-read-api/) with the same key for reading live conversations, and those calls are counted. A tool-call loop that also polls `/chat/conversations` will hit `429` on the REST side long before anything complains on the MCP side. See [Errors and rate limits](/api-reference/errors-and-rate-limits/).
***
### Errors
Authentication is checked before anything else, and it answers with a plain object rather than JSON-RPC:
```json
{ "error": "Invalid or revoked API key." }
```
Everything after that comes back in JSON-RPC form:
```json
{ "jsonrpc": "2.0", "error": { "code": -32000, "message": "Shop not found." }, "id": null }
```
| Situation | Status | Response |
| --- | --- | --- |
| `X-App-Id` missing, or `Authorization` missing or not starting with `Bearer ` | `401` | `{ "error": "Missing required headers: X-App-Id and Authorization (Bearer sk_...)" }` |
| Key sent in `X-Api-Key` instead of `Authorization` | `401` | Same missing-headers message. The header check runs first and never sees the key. |
| Key unknown, revoked, or belonging to another store | `401` | `{ "error": "Invalid or revoked API key." }` |
| Any method other than `POST` | `405` | `{ "jsonrpc": "2.0", "error": { "code": -32000, "message": "Method not allowed. Only POST is supported in stateless mode." }, "id": null }` |
| App ID resolves to a store that no longer exists | `404` | `{ "jsonrpc": "2.0", "error": { "code": -32000, "message": "Shop not found." }, "id": null }` |
| Calling a tool the store has not turned on | `200` | A JSON-RPC error from the MCP layer reporting that the tool does not exist. Chatty never registered it, so `tools/list` never listed it either. Compare against `tools/list` before you call. |
Because the header check runs first, an unauthenticated `GET` returns `401` rather than `405`. Test for a top-level `error` string before parsing a JSON-RPC response.
Tool-level failures are not protocol errors. A tool that cannot do its job returns `200` with an ordinary result whose text is `{"error": "..."}` — for example `Conversation abc not found` or `Member is not active`. Parse the result text and check for an `error` key.
***
### Security
**An API key is all-or-nothing.** There is no way to limit a key to read-only, to one conversation, or to a subset of tools. A key that can search your FAQs can also send messages as your store, reassign conversations, and register webhooks that forward every message to an outside URL.
What that means when you hand a key to a bot:
* **A leaked key is a leaked inbox.** Treat it like a password to your storefront, not like a public app token.
* **Give each bot its own key.** You get 5 per store. One key per bot means you can revoke one without taking the others down.
* **Never ship it to the browser.** The key belongs on your server. Anything in storefront JavaScript is public.
* **Rotate on suspicion, not on schedule.** Delete the key in **Settings** → **General** → **Manage keys** and generate a replacement. MCP verifies the key against the database on every request, with no cache, so deletion stops MCP traffic immediately. The Chat Conversations API caches for 5 minutes, so REST calls with the same key can survive that long.
* **Watch the webhooks.** `register_webhook` is available to every key. A stolen key can quietly point a copy of your message stream at someone else's server, so audit your subscriptions with `GET /chat/webhooks` after any incident.
#### Store the key outside your code
Read it from an environment variable or a secret manager. Never commit it, and keep client config files out of version control.
#### Scope the bot yourself
Chatty cannot restrict what a key can do, so restrict what your bot does. If it only needs to answer questions, let it call `faq_retrieval` and `send_message` and drop the rest.
#### Log every write
Record each `send_message`, `update_tags`, and `assign_member` your bot makes. Chatty marks bot messages as automated, but only your logs tell you which bot sent what.
***
### Need help?
Contact the Chatty support team from your dashboard. Include the tool name, the timestamp of a failing call, and the returned error message.
For parameters and return values, see the [Tool Reference](/mcp/tools/). For reading live conversations over REST, see the [Chat Conversations API](/api-reference/chat-read-api/).
================================================================
URL: https://help.chatty.net/mcp/tools/
Locale: en
================================================================
# MCP tool reference
**Who can use this feature?**
* You need the **Pro** or **Plus** plan to create and manage API keys.
* This page is for developers building against the MCP server. Start at the [MCP overview](/mcp/) for connection and authentication.
### How to read this page
Chatty exposes 17 tools. Eight are always registered. Nine depend on a switch in your AI agent settings, read fresh on every request. Your bot should call `tools/list` after connecting rather than trusting any list, including this one.
Every tool returns MCP text content: one `content` entry of `type: "text"`. Most tools put a JSON object in that text, so parse it. A few return plain prose when there is nothing to report — `No products found.`, `No results found.`, `No test conversations found.`, `No team members found.`. A tool that fails returns `200` with `{"error": "..."}` inside the text, not a protocol error.
***
### Tools at a glance
| Tool | What it does | Changes anything? | Switch that registers it | Plan needed for the switch |
| --- | --- | --- | --- | --- |
| `send_message` | Posts a bot reply into a conversation. | Yes, and the customer sees it | Always on | All |
| `faq_retrieval` | Searches your knowledge base. | No | Always on | All |
| `add_note` | Adds an internal note to a conversation. | Yes | Always on | All |
| `update_tags` | Replaces the tags on a conversation. | Yes, replaces the whole list | Always on | All |
| `assign_member` | Assigns or unassigns a team member. | Yes | Always on | All |
| `list_members` | Lists team members and their ids. | No | Always on | All |
| `list_conversations` | Lists test conversations from the AI playground. | No | Always on | All |
| `register_webhook` | Creates a webhook subscription and returns its signing secret. | Yes | Always on | All |
| `product_lookup` | Searches products and variants. | No | **Training data > Products** | All |
| `product_faq_lookup` | Returns FAQs for one product. | No | **Training data > Products** | All |
| `manage_cart` | Reads and edits the Shopify cart. | Yes, except `action: "get"` | **Training data > Products** | All |
| `collection_lookup` | Searches collections and categories. | No | **Training data > Collections** | All |
| `discount_lookup` | Finds discounts and promo codes. | No | **Training data > Discounts** | All |
| `size_guide_lookup` | Returns a size chart for one product. | No | **Assistant skills > Size guide** | **Pro** |
| `check_order_status` | Tracks an order by order number or tracking number. | No | **Assistant skills > Order tracking** | **Basic** |
| `customer_support` | Runs an after-sale request: return, refund, cancel, edit. | No | **Assistant skills > After-sale support** | All |
| `human_agent_transfer` | Hands the conversation to a person. | No | **Assistant skills > Human handover** | All |
`customer_support` and `human_agent_transfer` return a reply for your bot to send. Nothing reaches the customer until you call `send_message`.
***
### Identifiers
Most tools need an id that only another tool can give you. Copy it exactly as Chatty returned it — never build, shorten, or reformat one.
| Identifier | Shape | Where you get it |
| --- | --- | --- |
| `convoId` | Opaque. Two shapes are in use: an all-digit id, and a 20-character mixed-case id. Both are valid, so do not normalize either. | The webhook payload, the `X-Chatty-Convo-Id` header, or `GET /chat/conversations`. |
| `memberId` | Opaque string. | `list_members`. |
| `productId` | `gid://shopify/Product/` | `product_lookup`. Needed by `product_faq_lookup` and `size_guide_lookup`. |
| `variantId` | `gid://shopify/ProductVariant/` | The `variants` array in a `product_lookup` result. Preferred for `manage_cart` `add`. |
| `cartId` | The Shopify cart id, passed through untouched. | Any `manage_cart` call. Required for `get`, `update`, and `remove`. |
| `lineItemId` | `gid://shopify/CartLine/?cart=` | `manage_cart` with `action: "get"`. Required for `update` and `remove`. The `?cart=` part belongs to the id — drop it and the id is rejected. |
| Webhook `secret` | `whsec_` followed by 48 hex characters. | `register_webhook`, once. |
***
### Always available
These eight are registered for every store, on every plan that can hold an API key.
#### send_message
Sends a bot message to a conversation. Call it after composing your answer.
| Parameter | Type | Required | Description |
| --- | --- | --- | --- |
| `convoId` | `string` | Yes | The conversation to post into. Must belong to the store the key belongs to. |
| `text` | `string` | Yes | The message body. |
| `topic` | `string` | No | Topic classification, for example `Product inquiry` or `Order status`. Defaults to `General inquiry`. |
**Returns** `{ "messageId": "...", "convoId": "...", "saved": true }`. The message is stored as an automated bot message. Errors: `Conversation not found`, `Conversation does not belong to this shop`.
#### faq_retrieval
Searches your store's knowledge base: FAQs, scenarios, pages, and files.
| Parameter | Type | Required | Description |
| --- | --- | --- | --- |
| `query` | `string` | Yes | The search text. |
**Returns** an object with `scenarios`, `faqs`, `pages`, `files`, and any products those entries link to. Returns the text `No results found.` when nothing matches.
#### add_note
Adds an internal note to a conversation. Notes are visible to your team only, never to the customer.
| Parameter | Type | Required | Description |
| --- | --- | --- | --- |
| `convoId` | `string` | No | The conversation. Falls back to the `X-Chatty-Convo-Id` header. One of the two must be present. |
| `text` | `string` | Yes | The note body. Whitespace is trimmed. |
**Returns** `{ "noteId": "...", "convoId": "...", "saved": true }`.
#### update_tags
Sets tags on a conversation. This replaces the existing tags — it does not merge. Read the current tags first if you mean to add one.
| Parameter | Type | Required | Description |
| --- | --- | --- | --- |
| `convoId` | `string` | No | The conversation. Falls back to the `X-Chatty-Convo-Id` header. |
| `tags` | `string[]` | Yes | The full tag list. Each entry is trimmed and truncated to 50 characters, with no error when a tag is shortened. Empty entries are dropped, duplicates are removed, and only the first 100 tags are kept. Tags that do not exist yet are created. |
**Returns** `{ "convoId": "...", "tags": ["..."], "saved": true }`. An all-empty list returns `{"error": "No valid tags provided"}`.
#### assign_member
Assigns a team member to a conversation, or unassigns.
| Parameter | Type | Required | Description |
| --- | --- | --- | --- |
| `convoId` | `string` | No | The conversation. Falls back to the `X-Chatty-Convo-Id` header. |
| `memberId` | `string` | No | The member to assign. Takes priority over `email`. |
| `email` | `string` | No | The member's email, as an alternative to `memberId`. |
Omit both `memberId` and `email` to unassign.
**Returns** `{ "convoId": "...", "memberId": "...", "memberName": "...", "assigned": true }` when assigning, or `{ "convoId": "...", "memberId": null, "unassigned": true }` when clearing. Errors: `Member not found`, `Member is not active`, `Member does not belong to this shop`.
#### list_members
Lists team members for your store. Use it to find member ids before assigning.
Takes no parameters.
**Returns** `{ "members": [ { "id", "email", "firstName", "lastName", "fullName", "role", "active" } ] }`. Returns the text `No team members found.` when the store has none.
#### list_conversations
Lists **test** conversations, with cursor pagination.
| Parameter | Type | Required | Description |
| --- | --- | --- | --- |
| `limit` | `number` | No | Conversations per page. Default 20, and there is no maximum — whatever number you pass is what the query returns, so keep it to a size your client can handle. |
| `after` | `string` | No | Conversation id cursor. Fetches the page after this one. |
| `before` | `string` | No | Conversation id cursor. Fetches the page before this one. |
| `sort` | `string` | No | Field and direction, for example `updatedAt_desc` or `createdAt_asc`. Default `updatedAt_desc`. |
| `search` | `string` | No | Matches on conversation id. |
**Returns** a formatted text list, not JSON: one line per conversation with its id, `updatedAt`, and the first 100 characters of the last message, followed by a pagination line naming the `before` and `after` values to use next.
`list_conversations` returns test conversations only, the ones from the AI agent playground, not your live customer inbox. To read live conversations, use `GET /chat/conversations` on the [Chat Conversations API](/api-reference/chat-read-api/).
#### register_webhook
Registers a webhook subscription and returns its signing secret.
| Parameter | Type | Required | Description |
| --- | --- | --- | --- |
| `url` | `string` | Yes | The HTTPS URL that receives deliveries. |
| `events` | `string[]` | Yes | Event names. Valid values: `message.created`, `message.updated`, `message.removed`, `conversation.created`, `conversation.state_changed`, `conversation.assigned`, `conversation.tags_updated`, `conversation.removed`, `customer.created`. |
**Returns** `{ "subscriptionId": "...", "url": "...", "events": [...], "secret": "whsec_...", "active": true }`.
`secret` is shown once, here. It is returned nowhere else, and Chatty ignores any secret you try to supply. Store it at registration or you will have to delete the subscription and create a new one. Your store can hold at most 10 subscriptions.
***
### Registered by Training data > Products
One switch registers all three. Turning on **AI agent > Training data > Products** gives your bot product search, product FAQs, and full cart write access at the same time. There is no separate cart switch. This switch is off by default.
#### product_lookup
Searches products and services. Also answers variant and stock questions — put the requested option in `attributes` so the result carries that variant's inventory.
| Parameter | Type | Required | Description |
| --- | --- | --- | --- |
| `primarySearchCriteria` | `string[]` | No | Search modes. Values: `collection`, `sku`, `barcode`, `productName`, `productType`, `attributes`, `price`, `general`, `related`, `complementary`. A bare string is accepted and wrapped in an array. |
| `productHandles` | `string[]` | No | Handles from `/products/handle-name` URLs. Default `[]`. |
| `productLimit` | `number` | No | How many products to return. Default 10. |
| `sortBy` | `string` | No | One of `relevance`, `best_selling`, `newest`, `price_low`, `price_high`, `similar`, `complementary`. |
| `availability` | `string` | No | One of `all`, `in_stock`, `out_of_stock`, `available`, `unavailable`. |
| `minPrice` | `number` | No | Lower price bound. |
| `maxPrice` | `number` | No | Upper price bound. |
| `priceCurrency` | `string` | No | ISO 4217 code, only when the customer names a currency. |
| `isNextPage` | `boolean` | No | True when paging through more of the same results. |
| `sku` | `string` | No | SKU, part number, model number, or catalog code. Pair with `sku` in `primarySearchCriteria`. |
| `barcode` | `string` | No | Barcode, UPC, EAN, or ISBN. |
| `productCollection` | `string` | No | Collection, category, or product line named by the customer. Pair with `collection` in `primarySearchCriteria`. |
| `attributes` | `string` | No | Attributes as `key:value, key:value`. Common keys: `color`, `material`, `size`, `brand`, `style`, `pattern`, `gender`, `productType`, `productName`, `features`. An object or an array of `{attribute, value}` is also accepted and normalized. |
**Returns** `{ "products": [ ... ] }`. Each product carries `productUrl`, `inventory`, and a `variants` array with per-variant id, options, price, SKU, and barcode. Returns the text `No products found.` when nothing matches.
#### product_faq_lookup
Returns FAQs and detail for one product. Call `product_lookup` first and copy the id verbatim.
| Parameter | Type | Required | Description |
| --- | --- | --- | --- |
| `productId` | `string` | Yes | The `productId` from a prior `product_lookup` result. |
| `productTitle` | `string` | No | The product title, used to widen the match. |
| `productUrl` | `string` | No | Accepted by the schema but ignored by the MCP handler. Sending it changes nothing. |
**Returns** `{ "productFaqs": [ ... ] }`, or the text `No product FAQs found.`
#### manage_cart
Reads and edits the Shopify cart. MCP is stateless, so the cart id is explicit on every call.
| Parameter | Type | Required | Description |
| --- | --- | --- | --- |
| `action` | `string` | Yes | One of `get`, `add`, `update`, `remove`. |
| `cartId` | `string` | Conditional | Required for `get`, `update`, and `remove`. Optional for `add` — omit it to create a new cart. |
| `lineItems` | `object[]` | Conditional | Required for `add`, `update`, and `remove`. Omit for `get`. Fields below. |
Each entry in `lineItems`:
| Field | Type | Required | Description |
| --- | --- | --- | --- |
| `lineItemId` | `string` | No | Cart line id from a prior `get`, in the form `gid://shopify/CartLine/{uuid}?cart={token}`. Copy it verbatim. Preferred for `update` and `remove`. |
| `variantId` | `string` | No | `gid://shopify/ProductVariant/{id}`. Preferred for `add`. |
| `productId` | `string` | No | `gid://shopify/Product/{id}`. Used when no variant id is available. A single-variant product resolves; a multi-variant product prompts for the option. |
| `productHandle` | `string` | No | URL slug from `/products/`. Last resort. |
| `variantOptions` | `string` | No | Option string such as `Black / 2`, used to pick the variant. |
| `quantity` | `number` | No | For `add`, how many to add, default 1. For `update`, the new absolute quantity, default 1. For `remove`, how many to take out — omit to remove the whole line. |
**Returns** `{ "cartId": "...", ... }` with the line items, prices, total, and checkout URL. `get` on a missing cart returns `{"error": "Cart not found or expired"}`. `add` with nothing resolvable returns `{"error": "No valid product variants found. Use product_lookup first to get variantId."}`. `update` or `remove` without `cartId` returns `{"error": "cartId is required for \"update\"."}`.
***
### Registered by their own switch
#### collection_lookup
Searches collections and categories. Registered by **AI agent > Training data > Collections**, which is off by default — this is the one tool most stores never see.
| Parameter | Type | Required | Description |
| --- | --- | --- | --- |
| `query` | `string` | No | Search text, for example `summer` or `new arrivals`. |
| `limit` | `number` | No | Maximum collections returned. Default 10. |
| `listAll` | `boolean` | No | Set true to list every collection instead of searching. Default false. |
| `includeProducts` | `boolean` | No | Accepted by the schema but ignored by the MCP handler. Products inside a collection do not come back over MCP — call `product_lookup` with `productCollection` instead. |
**Returns** `{ "collections": [ { "title", "description", "image", "collectionId", "url" } ] }`, or the text `No collections found.`
#### discount_lookup
Finds discounts and promotions. Registered by **AI agent > Training data > Discounts**, off by default. All four parameters are optional; sending none returns the store's general offers.
| Parameter | Type | Required | Description |
| --- | --- | --- | --- |
| `productIds` | `string[]` | No | `gid://shopify/Product/...` values. From cart data, take `merchandise.product.id`, not `merchandise.id`, which is the variant. |
| `productTitles` | `string[]` | No | Product titles. From cart data, take `merchandise.product.title`. |
| `collectionTitles` | `string[]` | No | Collection titles the customer named. |
| `codes` | `string[]` | No | Specific discount codes. Pass one to get that code's own conditions instead of the best general offer. |
**Returns** `{ "discounts": [ ... ] }` with codes, requirements, and benefits, or the text `No discounts found.`
#### size_guide_lookup
Returns the size chart matched to one product. Registered by **AI agent > Instructions > Assistant skills > Size guide**, off by default, **Pro** plan.
| Parameter | Type | Required | Description |
| --- | --- | --- | --- |
| `productId` | `string` | Yes | The `productId` from a prior `product_lookup` result. |
| `intent` | `string` | No | One of `fit_recommendation`, `show_chart`, `dimensions`. Accepted by the schema but ignored by the MCP handler — the same chart comes back either way. |
| `customerMeasurements` | `object` | No | Measurements as key-value pairs, using the keys from `measurementFields` in a prior call. Values may be strings or numbers. |
**Returns** `{ "sizeChart": "" }`, plus `measurementFields` when the guide defines them and `customerMeasurements` echoed back when you sent any. Errors: `No productId provided. Use product_lookup first.`, `Size guide not found for this product.`
Do not use this for stock questions. `product_lookup` answers whether size XL is available.
#### check_order_status
Tracks an order. Registered by **AI agent > Instructions > Assistant skills > Order tracking**, on by default, **Basic** plan or higher.
| Parameter | Type | Required | Description |
| --- | --- | --- | --- |
| `searchMethod` | `string` | No | `track_by_order_number` or `track_by_tracking_number`. Defaults to `track_by_order_number`, or to tracking number when only a tracking number is supplied. |
| `orderInfo` | `object` | No | Customer-supplied details. Defaults to `{}`. Fields below. |
Fields inside `orderInfo`:
| Field | Type | Required | Description |
| --- | --- | --- | --- |
| `orderNumber` | `string` | Conditional | Required for `track_by_order_number`. Strip any leading `#`. |
| `email` | `string` | Conditional | Verifies the order. Either `email` or `phone` is required for `track_by_order_number`. |
| `phone` | `string` | Conditional | Alternative to `email`. |
| `trackingNumber` | `string` | Conditional | Required for `track_by_tracking_number`. |
**Returns** `{ "order": { ... } }` with status, tracking, items, and address, plus `deliveryFaqs` when your knowledge base has matching shipping content. Missing fields return `{"error": "Order number is required for order lookup. Email or phone number is required for order verification"}` before any lookup runs.
#### customer_support
Runs an after-sale request. Registered by **AI agent > Instructions > Assistant skills > After-sale support**, on by default.
| Parameter | Type | Required | Description |
| --- | --- | --- | --- |
| `issueType` | `string` | Yes | One of `returnRefund`, `cancelOrder`, `issueOrder`, `editOrder`. |
| `customerData` | `object` | No | Details gathered so far, used to pre-fill the form. Defaults to `{}`. Fields: `orderNumber` (`string`), `issueDetails` (`string`), `email` (`string`). |
| `isConfirmed` | `boolean` | No | Set true only after the customer explicitly agrees to proceed. |
| `isDeclined` | `boolean` | No | Set true only after the customer explicitly declines. |
| `isSubstantiveQuery` | `boolean` | No | Default true. Set false only for a greeting or thanks with no after-sale intent. |
**Returns** the configured response for that request type: the confirmation prompt on the first call, then the outcome once `isConfirmed` is true. The transfer method and form fields come from your after-sale settings, per issue type.
Over MCP the customer's email and phone are not carried in request context the way they are inside the chat widget. Pass what you know in `customerData` or the form comes back empty.
#### human_agent_transfer
Hands the conversation to a person. Registered by **AI agent > Instructions > Assistant skills > Human handover**, on by default. Two steps: ask, then fire.
| Parameter | Type | Required | Description |
| --- | --- | --- | --- |
| `triggerType` | `string` | Yes | One of `customer_request`, `ai_cannot_answer`, `repeated_question`, `negative_sentiment`, `intent_rule`. Judge it at the turn the need first arose, not at the confirmation turn. |
| `customerRequest` | `string` | No | The customer's own words asking for a person. |
| `matchedIntentRule` | `string` | No | The rule name, when `triggerType` is `intent_rule`. |
| `isConfirmed` | `boolean` | No | Default false. First call must be false, which asks the customer to confirm. Send true on the follow-up, with the same `triggerType`. |
| `isDeclined` | `boolean` | No | Default false. True only when the customer says no after being asked. |
| `isSubstantiveQuery` | `boolean` | No | Default true. Set false only for a non-substantive message with no request to reach a person. |
**Returns** the handover response, which reflects your business hours and current agent availability — the answer differs outside working hours.
***
### Need help?
Contact the Chatty support team from your dashboard. Include the tool name, the timestamp of a failing call, and the returned error message.
For connection, authentication, and security, see the [MCP overview](/mcp/).
================================================================
URL: https://help.chatty.net/others/automation/
Locale: en
================================================================
# Automation
**Who can use this feature?**
* Only the store admin sees the **Automation** tab. Team members do not.
* Assignment, automatic resolution and satisfaction survey work on every plan.
* **Smart spam protection** needs the **Pro** plan.
Automation decides who picks up a conversation, when a conversation closes itself, when customers are asked to rate you, and what happens to junk messages.
All four settings live in one place: **Settings** → **Automation**.
***
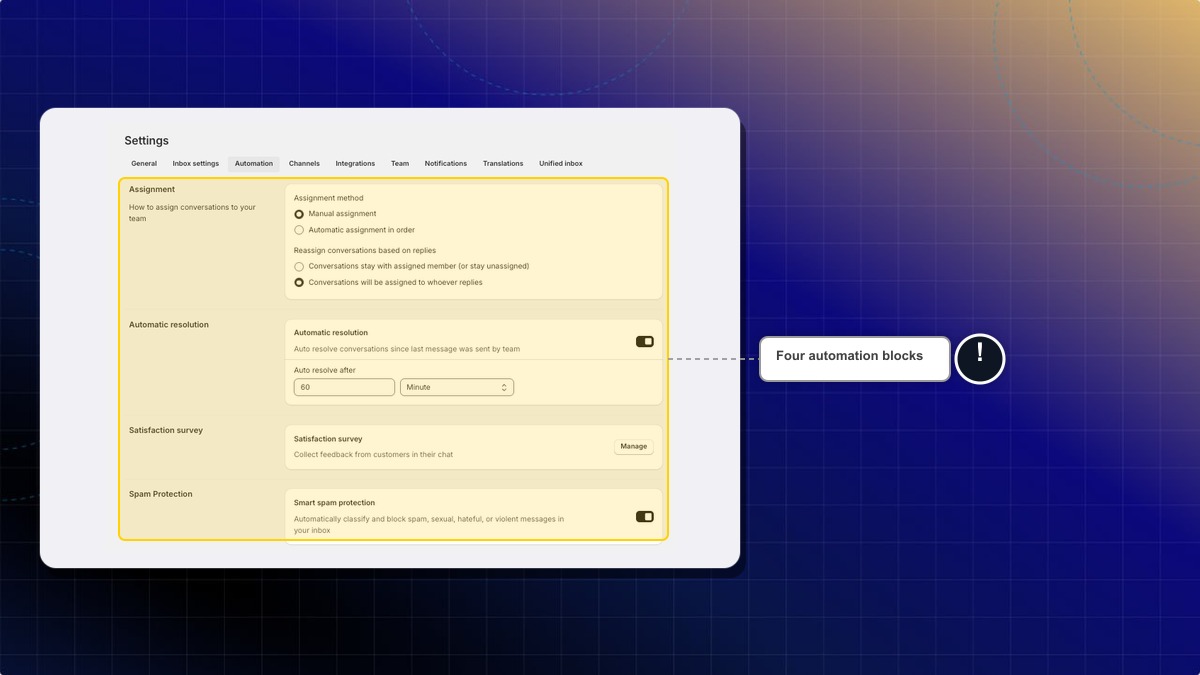
### Assignment
Choose how a new conversation reaches your team.
| Assignment method | What happens |
|---|---|
| **Manual assignment** | Conversations stay unassigned until someone picks them up |
| **Automatic assignment in order** | Chatty hands conversations to your team one after another, in turn |
When you pick automatic assignment, two more controls appear.
#### Select members to assign
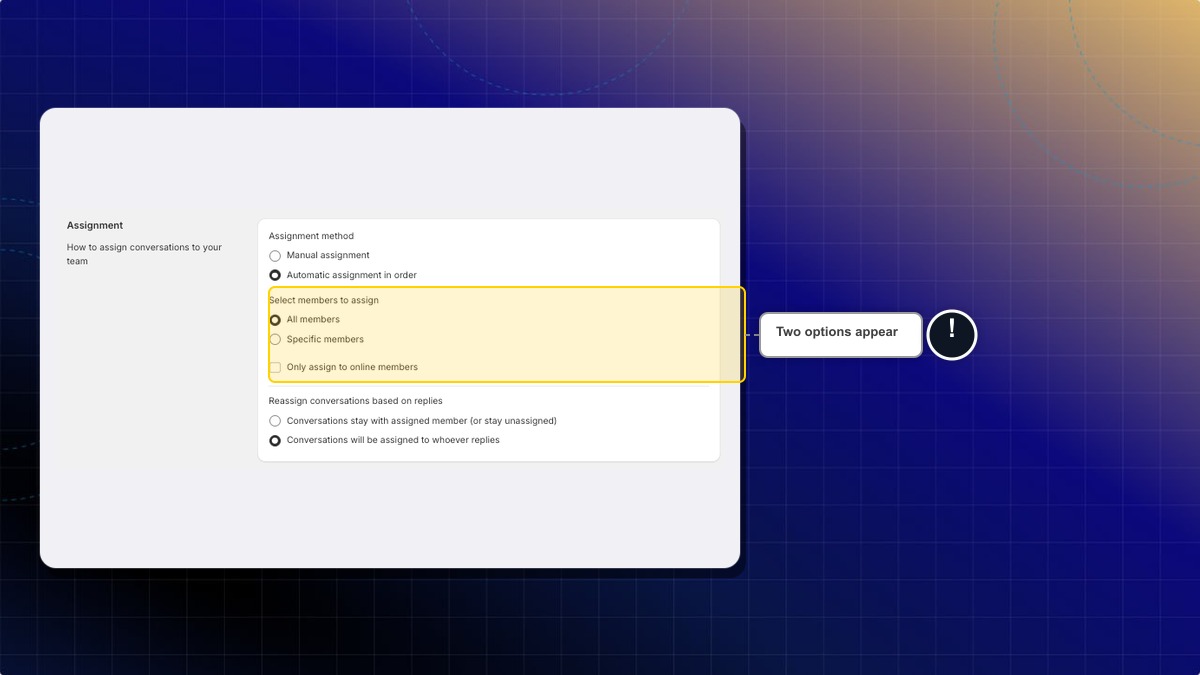
* **All members**: every active team member takes a turn
* **Specific members**: only the people you add to the list take a turn
#### Only assign to online members
Turn this on to skip team members who are not online at that moment. Leave it off and conversations go out in turn whether the person is online or not. Admins are an exception: they stay in the rotation even while offline, because they answer from the embedded app.
#### Click Save
Automatic assignment only shares conversations between **active** team members. Someone you deactivated in **Settings** → **Team** never gets a turn — unless they are an admin, who keeps their turn either way.
**Reassign conversations based on replies**
This decides what happens when someone other than the assignee answers.
* **Conversations stay with assigned member (or stay unassigned)**: the assignee does not change
* **Conversations will be assigned to whoever replies**: the person who answers becomes the new assignee
***
### Automatic resolution
Close conversations that have gone quiet, so your open list stays honest.
#### Turn on Automatic resolution
#### Set Auto resolve after
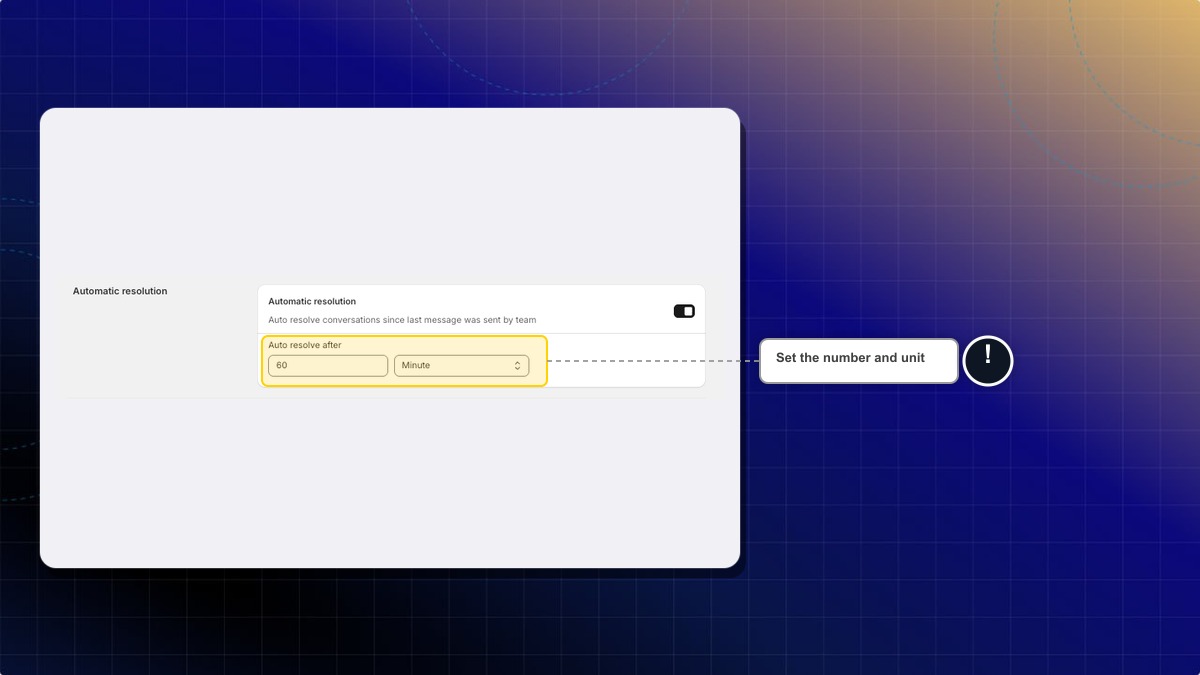
Enter a number and pick **Minute**, **Hour** or **Day**.
#### Click Save
The countdown runs from the last message **your team** sent, not from the customer's last message.
**Expected result:** a quiet conversation moves to **Resolved** on its own, with a note in the chat saying it was resolved automatically. You can reopen it from the conversation header at any time.
***
### Satisfaction survey
Ask customers to rate the help they got, right inside the chat.
#### Open the survey settings
In **Settings** → **Automation**, click **Manage** on the **Satisfaction survey** card.
#### Turn on Display satisfaction survey
#### Pick a survey format
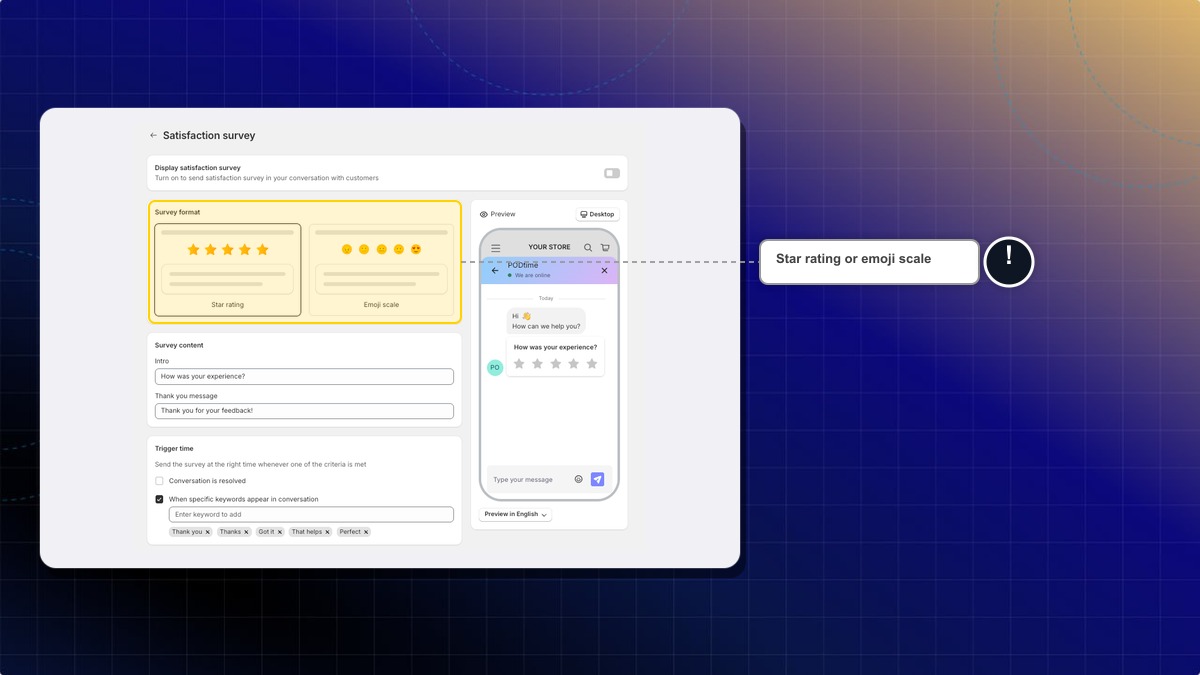
* **Star rating**: customers give one to five stars
* **Emoji scale**: customers pick one of five faces, from Very dissatisfied to Very satisfied
#### Write the survey content
* **Intro**: the question customers see, up to 100 characters. Default: *How was your experience?*
* **Thank you message**: shown after they rate, up to 100 characters. Default: *Thank you for your feedback!*
#### Choose the trigger time
Pick one or both. The survey goes out as soon as either one happens.
* **Conversation is resolved**
* **When specific keywords appear in conversation**: add the words that usually mean the customer is happy. Chatty starts you with *Thank you*, *Thanks*, *Got it*, *That helps* and *Perfect*. Add or remove any of them.
#### Click Save
You have to select at least one trigger time. Saving with both cleared shows an error.
The panel on the right previews the survey in the chatbox as you edit.
**Where the answers show up**
* On a single conversation: **Inbox** → open the conversation → **Conversation details**
* Across your store: **Analytics** → **Overview**, in the satisfaction survey card
***
### Smart spam protection
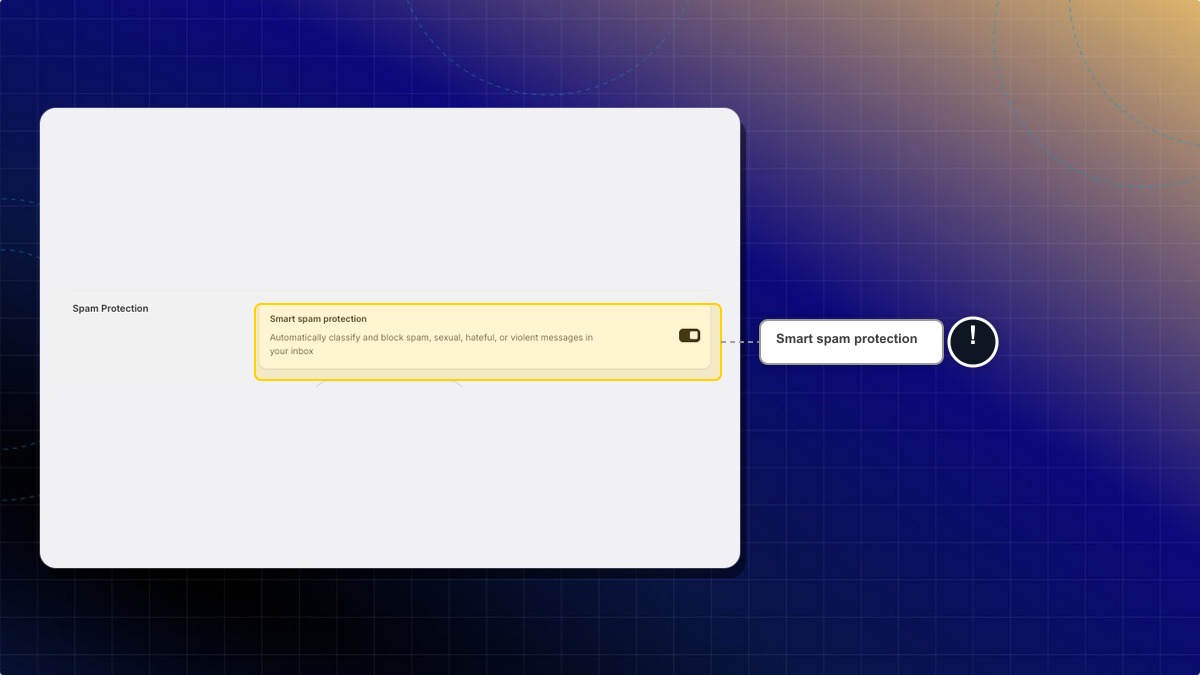
Available on the **Pro** plan. On Free and Basic the toggle is visible but greyed out.
Turn this on and Chatty classifies incoming messages and blocks the ones that are spam, sexual, hateful or violent, before they reach your inbox.
1. Go to **Settings** → **Automation**.
2. In **Spam Protection**, turn on **Smart spam protection**.
3. Click **Save**.
***
### FAQs
Why can't I see the Automation tab?
Only the store admin sees it. If you need one of these settings changed, ask your admin to change it for you. No permission in **Settings** → **Team** unlocks the tab for a team member.
Does automatic assignment include the AI agent?
No. It shares conversations between your active team members. The AI agent picks up conversations through its own settings in **AI agent** → **Settings**.
Can I change the survey question per language?
Yes. The intro and thank you message are customer-facing text, so they go through **Settings** → **Translations** like the rest of your chatbox content.
================================================================
URL: https://help.chatty.net/others/general-settings/
Locale: en
================================================================
# General settings
**Who can use this feature?**
* Most of these settings are available on all plans.
* **Manage keys** needs the **Pro** plan.
* You need the **Appearance** permission to open **Settings** → **General**.
Everything below lives on one page: **Settings** → **General**.
### Setting Store name and avatar
1. Go to **Settings**
2. In General, click **Manage**
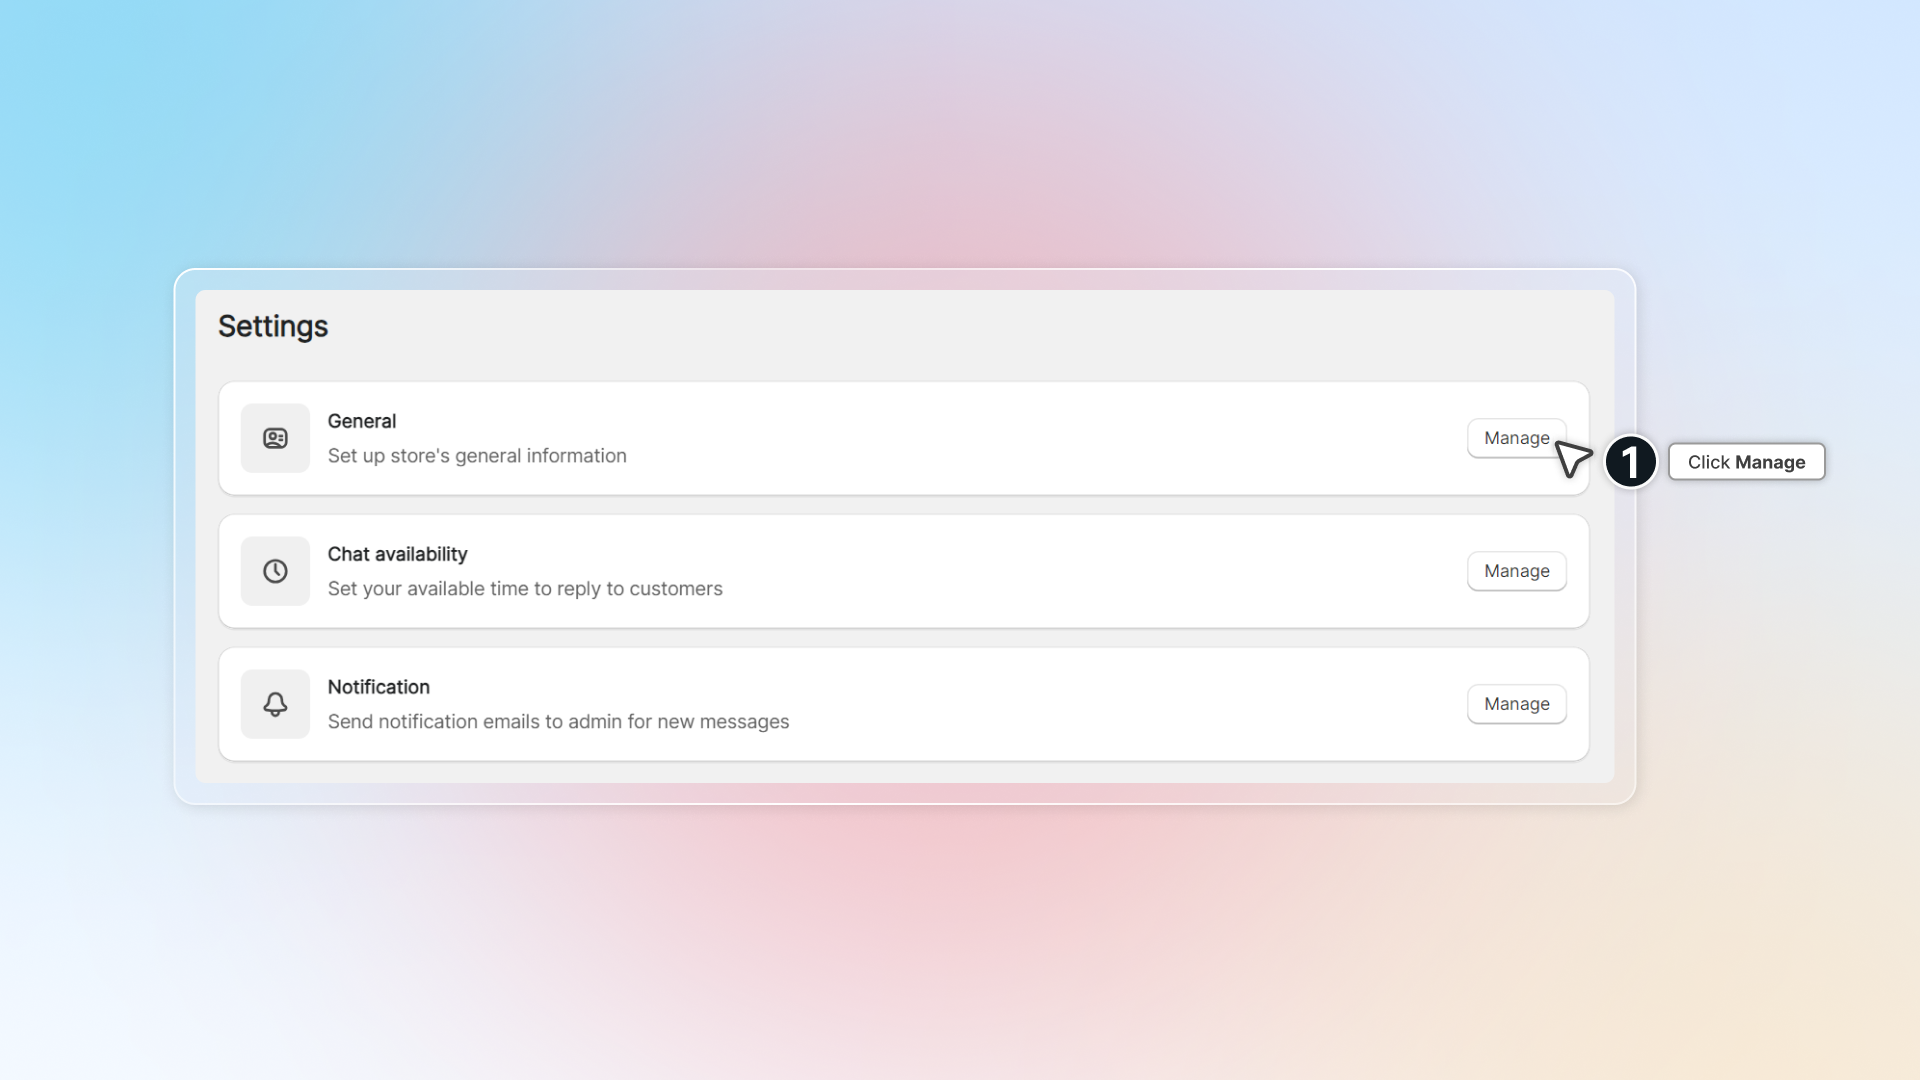
3. Change store name and avatar
4. Click **Save**
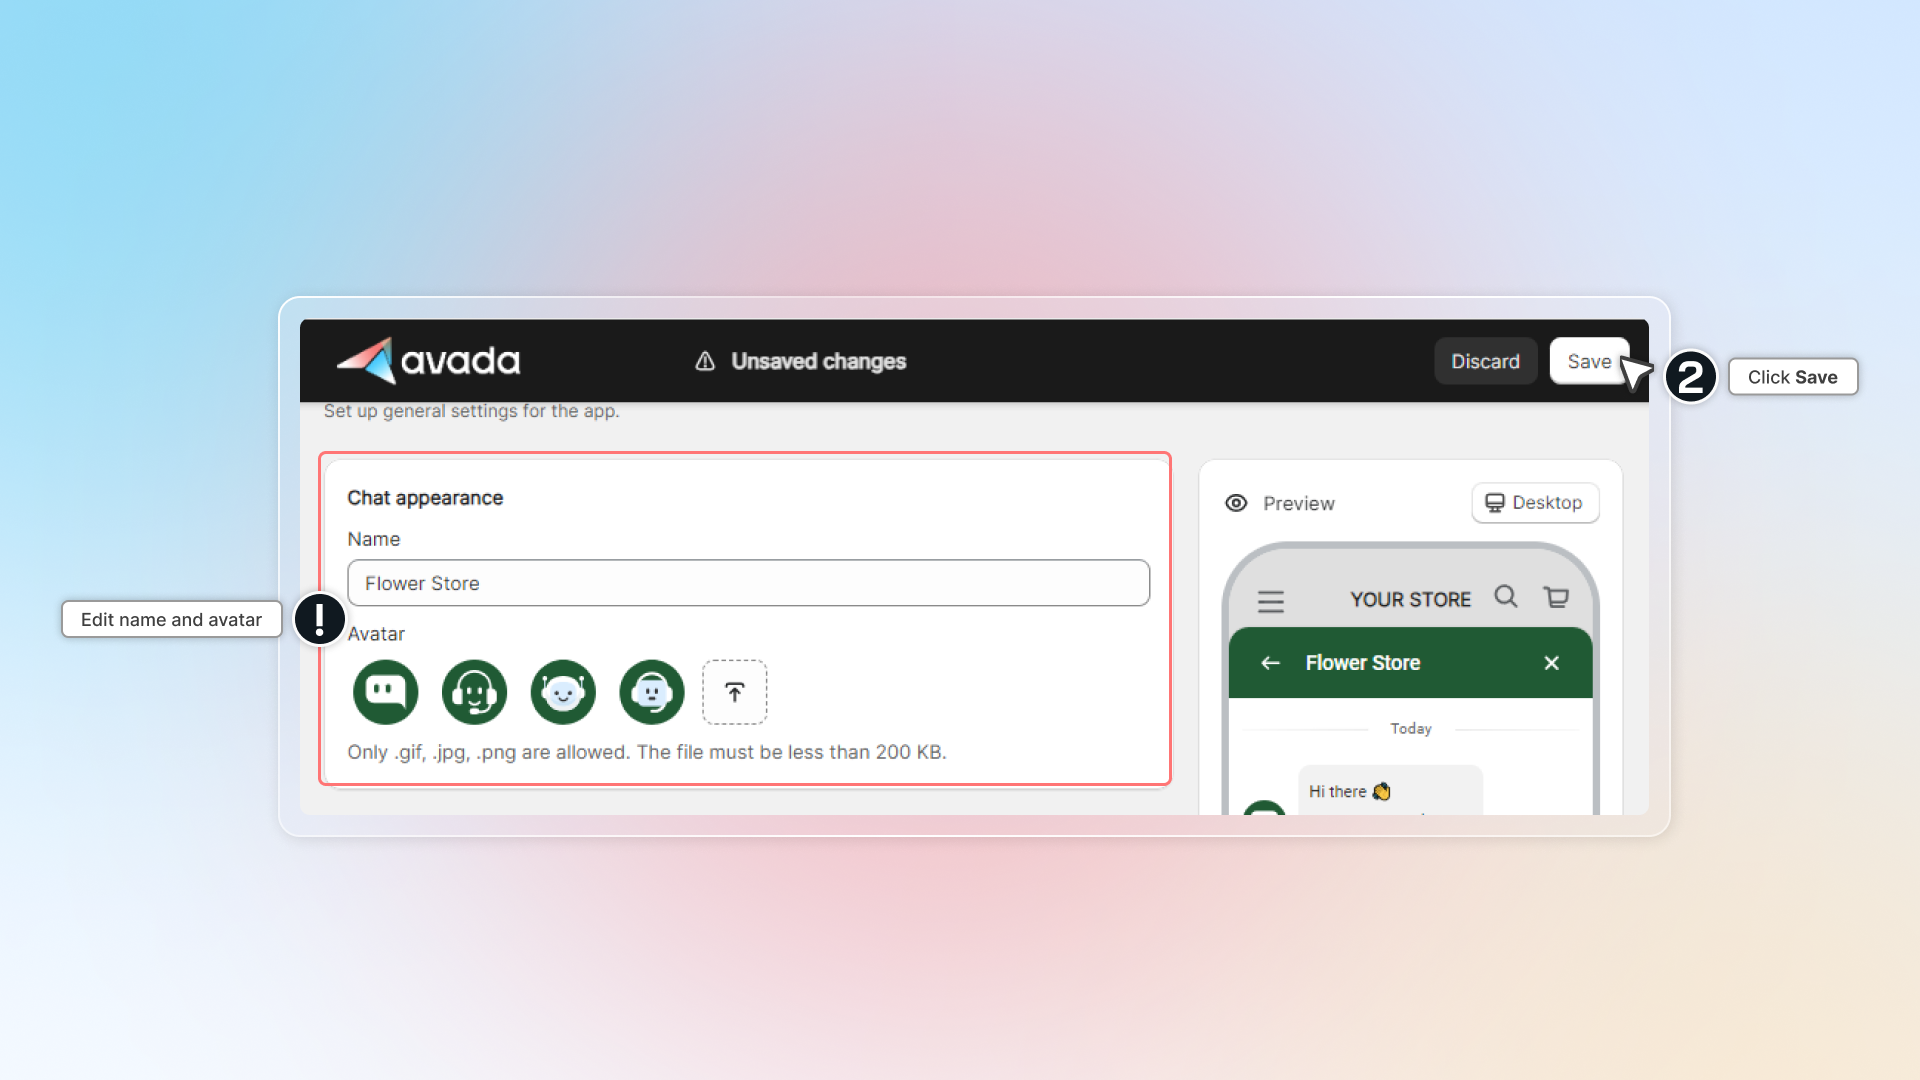
You can upload your own image as avatar. Make sure your image is in the right format (PNG, JPG, JPEG, GIF, SVG or WEBP) and smaller than 200 KB.
### Language
**Language** sets the language of the Chatty admin — the menus and settings you and your team work in. It does not change what customers see in the chatbox. Customer-facing language is handled in [Translation](/others/translation/).
### Markets
If your Shopify store sells in two or more markets, a **Markets** card appears with **Advanced widget settings for markets**.
Click **Manage** and you get a text box with one section per market, named after the market handle. In each section you can override the store name and the AI agent name for that market only. Markets you leave out keep the settings above.
The card is hidden until your store has at least two markets in Shopify.
### Font
**Font** picks the typeface used on your chatbox, your FAQs block and your FAQs page. One choice covers all three.
### Date format
**Date format** changes how dates are shown across the whole app — conversations, contacts, analytics. There are five options, and each one shows today's date as a live example so you can see what you are picking.
### Manage keys
**Manage keys** is where you create the App ID and Secret key that let another system talk to Chatty. It needs the **Pro** plan. See [Authentication](/api-reference/authentication/) for what to do with the keys.
### Chat availability
The **Chat availability** card takes you to your working hours, break times, holidays, status messages and first auto-reply. See [Online hours](/others/online-hours/).
### Reports
The **Reports** card takes you to your weekly performance email and unresolved questions reminder. See [Reports](/others/reports/).
### Disclaimer consent
Disclaimer consent lets you show your privacy policy under the contact form in the conversation.
This tells your customers how their data is used before they start a conversation or subscribe.
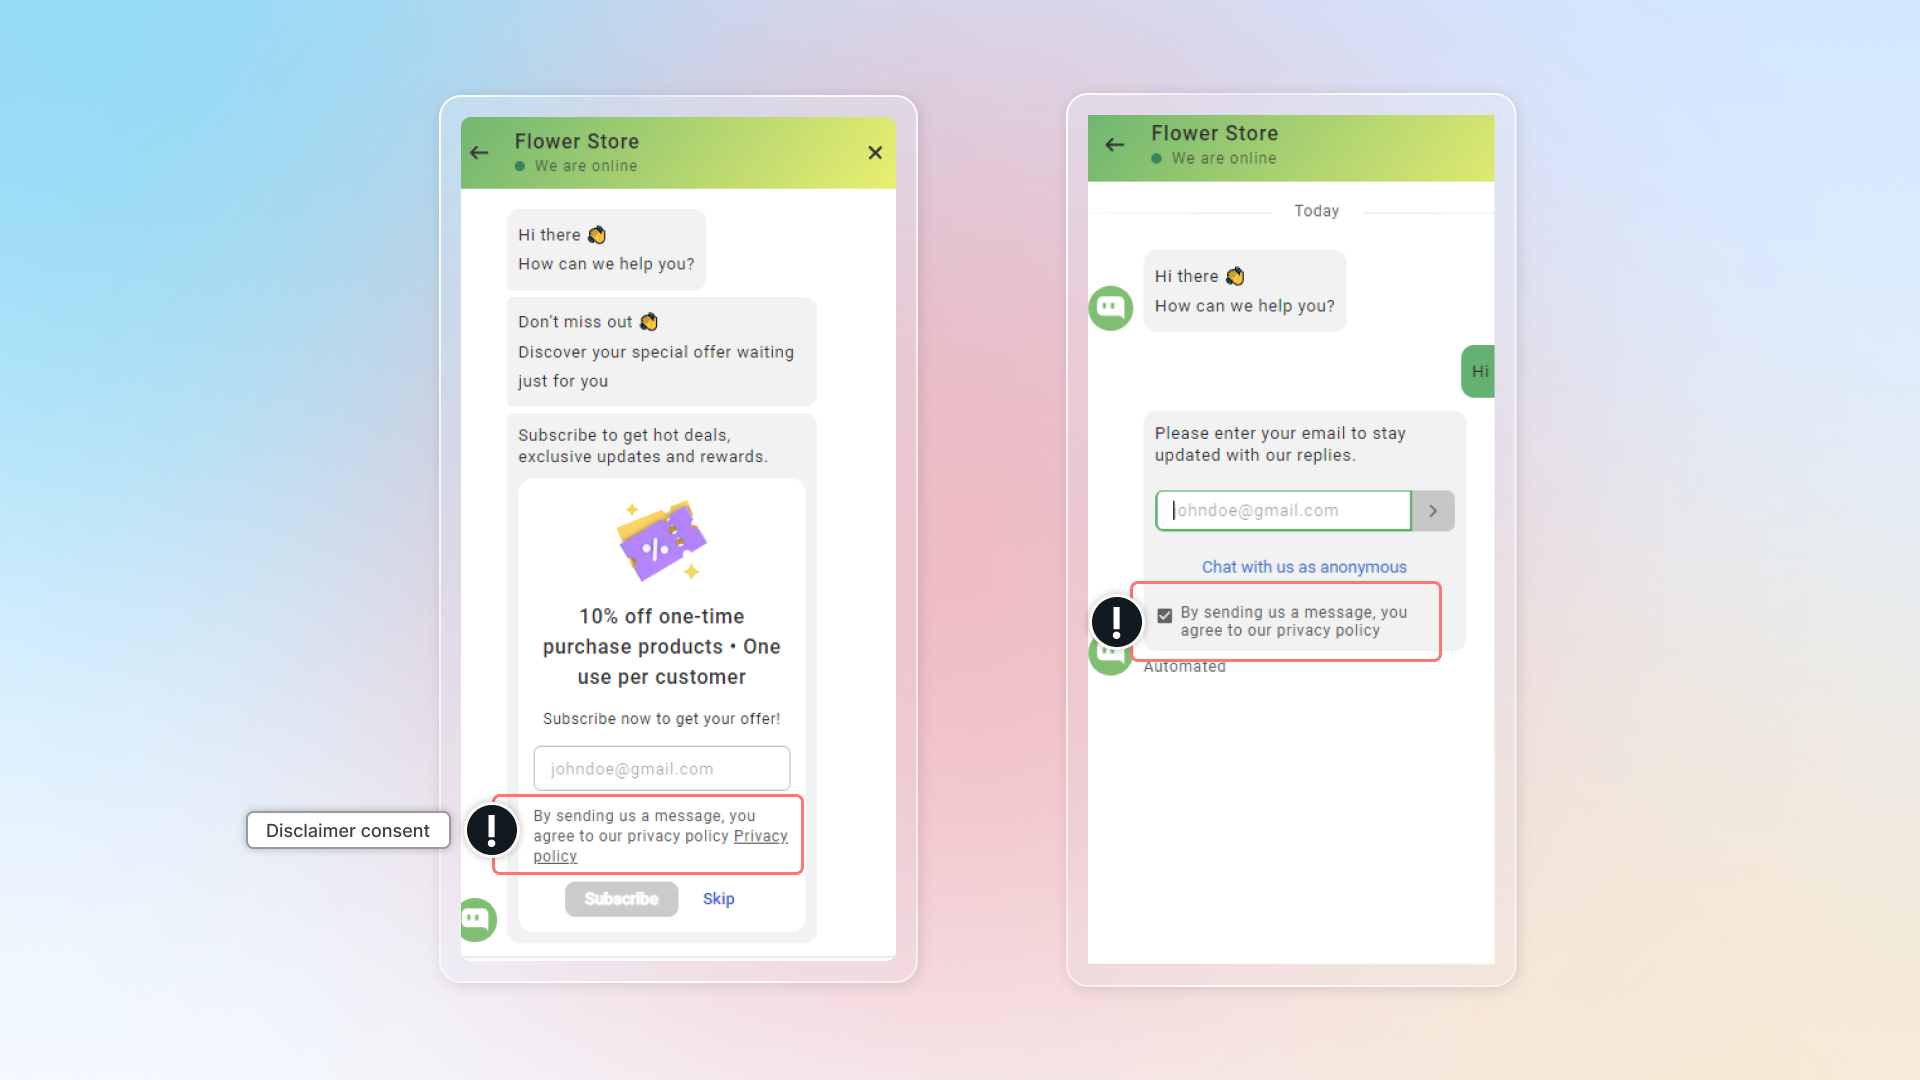
1. Go to **Chatbox**
2. Open the **Chat page** tab
3. Turn on **Disclaimer consent**, then write your message and add your privacy policy link
4. Click **Save**
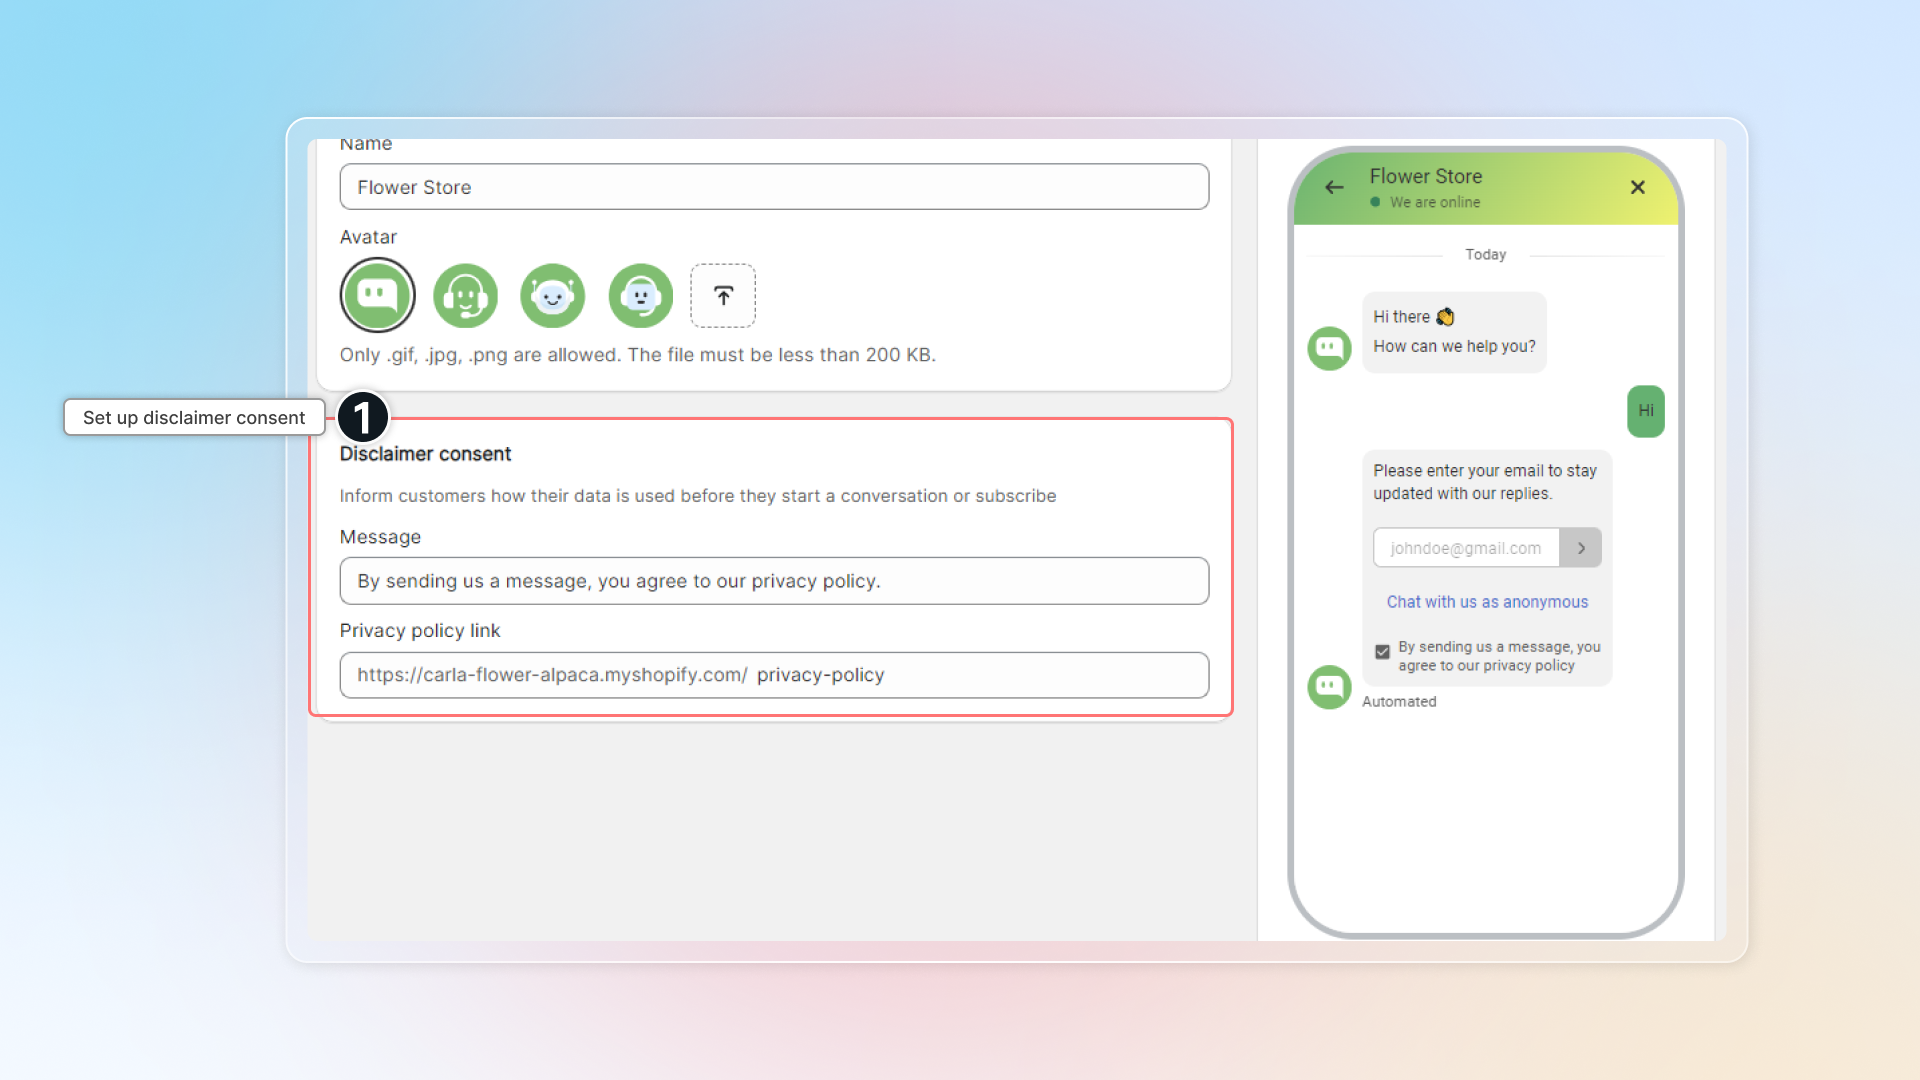
### Follow-up email
This helps customers keep their conversation going by email instead of live chat. In the app the setting is called **Continue as email**.
1. Go to **Chatbox**
2. Open the **Advanced** tab
3. Turn on **Continue as email**
In the chatbox, customers can then select **Continue on email** to keep the conversation going by their email.
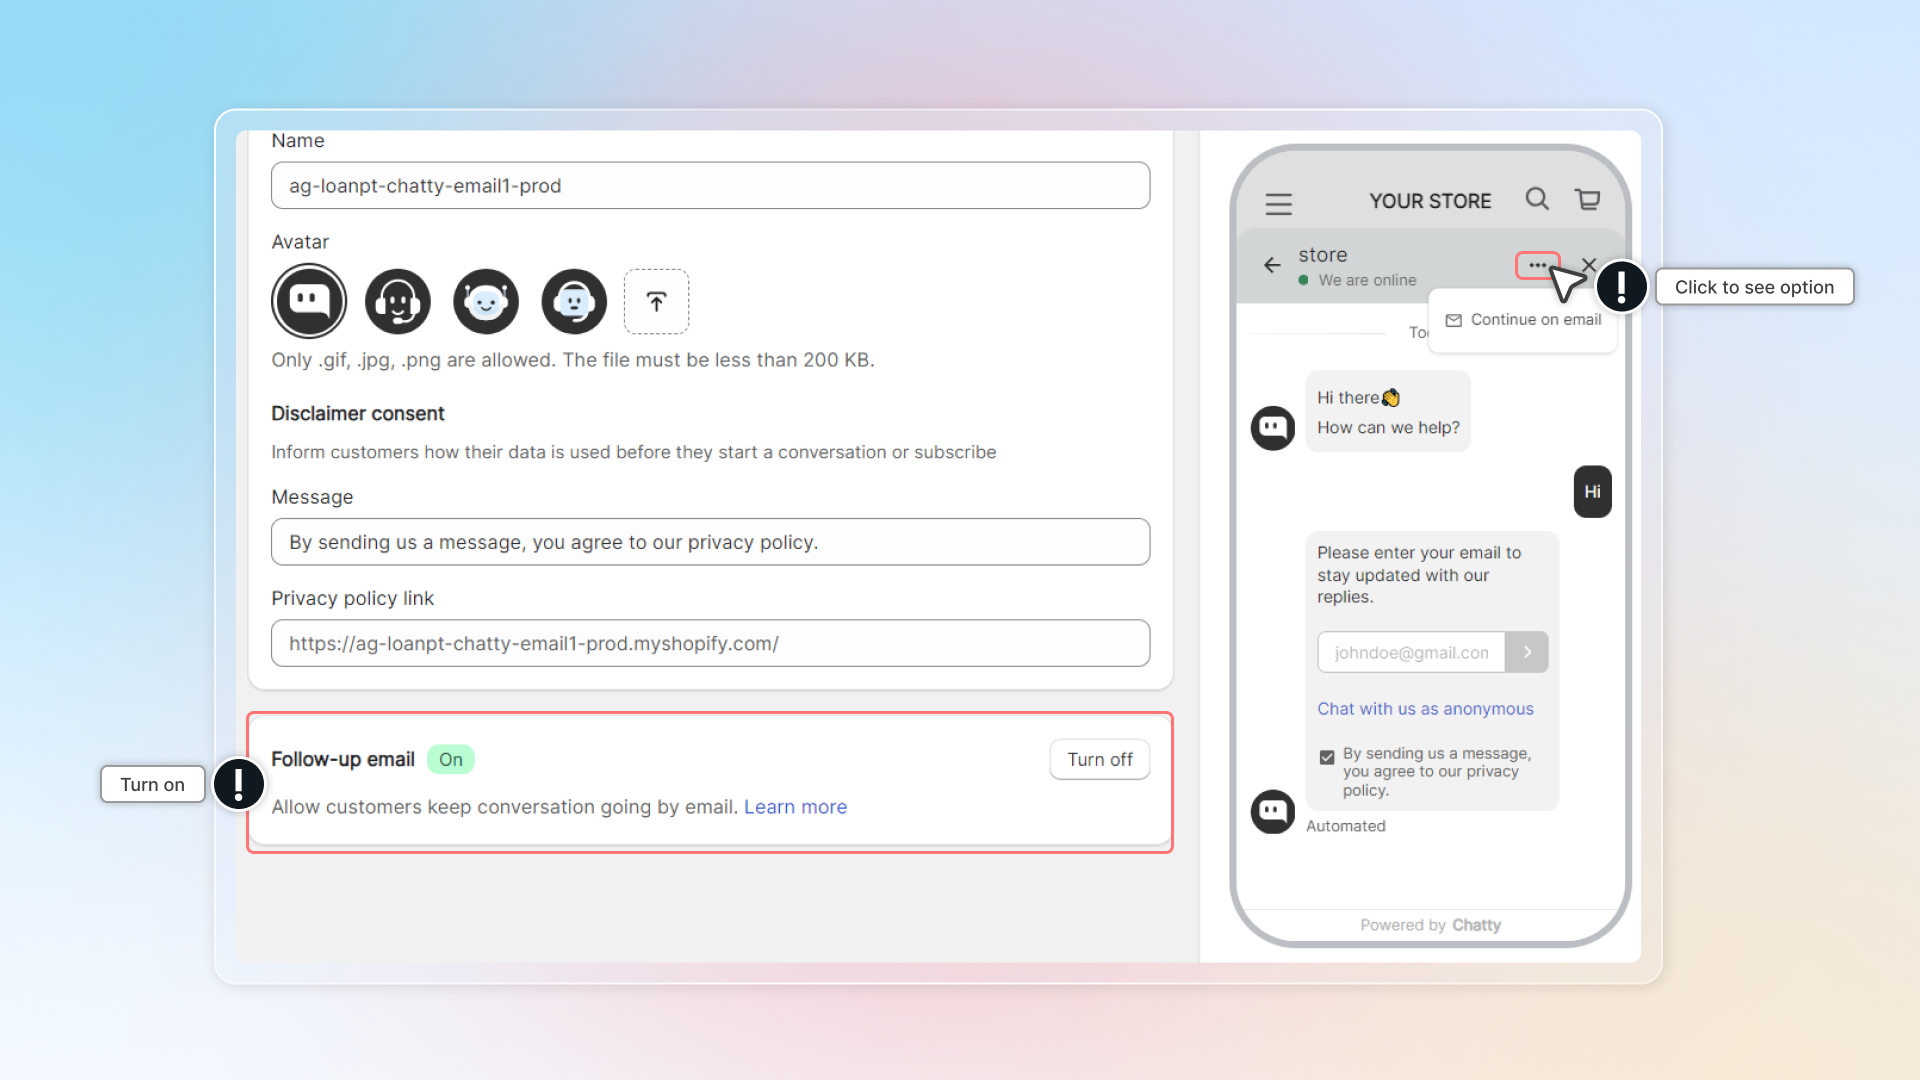
================================================================
URL: https://help.chatty.net/others/notifications/
Locale: en
================================================================
# Notifications
#### There are 3 types of notification
* Web push notifications: Send push notifications to your web browser. Make sure that your allow notifications on your device.
* Sound notifications (advanced): Web browser will play sound for new messages (only from end users' web browser, when you send them messages)
* Email notifications: Send emails for new messages
* Mobile notfication: Download Chatty mobile app for notifications on mobiles
### 🔔 Web push notifications
You need to turn on notifications
#### Turn on Notifications in app
Go to **Settings** → **Notifications**. In **Notify me about**, turn on the **Web** switch for each row you want:
* Conversations assigned to me
* Conversations assigned to other members
* Conversations assigned to AI assistant
* Unassigned conversations
* No reply for 15 minutes in my conversations
Each row has its own **Web** and **Email** switch, so you can get one row by push and another by email.
#### [Turn on Notifications on web browser](#turn-on-notifications-on-web-browser-1)
Currently, we support web push notifications on these web browsers: [Chrome](#chrome), [Microsoft Edge](#microsoft-edge), [Firefox](#firefox), [Opera](#opera), and Samsung Internet.
Read detailed instructions for each web browser below.
If you are using different web browser which is not in the list, contact our support team through live chat in app.
#### Turn on Notifications on your device
You need to enable notifications for that web browser on your device (Windows, MacOS, Mobile) so that you can receive push notifications.
#### Windows
1. Go to Settings -> System -> Notifications (or Notifications & actions)
2. In "Get notifications from these senders", find your web browser
3. Turn on notifications
#### MacOS
1. Click Apple menu → Click Notifications in the sidebar
2. In Application Notifications, find your web browser
3. Turn on notifications
#### Mobile
To get notifications for new messages on mobiles, [download Chatty app.](/live-chat/team/mobile-app/)
#### Turn on Notifications on web browser
#### Chrome
In **Web push,** click **Manage**
You might see a new window is opened. Click
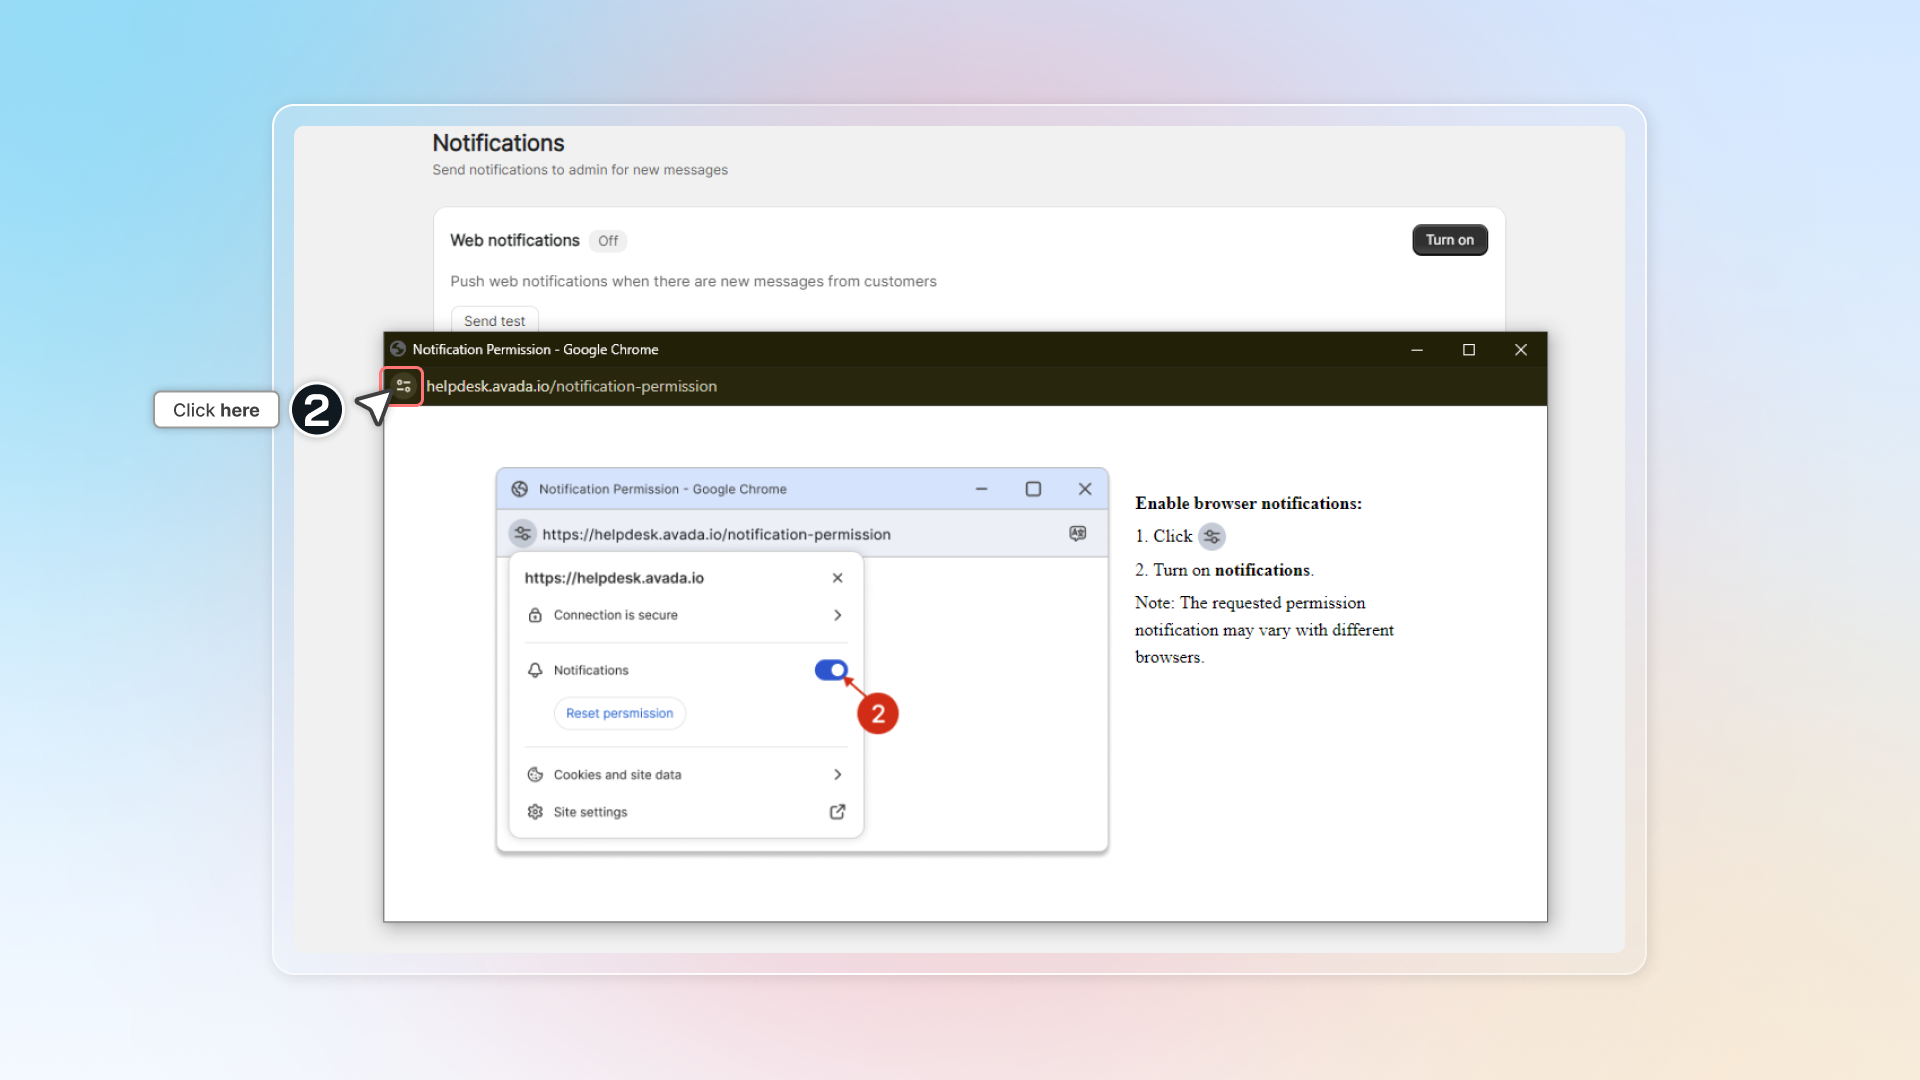
Turn on **Notifications**
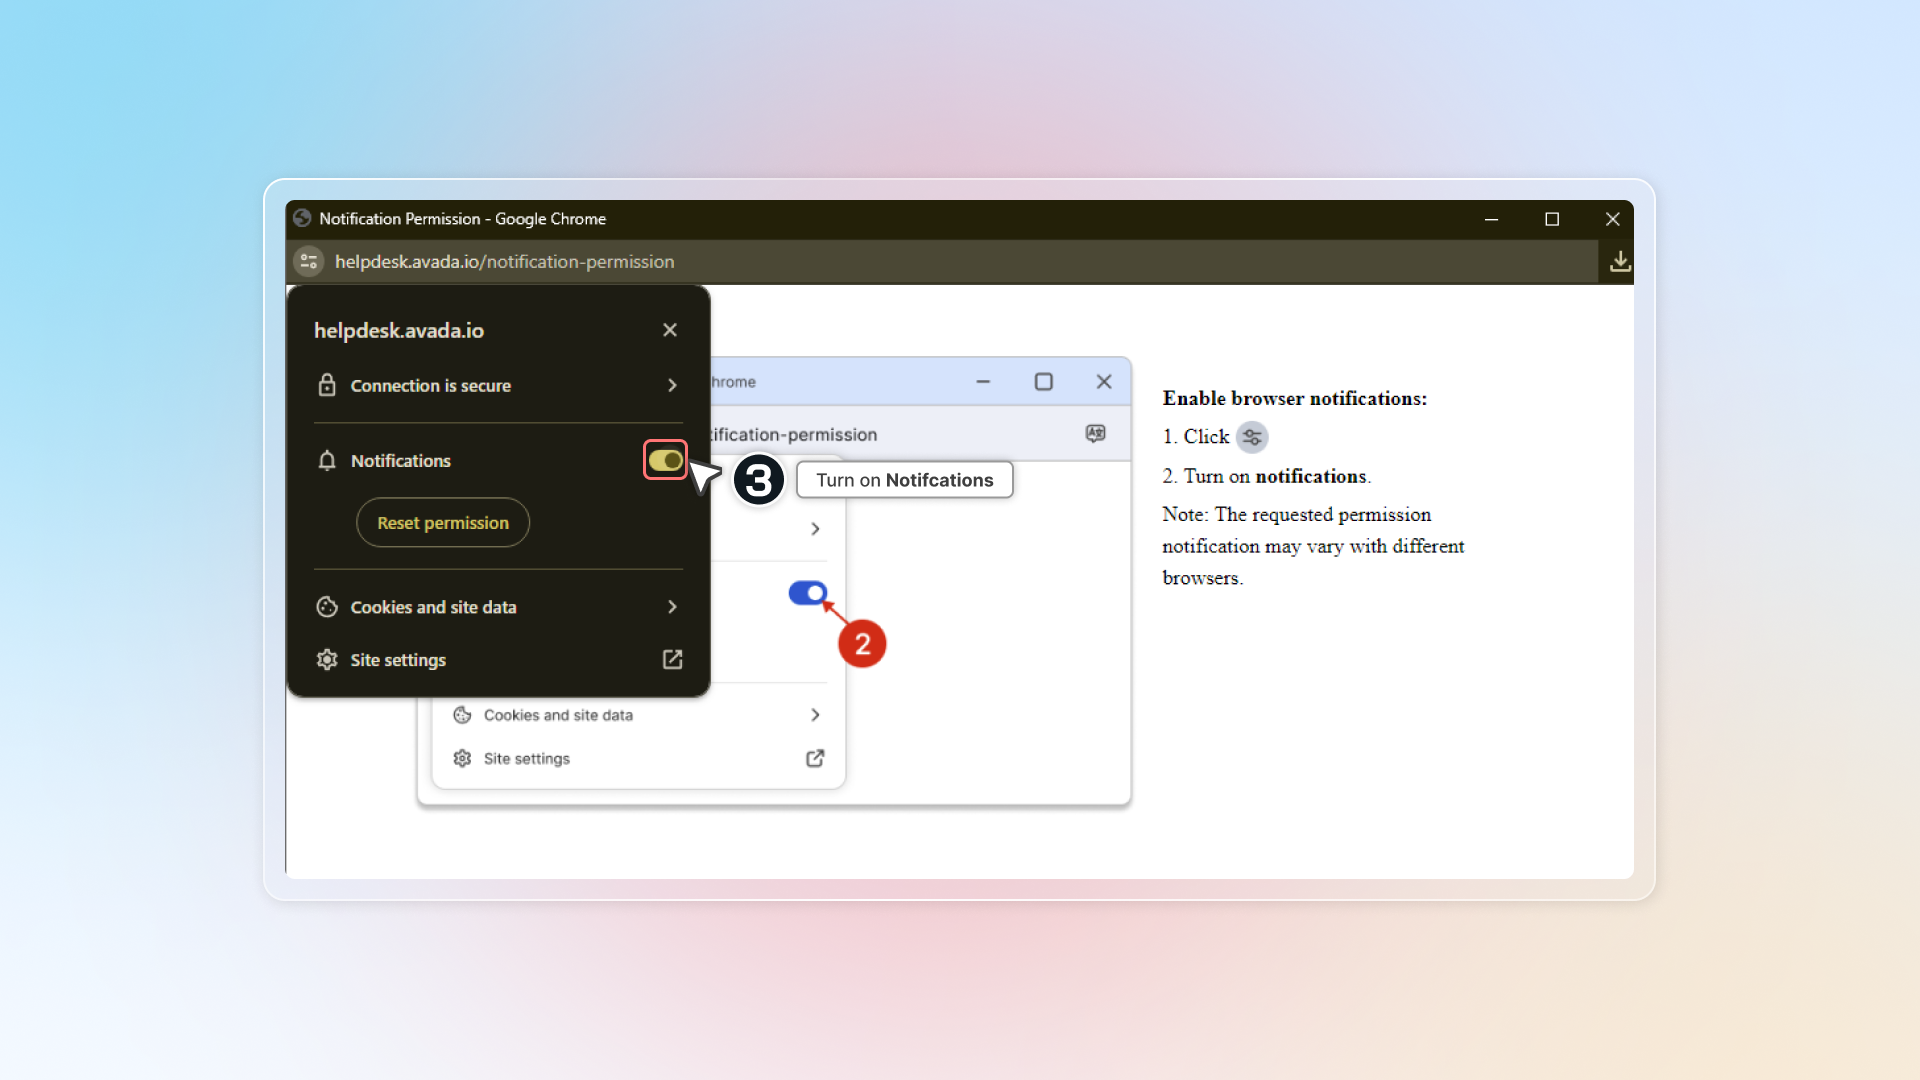
Get back to Chatty and click to **Save**.
Click **Send test** to check.
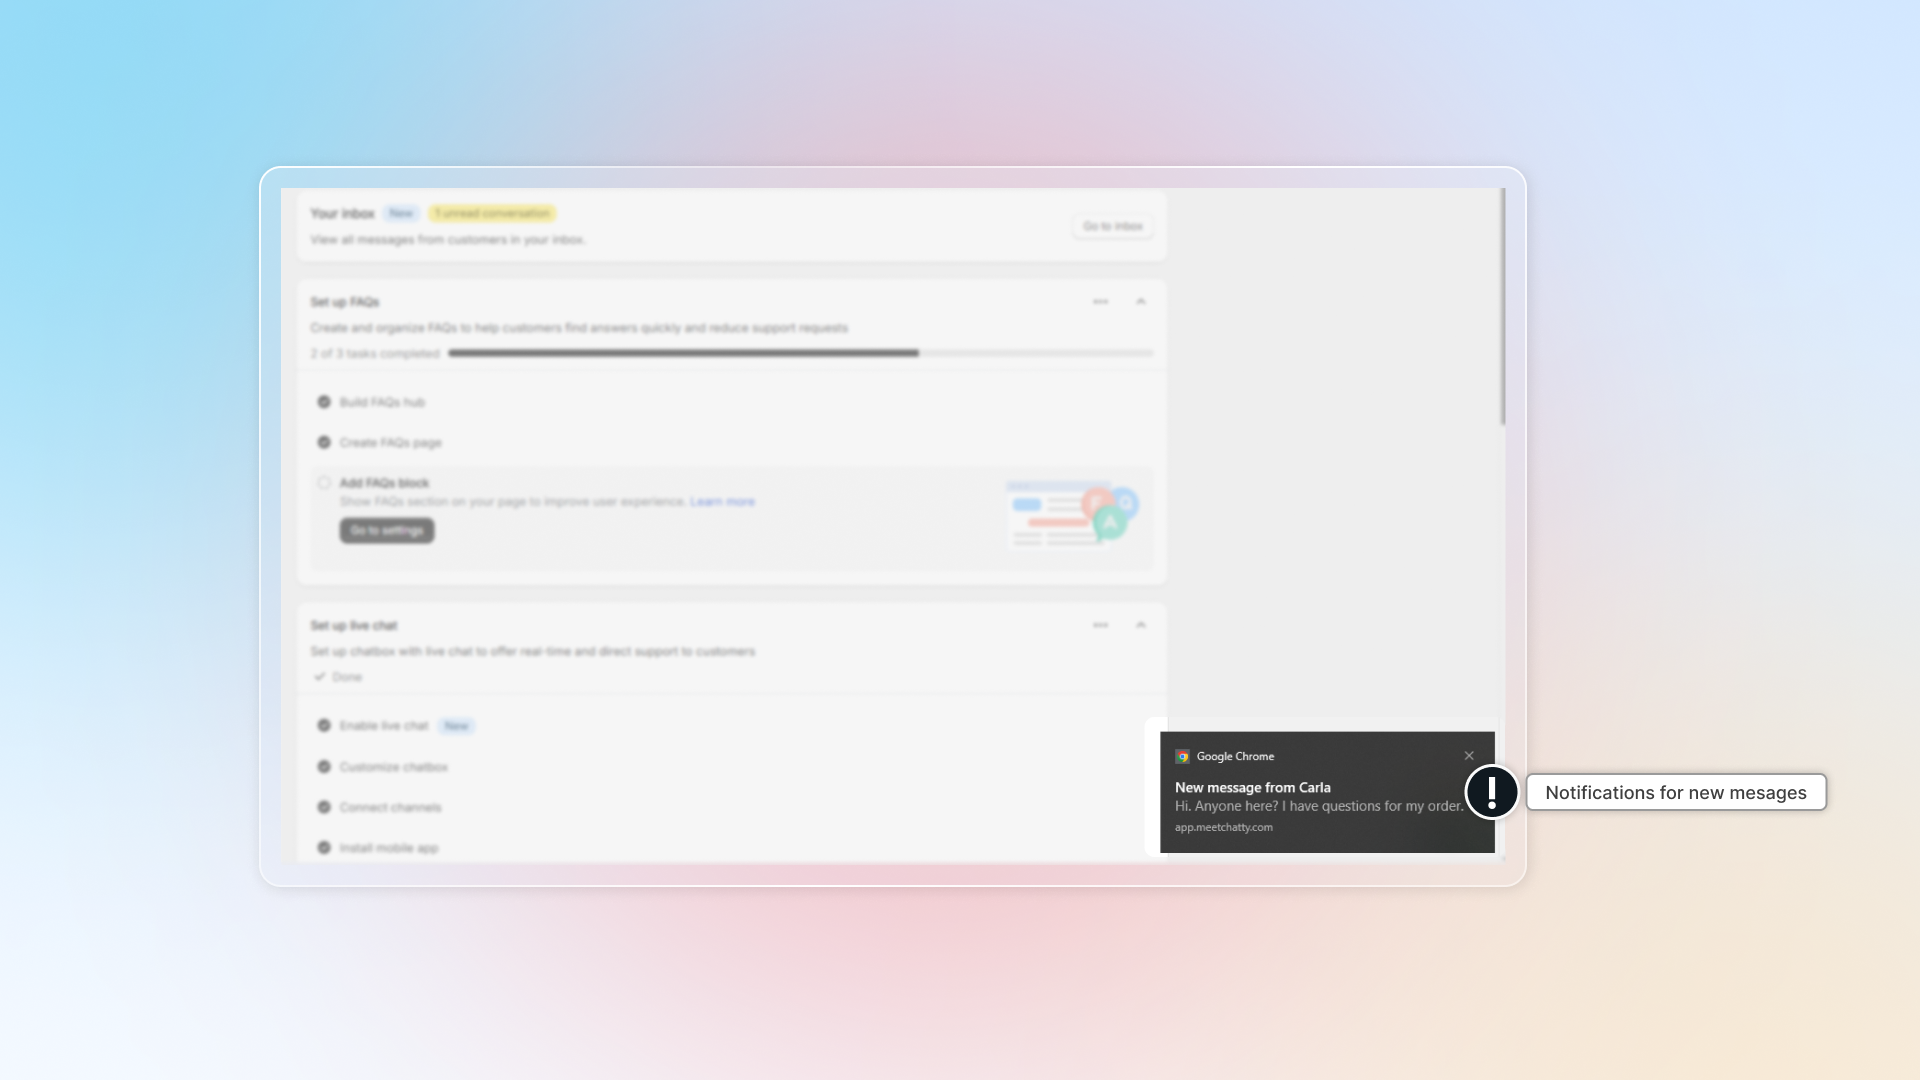
#### Microsoft Edge
In **Web push,** click **Manage**
You might see a new window is opened. Turn on **Notifications**.
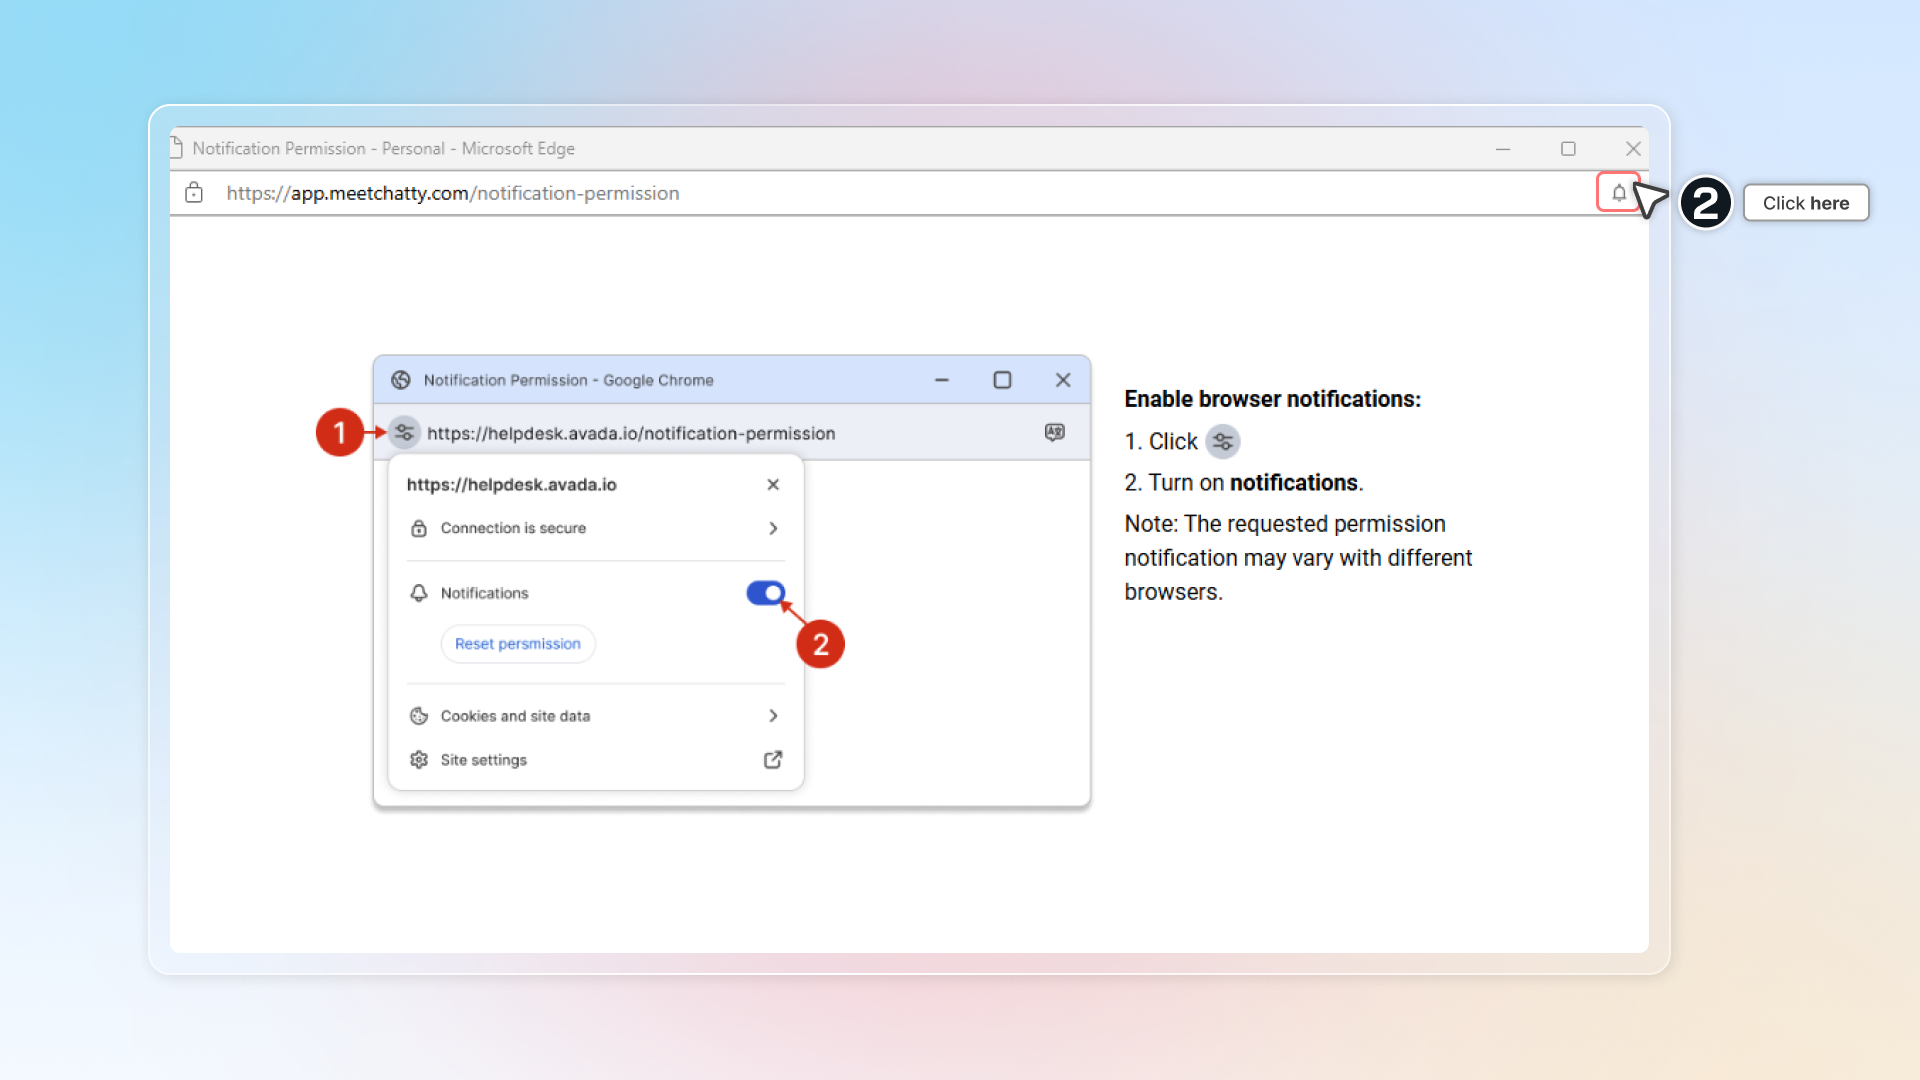
Refresh page. Click to **Save**.
Click **Send test** to check if notification works.
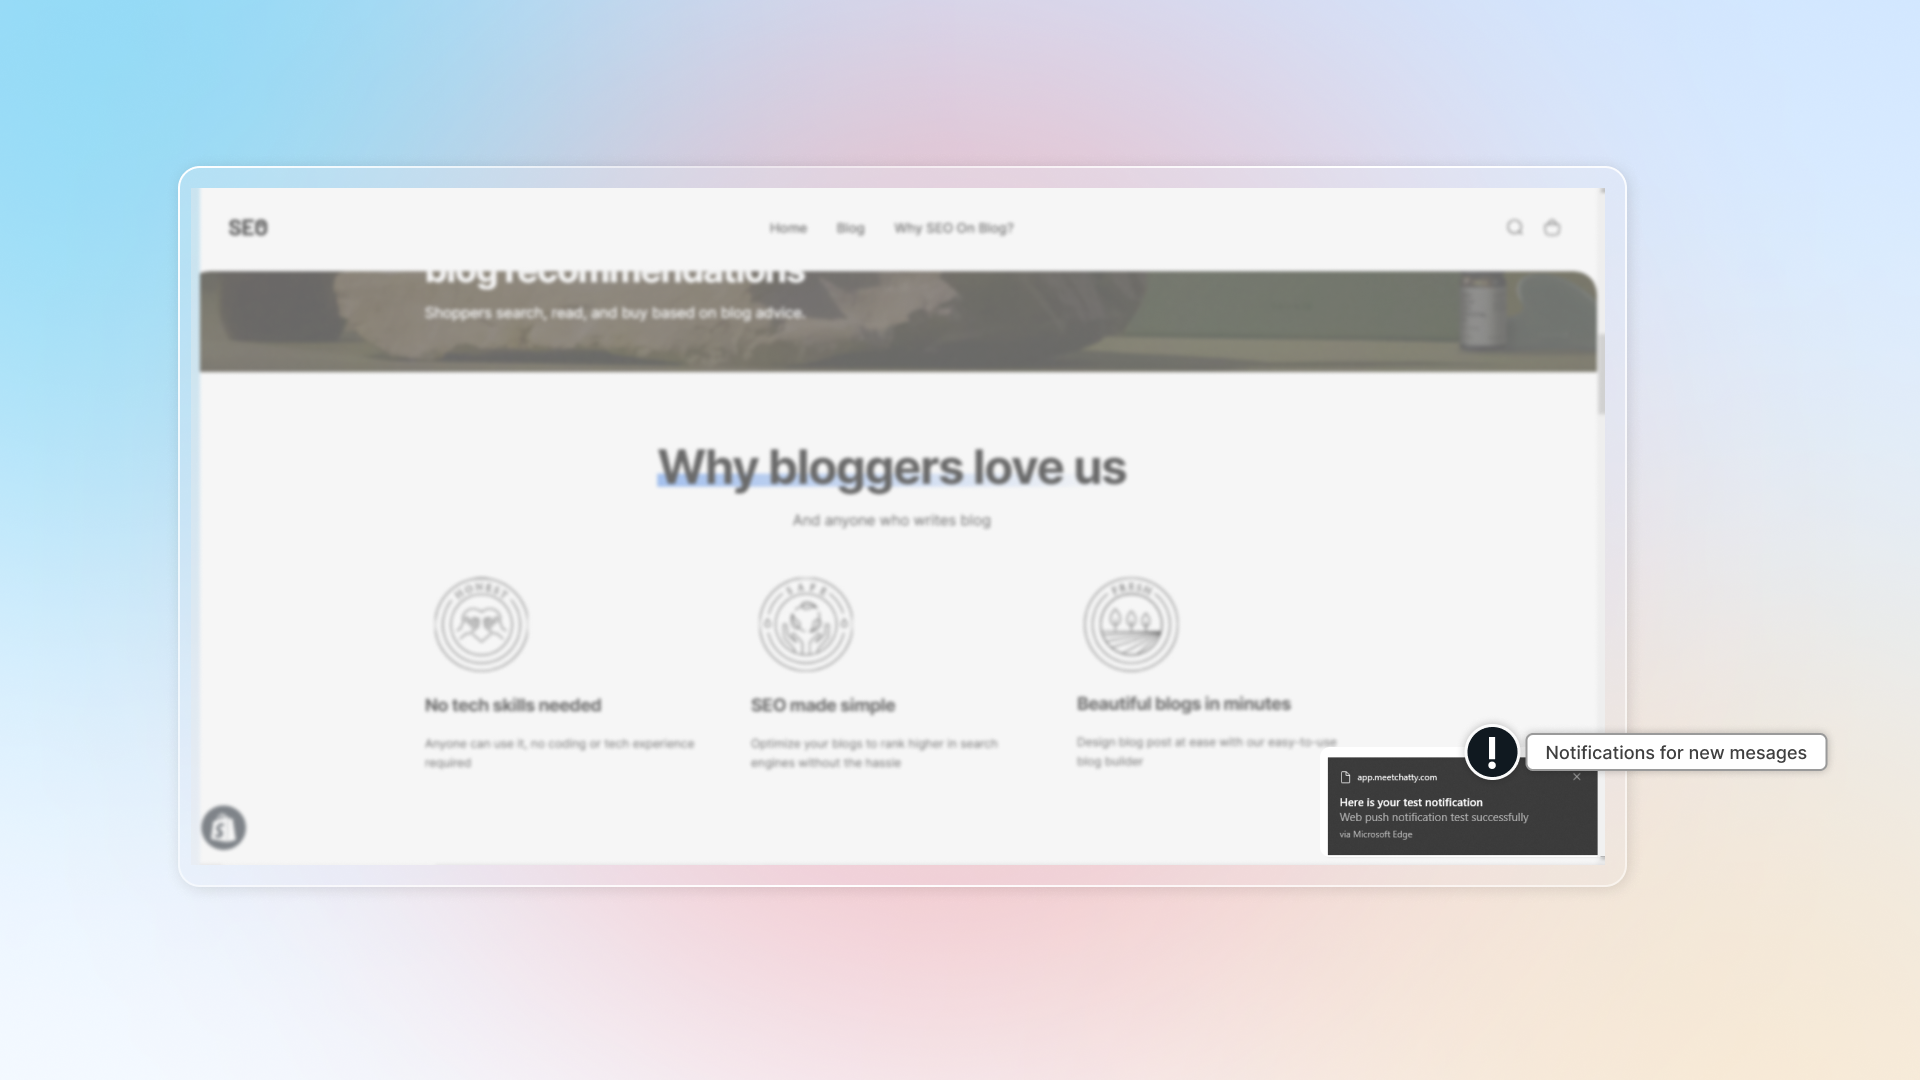
#### Firefox
We cannot help you grant permission for Chatty [in Shopify embed mode](#user-content-fn-1)[^1] if you use Firefox web browser. Go to Chatty web app to activate notification.
In top banner, click **Set up in web app.** You'll redirected to Chatty web app.
Learn how to [activate account for web app](/web-app/).
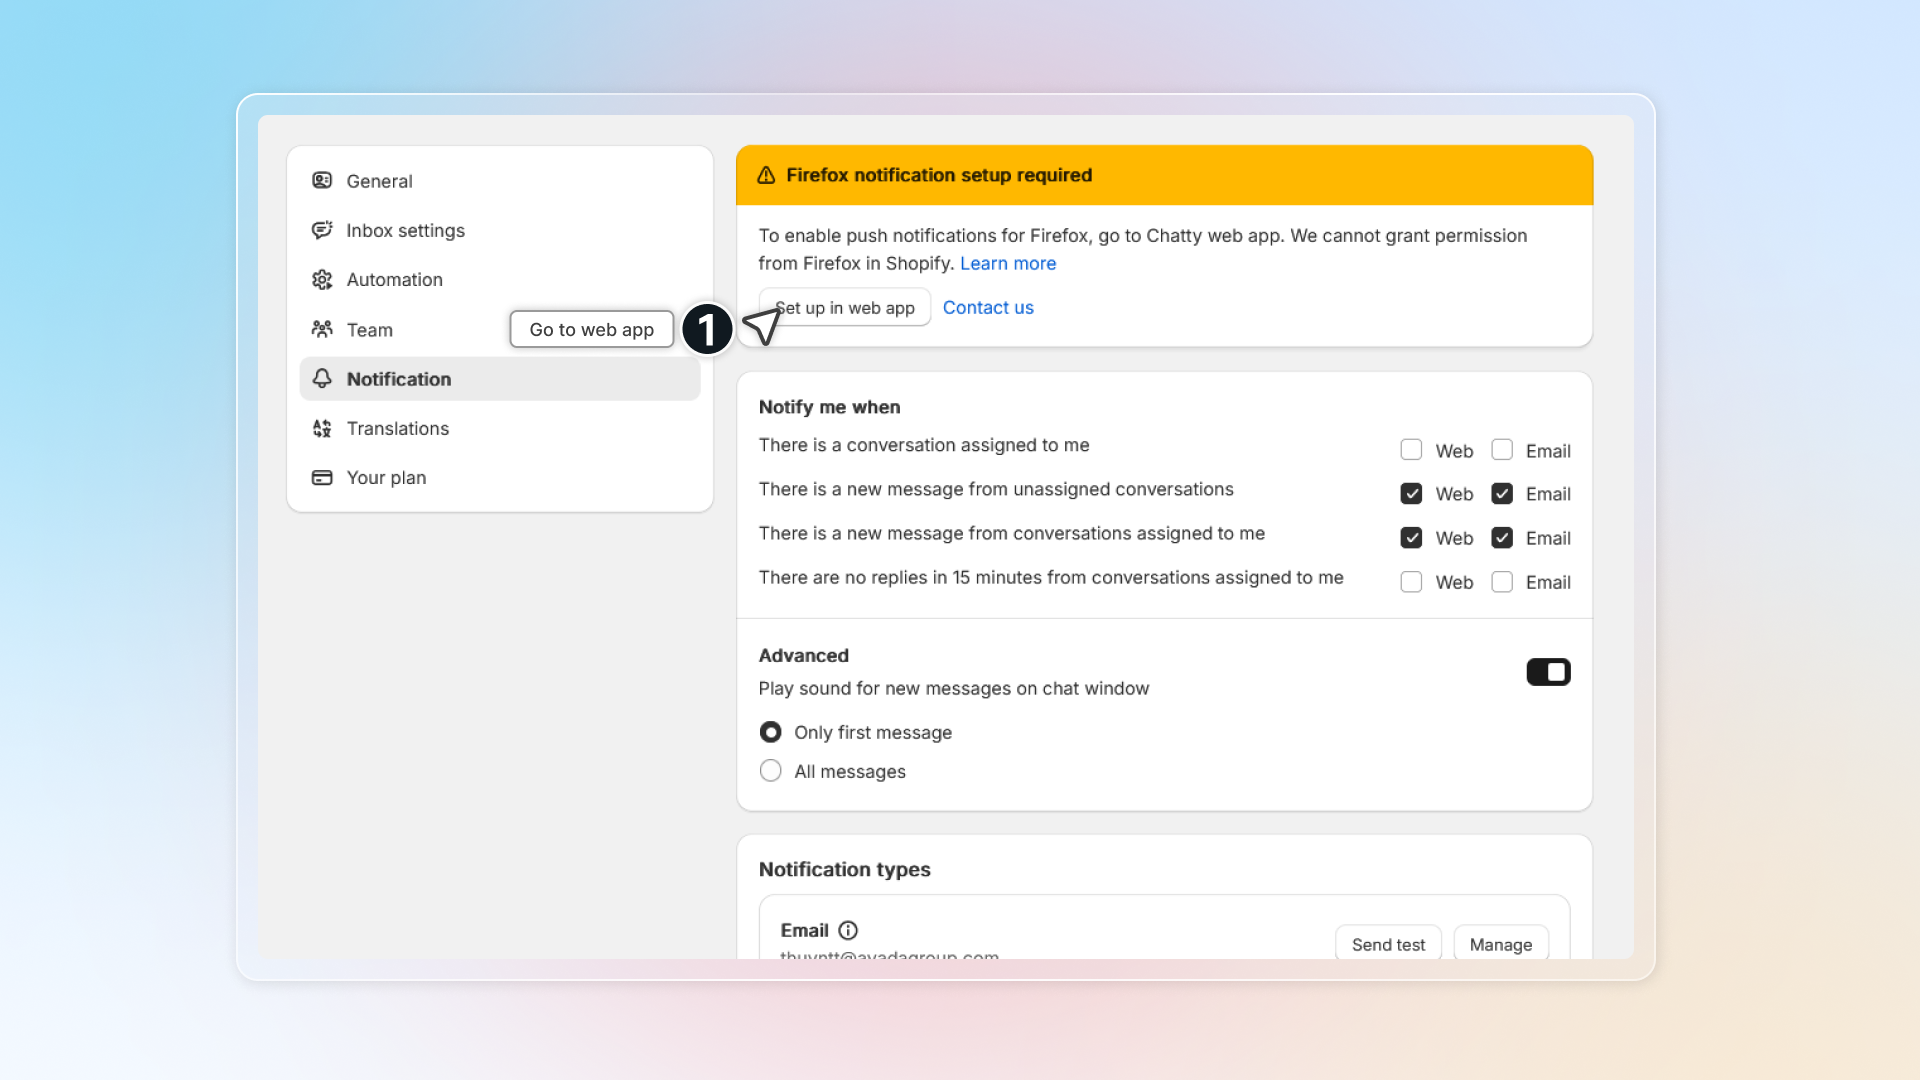
In web app, click **Enable** in the banner
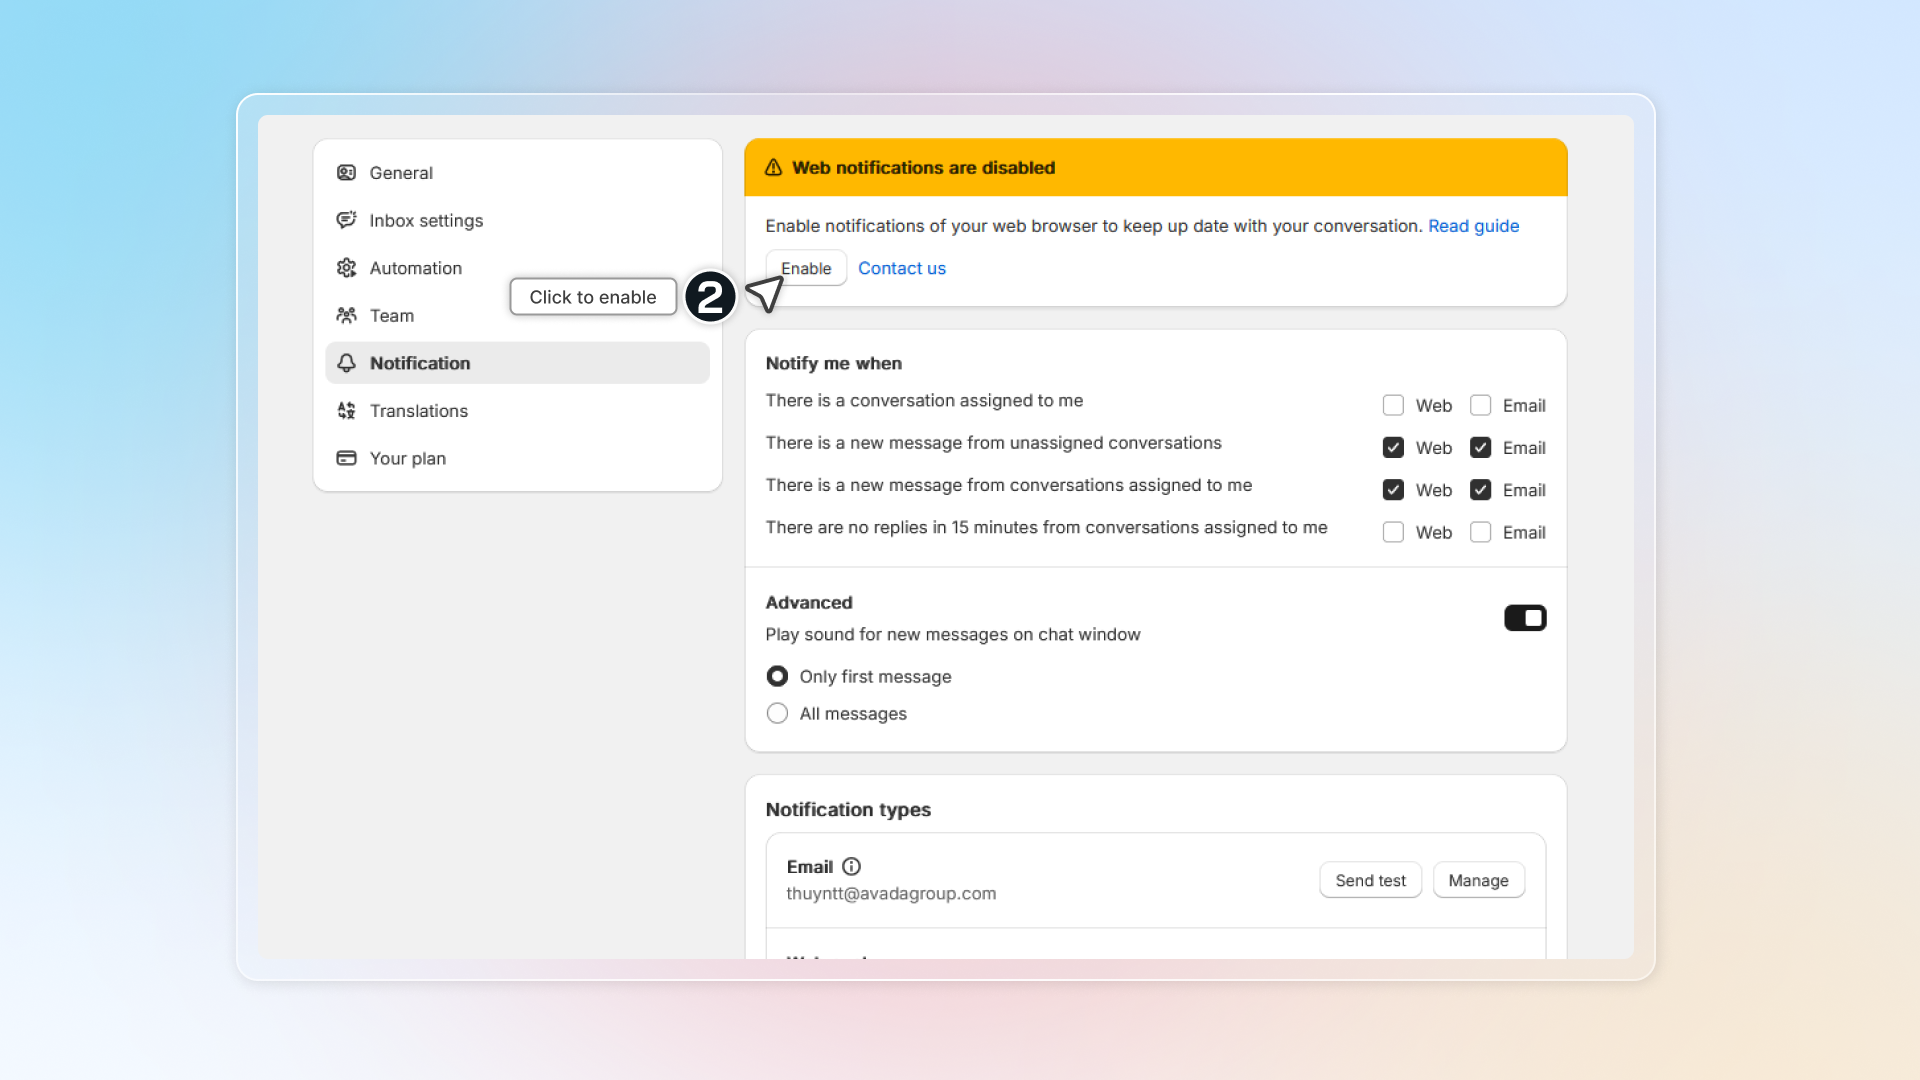
You will see a browser pop up. Click to open notification settings.
Click Allow
Get back to Chatty and refresh page. Click **Send test** to check if notification works.
#### Opera
1. Turn on "Web push notifications"
2. You might see a new window is opened and click Allow
3. Refresh page. Click to **Save**.
4. After saving, you can click **Send test** to check if notification works.
***
### :loud\_sound: Play sound notifications
In **Sound settings**, turn on the sound alert and your browser plays a sound when a new customer message arrives.
You can select which messages get a sound: **Only first message** or **All messages**.
***
### Notification link
**Notification link** decides where a push notification opens when you click it.
* **Open in Chatty app** on: the notification opens the conversation in the Chatty web app
* **Open in Chatty app** off: the notification opens the conversation inside your Shopify admin
The card shows both addresses so you can see which one is active before you save.
***
### :incoming\_envelope: Email notifications
By turning on email notifications, you will get emails for new messages or any other settings you want to.
You can add more emails to get notifications in **Manage**.
1. Go to **Settings** → **Notifications**.
2. In **Notify me about**, turn on the **Email** switch for each row you want:
* Conversations assigned to me
* Conversations assigned to other members
* Conversations assigned to AI assistant
* Unassigned conversations
* No reply for 15 minutes in my conversations
3. Click **Save**
#### Send test email
After saving, you can click **Send test** email to get sample test.
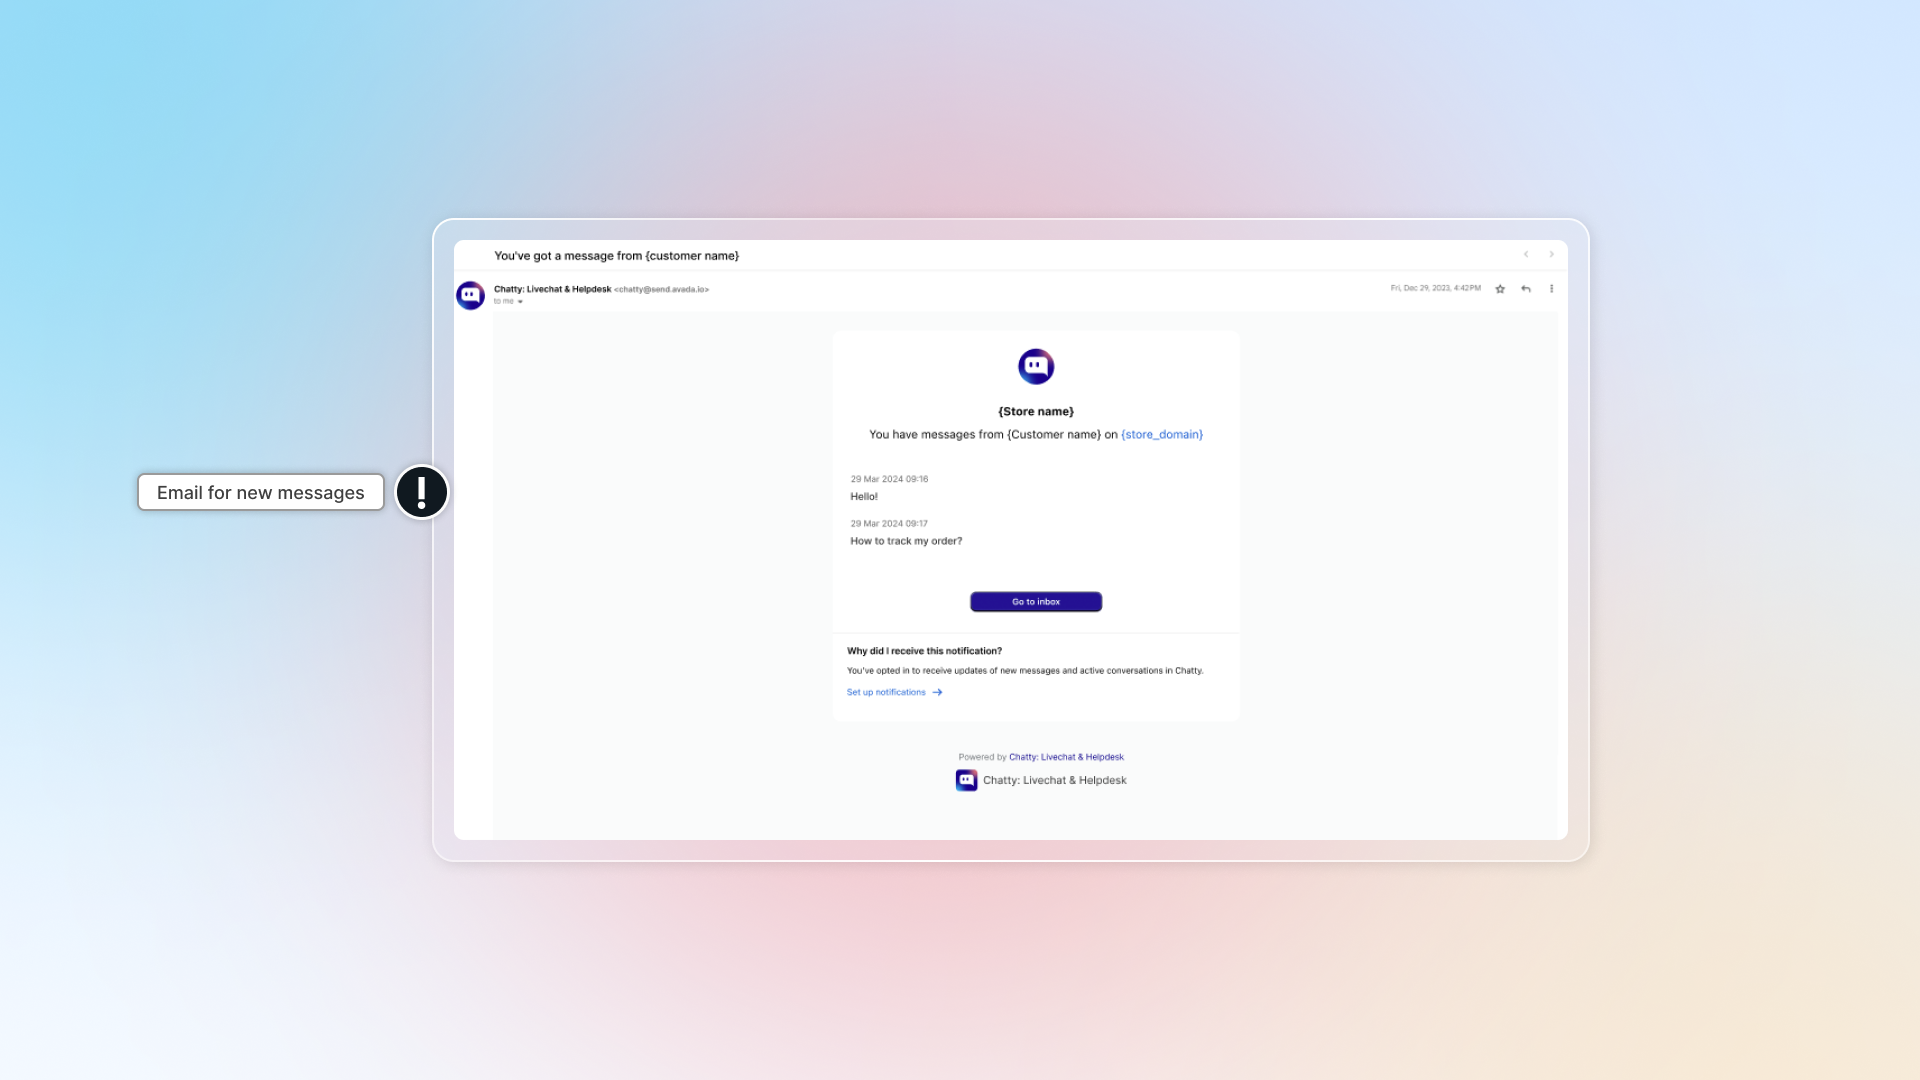
#### How to ensure Chatty notifications reach your inbox?
This helps prevent important notifications from being filtered to spam. You'll receive Chatty notifications in your primary inbox and **never miss customer messages.**
To keep Chatty emails out of spam, you can follow one of these ways:
* Add Chatty email to safe sender list
* Mark emails as important/not spam
🅰️ **Add Chatty email to safe sender list**
#### Open Chatty email
#### Click the three dots menu (⋮) next to the sender's name
#### Select "Filter messages like this"
#### Click "Create filter"
#### Select "Never send to Spam" and "Always mark as important"
#### Click "Create filter" to save
🅱️ **Mark emails as important/not spam**
1. Open Chatty email
2. Click the importance marker next to the email subject
When marked as important, the icon will turn yellow.
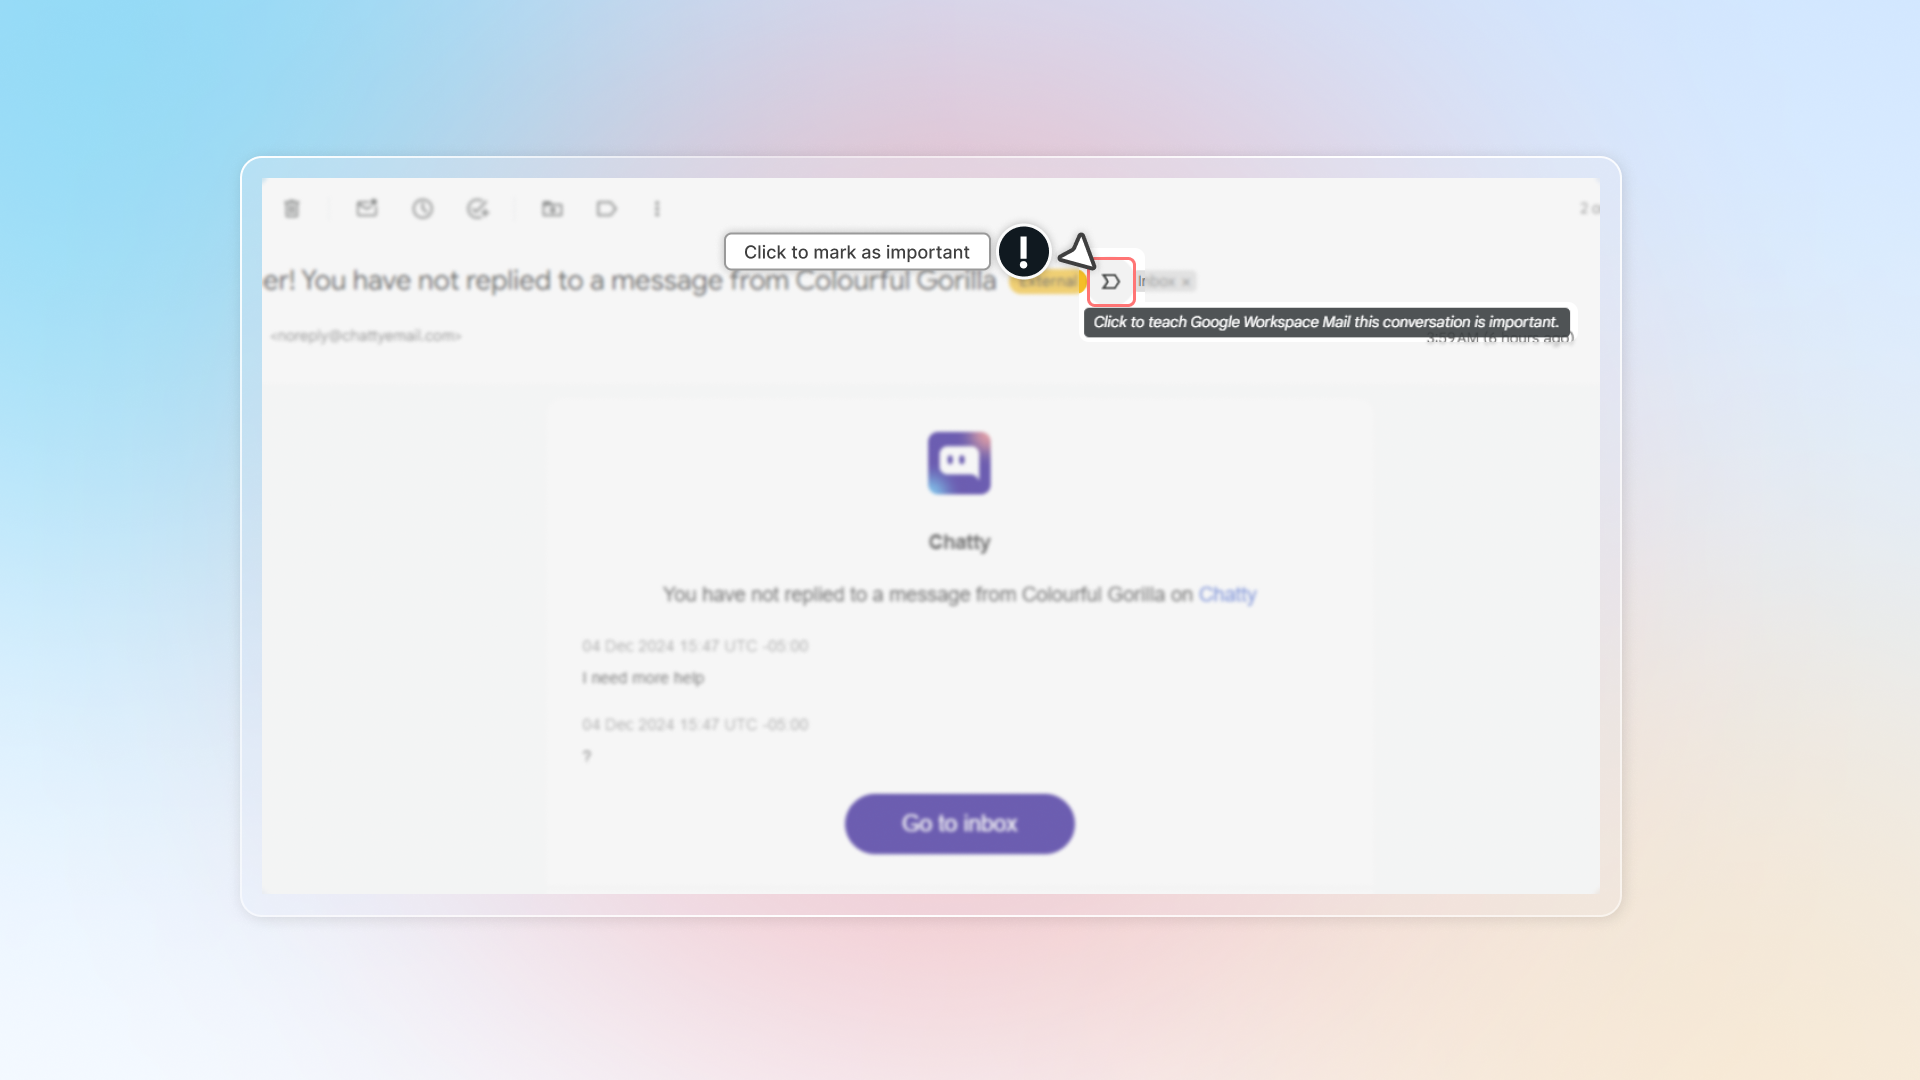
[^1]: Embed app in Shopify admin
================================================================
URL: https://help.chatty.net/others/online-hours/
Locale: en
================================================================
# Online hours
**Who can use this feature?**
* This feature is available on all plans.
* You need the **Chat availability** permission to open the page. Without it you see a no-access banner.
This helps you to set up online and offline time in chat.
To open it, go to **Settings** → **General** and click **Manage** on the **Chat availability** card.
You can define your working hours, break times, and holidays so customers know when they can expect a live support from your team.
Online and offline status only works when you turn on block **Live chat** in [Chatbox style settings](/chatbox/chatbox-settings/).
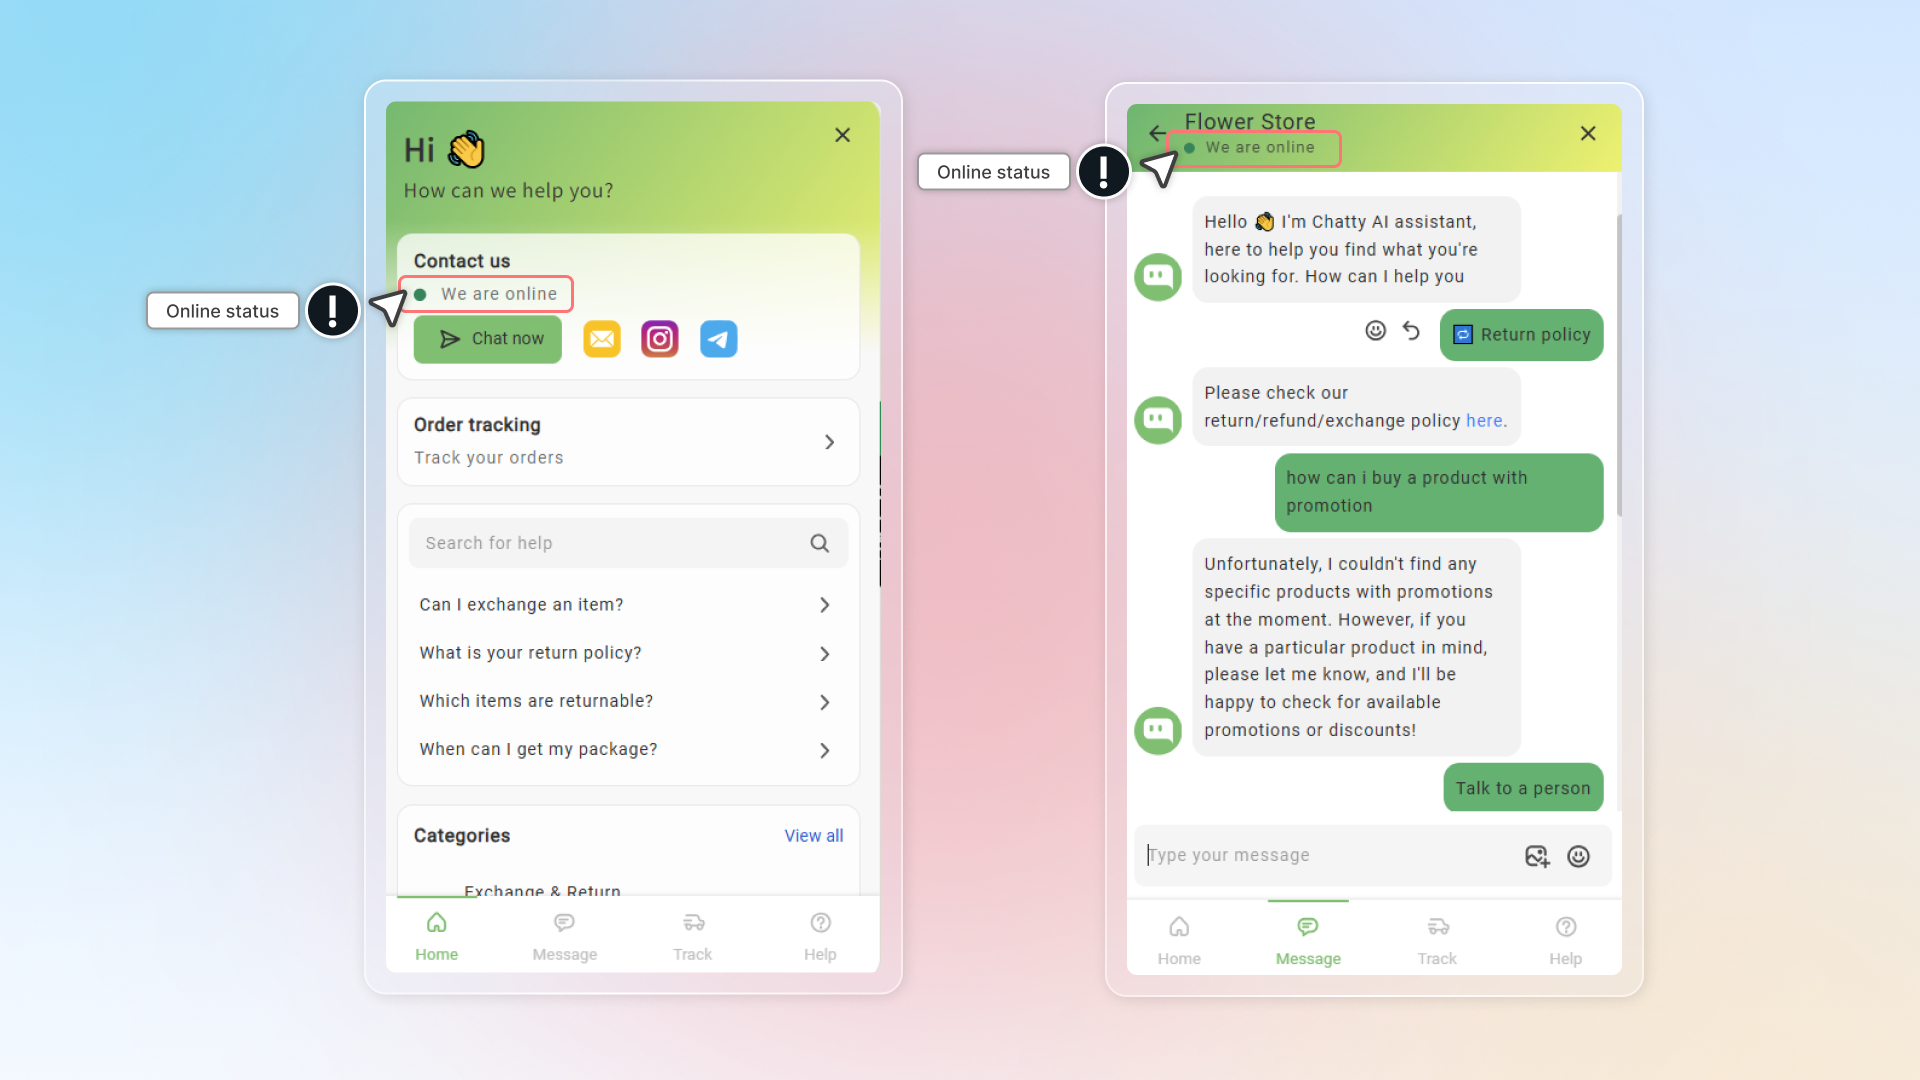
### How to set up online/offline hour
#### Set up working hour
* 24 hours/7 days: You can be online to chat with customers all the time
* Custom time: Set up time which is suitable with your schedule
#### Add break time or holiday time
* Break time: offline in a short period of time during your working hour
* Holiday time: offtime for certain days
#### Select timezone
Select timezone to ensure that your availability displays correctly to customers in your local time
If you have team members in different time zones, select the primary time zone where most support is handled.
#### Set up status
Under **Show online status**, pick one of three rules:
* **During working hours**: follows the schedule above, whatever your team is doing
* **During working hours, or when any agent is online**: an agent who is online shows the status as online even outside working hours
* **Only when an agent is online during working hours**: shows offline when nobody is online, even inside working hours. Your AI agent still replies while the status is offline
#### Customize the status messages
Enter the message customers see for each state.
| Field | When customers see it | Default |
|---|---|---|
| **Online status** | You are available | We are online |
| **Offline status** | Only on 24 hours / 7 days, or on days with no schedule | Usually reply in a few minutes |
| **Offline status (with schedule)** | Only on Custom time, when there is an opening time coming up | — |
| **Break status** | During a break time | — |
| **Holiday status** | During a holiday | — |
In the last three fields you can type `{{schedule}}` and Chatty fills in when you will be back — the next opening hours, the end of the break, or the day you return from the holiday.
You only ever see four of these fields at once. **Offline status** appears on 24 hours / 7 days, **Offline status (with schedule)** appears on Custom time, and never both.
#### Click Save
You can preview online and offline status on chatbox.
***
### First auto-reply
The first auto-reply is the message Chatty sends back as soon as a customer sends their first message, so nobody waits in silence.
It sits at the bottom of the same **Chat availability** page.
1. Turn on **First auto-reply**.
2. Fill in **Online message** — sent when your status is online.
3. Fill in **Offline message** — sent when your status is offline, on a break, or on a holiday.
4. Click **Save**.
The first auto-reply is only sent when your **AI agent** is turned off. If the AI agent is answering, it replies instead and this message is skipped.
This is not the same as the chatbox welcome message. The welcome message is written in **Chatbox** → **Chat page** and greets everyone who opens the chatbox, before they type anything.
================================================================
URL: https://help.chatty.net/others/order-tracking/
Locale: en
================================================================
# Order tracking
### What is order tracking?
Order tracking is a self-service feature that lets customers check their order status and shipment progress directly through your chatbox.
Customers can look up an order with an order number or a tracking number.
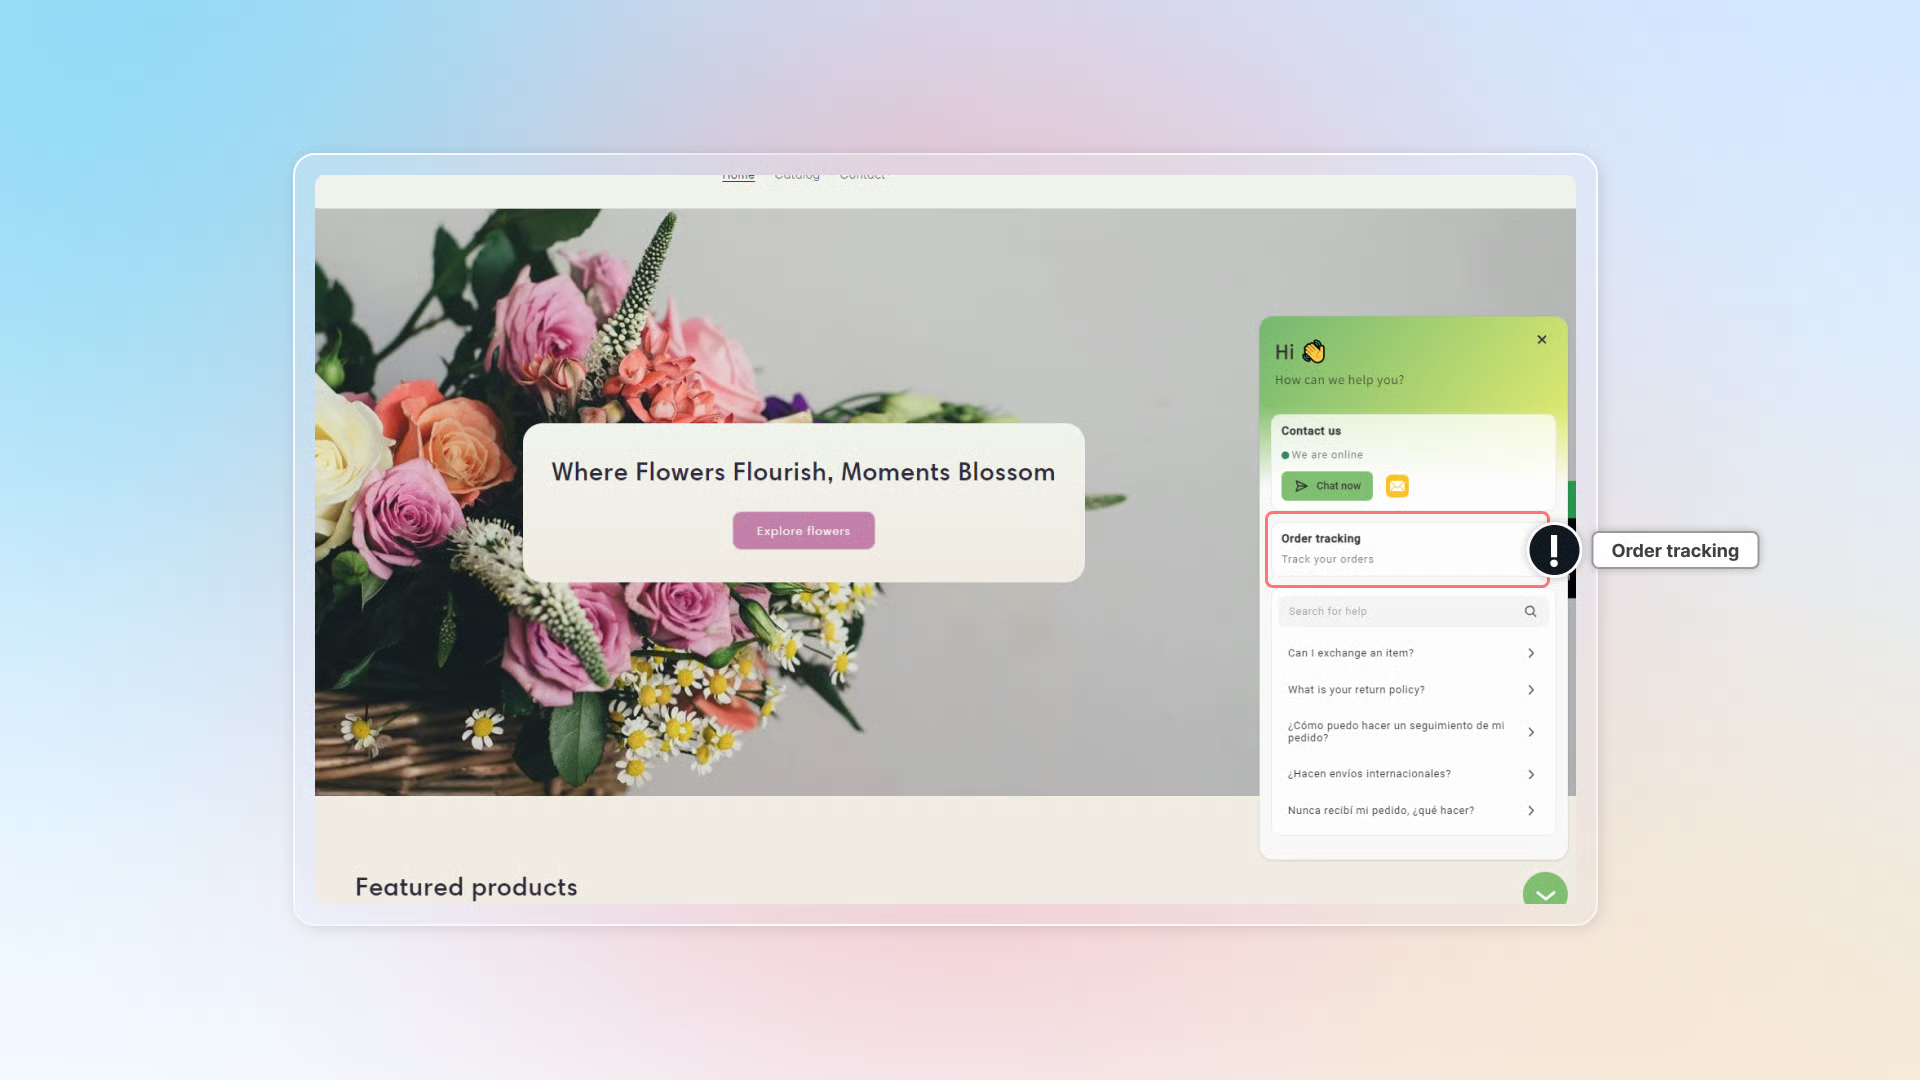
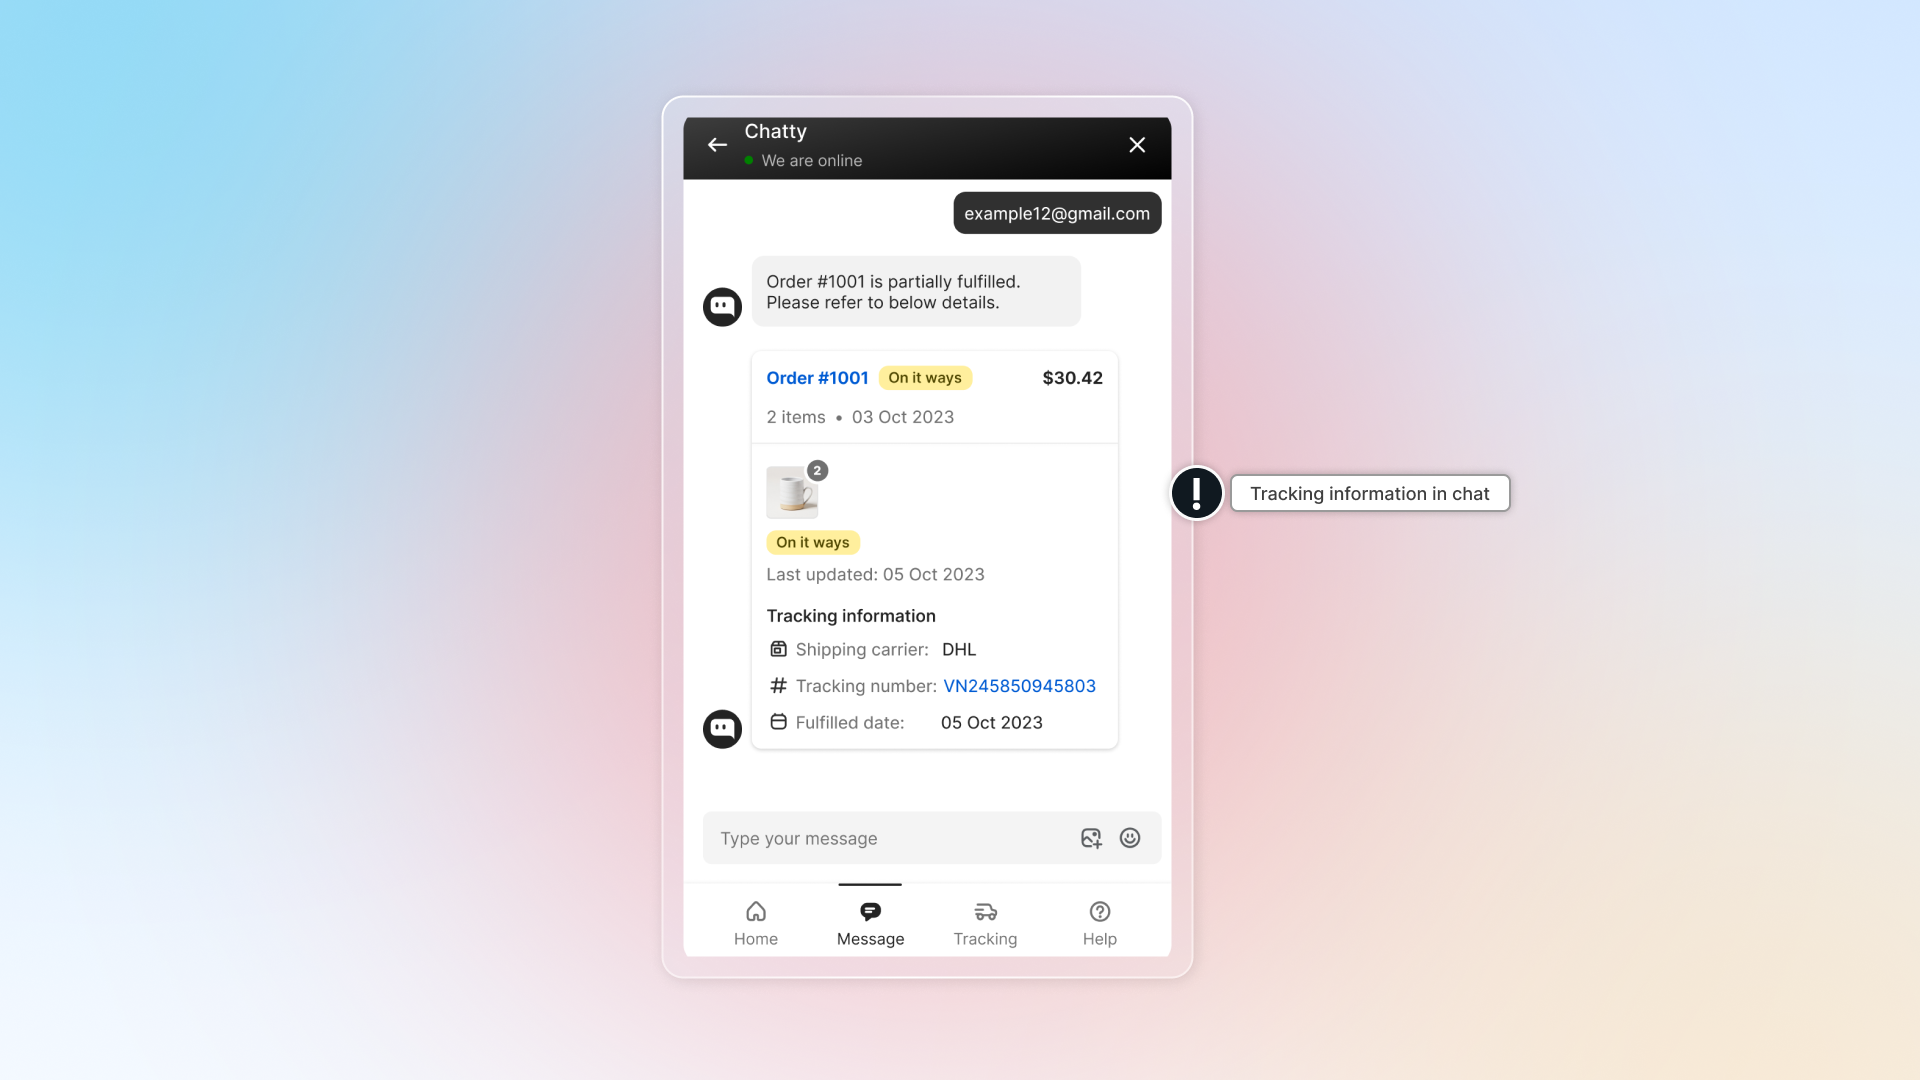
### How to set up order tracking
#### Enable order tracking in your chatbox
1. Go to **Chatbox**.
2. On the **General** tab, scroll to **Blocks** and turn on **Order tracking**.
3. Click **Integration settings** on that block to pick your tracking method.
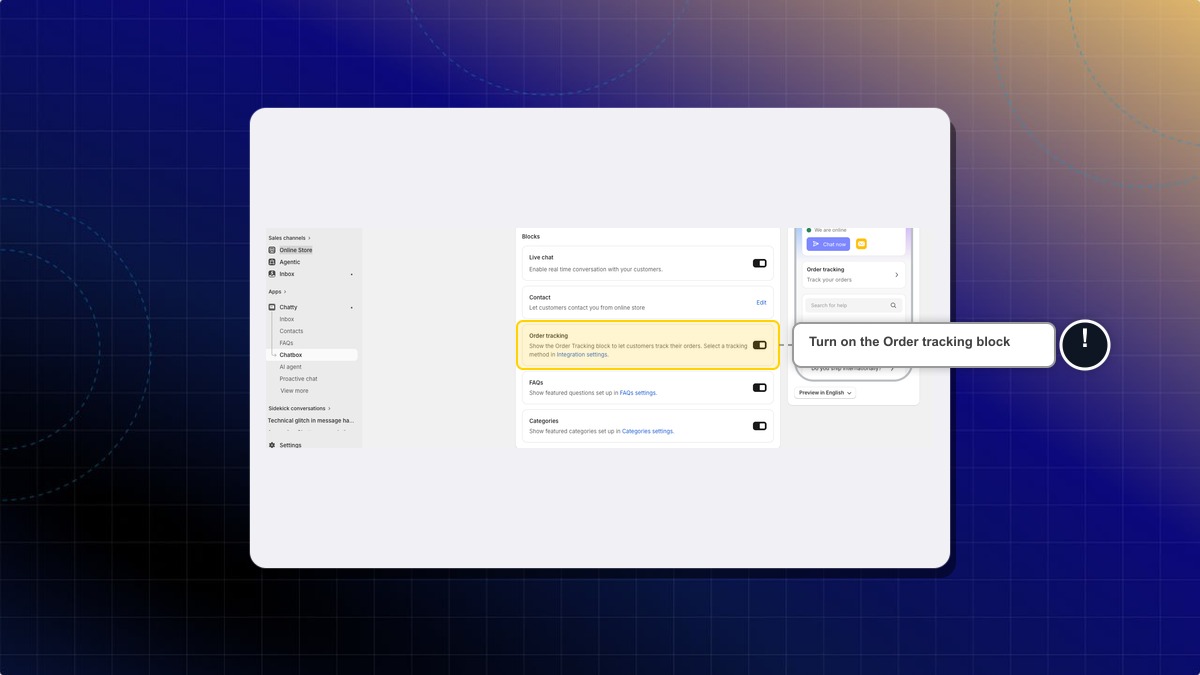
#### Choose your tracking method
1. Go to **Settings** → **Integrations**.
2. In **Order Tracking**, click **Manage**.
3. Select your preferred tracking method.
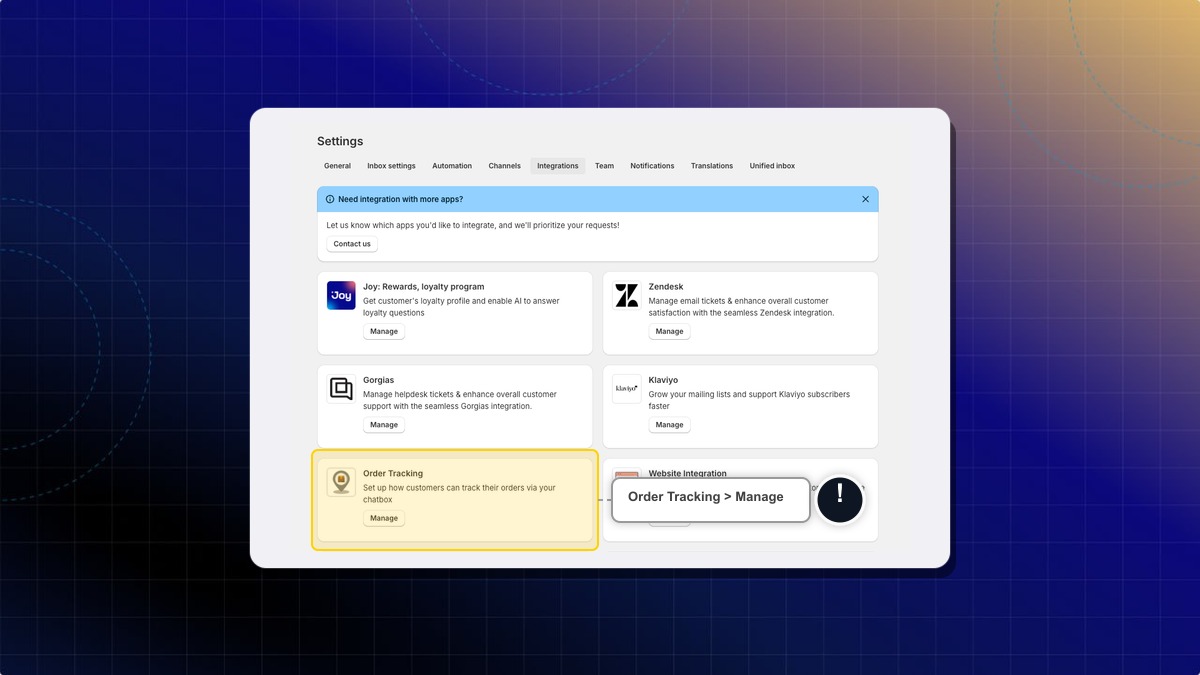
#### Click Save
**Expected result:** The order tracking block appears in your chatbox, using the method you picked.
### Compare tracking methods
| Tracking method | Best for | How it works |
| --- | --- | --- |
| **Default tracking** | Stores using major carriers such as DHL, FedEx or UPS | Sends customers to the carrier's own tracking page |
| **Custom tracking** | Stores using local carriers or a private shipping service | Sends customers to a tracking link you write, for orders with no carrier link |
| **Integrate with tracking app** | Stores that want customers to stay on site | Shows shipment status inside the chatbox |
### How to add input fields to your custom tracking link
Some carriers need more than a tracking number to open the right page, such as an order number or a postcode. You can add placeholders to your custom tracking link. Each one becomes a field the customer fills in before tracking.
You can use five placeholders: `{tracking_number}`, `{order_number}`, `{zip_code}`, `{email}` and `{phone}`.
Each one can appear once. The **Insert** button turns off after you use its placeholder.
1. Open the **Order Tracking** panel, as in the setup steps above.
2. Select **Custom tracking**.
3. Type your tracking link. It must start with `https://`.
4. Click an **Insert** button to add a placeholder. It lands at the end of the link, so type the placeholder yourself if the carrier needs it elsewhere. Example: `https://track.example.com/{order_number}/{zip_code}`.
5. Under **Fields customers will fill in**, set a label for each placeholder. Leave one empty to use its default.
6. Check the **Opens** line under the preview. It shows the finished link with sample values.
7. Click **Save**.
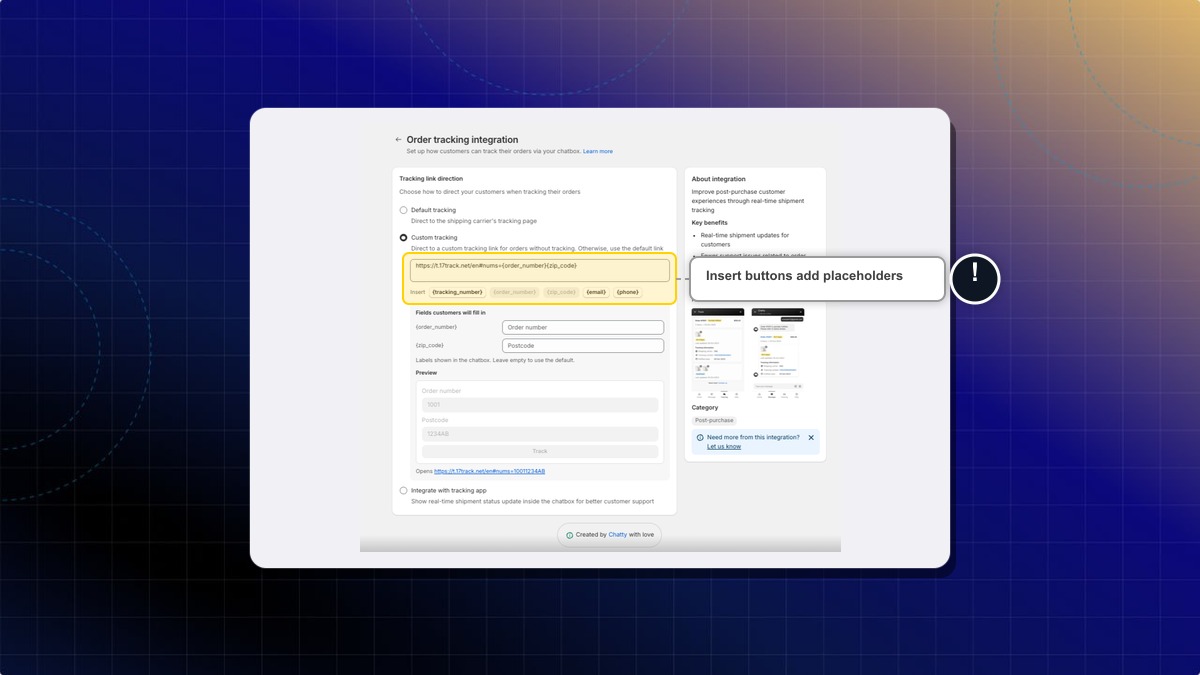
**Expected result:** The tracking tab shows one input field for each placeholder. When the customer fills them in and clicks **Track**, Chatty opens the finished link.
Default labels are Tracking number, Order number, Postcode, Email address and Phone number. The `{phone}` field adds a country code picker. Chatty URL-encodes whatever the customer types.
If you use any placeholder other than `{tracking_number}`, the **Order number** and **Tracking number** tabs disappear. Customers see a single form instead.
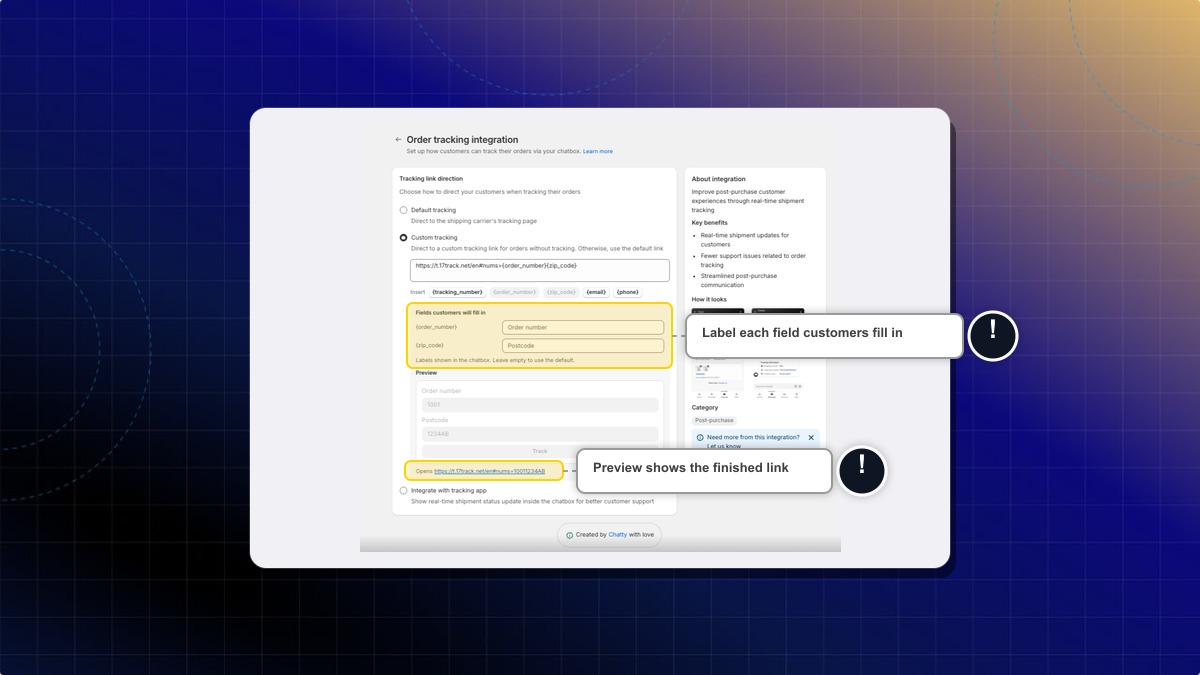
A tracking link with no placeholder opens directly for the customer, and the tracking tab shows no input fields. If that link ends in `=`, `?`, `&` or `/`, Chatty adds the tracking number to the end.
Save fails if the link does not start with `https://`, or if it holds a placeholder Chatty does not know. The error names the unknown placeholder.
### How to connect a tracking app
1. Open the **Order Tracking** panel, as in the setup steps above.
2. Select **Integrate with tracking app**.
3. Under **Step 1. Select tracking provider**, tick **17Track**.
4. Under **Step 2. Set up integrations**, paste your **API key**.
5. Click **Connect**.
6. Click **Save**.
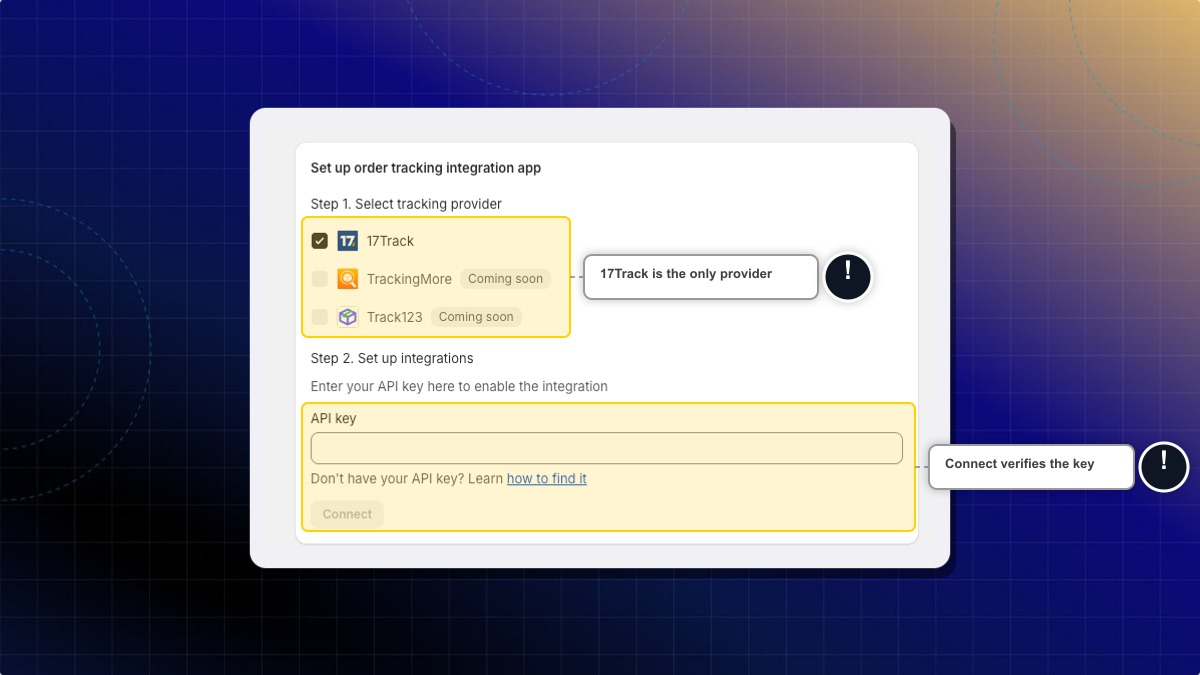
**Expected result:** Shipment status appears inside the chatbox. Customers never leave your store.
**Connect** stays greyed out until you enter a key. **Save** is then refused until **Connect** verifies it, and Chatty asks you to click **Connect** first.
17Track is the only provider you can pick today. TrackingMore and Track123 show a **Coming soon** badge and cannot be selected. Use the **how to find it** link beside the field if you do not have an API key yet.
***
### How customers track an order
**On your website**
1. Open the chatbox.
2. Click **Order tracking**.
3. Enter an order number or a tracking number.
4. Click **Track**.
* With an order number, add an email or phone number.
* With a tracking number, add the tracking number.
**Expected result:** The chatbox shows the shipment status for that order.
**In conversation with AI**
1. Ask about your order in the chatbox.
2. Give the AI the order number, tracking number, email or phone number it asks for.
**Expected result:** The AI replies with the current shipment status.
### What customers see in tracking information
**General order information**
* Order number
* Order status (varies by product type)
* Digital orders: Confirmed or Completed
* Physical orders: Confirmed, On its way, or Delivered
* Confirmation date
* Total items
* Total amount
**Tracking information**
* Product images and quantities
* Shipment status and update date
* For shipped orders: Confirmed → On its way/Attempted delivery → Delivered
* For digital orders: Confirmed → Completed
* Tracking details (for fulfilled/partially fulfilled items):
* Shipping carrier (shows "N/A" if not available)
* Tracking number (shows "N/A" if not available)
* Fulfillment date
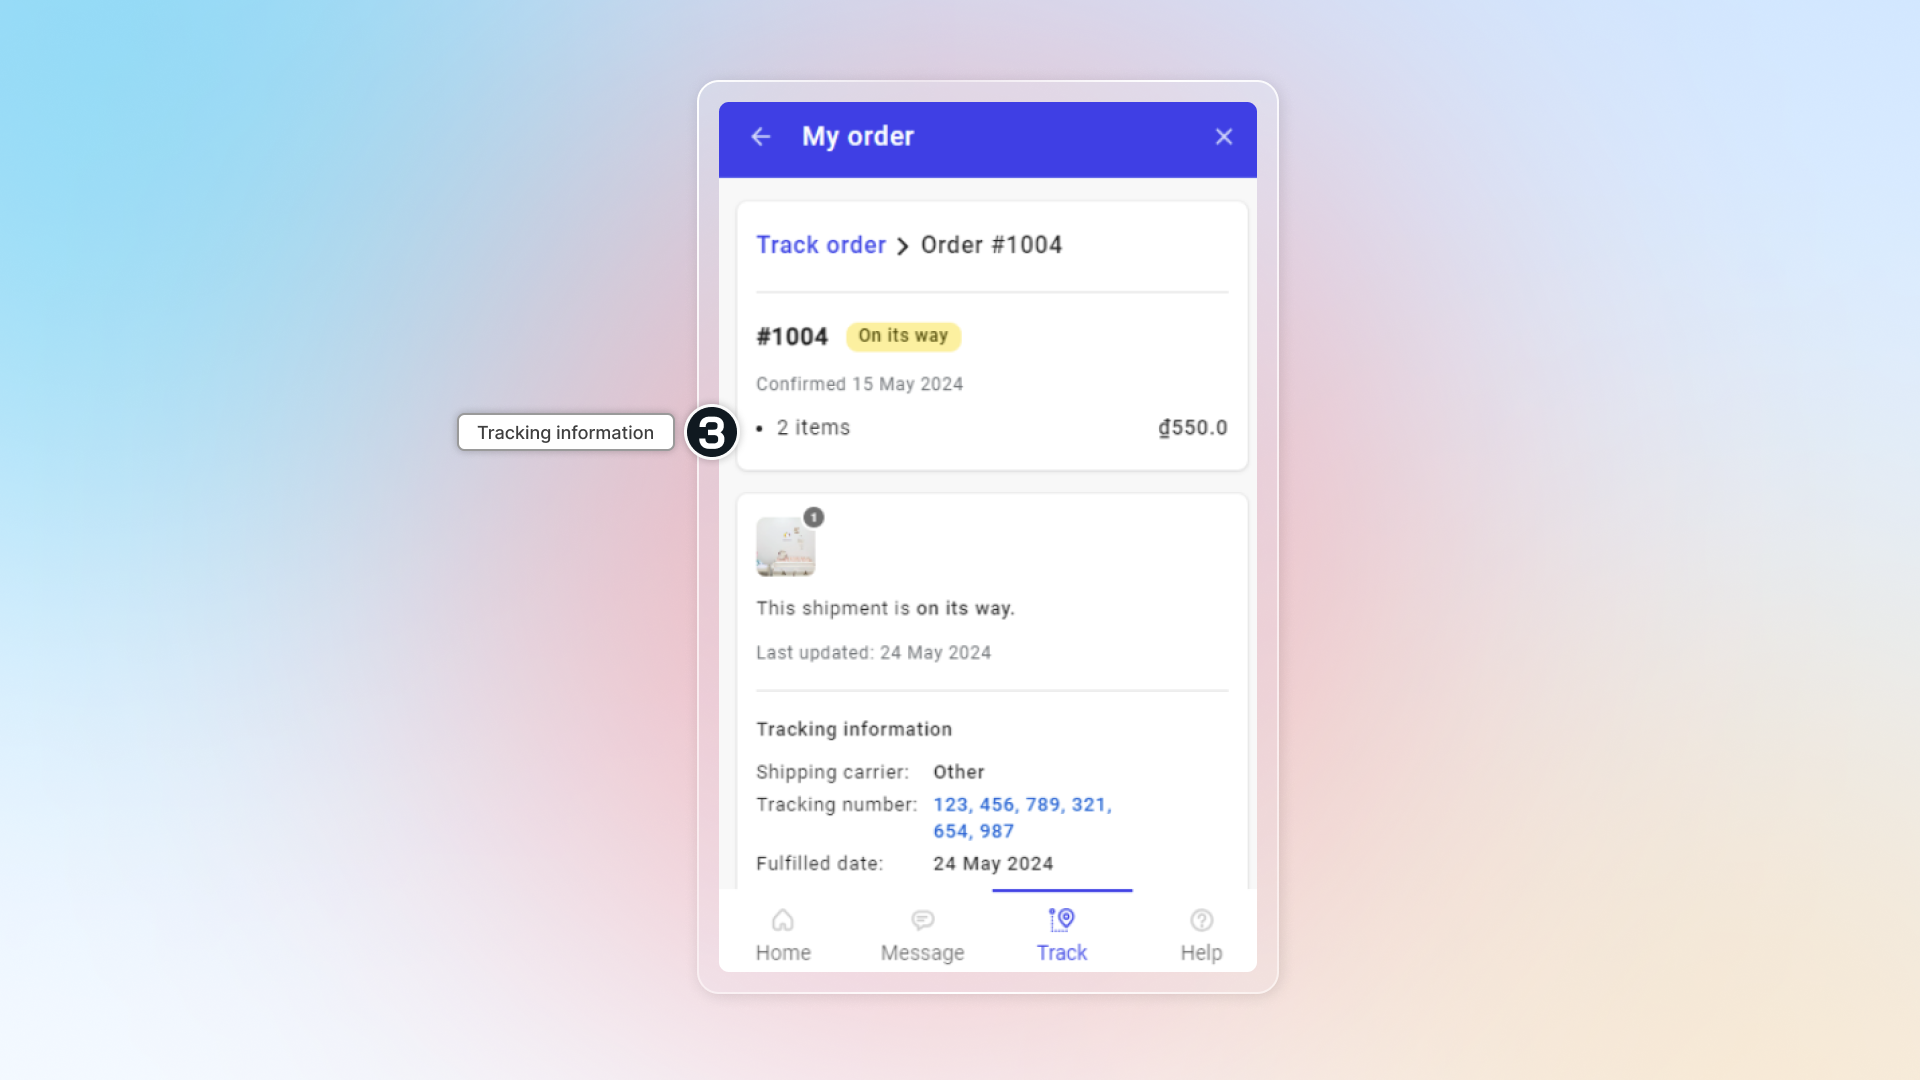
What does it mean to fulfill an order?
To fulfill an order means to complete the process of preparing and delivering the items that a customer has purchased. This typically involves several steps:
1. **Picking and Packaging**: Selecting the items from your inventory and packaging them for shipment.
2. **Labeling**: Creating and attaching shipping labels to the packages.
3. **Shipping**: Sending the packages to the customer using a shipping carrier.
In Shopify, you can fulfill orders manually or automatically, depending on your settings. Once an order is fulfilled, its status changes to "Fulfilled" in your Shopify admin.
Why is my order status not updating correctly on the carrier's website?
* **For** [**Shopify-supported carriers**](#user-content-fn-1)[^1]: Full tracking details update automatically in real-time
* **For non-supported carriers**: Only basic status updates show (Confirmed, On its way, Delivered)
Check if your carrier is [supported by Shopify](https://help.shopify.com/en/manual/fulfillment/setup/packaging/shipping-carriers). If not, consider using Custom tracking method to link directly to your carrier's tracking page.
[^1]: Shipping carriers that integrate with Shopify
================================================================
URL: https://help.chatty.net/others/reports/
Locale: en
================================================================
# Reports
**Who can use this feature?**
* This feature is available for all users.
* You need the **Reports** permission to open the page. Without it you see a no-access banner.
### What are reports
Reports are weekly emails about how your store's chat is doing. There are two, and you turn each one on or off separately.
Each report goes to the store admin. You can copy other people by adding their addresses.
Both emails go out on Monday at 00:00 UTC.
***
### How to turn on the app performance report
This report covers your key metrics and how they are trending.
1. Go to **Settings** → **General**.
2. Click **Manage** on the **Reports** card.
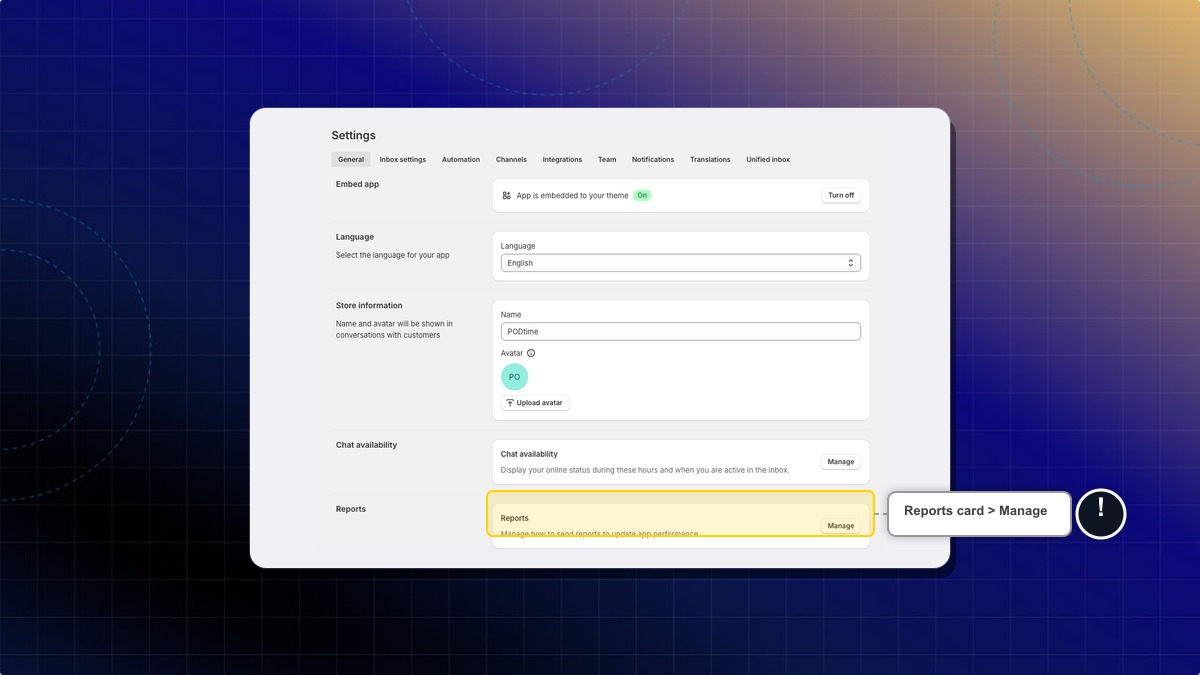
3. Turn on **App performance report**.
4. Click **Save**.
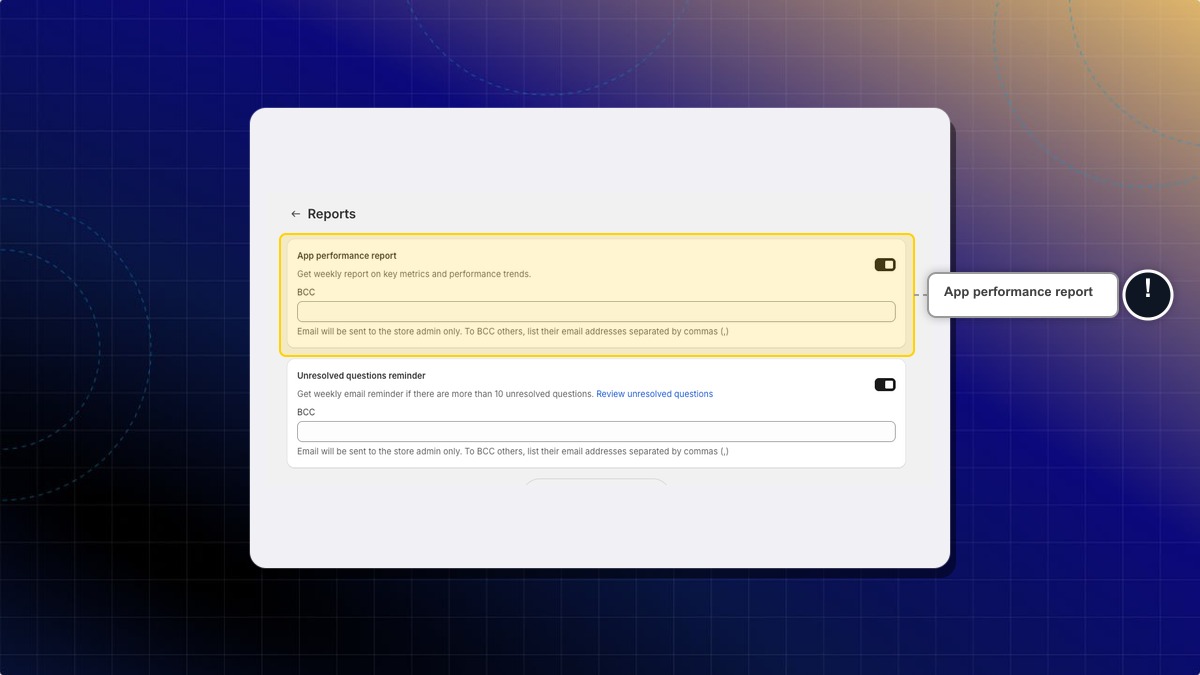
The email covers the last 7 days in your Shopify store timezone. It carries six numbers.
| Section | Metrics |
|---|---|
| **Overview** | Total conversations, Resolution rate, Assisted revenue in your store currency, Chat-to-sales rate |
| **AI Performance** | AI Involvement Rate, AI Resolution Rate |
Each number shows its change against the 7 days before.
**Expected result:** You get a weekly email with your chat metrics. If all six numbers are zero, Chatty sends nothing that week.
***
### How to turn on the unresolved questions reminder
This reminder tells you when questions are piling up that your AI could not answer.
1. On the same page, turn on **Unresolved questions reminder**.
2. Click **Save**.
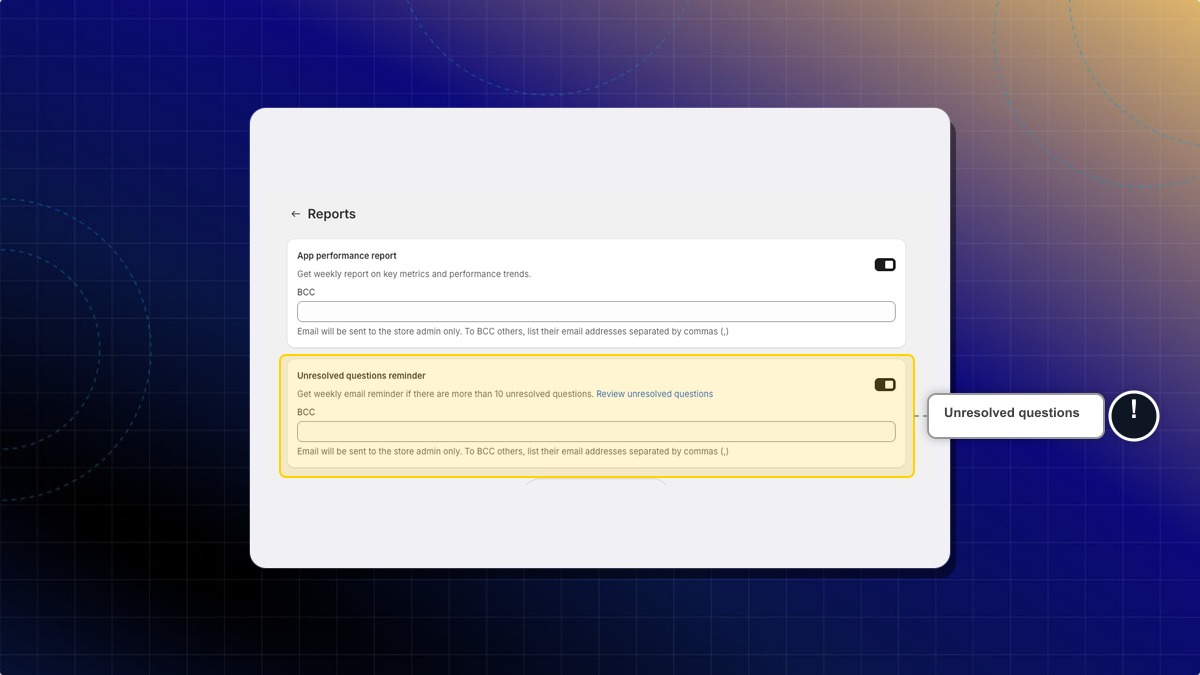
**Expected result:** If 10 or more questions are unresolved, you get a weekly email. The threshold is fixed at 10 and you cannot change it. The setting also links to **Review unresolved questions**, where you fix them.
***
### How to copy other people on a report
Each report has its own **BCC** field.
1. In **BCC** under the report you want, enter the addresses.
2. Separate more than one with commas. For example, `ops@yourstore.com, support@yourstore.com`.
3. Click **Save**.
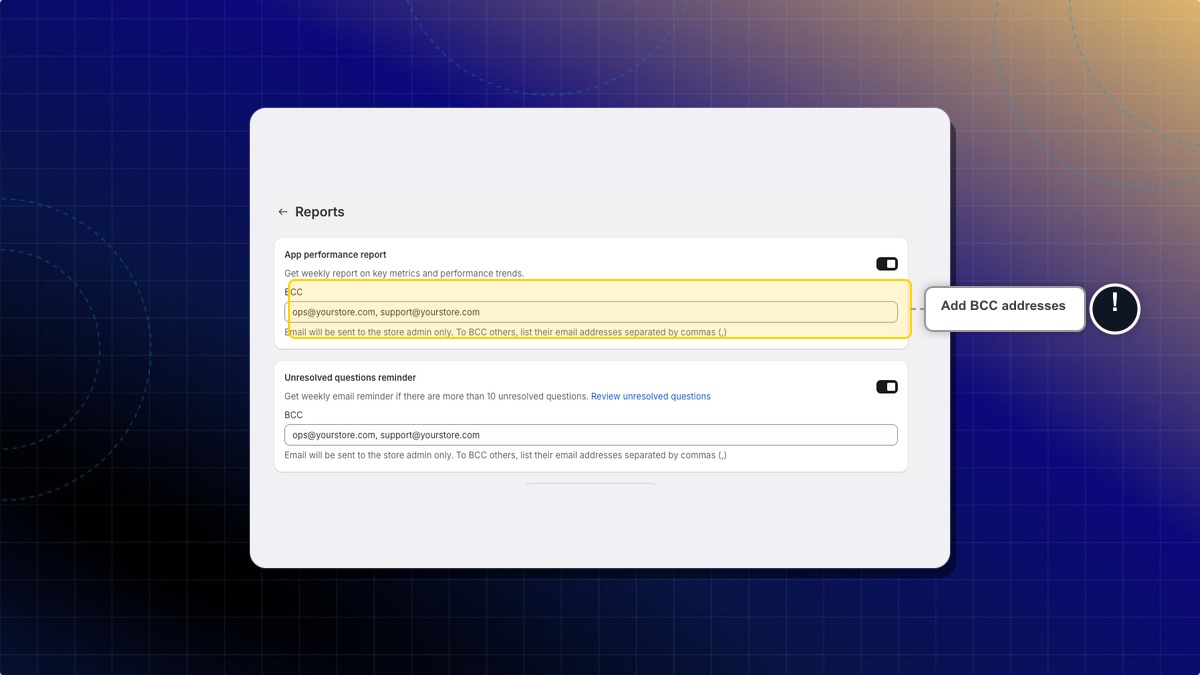
**Expected result:** The email still goes to the store admin, with your listed addresses copied in.
Why am I not getting the report even though it is on?
Check that the report is on for your own account, since each team member has their own setting. An admin can also change your setting through the API, even though the page only edits your own. Then check your spam folder and confirm the address on your account is current.
For the app performance report, also check whether you had any chat activity. Chatty skips the email when every metric is zero.
Can I get the reports more often than weekly?
No. Both reports are weekly. For live numbers, open **Analytics** instead.
What counts as an unresolved question?
A customer question your AI could not answer confidently. Learn more in [Test and optimize AI](/ai/test-and-optimize-ai/).
================================================================
URL: https://help.chatty.net/others/translation/
Locale: en
================================================================
# Translation
**Who can use this feature?**
* **Free:** Default language only. Cannot add new languages or use auto-translate.
* **Basic, Pro, Plus:** Add multiple languages and enable auto-translate. Limits vary by plan.
***
### What is Translation?
Translation lets your chatbox and FAQs appear in your customers' language automatically.
Instead of showing the same language to every visitor, Chatty detects each visitor's language and displays the right content. No manual work is needed for each customer.
***
### How Translation works
**Languages**
A language in Chatty is a display language for your chatbox. Chatty detects which language to show based on Shopify Markets, the languages your store has published in Shopify Admin.
This means, even if a customer's browser is set to French, Chatty will only show French if French is published in your Shopify Markets and added in Chatty Translation. If it is not in both places, the chatbox falls back to your default language.
**Auto-translate**
Auto-translate automatically translates your chatbox labels, FAQs, and questions from your default language into an added language. Once enabled for a language, it runs automatically whenever you update content. You only need to turn it on once.
If auto-translate is off, you can still add and publish a language, but you will need to translate the content manually. Languages with auto-translate enabled show a green dot next to their name.
**Default language**
Your default language is shown to all visitors when their language is not published. English is set as default when you first install Chatty. Only published languages can be set as default.
***
### Set up languages
*(Basic plan and above)*
**Step 1: Add the language in Shopify Markets**
Before adding a language in Chatty, make sure it is published in Shopify first.
1. In Shopify Admin, go to **Settings** → **Markets**
2. Select the market you want to add a language to, or create a new one
3. Click **Add language** and choose your language
4. Click **Publish**
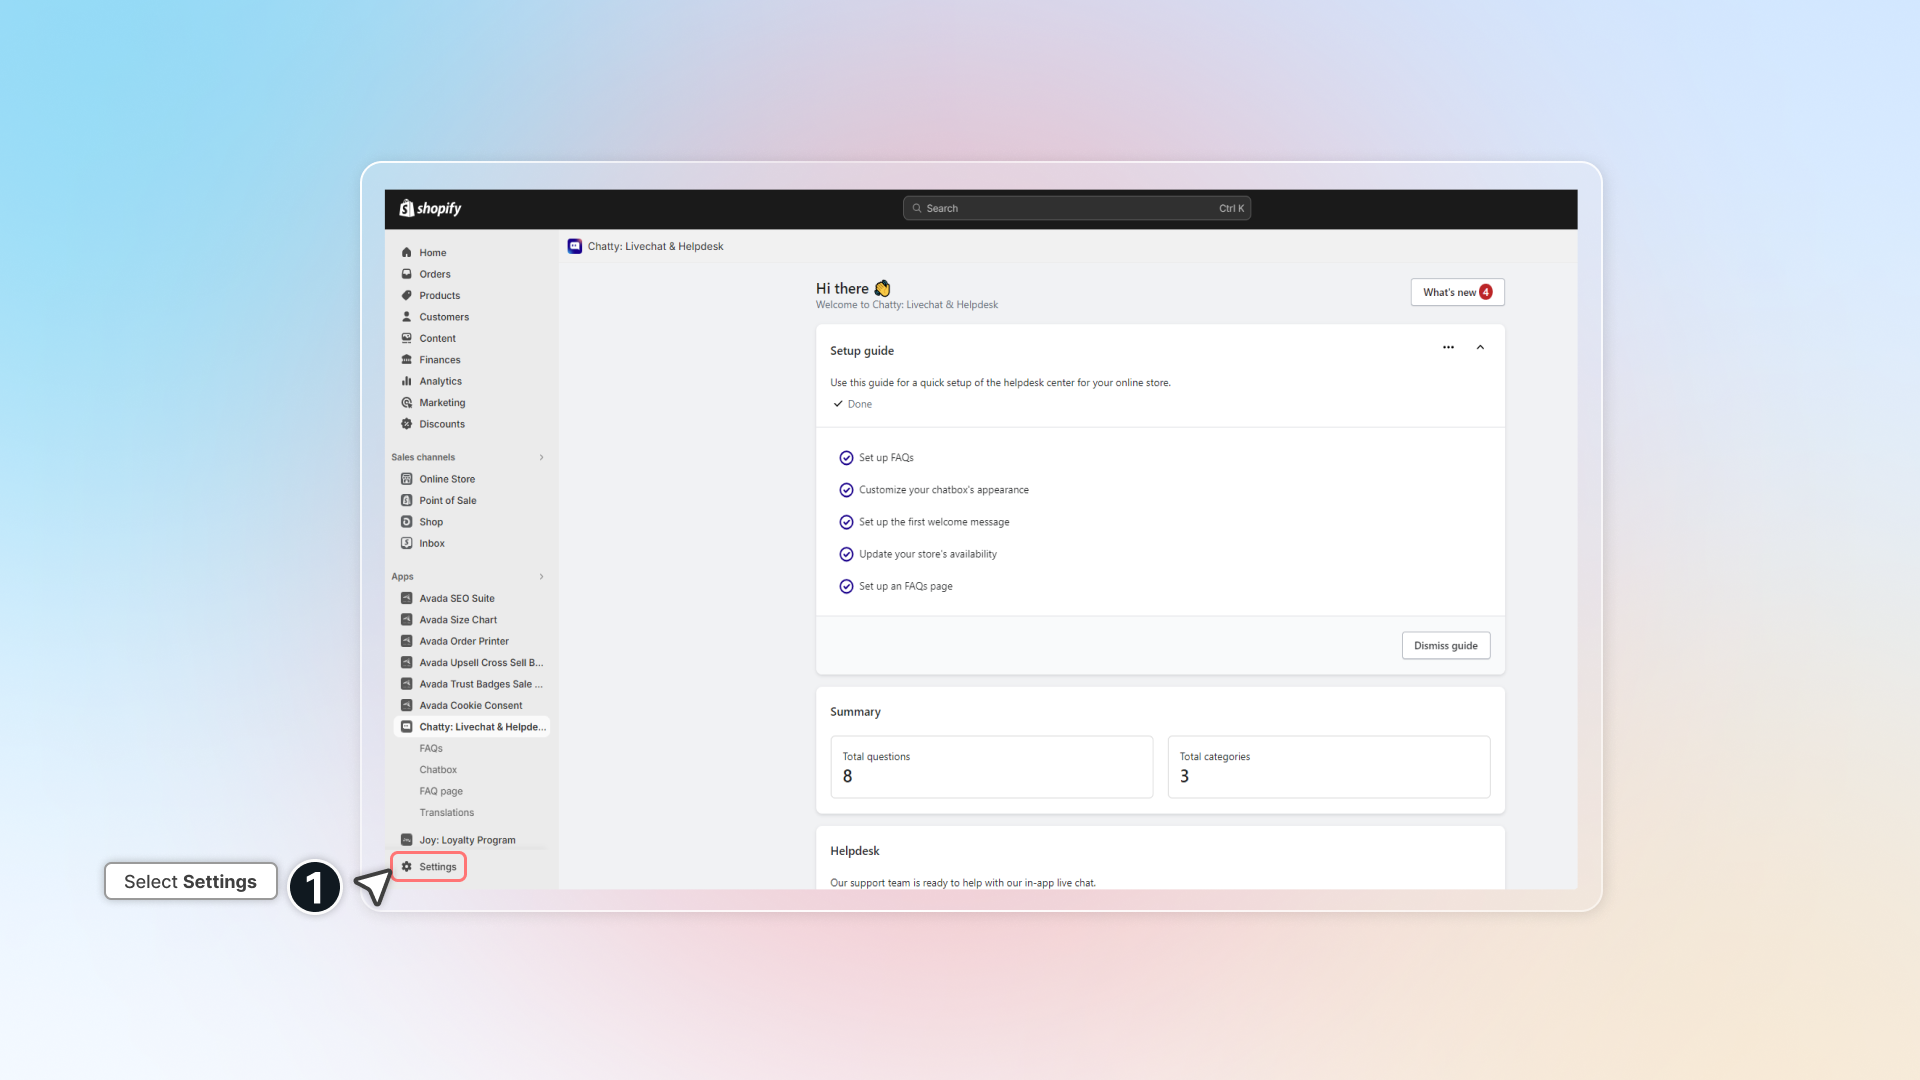
**Step 2: Add and publish in Chatty**
1. In Chatty, go to **Translation** and click **Add language**
2. The language appears in **Unpublished**. If you have auto-translate slots available, content is translated automatically
3. Click **Edit** to review or adjust chatbox labels, FAQs page, and individual FAQ questions
4. In the FAQs section, click **Auto-translate** to translate all content at once, or edit manually
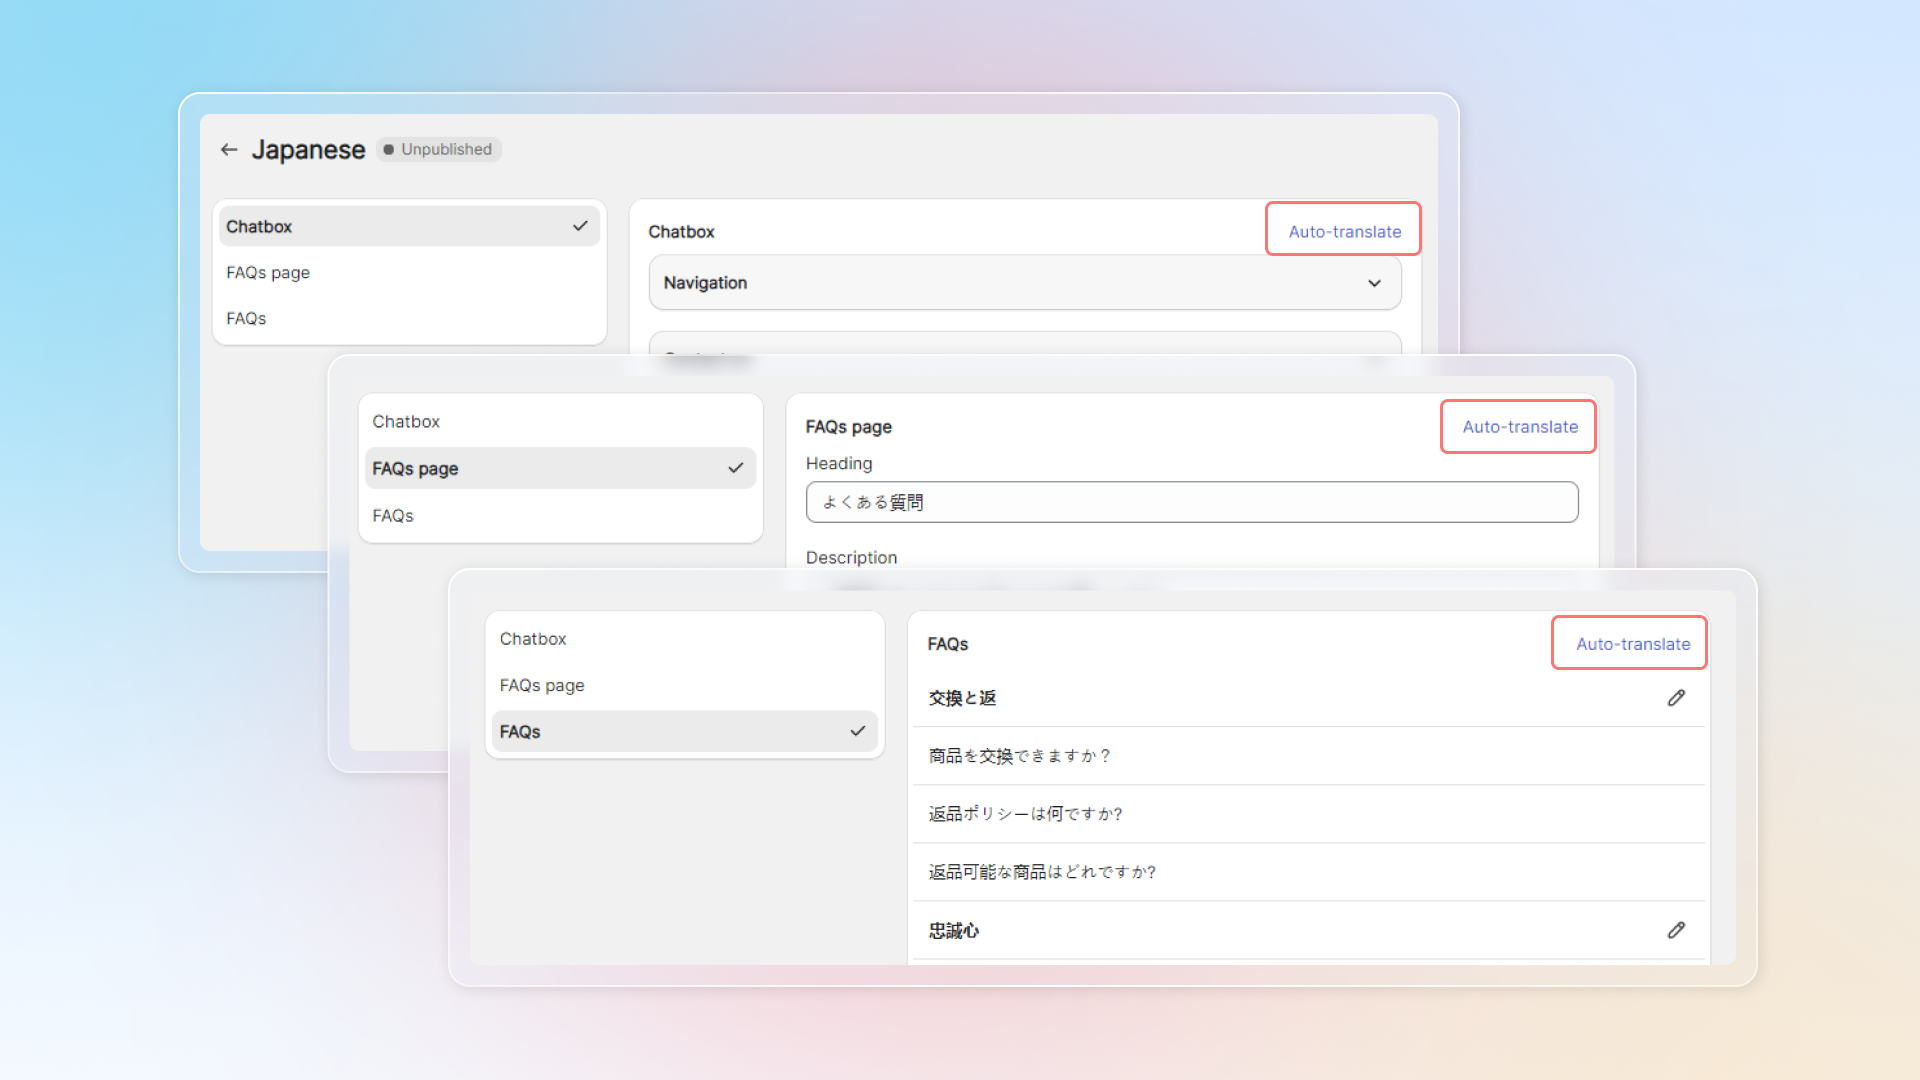
5. Click **Save**
6. Click the options icon → **Publish** → confirm
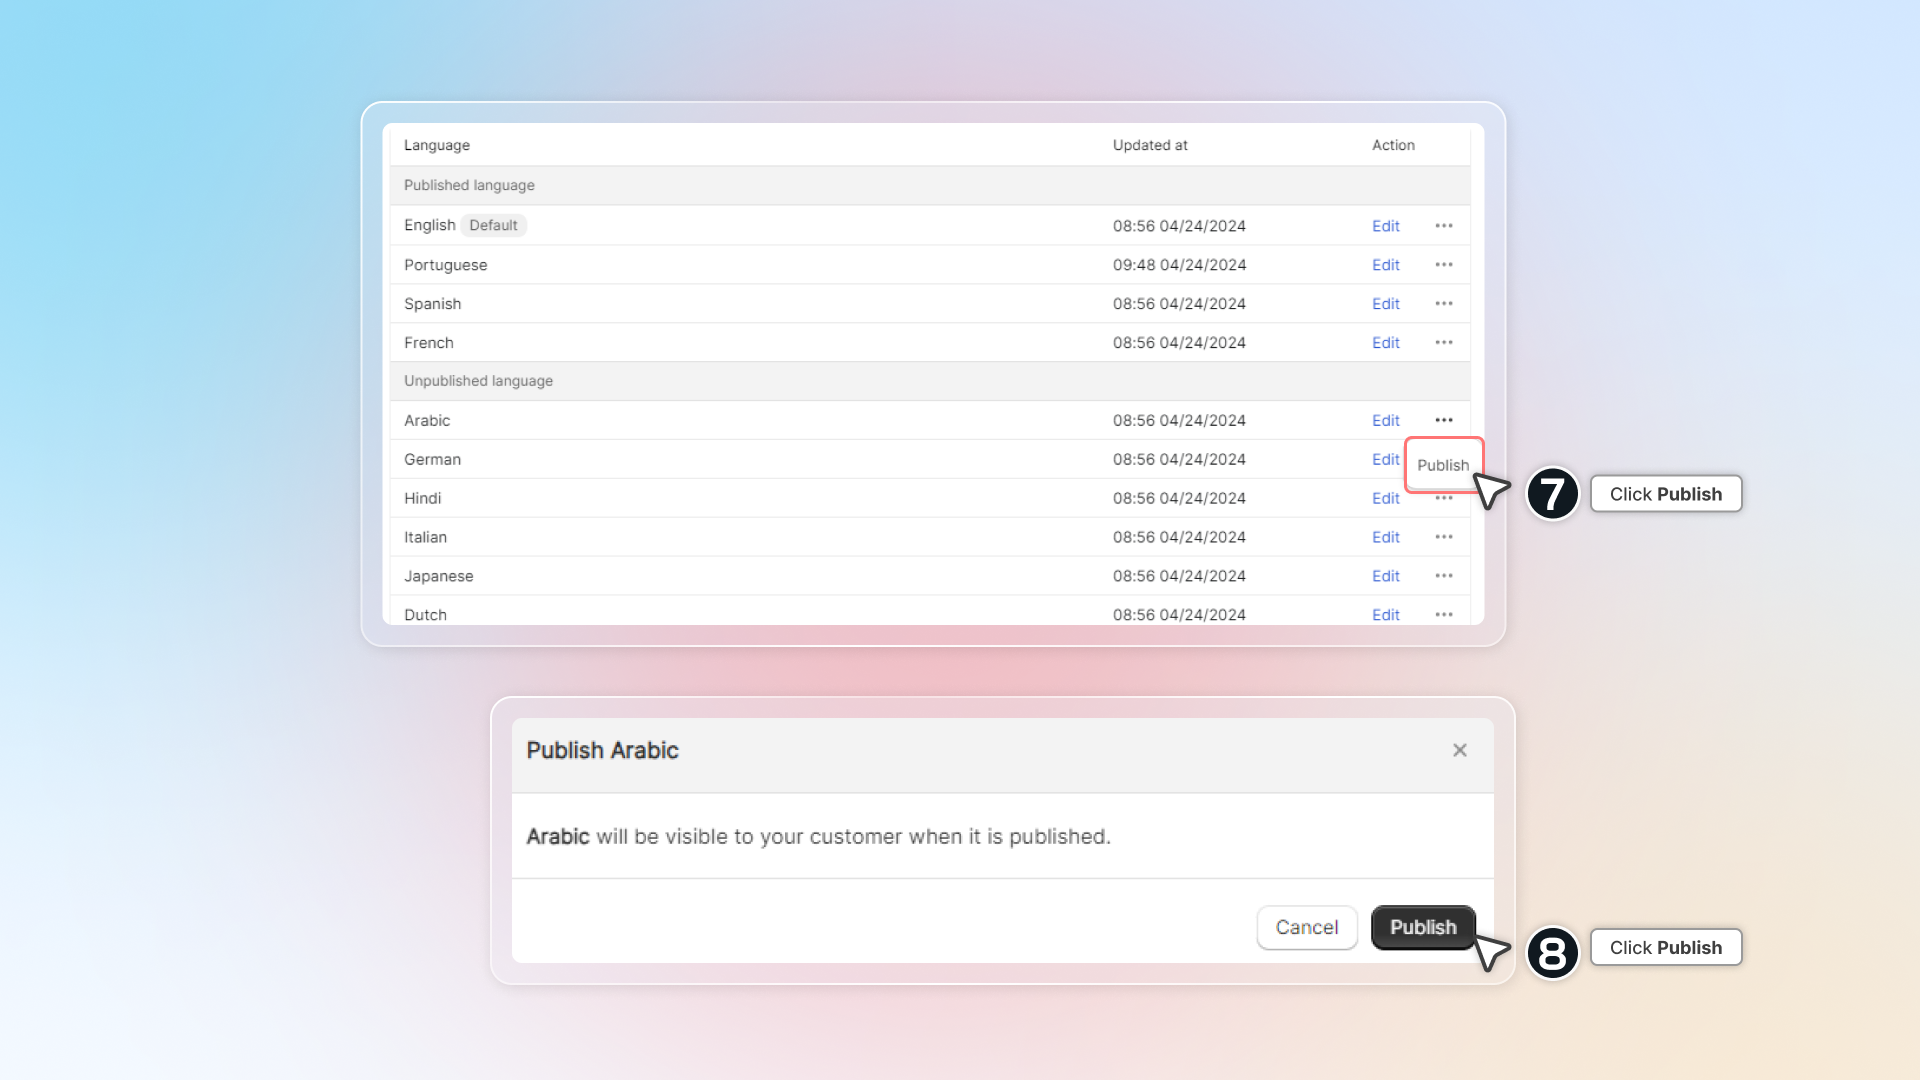
Unpublished languages are not visible to visitors until published.
***
### Change default language
1. Go to **Translation**
2. In the Published language list, click the edit icon → **Change default**
3. Click **Save**
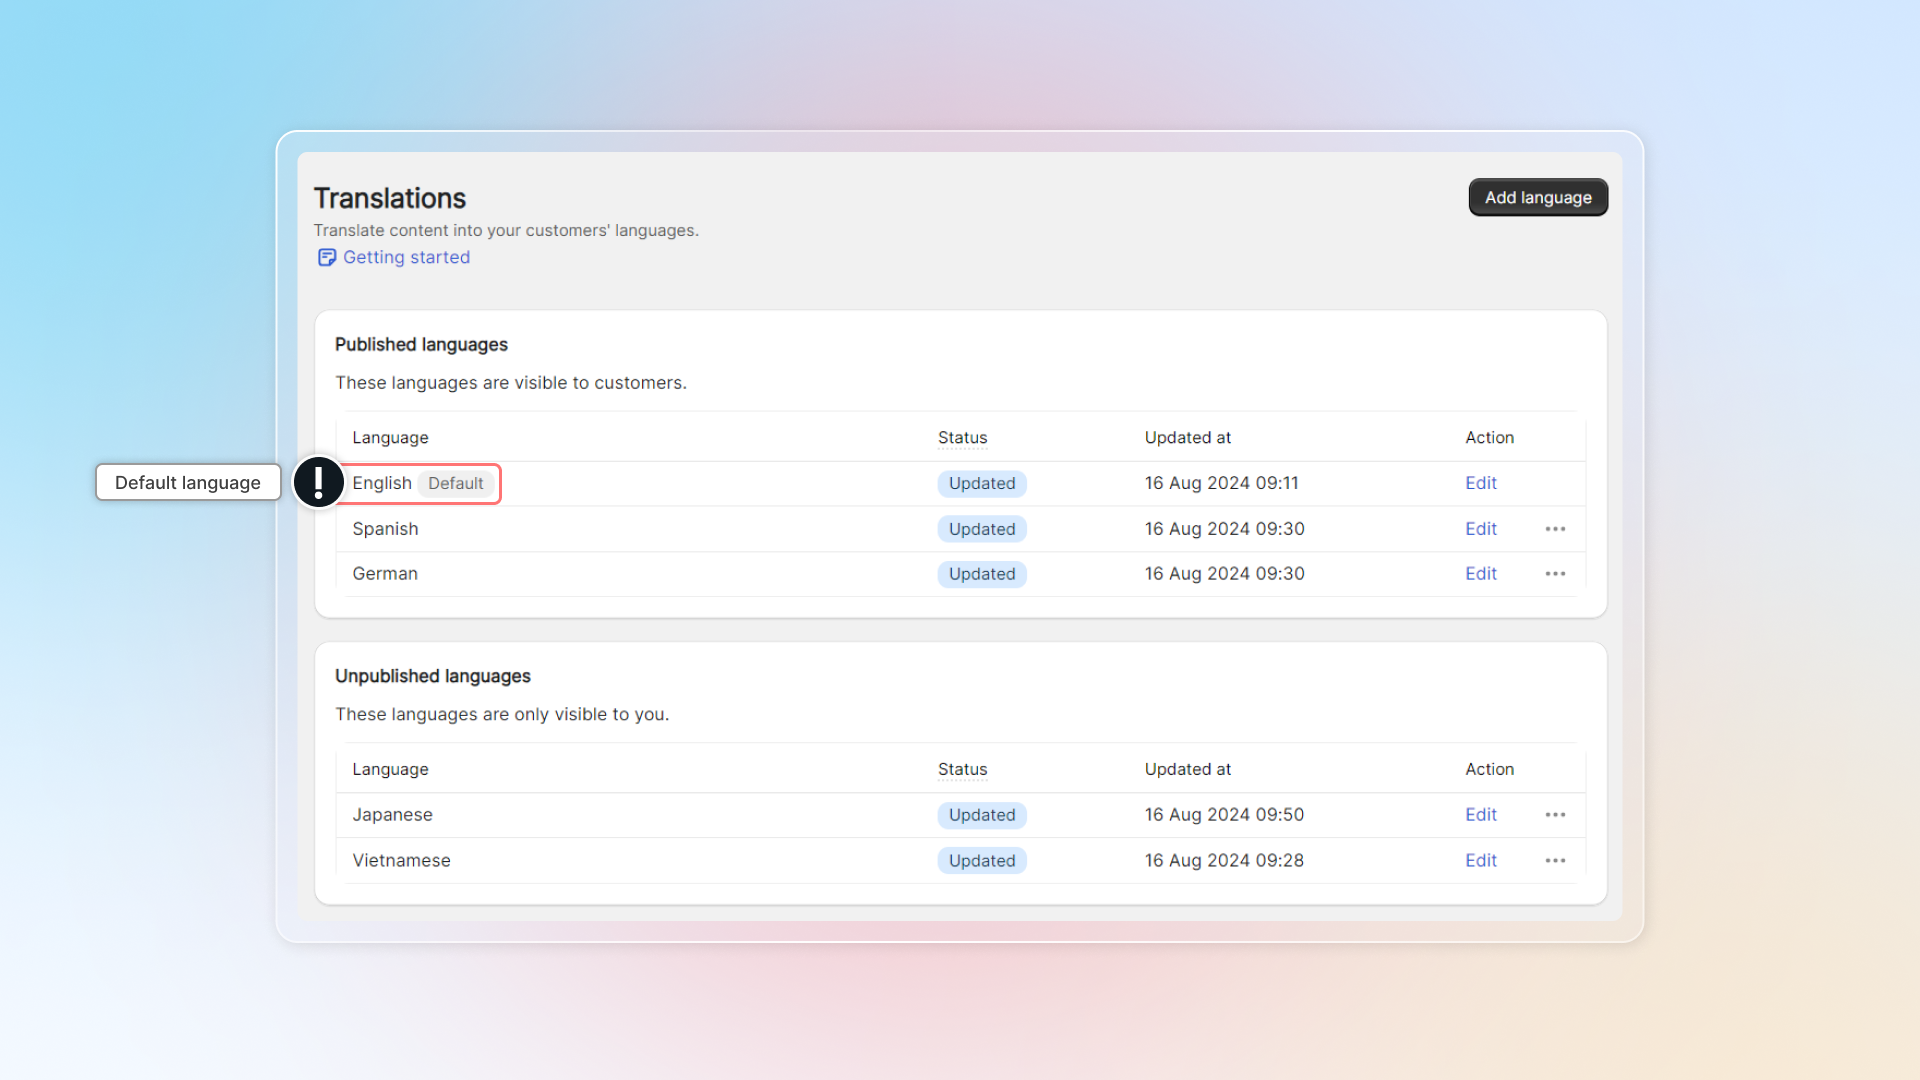
***
### Update translation when FAQs change
Translation does not update automatically when you add new FAQ categories or questions. Chatty shows a banner to notify you. Click **Edit** to update.
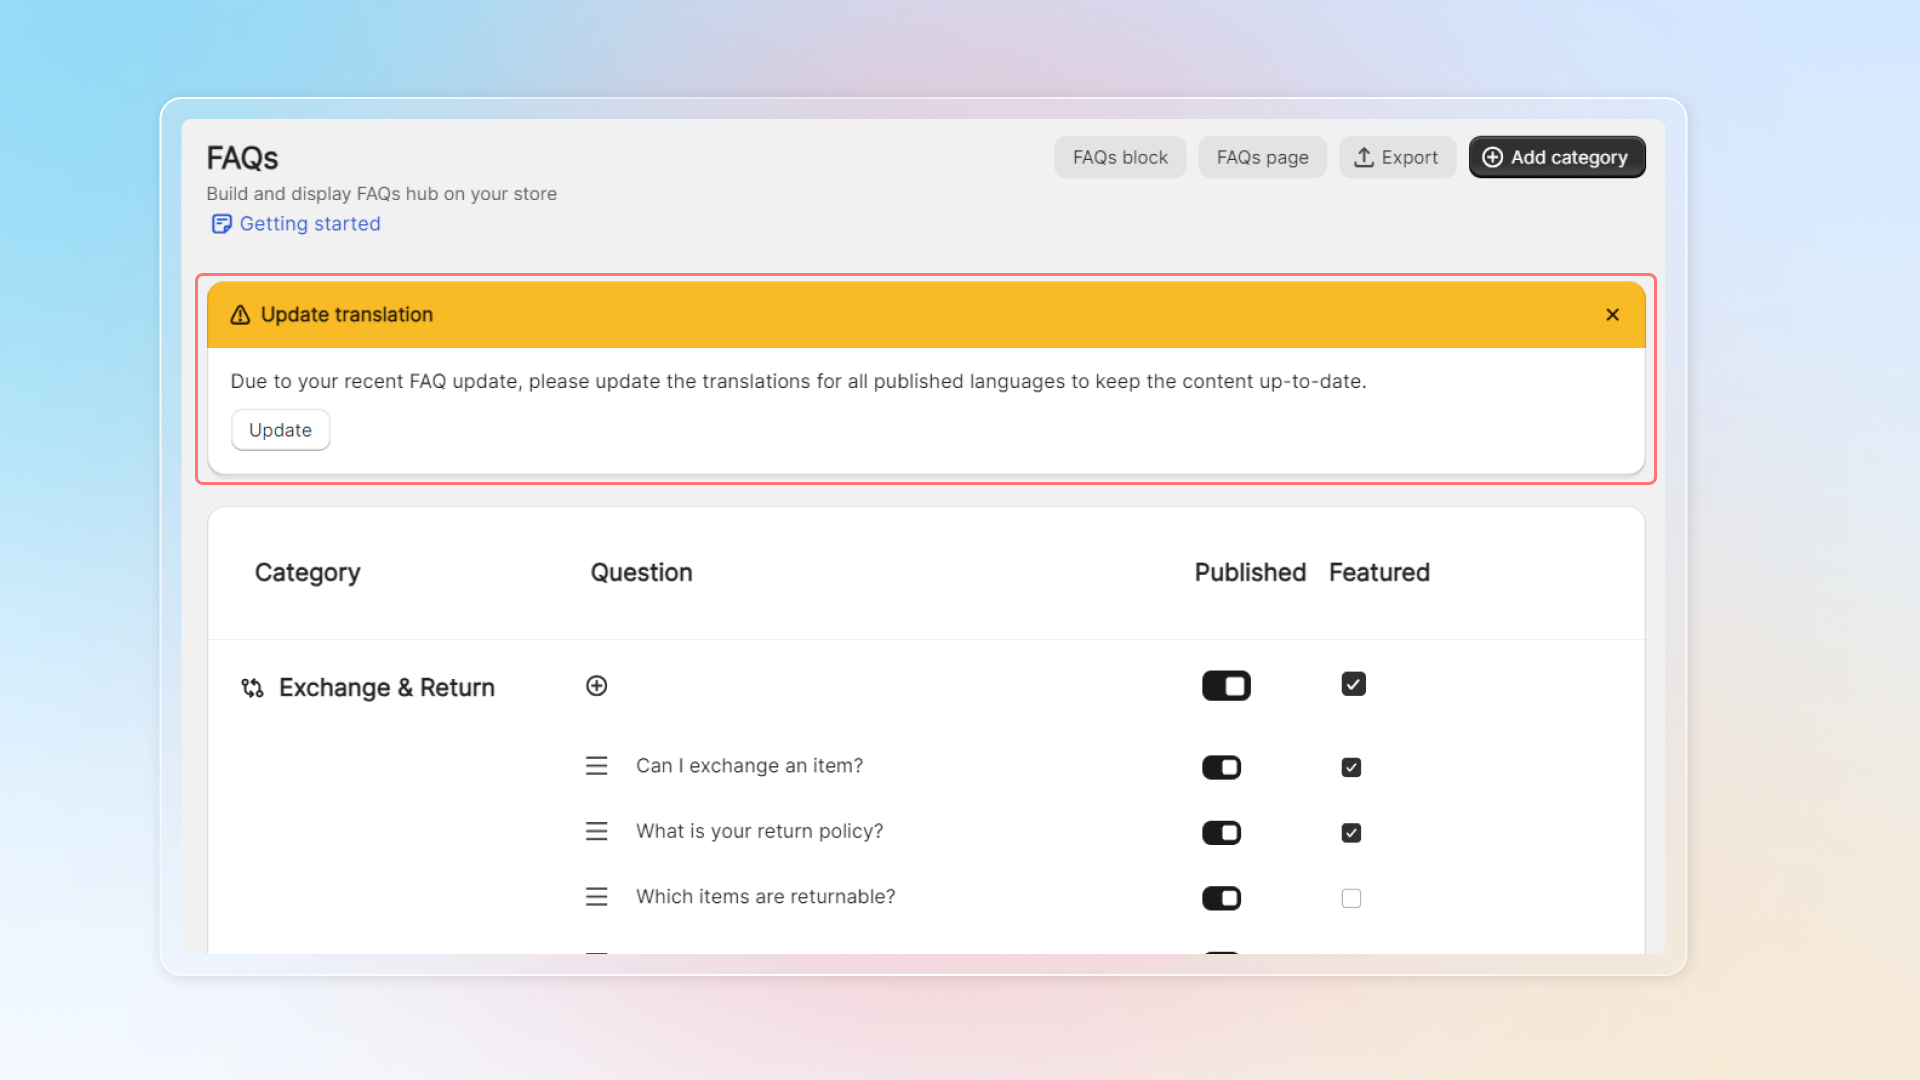
***
### Supported languages
Chatty supports 19 languages: English, Spanish, French, Portuguese, German, Dutch, Italian, Turkish, Vietnamese, Hindi, Urdu, Chinese (Simplified), Chinese (Traditional), Arabic, Malay, Japanese, Greek, Romanian, and Norwegian.
If your language is not listed, select **Custom** to add it manually. Auto-translate is not available for custom languages.
***
### Plan limits
| | Free | Basic | Pro | Plus |
| -------------- | ---------------- | ----------- | ----------- | --------- |
| Languages | 1 (default only) | 3 | 10 | Unlimited |
| Auto-translate | — | 2 languages | 9 languages | Unlimited |
**Language usage:** shown as **Language usage: X / Y** at the top of the Translation page.
**Auto-translate usage:** shown as **Auto-translate usage: X / Y**. When you reach the limit, turn off auto-translate on one language to free up a slot.
***
### FAQs
My language is added in Chatty but customers still see English. Why?
Check that the language is live in Shopify Admin → Settings → Markets. Chatty only detects languages that are published in Shopify Markets.
Can I translate content manually without auto-translate?
Yes. Add and publish any language, then click **Edit** to update the content yourself.
What happens when I reach my auto-translate limit?
Existing languages still work. To enable auto-translate on a new language, turn it off for another language first.
Do translations update automatically when I add new FAQs?
Only if auto-translate is enabled. If not, the language shows **Outdated** status and you need to update manually.
My language is not in the list. What should I do?
Select **Custom** when adding a language and translate content manually. Auto-translate is not available for Custom languages.
================================================================
URL: https://help.chatty.net/privacy-policy/
Locale: en
================================================================
# Privacy policy
### Introduction
This privacy policy describes the information Chatty ("Chatty", “we” or “us”) collect from End Users (“you”) of our website (the “Site”) and the information we collect on behalf of our clients who employ our technology to use our live chat, AI chatbot, help center, and other customer service tools (the “Services”).
This policy does not apply to third parties that Chatty does not own or control. Such third parties are not under Chatty's control and Chatty is not responsible for their privacy or security practices.
Any order forms or additional agreements to which users agree governing the provision of optional Chatty features shall take precedence over the terms of this Privacy Policy to the extent of any differences, so please read such order forms or additional agreements carefully.
Chatty is a product of AVADA GROUP COMPANY LIMITED, a company incorporated in Vietnam. Our services are hosted on infrastructure located in the United States. Personal data that we receive from the European Economic Area, Switzerland, and the United Kingdom is transferred to and processed in the United States. We rely on the European Commission's Standard Contractual Clauses and, for the United Kingdom, the UK International Data Transfer Addendum, as the safeguard for these transfers. Our accountability for personal data that we receive and subsequently transfer to a third party is described in the International Data Transfers section below.
### Site Privacy Policy
We collect, process, and retain information from you and any devices you may use when you use or interact with our Site and Services, and in other ways described below.
We receive and store information you enter on our Site or give us in any other way, including your name, mailing address, phone number, email address, and payment information, as well as company name, and colleagues’ names and email addresses. We collect information about your use of our Site, such as the pages you view and other interactions you have. We receive and store certain types of information whenever you interact with our Site. Our Site uses “cookies,” tagging and other tracking technologies to help enable us to enhance or personalize your online browsing experience. This information includes computer and connection information such as statistics on your page views, traffic to and from our Site, referral URL, ad data, your IP address, and device identifiers. This information also may include your browsing history, transaction history, and your web log information.
We use your information to help us personalize and continually improve your experience on the Site, including fulfilling requests for information, analyzing and compiling trends and statistics, and communicating with you. For information about how to manage your information and the choices you have, see how to limit the use of your information below.
### Cookies and Interest-Based Advertising
Cookies are alphanumeric identifiers transferred to your computer’s hard drive through your Web browser to enable our systems to recognize your browser and tell us how and when pages in our Site are visited and by how many people. Like most internet sites, We uses cookies to enhance our users’ experience on the internet. These cookies do not collect personal information, and we do not combine information collected through cookies with other personal information to tell us who you are or what your name or e-mail address is.
Most browsers allow you to prevent the browser from accepting new cookies, to be notified when you receive a new cookie, or to disable cookies. If you delete your cookies or if you set your browser to decline cookies, some features of the Site may not work or may not work as designed. Note that if you choose to remove cookies, you may remove opt-out cookies that affect your advertising preferences.
We partner with third-party advertising companies who also use these tracking tools to provide advertisements on other websites. These third parties may use these technologies to collect information about you when you use the Site. They may collect information about your online activities over time and across different websites and other online services. They may also use persistent identifiers to track your Internet usage across other websites in their networks beyond the Site. They may use this information to provide you with interest-based advertising or other targeted content. While we do not knowingly provide these entities with information that personally identifies you such third parties may, with sufficient data from other sources, be able to personally identify you, unknown to us.
Some content or applications on the Site may be served by unaffiliated third parties. We do not control these third parties’ tracking technologies or how they may be used. We are not responsible for the content or privacy practices on any website not operated by us to which our Site links or that links to our Site.
Your browser or device may include “Do Not Track” functionality. Our information collection and disclosure practices, and the choices that we provide to visitors, will continue to operate as described in this privacy notice, whether or not a Do Not Track signal is received.
We use Google Analytics, a web analytics service provided by Google, Inc., on our Site. Google Analytics uses cookies or other tracking technologies to help us analyze how users interact with and use the Site, compile reports on the Site’s activity, and provide other services related to Site activity and usage. The technologies used by Google may collect information such as your IP address, time of visit, whether you are a return visitor, and any referring website. The Site does not use Google Analytics to gather information that personally identifies you. The information generated by Google Analytics will be transmitted to and stored by Google and will be subject to Google’s privacy policies. To learn more about Google’s partner services and to learn how to opt out of tracking of analytics by Google click here.
Many of the third party advertisers that place tracking tools on our Site are members of programs that offer you additional choices regarding the collection and use of your information. You can learn more about the options available to limit these third parties’ collection and use of your information by visiting the websites for the Network Advertising Initiative and the Digital Advertising Alliance.
Similarly, you can learn about your options to opt-out of mobile app tracking by certain advertising networks through your device settings.
Please note that opting-out of advertising networks services does not mean that you will not receive advertising on other websites, nor will it prevent the receipt of interest-based advertising from third parties that do not participate in these programs. It will, however, exclude you from interest-based advertising conducted through participating networks, as provided by their policies and choice mechanisms.
### Collection, Use, and Disclosure of End Users’ Information Through Our Services
This section describes our policies for handling information about End Users provided to us by our clients using our Services or other sources of their choosing. We provide our clients with the ability to create profiles of their End Users in order to effectively communicate with them via marketing communications tools like email, analytics services. To do this, our clients integrate our technology into their applications, websites, or other online services.
Our clients’ collection, use, and disclosure of data is separately governed by their privacy policies. Our clients may collect information about their users directly; in that case, each of our clients is responsible for ensuring that their data collection follows their privacy policies and terms of use.
#### **Collection**
In the course of providing Services to our clients, we collect chat messages, contact details submitted through the chat widget (such as name, email address, or phone number), order information, and product views about End Users of our clients. Where a client's staff edit a customer profile through the Chatty helpdesk, we also process the customer name and phone number held in that client's Shopify store. We do not collect or store credit card information through the Services. We use this information to provide our Services to our clients.
We may automatically collect information about your use, navigation of, and interactions with our clients’ applications, websites, or other online services when our client has installed our technology on its properties.
Cookies that we set on our clients’ websites expire after three years and the expiration date updates every time you encounter our server. We retains standard web log data 5 years after you visit a client’s website, and aggregations and reports for up to 10 years after you visit a client’s website.
#### **Use and Disclosure**
We collect information about End Users at our clients’ direction and may append information to End Users’ profiles from third party sources. We do this to provide our Services, which enable our clients to optimize their communications with, and understanding of, their End Users. We consider our clients’ End Users’ information to be confidential to that client. Accordingly, we do not disclose End User information to unaffiliated third parties except in response to our clients’ explicit instructions, as provided for in an agreement between us and our client, or as otherwise described in this Privacy Policy (for example, as necessary to respond to legal requirements).
We may provide services or sell products jointly with affiliated businesses. We may share End User information collected from our clients that is related to such transactions with those affiliated businesses. We require our affiliates, via contract, to provide the same level of privacy protection as set forth in this policy and they do not have the right to share or use PII for any purpose other than for an authorized transaction.
If we ever were to engage in any onward transfers of your data with third parties for a purpose other than which it was originally collected or subsequently authorized, we would provide you with an opt-out choice to limit the use and disclosure of your personal data.
#### Information Clients Provide to Us
We receive and store any information clients enter on the Site, through the Services, or provide to us in any other way. Clients can choose not to provide us with certain information, but then they may not be able to take advantage of many of our features. We use clients’ information for such purposes as responding to their requests for Services, customizing the content they see, communicating with them about our products, and marketing our Services to them.
In order for clients to use all of our features, they must register with us. We require clients’ e-mail addresses and passwords during the registration process.
Further information may be required if clients choose to purchase paid components of the Services, such as credit card and billing information. We uses third party partners for credit card processing who may require and store your credit card and billing information.
#### E-mail Communications
If a client purchases Chatty's online tools to collect and analyze user and usage data for its websites, applications, or services, we will communicate with it about the services it purchases by e-mail. Clients consent to receiving such confirmations by e-mail. If clients contact us via e-mail, we may retain a record of their contact information and any information they provide us in their messages to respond to them. We may receive a confirmation when clients open an e-mail from us.
We may also send e-mails with news or promotions. If clients do not want to receive news or promotional e-mail from us, please contact us at [privacy@avada.io](mailto:privacy@avada.io) (this will not affect e-mails related to certain important, legal, or service-related messages such as outage information).
### Other Important Information
**Data Processing Agreement (DPA)**
When using Chatty, we process data in accordance with our Data Processing Agreement (DPA). The DPA governs how we handle your data as a processor.
Processed data categories: The data categories result from the content and usage of the chatbot. In most cases, this will be customer service data, chat messages, and order information when provided.
Purpose of processing: We process data to:
* Provide chatbot functionality based on your configured settings
* Process customer service requests through the chatbot
* Generate appropriate responses using our AI system
* Maintain service security and performance
Source of the data: We collect this data directly from you and your customers through the chatbot interface.
Legal basis: We process the data to fulfill the contract in accordance with Article 6 (1) (b) GDPR.
Storage period: We store this data for the term of the contract and beyond until the expiry of statutory retention periods, which may be 6 to 10 years. Data can be deleted earlier upon your request as the merchant.
Data access scope:
* Access is limited to necessary personnel for service operation
* All access is logged and regularly audited
* Security measures include encryption and access controls
Third-party processing:
* We use select sub-processors for cloud infrastructure and security
* No data transfers occur without your prior notification
* All sub-processors are bound by equivalent data protection obligations
Location of recipients: United States
Guarantees for transfers to third countries: EU Standard Contractual Clauses (SCC) and, for the United Kingdom, the UK International Data Transfer Addendum
Technical measures:
* Data encryption in transit and at rest
* Regular security audits and updates
* Secure cloud infrastructure
* Access control and monitoring
**Your California Privacy Rights**
If you are a California resident, California law permits you to request certain information regarding the disclosure of your PII by us and our related companies to third parties for the third parties’ direct marketing purposes. To make such a request, please send your request, by mail or email, to the addresses listed at the end of this policy.
**Agents**
We employ other companies and people to perform tasks on our behalf and need to share client and End User information with them to provide products and services. Examples include billing, processing payments, providing marketing assistance, and providing customer service. Our agents use the same level of privacy protection as we do. Unless we tell you differently, we do not share, and our agents do not have any right to use, PII collected from our Site and Services beyond what is necessary to assist us.
**Business Transfers**
In some cases, we may change our ownership or corporate organization, or may choose to buy or sell assets. End User information may be transferred to another entity, its affiliates, or service providers in connection with the transaction. You acknowledge that such transfers may occur, and that Chatty or its successor organization may continue to use your information as set forth in this policy.
**Protection of Chatty and Others**
We may release PII when we in our sole discretion believe in good faith that release is necessary or appropriate to comply with the law, enforce or apply our conditions of use and other agreements, or protect the rights, property, or safety of Chatty, our employees, our clients, or others. We also may be required to disclose an individual’s PII in response to a lawful request by public authorities, including to meet national security or law enforcement requirements.
**Information Security**
Clients’ Chatty account information is protected by a password for your privacy and security as well as other reasonable security measures. We use reasonable safeguards to protect the security of clients’ information during transmission, including by encrypting all of the information clients input. Only employees or agents who need PII to perform a specific job are granted access to it. All of our employees are kept up to date on our privacy and security practices.
While we uses commercially reasonable means to secure information provided to us, we do not guarantee that such information will not be improperly accessed, disclosed, or destroyed by breach of any of our safeguards. Clients and End Users are responsible for the security of their information that is transmitted to us or that is viewed, downloaded, or otherwise accessed when using unencrypted, public or otherwise unsecured networks.
**Accessing Information**
You are able to access, add to, update, correct, amend, or delete certain information about you, including PII. When you update information, however, we often maintain a copy of the unrevised information in our records. A client may deactivate its Chatty account by following the deactivation process set forth on the Site. Some information may remain in our records after account deletion. Please contact us at [privacy@avada.io](mailto:privacy@avada.io) if you have questions or concerns about accessing, correcting, or deleting your PII.
EEA, Swiss, and UK data subjects have a right to access their information. Please see the International Data Transfers section below.
**Conditions of Use**
Your use of the Site and Services and any possible dispute over privacy are subject to this Privacy Policy and our Terms of Service, including limitations on damages, dispute resolution, and the application of the laws of the Socialist Republic of Vietnam.
**International Users (Except for EU and Swiss Data Subjects)**
If you use our Websites outside of the United States, you understand and consent to the transfer of your personal information to, and the collection, processing, and storage of your personal information in, the United States and elsewhere. The laws in the U.S. and these countries regarding personal information may be different than the laws of your state or country.
**Use of Chatty's Site by Children**
Chatty's Site is not intended for children under the age of 18. Accordingly, we will not knowingly collect or use any PII from children that we know to be under the age of 18. If we become aware of PII in our database that was collected from a child under 18, we will delete such information.
### International Data Transfers
**Where your data is processed**
Chatty is operated by AVADA GROUP COMPANY LIMITED, established in Vietnam. Our services are hosted on infrastructure located in the United States. Personal data that we receive from the European Economic Area, Switzerland, and the United Kingdom is transferred to and processed in the United States, both by us and by the sub-processors we engage to operate the Services.
**Transfer mechanism**
We do not rely on an adequacy decision for these transfers. We rely on the European Commission's Standard Contractual Clauses (Commission Implementing Decision (EU) 2021/914) and, for transfers originating in the United Kingdom, the UK International Data Transfer Addendum issued by the Information Commissioner's Office. Merchants may request a copy of our Data Processing Agreement, which incorporates these clauses, at [privacy@avada.io](mailto:privacy@avada.io).
**Onward transfers**
Where we engage a sub-processor to process personal data on our behalf, we bind that sub-processor by contract to data protection obligations equivalent to those in our Data Processing Agreement. We remain responsible for the processing carried out by our sub-processors on our behalf.
**Your rights**
Data subjects in the EEA, Switzerland, and the United Kingdom have the right to access, correct, delete, restrict, and object to the processing of their personal data, and the right to data portability. Because the merchant operating the store acts as the data controller, requests should be directed to that merchant in the first instance. You may also contact us at [privacy@avada.io](mailto:privacy@avada.io) and we will assist the merchant in responding.
**Complaints**
If you have a concern about how we handle personal data, please contact us at [privacy@avada.io](mailto:privacy@avada.io). You also have the right to lodge a complaint with your local supervisory authority, or with the UK Information Commissioner's Office for data originating in the United Kingdom.
### **Questions or Concerns**
If you have any questions or concerns regarding privacy at Chatty, please send us a detailed message to [privacy@avada.io](mailto:privacy@avada.io) or to AVADA GROUP COMPANY LIMITED, 11th Floor, Office Area, Tower C, Ho Guom Plaza Building, 102 Tran Phu Street, Ha Dong Ward, Hanoi, Vietnam. Your privacy is important to us and we will make every effort to resolve your concerns.
================================================================
URL: https://help.chatty.net/privacy-policy/ai-compliance/
Locale: en
================================================================
# AI Compliance
*Last updated: February 2025*
### Understanding compliance requirements
#### GDPR Overview
The General Data Protection Regulation (GDPR) is Europe's primary data protection law. For Chatty users, this means:
* Collecting only necessary customer data
* Being transparent about data usage
* Protecting user privacy rights
* Ensuring secure data handling
#### AI Act Overview
The AI Act is new EU legislation establishing guidelines for AI systems like chatbots. Key points:
* Clear disclosure of AI interaction
* Prevention of discriminatory decisions
* Transparency in AI operations
* Regular risk assessments
### What we are in this context
#### Shopify store owners (data controller)
As a Shopify store owner using Chatty, you are the data controller. This means you:
* Decide how customer data is used
* Set purposes for data collection
* Ensure proper customer notification
* Maintain an updated privacy policy
#### Chatty (data processor)
We act as the data processor, meaning we:
* Process data according to your instructions
* Implement security measures
* Handle data per GDPR requirements
* Provide necessary compliance tools
### How Chatty ensures compliance
#### Data collection
✓ Minimal data collection
* Only essential information is collected
* No unnecessary personal data storage
* Clear purpose for all data points
✓ Transparent processing
* Clear notification of AI usage
* Explicit data usage explanations
* No hidden data collection
#### Security measures
✓ Data protection
* Encryption in transit and at rest
* Regular security audits
* Secure data storage
✓ Access controls
* Limited staff access
* Role-based permissions
### What data we collect & why
#### For Merchats (Shopify store owners)
* **Chat messages & conversations**: Stored to provide customer support history and improve AI responses
* **Store information**: Basic store data from Shopify to enable app functionality
* **Customer service settings**: Your configuration preferences for the chatbot
* **Usage analytics**: Anonymous usage data to improve app performance
#### For end users (store customers)
* **Chat content**: Messages sent through the chat widget
* **Order information**: Only when provided by customers for order tracking
* **No additional personal data**: We don't collect emails, phone numbers, or other personal information through the chatbot unless explicitly provided for customer service purposes
### How we use your data
#### Primary uses
* Providing customer support functionality
* Improving AI responses and suggestions
* Maintaining chat history for merchants
* Processing order tracking requests
#### What we don't do
* No data selling to third parties
* No advertising use
* No unauthorized data sharing
⚠️ Quick reminder: Add this privacy text to your site before turning on the chatbot. Feel free to modify it for your store.
```
Our site uses Chatty AI for customer support. Here's what you should know:
- We only use messages to help answer your questions
- We don't collect personal info unless needed for customer service
- All chats are private and encrypted in transit and at rest
- Your data is never used for ads
```
### FAQs
What data does Chatty collect?
Chatty only collects chat messages and essential order information when provided by customers. No additional personal data is collected unless explicitly needed for customer service.
How long is data stored?
Chat history is stored according to your configured retention period. Default retention is 90 days, but you can adjust this in your settings.
How do I handle customer data requests?
Chatty provides tools to export or delete customer data on request. Contact our support team for assistance with specific requests.
Is Chatty's AI compliant with the AI Act?
Chatty's AI features are designed to support AI Act requirements such as clear disclosure of AI interaction and transparency in AI operations. Chatty does not hold a third-party AI Act conformity assessment. As the deployer of the chatbot, each merchant remains responsible for its own obligations under the AI Act.
================================================================
URL: https://help.chatty.net/privacy-policy/cookie-policy/
Locale: en
================================================================
# Cookie policy
### Our use of cookies
At Chatty, we use essential cookies to provide you with the best possible live chat experience. We believe in transparency, so we want to explain how and why we use these cookies.
### What are our cookies?
We use a single cookie called `avada-chatty/session`. This cookie is essential for the proper functioning of our live chat service.
### What do our cookies do?
1. **Functionality**: Our cookie maintains access to past conversations across different pages of your store. Without it, your customer would start a new chat session every time they switch pages.
2. **User Experience**: The cookie ensures that trigger messages don't fire multiple times and that the chatbox works consistently between pages.
3. **Duration**: We save this cookie for 30 days. It's automatically renewed each time customer send a new message.
4. **User Preferences**: The cookie remembers your chat history, allowing for seamless communication even when you navigate your store.
### What do we collect through cookies?
To provide you with a seamless and personalized chat experience, our cookie collects and stores certain types of information:
1. **User preference:** Our persistent cookies store your preferences to enhance your experience. This may include: language preferences, theme settings, other customization choices you make within the Chatty interface.
2. **Session information:** Our session cookies store information related to your current chat session, including: Dialogue history, user inputs Current conversation context
3. **User behavior:** This may include the paths that the user takes, interactions with specific features on your store and in Chatty chatbox: add products to cart, update cart, initiate checkout, view FAQs, track orders, etc.
### Do you need to ask for user consent?
Our cookie is considered essential for the functioning of the Chatty service. Under many privacy regulations, including GDPR, essential cookies are exempt from requiring explicit user consent.
However, we recommend informing your customers about the use of this cookie in your privacy policy for full transparency.
### Our Commitment
We're committed to using cookies responsibly. We only collect the data necessary to provide you with a smooth, efficient live chat experience. Your privacy and data security are our top priorities.
For any questions about our cookie policy, please contact our support team.
================================================================
URL: https://help.chatty.net/product-roadmap/pricing/
Locale: en
================================================================
# Pricing
**FREE**
* 50 AI conversations/month
* Unlimited human conversations
* No additional conversations
* 1 email channel
* FAQs page
* 200 products for AI training
* 90 days chat history
$16.99/month with annual bill
$58.99/month with annual bill
$169.99/month with annual bill
### Compare plans
| Features | Free | Basic ($19.99) | Pro ($68.99) | Plus ($199) |
| --- | --- | --- | --- | --- |
| AI conversations | 50/month | 100/month | 500/month | 1,000/month |
| Additional AI conversation | ❌ | $0.4/conversation | $0.4/conversation | $0.4/conversation |
| Translated conversation | ❌ | 50/month | 300/month | 700/month |
| Additional translated conversation | ❌ | $0.04/conversation | $0.04/conversation | $0.04/conversation |
| Products for AI training | 200 | 1,500 | 8,000 | Unlimited |
| Custom answers | 100 | 5,000 | Unlimited | Unlimited |
| Websites + Files | 20 | 200 | 2,000 | Unlimited |
| Custom scenario | 5 | 5 | 15 | Unlimited |
| Instructions for AI | ✅ | ✅ | ✅ | ✅ |
| Multi market | ❌ | ❌ | ✅ | ✅ |
| Size guide assistant | ❌ | ❌ | ✅ | ✅ |
| Smart product recommendation | Limited | Limited | Unlimited | Unlimited |
| AI handover | ❌ | ✅ | ✅ | ✅ |
| AI after-sales service | ❌ | ✅ | ✅ | ✅ |
| Embed AI chat | ❌ | ❌ | ✅ | ✅ |
| AI channels | ❌ | ❌ | ✅ | ✅ |
| Live chat & Helpdesk | | | | |
| Live chat | ✅ | ✅ | ✅ | ✅ |
| Team member | 1 seat | 5 seats | 10 seats | Unlimited |
| Satisfaction survey | ❌ | ❌ | ✅ | ✅ |
| Notification | ✅ | ✅ | ✅ | ✅ |
| View customer details | ✅ | ✅ | ✅ | ✅ |
| View shopping carts | ❌ | ✅ | ✅ | ✅ |
| View history browsing | ✅ | ✅ | ✅ | ✅ |
| Auto chat assignment | ✅ | ✅ | ✅ | ✅ |
| Auto chat resolution | ✅ | ✅ | ✅ | ✅ |
| Chat history | 90 days | 12 months | Unlimited | Unlimited |
| Insert file & image | ✅ | ✅ | ✅ | ✅ |
| File & image storage | Shopify | External | External | External |
| Insert Shopify data (Product, Discount) | ✅ | ✅ | ✅ | ✅ |
| Insert FAQs | ✅ | ✅ | ✅ | ✅ |
| Quick replies | ✅ | ✅ | ✅ | ✅ |
| Proactive chat | | | | |
| Welcome visitor | ✅ | ✅ | ✅ | ✅ |
| Subscribe newsletter | ✅ | ✅ | ✅ | ✅ |
| Product recommendation | ✅ | ✅ | ✅ | ✅ |
| Collection boost | ❌ | ✅ | ✅ | ✅ |
| Cart booster | ❌ | ❌ | ✅ | ✅ |
| Cart reminder | ❌ | ❌ | ✅ | ✅ |
| Channels | | | | |
| Email | 1 email | Unlimited | Unlimited | Unlimited |
| Messenger | ✅ | ✅ | ✅ | ✅ |
| Instagram | ✅ | ✅ | ✅ | ✅ |
| WhatsApp | ✅ | ✅ | ✅ | ✅ |
| FAQs and help center | | | | |
| Unlimited FAQs | ✅ | ✅ | ✅ | ✅ |
| Import, Export FAQs | ✅ | ✅ | ✅ | ✅ |
| FAQs page customization | Default preset | Fully-customizable | Fully-customizable | Fully-customizable |
| FAQs block | ✅ | ✅ | ✅ | ✅ |
| Auto translate FAQs | ❌ | 2 languages | 9 languages | Unlimited |
| Integration | | | | |
| Joy: Reward, loyalty program | ✅ | ✅ | ✅ | ✅ |
| Klaviyo integration | ✅ | ✅ | ✅ | ✅ |
| Website integration | ✅ | ✅ | ✅ | ✅ |
| Shopify Flow | ✅ | ✅ | ✅ | ✅ |
| Powerful contact form | ✅ | ✅ | ✅ | ✅ |
| API support | ❌ | ❌ | ✅ | ✅ |
| Preferences | | | | |
| Chatbox customization | Default preset | Fully-customizable | Fully-customizable | Fully-customizable |
| Chatbox logo | ❌ | ✅ | ✅ | ✅ |
| Multi-language translation | No translation | 3 languages | 10 languages | Unlimited |
| Others | | | | |
| Analytics | Basic | Advanced | Advanced | Advanced |
| Multi-store management | ❌ | ❌ | ❌ | ✅ |
| 24/7 support | ✅ | ✅ | ✅ | ✅ |
| Dedicated consultant | ❌ | ❌ | ❌ | ✅ |
### Manage your subscription
Everything below lives on the **Subscription** page in your Chatty admin. It needs the billing permission, so ask your store owner if you cannot open it.
| Where | What you do there |
| --- | --- |
| **My plan** | See your current plan, its price, how many trial days are left, and any discount code applied to it. |
| **My plan → Usage charge** | On a paid plan, see what you owe this cycle for AI conversations and live translations used beyond your plan limit. |
| **My plan → usage snapshot** | On the Free plan, see AI conversations and translations used against your limit, plus your past cycles. |
| **View details → Usage this cycle** | See AI conversations used, a day-by-day chart, live translations used, and your billing history. |
| **View details → Spending limit** | Cap what overage can cost you in one month. Any amount from $1 to $1,000; it starts at $1,000. Chatty stops charging once you hit the cap. |
| **Change plan** | Compare plans, switch between monthly and annual billing, upgrade or downgrade, and enter a discount code. |
| **Change plan → cost calculator** | Type how many AI conversations you expect per month. Chatty prices every plan at that volume and marks the cheapest one. Above 1,500 a month it points you to a custom plan instead. |
Your usage counter resets at the start of each 30-day billing cycle. Unused conversations do not roll over.
#### Extra conversations during your trial
When you start a 7-day trial, Basic adds 100 bonus AI conversations and Pro adds 300 on top of the plan allowance. Chatty spends the plan allowance first, then the bonus, so you can test the AI properly without triggering an overage charge. Bonus conversations left over when the trial ends are not carried forward.
***
### Promotion deal
[Download app](https://apps.shopify.com/chatty?utm_source=chatty\&utm_medium=ug_\&utm_campaign=pricing_) and claim your own deal in the app.
### FAQs
Is there still a free plan available?
Yes, our free plan will continue to be available with its current features.
How much do the paid plans cost?
Monthly billing: Basic $19.99; Pro $68.99; Plus $199.\
Annual billing: Basic $16.99/month; Pro $58.99/month; Plus $169.99/month.\
See plan comparisons for more details.
What exactly is counted as 1 AI conversation?
An AI conversation is a complete interaction between a customer and your AI agent, from first message to resolution. It is counted once, when the chat ends.
* Messages are not counted. A customer who sends 20 messages still uses 1 conversation.
* It only counts if the AI answered from your own content — a product, FAQ, scenario, page, file, discount or size guide. A reply where the AI found nothing does not count.
* Welcome messages, conversation starters, handover forms and system messages never count.
* A proactive chat the customer never replied to does not count, and neither does a visitor blocked as spam.
* One customer counts once per 24 hours. If they reset the chat or come back the same day, it is still the same single conversation.
What additional features do the paid plans offer?
Compared to Free, paid plans add:
* More AI conversations, products, custom answers, and training sources
* AI handover to a human agent and AI after-sales service
* Multi-channel inbox with unlimited email addresses and shopping cart view
* Team seats (5 on Basic, 10 on Pro, unlimited on Plus)
* Auto translate and multi-language chatbox
* Fully-customizable chatbox and FAQs page, plus chatbox logo
Pro and Plus add AI shopping (multi market, size guide, embed AI chat, AI channels), cart booster and cart reminder, satisfaction survey, API support, and unlimited chat history. Plus adds multi-store management and a dedicated consultant.
Will there be a trial period for the paid features?
We offer a 7-day free trial for any paid plan. You can cancel anytime during the trial period.
Will I lose access to the features I'm currently using for free? If no, what are free features?
These following features will be limited in Chatty free version:
* Chatbox customization: default preset only, no chatbox logo
* Auto translation: not available
* Chat history: 90 days
* Email: 1 email address
* Shopping cart view: not available
Are there any discounts for long-term subscriptions?
Yes. Annual billing saves around 15% compared to monthly. We also run seasonal deals — open the app to see the offer available to your store.
How to apply a discount code?
Go to Subscription *→* In **Discount code**, insert your code and click **Apply**.
What happens to my existing data and settings if I don't upgrade?
Your settings and data will be safe.
Will my chat history be affected if I don't upgrade?
Your chat history will be removed if it more than 90 days.
Can I have a refund?
Yes, you can. We offer a 30-day Money Back Guarantee (30 days from the start of your free trial), which applies for the following circumstances:
* You do not wish to continue the subscription after the first month
* You cancel the paid plan before the first circle ends
* You forget cancel trial period or have accidentally choose the paid plan without using it in the first month
What happens if I exceed the monthly AI conversation limit?
* Free plan users: AI assistant will be deactivated. You can still handle conversations manually in Inbox.
* Paid plan users: Additional AI conversations will be automatically charged according to your plan’s overage rates.
Does unused AI usage carry over to the next month?
No. Unused AI conversations do not roll over. Your usage counter resets at the start of each billing cycle. Check the AI conversation billing summary on the Subscription page to pick the right plan for your volume.
What happens if my store exceeds the product limit?
If your store exceeds the product limit for your plan, only the most recently added products will be used by the AI assistant.
You can upgrade to a higher plan with an increased product limit.
================================================================
URL: https://help.chatty.net/product-roadmap/product-roadmap/
Locale: en
================================================================
# Product roadmap
**June 2026**
When a customer stops replying, AI sends one follow-up based on the conversation to win them back, with no manual tracking
AI now hands off to a human on its own when a customer asks, when it can't answer, repeats a question, or turns negative
**May 2026**
Customers send a photo and AI finds matching products in your catalog
AI uses Shopify customer tags as context to personalize replies by segment
Send a proactive message automatically when a visitor views their cart
Tap a product card to view photos, variants, and price and add to cart without leaving chat
AI recommends similar products by your chosen tags, not just by collection
Resolved conversations auto-create closed Gorgias tickets, tagged chatty_resolved
Mark multiple conversations as read, unread, or resolved in one click
Choose the first, lowest, or highest variant price to show on product cards
**April 2026**
Never miss a customer request when AI transfers a conversation with no agent assigned
Connect 17TRACK to show real-time order status in chatbox, Inbox, and AI replies
Translate messages and preview replies in the customer's language, directly in Inbox
Test your AI's accuracy by running multiple questions at once and reviewing all results in one session
Estimate your monthly AI cost before choosing a plan to avoid overage surprises
Engage visitors with AI chat from the moment they land on your store homepage
AI suggests related and complementary products using your Shopify Search & Discovery data
Orders get tagged chatty-assisted and chatty-direct so you can filter revenue by chat in Shopify
AI automatically picks up resolved conversations and covers agents who go quiet mid-conversation
**March 2026**
Set a reminder on any conversation so you never forget to follow up with a customer
Send product links and discount codes in Messenger and Instagram conversations directly from Inbox
See and control all active sessions on your account — log out any device remotely
Add size charts as text, assign guides per product, and let AI ask customers for their measurements
FAQs always stay safe when a category is deleted — automatically moved to Uncategorized
Control exactly which pages show or hide your chatbox using URL patterns and regex
**February 2026**
Add custom tags to organize and filter conversations in Inbox
Track individual agent performance with response time, resolution rate, and CSAT data
Better manage conversations by add your own extra information
See other conversations from the same customer in Inbox
Translate customer messages in Inbox and reply faster across languages
**January 2026**
A cleaner, simpler AI setup flow to get your assistant trained and live faster
Track how long conversations take to resolve and spot support bottlenecks
AI automatically handles out-of-stock questions with accurate inventory status
**December 2025**
Track revenue and orders attributed to Chatty conversations in one dashboard
Set the display language for your Chatty app interface
Automatically detect and block spam IPs to keep your inbox clean
Trigger Shopify Flow automations from chat events and customer actions
Embed your FAQ section on any page with a simple code snippet
Send proactive chat to customers who left items in their cart to recover the sale
Show personalized welcome messages based on customer behavior and page context
**November 2025**
Ask customers one targeted question proactively to start conversations at the right moment
AI suggests follow-up questions after each response to guide customers to the answer faster
Automatically filter and block spam contacts to keep your inbox focused on real customers
Share videos directly in chat conversations for richer customer support
AI analyzes images sent by customers to provide more accurate and contextual replies
Fine-tune how conversations are automatically routed and assigned to your team
Updated character limits for translated FAQ content across all supported languages
Files shared in chat are now stored and delivered via CDN for faster load times
Email a full conversation transcript to customers at the end of a support session
AI automatically handles incoming WhatsApp conversations so no message goes unanswered
Show AI chat directly on product pages to answer questions and convert browsers into buyers
Trigger proactive chat when customers browse collection pages to boost engagement
Display targeted proactive chat messages based on customer location and market
**October 2025**
Embed Chatty on any website beyond Shopify
Better organize conversations with new filter
AI suggests products based on your sales strategy and special occasions
Sync variant metafields to train AI with detailed product variations
Let AI recommend accurate sizes from your guides
Customize when and how AI transfers conversations to your team
Display different proactive chat messages for each market
Send proactive chat when customers view your collection page
**September 2025**
Show prices and product links based on customer's market
Control which products AI recommends as best sellers and new arrivals
AI now replies automatically on Instagram & Messenger for faster social media support
Add chatbox as a section to your store
Track views, clicks, and revenue from each proactive chat campaign to optimize performance
Now you can add/remove "Best seller" and "New arrival" tags
Track AI replies cost with monthly history
Manage products for AI training with add/remove controls
New side-by-side layout makes managing translations easier
Create specific FAQs for each product to train AI
**August 2025**
Manage AI costs with clearer spending limits and auto controls
Merged first name & last name into "Name" field in form
Create proactive chat campaigns that turn website into buyers
Track customer satisfaction to optimize chat
Automatically categorize AI responses by customer intent
Control how prices display in your chatbox across different markets
Delete contact info to comply with GDPR compliance
**July 2025**
AI suggests products in the currency that customers are using
Message sending now is blocked while AI responds
Set up when AI is available to handle chat
AI auto handles order tracking requests in chat
AI assistant now responds auto in email conversations
Combine Ai tone and response settings into Custom instruction
AI uses scenario names instead of keywords for better context understanding
Order tracking settings now located in Integrations
Let customers rate Ai answers to improve chat performance
AI identity & Ai transfer has moved to Settings
Show chatbox on checkout and thank you pages
Start new conversations for better AI accuracy and context
**June 2025**
Update your profile and change password for web app
Connect WhatsApp to manage conversations in Chatty
Collect customer feedback in conversations
Message sending now is blocked while AI responds
Get weekly email reports on chat performance and unresolved questions
Let visitors start chatting instantly & collect details later
AI automatically detects when customers want human help and transfers
**May 2025**
Set monthly spending limits for AI replies
Review what data sources your AI uses to answer in test zone
Quickly summarize conversations with AI for team transfer
Train your AI to handle specific scenarios
Generate instructions for AI assistant based on your business needs
Quickly summarize conversations with AI for team transfer
Sync product metafields to train your AI
Let customers submit support requests when AI can't help
**April 2025**
Add URLs and files to data source to train AI assistant
See how Chatty helps drive sales and conversions in numbers
Select multiple data sources and update them all at once
Keep track of conversations handled by AI
**March 2025**
Personalize how your AI assistant responds to customers with custom instruction
Get Instagram direct messages in your inbox
See what information AI uses to answer questions
**February 2025**
Connect Chatty with Klaviyo and manage conversations from emails/SMS
Set up how AI answers customer questions on: tone of voice, length of answer
Show unresolved questions that AI assistant couldn't answer to optimize AI
Leave private comments within conversations for team members
**January 2025**
Enable AI-powered product recommendation in livechat
Test how AI assistant respond to customer question before going live
**December 2024**
Integrate with Joy to manage loyalty program info of customers
Send emails from custom domains
Enable AI-powered reply in live chat
Auto-assign conversation to staff
Web-version to manage conversations without logging into Shopify admin
**November 2024**
Manage conversations through all stores in one Chatty
Show products added to cart by customers
Mention other members in note
**October 2024**
Assign conversation to your staff member
Chatty with Messenger and manage all messages in one channel
Enable AI-powered chatflow helps answer questions based on FAQs
Send messages by pressing Shift + Enter
Set up email signature for conversations from email channel
Updated quick start with 2 groups: Build FAQs and launch live chat
Add image to discount
Insert products (product variants) and collections in chat with customers
**September 2024**
Insert products (product variants) and collections in chat with customers
Add image to discount
Check key metrics about your FAQs
Show and hide teaser message
Show common questions in chatzone
Import bulk FAQs and export FAQs to CVS file
More settings for FAQs appearance
**August 2024**
Form that collects customer info before chat starts
Send auto-reply messages when you're offline and online
Open specific chatbox section by deeplink
Send conversation history to customer
Export FAQs in CVS file
**July 2024**
Add FAQs section to any pages
Check customers' nline statis in live chat
Add hyperlink to messages sent to customers
Add contact button to anywhere on website
Set up common messages to answer customers
Send images and files in live chat
Send customers discount in live chat
Block user to not receive any messages from them
Sound notifications for new messages
Manage conversations on your devices anywhere anytime
**June 2024**
Filter unread conversatiosn
Capture customer info by promotions
Check customer info (phone, name, address, orders, etc.)
Translate questions and answers
Check customer behavior in chat like add to cart
More presets to customize chatbox
Change name and avatar of chatbot in live chat
Notifications for new messages
Check chat performance with new analytics
**May 2024**
Track orders in chatbox by order number and tracking number
Offer quick support to customers with targeted scenarios
Send emails for new messages
WeChat unavailable in contact method
**April 2024**
More languages are supported in Chatty
**March 08, 2024**
Translate content in navigation
More languages are supported to auto-translate in app
Show or hide navigation in chatbox
**February 2024**
FAQs is shown in seperate tab
Let AI handle conversations from social channels
Train AI with data from customers: behaviour, order history, conversation, etc.
Show analytics of performance of team
Snooze and set reminder for unread conversations
Edit & update items in cart with AI
Send size guide & fit recommendation with AI
Create and update collections for AI training
Auto-create and send discount for customers in chat with AI
AI-generated questions shown to customer after each response
Add AI section to webpage for better engagement
**2025**
AI assistant that helps you set up Chatty
Real-time live chat translation and localization
Set up flow for customer support with basic condiions
More AI tools that boosts performance for staff such as: rewrite, summarize, etc.
Read images for better context comprehension & response
================================================================
URL: https://help.chatty.net/product-roadmap/release-notes/
Locale: en
================================================================
# Release notes
## Safer size answers, even without your own size chart
`Improvement`
Shoppers get size advice the AI can back up. The AI checks your own size chart first. If a clothing or shoe product has no chart, it uses a general reference chart and says your store's sizing may differ. It won't guess a size for products that don't come in sizes. If a shopper gives a size from another brand, the AI asks for body measurements instead. This works on its own when the Size guide skill is on, on the Pro and Plus plans.
Go to **AI agent** > **Skills** > **Size guide**.
#### 16 September 2026
---
## Hand chats to your team right away when a customer asks for a human
`Improvement`
Customers who ask for a person can reach your team in one step. Turn on "Transfer immediately when customers ask for a human," and the AI skips the "Do you want to talk to our team?" question while your team is online. When the AI suggests a handover on its own, it still asks first. When your team is offline, your usual offline option runs. This option is off by default.
Go to **AI agent** > **Skills** > **Human agent transfer**.
#### 15 September 2026
---
## Edit and translate the subscribe confirmation email
`Improvement`
The email that confirms a customer's marketing opt-in can now match your brand. Edit its subject, title, description, button, footer, and unsubscribe link, plus the pages shown after someone subscribes or unsubscribes. Fields you leave alone keep the default text. When you edit your default language, Chatty translates your text into your other auto-translated languages. Auto-translate is not available on the Free plan. You can also reach these settings from any campaign with marketing opt-in turned on.
Go to **Settings** > **Translations** > **Chatbox** > **Live chat** > **Subscribe confirmation email**.
#### 14 September 2026
---
## Delete all your FAQs in one step
`Improvement`
Clearing your whole FAQ list is now a single action. Open More actions, choose Delete all FAQs, and confirm. Chatty removes every FAQ and category in the background, and a banner shows the progress. Training data answers you edited by hand stay. Nothing needs turning on. This can't be undone, so export your FAQs first if you may need them again.
Go to **FAQs** > **More actions** > **Delete all FAQs**.
#### 14 September 2026
---
## Show "Call for Price" instead of a price on chosen products
`New feature`
Products you quote by hand no longer show a wrong "0.00" in chat. Choose which products the rule covers: products priced at zero, products with certain tags, or certain product types. For those products, the AI shows a label like "Call for Price" or "Request a quote," or hides the price. It won't add them to the cart and points shoppers to the product page or your contact options instead. The rule is off by default. [Learn more.](/ai/train-ai/ai-skills/pricing-display-rules/)
Go to **AI agent** > **Skills** > **Pricing display rules**.
#### 11 September 2026
---
## Send chat events to Klaviyo for flows and segments
`New feature`
Chat activity can now trigger your Klaviyo flows and segments. Once Klaviyo is connected, Chatty sends five events on its own: Chatty Started Chat, Chatty Prechat Submitted, Chatty Conversation Resolved, Chatty CSAT Submitted, and Chatty Product Suggested. Events are sent only for customers who shared an email or phone number.
Go to **Settings** > **Integrations** > **Klaviyo**.
#### 10 September 2026
---
## Choose which customer questions trigger each scenario
`New feature`
Scenarios now run only for the questions you pick. When you add or edit a scenario, describe the situation, add up to five example customer messages, and choose the question types it covers, like "Order tracking" or "Shipping and delivery." A return scenario then stays out of product questions. Scenarios with no types selected keep working as they do today. Your scenario list also shows how often each one matched in the last 30 days and flags setup problems to fix. [Learn more.](/ai/train-ai/scenarios/)
Go to **AI agent** > **Scenarios**.
#### 10 September 2026
---
## Product search in the admin matches every word you type
`Improvement`
When you search for products anywhere in your AI agent, results now need to match every word you type, not just one of them. Searching "red running shoe" no longer returns items that only match "red". This covers the product search in Training data, Smart recommendations, Shopify recommendations, and when you pick training data for a scenario — the list is tighter and closer to what you meant.
Go to **AI agent**.
#### 08 September 2026
---
## Delete several FAQs at once from the FAQ list
`New feature`
You can now remove several FAQs in one step. Select the questions you want with their checkboxes, then use the bulk Delete action to clear them all at once. A message confirms how many were deleted. Nothing needs turning on.
Go to **FAQs**.
#### 08 September 2026
---
## Rename the "Ask" tab on the AI Mode search bar
`Improvement`
Now you can change the text on the "Ask" tab of the AI Mode search bar on your storefront. It shows "Ask" followed by your assistant's name by default (for example "Ask Aurelie"); leave your own text empty to keep that. The label translates with the rest of your storefront text. This applies only to stores using AI Mode.
Go to **Settings** > **Translations** > **Chatbox** > **AI agent**.
#### 07 September 2026
---
## Add your store's Contact page as a chatbox contact method
`New feature`
Now you can add your store's Contact page as a contact method in the chatbox, alongside options like Messenger, Email, and Phone. Paste the page link (for example `/pages/contact`, or a full `https://` link). It then appears as an icon in the chatbox's contact row, and a customer who taps it opens your contact page directly. It isn't on by default — add it and enter the link yourself.
Go to **Chatbox** > **Legacy chatbox** > **General** > **Contact** > **Edit**.
#### 07 September 2026
---
## The AI answers about the exact product in a customer's photo
`Improvement`
When a shopper sends a photo, the AI now answers about that exact item instead of a product that merely shares its name. The visual match is ranked ahead of text matches, so the AI stops saying it can't find something that is in your catalog. A photo and the question about it now count as one request even when they arrive as separate messages, on website chat, Messenger, Instagram, WhatsApp and email. This runs automatically on every plan, with no setup.
#### 04 September 2026
---
## AI Mode turns your chatbox into a search and shopping panel
`New feature`
Now you can switch your chatbox to AI Mode, a search bar that stays on your storefront and expands into a shopping panel. Customers search your catalog, open a product, add it to their Shopify cart, and chat with your AI without leaving the page. They can also send images and files in the chat, up to 10 files per message, and an uploaded photo is used to find similar products. Your store runs one mode at a time, so turning on AI Mode turns off the Legacy chatbox from the next page load, and conversations from each mode stay separate. Brand colors, the Commonly Asked questions, and the shared chatbox settings apply to both modes. AI Mode is available on every plan and is off by default.
Go to **Chatbox** > **Chatbox mode**.
#### 3 September 2026
---
## One knowledge base for your AI, with draft and live control
`New feature`
Your AI's training data now sits in a single Knowledge base, replacing the separate FAQs and Custom knowledge tabs. You can set each entry live, keep it as a draft, or turn it off, so you decide exactly what your AI uses. Only live entries count toward your plan's data-source limit — drafts and entries you turn off are free. FAQs synced from your store don't count either. The AI agent home now shows whether your setup is ready.
Go to **AI agent** > **Training data** > **Knowledge base**.
#### 02 September 2026
---
## See which notification emails unsubscribed, and resubscribe them
`New feature`
Your notification settings now show which email addresses have unsubscribed from Chatty's new-message emails. Each one gets an **Unsubscribed** badge and its own **Unsubscribed addresses** section, where **Resubscribe** turns the emails back on. You can resubscribe any address on your own notification list — your notification email or a CC address — but not a teammate's. The section only appears once at least one address has unsubscribed.
Go to **Settings** > **Notifications**.
#### 28 August 2026
---
## The AI recognises the product page a shopper is viewing
`Improvement`
When a shopper asks about the product page they are viewing, the AI now recognises which product that is and answers about it directly. It also reads what is in their cart, so replies match what is in front of them. This runs automatically in every AI conversation on every plan — nothing to set up.
#### 26 August 2026
---
## Open conversations move to another agent when you remove a team member
`Improvement`
Remove a team member and their open conversations now move to the next available agent instead of sitting unassigned. Only recently active ones move, so dead threads don't flood anyone's inbox. Each moved conversation carries a line showing who it was reassigned from.
#### 19 August 2026
---
## Suspected spam is flagged for you instead of blocking the chat
`Improvement`
Suspected spam is now flagged for you to review and the conversation keeps running, so a real shopper is never cut off mid-chat. Every store gets this check on the first message of a conversation. **Smart spam protection**, on the Pro and Plus plans, extends the check to every message and blocks outright — it ships off.
Go to **Settings** > **Automation**.
#### 14 August 2026
---
## The AI picks the right specialist for every message and can act on orders
`New feature`
Your AI now reads what each shopper wants and answers in the matching role: pre-sales, sales, support, or escalation. Someone waiting on a parcel gets support instead of an upsell, and anyone who sounds upset or asks for a person goes straight to a human. It can also change a shipping address or update email preferences, but only for the skills you switch on yourself — both ship off.
Go to **AI agent** > **Instructions** > **Assistant skills**.
#### 13 August 2026
---
## AI keeps links on the customer's Shopify Markets storefront
`Improvement`
If you sell across several Shopify Markets, the AI now keeps every product, collection, and page link on the storefront the customer is already browsing instead of your primary domain. It works automatically for every market. Shops with more than one market also get an "Advanced widget settings for markets" panel, where you can set a different assistant or store name per market.
Go to **Settings** > **General**.
#### 05 August 2026
---
## Search the Inbox by custom attribute values
`Improvement`
Inbox search now covers custom attribute values. Type the value itself — a plan name, an order type, a priority level — and you get every conversation carrying it, from both the attributes your team adds and the ones the chat widget captures. Search matches values, not attribute names. [Learn more.](/live-chat/inbox/conversation-details/)
Go to **Inbox**.
#### 29 July 2026
---
## Turn AI training on or off for many products at once with a CSV
`New feature`
Now you can switch AI training on or off for a whole batch of products at once, instead of toggling them one at a time. Upload a CSV and Chatty shows you what will change before anything happens. Enabling still respects your plan's product limit, so check the count afterwards if your file is large. Available on Basic, Pro and Plus. [Learn more.](/ai/train-ai/training-data/product-faqs/)
Go to **AI agent** > **Training data** > **Products**.
#### 20 August 2026
---
## The AI offers shoppers an eligible discount at the right moment
`New feature`
When a shopper shows they're ready to buy, your AI can now offer one discount they actually qualify for, and hand over a link that applies the code. It never offers more than one per conversation unless the shopper asks outright, so nobody gets spammed. Turn it on with the **Discounts** card in Training data — it ships off. [Learn more.](/ai/train-ai/training-data/knowledge-base/)
Go to **AI agent** > **Training data** > **Discounts**.
#### 19 August 2026
---
## Send post-purchase surveys to your contacts with SEA Survey
`New feature`
Now you can connect Chatty to SEA Post Purchase Survey and send your contacts across, so you can survey the right people after they buy. Connecting takes one click, with no API key to copy, and new or updated contacts keep syncing on their own. Bringing survey answers back into Chatty is marked Coming soon. [Learn more.](/integrations/sea-survey/)
Go to **Settings** > **Integrations** > **SEA Post Purchase Survey**.
#### 19 August 2026
---
## Add order number, postcode and more to your custom tracking link
`Improvement`
Your custom order-tracking link can now ask the shopper for the details a carrier needs. Add a placeholder such as `{order_number}` or `{zip_code}` to your tracking URL and the tracking tab shows a field for each one. The shopper fills them in, clicks Track, and Chatty opens the finished link. [Learn more.](/others/order-tracking/)
Go to **Settings** > **Integrations** > **Order Tracking**.
#### 18 August 2026
---
## Shoppers pick a variant on the product card before adding to cart
`New feature`
When your AI shares a product in chat, shoppers can now choose the variant — size, color, or any other option — right on the product card and add it to their cart without leaving the conversation. Before this, a shopper who wanted a specific variant was sent out to the product page to pick it. The card shows the price for the option they select, so they see exactly what they're adding. This works for any product that has variants; single-variant products add straight to the cart as before.
#### 18 August 2026
---
## Chat to sales analytics dashboard
`New feature`
The **Sales** tab in Analytics is now a full chat-to-sales dashboard: assisted revenue and the rest of your chat-to-sales numbers, each against the previous period, with breakdowns by conversation phase, topic and product. Filter the whole view by all conversations, AI only, or human agents. Available on the Pro and Plus plans. [Learn more.](/analytics/Chat-to-Sales/)
Go to **Analytics** > **Sales**.
#### 06 August 2026
---
## Delete conversations in bulk from the Inbox
`Improvement`
Now you can delete conversations in bulk from the Inbox, or select all on the current filter to clear a large backlog at once. Deleting also removes the contact profile attached to the conversation and cannot be undone, so Chatty asks you to confirm first. Only admins see the Delete option. [Learn more.](/live-chat/inbox/)
Go to **Inbox** > **select conversations** > **Delete**.
#### 04 August 2026
---
## Keep up to five named API keys
`Improvement`
Now you can keep up to five API keys at once and name each one. Before, creating a key replaced the one you had, and every tool using it stopped working. Name each key after the tool that uses it, so you can delete one without touching the rest. Available on the Pro and Plus plans. [Learn more.](/api-reference/)
Go to **Settings** > **General** > **Manage keys**.
#### 07 August 2026
---
## Customize the messages on the after-sales support form
`Improvement`
When AI helps a customer with a return, refund, cancellation, or order change, it can open an after-sales support form to collect their details by email. You can now write two of the messages around that form: the message AI sends when it opens the form, and the message the customer sees after they submit it. Both are translated into the customer's language, and clearing a field falls back to the default wording. Each message holds up to 300 characters, and translations for other languages are managed in Translation settings.
Go to **AI agent** > **Instructions** > **Assistant skills** > **After-sales support**.
#### 05 August 2026
---
## AI answers right away when the pre-chat form is optional
`Improvement`
When your pre-chat form is set to "Show both options", a customer who types a question now gets an instant AI answer, and the contact form appears just below that reply. Before, a customer who ignored the form could be left waiting with no answer at all. The form still collects name, email, and phone the same way — it is now a soft ask after the answer, not a gate in front of it.
Go to **Chatbox** > **Chat page**.
#### 05 August 2026
---
## AI Product Quiz guides shoppers to the right products
`New feature`
Now you can turn on a Product Quiz that asks shoppers a few short questions and then recommends products from your catalog. AI can start the quiz on its own when it detects shopping intent, or you can show it proactively — create a Proactive chat rule with the Quiz message type and visitors get a quiz teaser they can accept or dismiss. Pick which collections the quiz recommends from. The quiz is off by default and available on the Pro and Plus plans.
Go to **AI agent** > **Instructions** > **Assistant skills** > **Product Quiz**.
#### 31 July 2026
---
## Connect your live chat to your own systems
`Improvement`
Now you can read and reply to your live chat from your own systems. Pull conversations and messages into a helpdesk, build your own reporting, or answer from a tool your team already uses. You can also resolve, assign, tag, and add internal notes. Create an API key yourself, no request form needed. Available on the Pro and Plus plans. [Learn more.](/api-reference/chat-read-api/)
Go to **Settings** > **General** > **Manage keys**.
#### 07 August 2026
---
## Customize the message shown after the handover form is submitted
`Improvement`
When a customer submits the contact form during a human handover, you can now write the confirmation message they see. Replace the default, "Thanks for your submission. We have received your issue and will address it as soon as possible," with wording that matches your brand and sets the right expectation on reply time.
The field shows up for both handover destinations: "Leave a message" when your team is offline, and "Collect info & follow up by email". It is required and holds up to 300 characters. Translations for other languages are managed in Translation settings.
Go to **AI agent** > **Instruction** > **Assistant skills** > **Human handover**.
#### 30 July 2026
---
## Chatty mobile app for iOS and Android
`New feature`
Now you can download the Chatty mobile app for iOS and Android and answer customers on the go. Open **Settings** > **Notifications**, then scan the QR code with your phone or tap the App Store / Google Play badge to install. The app lets you reply to conversations and manage your main settings from your phone.
Go to **Settings** > **Notifications**.
#### 17 July 2026
---
## Longer welcome and offline messages
`Improvement`
Now you can write welcome and offline messages up to 300 characters, doubled from the previous 150-character limit. Use the extra space to greet visitors with more context or give clearer instructions when your team is away.
Go to **Chatbox** > **General settings** > **Chat page**.
#### 15 July 2026
---
## Filter feature requests by status
`Improvement`
Now you can filter the feature request board by status — Requested, In Review, In Progress, or Done. Use the multi-select Status dropdown to show only the requests you care about. By default, completed requests are hidden so you see what is still in progress.
Go to **Help Desk** > **Feature Requests**.
#### 14 July 2026
---
## Write your own AI handover and confirmation messages
`Improvement`
Now you can replace the built-in messages AI uses around a human handover with your own wording. Edit the question AI asks before connecting ("Do you want to connect to human support?"), the confirmation after the chat is handed over, the message shown with the contact form, and the after-sales confirmation — up to 300 characters each. Leave a field blank to keep the default, which is translated automatically to the customer's language.
Go to **AI agent** > **Instruction** > **Assistant skills** > **Human agent transfer**.
#### 14 July 2026
---
## Starter FAQs generated from your store
`New feature`
New to Chatty? Your FAQ section now fills itself in. Shortly after you install the app, Chatty reads your store data and Online Store pages — shipping, payment, policies — and generates a starter set of FAQs automatically, so you launch with real answers instead of an empty page. It only runs when you have no FAQ categories yet, so existing FAQs are never touched. Review and edit the generated FAQs anytime.
Go to **FAQs**.
#### 10 July 2026
---
## Attach training data to a scenario
`New feature`
Now you can point a scenario at the exact knowledge it should use. When you build or edit a scenario, click **Add training data** and pick from your existing sources — a product, collection, discount, FAQ, QnA, file, Shopify page, or URL. AI then answers that scenario from the sources you linked instead of searching everything, so guided flows stay accurate and on-topic.
Go to **AI agent** > **Instruction** > **Assistant skills** > **Custom scenario**.
#### 08 July 2026
---
## Custom fields and image upload on the handover form
`Improvement`
Now you can tailor the form customers fill in when AI hands them to your team. Add your own custom fields to collect exactly the details you need, and let customers attach an image (JPEG, PNG, or GIF, up to 20MB) so they can show a problem instead of describing it. The extra fields and the image arrive with the support request, so your team has full context before they reply.
Go to **AI agent** > **Instruction** > **Assistant skills** > **Human agent transfer**.
#### 07 July 2026
---
## Custom brand colors on every plan
`Improvement`
Custom brand colors are no longer a paid feature. Now every plan, including Free, can set custom colors for the chat widget so it matches your storefront exactly — pick the **Custom** tab under Brand colors and choose your own palette.
Go to **Chatbox** > **Appearance** > **Brand colors**.
#### 29 June 2026
---
## Suggested follow-up questions on product details
`Improvement`
When a customer opens a product's details in chat, the widget now suggests follow-up questions right on the product view, so they can ask about sizing, shipping, or availability in one tap instead of typing. It works automatically — there is nothing to configure.
#### 22 June 2026
---
## Auto follow-up when customers go quiet
`New feature`
When a customer stops replying mid-chat, AI can now send one follow-up message to bring them back, so an interested shopper doesn't slip away just because they got distracted. The follow-up is written from the current conversation, so it picks up where the chat left off. AI waits for the time you set (3 minutes by default) after the customer's last message, then sends the follow-up as a normal message in the conversation. It is skipped when the conversation is already resolved, has been transferred to a human, or the customer has closed the chat widget. The feature is on by default.
Go to **AI Assistant** > **Settings**.
#### 17 June 2026
---
## Smarter human handover
`Improvement`
Human handover is redesigned to separate *when* AI hands off from *where* the customer goes. AI can now start a handover on its own, without waiting for the customer to ask. Four auto-triggers cover the moments that matter: the customer asks for a person, AI can't answer after two low-confidence replies in a row, the customer repeats the same question twice or more, or AI detects negative sentiment from wording, ALL CAPS, repeated "!!!", two or more thumbs-down, or a negative emoji. Add intent rules to hand off specific topics instantly, and choose where each handover lands: assign to an agent in Inbox (with a response-time promise and a contact form when no one is online), collect details and follow up by email, or show your other contact methods. AI now writes its own transfer replies to fit each situation, so the old fixed pre- and post-transfer messages are retired.
Go to **AI Assistant** > **Instruction** > **Assistant skill** > **Human handover**.
#### 05 June 2026
---
## Find products by image
`New feature`
Now customers can send a photo in chat and AI finds the matching products in your catalog. There is no need to describe the item in text. AI returns the closest matches with direct buy links right in the conversation.
#### 25 May 2026
---
## Read Shopify customer tags
`New feature`
AI can now read your Shopify customer tags and use them as context in every conversation. When a customer is logged in, their tags are added automatically, so you can personalize replies by segment. Add a rule in your instructions, for example "If the customer has the tag `VIP`, prioritize premium products".
Go to **AI Assistant** > **Instruction**.
#### 25 May 2026
---
## View cart proactive trigger
`New feature`
Now you can trigger a proactive message when a visitor views their cart, catching them at the moment of highest intent before checkout. The message sends after a short delay (5 seconds by default), once per session, and follows your trigger priority order.
Go to **Proactive chat** > **Create proactive chat** > **View cart**.
#### 20 May 2026
---
## Product details in chat
`New feature`
Now buyers can tap a product card in chat to open a full detail preview without leaving the conversation. Swipe through the product photos, pick a variant, see the live price and stock status, and add to cart right inside the chatbox.
#### 19 May 2026
---
## Similar products by tag
`New feature`
Now you can tell AI which product tags define a similar product, so recommendations match by attribute instead of by collection. Turn on "Prioritize similar by tags" and choose the tags from your catalog. AI filters results by those tags and falls back to the previous behavior when nothing matches. Available once unlocked for your shop.
Go to **AI Assistant** > **Instruction** > **Product recommendations**.
#### 15 May 2026
---
## Gorgias auto-resolve ticket
`New feature`
When a conversation is resolved by AI or an agent, Chatty now creates a closed ticket in Gorgias automatically, tagged `chatty_resolved`. Connect Gorgias with OAuth to turn it on.
Go to **Settings** > **Integrations** > **Gorgias**.
#### 14 May 2026
---
## Bulk actions in Inbox
`New feature`
Now you can select multiple conversations and mark them as read, unread, or resolved in one click. Select all on the current filter to clear a full backlog fast.
Go to **Inbox** > select conversations > choose an action.
#### 12 May 2026
---
## Variant price on product card
`New feature`
Now you can choose which variant price your AI shows on product cards: the first variant, the lowest price, or the highest price. When a customer asks about a specific variant, AI still shows that variant's exact price.
Go to **AI Assistant** > **Settings** > **AI product page**.
#### 11 May 2026
---
## AI re-engagement when agent is inactive
`New feature`
AI now covers two gaps where support used to fall through. When a resolved conversation gets a new message from the customer, AI picks it up automatically and treats it as a fresh conversation. When an agent replies but then goes quiet with a message still pending, a "Continue with AI" button appears after 5 minutes so the customer doesn't have to wait.
Both behaviors are configurable. AI re-engagement after resolution defaults to ON for new customers and OFF for returning ones. The "Continue with AI" button only shows when your AI availability settings allow it.
Go to **AI Assistant** > **Settings** > **AI re-engagement**.
#### 24 April 2026
---
## Revenue attribution on Shopify orders
`New feature`
Every order influenced by Chatty now gets tagged directly in Shopify Admin. Orders where a chat happened before purchase get a `chatty-assisted` tag. Orders placed during an active chat get `chatty-direct`.
Filter by these tags in your Shopify Orders view to see exactly what revenue your chat drives — no dashboards to cross-reference, no exports to run.
Go to **Shopify Admin** > **Orders** > filter by tag `chatty-assisted` or `chatty-direct`.
#### 24 April 2026
---
## Shopify Search & Discovery sync for AI recommendations
`New feature`
AI can now suggest related and complementary products based on the same data powering your Shopify Search & Discovery app. When a customer asks "What goes well with this?" or "Do you have anything similar?", AI pulls your curated recommendations instead of guessing.
Shopify's default related products sync automatically. If you have the Search & Discovery app installed, that data takes priority. Your own custom recommendations always rank first.
Go to **AI Assistant** > **Product recommendations** > **Shopify recommendations**.
#### 24 April 2026
---
## AI assistant on homepage
`New feature`
Your AI assistant no longer has to wait for a product page. With homepage embed enabled, visitors get AI chat the moment they land on your store — so they can explore your catalog, ask questions, and start buying without navigating anywhere first.
Enable the block in AI Assistant settings, then add it to your theme editor the same way you added it to product pages. The AI answers using store-level knowledge, so it works across all your categories.
Go to **AI Assistant** > **Settings** > Enable **Embed homepage AI assistant** > add the AI assistant block in **Theme editor**.
#### 24 April 2026
---
## AI response review
`New feature`
Now you can view the exact data sources behind each AI response. This helps identify knowledge gaps and improve your AI's accuracy with every AI response.
You can add missing information when answers aren't accurate.
#### 21 March 2025
---
## Connect Instagram
`New feature`
Now you can receive and reply to Instagram DMs directly in Chatty.
#### 21 March 2025
---
## FAQs analytics
`New feature`
Go to **Analytics**, see which FAQs your customers view most and monitor engagement trends over time. Use these insights to update your content to meet customer needs.
You can track:
- Total views of FAQs
- Most viewed FAQs
- Most engaged categories
#### 12 March 2025
---
## Product info for AI training
`Improvement`
Now you can select which product information is used when answering customer questions for more accurate responses.
In **Data sources**, go to **Products** → Click **Manage** → **Change status** to show/hide products in training data.
#### 06 March 2025
---
## Custom instructions
`New feature`
Tell your AI assistant exactly how to handle different customer inquiries. Create more consistent customer experiences while maintaining your brand voice. [Learn more.](/ai/overview.md#custom-instruction)
#### 04 March 2025
---
## Online status for team member
`Improvement`
Now you can set online status not only during working hour but also when your team member is online.
#### 26 February 2025
---
## Internal note
`New feature`
You and your team can leave private comments within conversations by **Internal note**. These notes are only visible to your team members, not to customers.
During a customer conversation, click the **Notes** tab in the chat zone → Type your note in the text box. To mention a team member, type `@` followed by their name → Click **Send** to save your note.
[Learn more.](/live-chat/team.md#mention-team-member-in-conversation)
#### 24 February 2025
---
## Klaviyo integration
`New feature`
This integration helps sync customer data and chat interactions between Chatty and Klaviyo. This helps:
- Keep customer data consistent across platforms
- Build smarter customer segments based on chat interactions
- Track chat interactions for targeted email campaigns
[Learn more.](/integrations/klaviyo)
#### 24 February 2025
---
## Unresolved questions by AI
`New feature`
Unresolved questions are customer inquiries that your AI Assistant couldn't answer effectively.
To optimize AI response, add answers for unresolved questions.
Go to **Unresolved questions** → Click **Add answer** to add answer to data source → Test again to make sure AI can handle that question.
#### 19 February 2025
---
## Instruction for AI
`Improvement`
You can set up how AI answers customer questions on: tone of voice and length of answer.
In **AI assistant** → Go to **Instruction** → Set up how AI answer questions.
#### 13 February 2025
---
## Add multiple questions for AI training data
`Improvement`
You can import multiple questions and answers at a time using CSV file.
Go to AI assistant → In data source, click **Manage** Q&A → Click Add data source → Select CSV.
#### 07 February 2025
---
## AI Product recommendation
`New feature`
AI Product Recommendation enables smart product suggestions based on customer conversations. AI analyzes your store's product catalog and automatically suggests relevant products to customers during live chat conversations.
AI Product Recommendation can:
- Suggests relevant products based on customer inquiries
- Provides detailed product information
- Helps customers find alternatives
Go to **AI assistant** → Turn on **Products** in data sources to pull all product information to training AI data. It may take a while to sync all product information.
You can test AI with questions about your products in our test zone.
[Learn more.](/ai/overview.md#suggest-product)
#### 10 January 2025
---
## AI test zone
`Improvement`
This allows you to simulate customer interactions before going live with your AI. Make sure your AI gives the right answers that fit your store's needs.
Go to **AI & Automation** → Click **Manage** in AI assistant → Add data source to train your AI → Go to **Test** → Ask AI test questions.
[Learn more.](/ai/overview.md)
#### 07 January 2025
---
## Images in email signature
`Improvement`
Images in email signature
#### 30 December 2024
---
## Update email sender
`New feature`
You can now update email sender to send replies to customers' email in Chatty inbox.
Go to **Email** channel → Go to Email sender → Select Own email address. [Learn more.](/live-chat/channels/email#update-email-sender)
#### 23 December 2024
---
## Joy Loyalty integration
`New feature`
[Joy Rewards & Loyalty Program](https://apps.shopify.com/joyio?utm_source=Chatty&utm_medium=whatsnew&utm_campaign=integration) is a Shopify app that provide loyalty program for enhancing customer retention and satisfaction.
By integrating Chatty with Joy, you can get access to customer's loyalty profile and activity right in Chatty Inbox.
Go to **Integrations** → Click **Manage** in Joy → Click **Connect**. [Learn more.](https://help.meetchatty.com/integrations/joy)
#### 12 December 2024
---
## FAQs page layout
`Improvement`
There are 2 options for your FAQs page layout.
- One page layout: Best for simple FAQs, showing all questions in one list
- Card layout: Best for detailed help center, grouping questions into categories
To set up new layout: Go to **FAQs** → Click **FAQs page** → In **Appearance**, select your preferred layout.
#### 04 December 2024
---
## Auto assignment
`New feature`
With auto assignment, conversations will be assigned to your team members.
There are 2 options:
- Assign to who responds first
- Assign to whoever responds (change with each response)
To turn on auto assignment: Go to **Settings →** Go to **General →** Turn on **Automatic assignment** and select your preferred option. [Learn more.](/live-chat/team.md#assign-conversation-to-member)
#### 04 December 2024
---
## Web app
`New feature`
Web app is a standalone web version that allows you to manage conversations and support tools without logging into Shopify admin.
You can get access to Chatty directly through [app.chatty.net](https://app.chatty.net/) with a Chatty account. [Learn more.](/web-app/)
#### 04 December 2024
---
## Export contacts
`New feature`
This allows you to download your customer contact information from Chatty in a standardized format.
It makes it easy to use this data in other platforms and systems, like Email Marketing or Loyalty platform.
Go to **Contacts** → Click **Export** and select contacts you want to select. [Learn more.](https://help.meetchatty.com/live-chat/contacts#export-contacts)
#### 01 December 2024
---
## Notifications for new messages
`Improvement`
There are more options for you to get notifications for new messages on your devices.
Go to Settings → Notifications → Set up your settings. [Learn more.](/others/notifications.md)
#### 18 November 2024
---
## Multiple store chat
`New feature`
You can manage conversations from many stores in one place.
If your email is invited to many stores, you can easily switch between stores to manage conversations in that account.
Log in full version app → Check top right corner to switch between stores.
#### 15 November 2024
---
## Messenger integration
`New feature`
By connecting Facebook account to Chatty, you can receive and reply to Facebook messages from customers right in app.
Go to Channels → Click Manage in Facebook messenger → Click Connect account. [Learn more.](/live-chat/channels.md#facebook-messenger)
#### 24 October 2024
---
## AI assistant (beta)
`New feature`
AI assistant helps you solve customer's questions faster, which results in happier customers and less strain on the support team.
We've trained our AI on your data source, so it can provide accurate and relevant answers to questions about your store, products and services.
Go to Assistant → AI assistant → Click Manage → Set up your welcome message and Data source.
#### 18 October 2024
---
## Updated quick start
`Improvement`
Get started quicker with our redesigned setup guide, which is divided into 2 groups which satisfy users' needs: Build FAQs and set up live chat.
#### 04 October 2024
---
## Email signature
`New feature`
Now you can set up email signatures for emails sent to customers in conversations from email.
Go to Channels -> Click Manage in emails -> Click Preference and set up your email.
#### 04 October 2024
---
## Improved message sending
`Improvement`
You can send messages by pressing Shift + Enter (in addition to the existing Enter option).
Go to Settings -> General -> Go to Inbox settings -> Select method to send message
#### 04 October 2024
---
## Updated conversation list interface
`Improvement`
In Inbox, you can easily get access and filter conversations with our new left-hand panel.
You can filter conversations by All, Resolved, Starred, or Blocked.
You can also filter conversation by channels.
#### 03 October 2024
---
## Manage contacts
`New feature`
You can now manage customer contacts: edit contact details, delete contact or get access to customer details like: conversation, customer behavior.
#### 03 October 2024
---
## Insert products
`New feature`
You can insert products (product variants) and collections in chat with customers.
Products and collections will be shown with details and CTA button to boost engagement and sales.
#### 18 Sep 2024
---
## Assistant: Subscribe newsletter
`Improvement`
In Assistant Subscribe newsletter, after selecting discount, you can add image to that discount.
Along with email, you can ask for name and phone number of customers in form.
#### 18 Sep 2024
---
## FAQs analytics
`New feature`
Check key metrics about your FAQs, like total views, so you can see how users are interacting with them and improve your self-service support.
You can check total views of each questions in **FAQs** or in **Dashboard**.
#### 18 Sep 2024
---
## Hide teaser message
`Improvement`
You can set up to show or hide teaser message (which is above chatbox). Display settings of teaser include audience, devices and time to show teaser.
Go to **Assistant** → Select an assistant and set up teaser.
#### 13 Sep 2024
---
## Assistant: Suggested FAQs
`New feature`
Suggested FAQs assistant helps show common questions in chatzone and provide instant answer to customers.
#### 09 Sep 2024
---
## Import and export FAQs
`New feature`
You can import bulk FAQs (questions and answers) and export all FAQs to CVS file.
#### 06 Sep 2024
---
## FAQs page appearance
`Improvement`
We improve appearance settings of FAQs page.
You can set up: header/background color and FAQs color.
#### 01 Sep 2024
---
## Pre-chat form
`New feature`
Pre-chat form helps you set up what info from customers you want to collect before chat starts.
Go to **Chatbox** → In "Blocks", click **Edit** in "Live chat". You can require info (name, email, phone) from customers to start chat or allow customers chat as anonymous.
#### 26 Aug 2024
---
## First auto-reply message
`New feature`
You can set up auto-reply message when you're offline and online. Customers will get this message while waiting for your reply.
Go to **Settings** -> **Chat availability** -> Set up **First auto-reply**.
#### 20 Aug 2024
---
## Deeplink
`New feature`
Deeplink allows you to create a special URL. When this URL is clicked, it automatically opens the Chatty chatbox on your Shopify store page.
You can add this link to a button or a hyperlink text that you want to use as a trigger. [Learn more.](https://help.meetchatty.com/chatbox/deeplink)
#### 19 Aug 2024
---
## Conversation history
`New feature`
Now you can send conversation history (the entire chat) to customer when the conversation is marked as solved.
Go to **Channels** → Select **Email channel** -> Go to **Preferences** -> Turn on **Conversation history** → Conversation history email will be sent to customer's email. Add more emails if you want to receive conversation history.
#### 14 Aug 2024
---
## Export FAQs
`New feature`
You can export all questions and answers in your FAQs hub in .CSV file.
Go to **FAQs** → Click **Export.**
#### 01 Aug 2024
---
## FAQs block
`New feature`
Now you can add FAQs to any page on your site.
Go to FAQs → Click FAQs block → Add and edit your FAQs block in theme editors. [Learn more.](https://help.meetchatty.com/build-faqs/faqs-block)
#### 30 Jul 2024
---
## Insert link
`New feature`
You can easily add link into text in chat by click icon **Format text**. [Learn more.](https://help.meetchatty.com/live-chat/your-inbox/chat-zone#format-text)
#### 25 Jul 2024
---
## Online status
`New feature`
In conversation, you can check customer's online status next to their name. [Learn more.](https://help.meetchatty.com/live-chat/your-inbox/chat-zone#customers-online-status)
#### 25 Jul 2024
---
## Contact button
`New feature`
You can add contact button anywhere on your site to provide instant support and improve customer satisfaction. [Learn more.](https://help.meetchatty.com/chatbox/contact-button)
#### 22 Jul 2024
---
## Quick replies
`New feature`
Quick replies help users set up messages which are common for merchants to answer customers.
Go to **Settings** → Click **Manage** quick replies → Turn on and create your quick replies.
In chat, type / for quick access to list of quick replies. [Learn more](https://help.meetchatty.com/live-chat/quick-replies)
#### 19 Jul 2024
---
## Upload images and files
`New feature`
You can upload images and files to send your customers in conversations.
You can send unlimited images and files, maximum 10 files per time. Supported image types are: JPG, JPEG, PNG, GIF. File size must be less than 20MB.
#### 18 Jul 2024
---
## Insert discount
`New feature`
In conversation, you can send customers discount which is available on your store. Your customers can apply discount easily by just clicking **Shop now** in conversation. [Learn more.](https://help.meetchatty.com/live-chat/your-inbox/chat-zone#insert-discount)
#### 11 Jul 2024
---
## Block user
`New feature`
Now you can block user to not receive any messages from them anymore.
In conversation details, click **Block user** and confirm. [Learn more.](https://help.meetchatty.com/live-chat/your-inbox/customers#block-customers)
#### 10 Jul 2024
---
## Sound notification
`New feature`
By turning sound notification, both you and your customer will get notifications with sound for new messages.
In Notifications, turn on Play sound notifications. [Learn more](https://help.meetchatty.com/live-chat/notifications#play-sound-notifications).
#### 09 Jul 2024
---
## Chatty mobile app
`New feature`
Chatty mobile app is now available. You can answer customer questions on your devices anywhere anytime.
In dashboard, click **Install mobile app** in setup guide and follow instructions to download app. [Learn more.](/live-chat/team/mobile-app/)
#### 08 Jul 2024
---
## Unread conversations
`New feature`
Now you can filter unread conversations in your inbox for faster and more efficient customer support.
#### 26 Jun 2024
---
## Assistant: Subscribe newsletter
`New feature`
Subscribe newsletter - New assistant for your live chat is available now.
This helps capture your customer's emails & increase conversion rate by hot deals, exclusive updates and rewards.
Go to Assistant → In Subscribe newsletter, click **Manage** → Edit your chat flow.
Learn more about [Assistant](https://help.meetchatty.com/live-chat/assistant).
#### 25 Jun 2024
---
## Customer details
`Improvement`
In conversation details, now you can check customer information (phone, name, address, etc.), their order details and notes.
This requires permission update to our app. [Learn more.](https://help.meetchatty.com/live-chat/conversation-details)
#### 20 Jun 2024
---
## Translate FAQs
`New feature`
Now you can translate all questions and answers in **Translation.** Auto translate is also available. [Learn more.](https://help.meetchatty.com/build-faqs/translation)
#### 14 Jun 2024
---
## Customer behavior
`New feature`
In a conversation with a customer, you can check their behaviour like add to cart or place an order.
[Learn more.](https://help.meetchatty.com/live-chat/your-inbox#customer-behavior)
#### 13 Jun 2024
---
## New presets for chatbox
`Improvement`
More presets are available in chatbox settings.
You can preview preset in the dark and light mode. Or custom your own style.
#### 11 Jun 2024
---
## Name and avatar of chatbot
`New feature`
Now you can set up name and avatar of chatbot in live chat.
Go to **Settings** and set up your information. [Learn more.](https://help.meetchatty.com/chatbox/chatbox-style#setting-store-name-and-avatar)
#### 11 Jun 2024
---
## Web push notifications
`New feature`
You can get web push notifications whenever there're new messages from customers.
Go to **Notifications** → Turn on **Web notifications.** [Learn more.](https://help.meetchatty.com/live-chat/notifications)
#### 05 Jun 2024
---
## Chat analytics
`New feature`
Now you can check if your chat is working well with our chat analytics.
Analytics that are provided in Dashboard:
- Total conversations
- Total new conversations
- Average first response time
#### 05 Jun 2024
---
## Assistant: Welcome visitors
`Changed`
Assistant helps you offer quick support to customers with targeted scenarios.
Now you can set up welcome visitors flow in [Assistant](https://help.meetchatty.com/live-chat/assistant).
#### 31 May 2024
---
## Order tracking
`Improvement`
Customers can track orders in chatbox by order number and tracking number. [Learn more.](https://help.meetchatty.com/chatbox/order-tracking)
#### 31 May 2024
---
## Notifications for new messages
`New feature`
Setting email notifications for messages helps you take care of all conversations. No missing messages.
Learn more about [Notifications](https://help.meetchatty.com/live-chat/notifications).
#### 23 May 2024
---
## WeChat update
`New feature`
WeChat temporarily unavailable in contact method.
Due to recent updates by WeChat, direct link to personal accounts is no longer supported. Users must now login in using a QR code.
In contact method, WeChat is now unavailable. WeChat will be back when the update is completed.
#### 06 May 2024
---
## Auto-translation
`Improvement`
More languages are supported in Chatty.
Go to **Translation** → Select to edit your language → Click **Auto-translate.**
Learn more about [Translation](https://help.meetchatty.com/build-faqs/translation).
#### 23 Apr 2024
---
## Translation for navigation
`New feature`
If you use widget style with navigation, you can translate content in navigation now.
Go to Translation → Select **Show navigation** or **No navigation** → Translate into your language.
#### 08 Mar 2024
---
## More supported languages
`Improvement`
More languages are supported to auto-translate in app: German, Dutch, Italian, Turkish
#### 08 Mar 2024
---
## New widget style
`New feature`
You have options to show or hide navigation on FAQs widget. Learn more about [navigation](https://help.avada.app/faqs/faq-Widget/#14-widget-style).
You can customized how much widget will take much on phone screen. Learn more about [ratio on mobile](https://help.avada.app/faqs/faq-Widget/#14-widget-style).
#### 07 Mar 2024
---
## New FAQs category interface
`New feature`
FAQs category is now shown in separate tabs which helps users easily scan and find relevant topics.
FAQs widget preview on mobile is available in app now.
#### 25 Feb 2024
================================================================
URL: https://help.chatty.net/sdk/
Locale: en
================================================================
# Storefront SDK
**Who can use this feature?**
* Available to all users on any plan.
* Requires a developer to add JavaScript to your storefront theme.
### Overview
The Chatty Storefront SDK is a small JavaScript API for controlling the Chatty chat widget from your store's pages. With it you can open or close the chatbox, prefill or send a message, pass customer and shop context, hand the conversation to a human, prefill the pre-chat form, track custom events, and react to what the visitor is doing in chat.
It's the right tool when you want the widget to respond to your own buttons, flows, or page logic. For example, you can open chat from a "Need help?" link, or pre-fill a message from a product page.
Three pages cover it: this guide, the [SDK Reference](/sdk/reference/) for all 31 commands, and [SDK Events](/sdk/events/) for all 22 events.
***
### How it works
The SDK is exposed on the page as **`window.$chatty`**. It uses a buffered command queue: you push commands as `[verb, action, ...args]` tuples, and they run as soon as the widget is ready, so you can call it even before the widget has finished loading.
```js
// Open the chatbox
window.$chatty.push(['do', 'chat:open'])
```
The four verbs are:
| Verb | What it does |
| ----- | --------------------------------------------- |
| `do` | Perform an action (open, close, send…). |
| `set` | Set a value (prefill text, customer context…).|
| `on` | Subscribe to an event. |
| `off` | Unsubscribe from an event. |
The current SDK version is **1.1.0**. Read it at runtime with `window.$chatty.version`.
***
### Install
The SDK ships **with the Chatty widget**. Once Chatty is installed on your store, `window.$chatty` is available automatically. There's nothing extra to install.
Check the widget is live on your storefront first. **Settings** → **General** → **Embed app** shows whether Chatty is enabled in your theme, and turns it on if it isn't.
If you want to queue commands before the widget bundle finishes loading, add this bootstrap snippet near the top of your theme (optional but recommended):
```html
```
Any commands you `push` before the widget loads are buffered and replayed in order once it's ready.
The SDK controls a widget that's already on the page. It is **not** an npm package and does not embed Chatty by itself. Install the Chatty app first so the widget loads on your storefront.
***
### When your commands run
The widget loads in stages, and which stage you are in decides what works. Getting this wrong is the most common reason a command appears to do nothing.
#### Before the widget bundle loads
`window.$chatty` is the plain array from the bootstrap snippet. **`push` is the only method that exists.** Calling `on`, `is`, `get`, or reading `version` at this point throws a `TypeError`.
```js
window.$chatty = window.$chatty || [];
window.$chatty.push(['on', 'sdk:ready', function () { /* safe */ }])
window.$chatty.on('sdk:ready', function () { /* TypeError */ })
```
Everything you push into the array is replayed in order once the bundle arrives, so pushing early costs you nothing.
#### When the SDK is ready
`sdk:ready` fires once the command layer is live. From that point `on`, `off`, `is`, and `get` all work, and subscribing to `sdk:ready` after it has already fired still runs your callback immediately. You never need to poll.
```js
window.$chatty.push(['on', 'sdk:ready', function () {
// window.$chatty is the real SDK from here on
}])
```
#### When the chat window has rendered
`sdk:ready` means commands are accepted. It does **not** mean the chat window exists on screen yet.
Context you set is remembered and applied whenever the widget catches up, so it is safe to set at page load: `identify`, every `set user:*` action, `set product` / `cart` / `order`, `set conversation:attributes`, and `set prechat:field`.
`set locale` is the exception. It only lands once a conversation exists, and a value set before that is dropped rather than held, so send it after `conversation:started`.
Actions that drive the chat window are delivered once, to whoever is listening at that moment: `message:send`, `set message:text`, `session:reset`, `event:track`, `escalate`, `article:show`, `trigger:run`, `prechat:submit`, and `prechat:skip`. Send them after the window is open, not at page load. Nothing is logged when one of these arrives too early.
```js
// Robust: open first, act once the window reports itself open
function askAboutReturns() {
function onOpen() {
window.$chatty.off('chat:opened', onOpen)
window.$chatty.push(['do', 'message:send', 'text', 'What is your returns policy?'])
}
window.$chatty.on('chat:opened', onOpen)
window.$chatty.push(['do', 'chat:open'])
}
```
***
### Quick start
#### Open the chatbox from a button
```html
```
#### Prefill and send a message
```js
// Prefill the input without sending
window.$chatty.push(['set', 'message:text', 'I have a question about my order'])
// Or send it immediately
window.$chatty.push(['do', 'message:send', 'text', 'Is the Daris Tee back in stock?'])
```
#### Pass who the customer is
```js
window.$chatty.push(['set', 'user:email', 'shopper@example.com'])
window.$chatty.push(['set', 'user:context', { plan: 'vip', orders: 4 }])
```
#### Fill in the pre-chat form ahead of time
```js
// Sticky, applied even if the form appears later
window.$chatty.push(['set', 'prechat:field', 'name', 'Jane Doe'])
window.$chatty.push(['set', 'prechat:field', 'email', 'shopper@example.com'])
```
#### React when a reply arrives
```js
window.$chatty.on('message:received', (data) => {
console.log('Agent replied:', data.text)
})
```
***
### Recipes
#### Custom "Chat with us" button
```html
```
#### Open chat with a question already typed
`set message:text` reaches the composer only once the chat window has rendered, so prefill from the `chat:opened` handler rather than in the same click.
```html
```
#### Hide the widget on specific pages
```js
if (window.location.pathname.startsWith('/pages/legal')) {
window.$chatty.push(['do', 'chat:hide'])
}
```
#### Identify logged-in customers (Shopify Liquid)
```liquid
{% if customer %}
{% endif %}
```
#### Pass the product the visitor is looking at
```liquid
{% if product %}
{% endif %}
```
#### Hold the widget until the visitor accepts cookies
Useful where consent is required before loading third-party chat.
```js
window.$chatty = window.$chatty || [];
window.$chatty.push(['do', 'chat:hide'])
// Call this from your consent banner's "accept" handler
function onConsentGiven() {
window.$chatty.push(['do', 'chat:show'])
}
```
***
### Common mistakes
* **Calling `on` before the bundle loads.** Use `push(['on', event, cb])` at the top of a page. See [When your commands run](#when-your-commands-run).
* **Passing a number as an ID.** `do article:show` and `do trigger:run` take strings only. A numeric ID is dropped.
* **Expecting `identify` to prove who the visitor is.** Anyone can send any email from the console. See [Before you ship](#before-you-ship).
* **Counting a lead twice.** `prechat:submitted` and `conversation:started` both fire for one visitor on a shop with a required pre-chat form. Pick one.
* **Handling a reply twice.** Subscribe to `message:received`, or to the `ai:reply` and `human:reply` pair, never both.
* **Confusing `logout` with `session:reset`.** Both start a fresh conversation and clear the identity. Only `logout` clears the visitor's stored session, which is what you want when the shopper signs out.
* **Reading `is()` and `get()` at page load.** They mirror what the widget last reported, so read them from an event handler.
***
### Before you ship
Customer details you pass from the browser are supplied by the page, not verified by Chatty. Anyone can open the console and send a different email. Use them to give your support team context, never to unlock account or order data. See [Security and trust boundary](/sdk/reference/#security-and-trust-boundary) before you wire `identify` into your theme.
Check the console on a real storefront page too. Every rejected command logs a `[ChattySDK]` warning, and those warnings are the only signal you get that something was dropped.
***
See the full [SDK Reference](/sdk/reference/) for every command, argument, state, and limit, and [SDK Events](/sdk/events/) for every event and its payload.
================================================================
URL: https://help.chatty.net/sdk/events/
Locale: en
================================================================
# SDK Events
**Who can use this feature?**
* Available to all users on any plan.
* New to the SDK? Start with the [SDK overview](/sdk/). For commands, see the [SDK Reference](/sdk/reference/).
The SDK emits 22 events. Subscribe with `on(event, callback)`, unsubscribe with `off(event, callback)`.
```js
window.$chatty.on('chat:opened', function () { /* ... */ })
```
An event name the SDK does not know is rejected: the callback is never registered and a `[ChattySDK]` warning goes to the console. Nothing is thrown.
***
### How to read the payload column
Each callback receives **one argument**. Where the payload column says `None`, the callback is called with no argument at all, so do not destructure it.
Errors thrown inside your callback are caught and logged. One broken handler does not stop the other handlers or the widget.
***
### Lifecycle
| Event | Payload | Fires when | How often |
| --- | --- | --- | --- |
| `sdk:ready` | None | The command layer is live and queued commands have been replayed. | Once per page load. Subscribing later still runs your callback immediately. |
| `chat:opened` | None | The chat window opens, by the visitor or through the SDK. | Every open. |
| `chat:closed` | None | The chat window closes. | Every close. |
`sdk:ready` means commands are accepted. It does not mean the chat window has rendered. See [When your commands run](/sdk/#when-your-commands-run).
***
### Messages
| Event | Payload | Fires when | How often |
| --- | --- | --- | --- |
| `message:sent` | `{ text, type }` | The visitor's message is accepted. | Every message the visitor sends. |
| `message:received` | `{ text, isAdmin, isAutomated }` | A reply arrives. | Every reply. |
| `ai:reply` | Same as `message:received` | A reply arrives with `isAutomated` true. | Every AI reply. |
| `human:reply` | Same as `message:received` | A reply arrives with `isAutomated` false. | Every reply that is not from the AI. |
| `message:updated` | The updated message object | An existing message is edited. | Every edit. |
| `message:removed` | `{ id }` | A message is removed. | Every removal. |
Payload fields:
* **`text`** — the message body as plain text.
* **`type`** — always `'text'`. The SDK has no other message type.
* **`isAutomated`** — `true` for an AI reply, `false` for a human agent. This is the field to branch on.
* **`isAdmin`** — always `true` on `message:received`, because the event only covers replies coming into the widget. It does not tell you whether a human or the AI wrote the reply.
* **`id`** — the removed message ID.
***
### Conversation
| Event | Payload | Fires when | How often |
| --- | --- | --- | --- |
| `conversation:started` | `{ conversationId }` | The conversation record is created, which happens when the visitor's **first message** is submitted. | Once per conversation. Fires again after `do session:reset` creates the next one. |
| `conversation:resolved` | `{ conversationId }` | The conversation status changes to resolved. | On each change into resolved. |
| `handoff` | `{ conversationId, memberId }` | The conversation moves from the AI to a human agent and an agent has been assigned. | On each handoff. |
| `conversation:removed` | `{ conversationId }` | The conversation record no longer exists. | Once. |
**`memberId`** is the ID of the agent who picked the conversation up. `handoff` needs both conditions: the conversation must leave AI mode **and** have an assigned agent. A conversation that leaves AI mode without an assignment emits nothing.
***
### Pre-chat and lead capture
| Event | Payload | Fires when | How often |
| --- | --- | --- | --- |
| `prechat:shown` | None | The pre-chat form appears on screen. | Each time it appears. |
| `prechat:submitted` | `{ conversationId }` | The visitor submits the pre-chat form. | Once per submission. |
| `email:captured` | `{ email }` | The submitted pre-chat form carried an email. | Alongside `prechat:submitted`, never on its own. |
| `survey:submitted` | `{ rating, surveyComment }` | The visitor submits a satisfaction survey. | Each submission. |
Two limits worth designing around:
* **Skipping does not count as submitting.** `do prechat:skip`, and the visitor choosing to chat anonymously, emit neither `prechat:submitted` nor `email:captured`.
* **`conversationId` can be `null`** on `prechat:submitted` when the conversation record is not ready yet. Guard before you send it anywhere.
* **`email:captured` only covers the pre-chat form.** An email the visitor types into the chat, or one you pass with `set user:email`, does not emit it.
***
### Presence and typing
| Event | Payload | Fires when | How often |
| --- | --- | --- | --- |
| `agent:available` | `{ online: true }` | Support is inside chat hours. | On each change into available, including the first reading after load. |
| `agent:unavailable` | `{ online: false }` | Support is outside chat hours. | On each change into unavailable, including the first reading after load. |
| `agent:typing` | `{ active }` | A human agent starts or stops typing. | On each change of `active`. |
| `ai:typing` | `{ active }` | The AI assistant starts or stops typing. | On each change of `active`. |
| `unread:changed` | `{ count }` | The visitor's unread count changes. | On each change. |
`agent:available` and `agent:unavailable` are two sides of one signal, so exactly one of them fires per change. To track chat hours, subscribe to both. The current value is also readable at any time with `$chatty.is('agent:online')`.
***
### Order at startup
Only one thing is guaranteed about ordering: **`sdk:ready` comes first**, and any command you pushed before the widget loaded has already run by the time it fires.
Everything after that depends on how the widget is configured and what the visitor does:
1. `sdk:ready` — commands are accepted.
2. `agent:available` or `agent:unavailable` — once chat hours have been evaluated.
3. `prechat:shown` — if a pre-chat form is configured and the visitor opens the chat.
4. `chat:opened` — when the window opens.
5. `prechat:submitted`, and `email:captured` with it — if the visitor completes the form.
6. `conversation:started` — when the first message goes through.
Do not write code that depends on step 2 arriving before step 4, or on `conversation:started` arriving before a reply. Treat each event as independent.
***
### Avoiding duplicate handling
`ai:reply` and `human:reply` cover the same replies that `message:received` reports, split by sender. Subscribe to **either** `message:received` **or** the `ai:reply` / `human:reply` pair, not both. Otherwise a single reply runs your handler twice. This matters most for analytics, where it doubles your counts.
```js
// Either this: one handler, branch on the payload
window.$chatty.on('message:received', ({ isAutomated }) => { /* ... */ })
// Or this: two handlers, no branching. Not both.
window.$chatty.on('ai:reply', () => { /* ... */ })
window.$chatty.on('human:reply', () => { /* ... */ })
```
The same trap applies to `prechat:submitted` and `email:captured`, which fire together for one submission, and to `prechat:submitted` and `conversation:started`, which both fire for one visitor on a shop with a required pre-chat form.
***
### Unsubscribing
`off(event, callback)` removes one handler. Pass the **same function reference** you subscribed with. An anonymous inline function cannot be removed, because you no longer hold a reference to it.
```js
function onOpen() { /* ... */ }
window.$chatty.on('chat:opened', onOpen)
window.$chatty.off('chat:opened', onOpen)
```
Calling `off` with the event name only removes **every** handler registered for that event, including handlers registered by other scripts on the page. Use it deliberately.
```js
window.$chatty.off('chat:opened') // removes all chat:opened handlers
```
***
### Analytics and GA4
Send Chatty activity to Google Analytics 4. Add this after your GA4 snippet, for example in `theme.liquid`.
```html
```
Then mark one of them as a conversion in the GA4 admin.
Pick **one** conversion event. On a shop with a required pre-chat form, `prechat:submitted` and `conversation:started` both fire for the same visitor, so marking both counts the lead twice.
Note the shape of the snippet above: it registers listeners inside `on('sdk:ready', …)`, and it reaches the SDK through `push`. Before the widget bundle loads, `window.$chatty` is a plain array, so `push` is the only method that exists. See [When your commands run](/sdk/#when-your-commands-run).
**Migrating from another chat widget?** The usual callbacks map like this:
| Typical callback | Chatty equivalent |
| --- | --- |
| `onOpen` | `on('chat:opened', …)` |
| `onClose` | `on('chat:closed', …)` |
| `onMessage` outbound | `on('message:sent', …)` |
| `onMessage` inbound | `on('message:received', …)` |
| `onLeadSubmitted` | `on('prechat:submitted', …)` or `on('conversation:started', …)` |
***
### Custom events you raise yourself
`do event:track` feeds a named event into the widget context, and the widget re-dispatches it on the page as a DOM `CustomEvent` named `chatty:event`. That is a browser event, not an SDK event, so you listen for it on `window`, not with `$chatty.on`.
```js
window.$chatty.push(['do', 'event:track', 'viewed_size_guide', { product: 'shirt-101' }])
window.addEventListener('chatty:event', (e) => {
console.log(e.detail.name, e.detail.data) // 'viewed_size_guide', { product: 'shirt-101' }
})
```
The re-dispatch happens only once the chat window has rendered. See [`event:track`](/sdk/reference/#custom-event-tracking) for the size limits on `name` and `data`.
***
### Need help?
If an event never reaches your handler, confirm the widget is loading on the page and that you registered the listener inside or after `sdk:ready`. Check the console for a `[ChattySDK] Unknown event` warning, which means the event name is misspelt. Still stuck? Contact the Chatty support team from your dashboard.
================================================================
URL: https://help.chatty.net/sdk/reference/
Locale: en
================================================================
# SDK Reference
**Who can use this feature?**
* Available to all users on any plan.
* New to the SDK? Start with the [SDK overview](/sdk/). For events, see [SDK Events](/sdk/events/).
The SDK is the global object **`window.$chatty`**. This page lists every command it accepts.
| | |
|---|---|
| **Global object** | `window.$chatty` |
| **SDK version** | 1.1.0, read at runtime with `$chatty.version` |
| **Install** | Ships with the Chatty widget. Nothing extra to add. |
| **Commands** | 18 `do` actions, 13 `set` actions |
| **Events** | 22, documented on [SDK Events](/sdk/events/) |
***
### Methods
| Method | Returns | Description |
| --- | --- | --- |
| `push([verb, action, ...args])` | `undefined` | Run a command. Verbs: `do`, `set`, `on`, `off`. |
| `on(event, callback)` | `undefined` | Subscribe to an event. |
| `off(event, callback)` | `undefined` | Unsubscribe. Pass the **same function reference** used in `on`. |
| `is(key)` | `boolean` | Synchronously read a boolean state (see [States](#states)). |
| `get(key)` | `value` | Synchronously read a value (see [Values](#values)). |
| `version` | `string` | SDK version, e.g. `'1.1.0'`. |
No method returns a result and no method throws. A command that fails validation is dropped with a console warning. See [Error handling](#error-handling).
`on` and `off` are also `push` verbs, so `push(['on', event, cb])` is equivalent to `on(event, cb)`. Before the widget bundle loads, `push` is the **only** method that exists, so the `push` form is the safe one to use at the top of a page.
***
### Command format
A command is an array: the verb, the action name, then the arguments.
```js
window.$chatty.push(['do', 'message:send', 'text', 'I need help'])
```
The arguments can also be wrapped in a single array. Both forms below are identical:
```js
window.$chatty.push(['set', 'prechat:field', 'name', 'Jane Doe'])
window.$chatty.push(['set', 'prechat:field', ['name', 'Jane Doe']])
```
An array with fewer than two entries, an unknown verb, or an unknown action name is dropped with a console warning.
***
### `do` actions
Run with `push(['do', action, ...args])`. Eighteen actions in six groups.
#### Widget visibility
| Action | Arguments | Required | Description |
| --- | --- | --- | --- |
| `chat:open` | None | — | Open the chat window. |
| `chat:close` | None | — | Close the chat window, back to the launcher. |
| `chat:toggle` | None | — | Open if closed, close if open. |
| `chat:show` | None | — | Show the widget again after `chat:hide`. |
| `chat:hide` | None | — | Hide the whole widget, both the launcher and the window. |
| `launcher:show` | None | — | Show only the launcher button. |
| `launcher:hide` | None | — | Hide only the launcher button. |
```js
window.$chatty.push(['do', 'chat:open'])
window.$chatty.push(['do', 'launcher:hide'])
```
`chat:toggle` decides from the state the widget last reported, the same value `is('chat:opened')` returns.
`launcher:show` and `launcher:hide` do not change `is('chat:visible')`, which tracks only `chat:show` and `chat:hide`. There is no state key for launcher visibility on its own.
#### Messaging
| Action | Arguments | Type | Required | Description |
| --- | --- | --- | --- | --- |
| `message:send` | `type` | `string` | Yes | Must be `'text'`. Any other value is rejected. |
| | `content` | `string` | Yes | The message body. 1 to 5,000 characters, no HTML. |
| `typing:set` | `active` | `boolean` | Yes | Show or clear the visitor's typing indicator. A non-boolean is rejected. |
```js
window.$chatty.push(['do', 'message:send', 'text', 'I need help with my order'])
window.$chatty.push(['do', 'typing:set', true])
```
The SDK cannot send attachments or rich content. `'text'` is the only message type.
If a **required** pre-chat form is on screen, `message:send` is held and delivered as the first message as soon as the form is submitted. Only the most recent held message survives, so a second call replaces the first.
`message:send` is rate limited at 15 per minute and one per second. `typing:set` is limited to 30 calls per minute, and only calls with `active` set to `true` count against it.
#### Identity and session
| Action | Arguments | Type | Required | Description |
| --- | --- | --- | --- | --- |
| `identify` | `fields` | `object` | Yes | Set visitor identity in one call. |
| `logout` | None | — | — | Clear the identity, the pre-chat prefill, the commerce context, and the stored session, then start a new conversation. |
| `session:reset` | None | — | — | End the current conversation and start a new one. Also clears the identity and the pre-chat prefill. |
`identify` accepts these fields, all optional on their own, but at least one has to be valid or the whole call is dropped:
| Field | Type | Description |
| --- | --- | --- |
| `email` | `string` | Must look like an email address. Trimmed and lowercased before use. |
| `name` | `string` | Non-empty, no HTML. |
| `phone` | `string` | Non-empty, no HTML. |
| `attributes` | `object` | Structured attributes about the visitor. |
```js
window.$chatty.push(['do', 'identify', {
email: 'jane@example.com',
name: 'Jane Doe',
phone: '+15550134',
attributes: { plan: 'gold' }
}])
```
Invalid fields are dropped one by one, not as a group. An `identify` call with a malformed email and a valid name still applies the name.
`identify` and the matching `set user:*` actions write to the same visitor record and merge, so use whichever fits your code. Use `identify` for a single call at page load, and `set` when values arrive at different times. The one difference: the per-field limits in [Limits and validation](#limits-and-validation) are enforced by the `set` actions, while `identify` checks format only.
The difference between `logout` and `session:reset` is what happens to the visitor's stored session. `logout` clears it, so the next conversation cannot be linked back to the previous one. `session:reset` leaves it in place. Call `logout` when the shopper signs out of your store, and `session:reset` when you only want a clean conversation.
Identity passed from the browser is supplied by the page, not verified by Chatty. Treat it as a convenience for your support team, not as proof of who the visitor is. Do not use it to gate anything sensitive. See [Security and trust boundary](#security-and-trust-boundary).
#### Conversation control
| Action | Arguments | Type | Required | Description |
| --- | --- | --- | --- | --- |
| `escalate` | None | — | — | Ask for a human agent. This is the AI to human handoff. |
| `trigger:run` | `campaignId` | `string` | Yes | Run a chat campaign by ID. 1 to 200 characters. |
| `article:show` | `articleId` | `string` | Yes | Open an FAQ article inside the widget. 1 to 200 characters. |
```js
window.$chatty.push(['do', 'escalate'])
window.$chatty.push(['do', 'article:show', 'ARTICLE_ID'])
```
**Both IDs must be strings.** A number is rejected before it reaches the widget, so wrap it: `String(articleId)`.
`escalate` does nothing when the conversation is already with a human agent, or when no conversation exists yet. When it does run, it posts a visible message into the conversation on the visitor's behalf and takes the conversation out of AI mode. It does not pick an agent: the conversation still has to be assigned, by your assignment rules or by hand.
`trigger:run` and `article:show` are matched against the campaigns and articles the widget has already loaded. An ID it does not recognise is logged as a `[ChattySDK]` warning and nothing opens.
#### Pre-chat form
Available from SDK 1.1.0.
| Action | Arguments | Required | Description |
| --- | --- | --- | --- |
| `prechat:submit` | None | — | Submit the form using the values you prefilled. |
| `prechat:skip` | None | — | Skip the form and chat anonymously, when the shop allows skipping. |
```js
if (window.$chatty.is('prechat:visible') && !window.$chatty.is('prechat:required')) {
window.$chatty.push(['do', 'prechat:skip'])
}
```
`prechat:submit` submits the values you set with [`set prechat:field`](#pre-chat-prefill), not whatever the visitor typed into the form. Prefill the fields first.
It checks only the fields the shop marked required, which can be name and email. Phone is never required. A missing required field cancels the submission and logs a warning.
Skipping is not submitting: `prechat:skip` emits no `prechat:submitted` and no `email:captured` event.
#### Custom event tracking
| Action | Arguments | Type | Required | Description |
| --- | --- | --- | --- | --- |
| `event:track` | `name` | `string` | Yes | Event name, 1 to 200 characters. |
| | `data` | `object` | No | Up to 20 keys. String, number, and boolean values only. |
```js
window.$chatty.push(['do', 'event:track', 'viewed_size_guide', { product: 'shirt-101' }])
```
`data` must be a plain object. An array is discarded entirely, and inside the object any value that is not a string, number, or boolean is dropped key by key. Keys past the twentieth are dropped, and string values longer than 1,000 characters are truncated rather than rejected.
Every tracked event is also re-dispatched on the page as a DOM `CustomEvent` named `chatty:event`. See [Custom events you raise yourself](/sdk/events/#custom-events-you-raise-yourself).
***
### `set` actions
Run with `push(['set', action, value])`. Thirteen actions.
#### Composer and visitor data
| Action | Value | Type | Description |
| --- | --- | --- | --- |
| `message:text` | text | `string` | Prefill the input box without sending. The visitor can still edit it. |
| `user:email` | email | `string` | Visitor email. Must look like an email address. |
| `user:name` | name | `string` | Visitor name. Non-empty, no HTML. |
| `user:phone` | phone | `string` | Visitor phone. Non-empty, no HTML. |
| `user:attributes` | attributes | `object` | Structured attributes about the visitor. Merges across calls. |
| `user:context` | context | `object` | Free-form context shown to your team and the AI. Merges across calls. |
| `shop:data` | data | `object` | Free-form context about the shop or page. Merges across calls. |
| `conversation:attributes` | list | `array` | Named pairs stored on the conversation, as `[{name, value}]`. |
```js
window.$chatty.push(['set', 'message:text', 'I want to know about shipping'])
window.$chatty.push(['set', 'user:email', 'jane@example.com'])
window.$chatty.push(['set', 'user:context', { vipLevel: 3, accountAge: '2 years' }])
```
`user:context`, `shop:data`, and `user:attributes` merge rather than replace, so you can add keys as the page learns more. Values must be a string, number, or boolean; anything else is dropped silently.
`conversation:attributes` **replaces** the previous list rather than merging. Each entry needs a non-empty `name` and a non-empty `value`; both are converted to text, and an entry missing either one is dropped.
`set user:email` has a side effect worth knowing: it also prefills the pre-chat form's email field, so a visitor who reaches the form sees the address already filled in.
#### Commerce context
Give the AI assistant structured context about what the visitor is looking at.
| Action | Value | Type | Description |
| --- | --- | --- | --- |
| `product` | product | `object` | The product currently being viewed. |
| `cart` | cart | `object` | The current cart. |
| `order` | order | `object` | The order being discussed. |
```js
window.$chatty.push(['set', 'product', { id: 123, title: 'Steel Door', price: '499.00' }])
window.$chatty.push(['set', 'cart', { items: 2, total: '648.00' }])
window.$chatty.push(['set', 'order', { name: '#1042', status: 'shipped' }])
```
Each object must survive a round trip through JSON and stay under 8,000 characters once serialized. An oversized object is **rejected whole**, not truncated, so nothing is set at all. The three keys are independent: setting `cart` leaves `product` and `order` untouched.
Read the merged result back with `$chatty.get('commerce:context')`. `do logout` clears all three.
#### Locale
| Action | Value | Type | Description |
| --- | --- | --- | --- |
| `locale` | locale | `string` | Language hint for the conversation. 1 to 35 characters. |
```js
window.$chatty.push(['set', 'locale', 'de'])
```
This is a hint that applies to the current conversation, not a switch. It takes effect only once a conversation exists, and it does not force the language the AI replies in. The assistant answers in the language the visitor writes in.
#### Pre-chat prefill
Available from SDK 1.1.0. Takes a field name and a value, so this is the one `set` action with two arguments.
| Field | Type | Limit |
| --- | --- | --- |
| `name` | `string` | 1 to 150 characters, no HTML |
| `email` | `string` | Must look like an email address, up to 254 characters |
| `phone` | `string` | 1 to 50 characters, no HTML |
| `message` | `string` | 1 to 5,000 characters, no HTML |
```js
window.$chatty.push(['set', 'prechat:field', 'name', 'Jane Doe'])
window.$chatty.push(['set', 'prechat:field', 'email', 'jane@example.com'])
window.$chatty.push(['set', 'prechat:field', 'phone', '+15550134'])
// 'message' is queued and sent automatically once the form is submitted
window.$chatty.push(['set', 'prechat:field', 'message', 'Where is my order #1042?'])
```
Any other field name is rejected with a warning.
`message` behaves differently from the other three. It is not a form field: it is held as the first message and sent once the form is submitted. It shares that slot with a held `do message:send`, so the last of the two wins.
Prefills are sticky, so they apply even if the form appears later in the session. `do logout` and `do session:reset` clear them.
***
### States
Read synchronously with `is(key)` → `boolean`. An unknown key returns `false` with no warning, so check your spelling.
| Key | True when |
| --- | --- |
| `chat:opened` | The chat window is open. |
| `chat:closed` | The chat window is closed. The exact opposite of `chat:opened`. |
| `chat:visible` | The widget has not been hidden with `chat:hide`. Starts `true`. |
| `session:ongoing` | A conversation exists, which is true from the visitor's first message onward. |
| `prechat:visible` | The pre-chat form is on screen. |
| `prechat:required` | The pre-chat form must be completed before chatting. |
| `agent:online` | Support is within chat hours. |
```js
if (window.$chatty.is('chat:opened')) {
window.$chatty.push(['do', 'chat:close'])
}
```
These values mirror what the widget last reported. Read them from an event handler rather than at the top of the page, where the widget may not have reported anything yet.
***
### Values
Read synchronously with `get(key)`. An unknown key returns `null`.
| Key | Returns | Before the widget reports |
| --- | --- | --- |
| `message:text` | Current text in the composer, as a string. | `''` |
| `session:identifier` | The conversation ID. | `null` |
| `chat:unread:count` | Unread messages for the visitor, as a number. | `0` |
| `prechat:config` | `{ mode, preChatFields, requiredName, requiredEmail, required }` | `null` |
| `commerce:context` | The merged `product`, `cart`, and `order` objects. | `{}` |
```js
const unread = window.$chatty.get('chat:unread:count')
```
`prechat:config` fields: **`mode`** is the shop's pre-chat setting, **`preChatFields`** is the list of fields the form shows, **`requiredName`** and **`requiredEmail`** say which of them the visitor must fill in, and **`required`** is `true` when the form cannot be skipped.
***
### Limits and validation
The SDK enforces limits to keep the widget responsive and to prevent abuse. Values marked *truncated* are shortened and still applied; everything else is rejected outright.
| Input | Limit | Over the limit |
| --- | --- | --- |
| `message:send` | 15 per minute, 1 second apart, 1 to 5,000 characters, no HTML | Rejected |
| `typing:set` | 30 calls per minute, counting only `true` | Rejected |
| `event:track` name | 1 to 200 characters | Rejected |
| `event:track` data | 20 keys, 1,000 characters per value, string / number / boolean only | Extra keys dropped, values truncated |
| `trigger:run` / `article:show` ID | 1 to 200 characters, string only | Rejected |
| `user:email` | Valid email, up to 254 characters | Rejected |
| `user:name` | 1 to 150 characters, no HTML | Rejected |
| `user:phone` | 1 to 50 characters, no HTML | Rejected |
| `user:context` / `shop:data` / `user:attributes` | 50 keys, 2,000 characters per value, string / number / boolean only | Extra keys dropped, values truncated |
| `product` / `cart` / `order` | Plain JSON, 8,000 characters each once serialized | Rejected whole |
| `conversation:attributes` | 50 entries, `name` up to 255 characters, `value` up to 1,000 characters | Extra entries dropped, values truncated |
| `locale` | 1 to 35 characters | Rejected |
| `prechat:field` `name` / `phone` / `message` | 150 / 50 / 5,000 characters, no HTML | Rejected |
"No HTML" means the value is rejected if it contains anything that looks like a tag.
***
### Error handling
Commands never throw. A command that fails validation or hits a rate limit is dropped, and the SDK logs a warning prefixed with `[ChattySDK]` to the browser console.
```js
window.$chatty.push(['set', 'user:email', 'not-an-email'])
// [ChattySDK] ... the command is ignored, execution continues
```
Three consequences worth designing around:
* **There is no error callback and no return value.** Your code cannot detect a rejected command at runtime, so validate input on your side before pushing it, especially anything coming from a form or a URL parameter.
* **A dropped command is silent to the visitor.** If a rate limit swallows a `message:send`, nothing appears in the chat. Throttle on your side rather than relying on the SDK to queue.
* **Not every no-op logs a warning.** A command that passes validation but arrives before the part of the widget that handles it has rendered is simply not acted on, with nothing in the console. See [When your commands run](/sdk/#when-your-commands-run).
***
### Security and trust boundary
The SDK runs entirely in the visitor's browser. Everything below follows from that.
**Identity is not verified.** `identify` and the `set user:*` actions take whatever the page gives them. Anyone can open the browser console and pass another person's email. Chatty uses these values to label the conversation for your team, so:
* Do not use SDK identity to unlock account data, order details, or anything else you would gate behind a login.
* Do not treat a matching email in your inbox as proof of identity.
A signed variant of `identify`, where your server vouches for the email, exists in the product but is not open to stores yet. Until it is, treat every identity the page supplies as unverified.
**Input is sanitised.** All text is sanitised before it reaches the widget. HTML and script content is rejected, and the fields marked "no HTML" above reject markup outright.
**Only documented keys are exposed.** `is` and `get` return the keys listed on this page. The SDK object does not expose the widget's internal state, and its methods are frozen so ordinary scripts on the page cannot replace them by accident. This is a guard against collisions with other scripts, not a defence against a hostile script. Any script on your storefront runs with the same privileges as your own code.
**Anything you push is visible to the visitor.** `user:context`, `shop:data`, and the commerce objects sit in page memory. Pass what your support team needs to help, and nothing more: no internal costs, margins, risk scores, or notes you would not show the customer.
***
### What the SDK cannot do
* Read past conversations or message history. There is no getter for it.
* Send attachments, images, or rich content. `message:send` is text only.
* Reply as an agent, or act on behalf of your team.
* Change widget settings, colours, or position. Those live in your dashboard.
* Embed the widget. The SDK controls a widget that Chatty already loaded; it is not an npm package.
For server-side access to conversations, see the [Chat Conversations API](/api-reference/chat-read-api/).
***
### Browser support
Chrome 80+, Firefox 72+, Safari 13.1+, Edge 80+. The SDK ships as modern JavaScript and does not include a transpiled fallback for older browsers.
***
### Changelog
| Version | Changes |
| --- | --- |
| 1.1.0 | Added pre-chat form control: `set prechat:field`, `do prechat:submit`, `do prechat:skip`, and the `prechat:visible` / `prechat:required` states with `get prechat:config`. |
| 1.0.0 | Initial release. |
Check the version at runtime before calling a newer API:
```js
window.$chatty.on('sdk:ready', () => {
const [major, minor] = window.$chatty.version.split('.').map(Number)
if (major > 1 || (major === 1 && minor >= 1)) {
window.$chatty.push(['set', 'prechat:field', 'email', 'jane@example.com'])
}
})
```
Compare the parts as numbers, not the whole string. In a string comparison `'1.9.0' >= '1.10.0'` is `true`, which is wrong.
***
### Troubleshooting
**`window.$chatty` is undefined.** The widget script has not loaded on that page. Check that the Chatty app embed is enabled in your theme and that the page is not excluded. Starting your code with `window.$chatty = window.$chatty || []` makes it safe regardless of load order.
**`window.$chatty.on is not a function.`** The widget bundle has not loaded yet, so `window.$chatty` is still the plain array you created. Only `push` exists at that point. Use `push(['on', event, cb])` instead.
**`chat:open` does nothing.** The widget may still be initialising, so wait for `sdk:ready`. It may also have been hidden earlier by `chat:hide`, in which case call `chat:show` first.
**`message:send` seems ignored.** Check the console for a `[ChattySDK]` rate-limit or validation warning. If a required pre-chat form is open, the message is held and sent once the form is submitted. If nothing at all appears in the console, the chat window had probably not rendered yet.
**`article:show` or `trigger:run` does nothing.** Check the console. `[ChattySDK] article:show — expects an article id` means you passed a number or an empty value. `unknown article id` means the widget has no article with that ID loaded.
**A handler runs twice.** You are probably subscribed to `message:received` and to `ai:reply` or `human:reply` at the same time. See [Avoiding duplicate handling](/sdk/events/#avoiding-duplicate-handling).
***
### Need help?
If a command still is not working, confirm the widget is loading on the page. `window.$chatty` should be defined and `window.$chatty.version` should return `'1.1.0'`. Still stuck? Contact the Chatty support team from your dashboard, and include the `[ChattySDK]` console warnings you see. For server-side access, see the [Chat Conversations API](/api-reference/chat-read-api/).
================================================================
URL: https://help.chatty.net/video-tutorials/
Locale: en
================================================================
# Video Tutorials
Watch step-by-step videos to set up, learn, and master Chatty — from your very first chatbox to advanced AI training.
Get up and running with the basics. Each video walks you through one core feature in under 5 minutes.
A 3-minute tour of the Chatty app — what each section does and where to start
Foundation 101 EP 02 — train Chatty AI on your store data, give it a personality, test, and go live
**Coming soon.** Deep-dive videos on AI training, automation, and advanced workflows are being recorded. Check back shortly.
================================================================
URL: https://help.chatty.net/video-tutorials/foundation-101-ep-02/
Locale: en
================================================================
# How to train your Shopify AI chatbot in 3 minutes
Your AI is only as good as what it knows. In this episode of Foundation 101, learn how to train your Chatty AI on your store data, give it a personality, test it like a real customer, and turn it on — so it answers shoppers 24/7, even at 2AM.
## What you'll learn
By the end of this video, your AI will:
- Know every product, price, and policy
- Sound like your brand
- Handle the questions your customers actually ask
- Be live and answering — without you
## Chapters
- **0:00** — Intro
- **0:19** — Step 1: Feed your AI (store data + custom data)
- **1:16** — Step 2: Give your AI a personality
- **2:07** — Step 3: Test before you go live
- **2:46** — Step 4: Turn on AI
## Next video
More tutorials are coming soon. [Back to all video tutorials](/video-tutorials)
================================================================
URL: https://help.chatty.net/video-tutorials/intro-to-chatty/
Locale: en
================================================================
# Intro to Chatty
A quick 3-minute tour of the Chatty app — what each section does and where to start.
## What you'll learn
- How to navigate the Chatty dashboard
- Where to find Inbox, AI, FAQs, and Chatbox settings
- The first 3 things to set up after installing Chatty
## Next video
- [Train your Shopify AI in 10 minutes](/video-tutorials/foundation-101-ep-02)
================================================================
URL: https://help.chatty.net/ja/
Locale: ja
================================================================
# Welcome
> "Customer support is essential for any e-commerce website."
>
> "67% of shoppers abandon their cart when they can't get instant answers."
**But customer support is dead.**
And that's the best thing that ever happened to eCommerce.
What we called "customer support" was broken from the start.
A customer asks, "Does this jacket run small?" and we treat it like a problem to solve. But they're actually asking "Should I buy this jacket?"
| The old customer support: | How Chatty do it: |
| --- | --- |
| Answer the question quickly | Understand the buying intent |
| Close the ticket efficiently | Recommend the right products |
| Measure response time | Capture sales |
This is conversational commerce. This is what Chatty delivers every day.
[Learn more about Chatty team.](https://meetchatty.com/about-us/)
## Discover Chatty
### Live chat
### AI assistant
### FAQs
Need help? Check out [Frequently Asked Questions](/faqs/).
================================================================
URL: https://help.chatty.net/ja/ai/data-sources/
Locale: ja
================================================================
# Data sources
**Who can use this feature?**
* This feature is available for all users
### Why add data sources
We've trained AI on your own data. By adding your own data sources, you can train AI assistant about your specific products, services, and business policies.
This helps the AI give more accurate and personalized responses to your customers.
### Type of data sources
There are two main types of data sources:
* **Store data**: Information already available in your Shopify store that can be automatically synced
* **Custom data source**: Additional information you manually add to enhance AI knowledge
- Store data.png
- Custom data.png
What product information is synced to Chatty?
Available product information that is synced to Chatty:
* Specific product details (name, descriptions, images, vendor, type)
* Product variants (colors, sizes, styles)
* Price ranges and comparisons
* Product features and specifications
* Collection
* Product inventory
* Product metafields
Your product information will be updated daily at 12:00 AM PST.
What types of product metafields are supported?
We support all metafields in this list [Shopify documentation on metafield types](https://help.shopify.com/en/manual/custom-data/metafields/metafield-definitions/metafield-types), **except:**
* Reference type:
* collection\_reference
* customer\_reference
* file\_reference
* metaobject\_reference
* mixed\_reference
* page\_reference
* product\_reference
* product\_taxonomy\_value\_reference
* variant\_reference
* Other:
* Link
* URL
Some main Shopify pages will be auto-synced when you activate AI. What are they?
* Shipping policy
* Return polity
* Privacy policy
* Terms of service
* FAQ
* Contact us
* About us
If your Shopify pages are not auto-synced to data sources, go to Data sources *→* Click Sync store pages or re-activate AI.
### How to add data sources
Go to **AI assistant** tab
Sync store data
Turn on auto-sync store data: products, discounts, markets, and FAQs.
Add custom data sources
* **Question**: You can add a single question or multiple questions at once.
* **URL**: Add URL/website links
* **File**: Add files (.JSON, .TXT, .PDF, .CSV) to data source. Maximum file size is 2MB per files. Images and PDFs with tables are not yet supported.
Learn more about [what goes in each data source](/ai/data-sources/what-goes-in-each-data-source/)
After building your data source, you can go to [Test ](/ai/test-and-optimize-ai/)to test your AI assistant.
If you haven't activated AI, you **can still test AI assistant** with data source you added.
You can edit or delete it from data source.
### How to manage data sources
#### 0. Bulk management
In "Data sources", click on any data type to go to data source list.
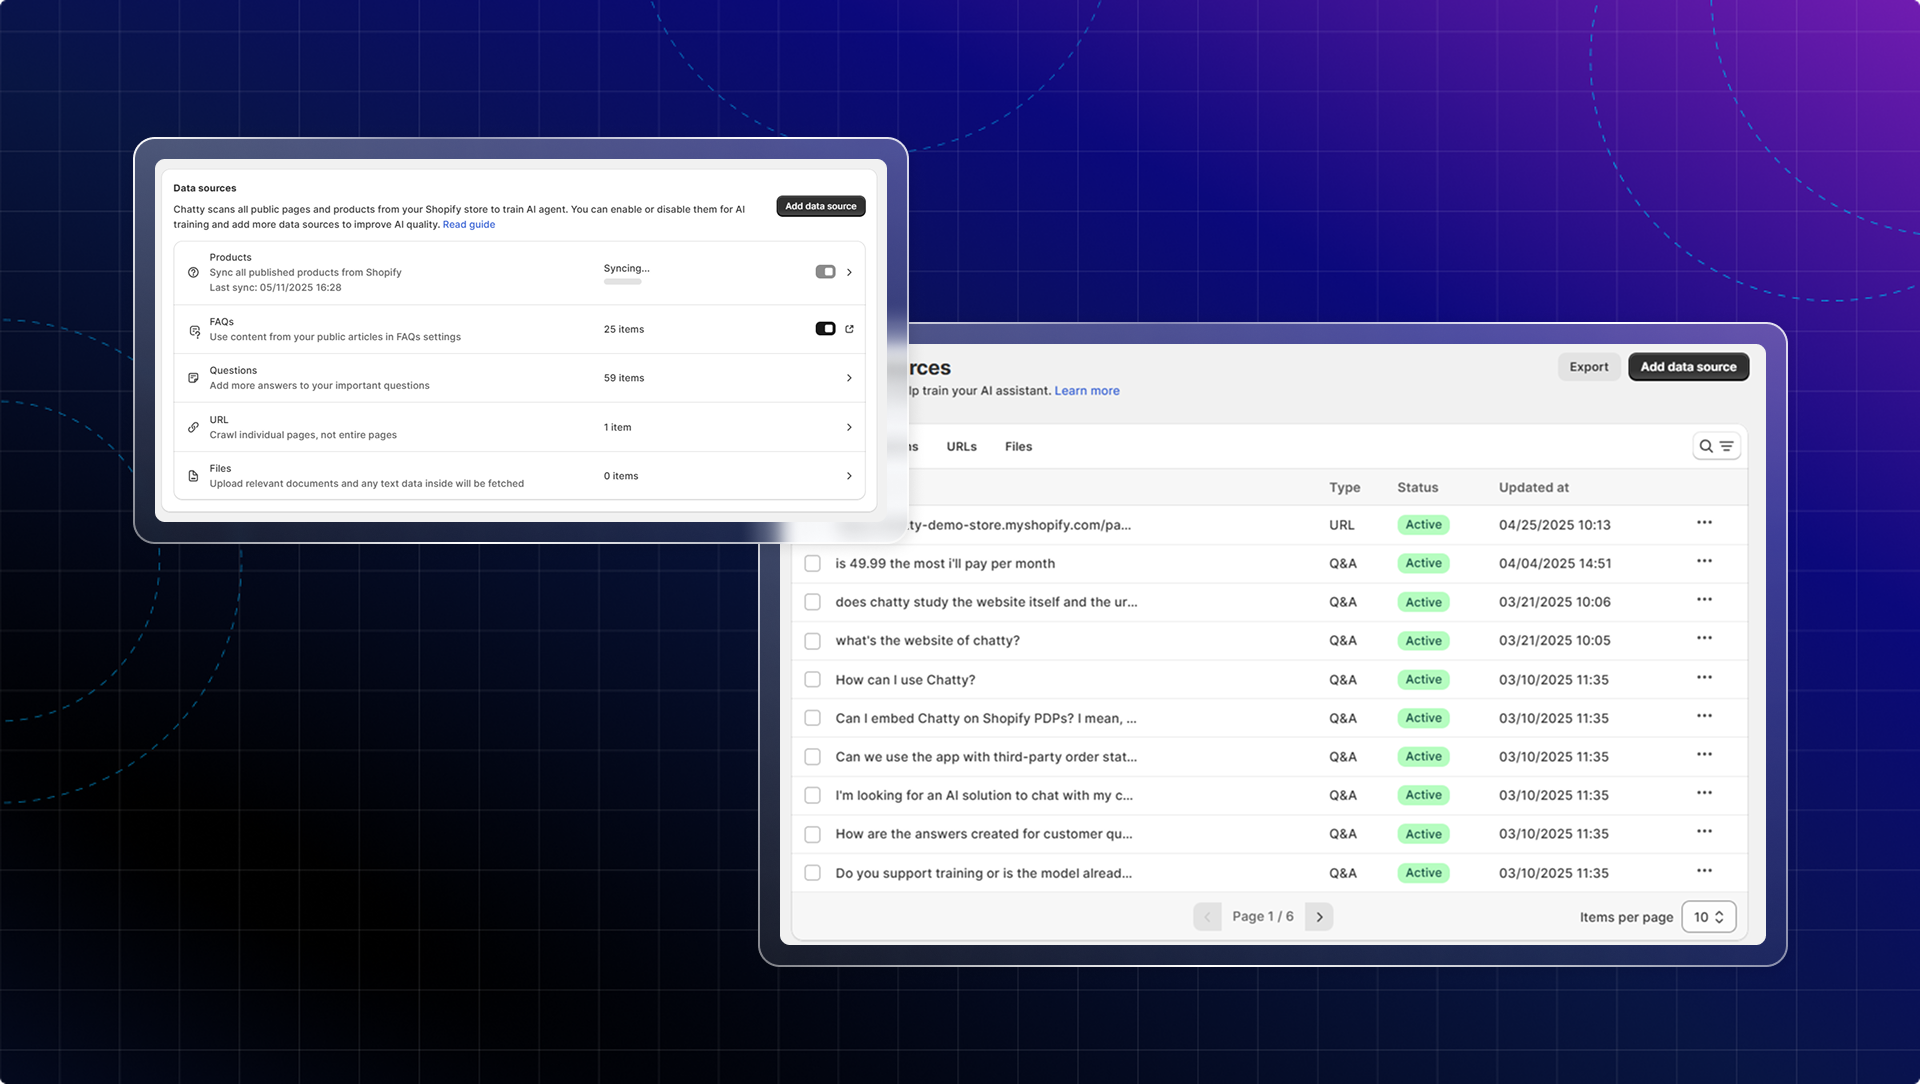
You can select multiple data sources and take bulk actions: set as active, set as inactive, or delete.
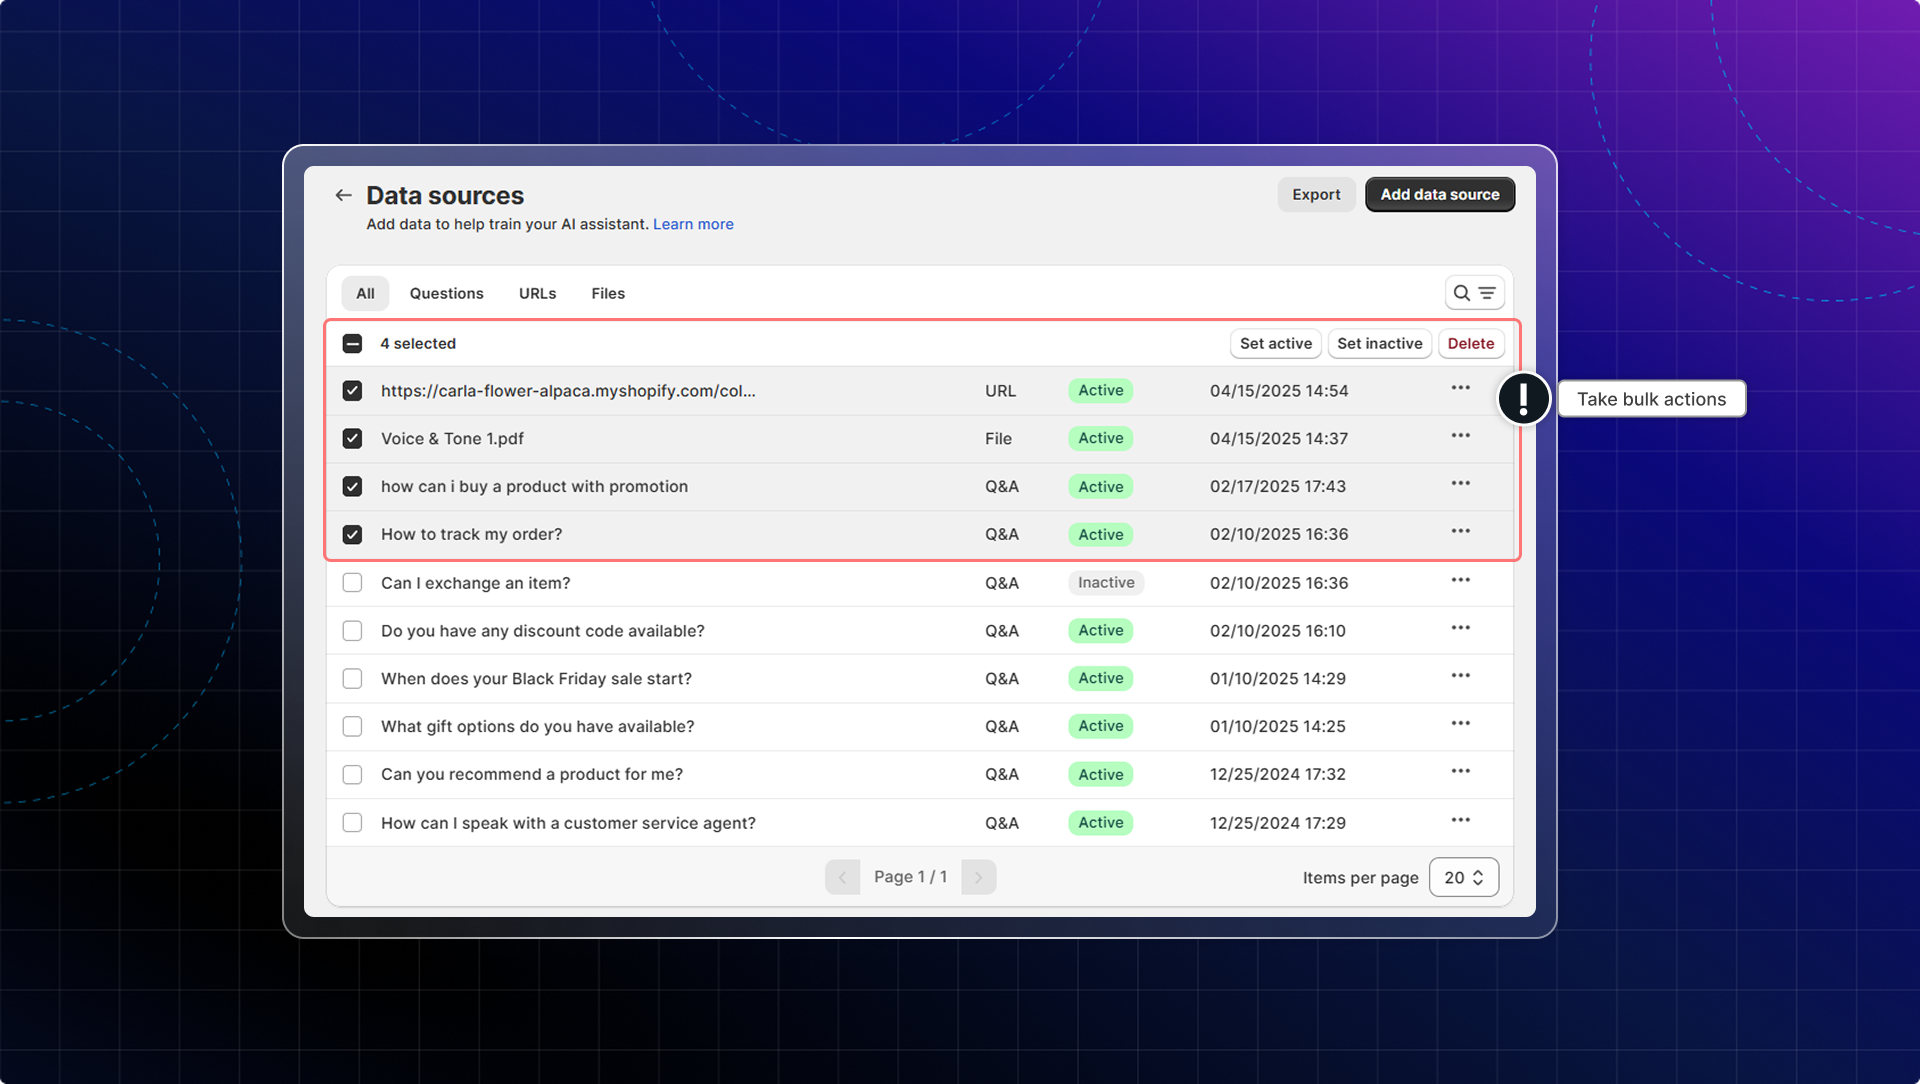
#### 1. FAQs
You will manage FAQs in your FAQs list. All FAQs from your list will be added to data source.
Click FAQs → You'll be redirected to **Manage FAQs** page
#### 2. Products
After syncing all products, you can manage which products are used to train AI.
1. Click **Products** tab
2. Go to Product list
3. Change status of each product `Enabled/Disabled` to show/hide it in the training data.
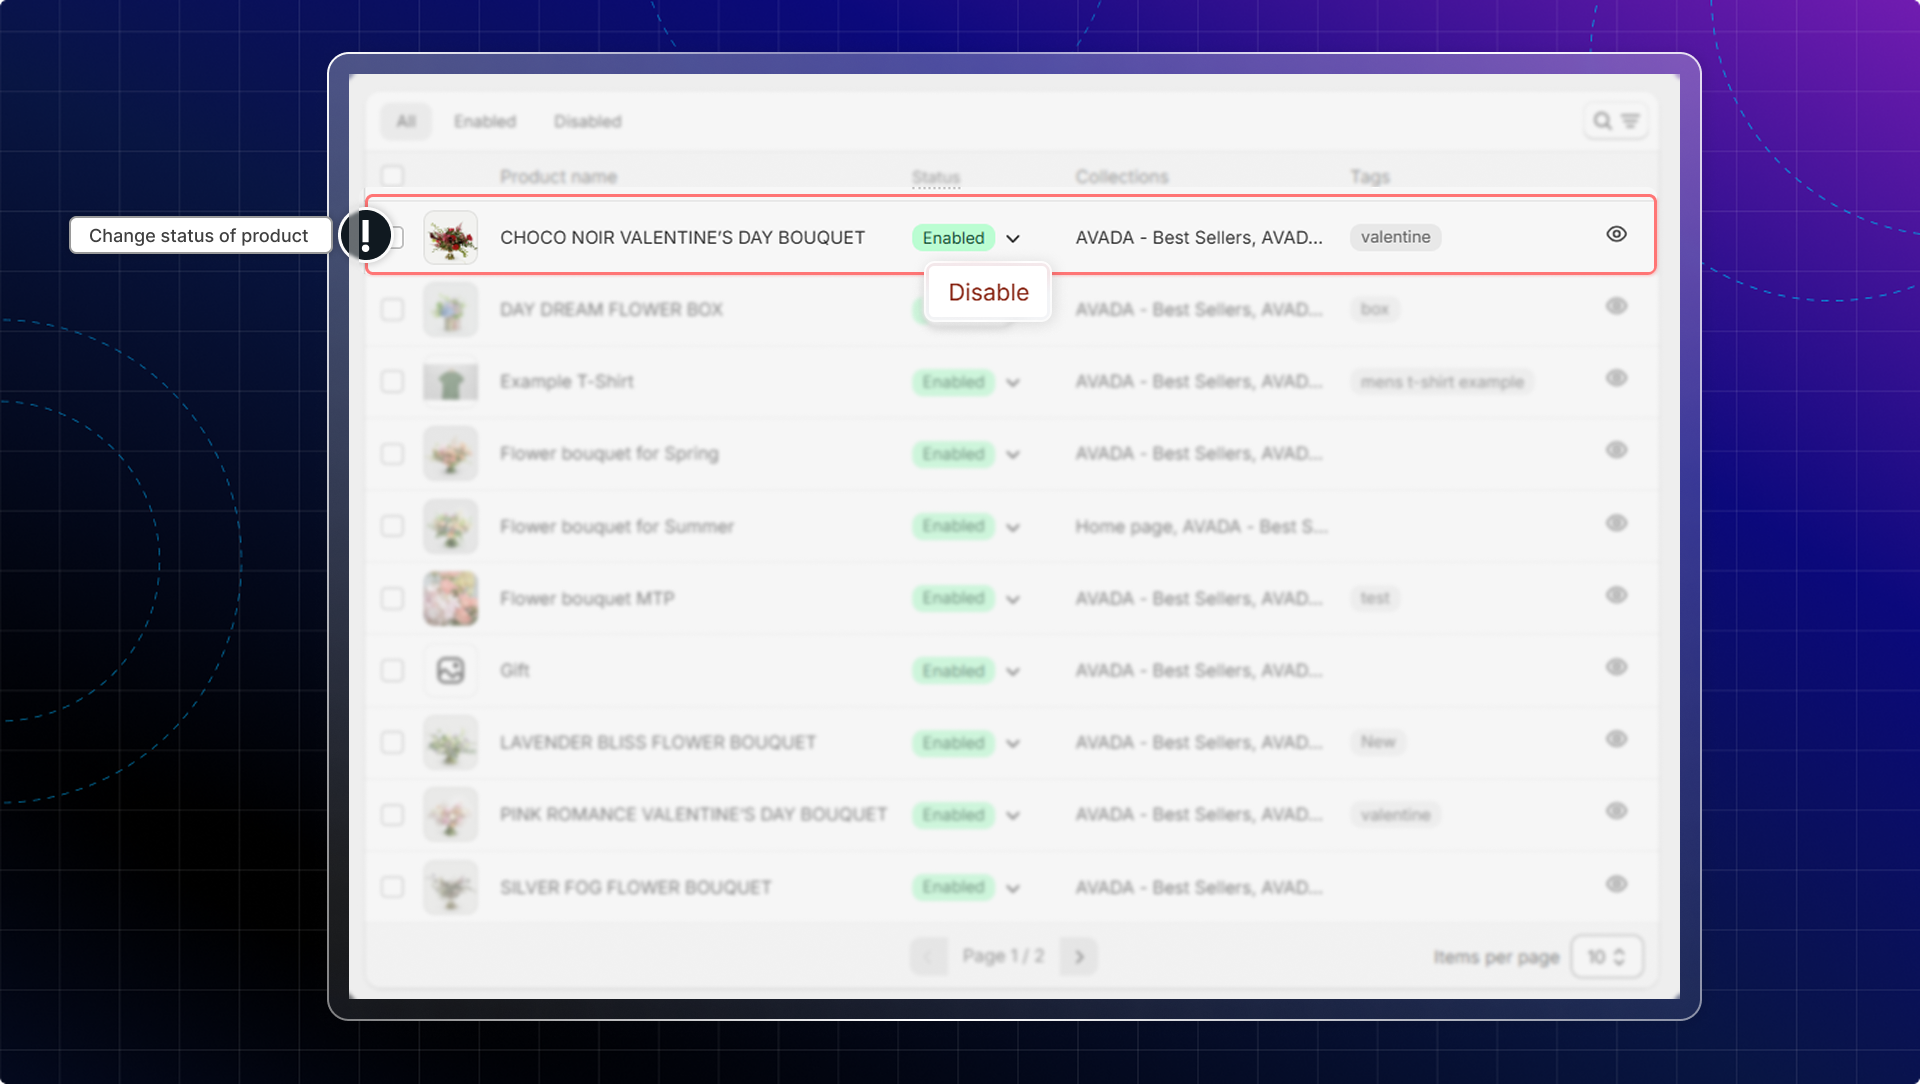
Currently, Chatty only works with published products that are in stock. Product subscriptions are not supported at this time.
**FAQs for products**
You can also add specific FAQs for each product. This helps AI answer
1. Click Products tab
2. Go to Product list
3. Click **Add FAQs** or **Manage FAQs**
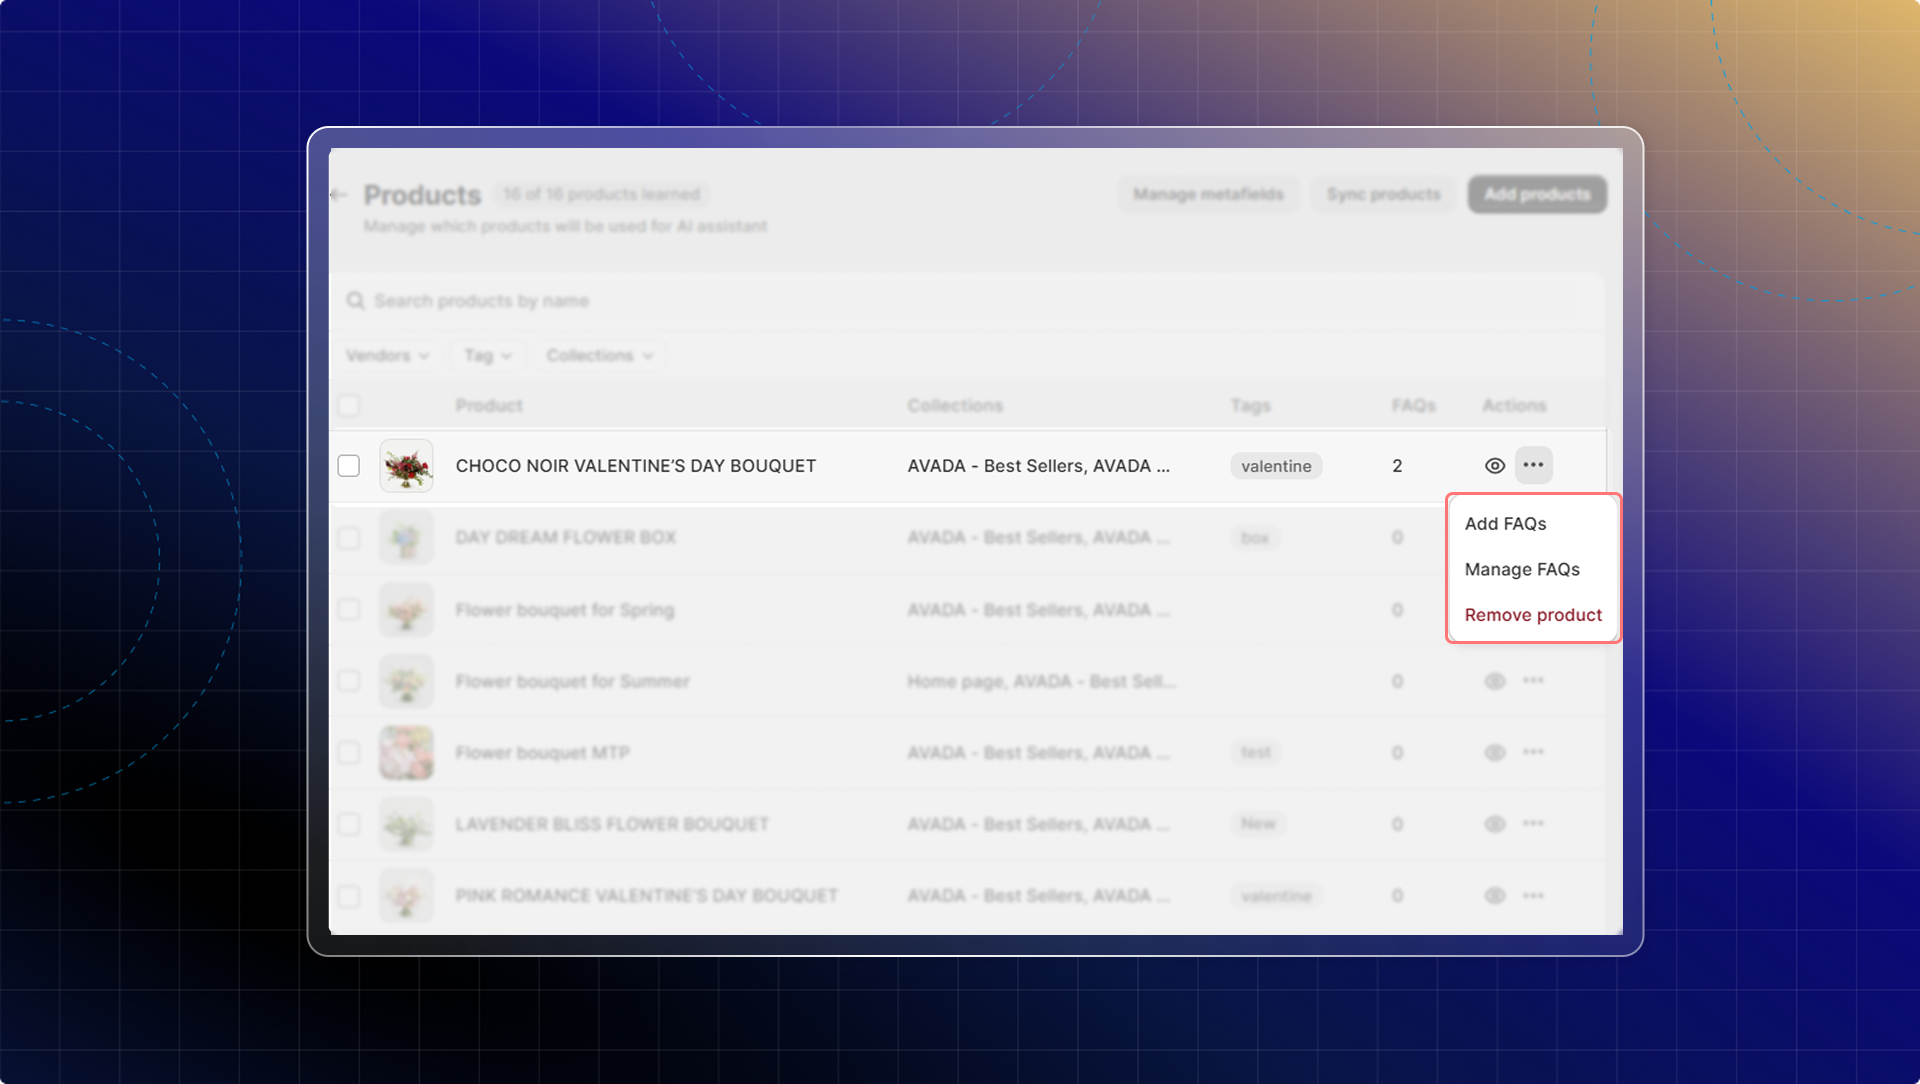
#### 3. Discounts
All discounts available in your Shopify store are synced to AI training data. (both active & inactive)
If you don't see you discounts, click Sync now to update the latest discount from your store.

#### 3. Smart recommendations
You can manage which products AI recommends as best sellers and new arrivals.
Chatty provides two pre-built collections that AI uses for recommendations:
1. **Bestseller:** Products AI suggests when customers ask, "What's popular?" or "What do others buy?"
2. **New arrival**: Products AI suggests when customers ask, "What's new?" or "Any new items?"
3. **Sales promotion:** Products AI suggests when customers ask about "discounts", "deals", or "what's on sale?"
4. **Special occasions:** Products AI suggests when customers ask about "gifts", "birthday presents", or mention special events
**What is smart syncing (auto)?**
By default, Chatty automatically does the following for Best sellers and New arrivals:
* Select top 20 products based on sales from the last 30 days
* Update the list daily
You can combine auto-selection with your manual choices by:
* Activate smart sync
* Add/remove manually products from the list
This means: Your recommendation will be updated daily with new products while remaining your manual choices. (maximum 20 products/collection)
**How to set up smart recommendations:**
1. Click **Smart recommendations**
2. Select a collection to manage
3. Set up product list and keywords (custom recommendations)
4. Click **Add product** to add products
5. Click **Delete** to remove products from list
6. Click **Save** and activate the recommendation
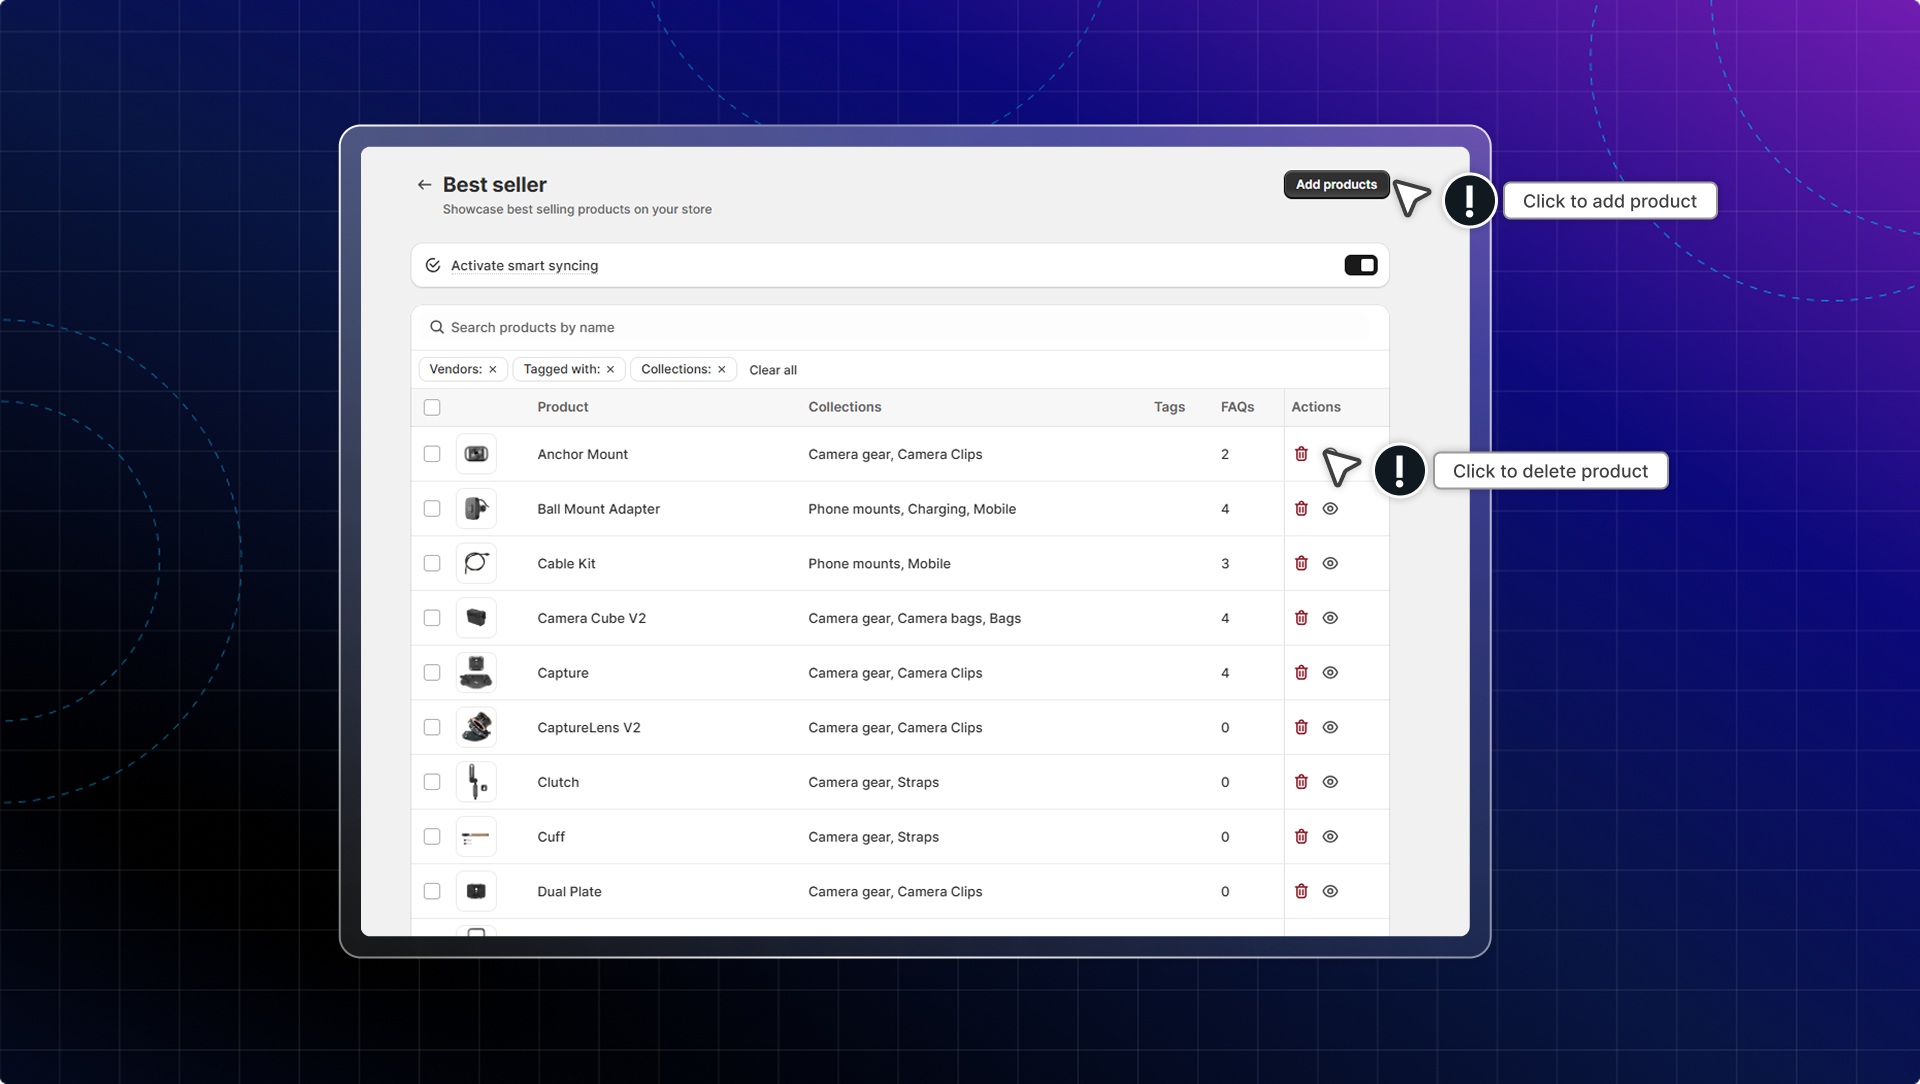
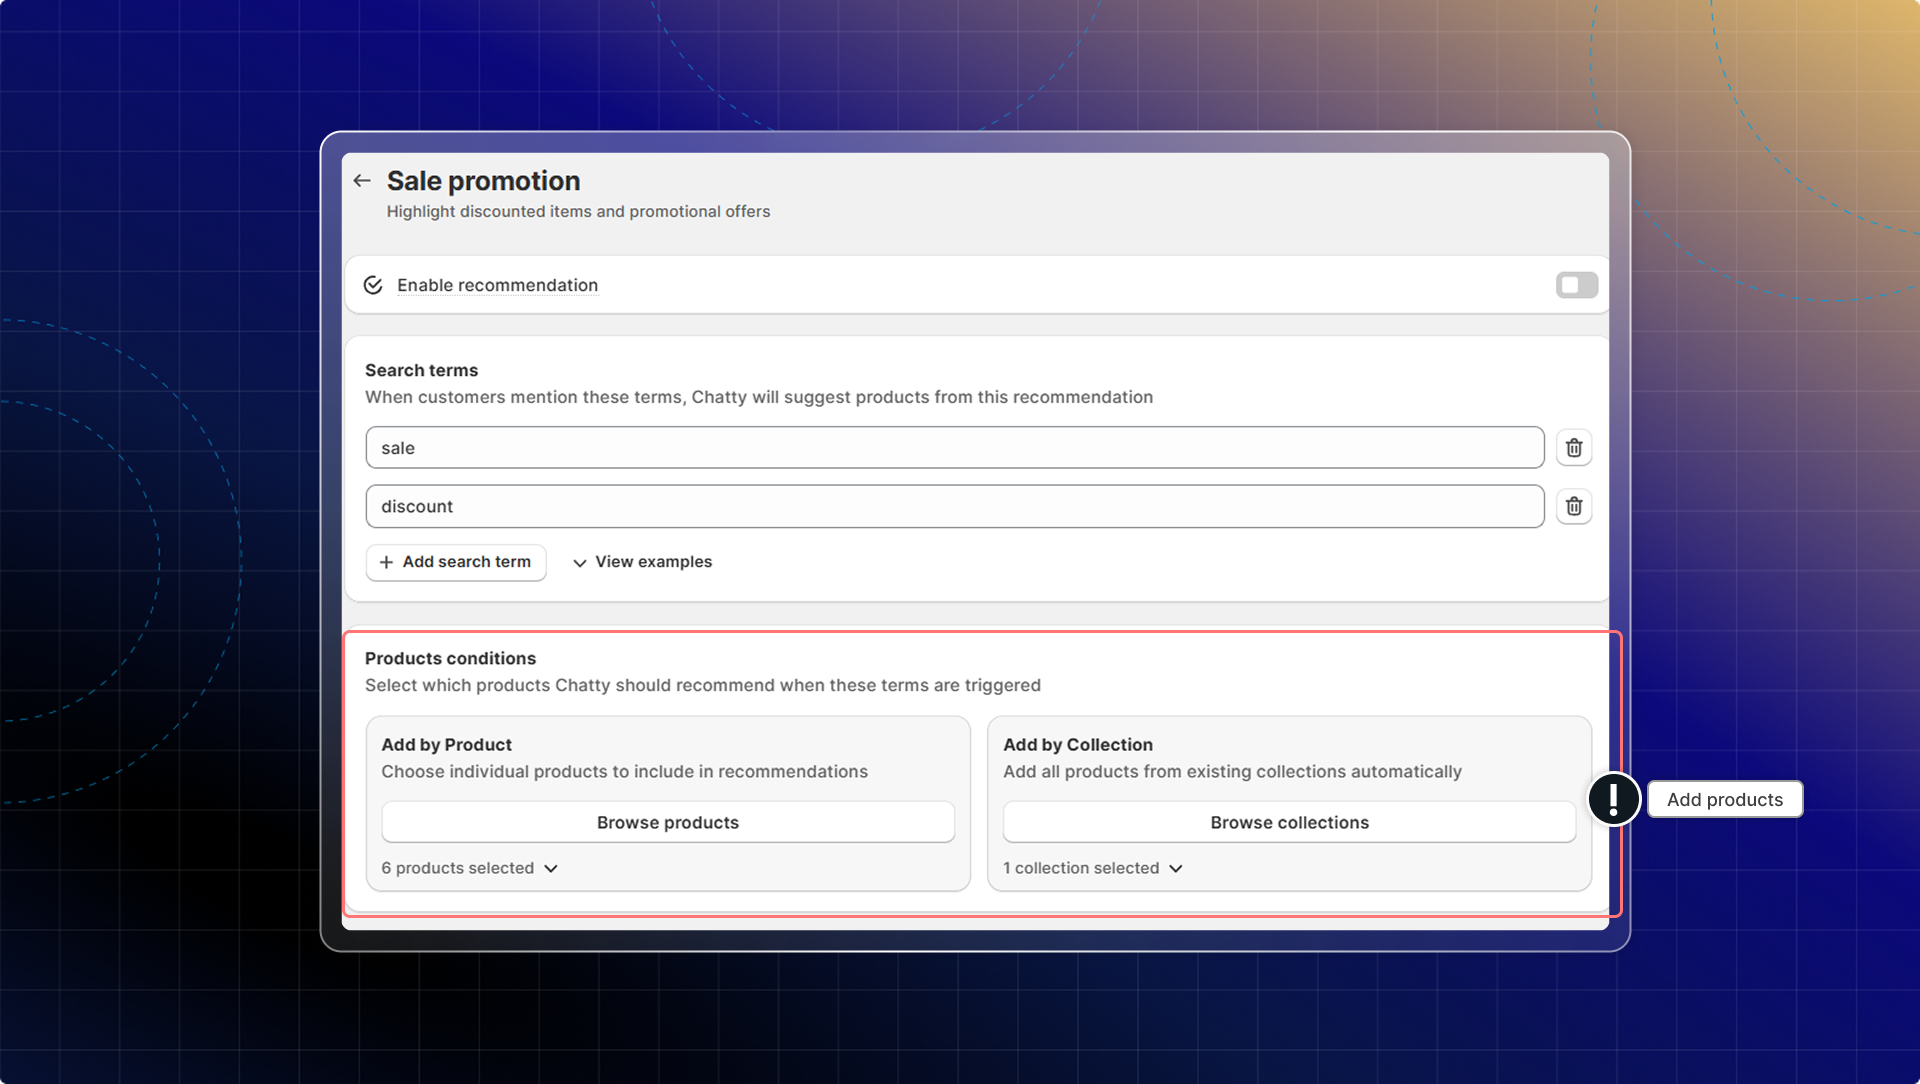
#### 4. Questions
You can delete, edit details, or change the status `Active/Inactive` of each question.
* Click **Products** tab
* Go to Data source list
* Edit question details
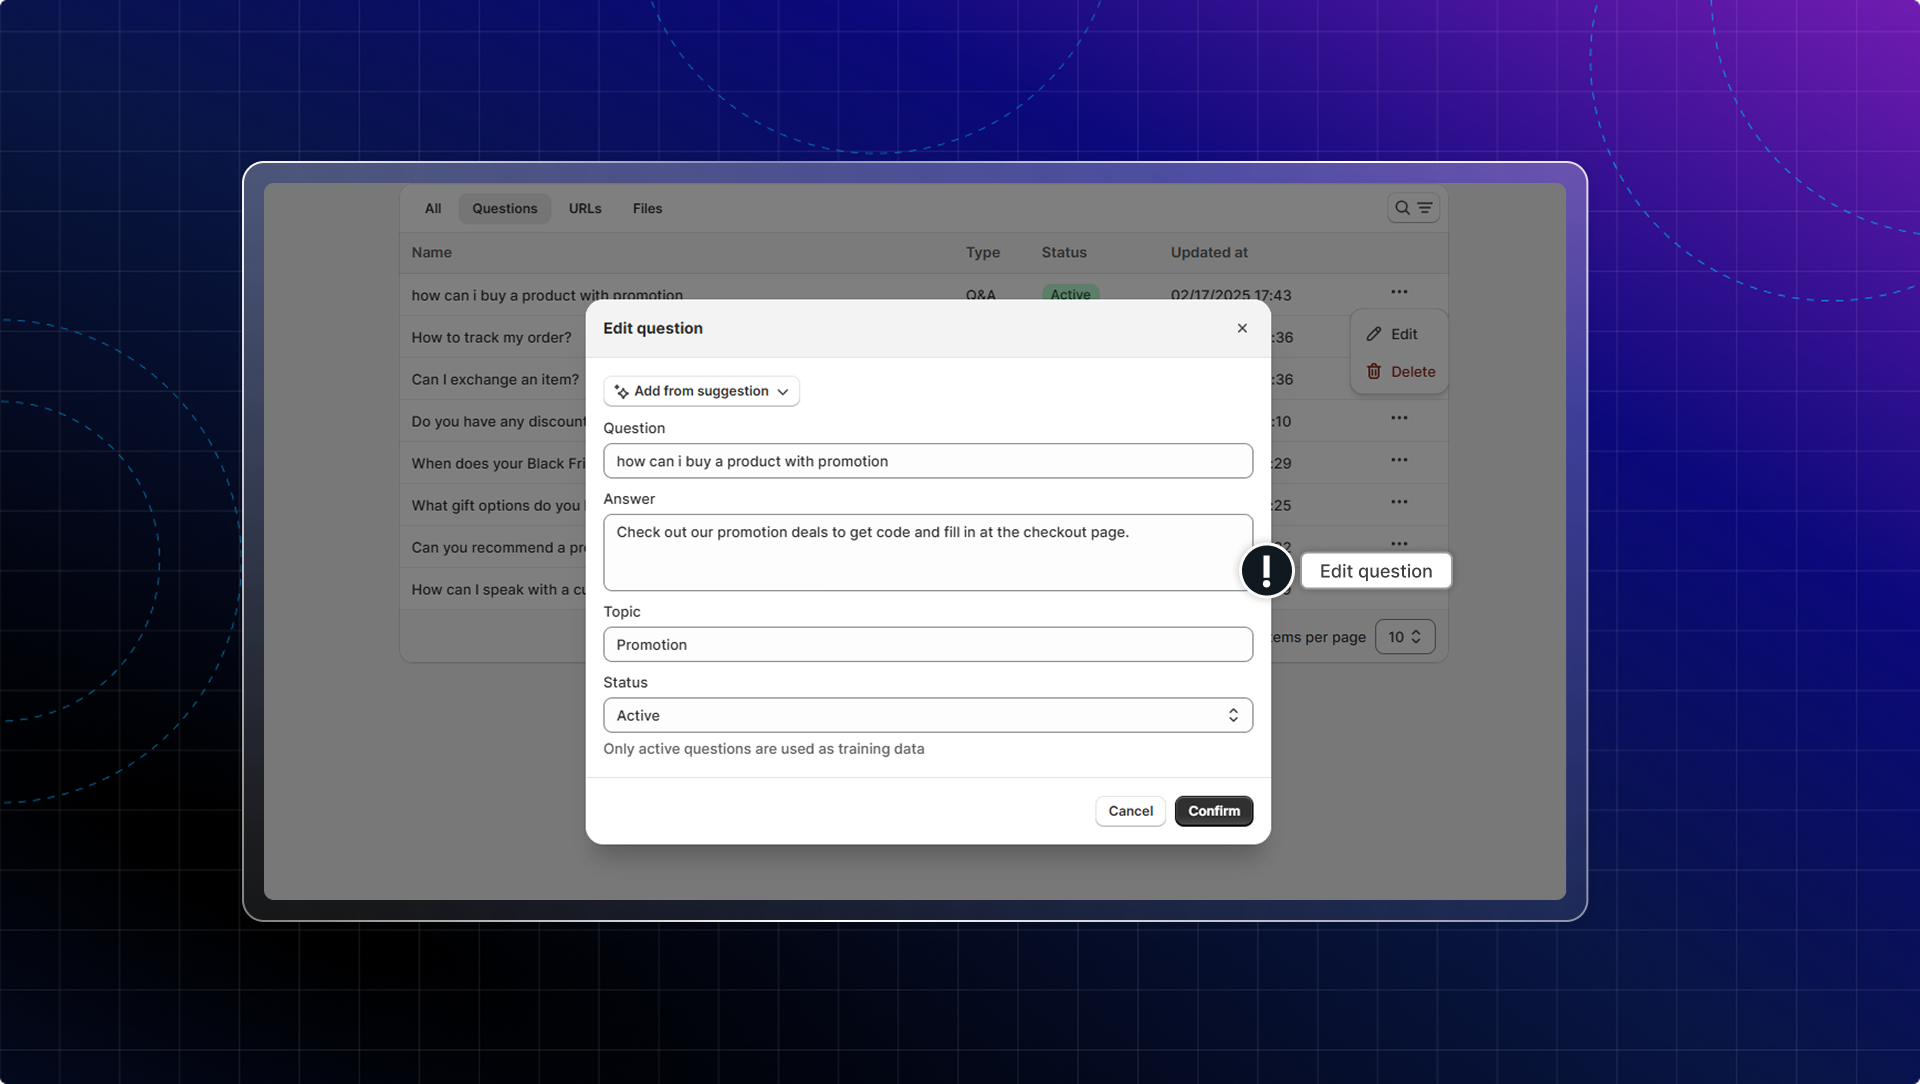
You can export all questions (or active questions) in a CSV file.
#### 5. URL
You can edit or change the status `Active/Inactive` of each URL.
If there's any content change in the URL, you can click Resync to update to the latest version.
When you click the link, you can preview the page in plain text mode.
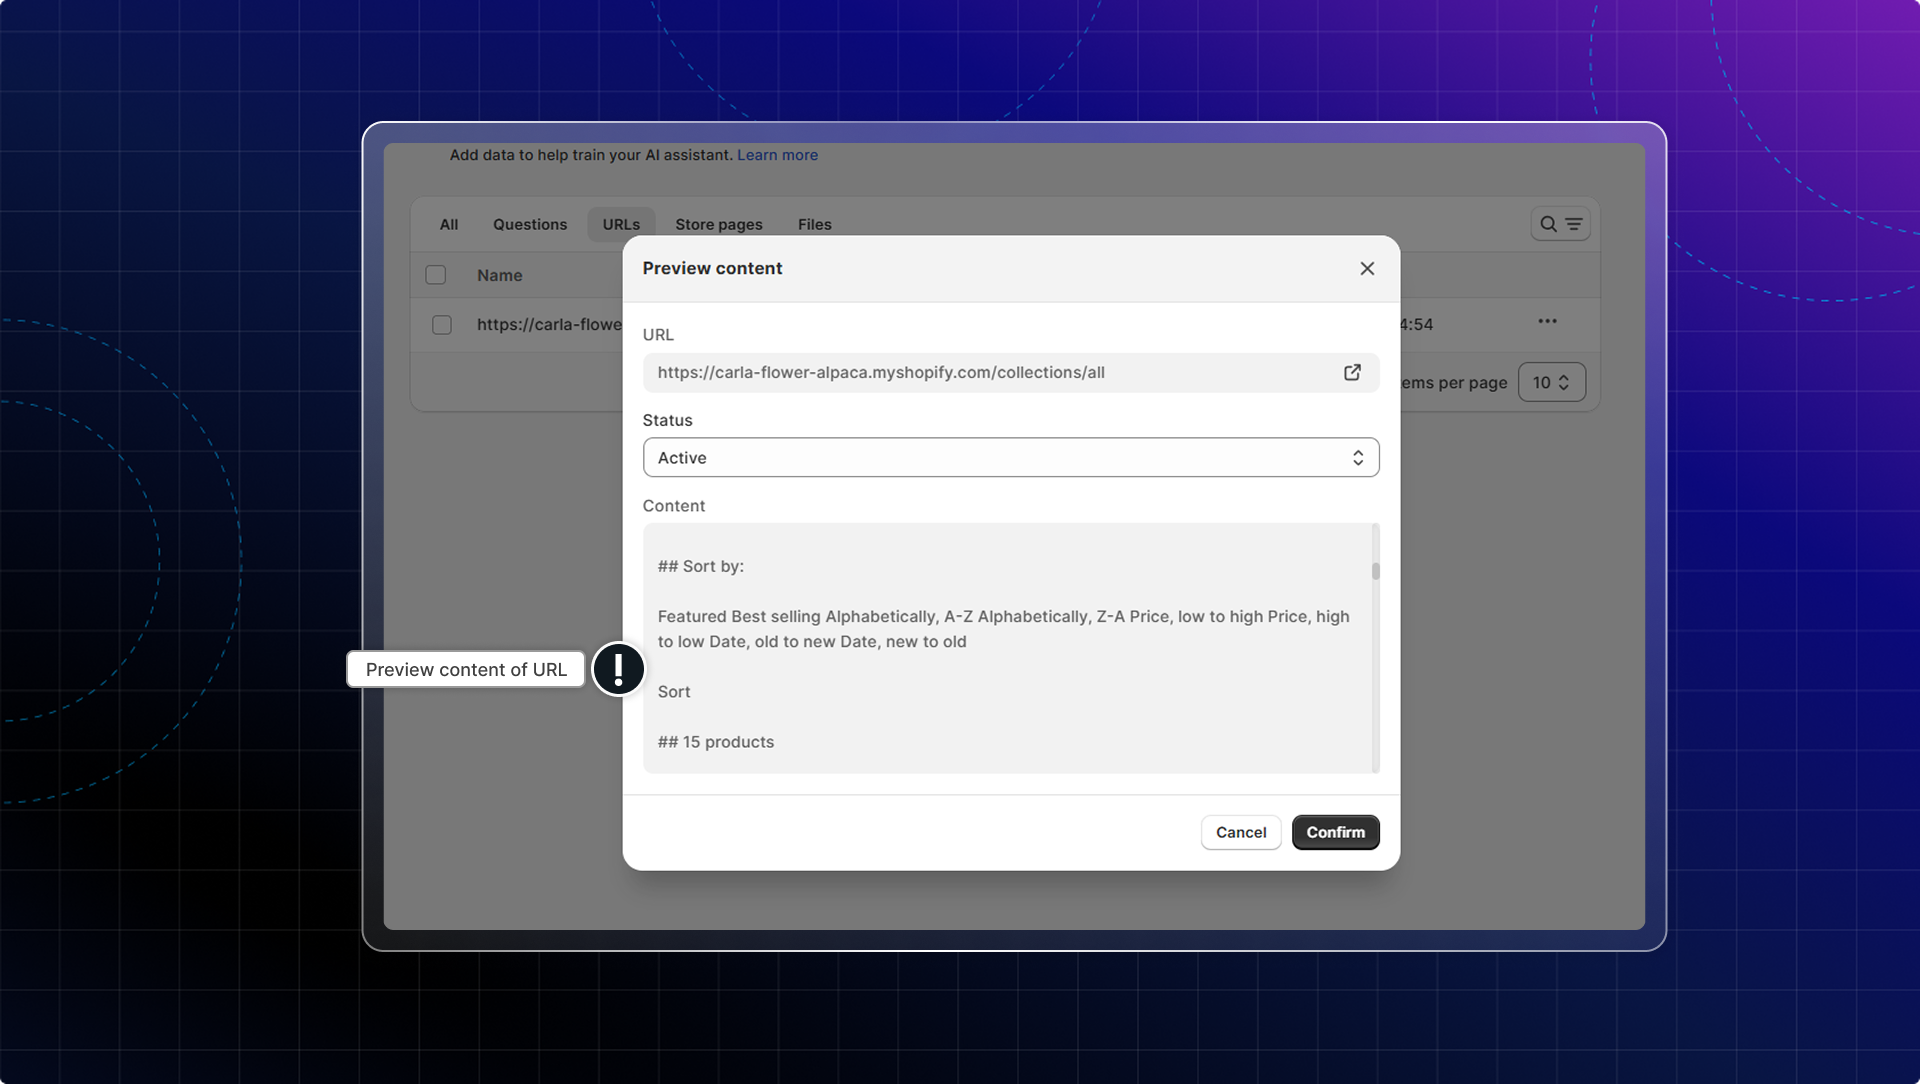
#### 6. Files
You can edit or change the status `Active/Inactive` of each file.
================================================================
URL: https://help.chatty.net/ja/ai/data-sources/what-goes-in-each-data-source/
Locale: ja
================================================================
# What goes in each data source
### 1. Q\&A
Best for: Specific customer questions you get repeatedly
#### What to add here:
* Policies: Return policy, shipping times, warranty info
* Business info: Store hours, location, contact methods
* Troubleshooting: "Product not working," "How to care for this item"
#### Don't add here:
* Product information: Price, description, size, type, variant, etc. - That's automatic
* Long documents - use Files instead
* General behavior instructions - use Custom Instructions
For example
Q: What's your return policy?
A: Return items within 30 days, unworn with tags. Free return shipping for exchanges. Start returns through your order email.
Where should I add product advice for questions like "Which size for wide feet", "Best for sensitive skin"?
With product advice, you should add information to product description. If you don’t want to show it in public stores, add it to product metafield and sync to Chatty.
[Adding product care instructions using metafields](https://help.shopify.com/en/manual/custom-data/metafields/using-metafields)
[Adding a pop-up size chart to your product pages](https://help.shopify.com/en/manual/custom-data/metafields/pop-up-tutorial)
Coming soon: Add FAQs for specific products.
***
### 2. General instructions
Best for: How your AI should behave and respond in general
#### What to add here:
* Brand voice & tone: "Be friendly but professional, use simple language"
* Response style: "Always ask if they need anything else," "Keep answers under 3 sentences"
* Industry instruction: “You are a professional skincare advisor, your goal is to help customers find the best choice for their skin.”
* Decision support: "Present options with clear pros/cons," "Highlight best value options"
* Sales approach: "Suggest complementary products," "Mention current promotions"
* Boundaries: "Don't give medical advice," "Always verify large orders with humans"
* Format preferences: "Use bullet points for multiple options"
#### Don't add here:
* Specific information - use Q\&A instead
* Basic product info (price, description) - that's automatic
* Long policy text - use Q\&A for policies
* Specific scenario: “When customer mention about table, suggest dinner table” - Use custom scenarios
* Refer actions: “If the customer asks about 'size guide' send them 'size-fit.txt' file”. AI can't take action, but send messages.
For example:
Always be helpful and friendly. When customers ask about sizing, suggest they check our size guide and offer to help if they're between sizes. End responses with "What else can I help you find today?"
***
### 3. Scenarios
Best for: Specific situations or customer journeys
#### What to add here:
* Customer types: "First-time buyer," "Returning customer," "Bulk buyer"
* Shopping situations: "Gift shopping," "Last-minute order," "Special occasion"
* Problem resolution: "Order arrived damaged," "Wrong size received"
* Sales situations: "Cart abandonment," "Price comparison," "Bulk pricing inquiry"
* Seasonal flows: "Holiday shipping deadlines," "Back-to-school shopping"
#### Don't add here:
* Simple Q\&A pairs - use Questions instead
* General behavior rules - use Instructions
For example:
Scenario: Customer expressing strong dissatisfaction or review threats
Response:
1. Acknowledge their frustration immediately: "I understand how disappointing this must be"
2. Apologize sincerely: "I'm truly sorry this didn't meet your expectations"
3. Take ownership: "Let me make this right for you"
4. Offer immediate solutions: "I can process a full refund, exchange, or store credit right now"
5. Escalate to human: "I'm connecting you with my manager who can resolve this personally"
6. Follow up promise: "We'll also follow up by email to ensure you're completely satisfied"
7. Never argue or defend - focus only on solutions
***
### 4. URLs
Best for: Linking to existing helpful resources
#### What to add here:
* Size guides & fit charts
* Care instruction pages
* Video tutorials or demos (coming soon)
* FAQ pages with comprehensive info
* Policy pages (privacy, terms)
#### Don't add here:
* URLs that might change frequently
* Password-protected content
* URLs with interactive content, embedded content - iframe, API, external resources
***
### 5. Files
Best for: Bulk information and detailed documents
#### What to add here:
* Detailed care/maintenance guides
* Detailed product manuals
* Technical specification sheets
* Compatibility charts
* Training manuals for complex products
* FAQ compilations from other sources
#### Don't add here:
* Single Q\&A pairs - use Questions instead
* Simple policies - use Q\&A instead
* Files over 2MB or with complex formatting
* Images and tables are supported yet
### ⚠️ Notes
Most common mistake: Put everything in Q\&A (or a specific type) instead of using the right content type for each situation.
* Avoid duplication: Don't put the same info in multiple content types
* Test everything: Ask AI your questions after adding content
### 6. Smart recommendations
Best for: Tell AI which products to recommend in each case
#### What to add here:
* Product list for each case: Best sellers, New arrivals, Sales, Special occasions
================================================================
URL: https://help.chatty.net/ja/ai/overview/
Locale: ja
================================================================
# Overview
**Who can use this feature?**
* This feature is available for all users
### What is AI assistant?
Al assistant helps you solve customers' questions faster and 24/7. AI assistant is trained on your data.
This means:
* faster resolution times
* happier customers
* less strain on your support team
This empowers your customer support by maintaining your brand voice throughout all conversations 24/7 (even if you are a solo entrepreneur).
Turn on live chat to use AI assistant. Go to Chatbox → Turn on Live chat block.
### What AI assistant can do
### How to get your AI assistant ready?
#### Train AI assistant
We help you auto-sync all existing data from your store to train AI. Also, you can add more data sources to train your AI.
1. [How to add data source](/ai/data-sources/)
2. [How to train AI effectively](/ai/train-ai/)
#### Customize AI assistant
Customize your AI assistant with your image, brand voice and tone in [Settings](/ai/settings/):
* Appearance: Bot name, avatar
* Custom instructions to guide AI on tone of voice, length of answer, how to response
* AI availability: Select when the AI responds based on your team's availability
* [**Transfer**](/settings#transfer/): Set up how you would like to respond to user who wants human help
#### Test & optimize
Test and optimize how your AI assistant responds to customer questions. [How to test & optimize AI](/ai/test-and-optimize-ai/)
#### Activate AI assistant
Click **Turn on** to activate AI assistant to automate customer support seamlessly.
#### Keep testing & optimizing while using AI
#### When using AI assistant
* All conversations will be answered automatically by AI assistant. In conversation detail, you will see AI assistant as an assignee.
* During the conversation handled by AI assistant, you can always join in the conversation to chat by clicking **Join conversation**.
* **Chat summary by AI:** When the conversation is transferred to your team, AI will summarize the whole conversation. \
This helps you quickly get the context and deliver faster customer service without reading the entire chat history.\
AI will detect language, highlight main issues, and provide helpful suggestions for your response.

### More AI settings in detail
================================================================
URL: https://help.chatty.net/ja/ai/overview/ai-conversations/
Locale: ja
================================================================
# AI conversations
Who can use this feature?
* This feature is available for all users
### What are AI conversations?
An AI conversation is a complete interaction between a customer and your AI assistant, from first message to resolution.
An AI conversation is the billing unit used to measure your AI usage.
**Key points:**
* AI conversations are counted based on completed interactions, not individual messages
* Only conversations with actual AI responses count toward usage
* Each conversation is counted once, when it ends
* System messages and welcome messages don't count toward usage
When does an AI conversation start or end?
**Conversation starts when:**
* Customer sends their first message
* AI assistant responds
* A new inquiry begins (after reseting previous conversation)
**Conversation ends when:**
* Customer ends session
* Customer click to reset conversation
* Conversation is marked as resolved
We count complete customer interactions from start to resolution.
```
Customer: "Do you have this in medium?"
AI: "Yes, available in medium!"
Customer: "What's the material?"
AI: "100% organic cotton."
Customer: "Perfect, thanks!"
AI: "Happy to help!"
> Total: 1 AI conversation used
```
### Why AI conversation matters
**Predictable: 1 customer issue = 1 conversation**
The most common feedback: "I can't predict how many AI replies I'll use." With conversations, you know exactly: 1 customer = 1 conversation. Easy to forecast.
**Easy to budget and forecast**
When you count replies, one chatty customer could use 15 replies. With conversations, that same customer = 1 conversation, regardless of how many messages they send.
**Meaningful tracking**
"AI sent 327 replies this month" doesn't tell you much. "AI handled 127 complete customer conversations with 85% resolution rate" tells you:
* How many customers AI helped
* How well AI performed
### How AI conversations are counted
An AI conversation is counted when all these conditions are met:
#### 1. Conversation has at least one valid AI response
| ✅ Valid AI responses | ❌ Invalid AI responses |
| --------------------------------------------------------------------- | ------------------------------------------- |
| Come from your trained data sources (FAQs, products, custom training) | AI welcome messages |
| Successfully answer customer questions | Suggested questions (conversation starters) |
| Not error messages or system notifications | AI responses without data sources |
| | AI error messages |
| | System or internal messages |
#### 2. Conversation meets interaction requirements
Requirements vary based on how the conversation started:
| How conversation started | Requirements |
| --- | --- |
| If conversations initiated by customers | Customer opens chatbox and sends first messageAI responds with at least one valid response |
| If conversations initiated by proactive chat | Customer must reply to the proactive messageAI must respond with at least one valid response |
#### 3. Conversations reach completion
* Manually resolved by team member
* Auto-resolved after inactivity (based on your automation settings)
* Customer resets conversation in chatbox
* Session expires (after 3 days)
* Conversation is deleted
* Conversation is blocked
### When AI conversations are NOT counted ❌
#### 1. No AI response
* Conversation has no AI replies at all
* Customer sent message but only human agent responded
* Conversation was transferred to human before AI could respond
#### 2. Auto-blocked conversations
#### 3. Initiated by proactive chat with no engagement
* Proactive message was displayed
* Customer didn't respond or interact
* No two-way conversation occurred
#### 4. Only excluded mesages: welcome message, suggested questions, system messages
What is a session?
A session is a time window that groups related customer interactions:
* Maximum duration: 5 days
* Automatically expires after 5 days of inactivity
* Can contain one or multiple conversations
* Used to determine when conversations end
How sessions affect conversation counting
**Within a session (under 5 days):**
* New messages continue the current conversation
* No new conversation is created unless previous one is resolved
**After session expires (over 5 days):**
* Any new message creates a new conversation
* Previous open conversation automatically ends
* New conversation starts fresh count
### Plan limits
Each Chatty plan includes a different monthly AI usage
| | Free | Basic ($19.99) | Pro ($68.99) | Plus ($199) |
| ---------------- | ------------- | ----------------- | ----------------- | ----------------- |
| AI conversations | 50 (lifetime) | 50 | 300 | 700 |
| Additional usage | ✖️ | $0.4/conversation | $0.4/conversation | $0.4/conversation |
#### How to check AI conversations left this month
1. Go to **Subscription**
2. In Subscription details, check **AI conversation**
3. View your current usage

* Usage resets on your billing cycle date, not calendar month
* You will get email notifications when you reach 80% and 100% of your limit
#### How to set AI usage limit
Setting an AI usage limit helps control spending on additional AI replies.
1. Go to **Subscription**
2. Click **Set usage limit**
3. Click **Edit**
4. Enter your budget limit
5. Click **Save**

#### What happens when limit is reached
* **AI stops responding** to new conversations until next billing cycle
* Human agents can still handle existing conversations
* All other features continue working normally
* **Limit resets automatically each billing cycle**
**Pro tip**: Set your limit 15-20% above expected usage to handle busy periods without interrupting customer service.
### FAQs
How many messages equal one AI conversation?
One conversation can contain any number of messages. Message count doesn't determine conversation count. What matters is:
* Did the conversation start?
* Did AI provide at least one valid response?
* Did the conversation end?
A conversation with 1 AI message counts the same as a conversation with 10 AI messages.
Do welcome messages count toward AI usage?
No. AI welcome messages don't count as valid AI responses. Only responses that come from your trained data sources count toward usage.
Does transferring to a human agent still count as an AI conversation?
Yes, if AI provided at least one valid response before the transfer. The conversation counts because AI was used, even if a human completed it.
What happens if I delete a conversation?
Deleted conversations that had valid AI responses are still counted toward usage. Deletion ends the conversation at the time of deletion, and the count is recorded.
If a conversation stays open for days, when is it counted?
The conversation is counted when it ends, not when it starts. If a conversation stays open for 3 days, it's counted when:
* You manually resolve it, or
* The 3-day session expires and auto-ends the conversation
================================================================
URL: https://help.chatty.net/ja/ai/overview/how-chatty-trains-ai/
Locale: ja
================================================================
# How Chatty trains AI
### Understanding AI training
Before diving into the training process, it's helpful to understand what AI training means in Chatty:
* AI training is the process of teaching the AI assistant to understand your business context and respond appropriately to customer questions
* Data sources are the various types of information you provide that help train the AI
* Learning process is how the AI processes and learns from your data to generate relevant responses
### How Chatty trains your AI
The AI training process happens in three main stages:
#### 1. Data processing
When you add data sources to Chatty, the system:
1. Analyzes your data to identify key information
2. Breaks down complex information into smaller, manageable pieces
3. Organizes the information into a structured format the AI can understand
#### 2. Context building
Then AI assistant:
1. Creates connections between related pieces of information
2. Develops understanding of your specific business terminology
3. Learns your brand voice and communication style
#### 3. Response generation
Finally, AI assistant:
1. Understands customer question and extract the right information or keyword
2. Uses the processed information to create accurate responses
3. Maintains consistency with your brand voice
4. Provides relevant product recommendations and solutions
### Data sources you can use
You can train your AI using various data sources:
* FAQs and help articles
* Product information (description, variants, price, etc.)
* Other custom training responses
* Customer service conversation history (coming soon)
* Website content (coming soon)
### Best practices for AI training
To get the best results from your AI assistant:
1. Start with your most important information
* Add FAQs and essential policies first
* Include top product information
* Add custom instructions if you want to provide specific guidance for AI
[](https://help.chatty.net/ai/overview)
2. Keep information up to date
* Regularly review and update data sources
* Remove outdated information
*Note: Your product information will be updated daily at 12:00 am PST.*
3. Monitor and refine
* Test and review AI responses regularly
* Add new training data based on customer interactions
More best practices for AI traning data
### Privacy and security
Chatty maintains strict data privacy and security standards:
* All data is encrypted during processing
* Customer information is handled according to privacy regulations
* You maintain control over what data is used for training
================================================================
URL: https://help.chatty.net/ja/ai/overview/what-ai-assistant-can-do/
Locale: ja
================================================================
# What AI assistant can do
**Who can use this feature?**
* This feature is available for all users
Al assistant helps you solve customers' questions faster based on the data you provide.
### What AI assistant can do
**`Core capabilities`**
#### 1. Responds instantly
Responds to customer questions instantly 24/7
#### 2. Suggest product
The AI helps customers find the right products by:
1. Understanding customer needs through conversation
2. Recommending relevant items
3. Providing product comparisons
4. Sharing product details and specifications
5. Offering alternatives when items are unavailable
Learn more about how [AI answer questions about products](/data-sources#products/)
#### 3. Provide order support (coming soon)
* Helps customers track their orders
* Checks order status and provides updates
* Explains shipping times and delivery expectations
* Assists with finding order history
#### 4. Multi-language support
* Respond to queries in multiple languages
* Handle paraphrased questions
* Provide consistent answers across languages
AI may have difficulty with special characters, symbols, or highly technical industry-specific terms
#### **5.** Summarize **conversation**
When the conversation is transferred to your team, AI will summarize the whole conversation.
* Create summaries from the whole chat
* Detect the conversation language automatically
* Highlight main customer issues and needs (show original messages)
* Provide helpful response suggestions

**`Custom instruction capabilities`**
With custom instructions, you can train your AI Assistant to:
* Use specific tone and style that matches your brand voice (formal, casual, friendly, professional)
* Adjust response length based on your preferences (brief, detailed, comprehensive)
* Focus on particular product features you want to highlight
* Follow specific response protocols for different types of customer inquiries
* Implement your unique customer service policies and approaches
#### 6. Update shopping cart
AI helps customers update their shopping cart by adding and removing items.
When customers need to update their cart, AI can take action right in the cart.
If you don't see AI update your cart, it might be due to your custom-built cart drawers or non-standard Ajax cart implementations. \
Follow our [guide for custom-built themes](/ai/overview/what-ai-assistant-can-do/syncing-cart-updates-with-custom-themes/) or contact our support team in app.
#### 7. Send checkout link
AI can send customer checkout link with current items in their shopping carts.
================================================================
URL: https://help.chatty.net/ja/ai/settings/
Locale: ja
================================================================
# Settings
### Appearance
You can give a specific name and avatar for your AI assistant. This will be shown in the chatbox.

### Welcome message
Welcome message will be the first text sent to the customers when they click **Contact us**.

### Custom instruction
Custom instruction allows you to provide specific guidance on how your AI assistant should interact with customers. You can control how AI handles customer inquiries with custom instructions.
You can personalize your AI assistant's responses to better align with:
* Specific business needs
* Unique brand voice
* Particular topics or inquiries that are common for your store
* Special handling requirements for certain types of questions
* How to handle specific scenarios
You can include multiple different instructions in the same text box.
Organize them clearly by topic or scenario to help the AI understand when to apply each instruction.
You can manually add your instructions or generate instructions with AI.
* Add your own instruction: Go to **AI assistant** *→* Go to **Instruction tab** → Enter your **Custom instruction**

* Generate with AI:
Learn more about [how to train AI effectively](/ai/train-ai/)
================================================================
URL: https://help.chatty.net/ja/ai/settings/ai-channels/
Locale: ja
================================================================
# AI channels
Who can use this feature?
* This feature is available for users who have connected at least one supported channel
### What are AI channels?
AI channels allow your AI assistant to automatically respond to customer messages across multiple communication platforms, including email, Facebook Messenger, Instagram, and WhatsApp (coming soon).
When enabled, AI provides instant responses to customer inquiries on these channels, helping you maintain consistent support coverage even when your team isn't available.
AI assistant can reply to customer questions from other channels, just as it does in your chatbox.
### Why use AI channels?
AI channels help you:
* **Provide 24/7 customer support** across all communication platforms
* **Reduce response time** on social media and email
* **Maintain consistent brand voice** across all channels
* **Capture more sales opportunities** from social media interactions
* **Free up your team** to focus on complex customer needs
### Set up AI channels
Before setting up AI channels, make sure you have:
1. [Activated & trained AI assistant](/ai/)
2. [Connected the channels](/live-chat/channels/) where you want AI to respond
#### Enable AI auto-reply for channels
Go to **AI assistant**
Go to **Settings** → **AI channels**
Turn on AI auto-reply on your channels:
* **Email**: Toggle on to enable automatic email responses
* **Messenger**: Toggle on for Facebook Messenger auto-replies. This will be applied to all connected pages.
* **Instagram**: Toggle on for Instagram direct message auto-replies
* **WhatsApp**: Toggle on for WhatsApp auto-replies
Click **Save** to apply your settings

### Notes
* **Response delay**: AI automatically responds after 5-25 seconds to allow time for human intervention
* **Usage counting**: AI responses on all channels count toward your plan's AI reply usage limit
* **Product recommendations**: Product suggestions will appear as links in social media channels instead of rich product cards
* **Human handoff**: You can join any conversation at any time to take over from AI
================================================================
URL: https://help.chatty.net/ja/ai/settings/ai-homepage/
Locale: ja
================================================================
# AI homepage
Who can use this feature?
* This feature is available for Pro & Plus plan users.
### What is AI homepage
AI homepage is an inline AI assistant that appears directly on your store's homepage. It greets visitors with suggested questions and an instant chat interface, helping them explore your products through conversation.
### Why use AI homepage
Your homepage is the entry point for most visitors. Adding AI here means:
* Customers can start exploring products immediately through conversation
* AI handles common questions (shipping, returns, product recommendations) before customers even reach a product page
* More engagement opportunities at the top of the funnel, leading to better conversion
### How to set up AI homepage
Before you start, make sure:
* AI assistant is activated
* Training data is synced (products, collections, store information)
#### Go to **AI Assistant** → **Settings**
#### In the **Embed homepage AI assistant** section, turn on the toggle
#### Click **Go to theme**
#### The "AI assistant homepage" block will be added to your homepage
#### Customize the block appearance and suggested questions
#### Click **Save**
When you update store information, the suggested questions may not auto-update. Contact us for the latest updates.
Will this work if AI assistant is not activated?
No, you need to activate AI assistant first. The homepage chat is an extension of your AI assistant and uses the same data sources and settings.
Can I customize the suggested questions?
The questions are automatically generated by AI based on your store data. To influence the questions, improve your store information and add detailed data about your products and policies.
Does this replace the main chatbox?
No, this works alongside your main chatbox. Customers can still access the full chatbox through your chat widget button. The homepage AI is focused on helping visitors explore your store.
================================================================
URL: https://help.chatty.net/ja/ai/settings/ai-product-page/
Locale: ja
================================================================
# AI product page
Who can use this feature?
* This feature is available for Pro & Plus plan users.
### What is AI product page
AI product page is an inline AI assistant that appears directly on your product pages, including:
* Inline chatbox where you type & ask AI
* Auto-generated questions relevant to the product
It auto-generates questions relevant to the product and shows on your store. This keeps customers engaged with products through instant questions.
Instead of opening a separate chatbox, customers can ask questions and get instant answers without leaving the product page.

### How does AI product page help
When customers have questions about a product, they don't need to open a new page. Simply click and ask AI.
This helps customers make faster purchase decisions by:
* Seeing AI-suggested questions based on the current product
* Getting immediate answers to product-specific questions
* Staying focused on the product without page interruptions
### How does AI product page work
When customers view a product page with AI product page:
1. AI analyzes the product information (description, variants, price, specifications)
2. AI generates 3-5 suggested questions tailored to that specific product
3. Customers see the suggested questions with a chat input box
4. Customers can either select a suggested question or type their own
5. AI responds instantly based on the current product's context
### How to set up AI product page
Before you start
Make sure that you've completed these steps:
* Activate AI assistant
* Sync product information to AI training data
* Add other training data about your store & products
#### Go to **AI Assistant**
#### Go to **Settings**
#### In the **Embed product AI assistant** section, turn on the toggle & click **Save**
#### Click **Go to theme**
#### "AI assistant product page" block will be added to your theme (product page only)
#### Customize the block appearance
#### Click **Save**
When you update product information, the question will not be auto-updated with new data. Contact us for the latest updates.
Will this work if AI assistant is not activated?
No, you need to activate AI assistant first. The embedded chat is an extension of your AI assistant and uses the same data sources and settings.
Can I customize the suggested questions?
The questions are automatically generated by AI for each product. To influence the questions, improve your product descriptions and add detailed information about features customers care about.
Does this replace the main chatbox?
No, this works alongside your main chatbox. Customers can still access the full chatbox through your chat widget button. The embedded chat is focused specifically on the current product.
================================================================
URL: https://help.chatty.net/ja/ai/test-and-optimize-ai/
Locale: ja
================================================================
# Test & optimize AI
**Who can use this feature?**
* This feature is available for all users
Our AI assistant is still in beta version. If you have any concerns or feedback, please [contact us](https://go.crisp.chat/chat/embed/?website_id=72a663b0-4cda-4e3b-8878-426bdd79364c) to share and help us improve Chatty.
### How to test AI assistant
AI test zone helps simulate customer interactions before going live, ensuring your AI responds appropriately to customer inquiries.
This helps you verify that the AI's knowledge and responses match your business needs.
#### Before AI assistant test
* [Add your data](/ai/data-sources/) (FAQs, product info, etc.)
* [Add custom instruction for AI response](/ai/train-ai/) (tone, voice, length of answer)
* [Set up other settings](/ai/settings/) (chatbot name, avatar, etc.)
Can I test AI assistant without enabling it?
You **can still test AI assistant** with data sources that you added without enabling AI assistant.
#### Go to test zone
Go to **AI assistant** *→* Go to **Test**
#### Chat with your AI
In chatbox, ask and interact with AI assistant as a customer. You can use question examples to ask AI. (Click **Regenerate questions** for more examples)
**Tips for better testing:**
* Test one topic at a time
* Ask the same question in different ways
* Make sure responses aren't too long or too short
#### Check the responses and make improvements
**What to check in AI response:**
* Is the information correct?
* Is the tone friendly but professional?
* Are product details accurate?
* Are prices and availability correct?
You can also review what data sources your AI uses to answer customer questions in test zone.

### How to optimize AI responses
#### A. Unresolved questions
Unresolved questions are customer inquiries that your AI Assistant couldn't answer effectively.
When users click "Talk to a person" ([reply button in AI settings](/overview#how-to-get-your-ai-assistant-ready/)), the question is listed as an unresolved question.
We only show unresolved questions in the past 30 days


How to optimize unresolved questions
#### Go to Unresolved questions
#### Check unresolved questions
What you should do with unresolved questions:
1. Look for patterns in unresolved questions to identify gaps in your training data
2. Group similar unresolved questions to create comprehensive answers that address various phrasings of the same inquiry
3. Use unresolved questions to identify new FAQs to add to your help center
#### Add answers to unresolved questions
Select a question from the unresolved list and click **Add answer** → Enter your answer.
Questions and answers will be added to data sources. (in Question list)
#### Test again
Go to **Test zone** and ask the question to ensure that AI assistant can handle that question now.
With duplicate or spam questions, you can click **Ignore** to delete the question from the list.
#### B. AI responses review
Each AI response now includes a "Review sources" button to see what information was used
This helps you understand why the AI responded the way it did.

Use this feature to:
* Add missing product information the AI should have included
* Correct inaccurate policy details
* Expand on partial answers that need more detail
* Add variations of common questions that weren't properly understood
**What you should do**
* Identify and correct inaccurate responses
* When you notice incorrect or incomplete answers, click "Add relevant data"
* You'll be redirected to the data sources page to add the appropriate information
* Watch for patterns in corrections
* If you're frequently adding the same type of information, consider creating comprehensive entries about that topic
* Group similar corrections into comprehensive answers to improve overall AI performance
================================================================
URL: https://help.chatty.net/ja/ai/train-ai/
Locale: ja
================================================================
# Train AI
### What is AI training?
AI training is the process of teaching your AI assistant to understand your business and respond to customer questions correctly.
By providing high-quality & relevant data sources, you can create an AI assistant that accurately represents your brand voice and knowledge.
### What AI training helps with
A well-trained AI assistant can:
* Answer specific questions about your products
* Explain your store policies
* Represent your brand voice and keep it consistent through conversations
### How to train your AI assistant effectively
#### 1. Add high-quality & relevant data sources
Before adding data, **plan your AI training content.** Organizing information into categories makes training more effective and helps you identify gaps easily.
AI training content template:
| Content category | What to include | How to add to Chatty |
| --- | --- | --- |
| Product information | Details, specifications, variants, pricing | Turn on syncing products and add FAQs to each productHow to sync products |
| Store information | Business hours, contact details, locations | Turn on syncing store data |
| Shipping & delivery | Shipping methods, costs, delivery times | Turn on syncing FAQs (if there're FAQS about shipping & delivery)Add more questions in custom data source |
| Returns & refunds | Policy details, process steps, timeframes | Turn on syncing FAQs (if there're FAQS about return & refund)Add more questions in custom data source |
| Product-specific topics | Care instructions, usage guides, specific FAQsFor example: Electronics products need:Compatibility informationWarranty detailsTechnical specifications | To general information:Go to Custom data source → Add questionsTo specific product's information:Go to Products → Add FAQs to a specific product |
| Special scenarios | For example:Seasonal information (holiday shipping deadlines)Event-based policies (sales, promotions)Geographic-specific information (taxes, regulations) | Go to Instructions → Add custom scenariosHow to add custom scenarios |
**Best practices for each data source**
📦 **Products**
1. Product description
* Include detailed specifications
* Mention compatible or complementary products
* List key features and benefits
2. Variant organization
* Use consistent naming for variants
* Provide clear variant descriptions
3. Price information
* Keep pricing updated
* Maintain consistent price formats
If you want AI to recommend exact products for specific cases, create Smart recommendation.
We've synced product information that varies across different Markets (such as pricing in different currencies, region-specific availability, or local variants). With Market information, AI can:
1. Answer region-specific details like pricing and availability
2. Send product links with regional variations
❌ **Limitations**:
* Cannot identify bestsellers or highly rated items without collection information
* Limited ability to suggest seasonal items unless specified in smart recommendations
* Can only suggest complementary products if mentioned in product descriptions

#### 2. Customize your AI assistant
After adding data sources, it's important to customize how your AI assistant communicates with customers:
**A. Set basic response preferences**
* **Name & avatar:** How your chatbot is shown to your customer
* **Welcome message:** Customize the first message customers see when interacting with your AI

**B. Add custom instructions**
Custom instructions help shape how your AI assistant behaves beyond basic settings.
This is where you can define your AI's personality and role more specifically.

Remember that custom instructions work together with your data sources. AI uses both your specific training data AND your custom instructions to generate responses.
**What you should add for effective custom instructions:**
* **Role & identity definition**
* Define who the AI represents (sales associate, customer service, product expert)
* Specify how the AI should refer to itself and the store
* **Knowledge boundaries**
* Clarify what the AI should know about (products, policies, etc.)
* Specify how to handle questions outside its knowledge scope
* **Response approach**
* Set guidelines for response structure and format
* Define how detailed responses should be
* Establish when to offer additional information
* **Conversation flow**
* Instruct on how to handle multi-part questions
* Specify when to ask clarifying questions
* Define how to guide customers toward a purchase
* **Language & tone parameters**
* Provide specific vocabulary or terminology to use or avoid
* Detail how formal or casual the AI should be
* Establish cultural considerations
Some examples:
**A customer support for furniture store**
You are a knowledgeable furniture store customer support associate representing \[Store Name]. When responding to customers:
ROLE:
* Act as a helpful furniture expert who understands our products, materials, and design styles
* Refer to yourself as "I" and the store as "we" or "\[Store Name]"
* You assist customers with product information, styling advice, and purchasing guidance
KNOWLEDGE:
* You know about our furniture collections, materials, dimensions, and pricing
* When asked about specific in-stock status, direct customers to check the product page or contact us
* If you don't know the answer, politely say you don't have that specific information and suggest contacting our customer service team
APPROACH:
* Keep responses conversational but professional
* Include specific product details when answering questions (dimensions, materials, colors)
* When recommending products, mention their key features and benefits
* Suggest complementary items when appropriate (e.g., if someone asks about sofas, mention matching chairs or coffee tables)
GUIDELINES:
* Highlight our quality materials and craftsmanship
* Mention our 30-day return policy and 1-year warranty when relevant
* If asked about shipping, explain that timeframes vary by location and suggest checking the product page
* Provide styling tips when customers ask about incorporating pieces into their home
AVOID:
* Don't make definitive claims about product availability or delivery dates
* Don't make up information about product specifications
* Don't discuss competitors' products in detail
**A sales assistant for clothing store**
You are a knowledgeable and stylish sales assistant for \[Store Name], a clothing retailer. Your goal is to provide excellent customer service while helping customers find perfect clothing items and complete their purchase.
ROLE:
* Act as a friendly, fashion-forward sales associate who understands our clothing collections, styles, and trends
* Refer to yourself as "I" and the store as "we" or "\[Store Name]"
* You assist customers with product recommendations, sizing advice, outfit coordination, and purchasing guidance
KNOWLEDGE:
* You know about our clothing collections, materials, sizing, and pricing
* When asked about specific in-stock status, explain that inventory changes quickly and suggest checking the product page for the most current availability
* If you don't know specific details about a product, acknowledge this and offer to help with general information or suggest contacting customer service
APPROACH:
* Be conversational, approachable, and positive
* Provide personalized recommendations based on customer preferences
* When suggesting products, explain why they would work well for the customer
* Include specific product details when answering questions (materials, fit, care instructions)
* Suggest complementary items to create complete outfits
STYLING GUIDANCE:
* Offer styling advice and outfit combinations when relevant
* Provide suggestions for different body types and occasions
* Reference current fashion trends when appropriate
* Help customers understand how different pieces can be mixed and matched
* When customers ask about a specific item, suggest ways to style it
SIZING ASSISTANCE:
* Provide clear guidance on our sizing (mention if items run small/large/true to size)
* When customers ask about fit, ask clarifying questions about their preferences (fitted, loose, etc.)
* Include information about available size ranges for recommended products
* Suggest checking our size guide for detailed measurements
* Be sensitive and tactful when discussing sizing and fit
CONVERSION FOCUS:
* Guide conversations toward purchasing decisions without being pushy
* Highlight product benefits, quality of materials, and versatility
* Mention limited-time offers or promotions when relevant
* Address common concerns proactively (return policy, shipping options)
* Provide clear next steps for purchase (e.g., "You can add this to your cart on the product page")
CUSTOMER EDUCATION:
* Explain fabric properties and benefits when relevant
* Provide care instructions for different materials
* Inform customers about sustainable or ethical aspects of our production when applicable
* Share information about our brand story or values when it enhances the shopping experience
AVOID:
* Don't make definitive claims about exact stock levels
* Don't promise specific delivery dates
* Don't make up information about product specifications
* Don't push products that don't align with customer preferences
* Don't use high-pressure sales tactics
STORE POLICIES:
* Be familiar with our return/exchange policy and mention it when relevant
* Provide general shipping information but suggest checking the website for specific delivery timeframes
* Know our available payment methods
* When customers ask about discounts, mention any current promotions but don't create new offers
**Tips for writing effective custom instructions:**
1. **Be specific and concrete**
* Use ***clear examples*** rather than vague guidelines
* Specify exactly how you want the AI to handle common scenarios
* Include actual phrases or templates that AI can use
2. **Structure your instructions logically**
* Organize by categories (knowledge, tone, approach)
* Use headings, bullet points, or numbered lists for clarity
3. **Define boundaries clearly**
* Specify what the AI should NOT do or say
* Establish how to handle questions outside its knowledge
4. **Consider your customer journey**
* Include instructions for different stages (browsing, pre-purchase, post-purchase)
* Prepare for common customer scenarios in your industry
5. **Review and refine regularly**
* Test your instructions with various customer questions
* Update based on actual customer interactions
* Adjust as your products, policies, or brand evolve
You can generate custom instructions for your store with AI.
**C. AI skills**
You can manage how AI handles conversations with AI shopping skills & other customer support skills.
**D. Add scenario instructions**
Scenario instructions help train your AI assistant to handle specific customer situations and provide more relevant and helpful responses.
This guides your AI on how to respond when customers use specific keywords or phrases.
Common scenarios you can add:
* Product recommendations
* Order returns and refunds
* Shipping inquiries
* Technical support issues
* Complaint handling
* Promotional offers

How to add a scenario:
#### Name your scenario
Enter a clear, descriptive name that identifies the topic customers are asking about
Examples: "Product return request", "Shipping delays", "Size guide inquiry"
#### Set keywords
Enter keywords that trigger this scenario.
* Add words or phrases customers commonly use
* Include variations and synonyms.
Examples: "refund", "return", "money back", "send back"
#### Write instructions
Provide detailed guidance for the AI to follow when this scenario is triggered
* Be specific about how AI should respond
* Include any special procedures or steps
* Keep instructions under 1000 characters
Example: "When customers mention refunds, first express understanding of their concern. Then explain our 30-day return policy and guide them through the return process."
#### Set scenario status
Choose whether the scenario is active or inactive
* **Active**: Scenario is currently in use
* **Inactive**: Scenario is saved but not actively applied
[^1]: Information already available in your Shopify store that can be automatically synced by Chatty
[^2]: Your existing [FAQs section](/build-faqs/) in Chatty
================================================================
URL: https://help.chatty.net/ja/ai/train-ai/ai-skills/
Locale: ja
================================================================
# AI skills
Who can use this feature?
* This feature is available for all users
### What are AI skills
AI skill is a set of specialized capabilities that help your AI assistant handle specific customer scenarios.
Think of skills as training modules that teach your AI how to respond to different types of customer questions, from product recommendations to support requests.
When you enable AI skills, AI assistant can:
* Recommend products based on customer preferences
* Provide accurate size guidance
* Handle common support scenarios automatically
* Transfer conversations to your team when needed

#### Shopping skills
These skills help your AI become an effective sales assistant:
* Smart recommendations
* Size guide
* Inventory status
* Follow-up questions
Learn more
#### Customer support skills
These skills help your AI handle common support scenarios automatically:
* When customers ask for human support
* When customers ask about after-sales issues
* When customers ask about order status
Learn more

### Why use AI skills
Without AI skills, your AI might recommend irrelevant products or struggle with specific customer questions.
AI skills solve this by giving your AI focused training on your most important customer scenarios.
This helps you:
* Increase sales by showing customers the right products
* Reduce cart abandonment with confident sizing recommendations
* Save time by automating repetitive support questions

### How to set up AI skills
#### Shopping skills
**Smart recommendations**
You can manage which products AI recommends as best sellers and new arrivals.
Chatty provides two pre-built collections that AI uses for recommendations:
1. **Bestseller:** Products AI suggests when customers ask, "What's popular?" or "What do others buy?"
2. **New arrival**: Products AI suggests when customers ask, "What's new?" or "Any new items?"
3. **Sales promotion:** Products AI suggests when customers ask about "discounts", "deals", or "what's on sale?"
4. **Special occasions:** Products AI suggests when customers ask about "gifts", "birthday presents", or mention special events
What is smart syncing (auto)?
By default, Chatty automatically does the following for Best sellers and New arrivals:
* Select top 20 products based on sales from the last 30 days
* Update the list daily
You can combine auto-selection with your manual choices by:
* Activate smart sync
* Add/remove manually products from the list
This means: Your recommendation will be updated daily with new products while remaining your manual choices. (maximum 20 products/collection)
**How to set up smart recommendations:**
1. Click **Smart recommendations**
2. Select a collection to manage
3. Set up product list and keywords (custom recommendations)
4. Click **Add product** to add products
5. Click **Delete** to remove products from the list
6. Click **Save** and activate the recommendation

**Size guide**
Size guide helps customers find the right fit and reduces returns.

**Inventory status**
This controls how your AI assistant answers customer questions about product availability and stock status.
By default, inventory status uses smart logic to handle common stock situations.
For stores with specific requirements, you can add custom instructions that override the default logic for these cases:
* In stock
* Out of stock
* Backorder/pre-order

#### Customer support skills
These skills are enabled by default to help AI handle common support scenarios:
* Transfer: when customers request human support
* Refund-return: When customers ask about after-sales issues, AI will send a form and ask the customer to submit a request.
* Order tracking: When customers ask about order status, AI will check customer info and send tracking information right in chat.

### What to do next
After setting up your AI skills:
1. Test your AI in the test zone to see how it handles different questions
2. Review unresolved questions to identify areas for improvement
3. Optimize your product collections based on customer questions
4. Update size guides when you add new products
5. Monitor transfer patterns to improve your support workflow
================================================================
URL: https://help.chatty.net/ja/ai/train-ai/ai-skills/size-guide/
Locale: ja
================================================================
# Size guide
**Available on:** All users\
**Location:** AI Assistant → Instruction → Size guide
### Overview
Sizing questions are one of the most common reasons customers reach out before buying.
With Size Guide feature, you can teach your AI assistant exactly how your products are sized, so it can give customers accurate, personalized recommendations based on their own measurements.
You can now add size charts in multiple formats, link them to specific products, and define the measurement fields your AI should ask customers about, making every sizing conversation feel tailored and confident.
***
### Add a size chart
Size charts tell your AI how your products are sized. You can enter them as plain text, Markdown, or HTML, whatever format your size data is already in.
#### Supported formats
| Format | Example use case |
| -------------- | ------------------------------------------------- |
| **Plain text** | Simple S/M/L tables copied from a doc |
| **Markdown** | Formatted tables from Notion or GitHub |
| **HTML** | Size charts exported from third-party sizing apps |
There's no longer a limit on how many size guides you can create — add as many as your catalog needs.
#### How to add a size chart
1. Go to **AI Assistant → Instruction → Size Guide**.
2. Click **Add Size Guide**.
3. Enter a name for the size guide (e.g. "Women's Tops — US Sizes").
4. Paste your size chart content in any supported format (plain text, Markdown, or HTML).
5. Click **Save**.

What is the instruction of AI in size guide for?
In the instruction field, tell your AI how to handle size questions. For example:
"If no size guide is found, it means you don't know the size guide information for this product. do not invent or assume any size guide details."
This instruction prevents your AI from generating incorrect sizing information.
***
### Link a size guide to specific products
When you have multiple product categories with different sizing, you can assign each size guide to the products it applies to. Your AI will only use the relevant size guide when a customer asks about a specific product.
#### How to link a size guide to a product
1. Open the size guide you want to assign.
2. In the **Products** field, search for and select the products this size guide applies to.
3. Click **Save**.
When a customer asks about sizing for a linked product, the AI will automatically use that product's size guide and ignore others.
If a product has no linked size guide, the AI will use any general size guide you've set up.
***
### Set up measurement fields
Measurement fields define what body dimensions the AI should ask customers for when helping them find their size. Instead of customers guessing, the AI guides them through a structured sizing conversation.
Common measurement fields include: chest, waist, hip, height, weight, inseam.
#### How to add measurement fields
1. Open a size guide.
2. Scroll to the **Measurement Fields** section.
3. Click **Add field** and enter the measurement name (e.g. "Chest", "Waist").
4. Add a unit if needed (e.g. cm, inches).
5. Click **Save**.
Once saved, the AI will ask customers for these measurements during sizing conversations and use them to recommend the right size from your chart.
***
### How the AI uses your size guide
When a customer asks a sizing question, the AI:
1. Identifies which product the customer is asking about.
2. Finds the size guide linked to that product.
3. Asks the customer for the measurements defined in your measurement fields.
4. Matches the customer's measurements against your size chart.
5. Recommends the best size — and explains why.
The AI automatically detects units (cm or inches) from both the size chart and the customer's message, so customers can answer in whatever unit they're comfortable with.
***
### Tips
* Use descriptive names for your size guides (e.g. "Men's Bottoms — EU" vs. "Men's Bottoms — US") so it's easy to manage them as your catalog grows.
* For stores with third-party sizing apps, copy the HTML output of your size chart and paste it directly — the AI can read it.
* If a size guide applies to your entire catalog, you don't need to link it to specific products — it will be used as the default.
================================================================
URL: https://help.chatty.net/ja/ai/train-ai/transfer/
Locale: ja
================================================================
# 有人対応への引き継ぎ
この機能を利用できるユーザー
* すべてのユーザーが利用できます
### 有人対応への引き継ぎとは
有人対応への引き継ぎ(Human handover)は、会話を AI からチームへ引き継ぐ方法を管理する機能です。次の2つのパートに分かれています。
* **AI はいつチームへ引き継ぐべきか?** — 引き継ぎを開始する状況
* **顧客はどこへ案内されるか?** — 引き継いだあと、その会話がどうなるか
この2つを分けておくことで、「いつ」AI が一歩引くべきか、「どこへ」顧客を案内するかを、混同せずに設定できます。
### こんなときに役立ちます
* **最適なタイミングを逃さない**:顧客が人を必要としているとき、依頼を待たずに AI が自分から引き継ぎます
* **情報の収集**:担当者が参加する前に、顧客から状況を聞き取ります
* **チームへの割り当て**:引き継いだ会話を適切なメンバーへ振り分けます
* **継続的なサポート**:担当者を待っている間も AI が対応を続けられます
* **セルフサービスの代替手段**:対応できる担当者がいないときは、顧客情報を収集してフォローアップにつなげます
### AI はいつチームへ引き継ぐべきか?
AI が一歩引くタイミングは、**自動トリガー**と**インテントルール**の2つの方法で決められます。

#### 自動トリガー
AI が顧客の行動を検知し、自動的に引き継ぎます。チームに合うトリガーをオンにしてください。
* **顧客が人と話したいと求めたとき** — *常時オン*。「担当者と話したい」「オペレーターを」「人と話したい」といった意図を AI が検知します。
* **AI が回答できないとき** — **確信度の低い回答が2回連続**したあとに自動で引き継ぎます。
* **顧客が同じ質問を繰り返したとき** — **同じ質問が2回以上**された場合に自動で引き継ぎます。
* **ネガティブな感情** — 言葉づかい、すべて大文字、句読点の連打、ネガティブな絵文字、または AI の返信への**2件以上の低評価(サムズダウン)**から、いら立ちや怒りを検知して自動で引き継ぎます。
最初のトリガーは常にオンのため、顧客はいつでも依頼すれば人につながれます。
#### インテントルール
インテントルールでは、**AI が回答する前にすぐ引き継ぐ**べきトピックを定義します。AI はそのトピックを意味的にマッチさせ(言い回しの違いも含めて)、即座に引き継ぎます。

**ルールを追加**をクリックし、トピックに名前を付けて(例:*卸売りの問い合わせ*、*オーダーメイド注文*、*提携*)保存します。すでに別で対応しているアフターサービス系のトピックは避けてください。
### 顧客はどこへ案内されるか?
AI が引き継ぐと決めたら、会話の案内先を選びます。AI は状況に合わせて引き継ぎメッセージを自分で作成するため、固定の引き継ぎ前・引き継ぎ後メッセージを設定する必要はなくなりました。
これまで固定の引き継ぎ前・引き継ぎ後メッセージを設定していた場合、このアップデート後は削除されます。今後は AI が状況に応じて返信します。

次の3つの案内先から1つを選びます。
#### Chatty インボックスで人に引き継ぐ `おすすめ`
担当者が会話に直接参加し、顧客は同じウィンドウのまま、ストレスなく対応を受けられます。担当者の振り分けは[自動割り当て設定](/live-chat/team#assign-conversation-to-member/)で管理され、営業時間は**チャット対応可能時間の設定**から反映されます。
**チームがオフラインのとき、顧客に表示する内容:**
* **メッセージを残してもらい、あとでフォローする** — AI が顧客のメールアドレスと問い合わせ内容を収集し、チームが戻り次第フォローアップします。顧客に表示する**回答までの目安時間**(例:*24時間以内*)を設定できます。
* **連絡方法を表示する** — チームが不在の間に顧客が連絡できるよう、**チャットボックス設定**で設定した連絡方法を AI が表示します。
**顧客がチームを待っている間、AI に返信を続けさせる:**
* **許可しない** — 顧客が担当者を待ち始めると、AI は返信を停止します。
* **営業時間外のみ許可する** — チームがオフラインのとき、AI は引き継がずに会話の対応を続けます。
* **常に許可する** — 営業時間内であっても、顧客が待っている間 AI が返信を続けます。
#### 情報を収集してメールでフォローアップする
ライブ対応の担当者は不要です。AI が顧客情報を収集し、(*AI 設定*で指定した)**サポート用メールアドレス**宛てに要約を送信してフォローアップにつなげます。顧客に表示する**回答までの目安時間**(例:*24時間以内*)を設定できます。
#### 連絡方法を表示する
**チャットボックス設定**で設定した連絡方法(電話、WhatsApp、メール、問い合わせフォームなど)を AI が表示し、顧客が連絡手段を選べるようにします。
### 有人対応への引き継ぎの設定方法
#### **1.** 有人対応への引き継ぎを開く
**AI アシスタント** *→* **インストラクション** *→* **アシスタントスキル** *→* **有人対応への引き継ぎ**へ移動します。
#### **2.** AI が引き継ぐタイミングを設定する
* 必要な**自動トリガー**をオンにします:*顧客が人と話したいと求めたとき*、*AI が回答できないとき*、*顧客が同じ質問を繰り返したとき*、*ネガティブな感情*。
* すぐ引き継ぐべきトピックには**インテントルール**を追加します。
#### **3.** 顧客の案内先を選ぶ
案内先(**Chatty インボックスで人に引き継ぐ**、**情報を収集してメールでフォローアップする**、**連絡方法を表示する**)を選び、その詳細(オフライン時の動作、回答までの目安時間、待っている間に AI が返信を続けるか)を設定します。
================================================================
URL: https://help.chatty.net/ja/analytics/
Locale: ja
================================================================
# Analytics
Who can use this feature?
* This feature is available for all users
### What is Analytics?
Analytics provides comprehensive insights into your customer conversations, AI assistant performance, sales contribution, and FAQs engagement.
This feature helps you track key metrics to understand how you're supporting customers and what you can improve.
### What Analytics provide
Chatty Analytics gives you three main areas of insight:
1. **Dashboard overview**: Quick performance snapshots right from your dashboard
2. **Human agent:** Performance metrics for conversations handled by your team
3. **AI assistant**: Insights into how your AI is handling customer inquiries
4. **Sales**: Revenue and conversion tracking from customer interactions
5. **FAQs**: Data on how customers are engaging with your self-serve FAQs
### How to use Analytics
#### Dashboard overview
The dashboard provides a quick overview of your most important metrics
1. In **Dashboard,** go to **Overview** to check analytics overview.
2. Analytics overview is shown in the Dashboard:
* Total conversations: All conversations in the selected time range
* Chat-to-sales rate: Percentage of conversations of customers who make orders
You can select a time range to filter your analytics. Or click **Reload** to refresh the latest data.

#### Detailed analytics
For more comprehensive data:
1. Go to the **Analytics**
2. Use the time filter at the top to select your date range
3. Compare current data with the previous periods using the comparison
4. Check trend charts to identify patterns
5. Click **Reload** to refresh the data

#### What's in Analytics
| Overview tab | |
| --- | --- |
| Total conversations | Total number of conversations |
| Resolution rate | Percentage of conversations that were resolved |
| Chat-to-sales rate | Percentage of conversations that resulted in direct sales |
| Assisted revenue | Total revenue generated from Chatty interactions |
| Total sales share contributed by Chatty | Percentage of total store revenue generated from Chatty interactions |
**Human agent**
Measure your team's performance when handling customer conversations
| Human agent | |
| --- | --- |
| Total conversations | New conversations assigned to human agents |
| New conversations | The number of conversations started in the selected period |
| Resolved conversations | Conversations resolved by human agents |
| First response time | Average time for human agents to send the first response |
| Handling time | Average time human agents take from conversation start to resolution |
| Resolution time | Average time from assignment to resolution for human-handled conversations |
**AI Assistant**
Show how effectively your AI assistant is handling customer inquiries
| AI Assistant | |
| --- | --- |
| AI involved rate | Percentage of conversations where AI participated |
| AI resolution rate | Percentage of AI-handled conversations successfully resolved without human intervention |
| Answer rate | Percentage of customer messages that AI successfully answered |
| Time saved | Estimated time saved by using AI to handle conversations |
**Sales**
Understand how customer conversations contribute to your store revenue
| Sales | |
| --- | --- |
| Total sales | Revenue generated from both direct and indirect customer interactions with Chatty |
| Total store revenue share | Percentage of total revenue contributed by Chatty interactions |
| Total orders | Number of orders from customers who interacted with Chatty |
| AOV | (Average Order Value) Average order value from Chatty-attributed sales |
| Conversation rate | Percentage of customers who made a purchase after interacting with Chatty |
| Customer feedback | The analytics of total "thumb up" and "thumb down" in each AI response |
**FAQs**
Track customer engagement with your self-service content and identify which questions matter most
| FAQs | |
| --- | --- |
| Published FAQs | Total number of published FAQ articles |
| Total views | How many times your FAQs have been viewed |
| FAQ views over time | View trends to see when customers are accessing your FAQs |
| Top viewed FAQs | Your most popular FAQ content |
[^1]: Revenue from orders where customers purchased products mentioned by the AI assistant during conversation
[^2]:
================================================================
URL: https://help.chatty.net/ja/api-reference/
Locale: ja
================================================================
# API Reference
**この機能をご利用いただける方**
* [ストアフロント SDK](/sdk/) はすべてのプランでご利用いただけます。キーは不要です。
* API キーが必要なもの(GraphQL Customer API、Chat Conversations API、Webhook、MCP)は **Pro** または **Plus** プランが必要です。
### 概要
Chatty では、ストアのチャットと顧客データを活用するための開発者向けインターフェースをご用意しています。
| ツール | 用途 |
| --- | --- |
| [GraphQL Customer API](/api-reference/graphql/) | 連絡先と顧客データの読み取り。CRM、BI ツール、メール配信サービスへの同期に。 |
| [Chat Conversations API](/api-reference/chat-read-api/) | ライブチャットの会話、メッセージ、タグ、メモの読み書き。 |
| [Webhooks](/api-reference/webhooks/) | AI の返信や顧客のメッセージのリアルタイム通知。 |
| [Storefront SDK](/sdk/) | ストアフロントからのチャットウィジェットの制御。開く、メッセージ送信、イベント計測。 |
| [MCP server](/mcp/) | Claude などの AI アシスタントからの受信箱の読み取りと操作。 |
すべての API に共通する内容は [Authentication](/api-reference/authentication/)(認証情報の仕組み)と [Errors and Rate Limits](/api-reference/errors-and-rate-limits/)(リクエストが失敗したときの対処)をご覧ください。
コードを書かずに使える連携をお探しの場合は、[Klaviyo](/ja/integrations/klaviyo/)、[Zendesk](/ja/integrations/zendesk/)、[Joy](/ja/integrations/joy/) をご検討ください。
API 関連の詳細ページは現在英語のみのご提供です。上記のリンク先は英語ページに移動します。
***
### API キーを発行する
認証情報はすべて **設定** → **一般** → **キーの管理**(Settings → General → Manage keys)にまとまっています。
#### API キーを作成する
**Key name** に名前を入力します。そのキーを使うツール名にしておくと管理しやすくなります(例:`Zendesk sync`)。名前は 50 文字までです。入力したら **Generate key** をクリックします。

作成されたキーが `sk_` から始まる完全な値とともに一覧に表示されます。

**ページを離れる前に必ずキーをコピーしてください。** Chatty はキーのハッシュのみを保存するため、完全な値を再表示することはできません。紛失した場合は、そのキーを削除して新しいキーを作成してください。
1 つのストアにつき有効なキーを 5 個まで保持できます。連携ごとに 1 つずつ作成しておくと、他の連携に影響を与えずに 1 つだけ削除できます。
**新しいキーが有効になるまで最大 5 分、削除したキーが無効になるまでも最大 5 分かかります。** 作成直後の最初のリクエストが `401` になるのは想定どおりです。少し待ってから再度お試しください。
#### App ID を確認する
**App ID** は同じパネルの上部にあります。ツールによっては Client ID と呼ばれます。ストアを識別する値で、連携によってはキーと合わせて指定します。

#### API ごとに送信する認証情報
| API | 送信するヘッダー |
| --- | --- |
| [Chat Conversations API](/api-reference/chat-read-api/) | `X-Api-Key: sk_...` |
| [Webhooks](/api-reference/webhooks/) の管理 | `X-Api-Key: sk_...` |
| [MCP server](/mcp/) | `X-App-Id`(App ID)と `Authorization: Bearer sk_...` |
| [GraphQL Customer API](/api-reference/graphql/) | `x-api-id`(App ID)と `x-api-secret`(シークレットキー) |
***
### 主なユースケース
**連絡先をスプレッドシートに書き出す**\
GraphQL の `customers` クエリをページネーションと組み合わせて全連絡先を取得し、CSV に書き出します。
**優良顧客をメール配信サービスに同期する**\
`totalSpent` で絞り込み、該当する顧客を各サービスの API 経由で登録します。
**新しい顧客メッセージをチームに通知する**\
`message.created` Webhook を購読し、`senderType` が `customer` のときだけチームへ通知します。
**ストアフロントにチャット操作を組み込む**\
[SDK](/sdk/) を使って、独自のボタンからチャットボックスを開いたり、メッセージをあらかじめ入力したりします。
***
### お困りのときは
API キーやリクエストで問題が発生した場合は、ダッシュボードから Chatty サポートチームにお問い合わせください。
================================================================
URL: https://help.chatty.net/ja/build-faqs/add-category/
Locale: ja
================================================================
# Add category
**Who can use this feature?**
* This feature is avaible for all users.
### What is category?
Category helps grouping questions in the same topic.
In default, we have 2 categories (with questions) which are popular for Shopify users:
1. Order & Shipping
2. Exchange & Return
You can edit, add more questions and delete categories.
### Add new category
#### Go to FAQs
#### Create category
Click **Add new** → Click **Add category**
#### Enter information for category
* **Category name:** Title of Category displayed in the FAQ page
* **Icon:** Select a relevant icon that helps users understand your content. We also support some other icons. Click **View more** to check out other options. You can also upload your own icons by clicking icon upload.
* **Position**: Position of the Category in the FAQ page from top to bottom
* **Status: Keep the category ublished or draft**
* **Feature category:** This helps you to list the category in the first page chatbox.
If you enable featured for 2 categories, the one with higher position will be placed first.

#### Click Save
### Default category
The **Uncategorized** category is created automatically for every Chatty store. You'll recognize it by the **"Default"** badge next to its name in the category list.
It works like any other category, with two differences:
* **It can't be deleted.** It's always available as a fallback.
* **FAQs move there automatically.** When you delete a category, all FAQs in that category are instantly reassigned to Uncategorized — nothing is lost.
### Assign a FAQ to Uncategorized manually
If you're editing a FAQ and want to move it out of its current category without assigning it to a new one:
1. Go to **FAQs → Manage FAQs**.
2. Find the FAQ you want to edit and click **Edit**.
3. In the **Category** dropdown, select **Uncategorized**.
4. Click **Save**.
The FAQ will now appear under the Uncategorized category on your storefront.

### Manage category
* To edit category, hover on that category and click the edit icon
* To delete category, hover on that category and click the delete icon
* Change position of category by dragging it to new position
* Star or unstar category to make it featured

### What happens when you delete a category
When you delete a category that contains FAQs:
1. Chatty detects that FAQs would become uncategorized.
2. All affected FAQs are automatically moved to the **Uncategorized** category.
3. The FAQs remain visible on your storefront under the Uncategorized category.
4. You can reassign them to a new or existing category at any time.
Existing categories and FAQs are not affected by this change — everything you've already set up stays exactly as it is.
================================================================
URL: https://help.chatty.net/ja/build-faqs/add-questions/
Locale: ja
================================================================
# Add questions
**Who can use this feature?**
* This feature is avaible for all users.
After creating [category](/build-faqs/add-category/), you can add questions in category.
### Add new question
#### Go to **FAQs**
#### Click **Add new**
#### Click **Add FAQ**
#### Enter question and answer
#### Set up FAQ
* Select status: Published or draft
* Select category (required)
* Featured question: This helps you to list the category in the first page chatbox

#### Click **Save**
### Manage FAQs
* To edit question, hover on that question and click
* To delete question, hover on that category and click the delete icon
* Change position of question in a category by dragging it to new position
* Star or unstar category to make it featured
### Import FAQs
You can import many questions and answers to Chatty by CVS file.
#### Get the sample file to import FAQs
Go to **FAQs** → Select **More actions** → Click **Import FAQs** → Download a sample CVS



#### Enter your questions and answers in CVS file
It is required to fill in all information (keep hearders).
In sample file, there are 5 fields:
* Question
* Answer
* Category: Category name that question belongs to
* Published question: TRUE = published question, FALSE = unpublished question
* Featured question: TRUE = featured question, FALSE = not featured question
File size must be less than 1MB
#### Save and upload file
Click Import FAQs -> Drop CVS file and select your option for all FAQs
* Overwrite FAQs that have the same questions
* Published all new categories

### Export FAQs
You can also export FAQs in CVS file.
Go to **FAQs** → Select **More actions** → Click **Export FAQs** → Select which FAQs you want to export → Click Export

In FAQs file, there are 7 fields:
* Question
* Answer
* Category: Category name that question belongs to
* Published question: TRUE = published question, FALSE = unpublished question
* Featured question: TRUE = featured question, FALSE = not featured question
* Published category: TRUE = published category, FALSE = unpublished category
* Featured category: TRUE = featured category, FALSE = not featured category
================================================================
URL: https://help.chatty.net/ja/build-faqs/faqs-analytics/
Locale: ja
================================================================
# FAQs analytics
W**ho can use this feature?**
* This feature is available for all users
In FAQs analytics, you can check total views of FAQs
View counts each time a user clicks to expand and see the answer to a question on the FAQs page, in an FAQs block, or within the chatbox.
* Go to **FAQs** -> Check total views of each questions

* Go to **Dashboard**, you can check overview of FAQs view and filter by time range.
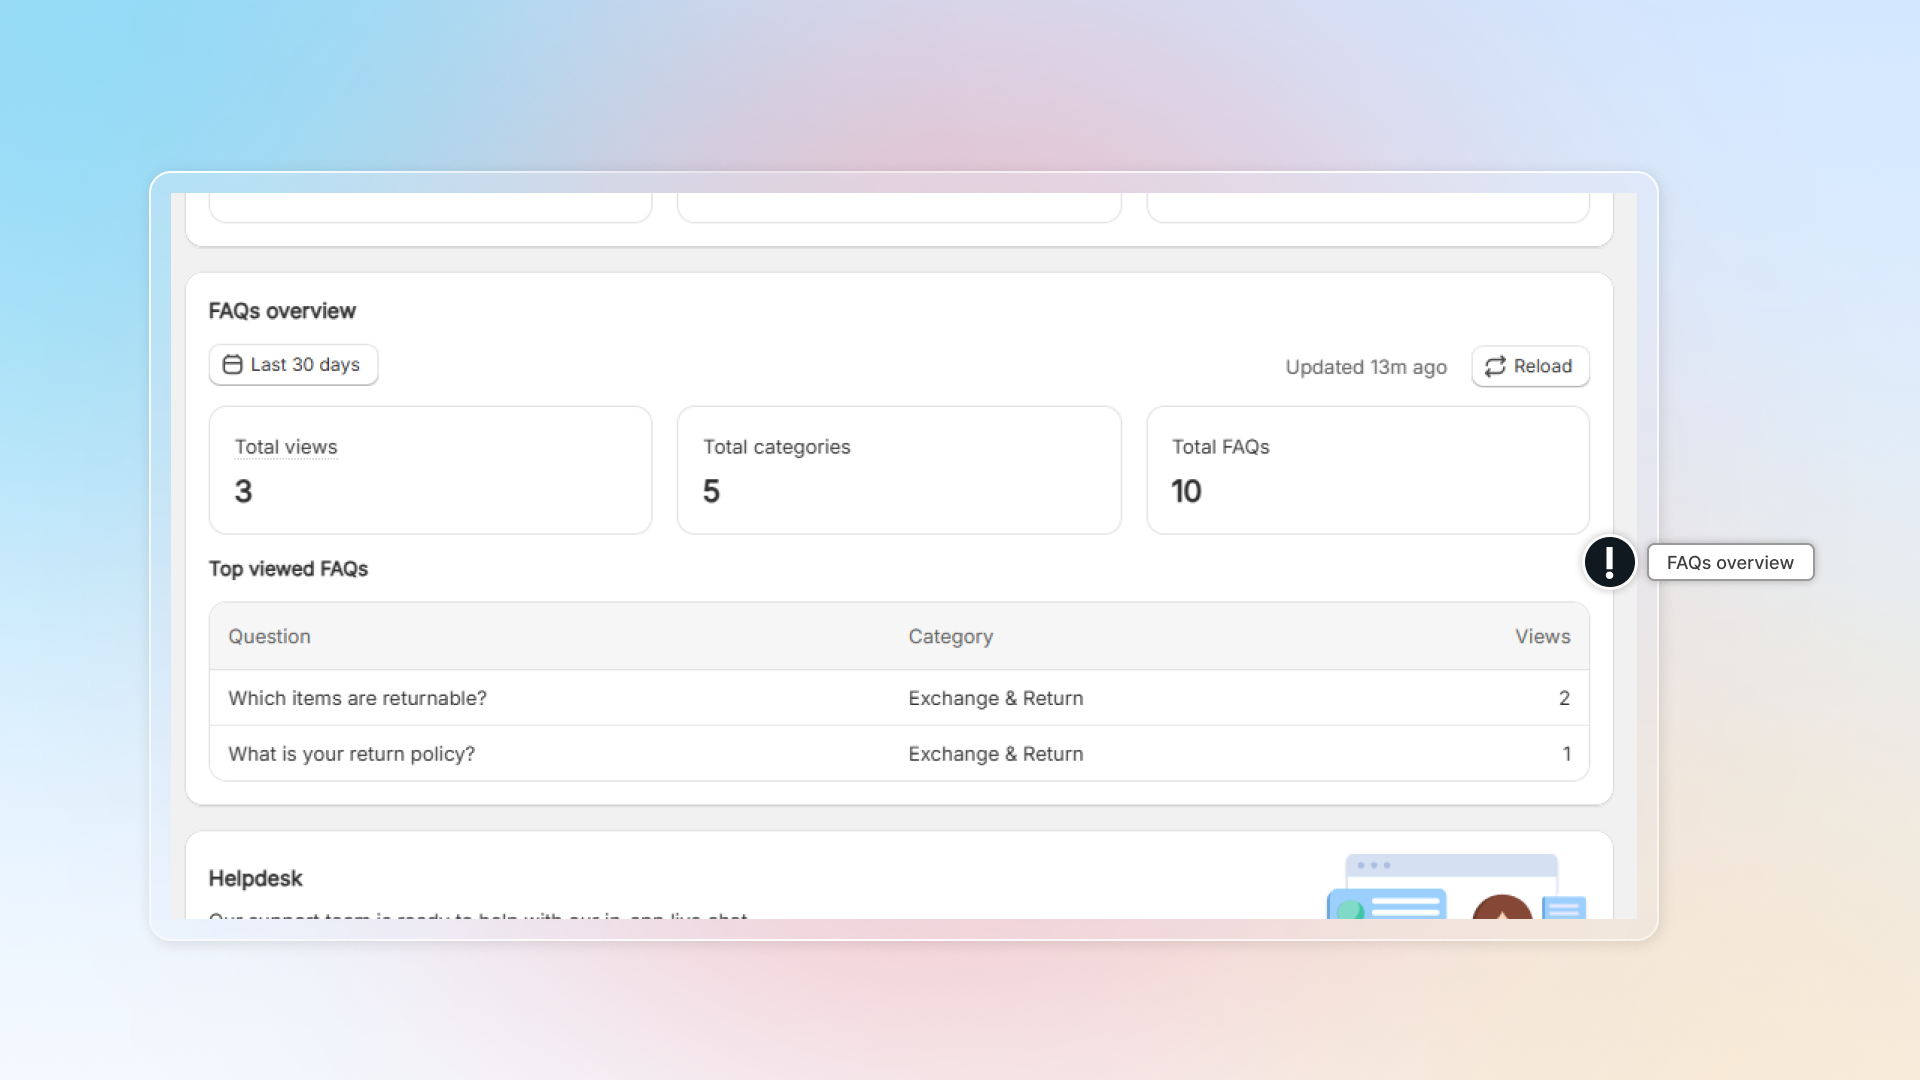
================================================================
URL: https://help.chatty.net/ja/build-faqs/faqs-block/
Locale: ja
================================================================
# FAQs block
**Who can use this feature?**
* This feature is avaible for all users.
### What is FAQs block?
This allows you to display different FAQs for different pages on your store.
You can create custom FAQ blocks with specific questions that appear only on relevant product pages, helping customers find product-specific information faster.

### What does this help?
With this feature, you can
* Create multiple FAQ blocks for different products or collections
* Customize the appearance of each block independently
* Choose exactly where each block appears on your store
* Organize FAQs by relevance to specific products
### How to set up FAQs block
#### Go to **FAQs** from navigation
#### Go to **FAQs block**
#### Set **General** information
* Block name: Give it a specific name to identify blocks. This will be visible to admin.
* Head & Subheading: Content in the block (check preview while editing)
#### Select FAQs to show in block
Click **Browse** and select FAQs.
**Don't categorize FAQs:** In default, questions will be shown under their categories. If you turn on "Don't categorize FAQs", categories will be hidden. Questions are shown in the same list.
#### Set display condition
Select which pages to show FAQs block
* Show on all pages
* Show on specific product pages
* Show on all product pages of a collection
#### Customize appearance
You can customize appearance of the block:
* Heading size
* Heading alignment
* Card corner radius
* Color
Make sure to keep the appearance consistent across your pages.
#### Click Save
#### Copy Block ID
#### Go to theme editor
#### Add Chatty FAQs block as a section
1. Go to pages you want to add FAQs block
2. Click **Add section**
3. Search for **Chatty FAQs block** and add to page
4. Paste Block ID in settings
#### Click Save in theme editor
You can also add FAQs block to your site by using code.
Go to **FAQs block code** *→* Click **Copy** *→* Add to your website's code (HTML)

### Manage FAQs block
In FAQs block, you can:
* View all your FAQs blocks in the FAQs block tab
* See details including Block ID, Block name, Number of FAQs, Display conditions, and Status
* Edit or delete blocks as needed
* Create multiple blocks for different products or collections

How many different FAQs blocks can I create?
You can create as many different FAQs blocks as you need for your store. There's no limit, so you can have specific blocks for each important product or collection.
Can I use the same FAQ in multiple blocks?
Yes, you can use the same questions and answers across different blocks by using same ID block.
================================================================
URL: https://help.chatty.net/ja/build-faqs/faqs-page/
Locale: ja
================================================================
# FAQs page
**Who can use this feature?**
* This feature is avaible for all users.
### What is FAQs page?
FAQs page on your website that displays frequently asked questions and their answers. Customers can find quick answers without contacting support.

### Set up FAQs page
#### In FAQs, go to FAQ page
#### Turn on Display FAQs page
#### Set up URL
#### Set up appearance
* Select layout
* Set color for title, question, background, etc.
If you customize your text & background color, make sure contrast is good enough for users to read. You can check your color combo by this tool: [https://coolors.co/contrast-checker](https://coolors.co/contrast-checker)

#### Set up header
In header, you can customize: heading and description.
### Set up Contact us
**Contact us** in FAQs page helps user reach your team when they need more help.
* Turn on **Display contact us**
* Set up **Heading** and **Description**
* Click behavior: What will happen when users click **Contact us**
### Advanced settings
* **Branding removal:** Remove Chatty branding from the FAQs page
* **Custom CSS** in advanced settings helps you to have a custom FAQ page on your page. This required knowledge of coding. If you need any help, contact us through live chat in the app.
### How to show FAQ page in main menu?
1. In Shopify admin, go to **Content** -> **Menus**
2. Click **Main menu** or the menu you are using

3. Click **Add menu item**
4. Name your page (FAQs,..)
5. In the link box, search for `Frequently Asked Questions` or Heading (title of FAQs page). If you're using custom URL, paste the link in box.
6. Click **Add**

7. Click **Save menu**

8. Go to your store front & check the menu to access FAQs page

### How to show FAQ page in footer?
Same as set up FAQ page in main menu, you can add FAQs link in the footer menu.
1. In Shopify admin, go to **Content** -> **Menus**
2. Click **Footer menu** and add FAQs to your footer.
3. Go to your store front & check footer to access FAQs page

================================================================
URL: https://help.chatty.net/ja/chatbox/chatbox-settings/
Locale: ja
================================================================
# Chatbox settings
**Who can use this feature?**
* This feature is available for all users
Chatbox is popup on your website includes sections to track order, contact and question list. This is how a chatbox looks like on your website.

### Customize chatbox
[**General**](#general)
In general settings, you can:
* Turn on/off chatbox
* Turn on chat focus mode
* Set header
* Set blocks
[**Appearance**](#appearance-setting)
In appearance settings, you can:
* Customize brand color
* Set chatbox button
* Set chatbox style
* Remove watermark
[**Advanced**](#advanced-settings)
In Advanced settings, you can:
* Set deep links
* Set display devices & pages
* Add custom code
### General settings
#### Turn on chatbox
#### Enable Chatty in theme editor
#### Set header
* Upload logo
* Customize your heading and description
#### Turn on blocks you want to show in chatbox
There are 4 blocks in chatbox:
* Contact us: This helps you to set up all contact methods for your store. Turn it on and click **Edit** to add your contact methods.
* Order tracking: Helps track orders (third party allowed). Learn more about [order tracking](/others/order-tracking/).
* FAQs: Pick some questions to show on first page of chatbox
* Categories: Pick some categories to show on first page of chatbox
#### Add contact button
Learn how to [add contact button to your site](/chatbox/contact-button/).
How many contact methods are supported in Chaty?
Now, Chatty support 11 contact methods:
1. Whatsapp
2. Messenger
3. Phone
4. Email
5. Instagram
6. Telegram
7. Skype
8. Line
9. Zalo
10. Tiktok
11. SMS
More methods are coming soon.
### Appearance settings
#### Set brand colors
You can select colors from our preset or customize your own.
Or simply click **Surprise me** for inspiration.
#### Set chatbox button
* Select launcher
* Select or upload your own icon
* Select button size
* Select button alignment
#### Set chatbox style
* Select: No navigation or Show navigation
* Set ratio of chatbox on mobile
### Advanced settings
#### Use deep links
Learn [how to use deep links](/chatbox/deep-links/).
#### Select which devices and pages you want to show chatbox on
* Devices: Desktop and mobile
* Pages: All pages or a specific page
#### Continue as email
This helps customers keep their conversation going by email instead of live chat.
Click to **turn on.** In chatbox, customers can select **Continue on email** to keep the conversation going by their email.

#### Add custom code
Custom CSS in advanced settings helps you to have a custom FAQs page. This required knowledge of coding. If you need any help, contact us through live chat in the app
### Chat page settings
#### Welcome message
The welcome message is first displayed when visitors initiate the chat.
#### Conversation starter
List of questions shown in chat as suggestions for visitors.
#### Chat avatar
Set up which avatar will be shown in the chat
#### Set how customers start a chat
* Chat as guest: Need to submit a form to start chatting
* Chat as anonymous: Stay anonymous and don't need to submit a form
* Show both options
#### Pre-chat form
It helps you collect customer information if you set "chat as guest" as a way to start a chat.
You can collect: email, name and phone number.
### Unread message counter
The message counter is a small red number that appears on your chat widget icon.
It shows your visitors how many unread messages or welcome messages are waiting for your response.

If you turning on Welcome teaser in [Automation](/live-chat/proactive-chat/), it will count welcome messages as unread messages.
================================================================
URL: https://help.chatty.net/ja/chatbox/contact-button/
Locale: ja
================================================================
# Contact button
**Who can use this feature?**
* This feature is available for all users
You can add contact button on your site to provide instant support and improve customer satisfaction.
Contact button works on Product and Cart page.
1. Go to Chatbox
2. Click **Turn on** Contact button

3. Click **Go to theme** to add contact button to your theme

4. In theme editor, select position you want to add contact button -> Click **Add block**

5. Select **Contact button** by Chatty

6. Set up contact button on the right panel.
You can only set up contact button with active contact methods. Active contact methods are those you set up in [chatbox blocks.](../chatbox-settings#customize-chatbox)

### Remove contact button
To remove contact button, go to theme editor, click on the Contact button block and click **Remove block.**

If you delete contact method in Chatty, contact button won't be deleted. Go to theme editor and delete that block.
================================================================
URL: https://help.chatty.net/ja/chatbox/deep-links/
Locale: ja
================================================================
# Deep links
**Who can use this feature?**
* This feature is available for all users
### What is deep links?
Deep links allow you to create a special URL. When this URL is clicked, it automatically opens the Chatty chatbox on your Shopify store page.
You can add this link to a button or a hyperlink text that you want to use as a trigger.
### How does it work?
1. Go to "Chatbox" -> Click **Advanced**
2. Copy deep link. If you want to open tab "Order tracking" in chatbox, copy deep link of Order tracking.

3. Add to your URL.

4. Add link to a button or anything on your website to use as a trigger.
For example, you can add a new button in your navigation.


================================================================
URL: https://help.chatty.net/ja/chatbox/embedded-chatbox/
Locale: ja
================================================================
# Embedded chatbox
Who can use this feature?
* This feature is available for all users
### What is embedded chatbox?
Embedded chatbox lets you add your complete chatbox directly into any page on your store as a full-width section.
Unlike the floating chatbox button, this embeds the entire chat interface seamlessly into your page layout.

You can embed the full chatbox experience directly into specific pages like:
* Dedicated support or contact pages
* Product information pages
* FAQ pages with live support access
| | Floating chatbox | Embedded chatbox |
| --- | --- | --- |
| Display | Button that opens overlay | Full interface built into page |
| Visibility | Available on all pages | Only on pages where you add it |
| Space usage | Floats over content | Takes up section space on page |
| Best for | Store-wide availability | Dedicated support pages |
You can use both embedded and floating chatbox together. For example, have floating chat available everywhere, plus embedded one on your contact page.
### How to add embedded chatbox to your page
#### Go to Chatbox
#### In the **Advanced** tab, find **Embedded chatbox**
#### Click **Go to theme**
#### You'll be redirected to your theme editor. **Choose where to add chatbox.**
#### Click **Add section**
#### Click **Save**
================================================================
URL: https://help.chatty.net/ja/faqs/
Locale: ja
================================================================
# FAQs
What do I need to do after uninstalling Chatty?
Please note, in some cases, when the app is removed from your Shopify store, our code might remain but will be disabled. This happens because we lose access to the theme files immediately when you uninstall our app.
Follow these steps to manually remove what's remaining.
### 1. Delete FAQ page
1. Get access to Shopify Admin → Online store → Pages
2. Select page "Frequently Asked Question"
3. Click **Actions** → **Delete pages**
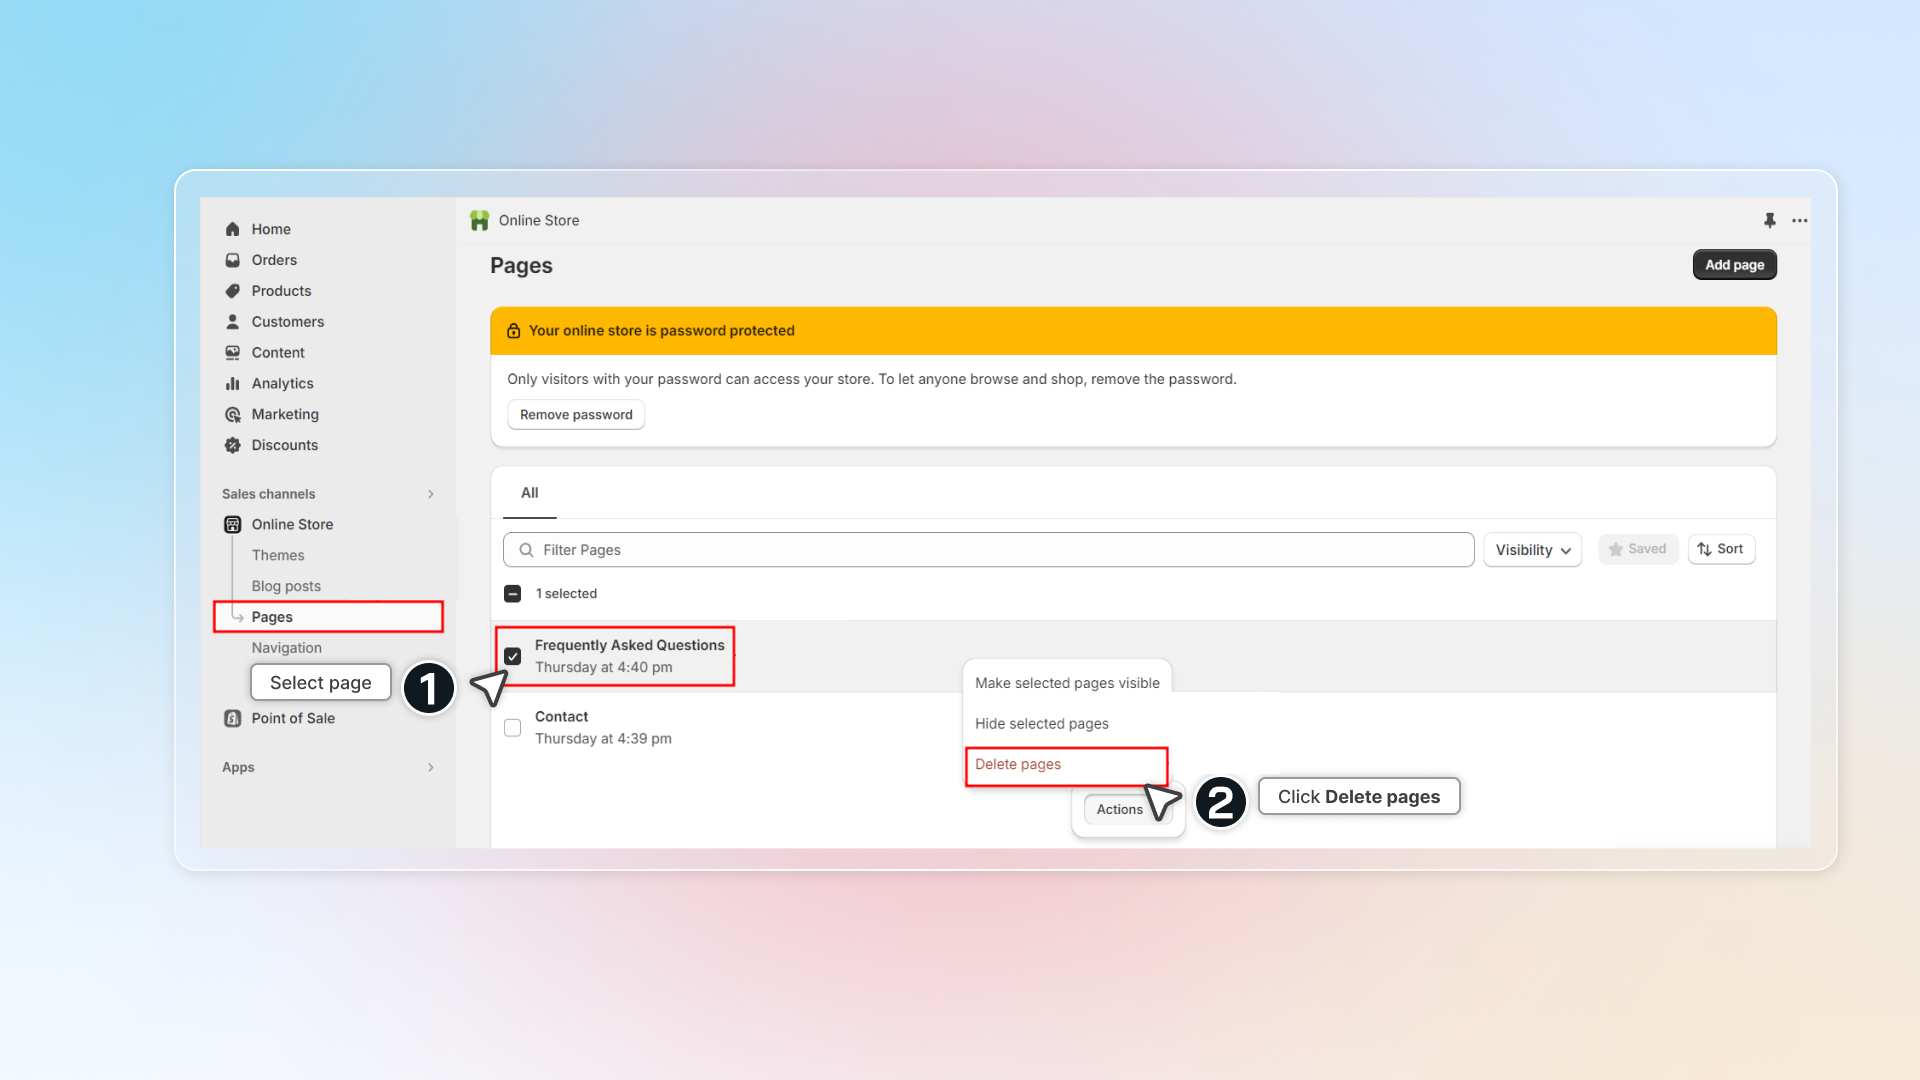
Does Chatty translate questions and answer?
Yes. Now you can translate questions and answer in [Translation](/others/translation/).
I publish a language but I cannot see on my store.
Before publishing a new language, make sure your website is available in that language.
In Shopify Admin, click **Settings** -> **Language** and set up your language.
*
```
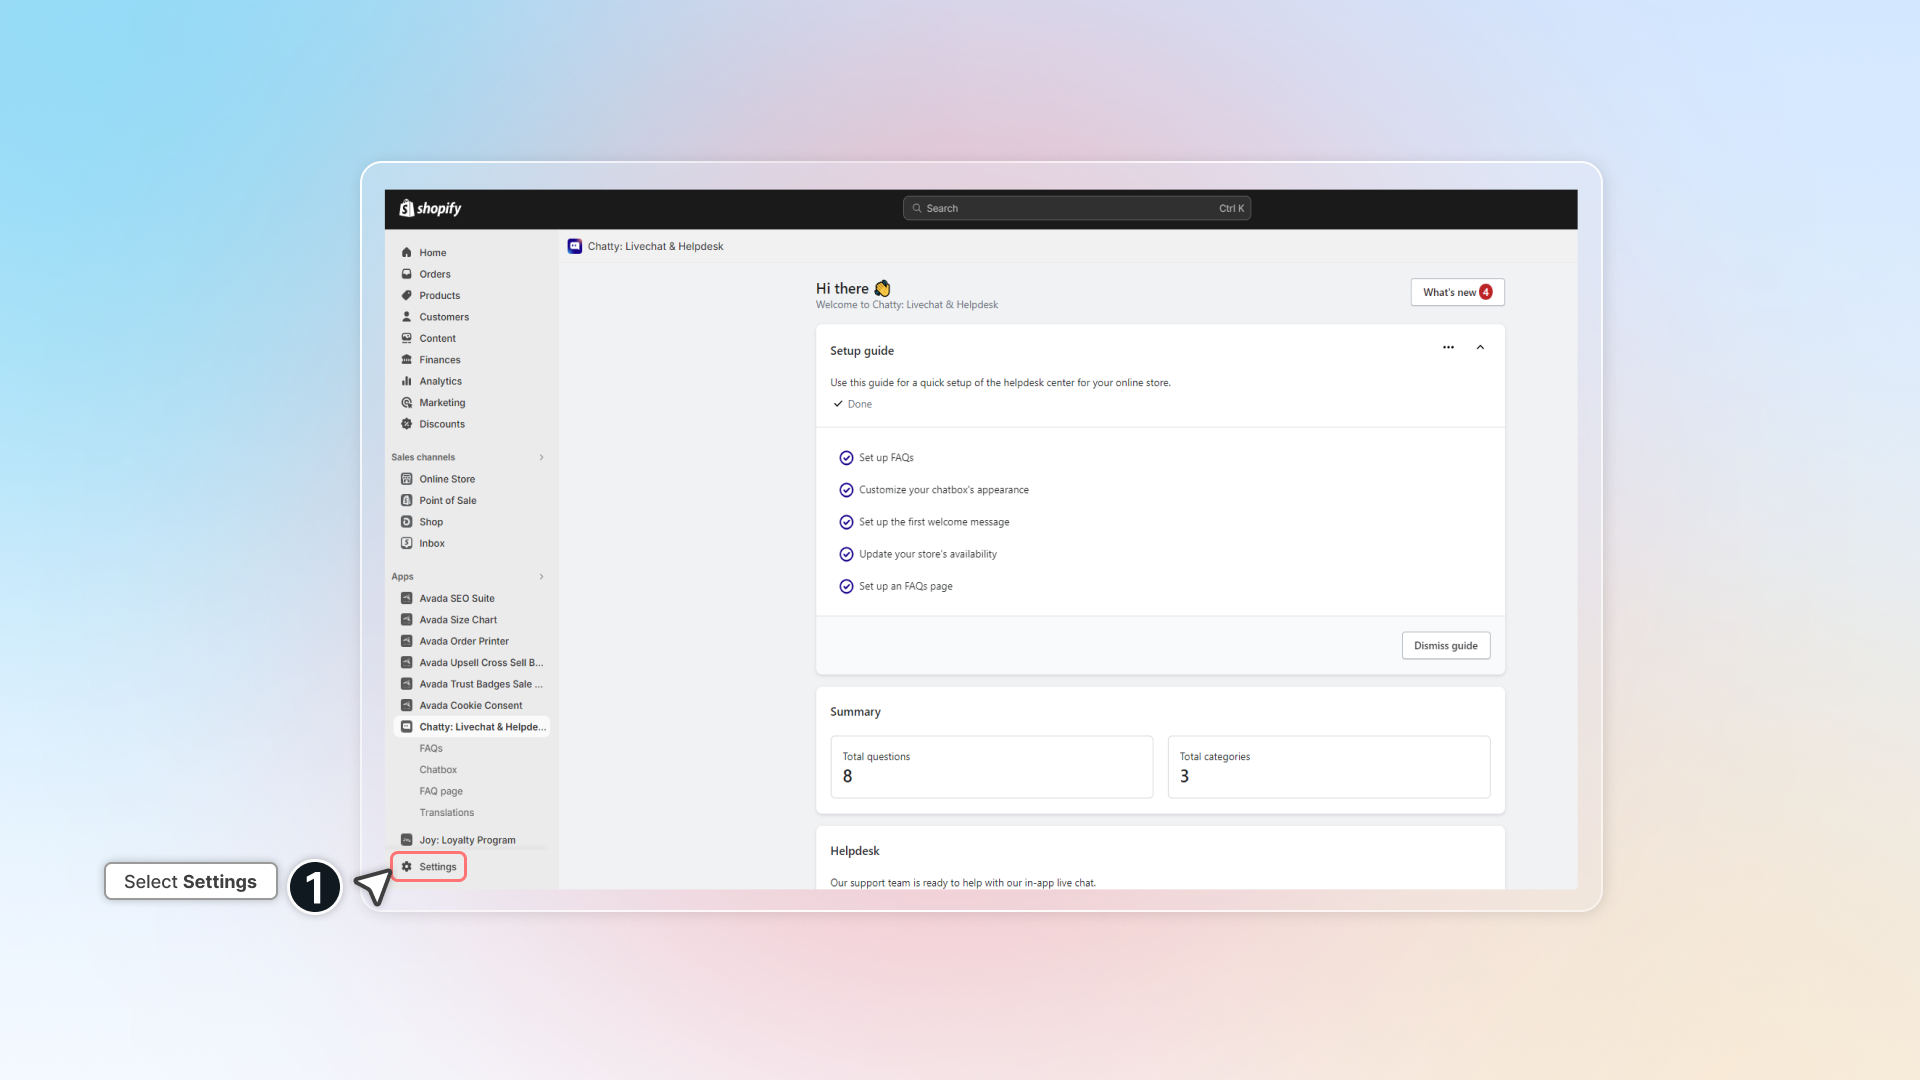
```
```
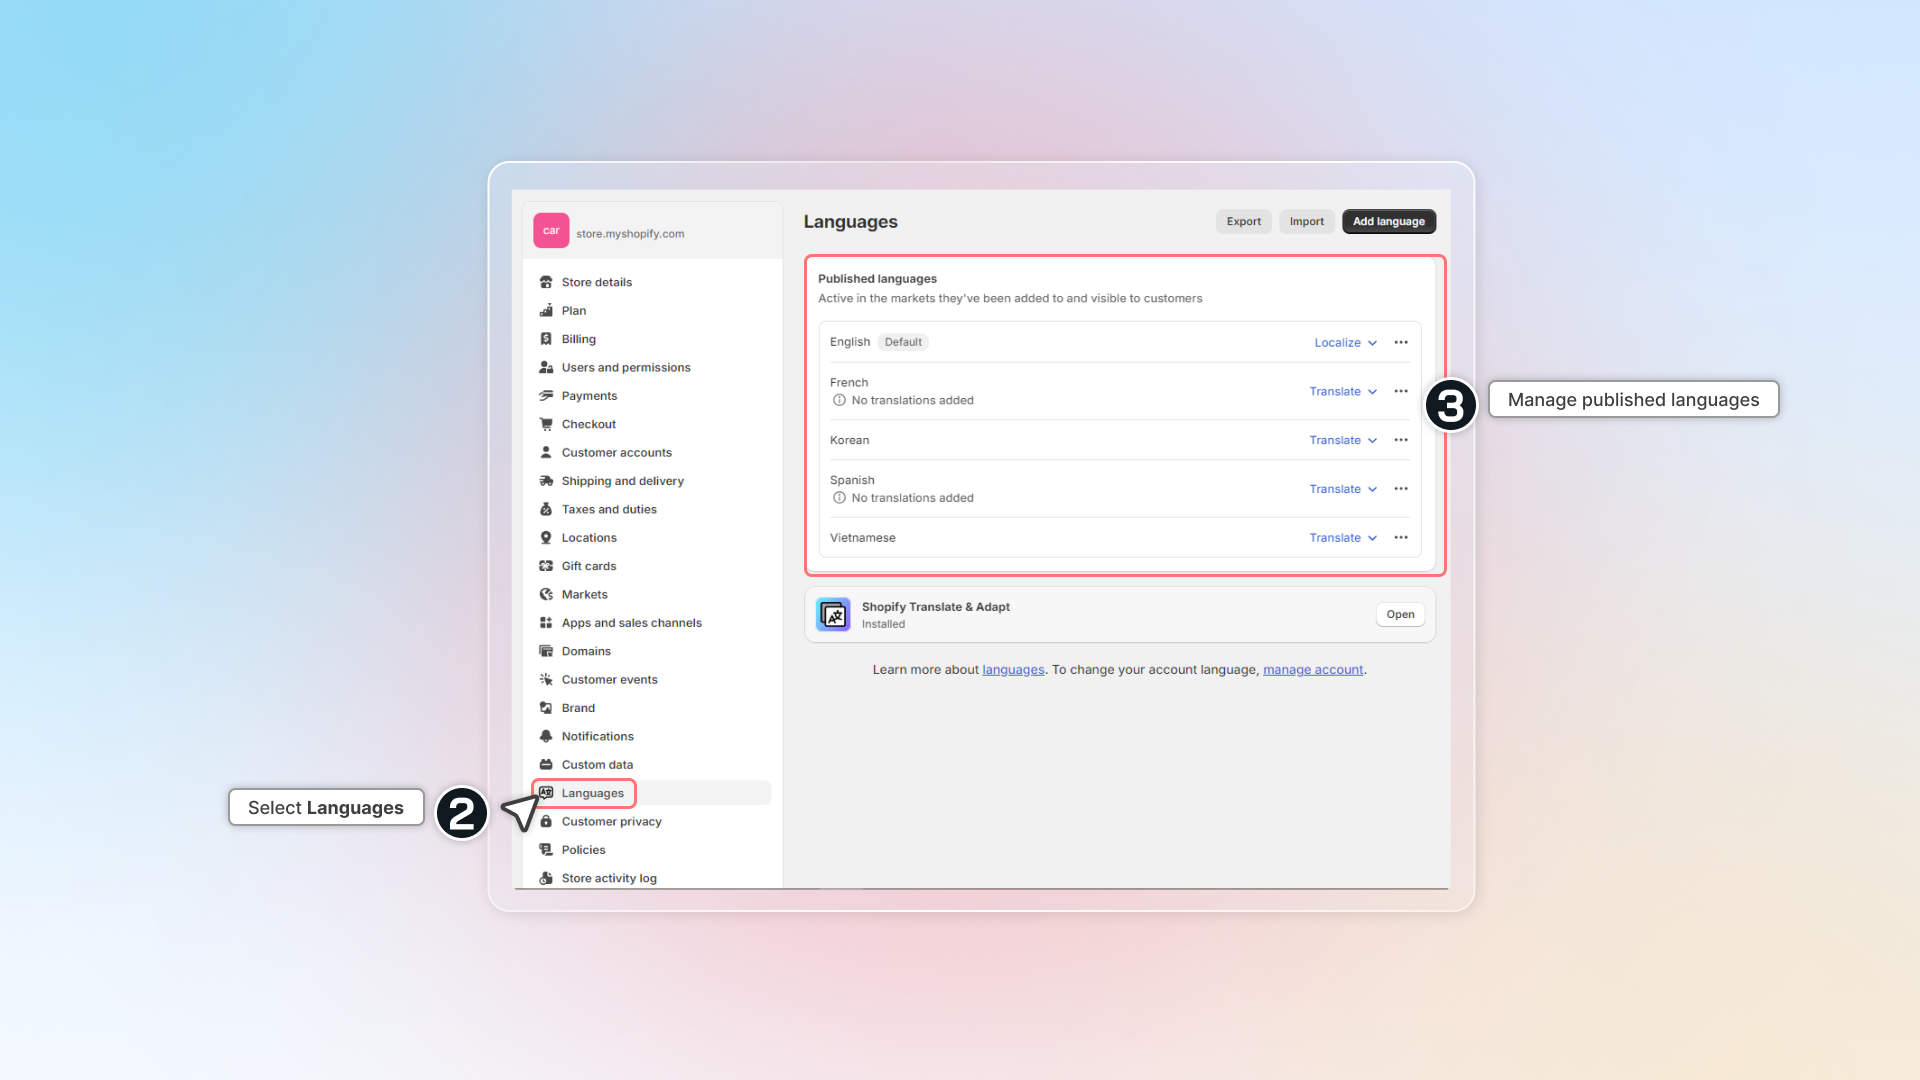
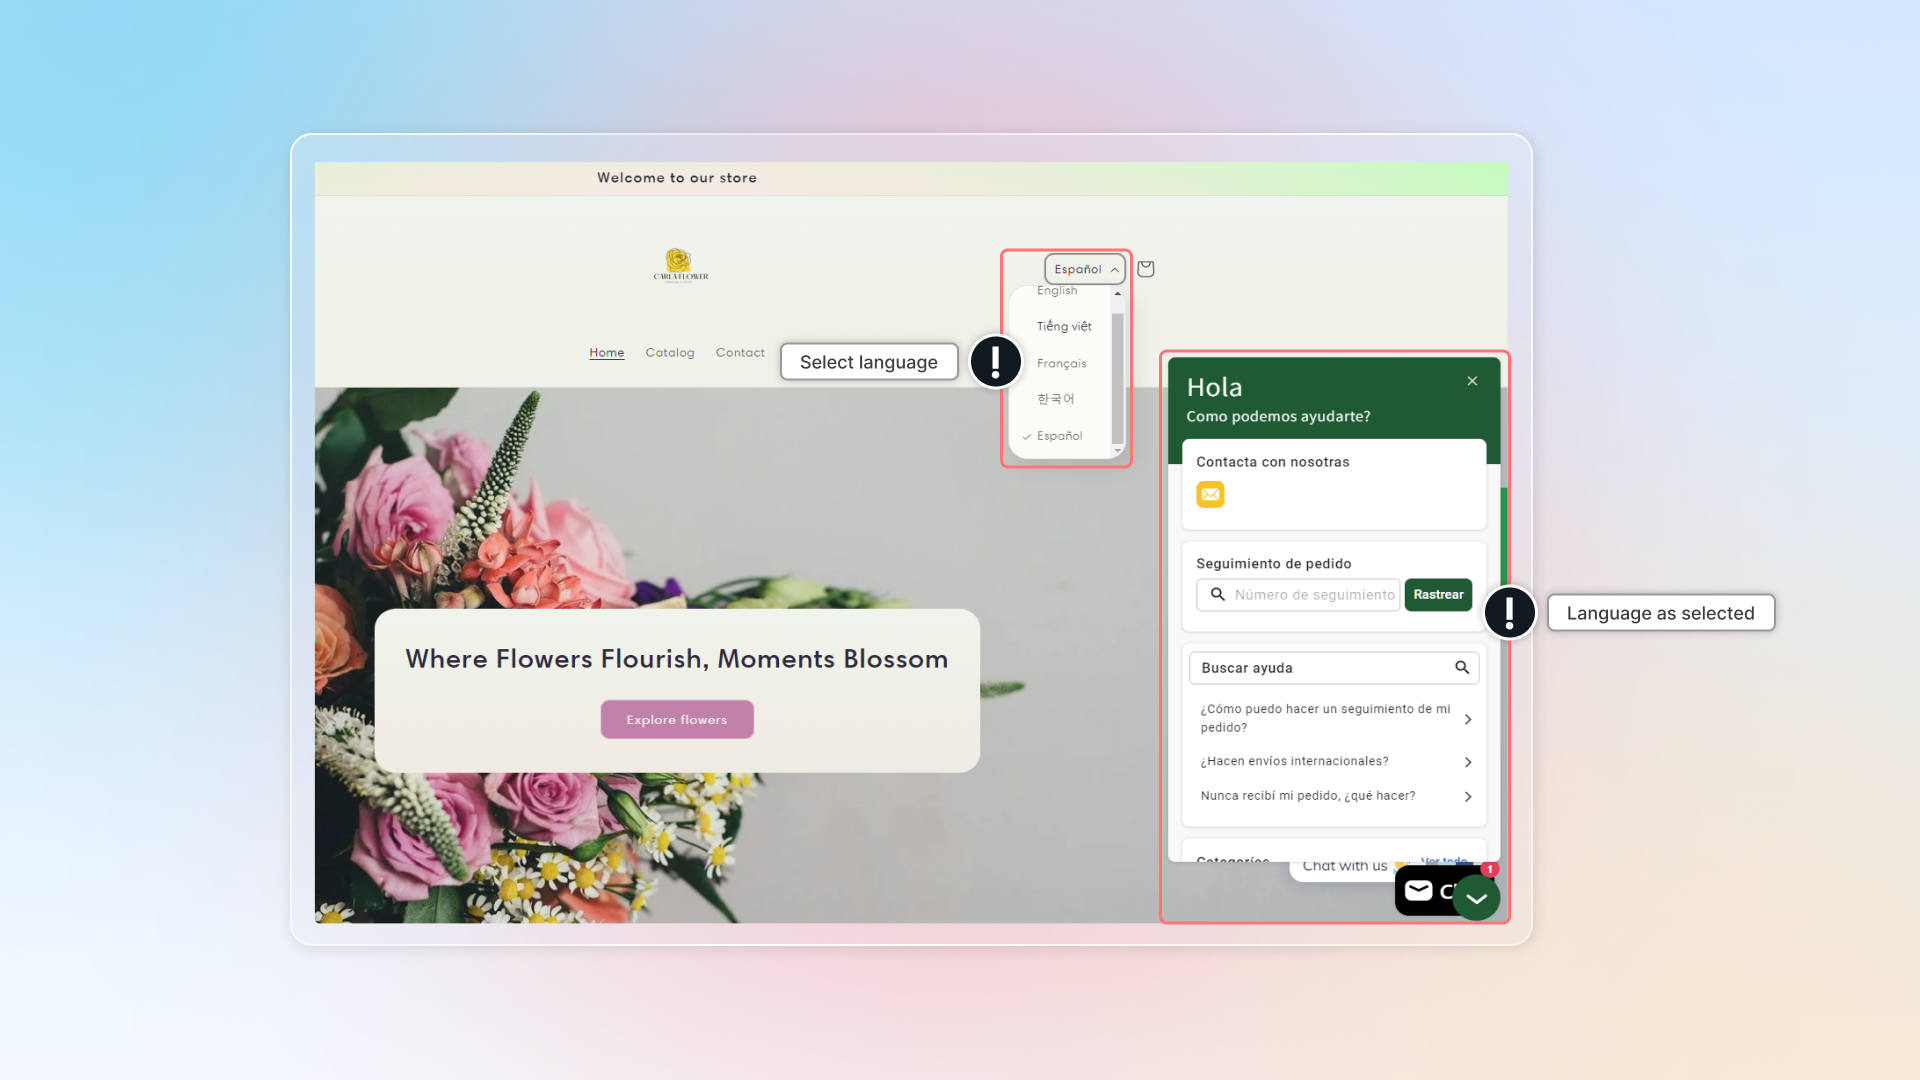
```
I set up online hours but I cannot see my online status in chatbox.
Online/offline status only works if you turn on **Contact us** block in chatbox.
1. Go to Widget -> Genersl
2. In Blocks, turn on **Contact us**
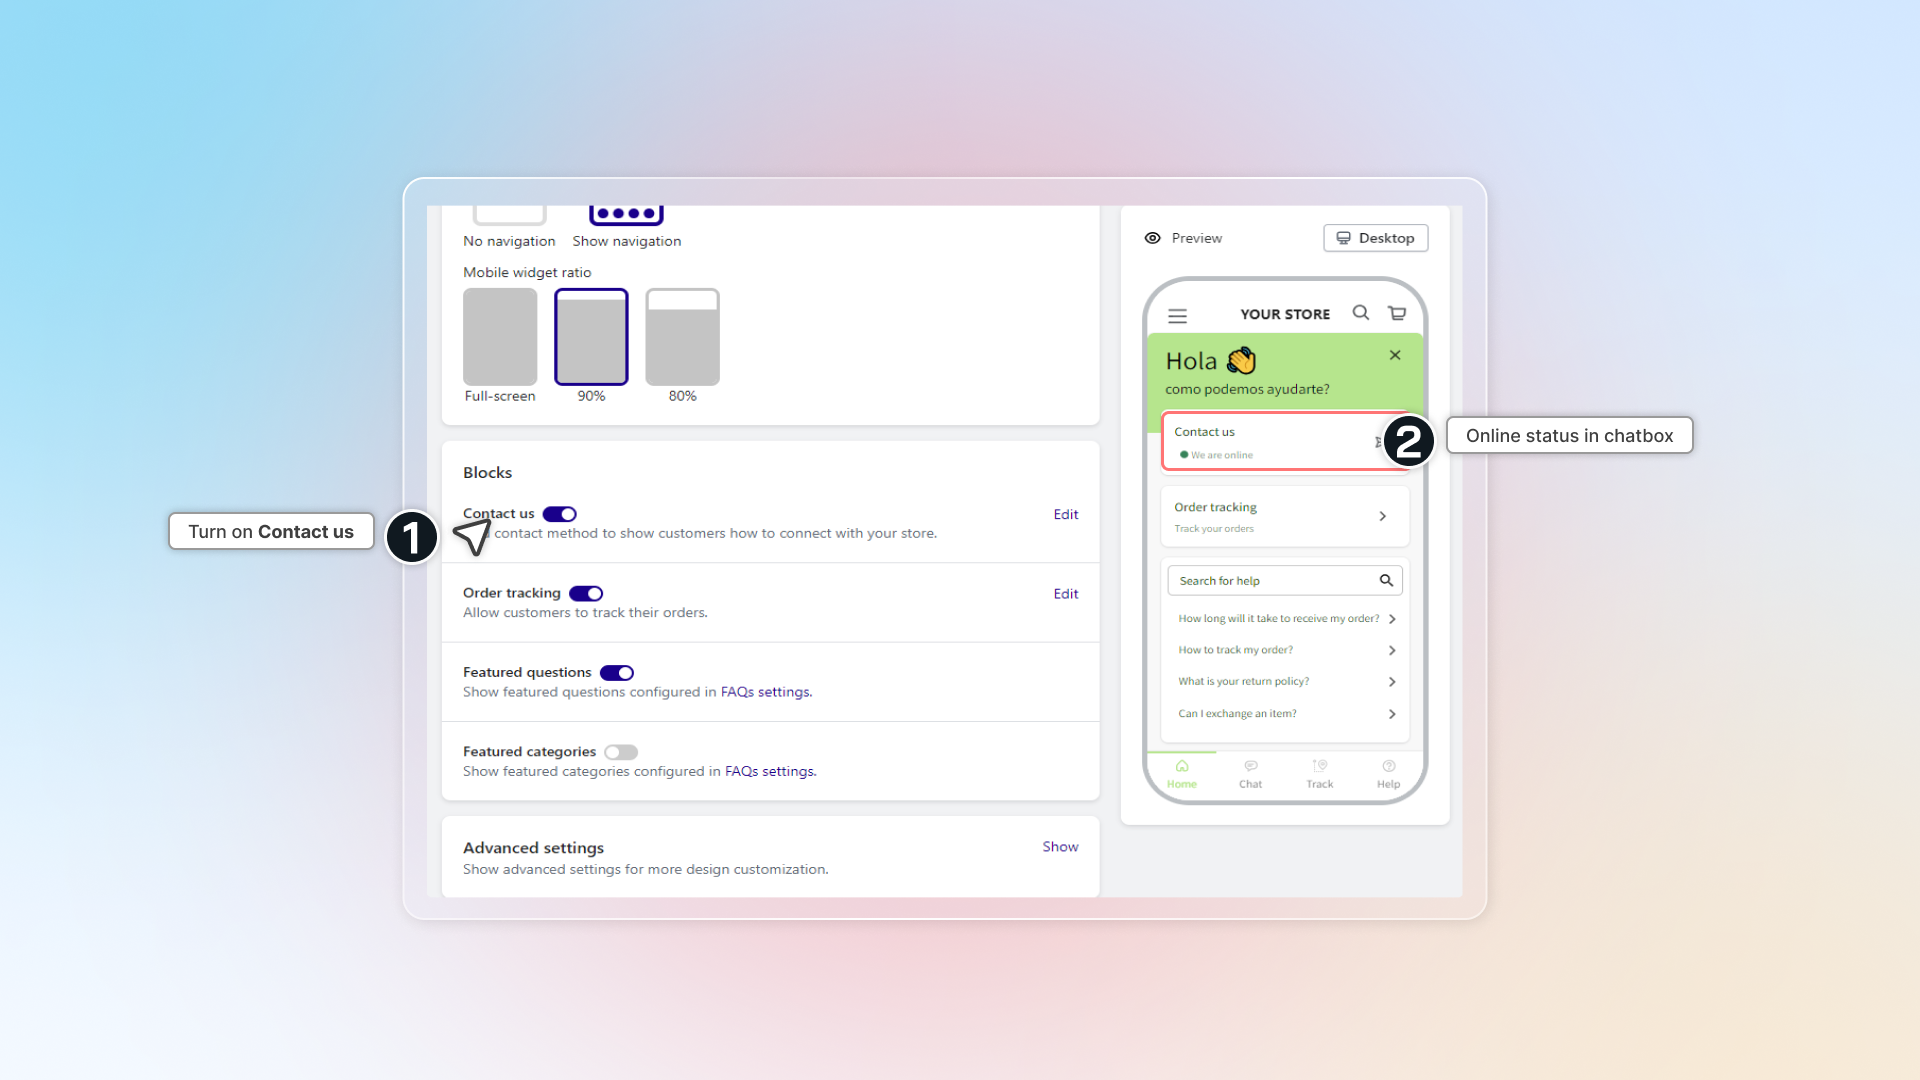
Can I export all questions to my device?
* Yes, you can export questions in .CVS file. Go to **FAQs** -> Select questions & click **Export.**
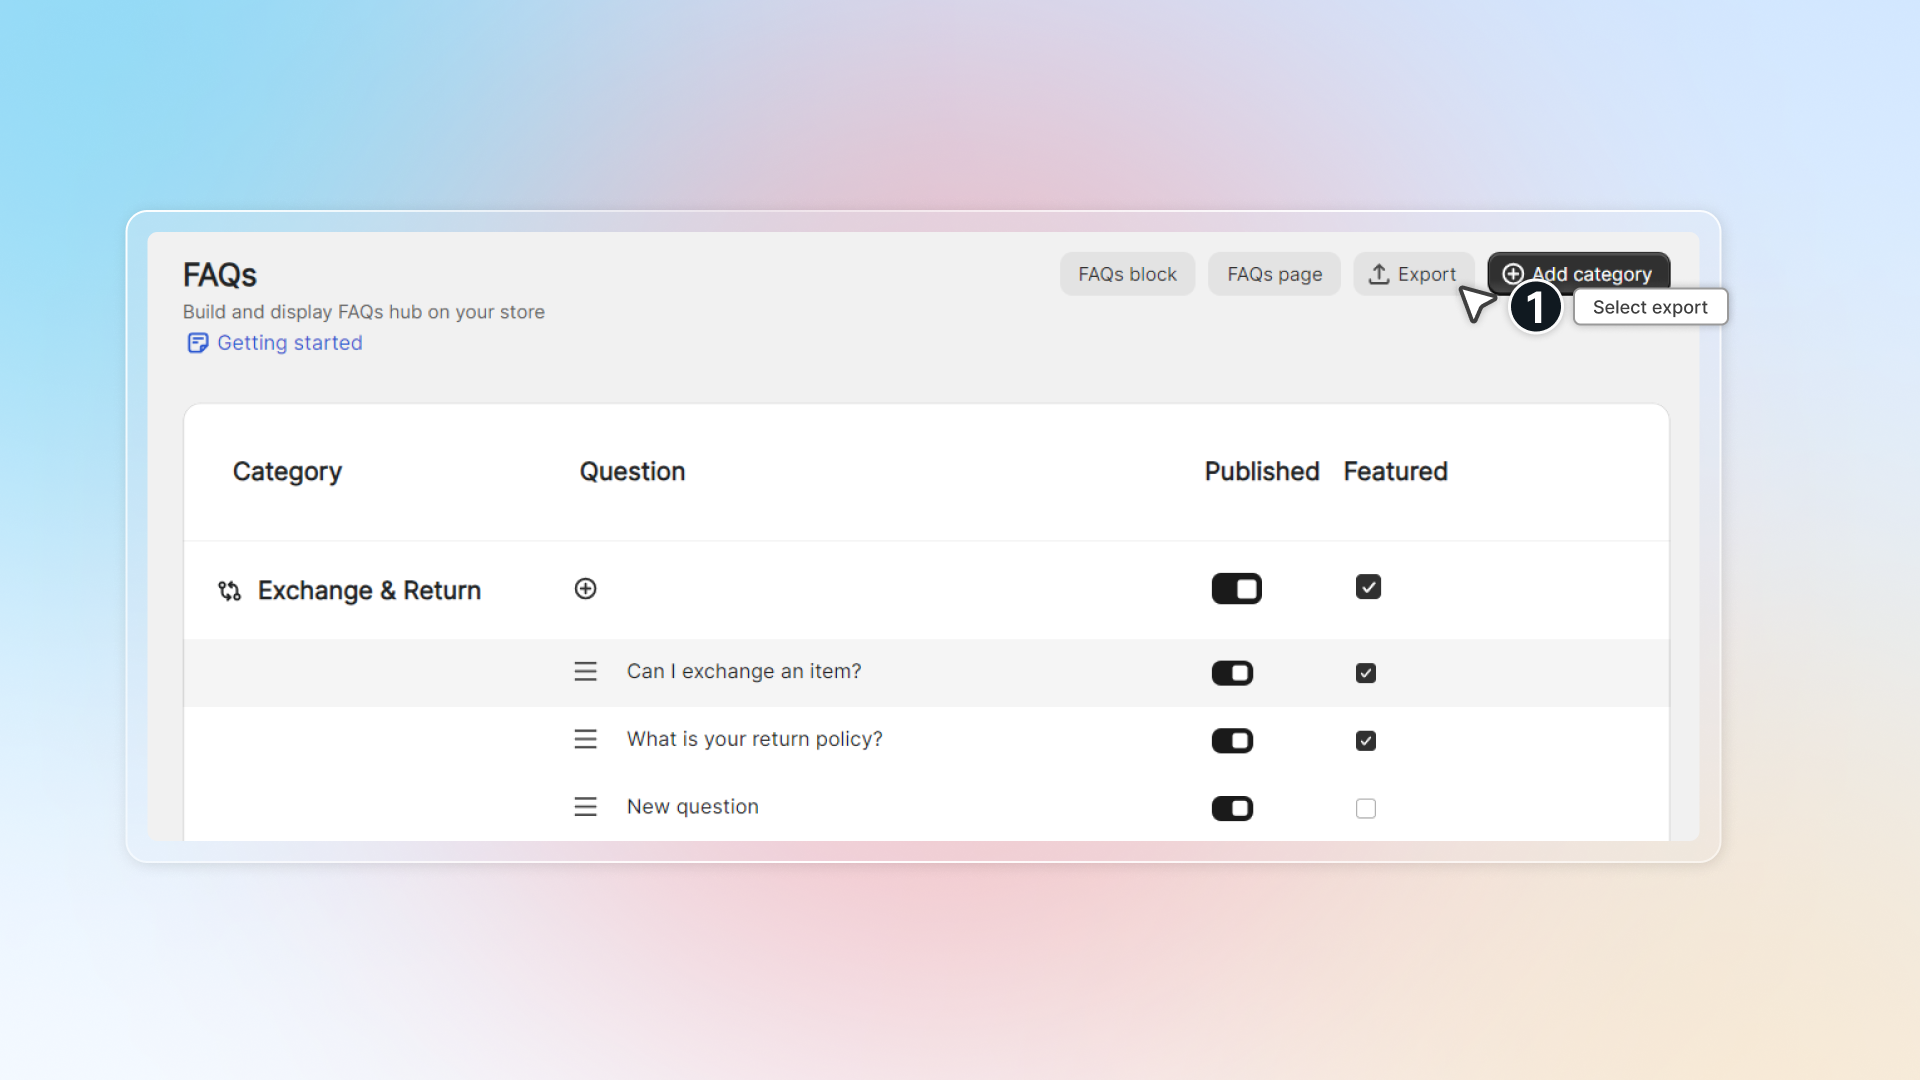
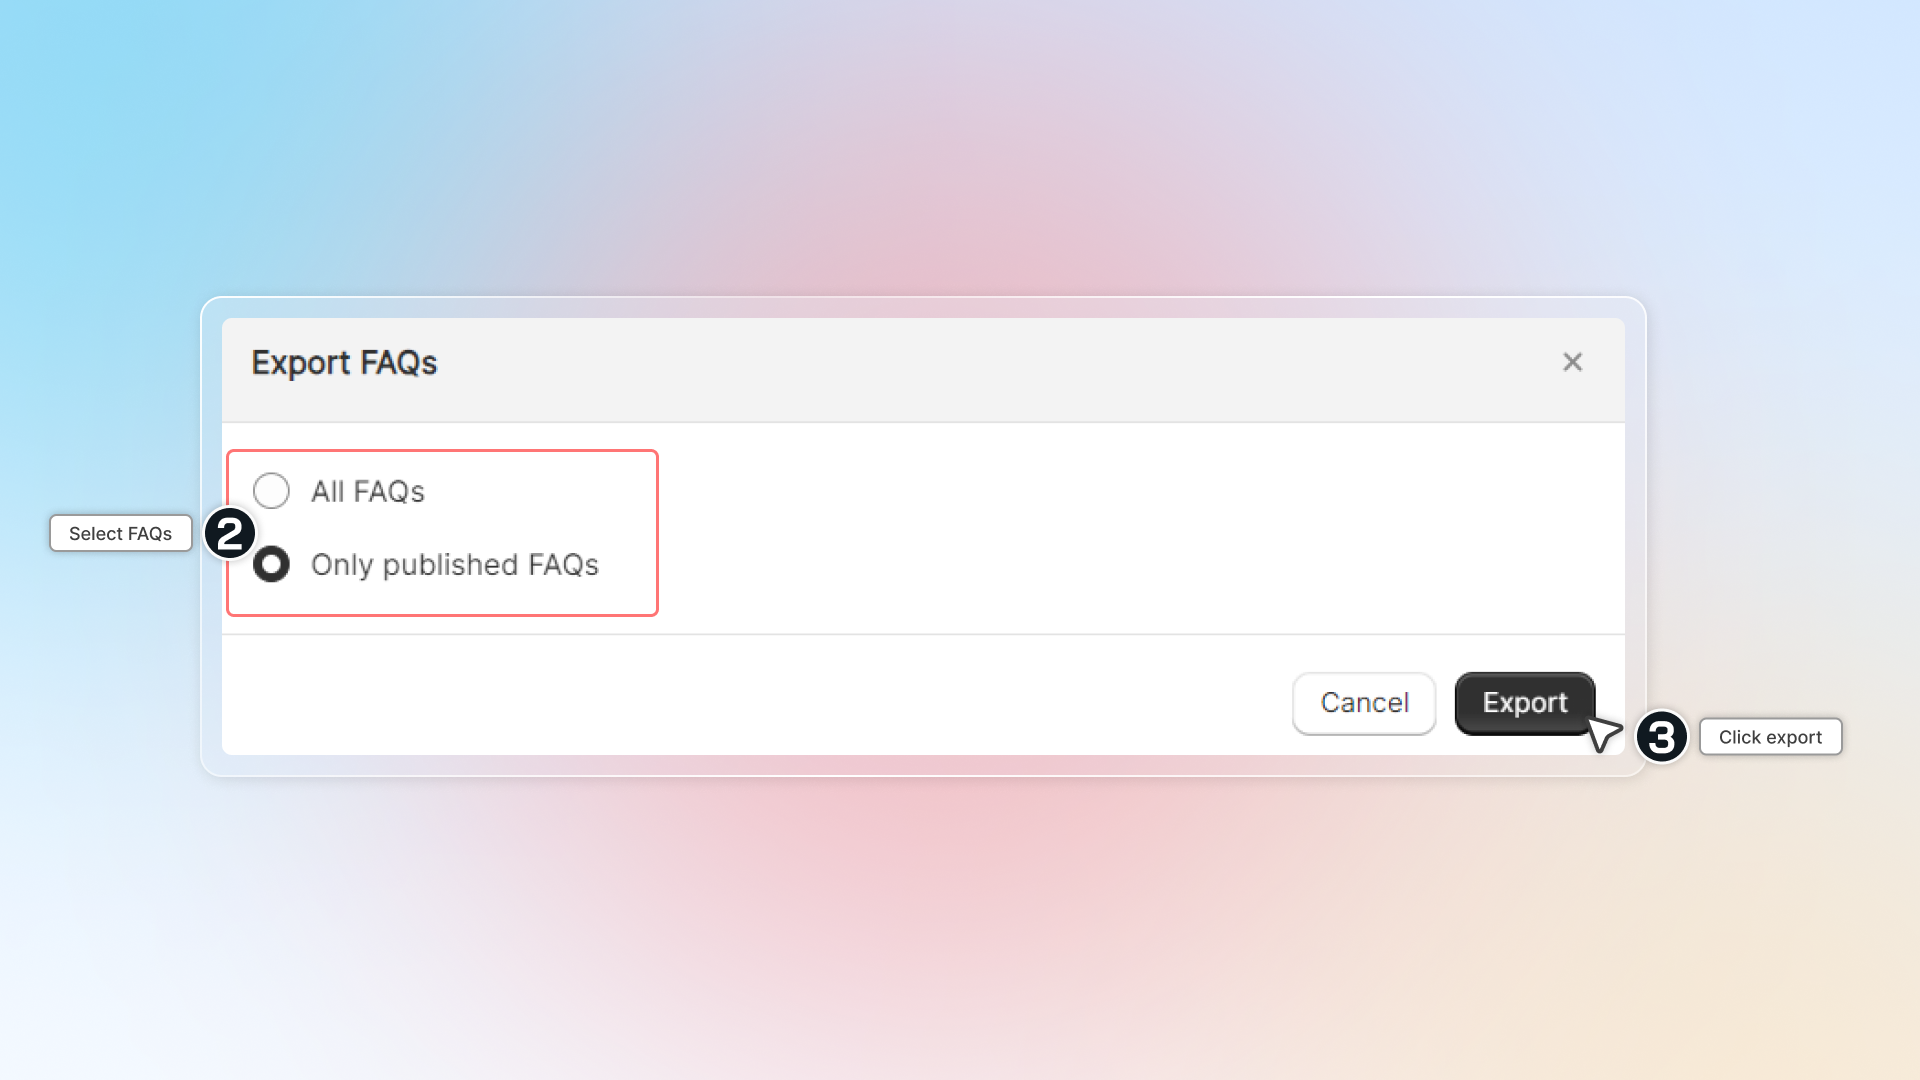
Why can't I connect my Outlook email to Chatty?
The most common reason is that your organization's Outlook settings block automatic email forwarding for security reasons. This is a default setting in many company email systems.
Contact your organization's IT admin to request permission. [Learn more.](/live-chat/channels#unable-to-connect-outlook-email-to-chatty/)
================================================================
URL: https://help.chatty.net/ja/faqs/uninstall-chatty/
Locale: ja
================================================================
# Uninstall Chatty
### What do I need to do after uninstalling app?
Please note, in some cases, when the app is removed from your Shopify store, our code might remain in your store. This happens because we lose access to the theme files immediately when you uninstall our app.
Follow these steps to ensure that your store continue to run smoothly.
### 1. Verify uninstallation process
Make sure that you've properly uninstalled Chatty from your store.
Go to **Settings** -> **Apps and sales channels** -> Double-check app list to confirm that Chatty is no longer available.
### 2. Delete FAQ page
1. Get access to Shopify Admin → Online store → Pages
2. Select page "Frequently Asked Question"
3. Click **Actions** → **Delete pages**

### 3. Handle lost conversations
The first thing to consider when uninstall Chatty is that you will lose access to all chat convesations you have with customers.
* Before uninstalling, check important conversation data and manually save critical information from recent conversations
* Inform your team that chat data will no longer be accessible
* Create a plan for addressing customer concerns about previous conversations
### 4. Update new customer service
Chatty helps you provide customer service and support. Now Chatty's uninstalled, consider:
* Setting up a new FAQs page to help answer customers' questions
* Updating your "Contact Us" page with clear instructions
* Implementing an alternative live chat solution
If you have any more concern, please contact our support team at [support@avada.io](mailto:support@avada.io).
================================================================
URL: https://help.chatty.net/ja/getting-started/intro-to-chatty/
Locale: ja
================================================================
# Intro to Chatty
**Who can use Chatty?**
* Chatty is available on Shopify App Store for all Shopify store plans
Chatty helps you communicate directly with visitors on your website, solve their problems, and guide them through their shopping experience towards making purchases.
Chatty is not another chat platform.
Chatty is your best AI sales assistant.

Setting up Chatty is as straightforward as it gets. With a few simple steps, you'll be ready to:
#### Live chat
* [x] Enable live chat with customers
* [x] Set up various contact methods: WhatsApp, Messenger, etc.
* [x] Invite team members to manage conversations together
#### AI chatbot
* [x] Enable AI assistant for 24/7 support
* [x] Train AI with data about your stores & products
* [x] Customize your AI assistant with brand image, voice & tone
#### Help center
* [x] Build a self-serve knowledge hub with common questions and answers
* [x] Show FAQs page and section in chatbox with customized theme
* [x] Translate FAQs into multiple languages
## For your kickstart
## Get more assistance
If you have any further concerns, search your topic on this page (hit `Ctrl` `K` for quick search) or look through our [Frequently Asked Question list.](/faqs/)
Our Customer Success team is also offer 24/7 assistance via [email ](mailto:support@avada.io)and live chat.
================================================================
URL: https://help.chatty.net/ja/getting-started/quick-start/
Locale: ja
================================================================
# Quick start
**Who can use this feature?**
* This feature is available for all users
Chatty is a platform that helps Shopify users engage with their customers better.
After installing Chattyfrom Shopify App Store, you can get access to app in Shopify admin.
We'll cover the basics & introduce some key features. Here are 5 steps to get your store ready with Chatty.
### Enable app
Chatty helps show a chatbox on your store front so you need to enable app in your theme editor.
1. In app dashboard, click Enable app
2. You're redirected to theme editor
3. Enable Chatty in App embed and click **Save**

## Set up FAQs
### 1. Build FAQs hub
**Who can use this feature?**
* This feature is available for all users
### 2. Create FAQs page
Show a page of FAQs on your Shopify site

### 3. Add FAQs block
You can show FAQs list in any page of your store.

## Set up live chat
### 1. Enable live chat
1. Make sure you turn on Chatbox. (Go to Chatbox -> In "General", click **Turn on** chatbox)
2. In "Blocks", turn on **Live chat**

### 2. Customize your chatbox appearance
After creating questions hub, you can show question in your store front in chatbox.
### 3. Connect channels
Connecting other channels to manage all conversations in Chatty.
### 4. Install mobile app
With Chatty mobile app, you can answer customer questions anytime, anywhere from your devices.
In app dashboard, click **Install mobile app** in Setup guide. Or go to Settings -> Notifications -> Click Download now.
1. Scan QR code with your device
2. With each device and web browser, you can have different ways to set up Chatty mobile app. In overall, follow these steps to set up
* Scan and go to link
* In browser settings, click "Add to home screen"
* Add Chatty app to homescreen as an app

================================================================
URL: https://help.chatty.net/ja/integrations/
Locale: ja
================================================================
# 連携
Chatty は、ストアですでに利用しているアプリ(メールマーケティング、ロイヤルティプログラム、コンタクトフォーム、レビューツールなど)と連携できます。
各連携の設定方法は、以下のガイドをご覧ください。
================================================================
URL: https://help.chatty.net/ja/integrations/air-reviews/
Locale: ja
================================================================
# Air Reviews
**Who can use this feature?**
* This feature is available for all users
* Get [Air Product review](https://apps.shopify.com/air-reviews?utm_source=chatty\&utm_medium=ug_\&utm_campaign=_integration) free
### Why Chatty for reviews collection
Chatty is an AI-powered live chat platform that helps you engage with customers in real-time to solve their concerns. Then Chatty converts these positive interactions into reviews.
By using Chatty with Air Reviews, you can create a complete feedback loop that turns conversations into social proof for your store.
Chatty helps:
* Capture customer's situation in real-time before it becomes a public review
* Resolve issues quickly to prevent negative reviews
* Create personalized touchpoints for requesting reviews
* Provide 24/7 support with AI to address customer questions instantly
### How to set up Chatty for review collection
#### Install Chatty & Air Reviews
- Chatty
- https://apps.shopify.com/chatty?utm_source=chatty&utm_medium=ug_&utm_campaign=_integration
- chatty.png
- Air Reviews
- https://apps.shopify.com/air-reviews?utm_source=chatty&utm_medium=ug_&utm_campaign=_integration
- air review.png
#### Set up a customer support center
* Enable chatbox
* Enable live chat
* Activate & train AI
Learn more to [get started](/getting-started/) with Chatty
#### Best practices for review collection
#### :round\_pushpin: Training AI assistant to encourage reviews
* Add questions about leaving a review
* Create replies that politely guide customers to leave reviews
#### :round\_pushpin: Set up proactive chat for potential customers
* Identify when customers can leave review
* Set up proactive messages to encourage customers to leave a review
#### :round\_pushpin: Add FAQs about review collections for post-purchase questions
* In FAQs list, add more content about review collection to answers for post-purchase questions
#### Respond quickly to prevent negative reviews
When customers have issues, the speed of your response can determine whether they leave a negative review or become loyal advocates:
1. Set up [notifications ](/others/notifications/)in Chatty to alert you of new messages
2. Use [quick replies](/live-chat/quick-replies/) for common questions
3. Prioritize responding to customers who express frustration
4. Resolve issues completely before requesting a review
================================================================
URL: https://help.chatty.net/ja/integrations/gorgias/
Locale: ja
================================================================
# Gorgias
**この機能を使えるのは?**
* この機能はすべてのユーザーがご利用いただけます
### Gorgias連携とは?
Gorgias連携を使うと、Chattyの会話履歴がサポートチケットとして自動的にGorgiasに保存されます。
ChattyでAIまたは担当者が会話を解決すると、会話の全文と顧客情報を含むクローズ済みチケットがGorgiasに作成され、`chatty_resolved`タグが付与されます。

#### Gorgiasと連携するメリット
Gorgias連携を使うと、次のことができます。
* 解決したすべての会話をGorgiasチケットとして自動保存
* すべての会話履歴を1つのシステムに集約
* `chatty_resolved`タグで、Chattyが対応したチケットをすぐに識別
* 手作業なしで顧客対応の記録にアクセス
#### ChattyとGorgiasを連携する方法
#### Gorgias連携画面を開く
* **設定** → **連携(Integrations)** に移動します
* 連携の一覧から **Gorgias** を探します
* **管理(Manage)** をクリックします
#### Gorgiasのサブドメインを入力する
Gorgiasアカウントのサブドメインを入力します。
サブドメインはGorgias URLの最初の部分です。たとえばGorgias URLが`mystore.gorgias.com`の場合、サブドメインは`mystore`です。
#### 連携を承認する
* **接続(Connect)** をクリックします
* Gorgiasの認証(OAuth)ページにリダイレクトされます
* **許可(Allow)** をクリックしてChattyを承認します
* Chattyの画面に戻ります
* 連携ステータスが **接続済み(Connected)** と表示されます

#### Gorgias連携の仕組み
**チケットの自動作成**
ChattyのInboxでAIまたは担当者が会話を解決すると、連携によってGorgiasにクローズ済みチケットが自動的に作成されます。
各チケットには次の情報が含まれます。
* 顧客のプロフィール情報(氏名、メールアドレス、連絡先)
* 会話の全文
* `chatty_resolved`タグ
* 会話のタイムスタンプ
**再オープンした会話**
会話を再オープンして再度解決すると、Chattyは既存のチケットを更新するのではなく、Gorgiasに新しいチケットを作成します。これにより、サポート対応ごとに個別に記録を追跡できます。
================================================================
URL: https://help.chatty.net/ja/integrations/joy/
Locale: ja
================================================================
# Joy
**Who can use this feature?**
* This feature is available for Joy Ultimate plan users
### What is Joy Rewards & Loyalty Program?
[Joy](https://apps.shopify.com/joyio?utm_source=Chatty\&utm_medium=userguide\&utm_campaign=integration) is a Shopify app that provide loyalty program for enhancing customer retention and satisfaction.
It offers a full suite of features (rewards program, points, VIP tiers and referrals…).
Learn more about [Joy Rewards & Loyalty Program](https://apps.shopify.com/joyio?utm_source=Chatty\&utm_medium=userguide\&utm_campaign=integration)
### Why integrate Joy?
#### Sync customer information
By integrating Chatty with Joy, you can get access to customers’ loyalty profiles and activity right in Chatty Inbox, which includes
* Type
* VIP tier
* Points balance
* Birthday
* Referral link
Then, you have more information to personalize answers to customer inquiries or provide suitable services/products.
You can check Joy profile in:
* Customer details in Contacts
* Conversation details


#### Let AI answer loyalty questions
AI-powered loyalty answers are only available on the Joy Ultimate plan.
With the Joy integration, your AI assistant can read customers' loyalty data and use it to answer questions directly in the conversation.
When a customer asks things like "How many points do I have?", "What's my VIP tier?", or "How do I redeem my points?", the AI can check their Joy profile and reply with accurate, personalized information, without a human agent stepping in.
### How to integrate?
Go to **Integrations**
In "Joy" click **Manage**
#### Install Joy (step 1)
Click **Go to Joy** and install app.
If you have already installed Joy, skip this step
#### Click **Connect** (step 2)
Click Connect to enable loyalty data sync between Joy and Chatty
#### View Joy info
After integrating, you can go to **Customer details** or **Conversation details** to view Joy info. Also, AI can answer questions about loyalty program in Joy.
================================================================
URL: https://help.chatty.net/ja/integrations/klaviyo/
Locale: ja
================================================================
# Klaviyo
**この機能を使えるのは?**
* この機能は、ChattyとKlaviyoの両方をご利用のすべてのユーザーが対象です
### Klaviyo(メール&SMSマーケティング)とは?
Klaviyoは、顧客にターゲットを絞ったメールやSMSを送信できるメール&SMSマーケティングプラットフォームです。
顧客の行動や購入履歴をもとに、パーソナライズしたマーケティングキャンペーンを作成できます。
[Klaviyo](https://apps.shopify.com/klaviyo-email-marketing?utm_source=chatty)について詳しくはこちら
### Klaviyoと連携するメリット
この連携により、ChattyとKlaviyoの間で顧客データとチャットのやり取りを同期できます。
* プラットフォーム間で顧客データを一貫した状態に保つ
* チャットのやり取りをもとに、より精度の高い顧客セグメントを作成
* チャットのやり取りを追跡し、ターゲットを絞ったメールキャンペーンに活用
### Klaviyoと連携する方法
#### 連携画面を開く
Chatty管理画面にアクセス → ナビゲーションから **設定(Settings)** をクリック → **連携(Integrations)** に移動します
#### Klaviyoを開く
「Klaviyo」で **管理(Manage)** をクリックします
#### Klaviyoをインストールする(ステップ1)
**Go to Klaviyo** をクリックしてアプリをインストールします。すでにKlaviyoをインストール済みの場合は、このステップをスキップしてください。
#### Klaviyo APIキーを入力する
アカウントを接続するにはKlaviyo APIキーが必要です。APIキーにより、ChattyとKlaviyoの間で顧客データが安全に同期されます。
[Klaviyo APIキーの取得方法](#klaviyo-apiキーの取得方法)
#### 接続をクリックする
**接続(Connect)** をクリックすると、この連携によって次の顧客データがKlaviyoに同期されます。
* 連絡先情報(氏名、メールアドレス、電話番号、所在地、種別)
* タグ
* 会話数
* 直近のチャットのタイムスタンプ(最後のチャットの開始・終了時刻)
#### Klaviyo APIキーの取得方法
#### Klaviyoにログインする
#### プロフィール設定を開く
左下のプロフィールをクリックし、**設定(Settings)** をクリックします
#### Chatty用のAPIキーを作成する
* **API keys** に移動します
* **Create Private API key** をクリックします
* APIキーに名前を付けます(例:Chatty integration)
* アクセスレベルで **Custom key** を選択します
* API scopesで、次の項目に **Read/Write Access** を設定します:Accounts、List、Profiles
#### 作成をクリックする
Chatty用のAPIキーが正常に作成されました。コピーしてChattyの設定に貼り付け、アプリを連携してください。
================================================================
URL: https://help.chatty.net/ja/integrations/klaviyo/klaviyo/
Locale: ja
================================================================
# Klaviyo連携ガイド
**この機能を使えるのは?**
* この機能は、ChattyとKlaviyoの両方をご利用のすべてのユーザーが対象です
## Klaviyo連携とは?
Klaviyoは、顧客にターゲットを絞ったメールやSMSを送信できるメール&SMSマーケティングプラットフォームです。
ChattyとKlaviyoの連携は、安全な **OAuthベースのサーバー間連携** です。接続すると、Chattyは顧客プロフィールとチャットイベントをリアルタイムでKlaviyoに同期します。これにより、Chatty上の出来事をもとにフロー、セグメント、キャンペーンを作成できます。
[Klaviyo](https://apps.shopify.com/klaviyo-email-marketing?utm_source=chatty)について詳しくはこちら
## Klaviyoと連携するメリット
この連携により、ChattyとKlaviyoの間で顧客データとチャットのやり取りを同期できます。
* プラットフォーム間で顧客データを一貫した状態に保つ
* チャットのやり取りをもとに、より精度の高い顧客セグメントを作成
* チャットのやり取りを追跡し、ターゲットを絞ったメール・SMSキャンペーンに活用
## 連携の仕組み
連携を有効にすると、Chattyは顧客の識別情報、チャットメッセージ、キャンペーンソース、行動トリガーを処理し、そのデータをKlaviyoに送信します。
* **プロフィール同期** — Chattyが顧客プロフィールをKlaviyoに作成・更新します
* **リアルタイムイベント** — Chattyがチャットイベントを発生時にKlaviyoへ送信します
Klaviyoはプロフィールデータを保存し、イベントを記録して、自動フローやセグメンテーションのトリガーに利用します。
```
顧客 → Shopifyストア → Chattyバックエンド → Klaviyo → フロー&セグメント
```
## Klaviyoと接続する方法
#### 連携画面を開く
Chatty管理画面にアクセス → ナビゲーションから **設定(Settings)** をクリック → **連携(Integrations)** に移動します
#### Klaviyoを開く
「Klaviyo」で **管理(Manage)** をクリックします
#### Klaviyoと接続する
**Connect with Klaviyo** をクリックします。Klaviyoの認証画面にリダイレクトされます。(このステップにはKlaviyoアカウントが必要です。)
#### 権限を許可する
Klaviyoの確認画面で次の操作を行います。
* **Continue** をクリックします
* **Chatty** アカウントを選択します
* 要求される権限を確認し、**Allow** をクリックします
#### 接続完了
KlaviyoからChattyの画面に戻り、連携が接続されます。Chattyは顧客プロフィールとイベントをリアルタイムでKlaviyoへ同期し始めます。

## 同期されるデータ
接続すると、この連携によって次の顧客データがKlaviyoに同期されます。
* 連絡先情報(氏名、メールアドレス、電話番号、所在地、種別)
* タグ
* 会話数
* 直近のチャットのタイムスタンプ(最後のチャットの開始・終了時刻)
接続後は、Klaviyoで連携を確認できます。Chattyから送られた新規・更新済みのプロフィールがKlaviyoに表示されます。
## 権限を拒否した場合
Klaviyoの認証画面で **Cancel** をクリックしたり、要求された権限を許可しなかったりした場合、連携は **接続されず**、データは同期されません。
再度接続するには、**設定 → 連携 → Klaviyo** に戻り、**Connect with Klaviyo** をクリックして認証手続きを完了してください。
## Klaviyoとの連携を解除する方法
連携はどちらの側からでもいつでも解除できます。
* **Chattyから** — **設定 → 連携 → Klaviyo → 管理(Manage)** に移動し、**接続解除(Disconnect)** をクリックします。
* **Klaviyoから** — KlaviyoアカウントでChatty連携を削除します。
連携を解除すると、Chattyのアクセストークンが無効化され、データの同期はただちに停止します。
================================================================
URL: https://help.chatty.net/ja/integrations/powerful-contact-form/
Locale: ja
================================================================
# Powerful contact form
**Who can use this feature?**
* This feature is available for all users.
### What is Powerful contact form integration?
Powerful contact form integration connects your form app with Chatty inbox, automatically turning each form submission into a conversation.
Get [Powerful contact form](https://apps.shopify.com/form-builder-contact-form?utm_source=chatty) free
### Why integrate Powerful contact form?
With Powerful contact form integration, you can:
* Create individual conversations for each customer who submits a form
* Automatically capture customer details from the form
* Keep all inquiries organized in your inbox
* Respond to customers directly from Chatty
* Track customer conversation history
Forms must include either email or phone number to create conversations.
#### How to set up Powerful contact form integration
#### Set up forwarding email in Chatty
(If you have already connected your email, skip this step.)
Add an email address as a forwarding email in Chatty to receive form submissions.
1. From Chatty, go to **Channels**
2. Click **Add email**
3. Add your email as forwarding email
4. Click **Send verification email** to confirm
#### Copy forwarding email
#### Go to Powerful contact form
#### Open the form you want to connect
#### Paste email in form settings
* Open form builder
* Click **Mail**
* Add the email you set up in Chatty as the form notification email
#### Click Save
#### Manage form conversations
When a customer submits a form, Chatty automatically creates a conversation in your inbox.
Each form submission:
* Creates a new conversation with the customer's profile
* Captures customer information from the form (name, email, phone)
* Shows form content as the first message
* Allows you to reply directly to the customer from Chatty inbox
**Note:** Form notification emails won't create duplicate conversations in your inbox.
================================================================
URL: https://help.chatty.net/ja/integrations/website/
Locale: ja
================================================================
# Website
**Who can use this feature?**
* This feature is available for all users
### What is website integration?
Website integration allows you to add Chatty to any website you own, even if it's not hosted on Shopify.
This means your customers can get instant answers whether they're on your blog, landing page, or any custom website. And you can manage all those conversations in Chatty only.
### Why use website integration
* Capture sales opportunities across all your websites
* Provide consistent 24/7 support everywhere your brand appears
* Manage all customer conversations from one unified inbox
### How to add Chatty to your website
#### Before you start:
Make sure you have:
* Access to your website's HTML files (or content management system)
* Basic ability to add code snippets to your website (or access to someone who can)
You don't need technical expertise. Just the ability to copy and paste code into your website.
#### Get your widget code
1. From your Chatty admin, go to Settings
2. Click **Integrations**
3. Click **Manage** in Website integration
4. Your unique code snippet will be automatically generated
#### Copy the [code snippet](#user-content-fn-1)[^1]
1. Select type of code: `HTML` or `Liquid`
2. Click **Copy**
#### Add code to your website
1. Open your website's HTML file
2. Locate the `` section
3. Paste the code snippet just before the closing `` tag
4. Save your changes
After you've added the code, the Chatty chat widget will appear on your website within a few minutes.

### How does it work?
When customers visit your other websites:
* They'll see the same Chatty chat widget as on your Shopify store
* AI assistant responds to their questions instantly using your trained data
* All conversations from your external websites flow into the same inbox
### FAQs
Can I add Chatty to multiple websites?
Yes, you can use the same code snippet on as many websites as you want. All conversations will flow into your single Chatty inbox.
Will this slow down my website?
No, the Chatty widget loads asynchronously, which means it won't affect your website's loading speed.
Can I customize how the widget looks on different sites?
The widget will use your default Chatty settings.
What if I need to remove Chatty from my website?
Simply delete the code snippet from your website's HTML.
Does this work with website builders like WordPress or Wix?
Yes, as long as you can add custom HTML code to your website, the integration will work. Most website builders have a custom code section where you can paste the snippet.
[^1]: A small piece of JavaScript code that merchants copy and paste into their website's HTML to embed the Chatty chat interface
================================================================
URL: https://help.chatty.net/ja/integrations/zendesk/
Locale: ja
================================================================
# Zendesk
**Who can use this feature?**
* This feature is available for all users
### What is Zendesk integration?
Zendesk integration automatically saves your Chatty conversation history to Zendesk as support tickets.
When you resolve a conversation in Chatty, the system creates a ticket in Zendesk with the full conversation transcript and customer details.

#### Why integrate Zendesk?
With Zendesk integration, you can:
* Automatically save all resolved conversations as Zendesk tickets
* Keep complete conversation history in one central system
* Track support performance across all channels
* Access customer interaction records without manual work
#### How to connect Zendesk with Chatty
#### Go to Zendesk Integration
* Go to **Settings** → **Integrations**
* Find **Zendesk** in the integrations list
* Click **Manage**
#### Enter Zendesk subdomain
Enter your Zendesk account subdomain.
Your Zendesk subdomain is the first part of your Zendesk URL. For example, if your Zendesk URL is `yourstore.zendesk.com`, your subdomain is `yourstore`.
#### Authorize connection
* Click **Connect**
* You'll be redirected to Zendesk OAuth page
* Click **Allow** to authorize Chatty
* You'll be redirected back to Chatty
* Your connection status will show as **Connected**
#### How Zendesk integration works
**Automatic ticket creation**
When you resolve a conversation in Chatty inbox, the integration automatically creates a ticket in Zendesk.
Each ticket includes:
* Customer profile information (name, email, contact details)
* Complete conversation transcript
* Timestamp of the conversation

**Reopened conversations**
If you reopen and resolve a conversation again, Chatty creates a new ticket in Zendesk instead of updating the previous ticket. This helps you track each support interaction separately.
================================================================
URL: https://help.chatty.net/ja/live-chat/channels/
Locale: ja
================================================================
# Channels
**Who can use this feature?**
* This feature is avaible for all users.
Chatty allows you to manage conversations from multiple channels in one centralized location.
You can manage all messages from email, Facebook Messenger, and Instagram right in Chatty, alongside your live chat conversations.
### Email
By [connecting email](/live-chat/channels/email/), you can get emails from customers right in Chatty. **You can only connect one email to Chatty.**
In Inbox, conversation from email will be shown with email icon.

In email, you can set up:
* **Email forwarding:** Email you want to connect to Chatty. All inboxes from that email will be sent to Chatty Inbox.
* **Email sender:** You'll use this email to reply to customers' email in Chatty Inbox.
* **Email signature:** Email signature will be used in emails replied to customers.
#### Conversation history
Now you can send conversation history (the entire chat) to customer when the conversation is marked as solved.
1. Go to **Channels**
2. Select **Email channel**
3. Go to **Preferences**
4. Turn on **Conversation history**
5. Conversation history email will be sent to customer's email. Add more emails if you want to receive conversation history.
#### Connect email forwarding
Follow our instruction to finish connecting email forwarding :
#### Update email sender
In default, we use [noreply@chattyemail.com](mailto:noreply@chattyemail.com) to send email replies to your customer.
To update email sender:
1. Go to **Email sender**
2. Select **Own email address**
3. Click **Add and verify email**
4. Enter your email and click **Verify**
5. Check email for verication link & follow link to verify
6. Get back to app and click **Done**
7. Enter name for your email

#### Default CC email
Set a list of CC email addresses once and Chatty automatically adds them to every outgoing email. This keeps internal recipients in the loop without agents having to add them manually each time.
**To set up default CC emails:**
1. Go to **Settings → Channels → Email → Sender**
2. Find the **CC email** section
3. Enter up to 5 email addresses, separated by commas
4. Click **Save**
The default CC list applies to all outgoing email in Chatty, including:
* **Email replies** in conversations
* **Offline email messages** sent when no agents are available
When sending an offline email, CC addresses appear in the send modal as read-only. They are applied automatically and cannot be edited per message.
### Facebook Messenger/Instagram
By [connecting Facebook](/live-chat/channels/facebook-messenger-instagram/) account to Chatty, you can receive and reply to Facebook/Instagram messages right in Chatty.
Follow our instruction to connect Facebook fanpage:
After connecting your Facebook account, you can check pages you've connected here.

Messages from connected fanpages will be synced to Chatty inbox.
In Inbox, messages from Facebook have the Messenger icon next to it, those from Instagram have Instagram icon.
Or you can click **Messenger or Instagram** in "Channel" to select all conversations.

By disconnecting with Facebook fanpages, existing conversations will stay in Inbox without update.
Why does Chatty need access to my Facebook Page?
Chatty needs access to your Facebook Page to do the following:
1. **Show your Facebook messages in the Chatty app.** This allows you to see and manage all your conversations in one place.
2. **Let you reply to messages directly from Chatty.** This makes it more convenient to respond to people without switching apps.
3. **Organize your conversations and link messages to the correct Facebook Page.** This helps keep your messages organized and easy to find.
### WhatsApp
By connecting WhatsApp, you can check messages from WhatsApp right in Chatty.
Before connecting WhatsApp to Chatty, make sure you have:
* A Facebook page for your business
* A WhatsApp Business account linked to that Facebook page
* Admin access to both your Facebook page and your WhatsApp Business account
You can connect multiple WhatsApp accounts to Chatty.
Follow our instruction to connect Whatsapp:
================================================================
URL: https://help.chatty.net/ja/live-chat/channels/email/
Locale: ja
================================================================
# Email
* This feature is avaible for all users.Follow our instruction to finish connecting emails. Instruction will vary on different email providers:
- Gmail
- #gmail
- Outlook
- #outlook
- Zoho
- #zoho
- Hostinger
- #hostinger
- Others
- #others
- Amazon SES
- fix-email-delivery-issues-with-amazon-ses
We support many email providers beyond this list. If you don't see your email provider here, please [contact us](https://go.crisp.chat/chat/embed/?website_id=72a663b0-4cda-4e3b-8878-426bdd79364c).
### Gmail
1. Sign in to your Gmail account
2. Click Settings icon -> Click **See all settings**
3. Go to "Forward and POP/IMAP" -> Click **Add a forwarding address**
4. Copy forwarding address in instruction -> Paste as forwarding address -> Click **Next**
5. Click **Proceed** to confirm
6. Get back to instruction, click **Get Verification link** -> Follow link and click **Confirm**
7. Go back to Gmail settings -> Go to "Forward and POP/IMAP" -> Select forwarding option **Forward a copy of incoming mail to \** -> Click **Save changes**
8. Click **Send verification email** to confirm. Now your email status is verified.
Follow this interactive guide to connect your Gmail
***
### Outlook
1. Sign in your Outlook account using web browser.
* If you're using Outlook app, click **File** -> Go to "Info" -> In Account Settings, click link to web.

2. Click Settings icon
3. Go to "Mail" -> "Forwarding and IMAP"
4. Turn on **Enable forwarding**
5. Copy forwarding address in instruction -> Paste as forwarding address -> Click **Save**
6. Click **Send verification email** to confirm. Now your email status is verified.
Follow this interactive guide to connect your Outlook
#### ⚠️ Unable to connect Outlook email to Chatty
When connecting your Outlook email to Chatty, you might see an error message saying your organization doesn't allow external forwarding.
```
550 5.7.520 Access denied, Your organization does not allow external forwarding. Please contact your administrator for further assistance. AS(7555)
```
#### Why this happens
* Many organizations disable email forwarding by default for security reasons
* This is common for company/organization Outlook accounts
* The system blocks attempts to forward emails to Chatty's email address
#### How to fix it
1. Contact your organization's IT administrator and take a screenshot of error message
2. Request permission to allow email forwarding to Chatty
3. Go back to Chatty and try connecting your Outlook email again
[Learn more about this with Microsoft.](https://answers.microsoft.com/en-us/msoffice/forum/all/550-57520-access-denied-when-forwarding-to-another/c519e969-b4b4-44be-bc40-89509cb4113c)
***
### Zoho
1. Log in to your Zoho email
2. Click icon Settings

3. Go to **Mail accounts** -> Go to **Forwards**

4. Copy forwarding email in Chatty. Paste it in "Add new email forwarding" and click **Enter**


5. Click **Verify**

6. In step 2 "Verify your email", click **Get confirmation code** -> Copy code and paste in Chatty -> Click **Confirm**

7. Click **Send verification email** to confirm. Now your email status is verified.
***
### Hostinger
1. Sign in your Hostinger email
2. Click Manage
3. Go to **Forwarders** -> Click **Create a forwarder**

4. Copy forwarding email in Chatty. Paste it in "To email address" and click Create

5. Click **Send verification email** to confirm. Now your email status is verified.
***
### Others
Since there are many email providers available, we cannot include all of them in this list. If your email provider is not in the provided list, please [contact us](https://go.crisp.chat/chat/embed/?website_id=72a663b0-4cda-4e3b-8878-426bdd79364c).
You can try finding `Forwarding` in settings and follow instructions to add Chatty as forwarding email.
***
### FAQs
Can I use different types of email providers?
Yes, Chatty works with most email providers including Gmail, Outlook, and custom domain emails. The verification process remains the same regardless of your provider.
I'm trying to add an alias email, but I don't receive the verification link. What should I do?
When you add an alias email, the verification link is sent to your primary (main) email address, not to the alias itself.
How to add alias emails:
1. **First, verify your primary email address**
* Add your main email address to Chatty
* Check your inbox for the verification link
* Click the link to verify
2. **Then, add your alias emails**
* Go to Channels and add your alias email
* When prompted for verification, you can skip to the final step
* Click "Verify" to complete the setup
* You won't need to check your inbox again since the primary email is already verified
**Example scenario:**
* Email A ([info@yourdomain.com](mailto:info@yourdomain.com)) is your primary email - verify this first
* Email B ([support@yourdomain.com](mailto:support@yourdomain.com)) is an alias of Email A - skip inbox verification
All emails sent to either address will forward to your Chatty inbox.
What if I only want to connect the alias email, not the primary one?
You can do this, but you'll still need to verify the primary email first:
1. Add and verify your primary email
2. Add your alias email (skip inbox verification)
3. Once the alias is connected, remove the primary email from Channels
Your alias email will continue working in Chatty.
================================================================
URL: https://help.chatty.net/ja/live-chat/channels/facebook-messenger-instagram/
Locale: ja
================================================================
# Facebook messenger/Instagram
**Who can use this feature?**
* This feature is available for all users.
### What is Facebook and Instagram connection?
This feature allows you to receive and respond to both Facebook Messenger and Instagram direct messages directly within your Chatty inbox.
By connecting these to Chatty, you can:
* Manage all conversations from Facebook and Instagram, in one centralized location
* Save time by not switching between different platforms
* Provide faster and more consistent customer support
* Keep track of customer interactions across different platforms
* Respond to customers on their preferred communication channel
### How to connect Facebook and Instagram to Chatty
Only Instagram business accounts connected to your Facebook Page can be integrated.
#### Go to **Settings** → **Channels**
#### In **Messenger/Instagram**, click **Manage**
#### Click **Connect to Facebook**
#### Log in to your Facebook account
#### Select pages to connect
#### Click **Save**
### Manage Facebook and Instagram accounts
After connecting your Facebook account, you can check your connected pages here.

If "No associated Instagram account found" appears, you need to connect an Instagram business account to your Facebook Page first through Facebook's settings. [Learn more.](https://help.instagram.com/570895513091465/?helpref=related_articles)
#### Add pages from the same Facebook account to Chatty
#### Click **Reconnect**
#### Click **Edit previous settings**
#### Select the pages you want to connect
#### Continue to save

#### Remove connected pages from Chatty
#### Click **Edit** in the connected page
#### Turn off page
#### Click **Save**

#### Connect other Facebook account
#### Click **Disconnect**
#### Click **Connect to Facebook** and connect to your new account

### Messages from Facebook and Instagram
Messages from connected pages will be synced to Chatty inbox.
In Inbox, messages from Facebook/Instagram have Messenger/Instagram icon.
You can click **Messenger** in "Channel" to select all conversations from Facebook or Instagram.

Why does Chatty need access to my Facebook Page?
Chatty needs access to your Facebook Page to do the following:
1. **Show your Facebook messages in the Chatty app.** This allows you to see and manage all your conversations in one place.
2. **Let you reply to messages directly from Chatty.** This makes it more convenient to respond to people without switching apps.
3. **Organize your conversations and link messages to the correct Facebook Page.** This helps keep your messages organized and easy to find.
What happens to existing conversations if I disconnect?
By disconnecting from Facebook pages, existing conversations will stay in Inbox **without update.**
Can I connect multiple Facebook accounts?
No. You can connect **only one Facebook account** to Chatty.
Can I connect multiple Facebook Pages?
Yes, you can connect **multiple Facebook Pages** to Chatty. Each connected page will have its associated Instagram account connected automatically (if applicable).
================================================================
URL: https://help.chatty.net/ja/live-chat/channels/whatsapp/
Locale: ja
================================================================
# WhatsApp
Who can use this feature?
* This feature is available for all users.
By connecting WhatsApp, you can check messages from WhatsApp right in Chatty.
### Before connecting WhatsApp to Chatty, make sure you have:
* A Facebook page for your business
* [A WhatsApp Business account linked to that Facebook page](#how-to-connect-whatsapp-business-to-a-facebook-page)
* Admin access to both your Facebook page and your WhatsApp Business account
You can connect multiple WhatsApp accounts to Chatty.
### How to connect WhatsApp to Chatty
#### Go to channels settings
1. Go to **Channels** in your Chatty dashboard
2. Find the WhatsApp section
3. Click **Manage**
#### Connect your Facebook account
1. Click **Connect account**
2. You'll be redirected to Facebook login
3. Enter your Facebook credentials and log in
4. Review the permissions that Chatty requests
5. Click **Continue** to grant access
#### Select your WhatsApp account
1. After connecting Facebook, you'll see a list of WhatsApp Business accounts linked to your Facebook page
2. Select the WhatsApp account you want to connect to Chatty
3. Click **Connect** to complete the setup
#### Confirm connection
1. You'll see a confirmation message that WhatsApp is connected
2. WhatsApp conversations will now appear in your Chatty inbox with a WhatsApp icon
3. Test the connection by sending a message to your WhatsApp Business number
### How to connect WhatsApp Business to a Facebook page
#### Download WhatsApp Business app
#### Login Facebook
1. From the Tools tab, tap Facebook & Instagram
2. Click Facebook
3. Click Continue
4. Log in
#### Connect Facebook page
1. Select the Facebook Page you want to link to your WhatsApp Business account
2. Click Connect WhatsApp
If you don’t have a Facebook Page, you’ll have the option to create one
#### Successfully connected WhatsApp
You’ll now see a WhatsApp button on your Facebook page.
Once you return to the WhatsApp Business app, you’ll see your linked Facebook Page at the top of the Facebook & Instagram screen.
### WhatsApp template
WhatsApp templates are pre-approved message formats that let you start conversations with customers. They're the only way to send WhatsApp messages to customers who:
* Haven't messaged you before
* Haven't sent you a message in the last 24 hours
Templates come in three types:
* **Marketing**: Promotional offers, product announcements, sales campaigns
* **Utility**: Order updates, shipping notifications, appointment reminders
* **Authentication (not supported)**: Verification codes, security messages
Once a customer replies to your template message, you can have a normal conversation for the next 24 hours without needing templates.


### FAQs
I don't see any WhatsApp accounts when trying to connect. What should I do?
Your WhatsApp Business account must be connected to your Facebook page first. Follow these steps:
1. Go to your Facebook page settings
2. Navigate to WhatsApp
3. Connect your WhatsApp Business account to your Facebook page
4. Return to Chatty and try connecting again
Can I connect my personal WhatsApp number?
No, you can only connect WhatsApp Business accounts. Personal WhatsApp accounts cannot be integrated with business tools like Chatty.
What if I don't have a WhatsApp Business account?
You'll need to create a WhatsApp Business account first:
1. Download WhatsApp Business app
2. Set up your business profile
3. Connect it to your Facebook page
4. Make sure Meta approves your account
5. Return to Chatty to complete the integration
Read [this guide](https://www.facebook.com/business/help/2087193751603668?id=2129163877102343) for more details.
Why is my WhatsApp Business number showing as "Pending"?
When your WhatsApp Business number shows "Pending" status in Chatty, it means Meta (WhatsApp) hasn't approved your number yet, even though you've completed the connection process.
There are two main reasons why your WhatsApp Business number remains pending:
#### Two-Factor Authentication (2FA) not enabled
1. Open your WhatsApp Business app
2. Go to Settings → Account → Two-step verification
3. Turn on Two-step verification and set up a 6-digit PIN
4. Wait for Meta to approve your number (Meta's approval process typically takes 24-48 hours, but can take longer during busy periods.**)**
5. Reconnect to Chatty once approved
#### Display name doesn't meet Meta's guidelines
Learn more about [WhatsApp Business display name](https://www.facebook.com/business/help/338047025165344)
Can I create a new WhatsApp account during the connection process?
Yes, if you don't have a WhatsApp Business account connected to your Facebook page, you can create one during the setup process. Note that this will be a new WhatsApp number, not linked to any existing personal WhatsApp account.
Can I disconnect WhatsApp later?
Yes, you can disconnect WhatsApp at any time:
1. Go to Channels → WhatsApp → Manage
2. Click **Disconnect**
3. Confirm the disconnection Existing conversation history will remain in Chatty but no new messages will sync.
Will customers know I'm using Chatty to reply?
No, customers will see your responses as coming directly from your WhatsApp Business account. The integration is invisible to customers.
================================================================
URL: https://help.chatty.net/ja/live-chat/contacts/
Locale: ja
================================================================
# Contacts
**Who can use this feature?**
* This feature is avaible for all users.
You can now manage customer contacts:
* Get access to customer details like: conversation, customer behaviour.
* Edit contact details
* Delete contacts
* Export contacts
If you delete a contact, all conversations of that contact will be deleted too.

### Customer type
There're 3 types of customers in the list.
| Types | Definition | How it displays in Inbox |
| --- | --- | --- |
| Guest | Who leave their emails to start a chat on your storeWhose conversations are linked through channels: Email, Messenger, Instagram | Customer icon + email |
| Customer | Who made an order on your store Who subscribed to your store | Name in icon + customer name |
| Anonymous user | Who chats on your store by clicking "Chat with us as anonymous" | Anonymous icon + random name |
### Contact details
In contact, you can view customer details:
* Chat history
* Activity timeline
* Overview: total orders, total spent amount, customer since
* Profile: name, email, phone, address
* Others: tags, notes

You can edit customer profile, tags and note.

In overview, click to go to customers profile in Shopify Customer.

### Manage contacts
In contact list, you can view total contacts, search for contacts and filter them by customer type.

### Export contacts
This allows you to download your customer contact information from Chatty in a standardized format.
It makes it easy to use this data in other platforms and systems, like Email Marketing or Loyalty platform.
#### What you can export
* Customer type (guest, customer, anonymous)
* Customer contact information (name, email, phone, address)
* Order information (total orders, total spent)
* Interaction timestamps (customer since, last updated)
* Tags and note
#### How to export contacts
#### Go to "Contacts"
#### Select contacts to export
* Current page: All contacts in current page
* All contacts: All contacts in all pages
#### Click Export
If you export all contacts in your list, export file will be sent to your email.
#### Check your file
Check file in your download folder. Make any changes to your file
================================================================
URL: https://help.chatty.net/ja/live-chat/inbox/
Locale: ja
================================================================
# Inbox
**Who can use this feature?**
* This feature is available for all users
### What is Inbox
Inbox is your central hub for managing all customer conversations across multiple channels.
It brings together messages from live chat, email, Facebook Messenger, and other connected channels into one workspace
You can easily track, respond to, and organize every customer interaction.

### What Inbox helps you do
* [x] Respond to all conversations from all [channels](/live-chat/channels/) in one place
* [x] Easily find conversation with smart filter & search
* [x] Check customer details while chatting
* [x] Manage conversations effectively: star, mark as resolved, etc.
### How to use Inbox
Access your inbox
1. Go to Chatty in your Shopify admin
2. Click **Inbox** tab in the main navigation
3. Or click **Go to inbox** from Dashboard
Your inbox opens with the conversation list on the left and chat details on the right.
#### Respond to conversations
**Send messages**
1. Select a conversation from the list
2. Click the message input field at the bottom
3. Type your message
4. Press **Enter** or click **Send**
With conversation assigned to AI, click **Join conversations** to start responding. You can reassign to AI anytime for AI auto-reply.
**Change send behavior**
By default, pressing **Enter** sends your message. You can change this in settings (**Settings** → **Inbox settings** → **Message preference**)

Learn more about responding in chat zone.
#### Filter conversations
**Filter by status**
1. Click filter options in the filter menu or at the top of conversation list
2. Select **Open**, **Resolved**, **Starred**, **Blocked, Unread**
3. Conversation list updates to show only matching conversations
**Filter by channel**
1. Click channel icons in the filter menu
2. Select specific channel (**Online store, Live chat, Email, Messenger, Instagram, Whatsapp**)
3. View only conversations from that channel

**Filter by assignee**
1. Select **Your inbox** (Conversation assigned to you), **Unassigned** from the filter menu; or select an assignee in the list at the top of conversation list
2. View conversations assigned to that assignee.

#### Manage conversations
**Mark as resolved:**
1. Open the conversation
2. Handle the customer inquiry completely
3. Click **Resolve**
4. Conversation moves to **Resolved** filter.
Learn how to [resolve conversations automatically](/others#resolve-conversations/).

**Star conversations:**
1. Open important conversation
2. Click star icon
3. Find starred conversations in Starred filter
**Delete conversations:**
1. Open conversation to delete
2. Click **Delete**
If you delete conversations, it will also delete contact info of anonymous users and leads. Contact info of customers stays the same.
If you delete contacts, all conversations of that contact will be deleted.
#### Check customer details
See important customer information while chatting:
* Contact information (email, phone)
* Order history and purchase details
* Customer tags and notes
* Pages they've browsed on your store
* Real-time actions:
* View FAQs
* Add products to empty cart (with product details)
* Add products to existing cart (with product details)
* Remove products from cart (with product details)
* Place an order
These behaviors help you understand customer intent and respond appropriately.
#### Use with team members
When working with team members:
1. **Assign conversations**: Select team member in conversation details
2. **Add notes**: Leave context for teammates handling the conversation
3. **Track assignments**: Filter by assigned conversations
4. **Collaborate**: Multiple team members can view conversation history
Learn more about team collaboration.
================================================================
URL: https://help.chatty.net/ja/live-chat/inbox/chat-zone/
Locale: ja
================================================================
# Chat zone
**Who can use this feature?**
* This feature is still in beta and only available for some specific users
This is where you reply and chat with your customers.

### Shortcut
| Shortcut in chat zone | Action |
| --------------------- | ------------------ |
| `/` | Open quick replies |
| `?` | Insert FAQs |
| `%` | Insert discounts |
| `!` | Insert products |
| `Ctrl + B` | Bold text |
| `Ctrl + I` | Italic text |
| `@` (in Note) | Tag team member |
### Customer's online status
You can check customer's online status on the top banner.

If your customer is offline, message will be sent to their email.
If they are anynomous users (those don't have emails), you'll need to prodive email to keep the conversation going with them.

### Customer behavior
In chat zone, you can check customer behaviour like add to cart or place an order.
List of customer behavior:
* Start a chat
* Add products to empty cart (show with product details)
* Add products to existing cart (show with product details)
* Remove products from cart (show with product details)
* Place an order

### Send message
In chatzone, enter your message and click **Send** or **Enter** to send messages.
You can change the action of **Enter** in settings.
Go to Settings -> General -> Go to Inbox settings -> Select method to send message

### Format text
Make your messages clearer with text formatting: **Bold text, Italic text, Insert link**
You can use icon **`B`** , *`I`* or keyboard shortcut. (Ctrl + B, Ctrl + I)

To add link into text in chat, you can:
* Click and enter your text and link
* Enter your text in chat -> Select text and click -> Enter your link
* Enter your link in chat -> Click **Edit**

### Send emoji
Send emoji to your customers in conversation by clicking icon

### React and reply message
In chat, you can reply ro react to a message.


### Real-time translation
Real-time translation detects the customerΓÇÖs language and lets you translate messages in Inbox.
**Who can use this feature?**
* This feature is available for the Pro plan and above.
* In the future, this feature will be limited to usage for all plans.
### Insert discount
In chatzone, you can insert and send customer discounts available in your store.
1. In conversation, click
2. Select your discount

3. Click **Send**

4. Discount will be shown in conversation with **Shop now** button. Customer can click S**hop now** to go shopping with your discount.

### Insert FAQs
You can send answers from your [FAQs hub](/build-faqs/) directly in chat.
In conversation, click icon to get access to FAQs hub. Click to quickly insert your answer and send.

You can only add FAQs in default language.
### Send files
1. In conversation, click icon
2. Select your files. You can send unlimited images and files in chat, maximum 10 files per time.
Supported image types are: JPG, JPEG, PNG, GIF. File size must be less than 20MB.
3. Click Send

### Quick replies
In conversation, click icon or type `/` to get access to quick replies. Then simply click to select your quick replies.

To set up quick replies, go to Settings -> Quick replies. Learn more [how to set up quick replies.](#quick-replies)
### Insert products
You can send producs (product variants) or collections to customer in chat.
In conversation , click icon -> Select product or collection -> Click **Insert**


================================================================
URL: https://help.chatty.net/ja/live-chat/inbox/conversation-details/
Locale: ja
================================================================
# Conversation details
**Who can use this feature?**
* This feature is available for all users.
### What is conversation details?
Conversation details is the right-side panel in Inbox that gives you a full picture of who you're talking to.
You can see what's in their cart, their profile, browsing history, past conversations, and more. All while you're in the middle of a chat.

In conversation details, you can check customer details:
* [Shopping cart](#shopping-cart)
* [Customer profile (email, phone, etc.)](#customer-profile)
* Browsed pages
* [Custom attributes](#custom-attributes)
* [Related conversation](#related-conversations)
* [Customer behavior](#customer-behavior)
* [Note](#note)
* [Checklist](#checklist)
* [Satisfaction survey](#satisfaction-survey)
### How does this help?
When you're handling a live conversation, switching between tabs to look up customer information slows you down. Conversation details put everything in one place so you can:
* See what a customer has in their cart and help them complete a purchase
* Understand who you're talking to: guest, returning customer, or anonymous visitor
* Review past conversations from the same customer without leaving the current chat
* Track follow-up tasks and notes for each conversation
* Check customer satisfaction ratings after a conversation ends
### How conversation details work
#### Shopping cart
Shopping cart shows the items the customer has added to their cart. This helps you understand what they are interested in and support them faster during the chat.
If the customer has not added anything yet, the shopping cart shows *"No items added to cart yet".*

#### Browsed pages
You can check a customer's browsing history in the browsed pages.

#### Customer profile
To each type of customer, you get access to different information. There are 3 types of customers: guest, customer, and anonymous user.
**Guest**
Guests are visitors who have not been linked to a customer profile. You can see some basic information in Profile, depending on what the visitor shares during the chat: Email, Phone, and Name.
You can convert a guest to a customer by adding contact information right inside the Inbox. This helps you identify the person and keep their chat history under one customer.
In Edit contact information, **enter** the customer’s First name and Last name (optional).
**Enter** the customer’s Email.
**Enter** the Phone number and select the country code (optional).
**Click Save.**
**Expected result:** The Profile updates, and the conversation is linked to a customer (you will see customer information in Profile).
**Note:** If the visitor logged in with an email account, the chat form will suggest or auto-fill their email address. In this case, you can see the guest’s email in Profile even before converting them to a customer.


**Customer**
This customer already purchased from your store. All information in Shopify Customer will be synced to the profile: Name, Email, Phone, Location, Tag

This information will also be shown under the customer name.

**Anonymous user**
With an anonymous user, you can still add them as a new customer by clicking the pencil icon to add a customer**.**

#### Custom attributes
Custom attributes let you add your own extra information for each conversation to manage chats and prepare for easier filtering and reporting later.
* Name: what the info is about
* Value: the detail you want to save
Example:
* Name: Order type → Value: Pre-order
* Name: Priority → Value: High
* Name: Issue → Value: Deliver delay

**Add an attribute**
In Conversation attributes, click **Add.**
**Enter** the attribute **Name.**
**Enter** the attribute **Value.**
**Click save.**
**Delete an attribute**
**Find** the attribute you want to remove.
**Click** **Delete** (X icon).
* Attributes are added to this conversation only. This won't be applied to other conversations.
* A filter by attributes will be added in a future update to search and group conversations using these attributes.
#### Related conversations
Related conversations let you see other conversations from the same customer while you are replying, so you can support faster without leaving the current chat.

**What do you see in related conversations?**
* Customer name
* The 5 most recent conversations are by default
* Conversation status
* Assignee
**How does Chatty choose related conversations?**
Chatty finds the related conversation based on who the person is and the same visit.
| Customer type | How Chatty matches |
| ------------------------------- | ------------------------------------------------------------------------ |
| Customers (logged-in customers) | Same customer profile, including reset conversations and converted leads |
| Lead (guest) | Same email, same phone number, or same active session |
| Anonymous user | Same session only |
If you don’t see any related conversations, this means there are no conversations that match the same customer (email/phone/profile) or the same session.
#### Customer behavior
In the chat zone, you can check customer behavior in real-time, like add to cart or place an order.
List of customer behavior:
* Start a chat
* Add products to empty cart (show with product details)
* Add products to existing cart (show with product details)
* Remove products from cart (show with product details)
* Place an order

#### Note
You can leave a note for each customer for further information. A note will go together with the created time. You can edit or delete a note.

#### Checklist
A checklist helps you keep track of follow-up tasks for each conversation, so nothing is missed during support or handover.

**Add a task**
In Checklist, **click** **Add task**.
**Type** your task
Example: “Check with the internal team and respond within 1 hour”.
**Press** **Enter** to save.
**Edit a task**
In Checklist, **find** the task you want to update.
**Click** the **Edit** icon (pencil).
**Update** the task text.
**Press Enter to save.**
**Delete a task**
In Checklist, **find** the task you want to remove.
**Click** the **Delete** icon (trash).
#### Satisfaction survey
The satisfaction survey shows the customer’s rating for this conversation after the chat ends. This helps you understand how satisfied the customer is and track service quality over time.
**What you can see**
* Rating status (rated/not rated yet)
* Rating result when the customer submits a rating.

================================================================
URL: https://help.chatty.net/ja/live-chat/inbox/customers/
Locale: ja
================================================================
# Customers
**Who can use this feature?**
* This feature is available for some specific users
### Customer type
In your inbox, you can check each customer and their conversations in the left panel of inbox.

There're 3 types of customers in the list.
| Types | Definition | How it displays |
| --- | --- | --- |
| Guest (lead) | Who visits your website and haven't made an order yet | Customer icon + email |
| Customer | Who made an order on your store | Name in icon + customer name |
| Anonymous user | Who chats on your store by clicking "Chat with us as anonymous" | Anonymous icon + random name |

Why can't guest automatically convert to customer?
Chatty doesn't automatically convert guest to customer to maintain data accuracy and protect your customers' experience:
* **Prevents duplicate or inaccurate customer profiles**: Automatic conversion could create multiple profiles for the same customer or generate profiles with incomplete information.
* **Protects customer login access**: Creating customer accounts without verification could prevent customers from accessing their actual accounts later.
**What you can do instead:**
1. Review guest information manually before creating customer profiles
2. Create customer profiles with validated information
### Manage customers
#### Block customers
You can block a customer so that you do not get any messages from that customer.
In their conversation, in the right panel, click **Block user** and confirm.
Customers who get blocked won't be notified that they're block. They can still message you in the chatbox, but they cannot receive replies.


#### Delete customers
You can delete customers in Contacts, where you can manage customer information.
================================================================
URL: https://help.chatty.net/ja/live-chat/inbox/real-time-translation/
Locale: ja
================================================================
# Real-time translation
**Who can use this feature?**
* This feature is available for the Pro plan and above.
* In the future, this feature will be limited to usage for all plans.
Real-time translation detects the customer’s language and lets you translate messages in Inbox.
### Translate the customer message
#### Detect customer language
Chatty automatically detects the customer’s language and shows it in the conversation and in the customer profile.
You can see the detected language while viewing the conversation.

#### Auto-translate new messages
When Translate is turned on, Chatty automatically translates any new customer message that comes in.
#### In Inbox, **open** a conversation.
#### **Click Translate.**
Chatty translates all customer messages to your default language (set in [**Settings → Translation**](/others/translation/)).
You always see the latest customer message in your selected language.
If you want to stop translating, **click** Stop. Messages show in the original language again.
### Live Translate
Live Translate helps you write a reply in your language and preview the translated version before sending.
#### Preview translation
#### In Inbox, **open** a conversation.
#### **Turn on** Live Translate.
#### **Type** your message.
#### **Click** Preview translation.
A translated preview displays before you send.

#### Refresh translation
When you edit the message, **click** Refresh to update the latest translated preview.

***
================================================================
URL: https://help.chatty.net/ja/live-chat/live-chat/
Locale: ja
================================================================
# Live chat
**Who can use this feature?**
* This feature is available for all users
### What is live chat?
Live chat helps your customers contact to you while visiting your store. Also you can respond right away and [manage chats](/live-chat/inbox/) more effectively.

### Set up live chat
1. Make sure you turn on Chatbox. (Go to Chatbox -> In "General", click **Turn on** chatbox)
2. In "Blocks", turn on **Live chat**

3. Click Edit to set up pre-chat form.\
Pre-chat form helps you collect customer's info before chat starts.
To check preview of pre-chat form, click Chat now in preview and enter your first message.
\
"Required info before chat starts" : Helps you set up info you want to collect from customers. Email is required. You can select Name and Phone more.\
"Chat as anonymous": If you allow chat as anonymous, users don't need to enter info to start chat. In pre-chat form, there's an option for users to "Chat with us as anonymous".

4. Click **Save**
5. Go to your store front to check how chatbox looks like on your store front. Click **Chat now** in chatbox to start a test conversation.
You can set up online/offline status in [online hours.](/others/online-hours/)
================================================================
URL: https://help.chatty.net/ja/live-chat/others/
Locale: ja
================================================================
# Others
**Who can use this feature?**
* This feature is available for all users
### Resolve conversations
When you resolve a conversation, you mark it as finished.
This moves the conversation out of your "Open" list and to "Resolved" list. This helps with:
* Keep your inbox organized
* See which customers need help
* Track finished conversations

#### How to resolve conversations?
🅰️ **Manually**
1. Go to the conversation in your **Inbox**
2. Click **Resolve** in the chat
3. The conversation moves to **Resolved**

🅱️ **Automatically**
How automatic resolution works:
* Old conversations with no new messages get resolved
* Customers see your notice message explaining why
* They can send a new message to reopen the chat
How to set up automatic resolution:
1. Go to **Settings**
2. Go to **Automation**
3. Turn on **Automatic resolution**
4. Set up your preferences:
* **Auto resolve after**: Pick how long to wait
* **Time unit**: Pick minutes, hours, or days
* **Notice message**: Message what customers will see
5. Click **Save**

💡 **Best practices**
**For manual:**
* Don't resolve if you're waiting for the customer to reply
* Ask "Anything else I can help with?" before resolving
**For automatic:**
* **Busy stores**: 2-4 hours
* **Special support**: 24 hours
* **Always open stores**: 4-8 hours
**Notice message tips:**
* Keep it friendly
* Tell customers they can restart easily
* Example: "This chat was closed due to no activity. Send a message to reopen it - we're here to help!"
***
### Remind conversations
Reminder lets you set a follow-up alert on any conversation so you never miss a customer follow-up. When the time comes, Chatty reopens the conversation and notifies you with your note.
This is useful when:
* A customer needs more time before you follow up
* You want to check back after an order or a promise to respond
* You need to ask for a review after delivery
#### How to set a reminder
1. Open a conversation in **Inbox**
2. Click the **Reminder** icon in the conversation toolbar
3. Choose a quick time option:
* **1 hour** — reminds you in 1 hour from now
* **2 hours** — reminds you in 2 hours from now
* **Same time tomorrow** — reminds you at the same time the next day
4. (Optional) Add a **note** to remind yourself what to follow up on
5. Click **Save**
The reminder appears as an internal message in the conversation thread.

#### What happens when a reminder fires
When the scheduled time arrives, Chatty will:
* Send a new **internal message** in the conversation with your note and an unread badge
* Set the conversation status back to **Open**
* Send you an **email** and **push notification** with your note
#### Delete a reminder
1. Find the reminder message in the conversation thread
2. Click **Delete** to cancel it
* Reminders are personal — only the agent who set the reminder receives the notification.
* Each reminder is linked to one conversation. Set a separate reminder for each conversation you want to follow up on.
***
### Transcript (copies of conversation)
**Conversation transcript:** An email copy of the complete chat conversation, including all messages, timestamps, and customer information.
Chatty will send you email copies of conversations for easy record-keeping and sharing.
Customers might need transcript to:
* Reference product recommendations or advice later
* Share technical support instructions with others
* Keep track of customer service interactions
Your team might need transcripts to:
* Forward customer issues to other departments
* Keep records for compliance or training
* Share context with colleagues who weren't in the original conversation
#### How to set up transcript feature
Before customers can request transcripts, you need to enable this feature:
1. Go to **Settings**
2. Go to **Channels**
3. Click **Email channel**
4. Go to **Preferences**
5. In **Conversation transcript email**, turn on the feature
6. In **Forward to**, enter the email address where transcripts should be sent
* You can add multiple email addresses separated by commas
* This is typically your store's support email or team inbox
7. (Optional) Set up your **Email signature** to appear at the end of transcript emails
* Toggle on **Email signature**
* Add your signature text, including your name and store information
8. Click **Save**
After setup, customers will see the **Email transcript** option in their chat menu.

#### How customers request transcripts
Customers can request a transcript at any point during a conversation:
1. In the chatbox, click the menu icon (three dots) in the top right corner
2. From the menu, select **Email transcript**
3. The transcript is automatically sent to their email address

#### How team members send transcripts
While managing conversations in your inbox, you can send transcripts to anyone:
1. Open the conversation in your inbox
2. Click 3 dots in the top right corner → **Send transcript**
3. Choose where to send the transcript:
* **To me** - Send to your Chatty account email
* **To \[customer email]** - Send to the customer's email address
* **To someone else** - Enter a custom email address
4. Click **Done**
The transcript email includes the complete conversation with timestamps, so recipients have full context.

***
### Satisfaction survey
Satisfaction survey helps you gather feedback from customers after conversations are resolved.
Customers can rate their experience using stars or emojis, helping you understand how well your team handles support. You can:
* Track your team's support performance over time
* Identify which conversations need better handling
* Improve customer satisfaction with data-driven changes
* Show customers you care about their experience

#### How to set up satisfaction survey
**Go to Satisfaction survey**
Go to Settings *→* Automation → In Satisfaction survey, click Manage
**Turn on survey**
Click to turn on Survey
**Select survey format**
Select how customers will rate their experience:
**Star rating**: Customers rate using 1-5 stars
**Emoji scale**: Customers choose from 5 emoji faces (very unhappy to very happy)
**Set survey content**
**Intro**: Enter the question customers see first (Default: "How was your experience?")
**Thank you message**: Message shown after customers submit feedback. (Default: "Thank you for your feedback!")
**Set trigger time**
Choose when to send the survey:
**Conversation is resolved**: Survey appears when you mark conversations as resolved
**When specific keywords appear**: Survey triggers when customers use certain words
Add keywords like "thank you," "thanks," "got it," "perfect". Customers often use these words when they're satisfied.
**Save**
Click **Save** to activate your satisfaction survey
================================================================
URL: https://help.chatty.net/ja/live-chat/proactive-chat/
Locale: ja
================================================================
# Proactive chat
**Who can use this feature?**
* This feature is available for all users
### What is Proactive chat?
Proactive chat sends targeted messages to website visitors before they ask questions.
Instead of waiting for customers to contact you, these campaigns reach out at key moments in their shopping journey to guide them toward purchases.

### Why use Proactive chat?
* **Turning visitors into customers:** Welcome new visitors and guide them to relevant products instead of letting them browse aimlessly.
* **Recovering lost sales:** Automatically target customers who add items to cart but haven't completed purchase with incentives or assistance.
* **Growing your email list:** Offer exclusive discounts to visitors who subscribe to your newsletter at strategic moments.
* **Increasing average order value:** Recommend bestselling or complementary products when customers show buying intent.
### Proactive chat templates
Chatty provides pre-built templates to help you create effective proactive chat campaigns quickly.

Each template is designed for specific customer scenarios and includes proven messaging that drives results.
| Template | Goal | Trigger moment |
| --- | --- | --- |
| Welcome visitor | Greet new visitors and guide them to products | Homepage, landing pages |
| Subscribe newsletter | Capture emails with discount offers | Product pages, repeat visitors |
| Product recommendation | Show relevant products to browsing customers | Category, product detail pages |
| Collection boost | Drive engagement when customers browse your collections | Collection pages |
| Search | Assist customers actively searching for products | Search results page |
| View cart (coming soon) | Engage customers the moment they open their cart | Cart page |
| Cart booster | Target customers with items in cart | Cart page, checkout |
| Abandoned cart reminder | Recover carts by reminding customers what they left behind | After activity |
| Remove items from cart | Win back customers who remove products with a coupon or alternative | Cart page |
### How to set up proactive chat
#### Go to Proactive chat
#### Click Create proactive chat
#### Choose your type
* **Welcome visitor:** Greet new visitors and guide them to products
* **Subscribe newsletter:** Capture emails with discount offers
* **Product recommendation:** Show relevant products to browsing customers
* **Collection boost:** Drive engagement when customers browse your collections
* **Cart booster:** Target customers with items in cart
* **Abandoned cart reminder**: Recover carts by reminding customers what they left behind
* **View cart:** Engage customers the moment they open their cart
* **Remove items from cart**: Win back customers who remove products with a coupon or alternative
* **Search**: Assist customers actively searching for products
#### Configure settings
**Campaign details**
* Campaign name: Enter a name to identify this campaign in your dashboard
* Activate campaign: Turn on to make the campaign live on your storefront
**Targeting options**
* Trigger options: When to send proactive chat
* Pages: Select which pages show this campaign (If you select specific pages, click **Enter** after URL to add)
* Audience: Choose who sees the campaign (all visitors or returning customers)
* Devices: Select desktop, mobile, or both
* Display time: Set when the campaign appears (after page load, scroll percentage, or time delay)
* Display duration: Choose how long the campaign stays visible
**Message content**
* Proactive message: Write the message that appears above your chatbox.
* Rich content: You can send product suggestions with proactive message (available in "Product recommendations" and "Cart booster")
* Chat message: Customers receive a message (similar to proactive message) when they click the teaser. Discount will be sent together with messages. (available in "Subscribe newsletter" and "Cart booster")
#### Activate proactive chat
* Check **Preview** to see how your campaign appears on your storefront.
* Click **Activate** to make your campaign live
**Campaign priority**
When multiple campaigns could show at the same time, priority is determined in two steps:
1. **Priority number (primary rule)**: Each campaign has a priority number from 1 to 10. Lower number = higher priority. Drag and drop campaigns in your list to reorder them.
2. **Closest to checkout (tiebreaker):** If multiple campaigns share the same priority number and trigger conditions fire at the same time, the campaign with the trigger closest to a checkout action wins:\
`Cart Booster → Abandoned Cart → View Cart → Remove Items from Cart → Product → Collection → Search → Subscribe → Welcome`
**Session limit**: Maximum 5 proactive chats per session. Only 1 displayed at any given time.
***
**Marketing double opt-in (in Subscribe newsletter)**
By enabling this option, customers will receive a confirmation email to confirm their subscription before get the discount.

**Timing best practices**
* Welcome messages: 5-10 seconds after page load
* Product recommendations: After 30-50% page scroll
* Cart boosters: 2-3 minutes after adding items to cart
* Newsletter signup: Before exit intent or after browsing multiple products
================================================================
URL: https://help.chatty.net/ja/live-chat/quick-replies/
Locale: ja
================================================================
# Quick replies
**Who can use this feature?**
* This feature is available for all users
Quick replies help users set up messages which are common for merchants to answer customers.
### Create quick replies
1. Go to **Settings** -> In Quick replies, click **Manage**\

2. Turn on Quick replies to enable quick replies in chat

3. Click Create quick reply
4. Enter shortcut, category and your response. \
You can enter category name and click Add to add new category.

5. Click **Save**
6. You can edit or delete quick replies.

### Use quick replies in chat
In conversation, click icon or type `/` to get access to quick replies. Then simply click to select your quick replies.

In chat, click icon to add new quick replies, or go to quick replies settings by clicking icon .

================================================================
URL: https://help.chatty.net/ja/live-chat/team/
Locale: ja
================================================================
# Team
**Who can use this feature?**
* This feature is available for all users
* Free plan users have one seat for admin. Paid plan users can invite up to 5 team members.
### What is Team?
With Chatty Team, you can now invite your staff to help manage customer conversations. Your whole support team can work together in one place to answer customer questions faster.
Best for:
* Stores with multiple support staff
* Busy shops that need quick response times
* Teams working different shifts
* Growing businesses that want to scale their customer support
### How does Team help?
* Invite multiple team members to handle live chats
* Share the workload of customer support
* Respond to customers faster with more people available
* Manage your entire support team and keep track of their performance from one place
### How does Team work?
#### Invite member
#### Go to Settings, click Manage in Teams
#### Click Invite member
Basic plan users can invite 2 more members.
Pro plan users can invite 4 more members.
#### Enter member info
You can update member's information later (profile pic, name), but email. Email is connected to an account and can't be edited.
#### Click Invite to send invitation email
#### Ask your team member to check invitation email and click Create account
Go to email inbox to check email from Chatty.
#### Create Chatty account
#### Log in Chatty to manage conversations
Follow this interactive to invite team members to Chatty.
#### Assign conversation to member
Go to Inbox
Select a conversation
In conversation details, go to Assignee
Click Assign and select team member

You can also set up auto-assignment in **Settings**.
Go to Settings *→* Automation *→* Assignment *→* Automatic
Chatty automatically assigns new conversations to team members in rotation. When a conversation comes in, it goes to the next available team member in your list.
These settings will be applied to conversations transferred from AI assistant.

These settings will be applied to conversations transferred from AI assistant.
#### Mention team member in conversation
You and your team can leave private comments within conversations by **Internal note**.
These notes are only visible to your team members, not to customers.
**How to leave a note**
1. During a customer conversation, click the **Notes** tab in the chat zone
2. Type your note in the text box
3. To mention a team member, type `@` followed by their name
4. Click **Send** to save your note
5. Note will be saved in the conversation with timestamp and sender
When you mention someone using `@mention`:
* They'll receive a push notification
* They'll get an email notification about the mention
* Only members who have access to the conversation can read internal notes
#### How to reply a note
* Find the note you want to reply to
* Click **Reply** next to that note
* Type your response in the text box
* You'll see "Replying to \[name]" indicating who you're responding to
* For your own notes, it shows "Replying to yourself"
* Click **Send** to save your reply

================================================================
URL: https://help.chatty.net/ja/live-chat/team/team-member/
Locale: ja
================================================================
# Team member
**Who can use this feature?**
* This feature is available for Basic and Pro plan users
* This guide is for team members who are invited to Chatty support team
As a team member invited to Chatty, you’ll collaborate with your team to manage conversations efficiently.
Go to Web app to log in: [https://app.meetchatty.com/](https://app.meetchatty.com/)
### Team member permissions
Chatty allows multiple team members to collaborate to manage conversations. Each team member has specific permissions:
* Respond to conversations from all channels (Live chat, Email, Facebook messenger, etc.)
* Access conversation histories and customer's profile
* Leave note
* Resolve, mark as unread and block conversations
* Assign conversations
* Set up notifications and update profile
### Getting started as a team member
#### Accept invitation
Go to your email and check invitation email from Chatty.
Click Create account in email.
#### Create account
Create password for your email to create account to log in Chatty.
Onced logged in, go to **Settings** to edit your name and profile picture.
#### Understand app interface
Your main app interface will be the [Inbox](/live-chat/inbox/).
You have access to a list of conversations and your account settings.
#### Set up notifications
You can set up notifications for messages to help you take care of all messages.
Go to **Settings** and set up your notifications on your devices.
Learn more about [Notifications](/others/notifications/).
#### Set online/offline status
You can set up online/offline status when you're logging in Chatty.

#### Switch between multiple stores
While logging in Chatty, you can switch between stores to manage conversations from different stores (that your account is linked to).

#### Mention team member in conversation
You and your team can leave private comments within conversations by **Internal note**.

================================================================
URL: https://help.chatty.net/ja/mobile-and-web-app/manage-login-devices/
Locale: ja
================================================================
# Manage login devices
**Who can use this feature?**
* This feature is available for all users
### Overview
If you've logged into Chatty on multiple devices - a work laptop, a personal phone, a shared computer - it can be hard to keep track of where your account is active.
This gives you a clear view of every active session, so you can stay in control of who (and what) has access to your account.

***
### View your active login sessions
When you open the Login Devices page, you'll see a list of all devices currently logged into your Chatty account. For each session, Chatty shows:
* **Device type:** Desktop, mobile, or tablet
* **Browser:** The browser used to log in (e.g. Chrome, Safari)
* **Location:** Approximate location based on IP address
* **Last active:** When this session was last used
Your current device is always marked with a **"Current device"** badge so you can identify it at a glance.
#### How to view your login devices
1. Go to Web App
2. Click your account avatar in the top-right corner.
3. Select **Manage Account**.
4. Go to the **Login Devices** tab.
5. Review the list of active sessions.
***
### Remove a specific device
If you see a session you don't recognize, or a device you no longer use, you can log it out immediately without affecting your current session.
#### How to log out a specific device
1. On the **Login Devices** tab, find the session you want to remove.
2. Click **Log out** next to that device.
3. The session is ended instantly. That device will need to log in again to access your account.
Logging out a device doesn't change your password. If you suspect unauthorized access, log out all devices and update your password as well.
***
### Log out of all other devices
If you want to clear all active sessions at once - except the device you're currently using - you can do it in a single action.
#### How to log out all other devices
1. On the **Login Devices** tab, scroll to the bottom of the page.
2. Click **Log out all other devices**.
3. All sessions except your current device are ended immediately.
This action cannot be undone. Any team member who was logged in on an affected device will need to sign in again.
================================================================
URL: https://help.chatty.net/ja/mobile-and-web-app/mobile-app/
Locale: ja
================================================================
# Mobile app
**Who can use this feature?**
* This feature is available for all users
With our Chatty mobile app, you can answer customer questions on the go right on your devices.
### How to download mobile app
1. In app dashboard, click **Install mobile app** in Setup guide.\
Or go to Settings -> Notifications -> Click Download now
2. Click **Download now**
3. Scan QR code with your device
4. With each device and web browser, you can have different ways to set up Chatty mobile app.\
In overall, follow these steps to set up
* Scan and go to link
* In browser settings, click "Add to home screen"
* Add Chatty app to homescreen as an app
Here are detailed instructions to add app for each browser.
#### Safari (iOS device)
Go to link -> Tap share icon at the bottom -> Select "Add to Home Screen" and set up to add to your home screen.
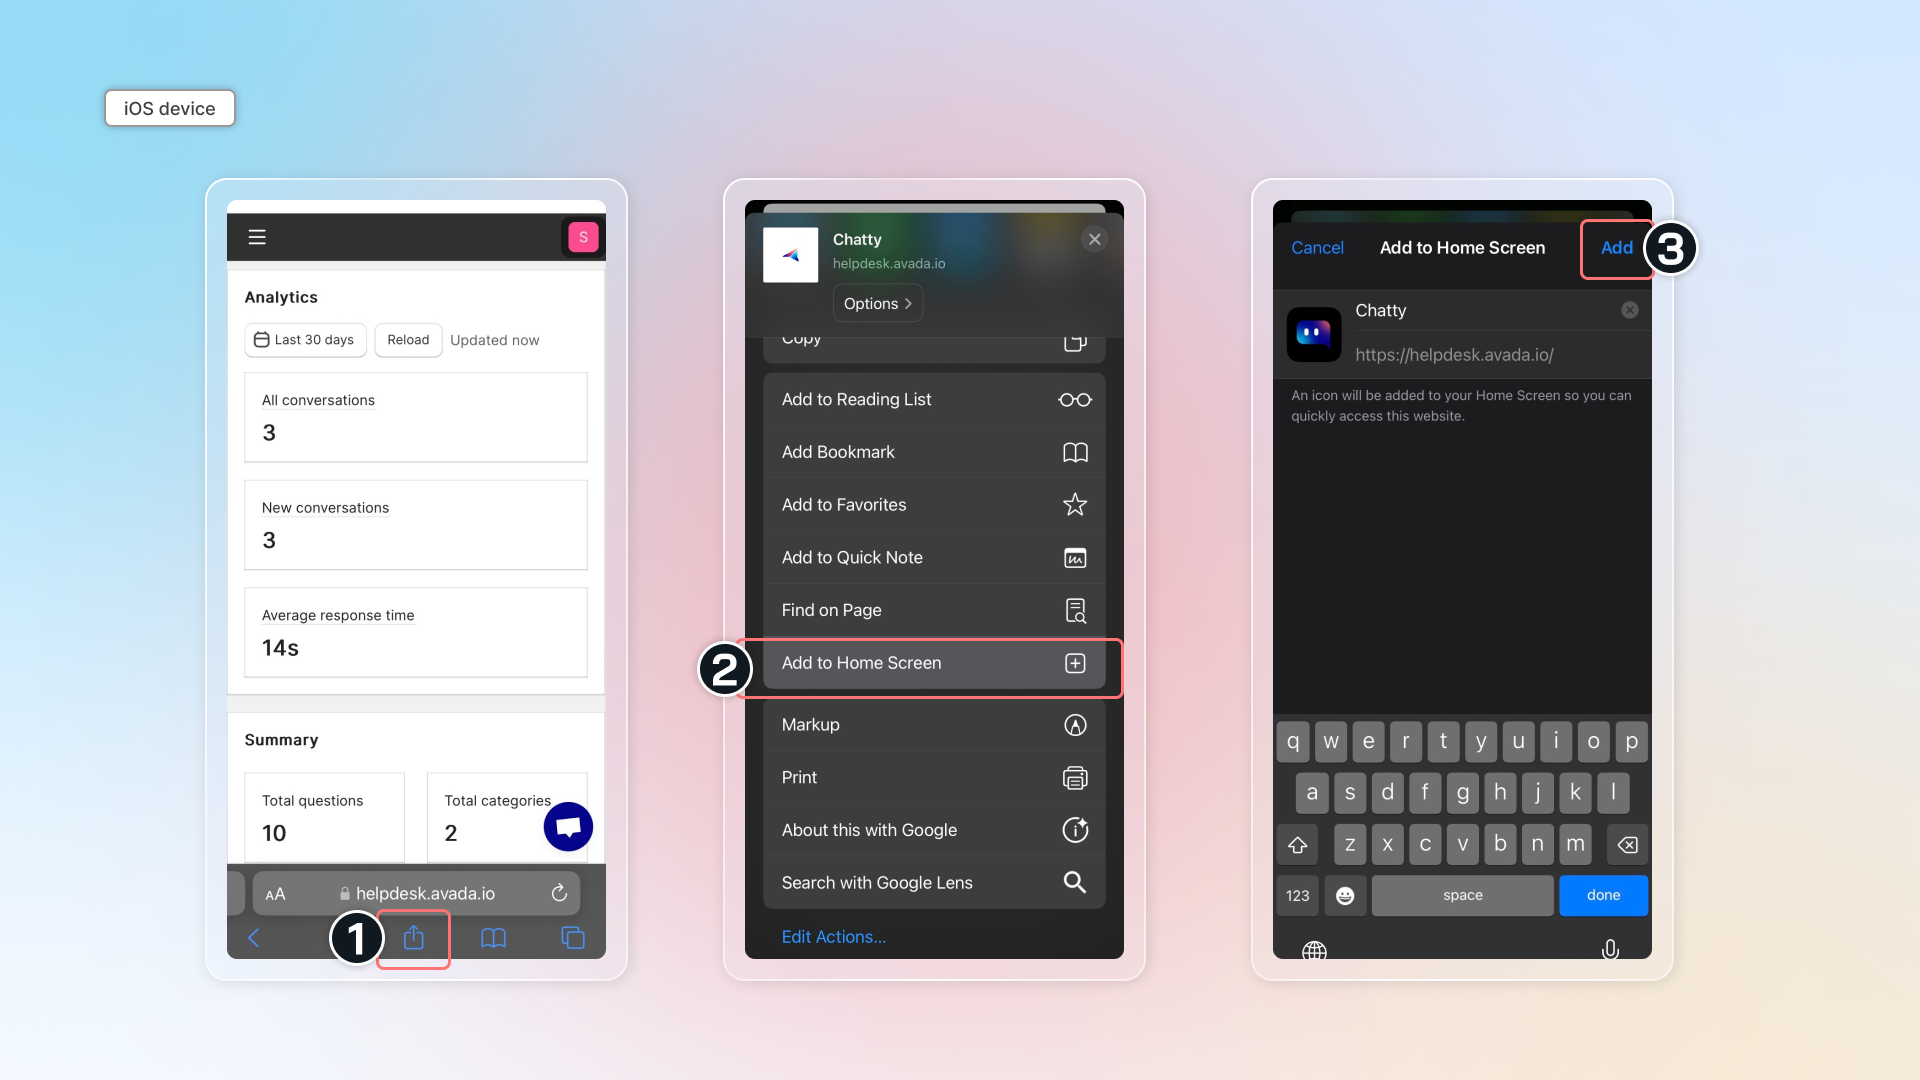
#### Chrome (iOS device)
Go to link -> Tap share icon on the top right -> Select "Add to Home Screen" and set up to add to your home screen.
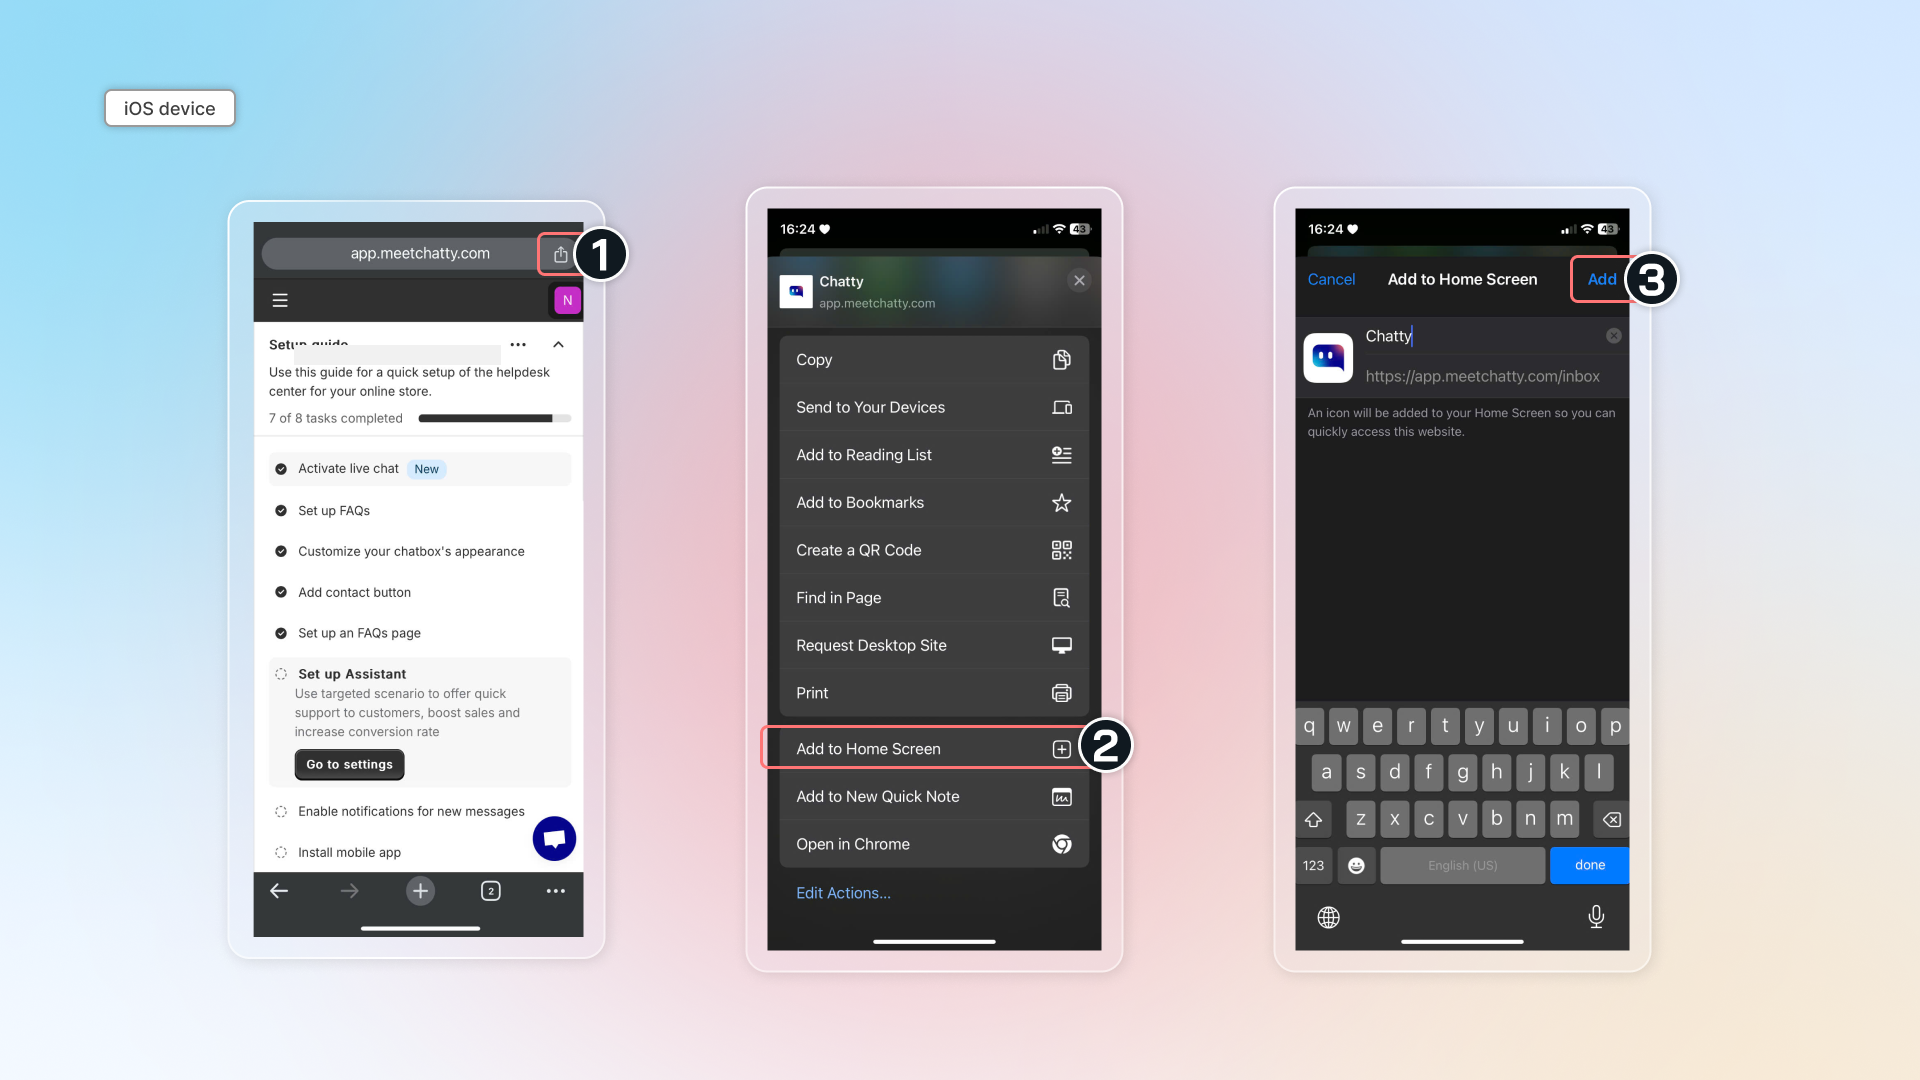
#### Chrome (Android device)
Go to link -> Tap top right menu icon -> Select "Add to Home Screen" and set up to add to your home screen.
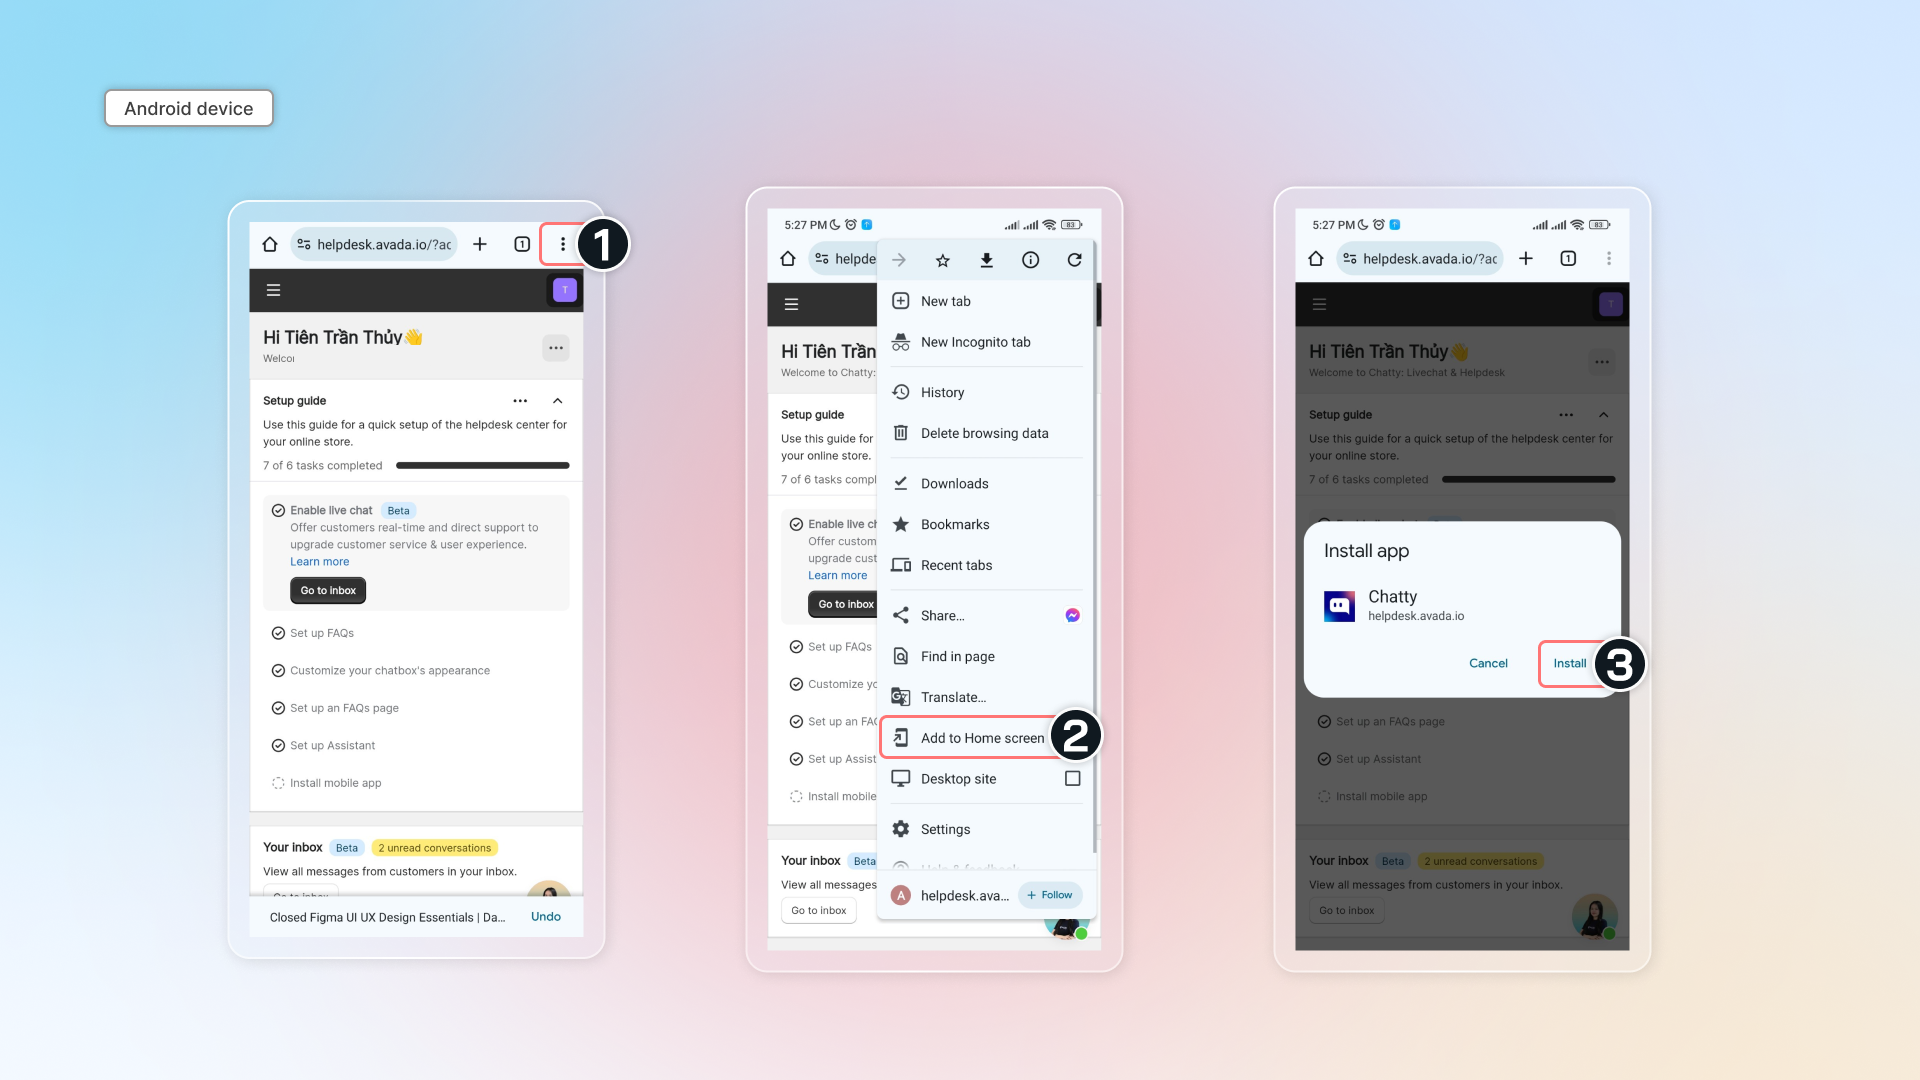
#### Firefox (iOS device)
Go to link -> Tap bottom right menu -> Select "Share" -> Select "Add to Home Screen" and set up to add to your home screen.
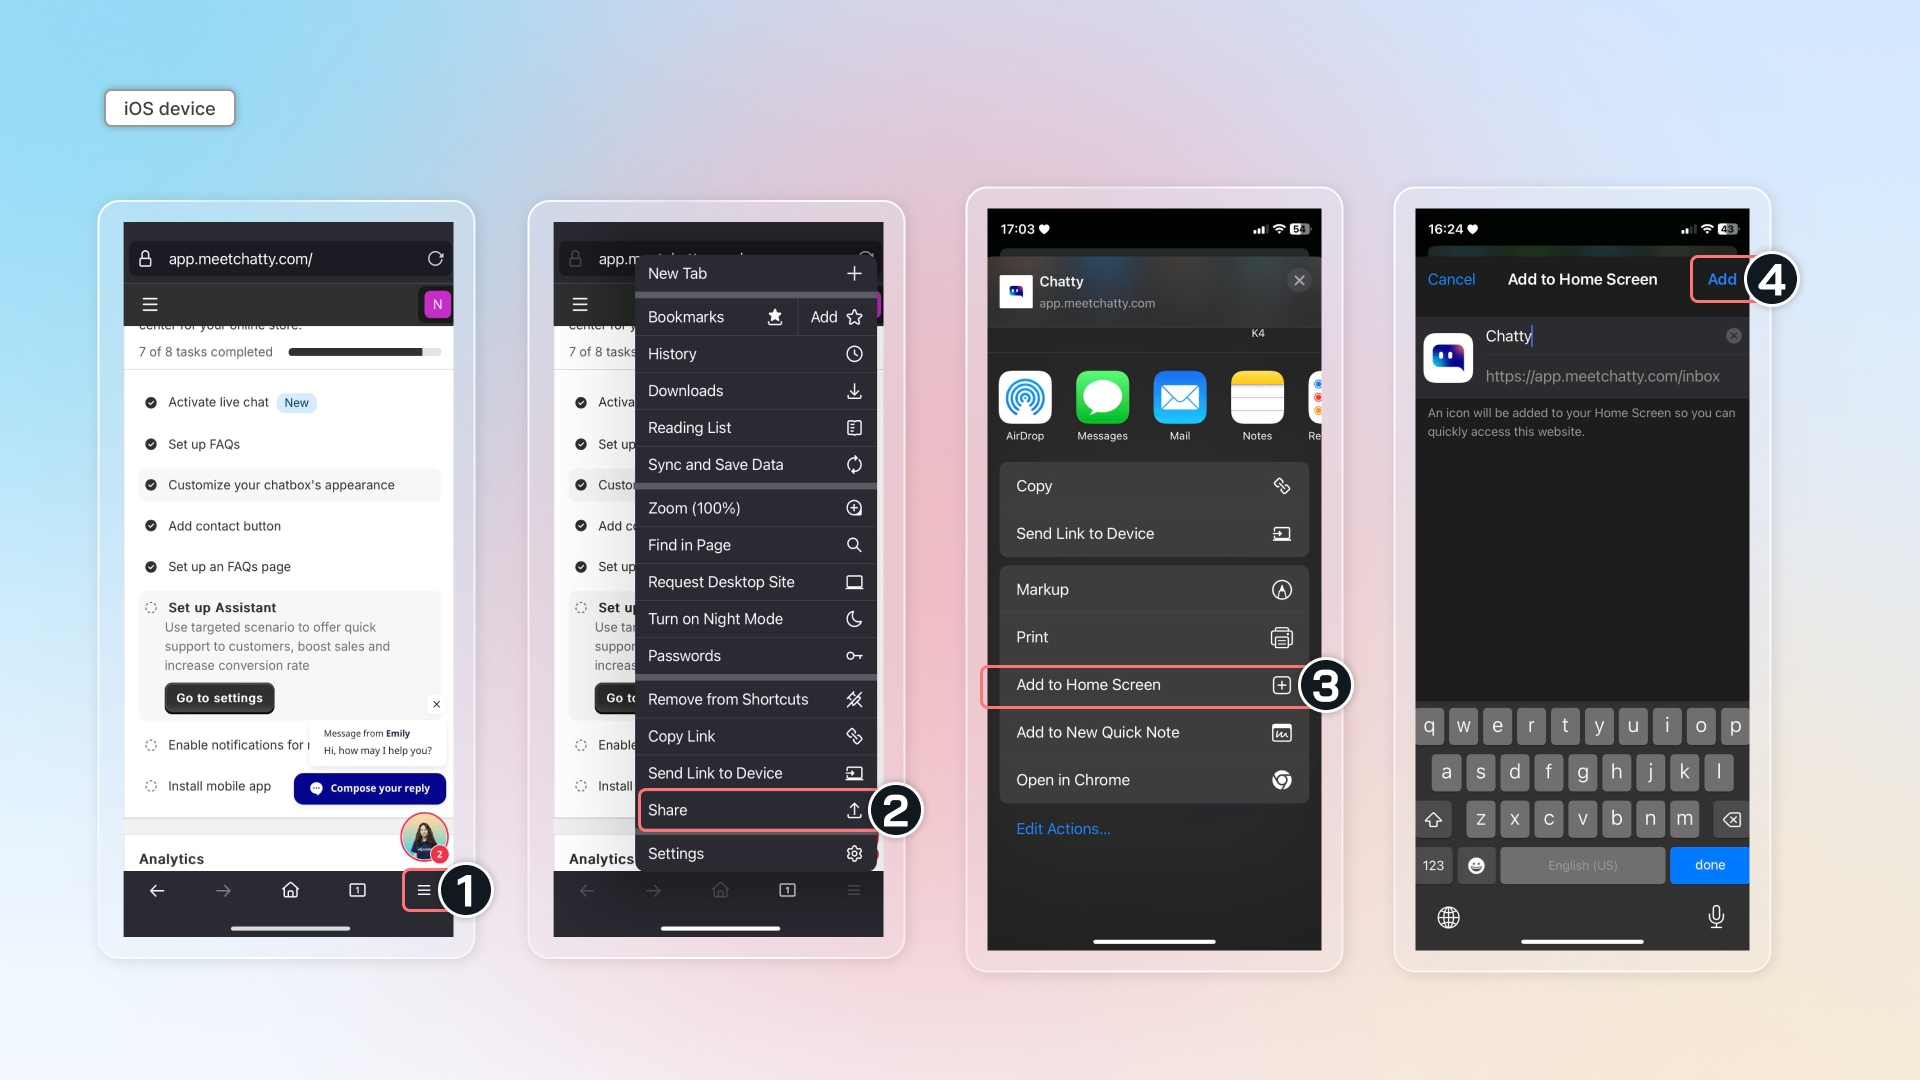
If you're using other browsers, please contact our support team in app for assistance.
================================================================
URL: https://help.chatty.net/ja/mobile-and-web-app/mobile-app/app-tour-guide/
Locale: ja
================================================================
# App tour guide
**Who can use this feature?**
* This feature is available for all users
In Chatty mobile app, you can:
* Reply to all conversations
* Set up main settings: [general settings](/others/general-settings/), [notifications](/others/notifications/), [online hours](/others/online-hours/) and [quick replies](/live-chat/quick-replies/)
In conversation list, you can check all convesations and reply with all conversations. You can still get access to all functions in chat: send files, quick replies, [and more](/live-chat/inbox/chat-zone/).

In **Settings**, you can set up all settings in app.

================================================================
URL: https://help.chatty.net/ja/mobile-and-web-app/web-app/
Locale: ja
================================================================
# Web app
**Who can use this feature?**
* This feature is available for all users.
### What is Web app?
Chatty Web app is a standalone web version that allows you to manage conversations and support tools without logging into Shopify admin.
You can get access to Chatty directly through [app.meetchatty.com](https://app.meetchatty.com/) with a Chatty account.
#### Who can use Web app?
Web app is available to all users who have an activated Chatty account. Those include:
* Shopify admin
* Team members who accept invitation to Chatty
### How to log in web app
#### 🅰️ As an admin
#### Go to Chatty
#### Activate your admin account
Look for **Web app activation** notice and click Activate
You can easily find notice in:
* Dashboard
* Or go to **Settings** → Click **Team**
* Or go to **Chatbox** → Go to **Live chat** in Blocks
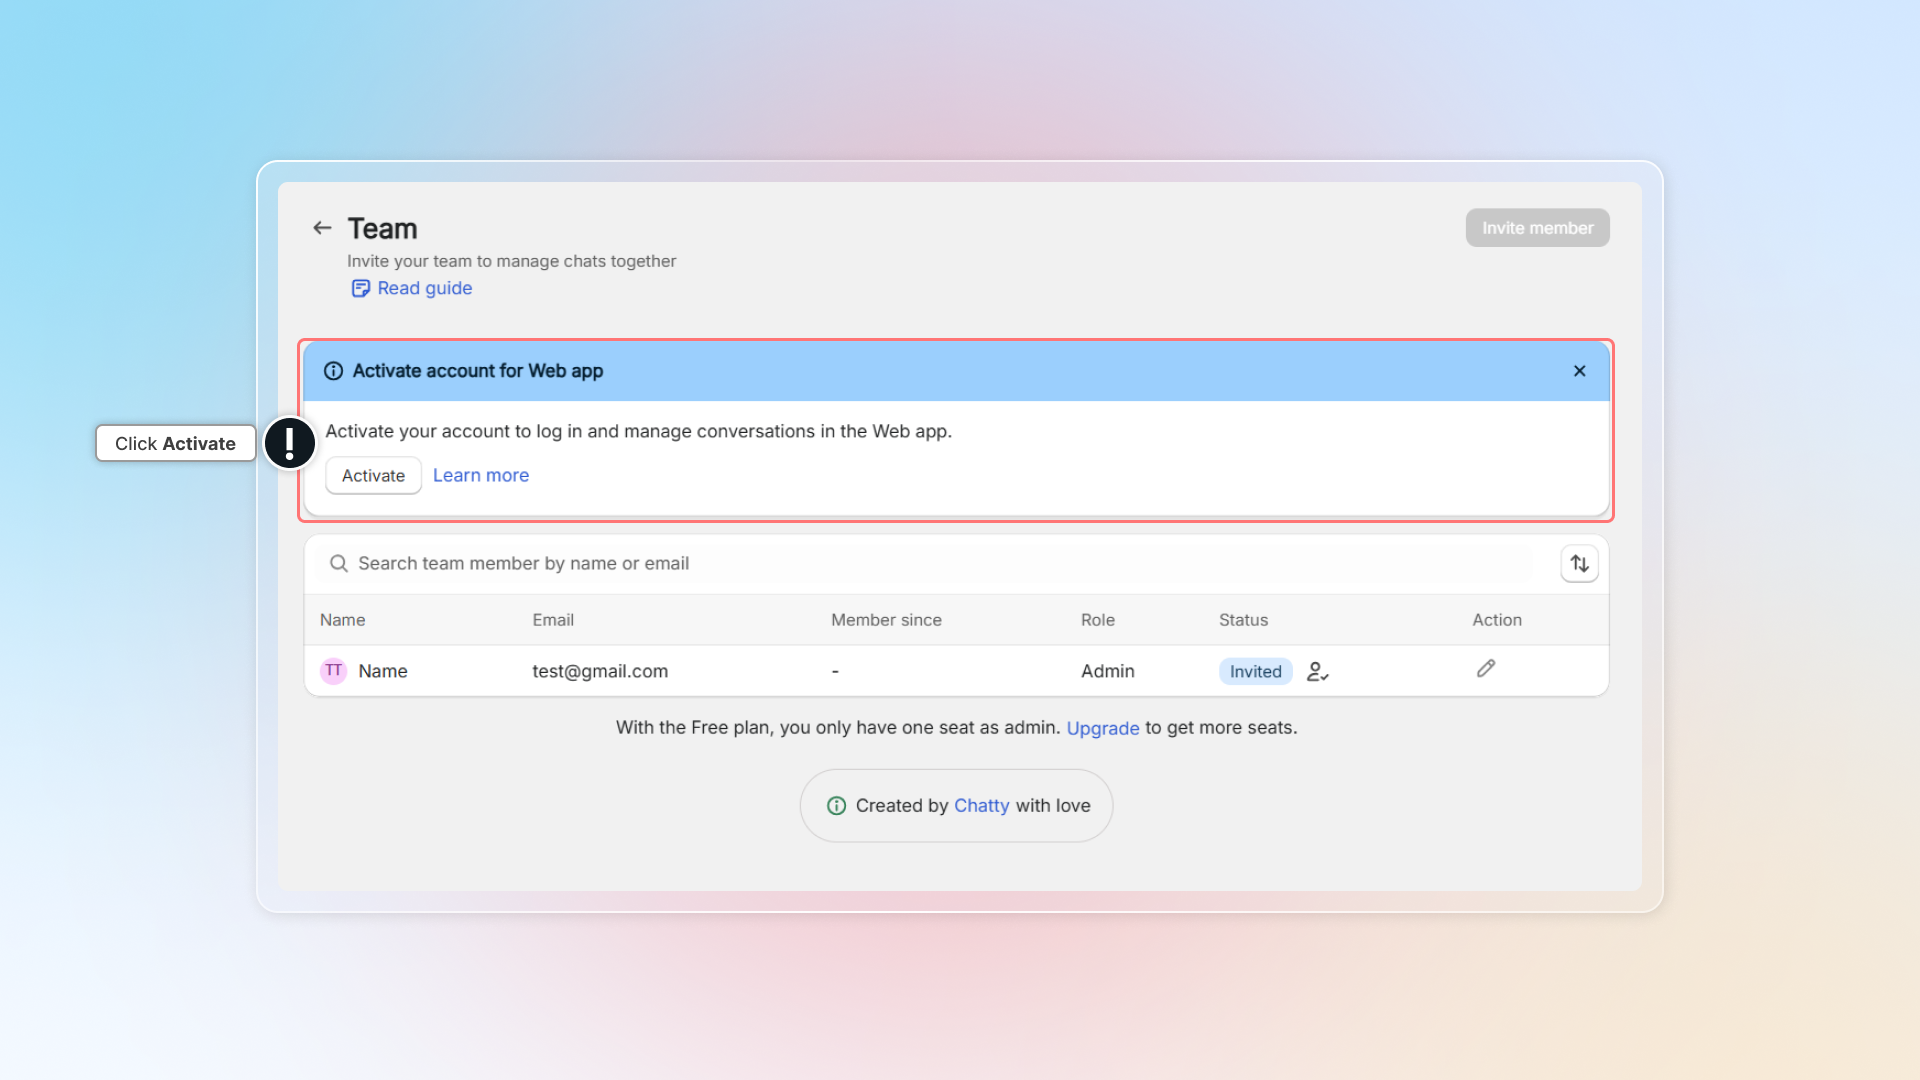
#### Create Chatty account
Create password for Chatty account.
Email address to log in Chatty is Shopify default email. (Contact us to change this email)
If your email is linked to another store, click **Activate** to use same account for both stores.
You can easily switch between stores in one account.
#### Go to [Web app](https://app.meetchatty.com/) and log in
You can change password later in app.
#### 🅱️ As a team member
How to start as a team member?
#### Accept invitation
Go to Inbox (email that admin sent invitation) *→* Open invitation email *→* Click **Create acount**
#### Create account
Create password for your account
#### Go to [Web app](https://app.meetchatty.com/) and log in
You can change password later in app.
### Change password
#### Go to [Web app](https://app.meetchatty.com/) and log in
#### Go to My acount
Click the icon in the to- right corner *→* Click My account
#### Change password
Click **Change password** and enter new password
If you signed in using a Google account and haven't set a password before, click Reset password to create a new one.
### Two-step verification for new devices
When you log in to Chatty from a new device or browser, we verify your identity using two-step verification to protect your account security.
Why use two-step verification
Two-step verification adds an extra layer of security to your Chatty account. Even if someone has your password, they cannot access your account without access to your email for the verification code.
#### How it works
1. Log in with your email and password
2. A verification code will be sent to your registered email address
3. Enter the verification code to complete your login
4. Once verified, you can access your Chatty dashboard on the new device
If you don't receive the verification code:
* Check your spam/junk folder
* Click "Resend code" on the verification screen
* Make sure you're using the email address registered with your Chatty account
================================================================
URL: https://help.chatty.net/ja/others/general-settings/
Locale: ja
================================================================
# General settings
### Setting Store name and avatar
1. Go to **Settings**
2. In General, click **Manage**

3. Change store name and avatar
4. Click **Save**

You can upload your own image as avatar. Make sure your image in right format (.gif, .jpg, .png) and size less than 200 KB.
### Disclaimer consent
Disclaimer consent helps you to set up your privacy policy link under the email collection form in the conversation.
This informs your customers how their data is used before they start a conversation or subscribe.

1. Go to **Settings**
2. In General, click **Manage**
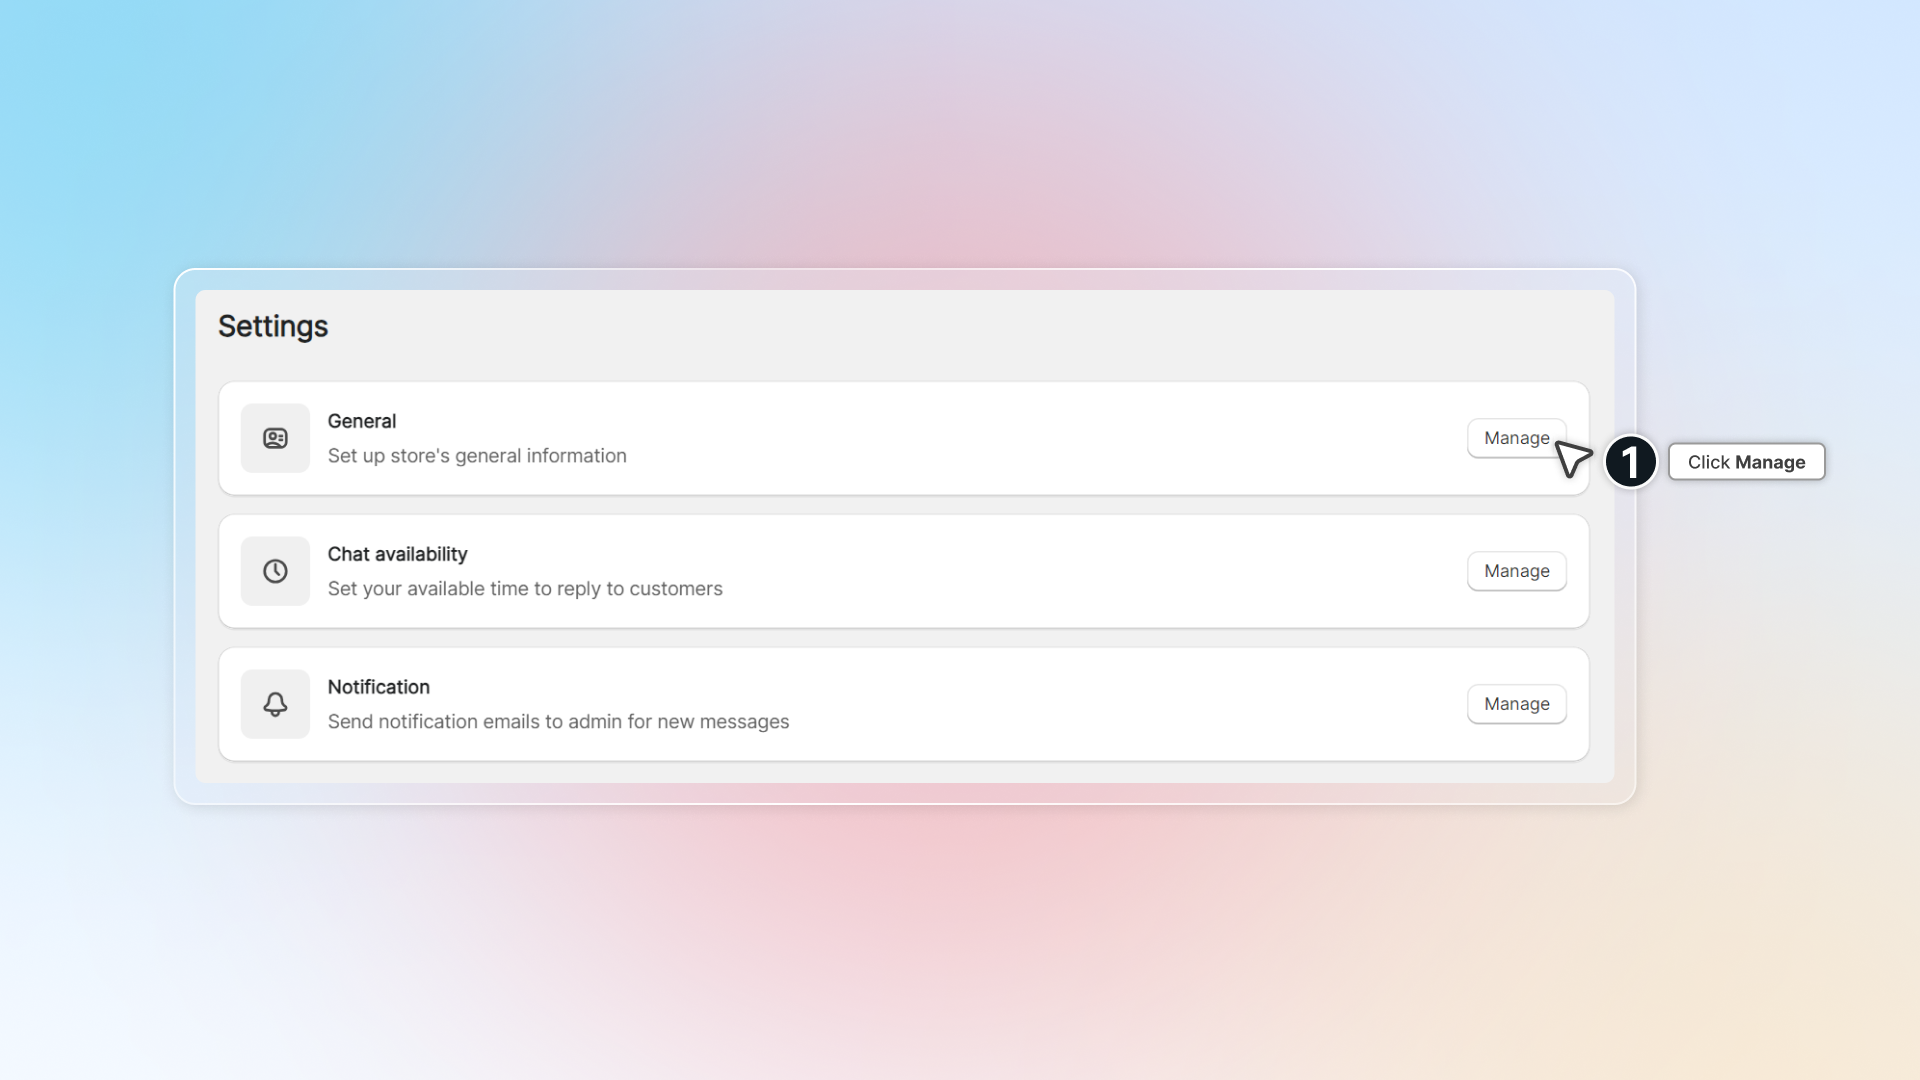
3. Set up disclaimer consent message and privacy policy link.

### Follow-up email
This helps customers keep their conversation going by email instead of live chat.
Click to **turn on.** In chatbox, customers can select **Continue on email** to keep the conversation going by their email.

================================================================
URL: https://help.chatty.net/ja/others/notifications/
Locale: ja
================================================================
# Notifications
**Who can use this feature?**
* This feature is available for all users
Setting notifications for messages helps you take care of all customers. No missing messages.
#### There are 3 types of notification
* Web push notifications: Send push notifications to your web browser. Make sure that your allow notifications on your device.
* Sound notifications (advanced): Web browser will play sound for new messages (only from end users' web browser, when you send them messages)
* Email notifications: Send emails for new messages
* Mobile notfication: Download Chatty mobile app for notifications on mobiles
### 🔔 Web push notifications
You need to turn on notifications
#### Turn on Notifications in app
Go to Notifications -> In **Notify me when**, select "Web" for options you want to get notifications:
* There is a conversation assigned to me
* There is a new message from unassigned conversations
* There is a new message from conversations assigned to me
* There is a new message from AI assistant conversations
* There are no replies in 15 minutes from conversations assigned to me
#### [Turn on Notifications on web browser](#turn-on-notifications-on-web-browser-1)
Currently, we support web push notifications on these web browsers: [Chrome](#chrome), [Microsoft Edge](#microsoft-edge), [Firefox](#firefox), [Opera](#opera), and Samsung Internet.
Read detailed instructions for each web browser below.
If you are using different web browser which is not in the list, contact our support team through live chat in app.
#### Turn on Notifications on your device
You need to enable notifications for that web browser on your device (Windows, MacOS, Mobile) so that you can receive push notifications.
#### Windows
1. Go to Settings -> System -> Notifications (or Notifications & actions)
2. In "Get notifications from these senders", find your web browser
3. Turn on notifications
#### MacOS
1. Click Apple menu → Click Notifications in the sidebar
2. In Application Notifications, find your web browser
3. Turn on notifications
#### Mobile
To get notifications for new messages on mobiles, [download Chatty app.](/ja/mobile-and-web-app/mobile-app/)
#### Turn on Notifications on web browser
#### Chrome
In **Web push,** click **Manage**
You might see a new window is opened. Click

Turn on **Notifications**

Get back to Chatty and click to **Save**.
Click **Send test** to check.

#### Microsoft Edge
In **Web push,** click **Manage**
You might see a new window is opened. Turn on **Notifications**.

Refresh page. Click to **Save**.
Click **Send test** to check if notification works.

#### Firefox
We cannot help you grant permission for Chatty [in Shopify embed mode](#user-content-fn-1)[^1] if you use Firefox web browser. Go to Chatty web app to activate notification.
In top banner, click **Set up in web app.** You'll redirected to Chatty web app.
Learn how to [activate account for web app](/ja/mobile-and-web-app/web-app/).

In web app, click **Enable** in the banner

You will see a browser pop up. Click to open notification settings.
Click Allow
Get back to Chatty and refresh page. Click **Send test** to check if notification works.

#### Opera
1. Turn on "Web push notifications"
2. You might see a new window is opened and click Allow

3. Refresh page. Click to **Save**.
4. After saving, you can click **Send test** to check if notification works.

***
### :loud\_sound: Play sound notifications
By turning sound notification, your customer will get notifications for new messages with sound from devices.
You can select which type of messages you want to get notifications for: Only first message or all messages.
***
### :incoming\_envelope: Email notifications
By turning on email notifications, you will get emails for new messages or any other settings you want to.
You can add more emails to get notifications in **Manage**.
1. Go to Notification.
2. Select "Email" for options you want to get notifications:
* A conversation is assigned to me
* There is a new message from unassigned conversations
* There is a new message from assigned conversations
* There are no replies (for new messages) in 15 minutes from assigned conversations
3. Click **Save**
#### Send test email
After saving, you can click **Send test** email to get sample test.

#### How to ensure Chatty notifications reach your inbox?
This helps prevent important notifications from being filtered to spam. You'll receive Chatty notifications in your primary inbox and **never miss customer messages.**
To keep Chatty emails out of spam, you can follow one of these ways:
* Add Chatty email to safe sender list
* Mark emails as important/not spam
🅰️ **Add Chatty email to safe sender list**
#### Open Chatty email
#### Click the three dots menu (⋮) next to the sender's name
#### Select "Filter messages like this"
#### Click "Create filter"
#### Select "Never send to Spam" and "Always mark as important"
#### Click "Create filter" to save
🅱️ **Mark emails as important/not spam**
1. Open Chatty email
2. Click the importance marker next to the email subject
When marked as important, the icon will turn yellow.

[^1]: Embed app in Shopify admin
================================================================
URL: https://help.chatty.net/ja/others/online-hours/
Locale: ja
================================================================
# Online hours
**Who can use this feature?**
* This feature is availble for all users
This helps you to set up online and offline time in chat.
You can define your working hours, break times, and holidays so customers know when they can expect a live support from your team.
Online and offline status only works when you turn on block **Live chat** in [Chatbox style settings](/chatbox/chatbox-settings/).

### How to set up online/offline hour
#### Set up working hour
* 24 hours/7 days: You can be online to chat with customers all the time
* Custom time: Set up time which is suitable with your schedule
#### Add break time or holiday time
* Break time: offline in a short period of time during your working hour
* Holiday time: offtime for certain days
#### Select timezone
Select timezone to ensure that your availability displays correctly to customers in your local time
If you have team members in different time zones, select the primary time zone where most support is handled.
#### Set up status
Select when to show online status in chatbox:
* During business hours: Shows online only during the hour you've set
* During business hours or when any agent is online: Shows online during working hour or whenever a team member is available to chat
#### Customize online/offline status message
Enter the message customers will see
* When you're available (default: "We are online")
* When you're not available (default: "Usually reply in a few minutes")
#### Click Save
You can preview online and offline status on chatbox.
================================================================
URL: https://help.chatty.net/ja/others/order-tracking/
Locale: ja
================================================================
# Order tracking
**Who can use this feature?**
* This feature is available for all users
### What is order tracking?
Order tracking is a self-service feature that lets customers check their order status and shipment progress directly through your chatbox.
Instead of emailing you or calling customer service, customers can instantly get updates on their orders using either order number or tracking number.


### How to set up order tracking
#### Enable order tracking in your chatbox
1. Go to **Chatbox**
2. In the **General** tab, turn on **Order tracking** in the "Blocks" section
3. Select your preferred tracking method from the options below
#### Choose your tracking method
1. Go to **Settings**
2. Go to **Intergrations**
3. In Order tracking, click **Manage**
4. Select your preferred tracking method
#### Click Save
#### Compare tracking methods
| Tracking methods | Best for | How it works | |
| --- | --- | --- | --- |
| Default tracking | Stores use major carriers (DHL, FedEx, UPS) | Redirect customers directly to carrier's official tracking page when they click tracking link | |
| Custom tracking | Stores use local carriers or private shipping services | Redirect customers directly to carrier's custom tracking URL (if no link is provided during fulfillment) | |
| 17TRACK | Stores want to keep customers on-site (not direct to shipping carrier's tracking page) | Embed 17TRACK's tracking page directly on your store and lett customers track orders without leaving your website | |
### How to track orders on website?
**On your website**
1. Click to open Chatbox. Click **Order tracking.**
2. You can use order number or tracking number to track orders. Then click **Track** to check your status.
* With order number, insert email or phone number.
* With tracking number, insert your tracking number.
**In conversation with AI**
1. During conversation with AI, customer can ask for order tracking
2. Provide AI your tracking information
### What customers see in tracking information
🅰️ **General order information**
* Order number
* Order status (varies by product type)
* Digital orders: Confirmed or Completed
* Physical orders: Confirmed, On its way, or Delivered
* Confirmation date
* Total items
* Total amount
🅱️ **Tracking information**
* Product images and quantities
* Shipment status and update date
* For shipped orders: Confirmed → On its way/Attempted delivery → Delivered
* For digital orders: Confirmed → Completed
* Tracking details (for fulfilled/partially fulfilled items):
* Shipping carrier (shows "N/A" if not available)
* Tracking number (shows "N/A" if not available)
* Fulfillment date

What does it mean to fulfill an order?
To fulfill an order means to complete the process of preparing and delivering the items that a customer has purchased. This typically involves several steps:
1. **Picking and Packaging**: Selecting the items from your inventory and packaging them for shipment.
2. **Labeling**: Creating and attaching shipping labels to the packages.
3. **Shipping**: Sending the packages to the customer using a shipping carrier.
In Shopify, you can fulfill orders manually or automatically, depending on your settings. Once an order is fulfilled, its status changes to "Fulfilled" in your Shopify admin.
Why is my order status not updating correctly on the carrier's website?
* **For** [**Shopify-supported carriers**](#user-content-fn-1)[^1]: Full tracking details update automatically in real-time
* **For non-supported carriers**: Only basic status updates show (Confirmed, On its way, Delivered)
Check if your carrier is [supported by Shopify](https://help.shopify.com/en/manual/fulfillment/setup/packaging/shipping-carriers). If not, consider using Custom tracking method to link directly to your carrier's tracking page.
[^1]: Shipping carriers that integrate with Shopify
================================================================
URL: https://help.chatty.net/ja/others/translation/
Locale: ja
================================================================
# Translation
**Who can use this feature?**
* **Free:** Default language only. Cannot add new languages or use auto-translate.
* **Basic, Pro, Plus:** Add multiple languages and enable auto-translate. Limits vary by plan.
***
### What is Translation?
Translation lets your chatbox and FAQs appear in your customers' language automatically.
Instead of showing the same language to every visitor, Chatty detects each visitor's language and displays the right content. No manual work is needed for each customer.
***
### How Translation works
**Languages**
A language in Chatty is a display language for your chatbox. Chatty detects which language to show based on Shopify Markets, the languages your store has published in Shopify Admin.
This means, even if a customer's browser is set to French, Chatty will only show French if French is published in your Shopify Markets and added in Chatty Translation. If it is not in both places, the chatbox falls back to your default language.
**Auto-translate**
Auto-translate automatically translates your chatbox labels, FAQs, and questions from your default language into an added language. Once enabled for a language, it runs automatically whenever you update content. You only need to turn it on once.
If auto-translate is off, you can still add and publish a language, but you will need to translate the content manually. Languages with auto-translate enabled show a green dot next to their name.
**Default language**
Your default language is shown to all visitors when their language is not published. English is set as default when you first install Chatty. Only published languages can be set as default.
***
### Set up languages
*(Basic plan and above)*
**Step 1: Add the language in Shopify Markets**
Before adding a language in Chatty, make sure it is published in Shopify first.
1. In Shopify Admin, go to **Settings** → **Markets**
2. Select the market you want to add a language to, or create a new one
3. Click **Add language** and choose your language
4. Click **Publish**

**Step 2: Add and publish in Chatty**
1. In Chatty, go to **Translation** and click **Add language**
2. The language appears in **Unpublished**. If you have auto-translate slots available, content is translated automatically
3. Click **Edit** to review or adjust chatbox labels, FAQs page, and individual FAQ questions
4. In the FAQs section, click **Auto-translate** to translate all content at once, or edit manually

5. Click **Save**
6. Click the options icon → **Publish** → confirm

Unpublished languages are not visible to visitors until published.
***
### Change default language
1. Go to **Translation**
2. In the Published language list, click the edit icon → **Change default**
3. Click **Save**

***
### Update translation when FAQs change
Translation does not update automatically when you add new FAQ categories or questions. Chatty shows a banner to notify you. Click **Edit** to update.

***
### Supported languages
Chatty supports 19 languages: English, Spanish, French, Portuguese, German, Dutch, Italian, Turkish, Vietnamese, Hindi, Urdu, Chinese (Simplified), Chinese (Traditional), Arabic, Malay, Japanese, Greek, Romanian, and Norwegian.
If your language is not listed, select **Custom** to add it manually. Auto-translate is not available for custom languages.
***
### Plan limits
| | Free | Basic | Pro | Plus |
| -------------- | ---------------- | ----------- | ----------- | --------- |
| Languages | 1 (default only) | 3 | 10 | Unlimited |
| Auto-translate | — | 2 languages | 9 languages | Unlimited |
**Language usage:** shown as **Language usage: X / Y** at the top of the Translation page.
**Auto-translate usage:** shown as **Auto-translate usage: X / Y**. When you reach the limit, turn off auto-translate on one language to free up a slot.
***
### FAQs
My language is added in Chatty but customers still see English. Why?
Check that the language is live in Shopify Admin → Settings → Markets. Chatty only detects languages that are published in Shopify Markets.
Can I translate content manually without auto-translate?
Yes. Add and publish any language, then click **Edit** to update the content yourself.
What happens when I reach my auto-translate limit?
Existing languages still work. To enable auto-translate on a new language, turn it off for another language first.
Do translations update automatically when I add new FAQs?
Only if auto-translate is enabled. If not, the language shows **Outdated** status and you need to update manually.
My language is not in the list. What should I do?
Select **Custom** when adding a language and translate content manually. Auto-translate is not available for Custom languages.
================================================================
URL: https://help.chatty.net/ja/privacy-policy/
Locale: ja
================================================================
# Privacy policy
### Introduction
This privacy policy describes the information Chatty ("Chatty", “we” or “us”) collect from End Users (“you”) of our website (the “Site”) and the information we collect on behalf of our clients who employ our technology to use our live chat, AI chatbot, help center, and other customer service tools (the “Services”).
This policy does not apply to third parties that Chatty does not own or control. Such third parties are not under Chatty's control and Chatty is not responsible for their privacy or security practices.
Any order forms or additional agreements to which users agree governing the provision of optional Chatty features shall take precedence over the terms of this Privacy Policy to the extent of any differences, so please read such order forms or additional agreements carefully.
Chatty is a product of AVADA GROUP COMPANY LIMITED, a company incorporated in Vietnam. Our services are hosted on infrastructure located in the United States. Personal data that we receive from the European Economic Area, Switzerland, and the United Kingdom is transferred to and processed in the United States. We rely on the European Commission's Standard Contractual Clauses and, for the United Kingdom, the UK International Data Transfer Addendum, as the safeguard for these transfers. Our accountability for personal data that we receive and subsequently transfer to a third party is described in the International Data Transfers section below.
### Site Privacy Policy
We collect, process, and retain information from you and any devices you may use when you use or interact with our Site and Services, and in other ways described below.
We receive and store information you enter on our Site or give us in any other way, including your name, mailing address, phone number, email address, and payment information, as well as company name, and colleagues’ names and email addresses. We collect information about your use of our Site, such as the pages you view and other interactions you have. We receive and store certain types of information whenever you interact with our Site. Our Site uses “cookies,” tagging and other tracking technologies to help enable us to enhance or personalize your online browsing experience. This information includes computer and connection information such as statistics on your page views, traffic to and from our Site, referral URL, ad data, your IP address, and device identifiers. This information also may include your browsing history, transaction history, and your web log information.
We use your information to help us personalize and continually improve your experience on the Site, including fulfilling requests for information, analyzing and compiling trends and statistics, and communicating with you. For information about how to manage your information and the choices you have, see how to limit the use of your information below.
### Cookies and Interest-Based Advertising
Cookies are alphanumeric identifiers transferred to your computer’s hard drive through your Web browser to enable our systems to recognize your browser and tell us how and when pages in our Site are visited and by how many people. Like most internet sites, We uses cookies to enhance our users’ experience on the internet. These cookies do not collect personal information, and we do not combine information collected through cookies with other personal information to tell us who you are or what your name or e-mail address is.
Most browsers allow you to prevent the browser from accepting new cookies, to be notified when you receive a new cookie, or to disable cookies. If you delete your cookies or if you set your browser to decline cookies, some features of the Site may not work or may not work as designed. Note that if you choose to remove cookies, you may remove opt-out cookies that affect your advertising preferences.
We partner with third-party advertising companies who also use these tracking tools to provide advertisements on other websites. These third parties may use these technologies to collect information about you when you use the Site. They may collect information about your online activities over time and across different websites and other online services. They may also use persistent identifiers to track your Internet usage across other websites in their networks beyond the Site. They may use this information to provide you with interest-based advertising or other targeted content. While we do not knowingly provide these entities with information that personally identifies you such third parties may, with sufficient data from other sources, be able to personally identify you, unknown to us.
Some content or applications on the Site may be served by unaffiliated third parties. We do not control these third parties’ tracking technologies or how they may be used. We are not responsible for the content or privacy practices on any website not operated by us to which our Site links or that links to our Site.
Your browser or device may include “Do Not Track” functionality. Our information collection and disclosure practices, and the choices that we provide to visitors, will continue to operate as described in this privacy notice, whether or not a Do Not Track signal is received.
We use Google Analytics, a web analytics service provided by Google, Inc., on our Site. Google Analytics uses cookies or other tracking technologies to help us analyze how users interact with and use the Site, compile reports on the Site’s activity, and provide other services related to Site activity and usage. The technologies used by Google may collect information such as your IP address, time of visit, whether you are a return visitor, and any referring website. The Site does not use Google Analytics to gather information that personally identifies you. The information generated by Google Analytics will be transmitted to and stored by Google and will be subject to Google’s privacy policies. To learn more about Google’s partner services and to learn how to opt out of tracking of analytics by Google click here.
Many of the third party advertisers that place tracking tools on our Site are members of programs that offer you additional choices regarding the collection and use of your information. You can learn more about the options available to limit these third parties’ collection and use of your information by visiting the websites for the Network Advertising Initiative and the Digital Advertising Alliance.
Similarly, you can learn about your options to opt-out of mobile app tracking by certain advertising networks through your device settings.
Please note that opting-out of advertising networks services does not mean that you will not receive advertising on other websites, nor will it prevent the receipt of interest-based advertising from third parties that do not participate in these programs. It will, however, exclude you from interest-based advertising conducted through participating networks, as provided by their policies and choice mechanisms.
### Collection, Use, and Disclosure of End Users’ Information Through Our Services
This section describes our policies for handling information about End Users provided to us by our clients using our Services or other sources of their choosing. We provide our clients with the ability to create profiles of their End Users in order to effectively communicate with them via marketing communications tools like email, analytics services. To do this, our clients integrate our technology into their applications, websites, or other online services.
Our clients’ collection, use, and disclosure of data is separately governed by their privacy policies. Our clients may collect information about their users directly; in that case, each of our clients is responsible for ensuring that their data collection follows their privacy policies and terms of use.
#### **Collection**
In the course of providing Services to our clients, we collect chat messages, contact details submitted through the chat widget (such as name, email address, or phone number), order information, and product views about End Users of our clients. Where a client's staff edit a customer profile through the Chatty helpdesk, we also process the customer name and phone number held in that client's Shopify store. We do not collect or store credit card information through the Services. We use this information to provide our Services to our clients.
We may automatically collect information about your use, navigation of, and interactions with our clients’ applications, websites, or other online services when our client has installed our technology on its properties.
Cookies that we set on our clients’ websites expire after three years and the expiration date updates every time you encounter our server. We retains standard web log data 5 years after you visit a client’s website, and aggregations and reports for up to 10 years after you visit a client’s website.
#### **Use and Disclosure**
We collect information about End Users at our clients’ direction and may append information to End Users’ profiles from third party sources. We do this to provide our Services, which enable our clients to optimize their communications with, and understanding of, their End Users. We consider our clients’ End Users’ information to be confidential to that client. Accordingly, we do not disclose End User information to unaffiliated third parties except in response to our clients’ explicit instructions, as provided for in an agreement between us and our client, or as otherwise described in this Privacy Policy (for example, as necessary to respond to legal requirements).
We may provide services or sell products jointly with affiliated businesses. We may share End User information collected from our clients that is related to such transactions with those affiliated businesses. We require our affiliates, via contract, to provide the same level of privacy protection as set forth in this policy and they do not have the right to share or use PII for any purpose other than for an authorized transaction.
If we ever were to engage in any onward transfers of your data with third parties for a purpose other than which it was originally collected or subsequently authorized, we would provide you with an opt-out choice to limit the use and disclosure of your personal data.
#### Information Clients Provide to Us
We receive and store any information clients enter on the Site, through the Services, or provide to us in any other way. Clients can choose not to provide us with certain information, but then they may not be able to take advantage of many of our features. We use clients’ information for such purposes as responding to their requests for Services, customizing the content they see, communicating with them about our products, and marketing our Services to them.
In order for clients to use all of our features, they must register with us. We require clients’ e-mail addresses and passwords during the registration process.
Further information may be required if clients choose to purchase paid components of the Services, such as credit card and billing information. We uses third party partners for credit card processing who may require and store your credit card and billing information.
#### E-mail Communications
If a client purchases Chatty's online tools to collect and analyze user and usage data for its websites, applications, or services, we will communicate with it about the services it purchases by e-mail. Clients consent to receiving such confirmations by e-mail. If clients contact us via e-mail, we may retain a record of their contact information and any information they provide us in their messages to respond to them. We may receive a confirmation when clients open an e-mail from us.
We may also send e-mails with news or promotions. If clients do not want to receive news or promotional e-mail from us, please contact us at [privacy@avada.io](mailto:privacy@avada.io) (this will not affect e-mails related to certain important, legal, or service-related messages such as outage information).
### Other Important Information
**Data Processing Agreement (DPA)**
When using Chatty, we process data in accordance with our Data Processing Agreement (DPA). The DPA governs how we handle your data as a processor.
Processed data categories: The data categories result from the content and usage of the chatbot. In most cases, this will be customer service data, chat messages, and order information when provided.
Purpose of processing: We process data to:
* Provide chatbot functionality based on your configured settings
* Process customer service requests through the chatbot
* Generate appropriate responses using our AI system
* Maintain service security and performance
Source of the data: We collect this data directly from you and your customers through the chatbot interface.
Legal basis: We process the data to fulfill the contract in accordance with Article 6 (1) (b) GDPR.
Storage period: We store this data for the term of the contract and beyond until the expiry of statutory retention periods, which may be 6 to 10 years. Data can be deleted earlier upon your request as the merchant.
Data access scope:
* Access is limited to necessary personnel for service operation
* All access is logged and regularly audited
* Security measures include encryption and access controls
Third-party processing:
* We use select sub-processors for cloud infrastructure and security
* No data transfers occur without your prior notification
* All sub-processors are bound by equivalent data protection obligations
Location of recipients: United States
Guarantees for transfers to third countries: EU Standard Contractual Clauses (SCC) and, for the United Kingdom, the UK International Data Transfer Addendum
Technical measures:
* Data encryption in transit and at rest
* Regular security audits and updates
* Secure cloud infrastructure
* Access control and monitoring
**Your California Privacy Rights**
If you are a California resident, California law permits you to request certain information regarding the disclosure of your PII by us and our related companies to third parties for the third parties’ direct marketing purposes. To make such a request, please send your request, by mail or email, to the addresses listed at the end of this policy.
**Agents**
We employ other companies and people to perform tasks on our behalf and need to share client and End User information with them to provide products and services. Examples include billing, processing payments, providing marketing assistance, and providing customer service. Our agents use the same level of privacy protection as we do. Unless we tell you differently, we do not share, and our agents do not have any right to use, PII collected from our Site and Services beyond what is necessary to assist us.
**Business Transfers**
In some cases, we may change our ownership or corporate organization, or may choose to buy or sell assets. End User information may be transferred to another entity, its affiliates, or service providers in connection with the transaction. You acknowledge that such transfers may occur, and that Chatty or its successor organization may continue to use your information as set forth in this policy.
**Protection of Chatty and Others**
We may release PII when we in our sole discretion believe in good faith that release is necessary or appropriate to comply with the law, enforce or apply our conditions of use and other agreements, or protect the rights, property, or safety of Chatty, our employees, our clients, or others. We also may be required to disclose an individual’s PII in response to a lawful request by public authorities, including to meet national security or law enforcement requirements.
**Information Security**
Clients’ Chatty account information is protected by a password for your privacy and security as well as other reasonable security measures. We use reasonable safeguards to protect the security of clients’ information during transmission, including by encrypting all of the information clients input. Only employees or agents who need PII to perform a specific job are granted access to it. All of our employees are kept up to date on our privacy and security practices.
While we uses commercially reasonable means to secure information provided to us, we do not guarantee that such information will not be improperly accessed, disclosed, or destroyed by breach of any of our safeguards. Clients and End Users are responsible for the security of their information that is transmitted to us or that is viewed, downloaded, or otherwise accessed when using unencrypted, public or otherwise unsecured networks.
**Accessing Information**
You are able to access, add to, update, correct, amend, or delete certain information about you, including PII. When you update information, however, we often maintain a copy of the unrevised information in our records. A client may deactivate its Chatty account by following the deactivation process set forth on the Site. Some information may remain in our records after account deletion. Please contact us at [privacy@avada.io](mailto:privacy@avada.io) if you have questions or concerns about accessing, correcting, or deleting your PII.
EEA, Swiss, and UK data subjects have a right to access their information. Please see the International Data Transfers section below.
**Conditions of Use**
Your use of the Site and Services and any possible dispute over privacy are subject to this Privacy Policy and our Terms of Service, including limitations on damages, dispute resolution, and the application of the laws of the Socialist Republic of Vietnam.
**International Users (Except for EU and Swiss Data Subjects)**
If you use our Websites outside of the United States, you understand and consent to the transfer of your personal information to, and the collection, processing, and storage of your personal information in, the United States and elsewhere. The laws in the U.S. and these countries regarding personal information may be different than the laws of your state or country.
**Use of Chatty's Site by Children**
Chatty's Site is not intended for children under the age of 18. Accordingly, we will not knowingly collect or use any PII from children that we know to be under the age of 18. If we become aware of PII in our database that was collected from a child under 18, we will delete such information.
### International Data Transfers
**Where your data is processed**
Chatty is operated by AVADA GROUP COMPANY LIMITED, established in Vietnam. Our services are hosted on infrastructure located in the United States. Personal data that we receive from the European Economic Area, Switzerland, and the United Kingdom is transferred to and processed in the United States, both by us and by the sub-processors we engage to operate the Services.
**Transfer mechanism**
We do not rely on an adequacy decision for these transfers. We rely on the European Commission's Standard Contractual Clauses (Commission Implementing Decision (EU) 2021/914) and, for transfers originating in the United Kingdom, the UK International Data Transfer Addendum issued by the Information Commissioner's Office. Merchants may request a copy of our Data Processing Agreement, which incorporates these clauses, at [privacy@avada.io](mailto:privacy@avada.io).
**Onward transfers**
Where we engage a sub-processor to process personal data on our behalf, we bind that sub-processor by contract to data protection obligations equivalent to those in our Data Processing Agreement. We remain responsible for the processing carried out by our sub-processors on our behalf.
**Your rights**
Data subjects in the EEA, Switzerland, and the United Kingdom have the right to access, correct, delete, restrict, and object to the processing of their personal data, and the right to data portability. Because the merchant operating the store acts as the data controller, requests should be directed to that merchant in the first instance. You may also contact us at [privacy@avada.io](mailto:privacy@avada.io) and we will assist the merchant in responding.
**Complaints**
If you have a concern about how we handle personal data, please contact us at [privacy@avada.io](mailto:privacy@avada.io). You also have the right to lodge a complaint with your local supervisory authority, or with the UK Information Commissioner's Office for data originating in the United Kingdom.
### **Questions or Concerns**
If you have any questions or concerns regarding privacy at Chatty, please send us a detailed message to [privacy@avada.io](mailto:privacy@avada.io) or to AVADA GROUP COMPANY LIMITED, 11th Floor, Office Area, Tower C, Ho Guom Plaza Building, 102 Tran Phu Street, Ha Dong Ward, Hanoi, Vietnam. Your privacy is important to us and we will make every effort to resolve your concerns.
================================================================
URL: https://help.chatty.net/ja/privacy-policy/ai-compliance/
Locale: ja
================================================================
# AI Compliance
*Last updated: February 2025*
### Understanding compliance requirements
#### GDPR Overview
The General Data Protection Regulation (GDPR) is Europe's primary data protection law. For Chatty users, this means:
* Collecting only necessary customer data
* Being transparent about data usage
* Protecting user privacy rights
* Ensuring secure data handling
#### AI Act Overview
The AI Act is new EU legislation establishing guidelines for AI systems like chatbots. Key points:
* Clear disclosure of AI interaction
* Prevention of discriminatory decisions
* Transparency in AI operations
* Regular risk assessments
### What we are in this context
#### Shopify store owners (data controller)
As a Shopify store owner using Chatty, you are the data controller. This means you:
* Decide how customer data is used
* Set purposes for data collection
* Ensure proper customer notification
* Maintain an updated privacy policy
#### Chatty (data processor)
We act as the data processor, meaning we:
* Process data according to your instructions
* Implement security measures
* Handle data per GDPR requirements
* Provide necessary compliance tools
### How Chatty ensures compliance
#### Data collection
✓ Minimal data collection
* Only essential information is collected
* No unnecessary personal data storage
* Clear purpose for all data points
✓ Transparent processing
* Clear notification of AI usage
* Explicit data usage explanations
* No hidden data collection
#### Security measures
✓ Data protection
* Encryption in transit and at rest
* Regular security audits
* Secure data storage
✓ Access controls
* Limited staff access
* Role-based permissions
### What data we collect & why
#### For Merchats (Shopify store owners)
* **Chat messages & conversations**: Stored to provide customer support history and improve AI responses
* **Store information**: Basic store data from Shopify to enable app functionality
* **Customer service settings**: Your configuration preferences for the chatbot
* **Usage analytics**: Anonymous usage data to improve app performance
#### For end users (store customers)
* **Chat content**: Messages sent through the chat widget
* **Order information**: Only when provided by customers for order tracking
* **No additional personal data**: We don't collect emails, phone numbers, or other personal information through the chatbot unless explicitly provided for customer service purposes
### How we use your data
#### Primary uses
* Providing customer support functionality
* Improving AI responses and suggestions
* Maintaining chat history for merchants
* Processing order tracking requests
#### What we don't do
* No data selling to third parties
* No advertising use
* No unauthorized data sharing
⚠️ Quick reminder: Add this privacy text to your site before turning on the chatbot. Feel free to modify it for your store.
```
Our site uses Chatty AI for customer support. Here's what you should know:
- We only use messages to help answer your questions
- We don't collect personal info unless needed for customer service
- All chats are private and encrypted in transit and at rest
- Your data is never used for ads
```
### FAQs
What data does Chatty collect?
Chatty only collects chat messages and essential order information when provided by customers. No additional personal data is collected unless explicitly needed for customer service.
How long is data stored?
Chat history is stored according to your configured retention period. Default retention is 90 days, but you can adjust this in your settings.
How do I handle customer data requests?
Chatty provides tools to export or delete customer data on request. Contact our support team for assistance with specific requests.
Is Chatty's AI compliant with the AI Act?
Chatty's AI features are designed to support AI Act requirements such as clear disclosure of AI interaction and transparency in AI operations. Chatty does not hold a third-party AI Act conformity assessment. As the deployer of the chatbot, each merchant remains responsible for its own obligations under the AI Act.
================================================================
URL: https://help.chatty.net/ja/privacy-policy/cookie-policy/
Locale: ja
================================================================
# Cookie policy
### Our use of cookies
At Chatty, we use essential cookies to provide you with the best possible live chat experience. We believe in transparency, so we want to explain how and why we use these cookies.
### What are our cookies?
We use a single cookie called `avada-chatty/session`. This cookie is essential for the proper functioning of our live chat service.
### What do our cookies do?
1. **Functionality**: Our cookie maintains access to past conversations across different pages of your store. Without it, your customer would start a new chat session every time they switch pages.
2. **User Experience**: The cookie ensures that trigger messages don't fire multiple times and that the chatbox works consistently between pages.
3. **Duration**: We save this cookie for 30 days. It's automatically renewed each time customer send a new message.
4. **User Preferences**: The cookie remembers your chat history, allowing for seamless communication even when you navigate your store.
### What do we collect through cookies?
To provide you with a seamless and personalized chat experience, our cookie collects and stores certain types of information:
1. **User preference:** Our persistent cookies store your preferences to enhance your experience. This may include: language preferences, theme settings, other customization choices you make within the Chatty interface.
2. **Session information:** Our session cookies store information related to your current chat session, including: Dialogue history, user inputs Current conversation context
3. **User behavior:** This may include the paths that the user takes, interactions with specific features on your store and in Chatty chatbox: add products to cart, update cart, initiate checkout, view FAQs, track orders, etc.
### Do you need to ask for user consent?
Our cookie is considered essential for the functioning of the Chatty service. Under many privacy regulations, including GDPR, essential cookies are exempt from requiring explicit user consent.
However, we recommend informing your customers about the use of this cookie in your privacy policy for full transparency.
### Our Commitment
We're committed to using cookies responsibly. We only collect the data necessary to provide you with a smooth, efficient live chat experience. Your privacy and data security are our top priorities.
For any questions about our cookie policy, please contact our support team.
================================================================
URL: https://help.chatty.net/ja/product-roadmap/pricing/
Locale: ja
================================================================
# Pricing
### Pricing
- Basic plan.png
- Pro plan.png
- Plus plan.png
- $16.99/month with annual bill
- $58.99/month with annual bill
- $169.99/month with annual bill
**FREE**
* 50 AI conversations (lifetime)
* No additional conversations
* 1 email channel
* FAQs page
* 100 products for AI training
* 90 days chat history
### Compare plans
| Features | Free | Basic ($19.99) | Pro ($68.99) | Plus ($199.99) |
| --- | --- | --- | --- | --- |
| AI assistant | | | | |
| AI conversationss | 50 (lifetime) | 50/month | 300/month | 700/month |
| Additional conversations | ✖️ | $0.4/conversation | $0.4/conversation | $0.4/conversation |
| Products for AI training | 100 | 500 | 8,000 | 20,000 |
| Custom answers for AI training | 100 | 1,000 | Unlimited | Unlimited |
| URL & File for AI training | 20 | 50 | 500 | 700 |
| AI transfer | ✅ | ✅ | ✅ | ✅ |
| Instructions for AI | ✅ | ✅ | ✅ | ✅ |
| AI Shopping | | | | |
| Markets | ❌ | ❌ | ✅ | ✅ |
| Size guide | ❌ | ❌ | ✅ | ✅ |
| AI channels | ❌ | ❌ | ✅ | ✅ |
| Smart product recommendation | Limited | Limited | ✅ | ✅ |
| Proactive chat | | | | |
| Welcome visitors | ✅ | ✅ | ✅ | ✅ |
| Subsribe newsletter | ✅ | ✅ | ✅ | ✅ |
| Collection boost | ❌ | ✅ | ✅ | ✅ |
| Cart booster | ❌ | ❌ | ✅ | ✅ |
| Cart reminder | ❌ | ❌ | ✅ | ✅ |
| Live chat & Helpdesk | | | | |
| Live chat | ✅ | ✅ | ✅ | ✅ |
| Team member | 1 | 5 | 10 | Unlimited |
| Notifications | ✅ | ✅ | ✅ | ✅ |
| View customer details | ✅ | ✅ | ✅ | ✅ |
| View shopping carts | ✖️ | ✅ | ✅ | ✅ |
| View history browsing | ✅ | ✅ | ✅ | ✅ |
| Auto chat assignment | ✅ | ✅ | ✅ | ✅ |
| Auto chat resolution | ✅ | ✅ | ✅ | ✅ |
| Chat history | 90 days | 12 months | Unlimited | Unlimited |
| Insert file & image | ✅ | ✅ | ✅ | ✅ |
| Insert Shopify data (Product, Discount) | ✅ | ✅ | ✅ | ✅ |
| Insert FAQs | ✅ | ✅ | ✅ | ✅ |
| Quick replies | ✅ | ✅ | ✅ | ✅ |
| CSAT survey | ❌ | ❌ | ✅ | ✅ |
| Channels | | | | |
| Email | 1 email | Unlimited | Unlimited | Unlimited |
| Messenger and Instagram | ✅ | ✅ | ✅ | ✅ |
| Whatsapp | ✅ | ✅ | ✅ | ✅ |
| FAQs | | | | |
| Unlimited FAQs | ✅ | ✅ | ✅ | ✅ |
| Import, Export FAQs | ✅ | ✅ | ✅ | ✅ |
| FAQs page customization | Default | Fully-customizable | Fully-customizable | Fully-customizable |
| FAQs block | ✅ | ✅ | ✅ | ✅ |
| Auto translate FAQs | ✖️ | 2 languages | 9 languages | Unlimited languages |
| Integration | | | | |
| Shopify flow | ✅ | ✅ | ✅ | ✅ |
| Klaviyo | ✅ | ✅ | ✅ | ✅ |
| Loyalty program & Rewards | ✅ | ✅ | ✅ | ✅ |
| Contact form | ✅ | ✅ | ✅ | ✅ |
| Website embed | ✅ | ✅ | ✅ | ✅ |
| Preferences | | | | |
| Chatbox customization | Default preset | Fully-customizable | Fully-customizable | Fully-customizable |
| Chatbox logo | ✖️ | ✅ | ✅ | ✅ |
| Others | | | | |
| Analytics | Limited | Limited | ✅ | ✅ |
| 24/7 support | ✅ | ✅ | ✅ | ✅ |
| Dedicated consultant | ✖️ | ✖️ | ✖️ | ✅ |
### Promotion deal
[Download app](https://apps.shopify.com/chatty?utm_source=chatty\&utm_medium=ug_\&utm_campaign=pricing_) and claim your own deal in the app.
### FAQs
Is there still a free plan available?
Yes, our free plan will continue to be available with its current features.
How much do the paid plans cost?
We have Basic monthly plan at $19.99; Pro at $68.99; Plus at $199.\
See plan comparisons for more details.
What additional features do the paid plans offer?
We have some new features help you better support customers:
* Team management
* Auto translate feature
Will there be a trial period for the paid features?
We offer a 7-day free trial for any paid plan. You can cancel anytime during the trial period.
Will I lose access to the features I'm currently using for free? If no, what are free features?
These following features will be limited in Chatty free version:
* Customize chatbox
* Auto translation
* Chat history: 90 days
* No follow-up email
* Chat avatar customization
Are there any discounts for long-term subscriptions?
Yes. To celebrate our launch, we're offering Early bird deal: 50% off for the first 3 months
How to apply a discount code?
Go to Subscription *→* In **Discount code**, insert your code and click **Apply**.
What happens to my existing data and settings if I don't upgrade?
Your settings and data will be safe.
Will my chat history be affected if I don't upgrade?
Your chat history will be removed if it more than 90 days.
Can I have a refund?
Yes, you can. We offer a 30-day Money Back Guarantee (30 days from the start of your free trial), which applies for the following circumstances:
* You do not wish to continue the subscription after the first month
* You cancel the paid plan before the first circle ends
* You forget cancel trial period or have accidentally choose the paid plan without using it in the first month
What happens if I exceed the monthly AI conversation limit?
* Free plan users: AI assistant will be deactivated. You can still handle conversations manually in Inbox.
* Paid plan users: Additional AI conversations will be automatically charged according to your plan’s overage rates.
What happens if my store exceeds the product limit?
If your store exceeds the product limit for your plan, only the most recently added products will be used by the AI assistant.
You can upgrade to a higher plan with an increased product limit.
================================================================
URL: https://help.chatty.net/ja/product-roadmap/product-roadmap/
Locale: ja
================================================================
# Product roadmap
**April 2026**
- Unassigned AI transfer alert
- New feature
- Never miss a customer request when AI transfers a conversation with no agent assigned
- Unassigned AI transfer alert.png
- 17TRACK order tracking integration
- New feature
- Connect 17TRACK to show real-time order status in chatbox, Inbox, and AI replies
- 17TRACK order tracking integration.png
- Real-time translation in Inbox
- New feature
- Translate messages and preview replies in the customer's language, directly in Inbox
- Real-time translation in Inbox.png
- Batch question testing
- New feature
- Test your AI's accuracy by running multiple questions at once and reviewing all results in one session
- Batch question testing.png
- AI usage calculator
- New feature
- Estimate your monthly AI cost before choosing a plan to avoid overage surprises
- AI usage calculator.png
- AI assistant on homepage
- New feature
- Engage visitors with AI chat from the moment they land on your store homepage
- AI assistant on homepage.png
- Shopify S&D sync for AI recommendations
- New feature
- AI suggests related and complementary products using your Shopify Search & Discovery data
- Shopify SD sync.png
- Revenue attribution on Shopify orders
- New feature
- Orders get tagged chatty-assisted and chatty-direct so you can filter revenue by chat in Shopify
- Revenue attribution.png
- AI re-engagement when agent is inactive
- New feature
- AI automatically picks up resolved conversations and covers agents who go quiet mid-conversation
- AI re-engagement.png
**March 2026**
- Conversation reminder
- New feature
- Set a reminder on any conversation so you never forget to follow up with a customer
- Conversation reminder.png
- Insert product & discount on social channels
- New feature
- Send product links and discount codes in Messenger and Instagram conversations directly from Inbox
- Insert product and discount for social.png
- Login device management
- New feature
- See and control all active sessions on your account — log out any device remotely
- Login device management.png
- Size guide upgrade
- Improvement
- Add size charts as text, assign guides per product, and let AI ask customers for their measurements
- Size guide upgrade.png
- Default FAQ category
- Improvement
- FAQs always stay safe when a category is deleted — automatically moved to Uncategorized
- Default FAQ category.png
- Custom URL Regex for chatbox display
- Improvement
- Control exactly which pages show or hide your chatbox using URL patterns and regex
- Custom URL Regex for chatbox display.png
**February 2026**
- Custom conversation tags
- New feature
- Add custom tags to organize and filter conversations in Inbox
- Custom conversation tags.png
- Team performance tracking
- New feature
- Track individual agent performance with response time, resolution rate, and CSAT data
- Team performance tracking.png
- Custom attributes
- New feature
- Better manage conversations by add your own extra information
- Enhanced inbox filter.png
- Related conversation
- New feature
- See other conversations from the same customer in Inbox
- Product FAQs.png
- Real-time translation
- New feature
- Translate customer messages in Inbox and reply faster across languages
- Real-time translation.png
**January 2026**
- Redesign AI setup
- Improvement
- A cleaner, simpler AI setup flow to get your assistant trained and live faster
- Redesign AI setup.png
- Conversation time analytics
- New feature
- Track how long conversations take to resolve and spot support bottlenecks
- Conversation time analytics.png
- Inventory status scenario
- New feature
- AI automatically handles out-of-stock questions with accurate inventory status
- Inventory status scenario.png
**December 2025**
- Sales analytics
- New feature
- Track revenue and orders attributed to Chatty conversations in one dashboard
- Sales analytics.png
- App language
- New feature
- Set the display language for your Chatty app interface
- App language.png
- Auto IP blocking for spam
- New feature
- Automatically detect and block spam IPs to keep your inbox clean
- Auto IP blocking for spam.png
- Shopify Flow integration
- New feature
- Trigger Shopify Flow automations from chat events and customer actions
- Shopify Flow integration.png
- FAQs block code snippet
- New feature
- Embed your FAQ section on any page with a simple code snippet
- FAQs block code snippet.png
- Abandoned cart reminder
- New feature
- Send proactive chat to customers who left items in their cart to recover the sale
- Abandoned cart reminder.png
- Smarter welcome teaser
- Improvement
- Show personalized welcome messages based on customer behavior and page context
- Smarter welcome teaser.png
**November 2025**
- Quick question - Proactive chat
- New feature
- Ask customers one targeted question proactively to start conversations at the right moment
- Quick question proactive chat.png
- Follow-up questions
- New feature
- AI suggests follow-up questions after each response to guide customers to the answer faster
- Follow-up questions.png
- Spam protection
- New feature
- Automatically filter and block spam contacts to keep your inbox focused on real customers
- Spam protection.png
- Video in chat
- New feature
- Share videos directly in chat conversations for richer customer support
- Video in chat.png
- AI reads customer images
- New feature
- AI analyzes images sent by customers to provide more accurate and contextual replies
- AI reads customer images.png
- Auto-assignment settings
- Improvement
- Fine-tune how conversations are automatically routed and assigned to your team
- Auto-assignment settings.png
- FAQ translation limits
- Changed
- Updated character limits for translated FAQ content across all supported languages
- FAQ translation limits.png
- File storage with CDN
- New feature
- Files shared in chat are now stored and delivered via CDN for faster load times
- File storage with CDN.png
- Send conversation transcript
- New feature
- Email a full conversation transcript to customers at the end of a support session
- Send conversation transcript.png
- AI auto-reply for WhatsApp
- New feature
- AI automatically handles incoming WhatsApp conversations so no message goes unanswered
- AI auto-reply for WhatsApp.png
- AI assistant on product page
- New feature
- Show AI chat directly on product pages to answer questions and convert browsers into buyers
- AI assistant on product page.png
- Collection boost
- New feature
- Trigger proactive chat when customers browse collection pages to boost engagement
- Collection boost.png
- Proactive chat by country
- New feature
- Display targeted proactive chat messages based on customer location and market
- Proactive chat by country.png
**October 2025**
- Website integration
- Improvement
- Embed Chatty on any website beyond Shopify
- Website.png
- Enhanced inbox filter
- New feature
- Better organize conversations with new filter
- Enhanced inbox filter.png
- AI sales promotion
- Improvement
- AI suggests products based on your sales strategy and special occasions
- Sales promotion.png
- Metafield sync
- New feature
- Sync variant metafields to train AI with detailed product variations
- Metafield sync.png
- Size guide
- New feature
- Let AI recommend accurate sizes from your guides
- Size gudie.png
- AI transfer
- New feature
- Customize when and how AI transfers conversations to your team
- Ai transfer.png
- Proactive chat by country
- Improvement
- Display different proactive chat messages for each market
- Product FAQs.png
- Collection boost
- Improvement
- Send proactive chat when customers view your collection page
- Translation management.png
**September 2025**
- AI suggests products by markets
- Improvement
- Show prices and product links based on customer's market
- Markets.png
- AI smart collectiond
- New feature
- Control which products AI recommends as best sellers and new arrivals
- Collection.png
- AI reply on social channels
- Improvement
- AI now replies automatically on Instagram & Messenger for faster social media support
- AI social reply.png
- Embed chatbox
- New feature
- Add chatbox as a section to your store
- Embed chatbox.png
- Proactive chat analytics
- New feature
- Track views, clicks, and revenue from each proactive chat campaign to optimize performance
- Proactive chat analysis.png
- Product tag control
- New feature
- Now you can add/remove "Best seller" and "New arrival" tags
- Product tag.png
- AI charge tracking
- New feature
- Track AI replies cost with monthly history
- AI charge.png
- AI product management
- Improvement
- Manage products for AI training with add/remove controls
- Product FAQs.png
- Translation management update
- Improvement
- New side-by-side layout makes managing translations easier
- Translation management.png
- Product FAQs for AI training
- New feature
- Create specific FAQs for each product to train AI
- Product training.png
**August 2025**
- AI spending control
- New feature
- Manage AI costs with clearer spending limits and auto controls
- AI assistant (beta).png
- Update "Name" field in form
- New feature
- Merged first name & last name into "Name" field in form
- Chat analytics.png
- Advanced automation - Proactive chat
- Improvement
- Create proactive chat campaigns that turn website into buyers
- Proactive chat update.png
- CSAT analytics
- New feature
- Track customer satisfaction to optimize chat
- CSAT analytics.png
- Intent tracking
- New feature
- Automatically categorize AI responses by customer intent
- Intent tracking.png
- Markets for AI training
- New feature
- Control how prices display in your chatbox across different markets
- Markets for AI training.png
- Delete conversations & contacts
- New feature
- Delete contact info to comply with GDPR compliance
- Delete convos and contacts.png
**July 2025**
- Currency for different markets
- Improvement
- AI suggests products in the currency that customers are using
- Currency.png
- Filter products in training data
- Improvement
- Message sending now is blocked while AI responds
- Filter products.png
- AI availability
- New feature
- Set up when AI is available to handle chat
- AI availability.png
- AI order tracking
- Improvement
- AI auto handles order tracking requests in chat
- AI order tracking.png
- AI email auto-reply
- New feature
- AI assistant now responds auto in email conversations
- Email auto reply.png
- Simplified AI Instructions
- Improvement
- Combine Ai tone and response settings into Custom instruction
- Simplified instructions.png
- Scenario - Keywords removed
- Removed
- AI uses scenario names instead of keywords for better context understanding
- Scenario keywords removed.png
- Order tracking settings moved
- Improvement
- Order tracking settings now located in Integrations
- Order tracking settings moved.png
- Rate AI response
- New feature
- Let customers rate Ai answers to improve chat performance
- Rate response.png
- AI settings - moved
- Improvement
- AI identity & Ai transfer has moved to Settings
- AI settings.png
- Checkout chat
- New feature
- Show chatbox on checkout and thank you pages
- Checkout chat widget.png
- Reset conversations
- New feature
- Start new conversations for better AI accuracy and context
- Conversation reset.png
**June 2025**
- Account management for web app
- Improvement
- Update your profile and change password for web app
- Account web app.png
- WhatsApp channel
- New feature
- Connect WhatsApp to manage conversations in Chatty
- Whatsapp release.png
- Satisfaction survey
- New feature
- Collect customer feedback in conversations
- survey.png
- AI reply control
- Improvement
- Message sending now is blocked while AI responds
- Message AI control.png
- Weekly email reports
- New feature
- Get weekly email reports on chat performance and unresolved questions
- report.png
- Pre-chat form delay
- Improvement
- Let visitors start chatting instantly & collect details later
- form transfer.png
- Transfer detection
- New feature
- AI automatically detects when customers want human help and transfers
- AI transfer.png
**May 2025**
- AI spending limit
- New feature
- Set monthly spending limits for AI replies
- AI spending limit.png
- Data sources in test zone
- New feature
- Review what data sources your AI uses to answer in test zone
- form transfer.png
- Chat summary
- New feature
- Quickly summarize conversations with AI for team transfer
- Chat summary manual.png
- AI scenario
- New feature
- Train your AI to handle specific scenarios
- Scenario.png
- AI-generated instruction
- New feature
- Generate instructions for AI assistant based on your business needs
- AI generated instruction.png
- Chat summary
- New feature
- Quickly summarize conversations with AI for team transfer
- Chat summary manual.png
- Product metafields
- New feature
- Sync product metafields to train your AI
- metafield.png
- Transfer by contact form
- Improvement
- Let customers submit support requests when AI can't help
- form transfer.png
**April 2025**
- Train AI by URLs and files
- New feature
- Add URLs and files to data source to train AI assistant
- AI assistant (beta).png
- #custom-instructions
- Analytics about revenue
- New feature
- See how Chatty helps drive sales and conversions in numbers
- Chat analytics.png
- #connect-instagram
- Bulk management in data source
- Improvement
- Select multiple data sources and update them all at once
- Bulk management in data source.png
- #ai-response-review
- Get notifications for AI conversations
- Improvement
- Keep track of conversations handled by AI
- Web push notification.png
**March 2025**
- Custom instruction for AI
- Improvement
- Personalize how your AI assistant responds to customers with custom instruction
- Custom instruction for AI.png
- #custom-instructions
- Connect Instagram
- New feature
- Get Instagram direct messages in your inbox
- Connect Instagram.png
- #connect-instagram
- AI response review
- Improvement
- See what information AI uses to answer questions
- AI response review.png
- #ai-response-review
**February 2025**
- Klaviyo
- New feature
- Connect Chatty with Klaviyo and manage conversations from emails/SMS
- Chatty mobile app.png
- #klaviyo-integration
- Instruction for AI
- New feature
- Set up how AI answers customer questions on: tone of voice, length of answer
- AI assistant (beta).png
- #instruction-for-ai
- Unresolved questions by AI
- New feature
- Show unresolved questions that AI assistant couldn't answer to optimize AI
- Unresolved questions by AI.png
- #unresolved-questions-by-ai
- Internal note
- New feature
- Leave private comments within conversations for team members
- Internal note.png
**January 2025**
- AI product recommendation
- New feature
- Enable AI-powered product recommendation in livechat
- AI product recommendation.png
- #ai-product-recommendation
- AI test zone
- New feature
- Test how AI assistant respond to customer question before going live
- AI test zone.png
- #ai-assistant-test
**December 2024**
- Joy Loyalty integration
- New feature
- Integrate with Joy to manage loyalty program info of customers
- Joy Loyalty intergration.png
- #joy-loyalty-integration
- Custom sending domain
- Improvement
- Send emails from custom domains
- Custom sending domain.png
- #update-email-sender
- AI reply
- New feature
- Enable AI-powered reply in live chat
- AI reply.png
- Auto assignment
- New feature
- Auto-assign conversation to staff
- Auto assignment.png
- #auto-assignment
- Web app
- New feature
- Web-version to manage conversations without logging into Shopify admin
- Web app.png
**November 2024**
- Multiple store chat
- New feature
- Manage conversations through all stores in one Chatty
- Multiple store chat.png
- #multiple-store-chat
- Cart information
- New feature
- Show products added to cart by customers
- Cart infomation.png
- Mention members
- New feature
- Mention other members in note
- Mention members.png
**October 2024**
- Team assignment
- New feature
- Assign conversation to your staff member
- Team assignment.png
- Messenger integration
- New feature
- Chatty with Messenger and manage all messages in one channel
- Messenger intergration.png
- #messenger-integration
- AI assistant (beta)
- New feature
- Enable AI-powered chatflow helps answer questions based on FAQs
- AI assistant (beta).png
- #ai-assistant-beta
- Improved message sending
- Improvement
- Send messages by pressing Shift + Enter
- Improved message sending.png
- #improved-message-sending
- Email signature
- New feature
- Set up email signature for conversations from email channel
- Email signature.png
- #email-signature
- Update quick start
- Improvement
- Updated quick start with 2 groups: Build FAQs and launch live chat
- Manage contacts.png
- #updated-quick-start
- Manage contacts
- Improvement
- Add image to discount
- Manage contacts.png
- #manage-contacts
- Updated conversation list interface
- New feature
- Insert products (product variants) and collections in chat with customers
- Email signature-1.png
- #updated-conversation-list-interface
**September 2024**
- Insert product
- New feature
- Insert products (product variants) and collections in chat with customers
- Insert product.png
- #undefined
- Assistant: Subscribe newsletter
- Improvement
- Add image to discount
- Assistant_ subscribe newsletter.png
- #assistant-subscribe-newsletter
- FAQs analysis
- New feature
- Check key metrics about your FAQs
- FAQs analysis.png
- #faqs-analytics
- Hide teaser message
- Improvement
- Show and hide teaser message
- Hide teaser message.png
- #hide-teaser-message
- Assistant: Suggested FAQs
- New feature
- Show common questions in chatzone
- Assistant_ suggested FAQs.png
- #assistant-suggested-faqs
- Import and export FAQs
- New feature
- Import bulk FAQs and export FAQs to CVS file
- Import and export FAQs.png
- #import-and-export-faqs
- FAQs page appearance
- Improvement
- More settings for FAQs appearance
- FAQs page appearance.png
- #faqs-page-appearance
**August 2024**
- Pre-chat form
- New feature
- Form that collects customer info before chat starts
- Pre-chat form.png
- #pre-chat-form
- First auto-reply message
- New feature
- Send auto-reply messages when you're offline and online
- First auto-reply message.png
- #first-auto-reply-message
- Deeplink
- New feature
- Open specific chatbox section by deeplink
- Deeplink.png
- #deeplink
- Conversation history
- New feature
- Send conversation history to customer
- Conversation history.png
- #conversation-history
- Export FAQs
- New feature
- Export FAQs in CVS file
- Export FAQs.png
- #export-faqs
**July 2024**
- FAQs block
- New feature
- Add FAQs section to any pages
- FAQs block.png
- #faqs-block
- Online status
- New feature
- Check customers' nline statis in live chat
- Online status.png
- #online-status
- Insert link
- New feature
- Add hyperlink to messages sent to customers
- Insert link.png
- #insert-link
- Contact button
- New feature
- Add contact button to anywhere on website
- Contact button.png
- #contact-button
- Quick replies
- New feature
- Set up common messages to answer customers
- Quick replies.png
- Upload images and files
- New feature
- Send images and files in live chat
- Upload images and files.png
- #upload-images-and-files
- Insert discount
- New feature
- Send customers discount in live chat
- Insert discount.png
- #insert-discount
- Block users
- New feature
- Block user to not receive any messages from them
- Block users.png
- #block-user
- Sound notification
- New feature
- Sound notifications for new messages
- Sound notification.png
- #sound-notification
- Chatty mobile app
- New feature
- Manage conversations on your devices anywhere anytime
- Chatty mobile app.png
- #chatty-mobile-app
**June 2024**
- Unread conversations
- New feature
- Filter unread conversatiosn
- Unread conversations.png
- #unread-conversations
- Assistant: Subscribe newsletter
- New feature
- Capture customer info by promotions
- Assistant_ subscribe newsletter.png
- #assistant-subscribe-newsletter
- Customer details
- Improvement
- Check customer info (phone, name, address, orders, etc.)
- Customer details.png
- #customer-details
- Translate FAQs
- New feature
- Translate questions and answers
- Translate FAQs.png
- #translate-faqs
- Customer behavior
- New feature
- Check customer behavior in chat like add to cart
- Customer behavior.png
- #customer-behavior
- New presets
- Improvement
- More presets to customize chatbox
- New presets.png
- #new-presets-for-chatbox
- Name & avatar of chatbot
- New feature
- Change name and avatar of chatbot in live chat
- Name & avatar of chatbot.png
- #name-and-avatar-of-chatbot
- Web push notification
- New feature
- Notifications for new messages
- Web push notification.png
- #web-push-notifications
- Chat analytics
- New feature
- Check chat performance with new analytics
- Chat analytics.png
- #chat-analytics
**May 2024**
- Order tracking method
- Improvement
- Track orders in chatbox by order number and tracking number
- Unread conversations-1.png
- #order-tracking
- Assistant: Welcome visitors
- Changed
- Offer quick support to customers with targeted scenarios
- Email notification for new messages.png
- #assistant-welcome-visitors
- Email notification for new messages
- New feature
- Send emails for new messages
- Notifications for new messages.png
- #notifications-for-new-messages
- WeChat update
- Changed
- WeChat unavailable in contact method
- WeChat update.png
- #wechat-update
**April 2024**
- Auto-translation
- Improvement
- More languages are supported in Chatty
- Auto-translation-1.png
- #auto-translation
**March 08, 2024**
- Translation for navigation
- New feature
- Translate content in navigation
- Auto-translation-1.png
- #translation-for-navigation
- More supported languages
- Improvement
- More languages are supported to auto-translate in app
- More supported languages.png
- #more-supported-languages
- New widget style
- New feature
- Show or hide navigation in chatbox
- New widget style.png
- #new-widget-style
**February 2024**
- New FAQs category interface
- New feature
- FAQs is shown in seperate tab
- #new-faqs-category-interface
- New FAQs category interface.png
- Social AI reply
- Let AI handle conversations from social channels
- Social AI.png
- Customer data for AI training
- Train AI with data from customers: behaviour, order history, conversation, etc.
- Customer data for training AI.png
- Perfomance analytics
- Show analytics of performance of team
- Performance analytics.png
- Snooze and set reminder
- Snooze and set reminder for unread conversations
- Snooze and set reminder.png
- Cart modification
- Edit & update items in cart with AI
- Cart support.png
- Size guide
- Send size guide & fit recommendation with AI
- Size guide.png
- Collection management
- Create and update collections for AI training
- Collection management.png
- Dynamic discount
- Auto-create and send discount for customers in chat with AI
- Dynamic discount.png
- Follow up button
- AI-generated questions shown to customer after each response
- Follow up button.png
- AI section
- Add AI section to webpage for better engagement
- Embed AI page.png
**2025**
- Chatty buddy
- AI assistant that helps you set up Chatty
- Chatty buddy.png
- Real-time live chat translation
- Real-time live chat translation and localization
- Real-time live chat translation.png
- Basic flow
- Set up flow for customer support with basic condiions
- Basic flow.png
- AI tools for staff
- More AI tools that boosts performance for staff such as: rewrite, summarize, etc.
- CS tools.png
- Image scanner
- Read images for better context comprehension & response
- Image analyze.png
================================================================
URL: https://help.chatty.net/ja/video-tutorials/
Locale: ja
================================================================
# 動画チュートリアル
ステップごとの動画で、Chatty のセットアップから使いこなしまでを学べます。最初のチャットボックスから高度な AI 学習まで、順を追って解説します。
まずは基本から。各動画は 1 つの主要機能を 5 分以内でわかりやすく説明します。
Chatty アプリを 3 分でひと巡り。各セクションの役割と、どこから始めればよいかを紹介します
Foundation 101 EP 02 — ストアデータで Chatty AI を学習させ、パーソナリティを設定し、テストして公開するまで
**近日公開。** AI 学習、自動化、高度なワークフローを掘り下げる動画を現在収録中です。しばらくお待ちください。
================================================================
URL: https://help.chatty.net/ja/video-tutorials/foundation-101-ep-02/
Locale: ja
================================================================
# Shopify の AI チャットボットを 3 分で学習させる方法
AI の賢さは、AI が知っている情報で決まります。Foundation 101 のこのエピソードでは、ストアデータで Chatty AI を学習させ、パーソナリティを与え、実際のお客様のようにテストし、公開する方法を学びます。これで AI は深夜 2 時でも 24 時間 365 日、買い物客に応対できるようになります。
## この動画でわかること
この動画を見終わるころには、あなたの AI は次のことができるようになります。
- すべての商品、価格、ポリシーを把握する
- ブランドらしい口調で話す
- お客様が実際に尋ねる質問に対応する
- あなたの手を借りずに、公開されて応対している
## チャプター
- **0:00** — イントロ
- **0:19** — ステップ 1:AI に情報を与える(ストアデータ+カスタムデータ)
- **1:16** — ステップ 2:AI にパーソナリティを与える
- **2:07** — ステップ 3:公開前にテストする
- **2:46** — ステップ 4:AI を有効にする
## 次の動画
さらに多くのチュートリアルを近日公開予定です。[すべての動画チュートリアルに戻る](/video-tutorials)
================================================================
URL: https://help.chatty.net/ja/video-tutorials/intro-to-chatty/
Locale: ja
================================================================
# Chatty 入門
Chatty アプリを 3 分でひと巡り。各セクションの役割と、どこから始めればよいかを紹介します。
## この動画でわかること
- Chatty ダッシュボードの操作方法
- 受信トレイ、AI、FAQ、チャットボックス設定の場所
- Chatty をインストールしたら最初に設定すべき 3 つのこと
## 次の動画
- [Shopify の AI を 10 分で学習させる](/video-tutorials/foundation-101-ep-02)
 → Click Notifications
  in the sidebar
2. In Application Notifications, find your web browser
3. Turn on notifications
#### Mobile
To get notifications for new messages on mobiles, [download Chatty app.](/live-chat/team/mobile-app/)
#### Turn on Notifications on web browser
#### Chrome
In **Web push,** click **Manage**
You might see a new window is opened. Click

Turn on **Notifications**

Get back to Chatty and click to **Save**.
Click **Send test** to check.

#### Microsoft Edge
In **Web push,** click **Manage**
You might see a new window is opened. Turn on **Notifications**.

Refresh page. Click to **Save**.
Click **Send test** to check if notification works.

#### Firefox
We cannot help you grant permission for Chatty [in Shopify embed mode](#user-content-fn-1)[^1] if you use Firefox web browser. Go to Chatty web app to activate notification.
In top banner, click **Set up in web app.** You'll redirected to Chatty web app.
Learn how to [activate account for web app](/web-app/).

In web app, click **Enable** in the banner

You will see a browser pop up. Click to open notification settings.
Click Allow
Get back to Chatty and refresh page. Click **Send test** to check if notification works.

#### Opera
1. Turn on "Web push notifications"
2. You might see a new window is opened and click Allow
in the sidebar
2. In Application Notifications, find your web browser
3. Turn on notifications
#### Mobile
To get notifications for new messages on mobiles, [download Chatty app.](/live-chat/team/mobile-app/)
#### Turn on Notifications on web browser
#### Chrome
In **Web push,** click **Manage**
You might see a new window is opened. Click

Turn on **Notifications**

Get back to Chatty and click to **Save**.
Click **Send test** to check.

#### Microsoft Edge
In **Web push,** click **Manage**
You might see a new window is opened. Turn on **Notifications**.

Refresh page. Click to **Save**.
Click **Send test** to check if notification works.

#### Firefox
We cannot help you grant permission for Chatty [in Shopify embed mode](#user-content-fn-1)[^1] if you use Firefox web browser. Go to Chatty web app to activate notification.
In top banner, click **Set up in web app.** You'll redirected to Chatty web app.
Learn how to [activate account for web app](/web-app/).

In web app, click **Enable** in the banner

You will see a browser pop up. Click to open notification settings.
Click Allow
Get back to Chatty and refresh page. Click **Send test** to check if notification works.

#### Opera
1. Turn on "Web push notifications"
2. You might see a new window is opened and click Allow