# Channels
{% hint style="info" %}
**Who can use this feature?**
* This feature is avaible for all users.
{% endhint %}
Chatty allows you to manage conversations from multiple channels in one centralized location.
You can manage all messages from email, Facebook Messenger, and Instagram right in Chatty, alongside your live chat conversations.
### Email
By [connecting email](https://help.chatty.net/live-chat/channels/email), you can get emails from customers right in Chatty. **You can only connect one email to Chatty.**
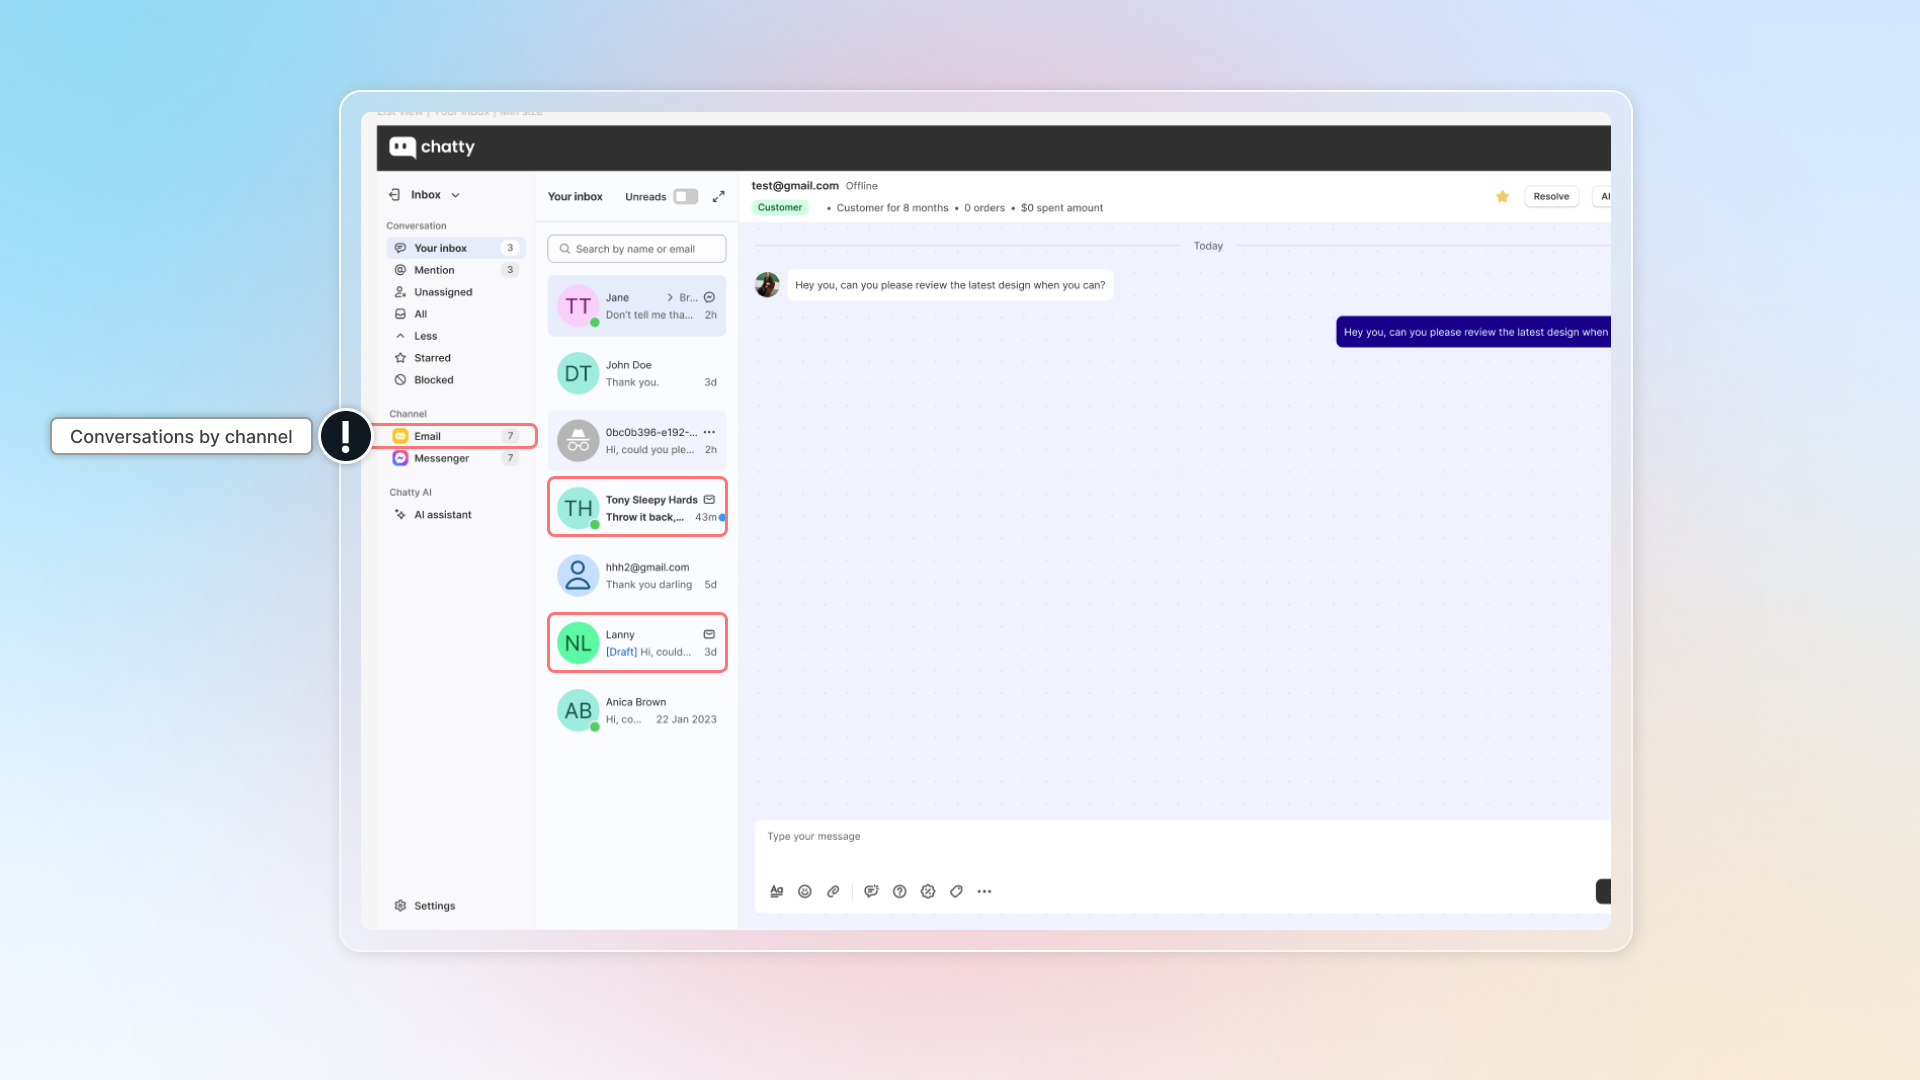
In Inbox, conversation from email will be shown with email icon.
In email, you can set up:
* **Email forwarding:** Email you want to connect to Chatty. All inboxes from that email will be sent to Chatty Inbox.
* **Email sender:** You'll use this email to reply to customers' email in Chatty Inbox.
* **Email signature:** Email signature will be used in emails replied to customers.
#### Conversation history
Now you can send conversation history (the entire chat) to customer when the conversation is marked as solved.
1. Go to **Channels**
2. Select **Email channel**
3. Go to **Preferences**
4. Turn on **Conversation history**
5. Conversation history email will be sent to customer's email. Add more emails if you want to receive conversation history.
#### Connect email forwarding
Follow our instruction to finish connecting email forwarding :
{% content-ref url="channels/email" %}
[email](https://help.chatty.net/live-chat/channels/email)
{% endcontent-ref %}
#### Update email sender
In default, we use to send email replies to your customer.
To update email sender:
1. Go to **Email sender**
2. Select **Own email address**
3. Click **Add and verify email**
4. Enter your email and click **Verify**
5. Check email for verication link & follow link to verify
6. Get back to app and click **Done**
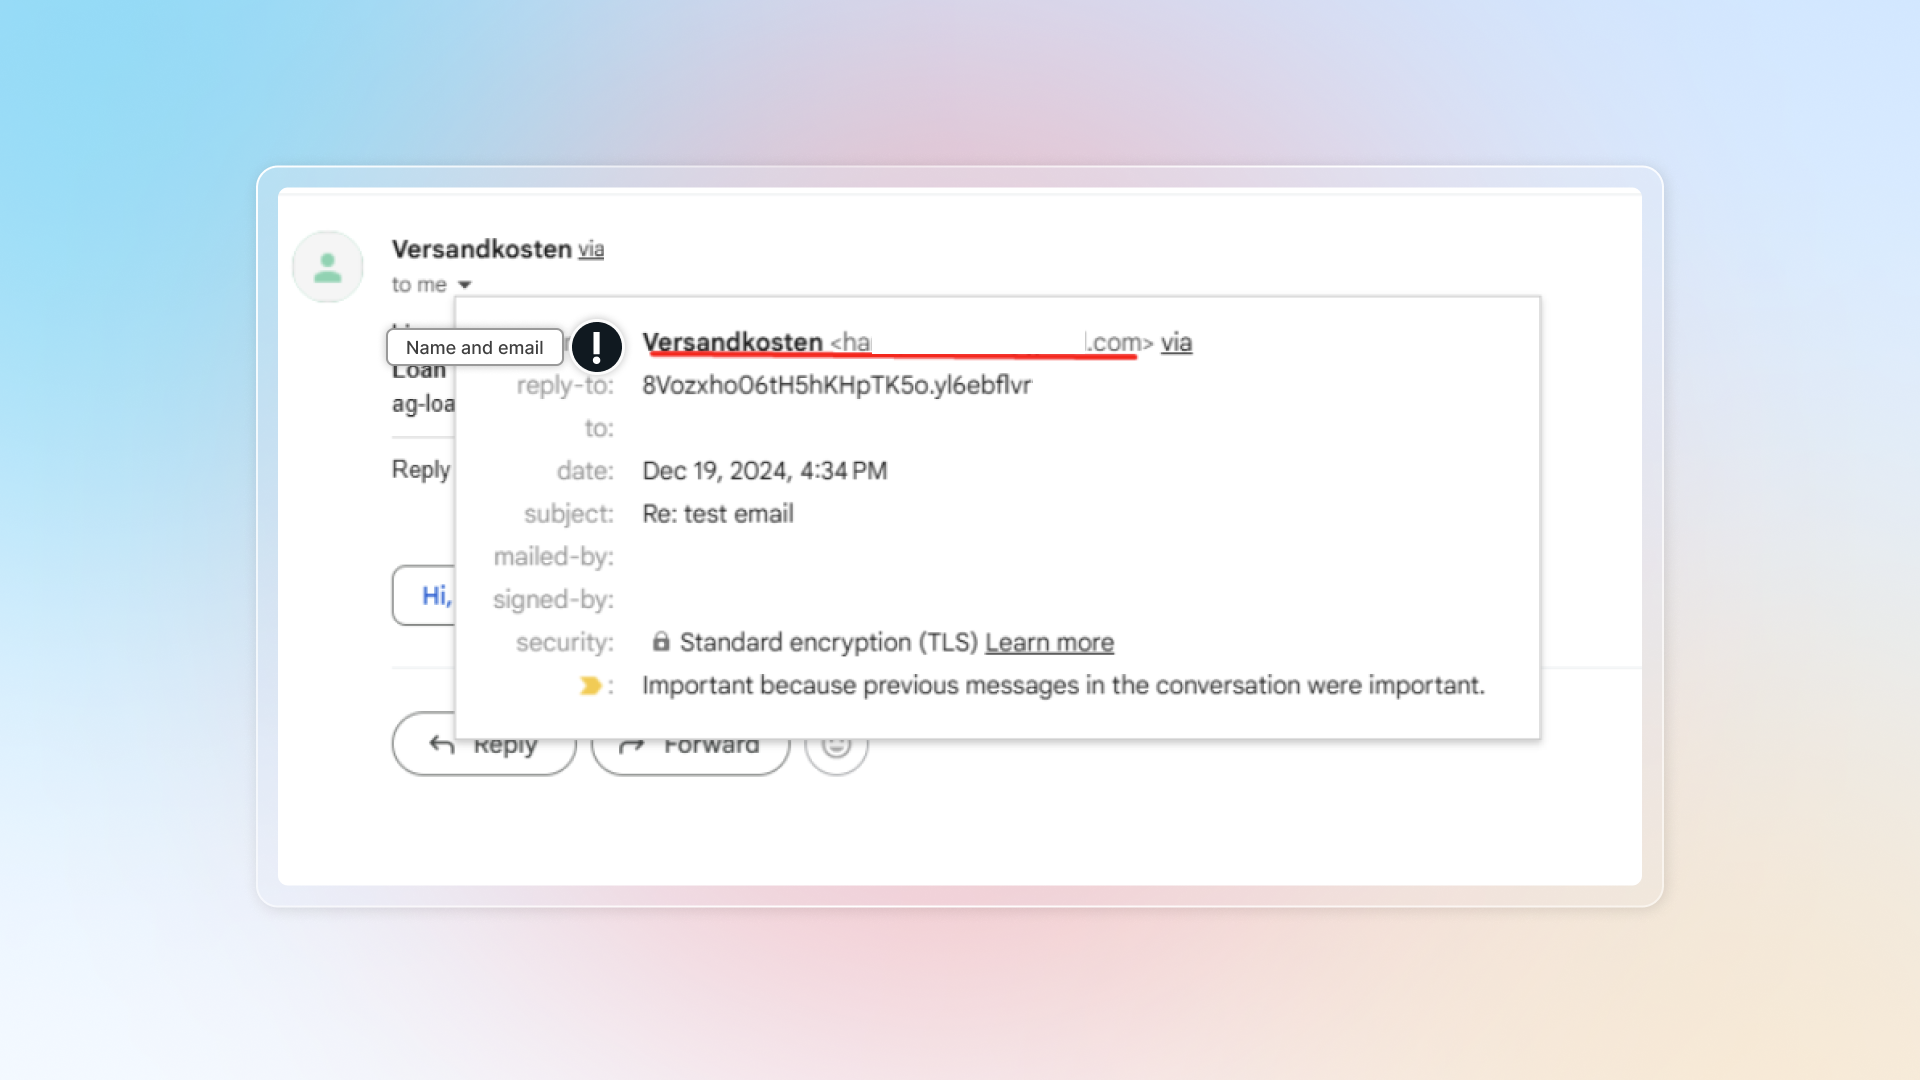
7. Enter name for your email
This is name and email sender
#### Default CC email
Set a list of CC email addresses once and Chatty automatically adds them to every outgoing email. This keeps internal recipients in the loop without agents having to add them manually each time.
**To set up default CC emails:**
1. Go to **Settings → Channels → Email → Sender**
2. Find the **CC email** section
3. Enter up to 5 email addresses, separated by commas
4. Click **Save**
The default CC list applies to all outgoing email in Chatty, including:
* **Email replies** in conversations
* **Offline email messages** sent when no agents are available
When sending an offline email, CC addresses appear in the send modal as read-only. They are applied automatically and cannot be edited per message.
### Facebook Messenger/Instagram
By [connecting Facebook](https://help.chatty.net/live-chat/channels/facebook-messenger-instagram) account to Chatty, you can receive and reply to Facebook/Instagram messages right in Chatty.
Follow our instruction to connect Facebook fanpage:
{% content-ref url="channels/facebook-messenger-instagram" %}
[facebook-messenger-instagram](https://help.chatty.net/live-chat/channels/facebook-messenger-instagram)
{% endcontent-ref %}
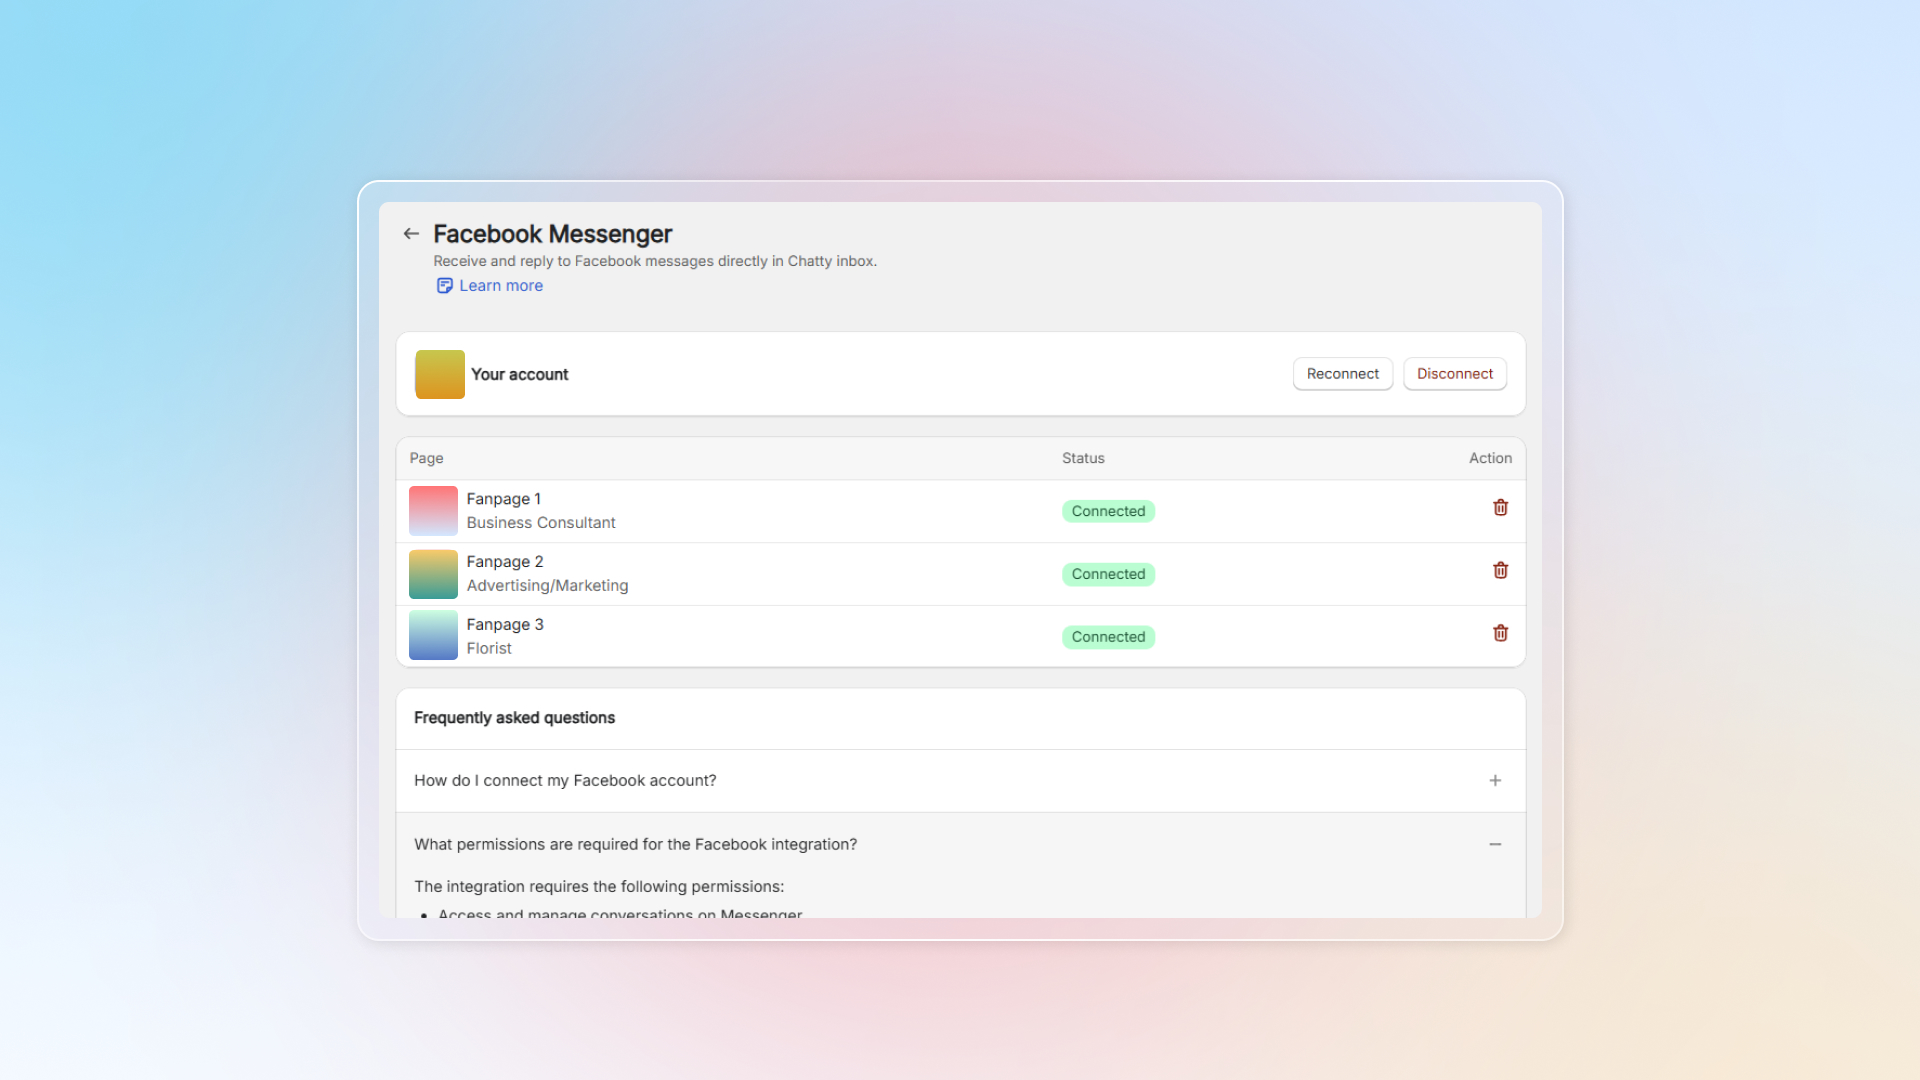
After connecting your Facebook account, you can check pages you've connected here.
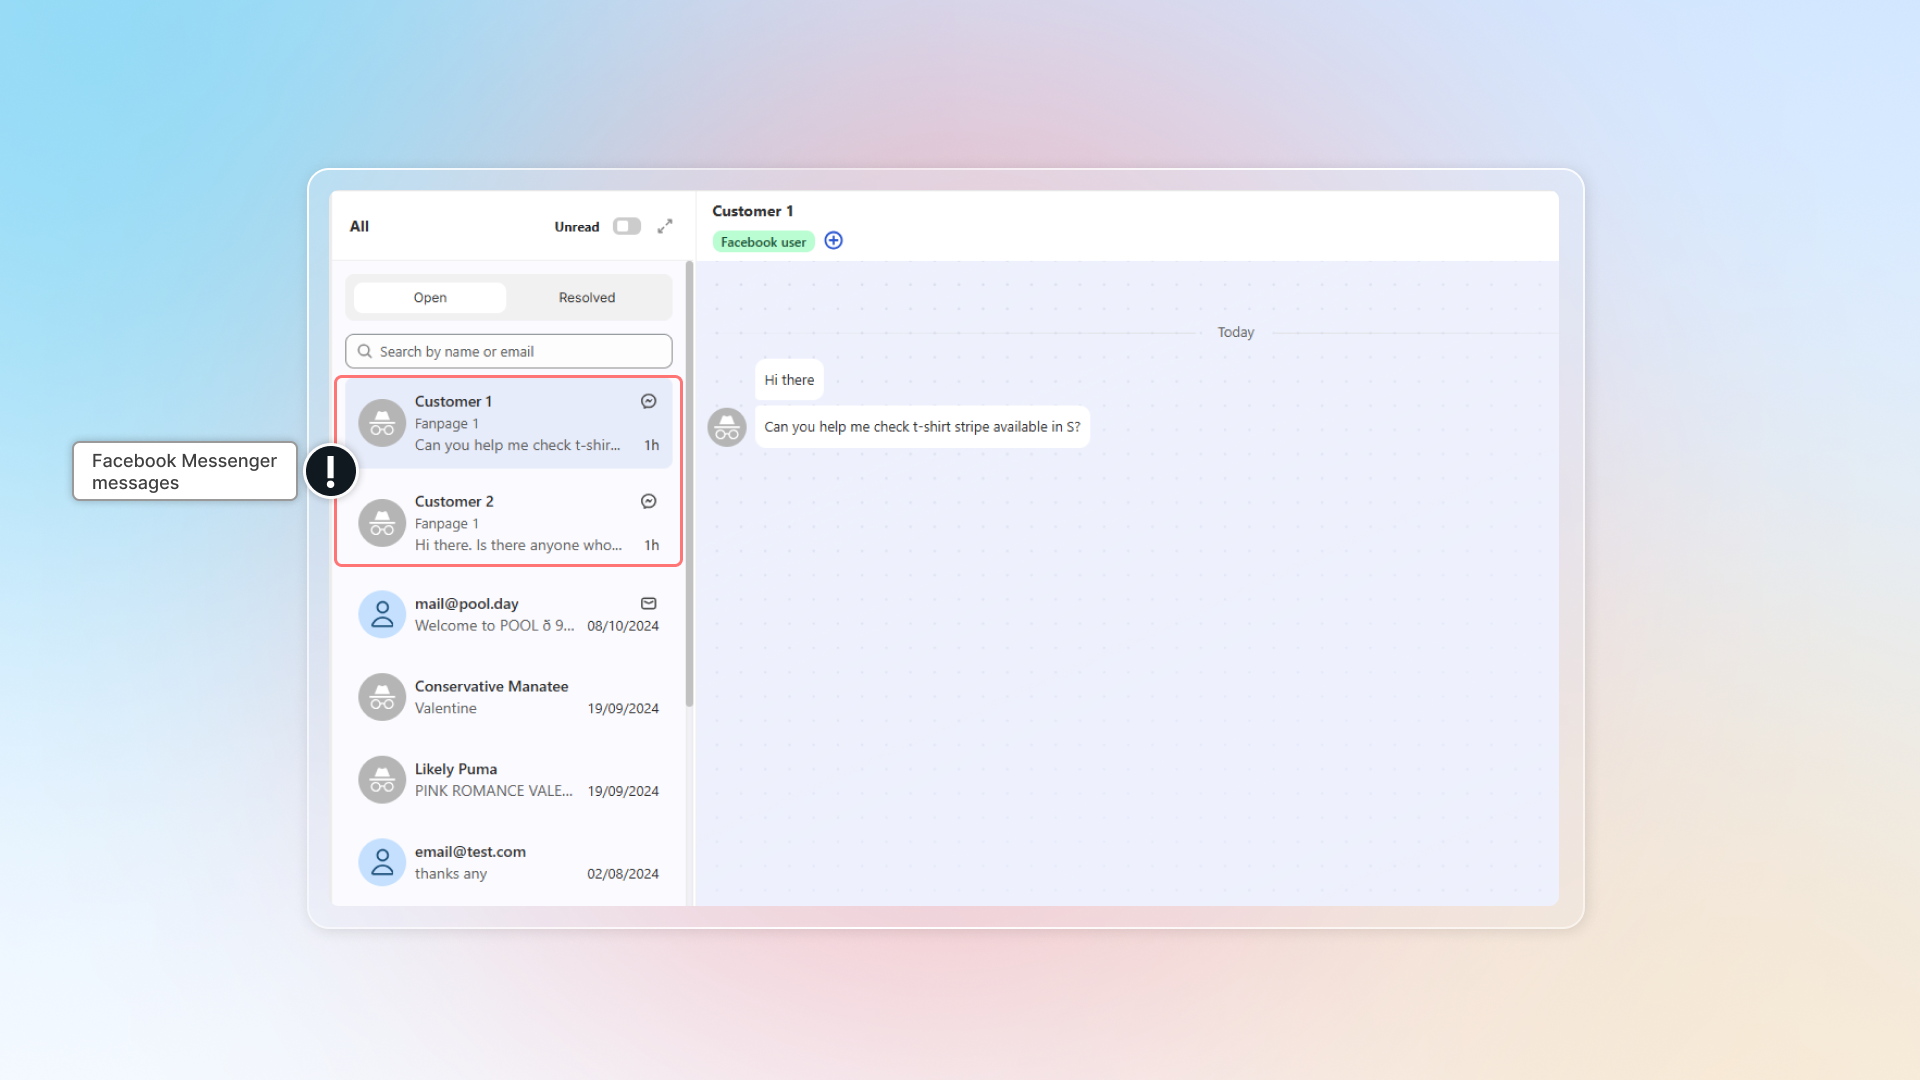
Messages from connected fanpages will be synced to Chatty inbox.
In Inbox, messages from Facebook have the Messenger icon next to it, those from Instagram have Instagram icon.
Or you can click **Messenger or Instagram** in "Channel" to select all conversations.
{% hint style="info" %}
By disconnecting with Facebook fanpages, existing conversations will stay in Inbox without update.
{% endhint %}
Why does Chatty need access to my Facebook Page?
Chatty needs access to your Facebook Page to do the following:
1. **Show your Facebook messages in the Chatty app.** This allows you to see and manage all your conversations in one place.
2. **Let you reply to messages directly from Chatty.** This makes it more convenient to respond to people without switching apps.
3. **Organize your conversations and link messages to the correct Facebook Page.** This helps keep your messages organized and easy to find.
### WhatsApp
By connecting WhatsApp, you can check messages from WhatsApp right in Chatty.
Before connecting WhatsApp to Chatty, make sure you have:
* A Facebook page for your business
* A WhatsApp Business account linked to that Facebook page
* Admin access to both your Facebook page and your WhatsApp Business account
{% hint style="info" %}
You can connect multiple WhatsApp accounts to Chatty.
{% endhint %}
Follow our instruction to connect Whatsapp:
{% content-ref url="channels/whatsapp" %}
[whatsapp](https://help.chatty.net/live-chat/channels/whatsapp)
{% endcontent-ref %}
---
# Agent Instructions: Querying This Documentation
If you need additional information that is not directly available in this page, you can query the documentation dynamically by asking a question.
Perform an HTTP GET request on the current page URL with the `ask` query parameter:
```
GET https://help.chatty.net/live-chat/channels.md?ask=
```
The question should be specific, self-contained, and written in natural language.
The response will contain a direct answer to the question and relevant excerpts and sources from the documentation.
Use this mechanism when the answer is not explicitly present in the current page, you need clarification or additional context, or you want to retrieve related documentation sections.